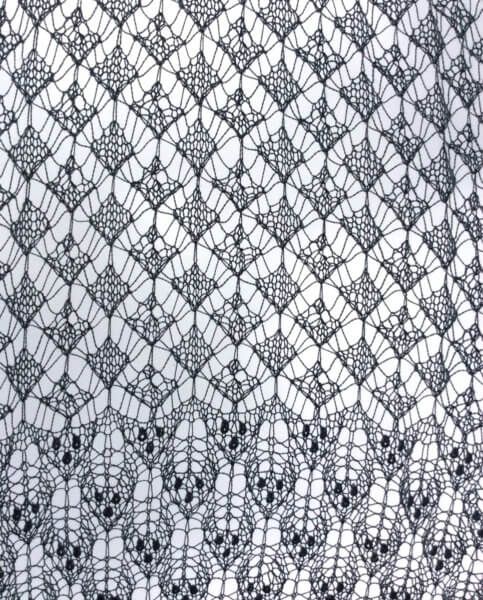
cinematic
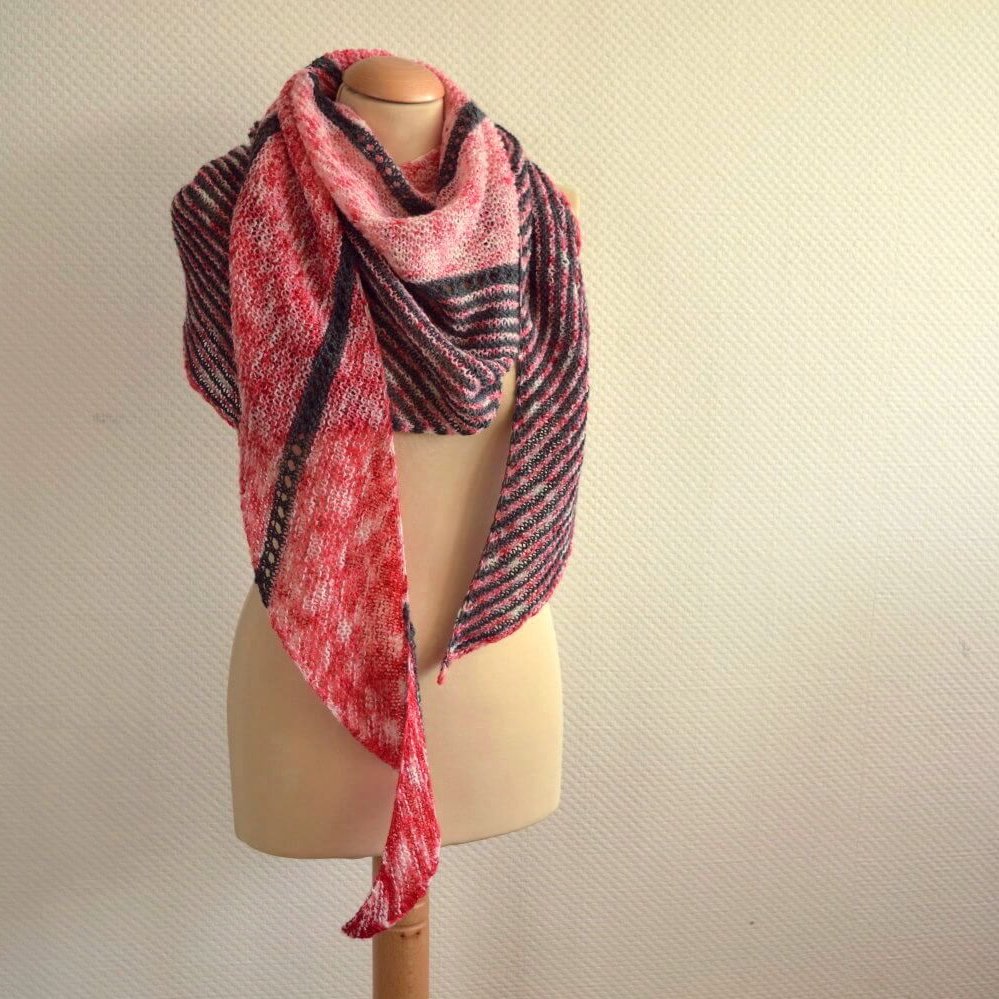
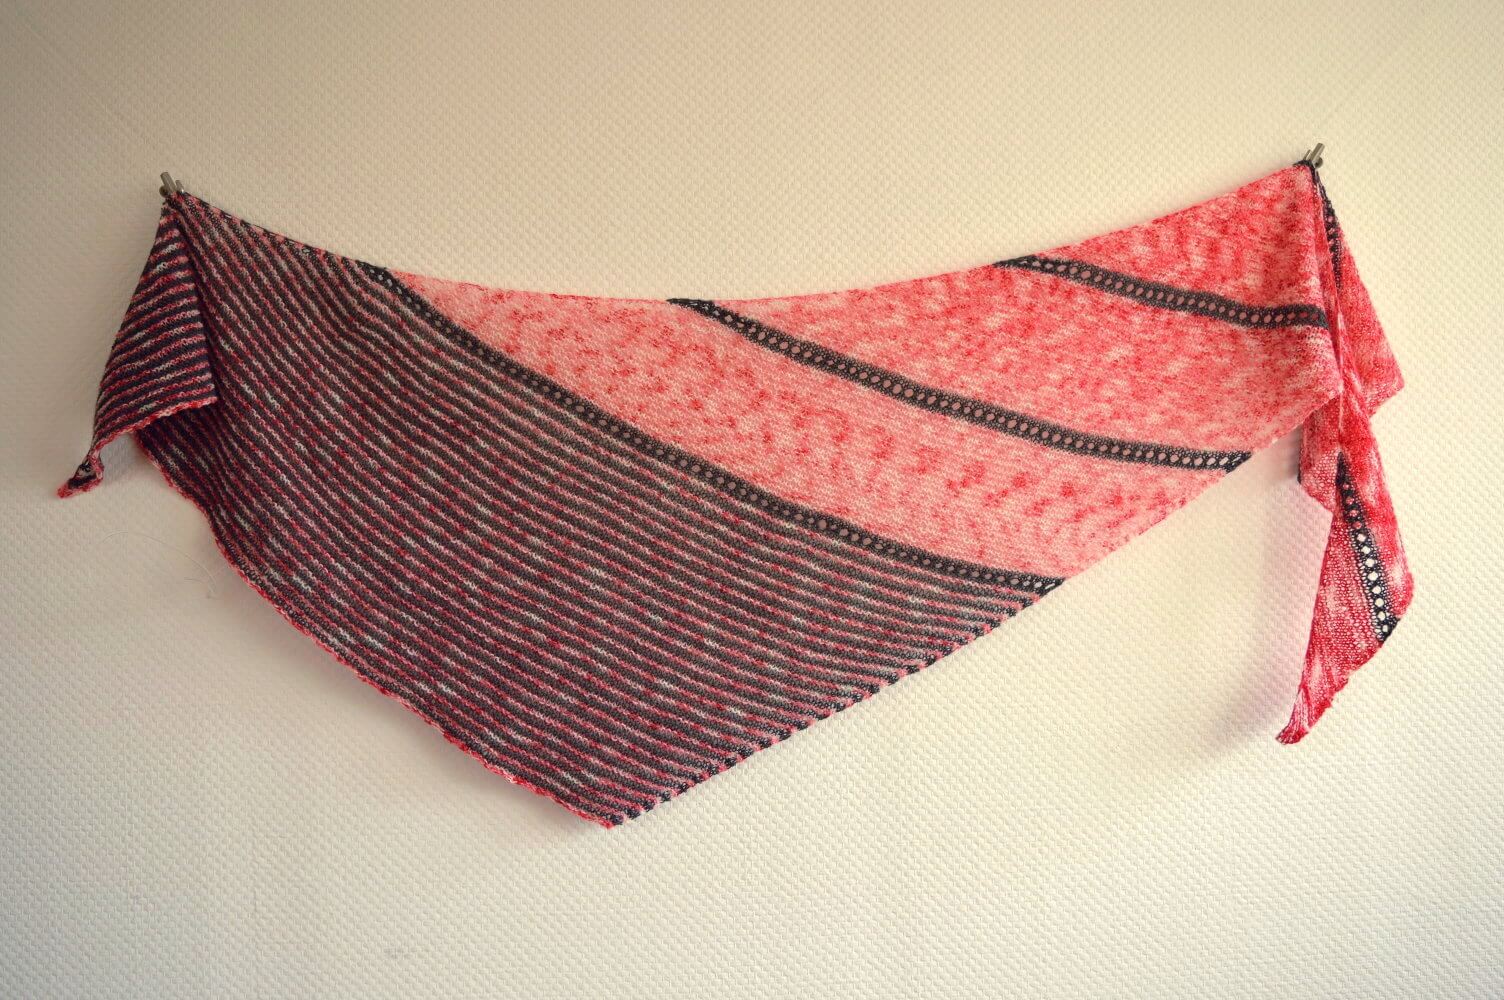
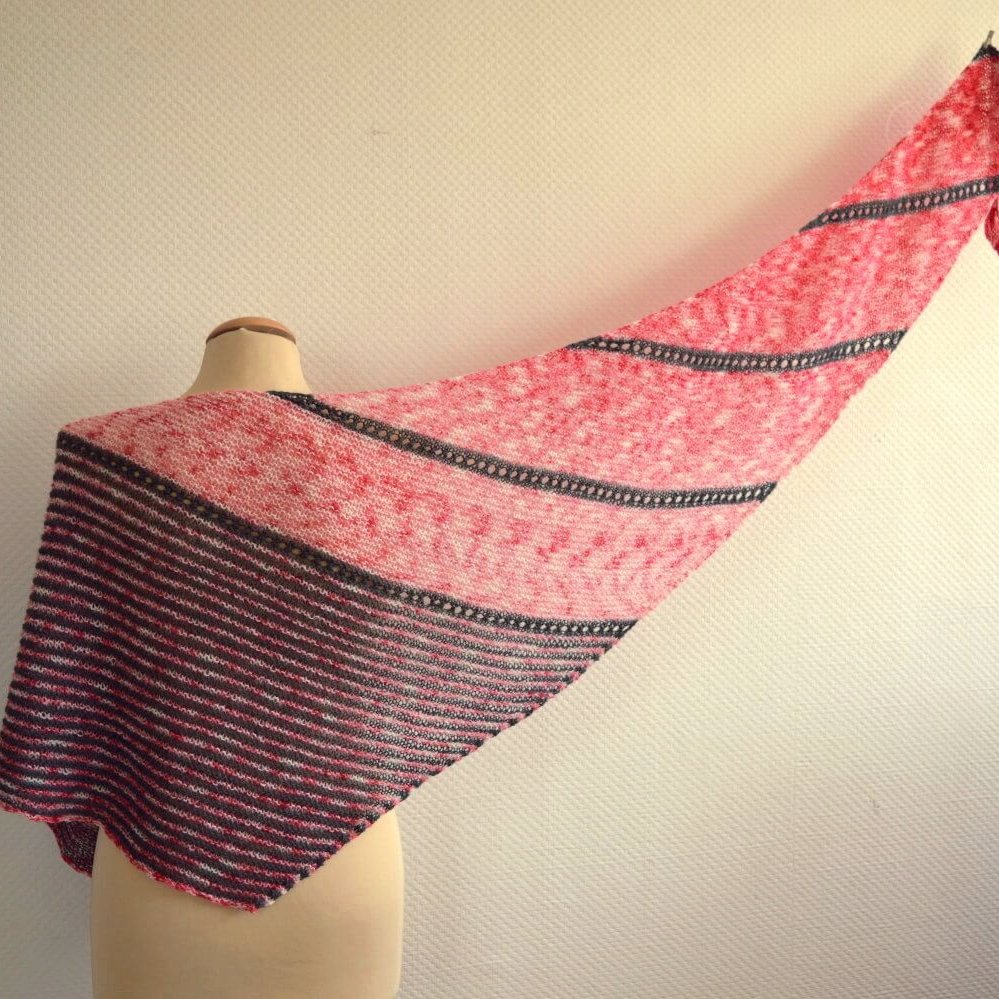
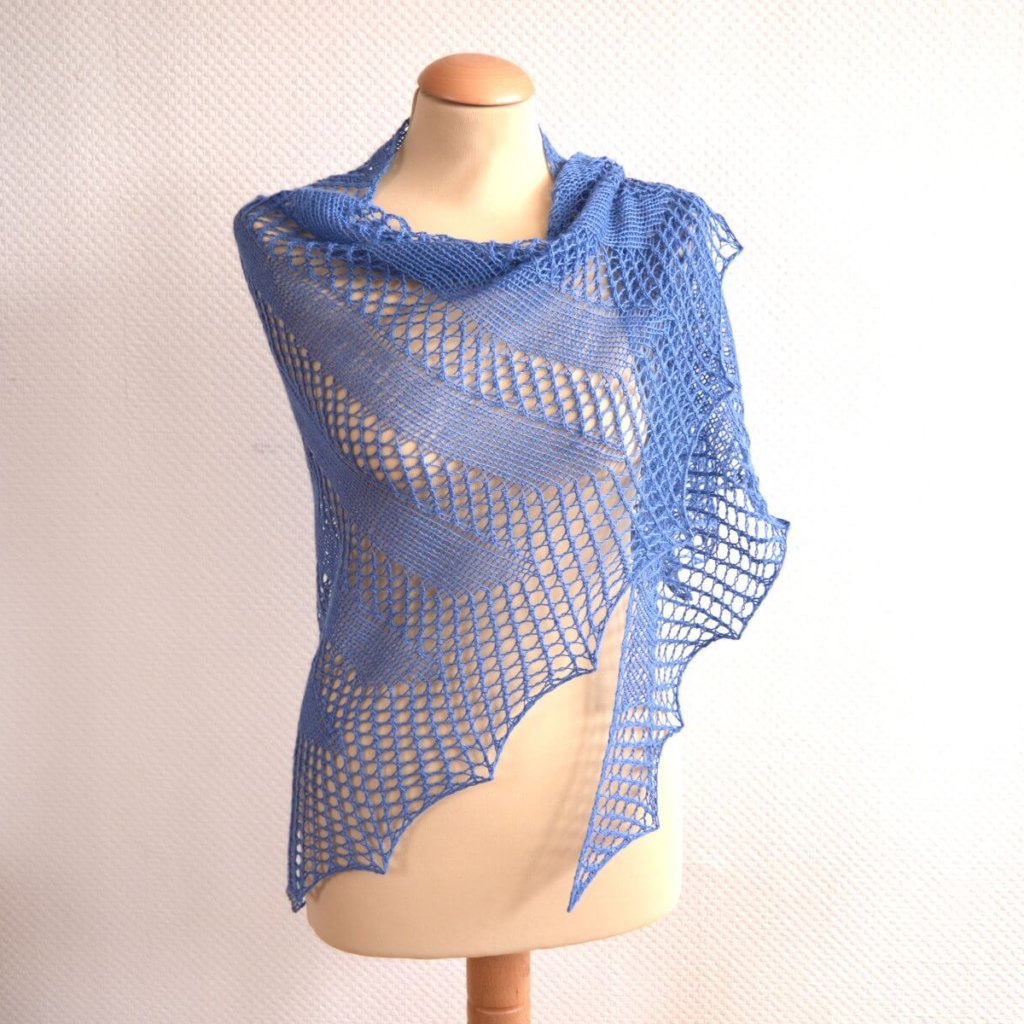
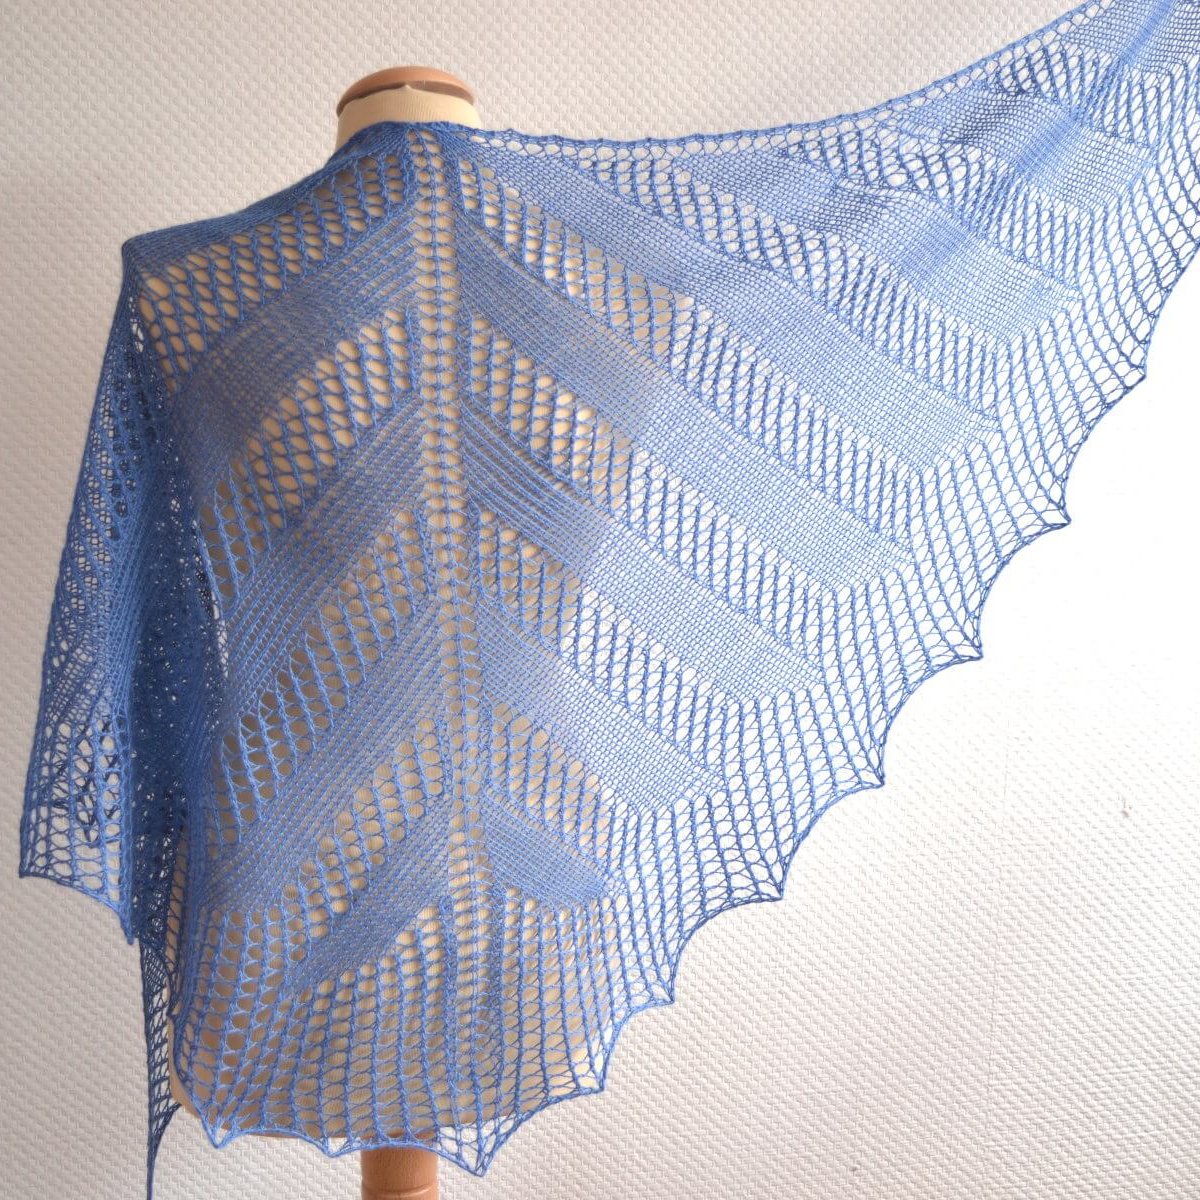
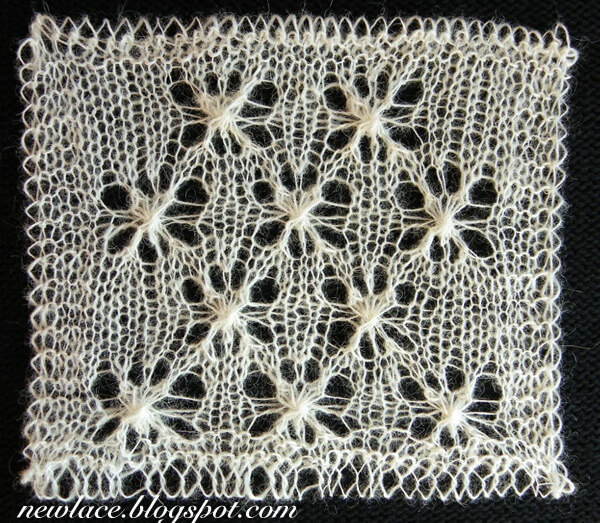
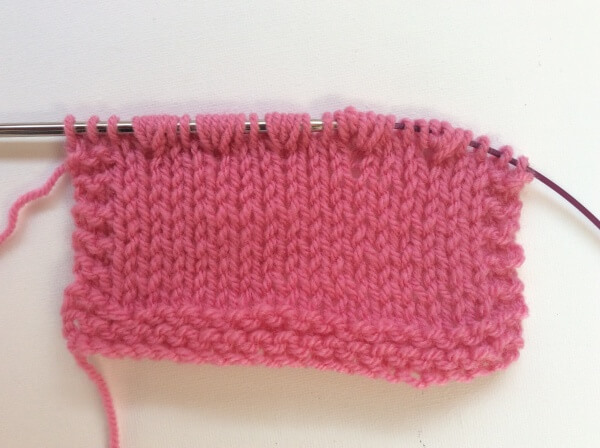
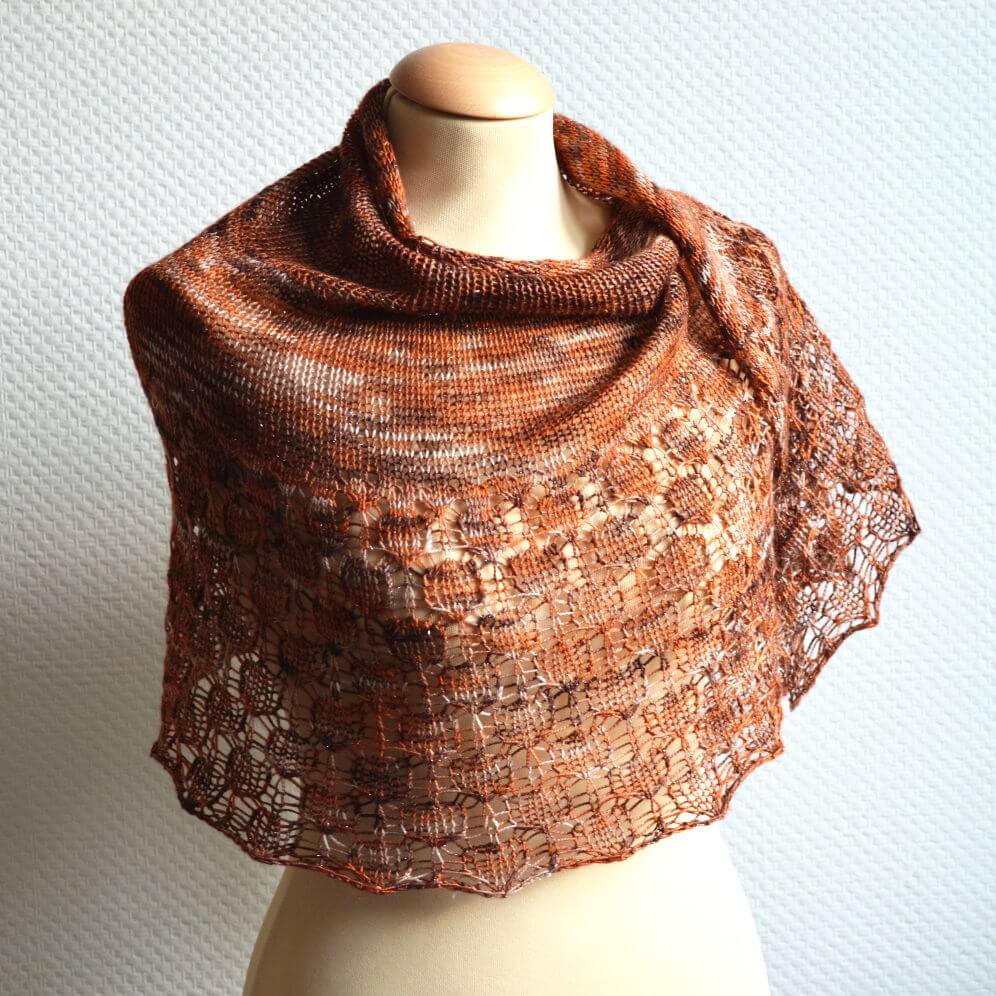
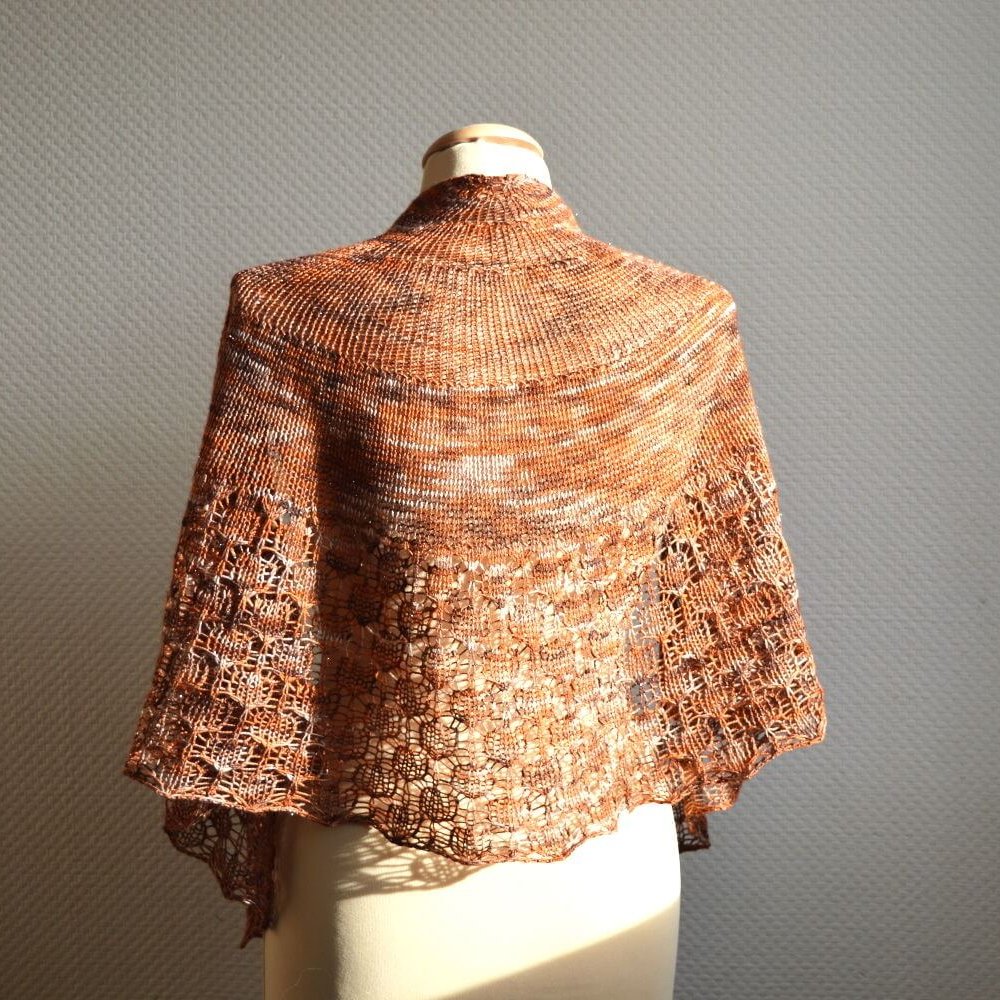
Cinematic is a simple but stylish triangular shawl knit sideways in garter stitch. With it’s generous size of 215 cm (84 ½ inches) along the upper edge and a depth of 52 cm (20 ½ inches) it is perfect to wear as an elegant scarf.
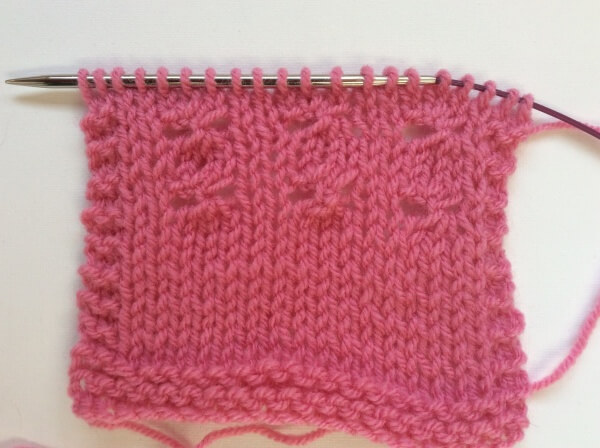
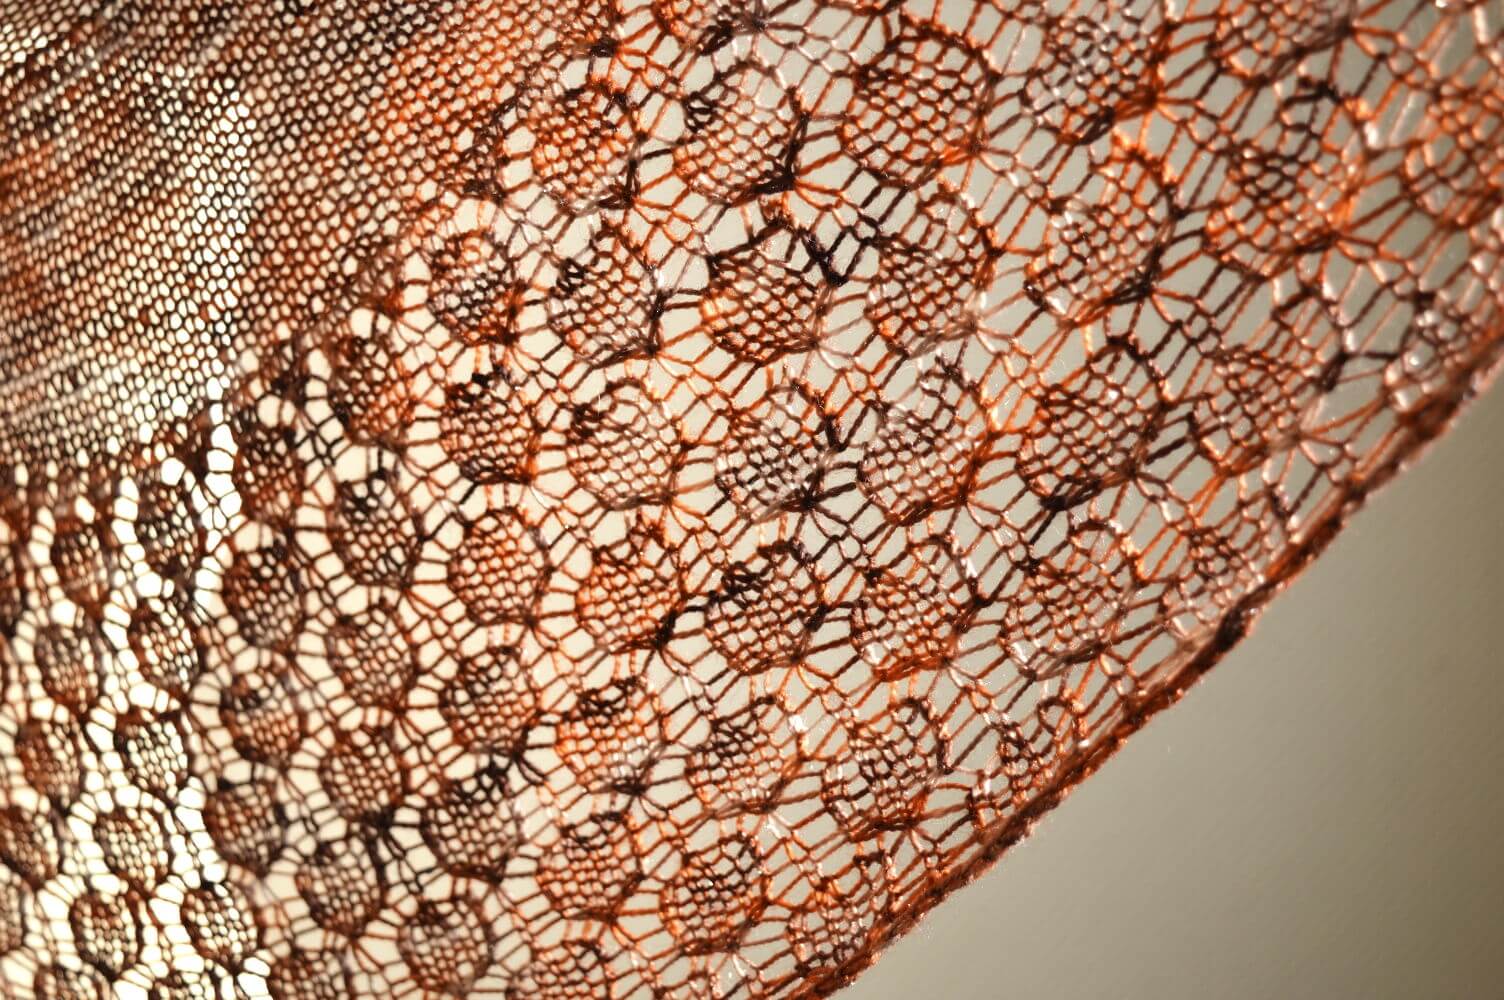
Eyelet rows and stripes in a contrast color, combined with a gradient yarn, make for a highly customizable accessory. Wear it with a shirt and jeans for a casual look or with that little back dress for a more dramatic look.
Pay what you want: (minimum €6.50)
€

Size and finished measurements
Finished dimensions of the sample Cinematic shawl: 215 cm (84 ½ inches) along the upper edge and a depth of 52 cm (20 ½ inches), measured after blocking.
Difficulty
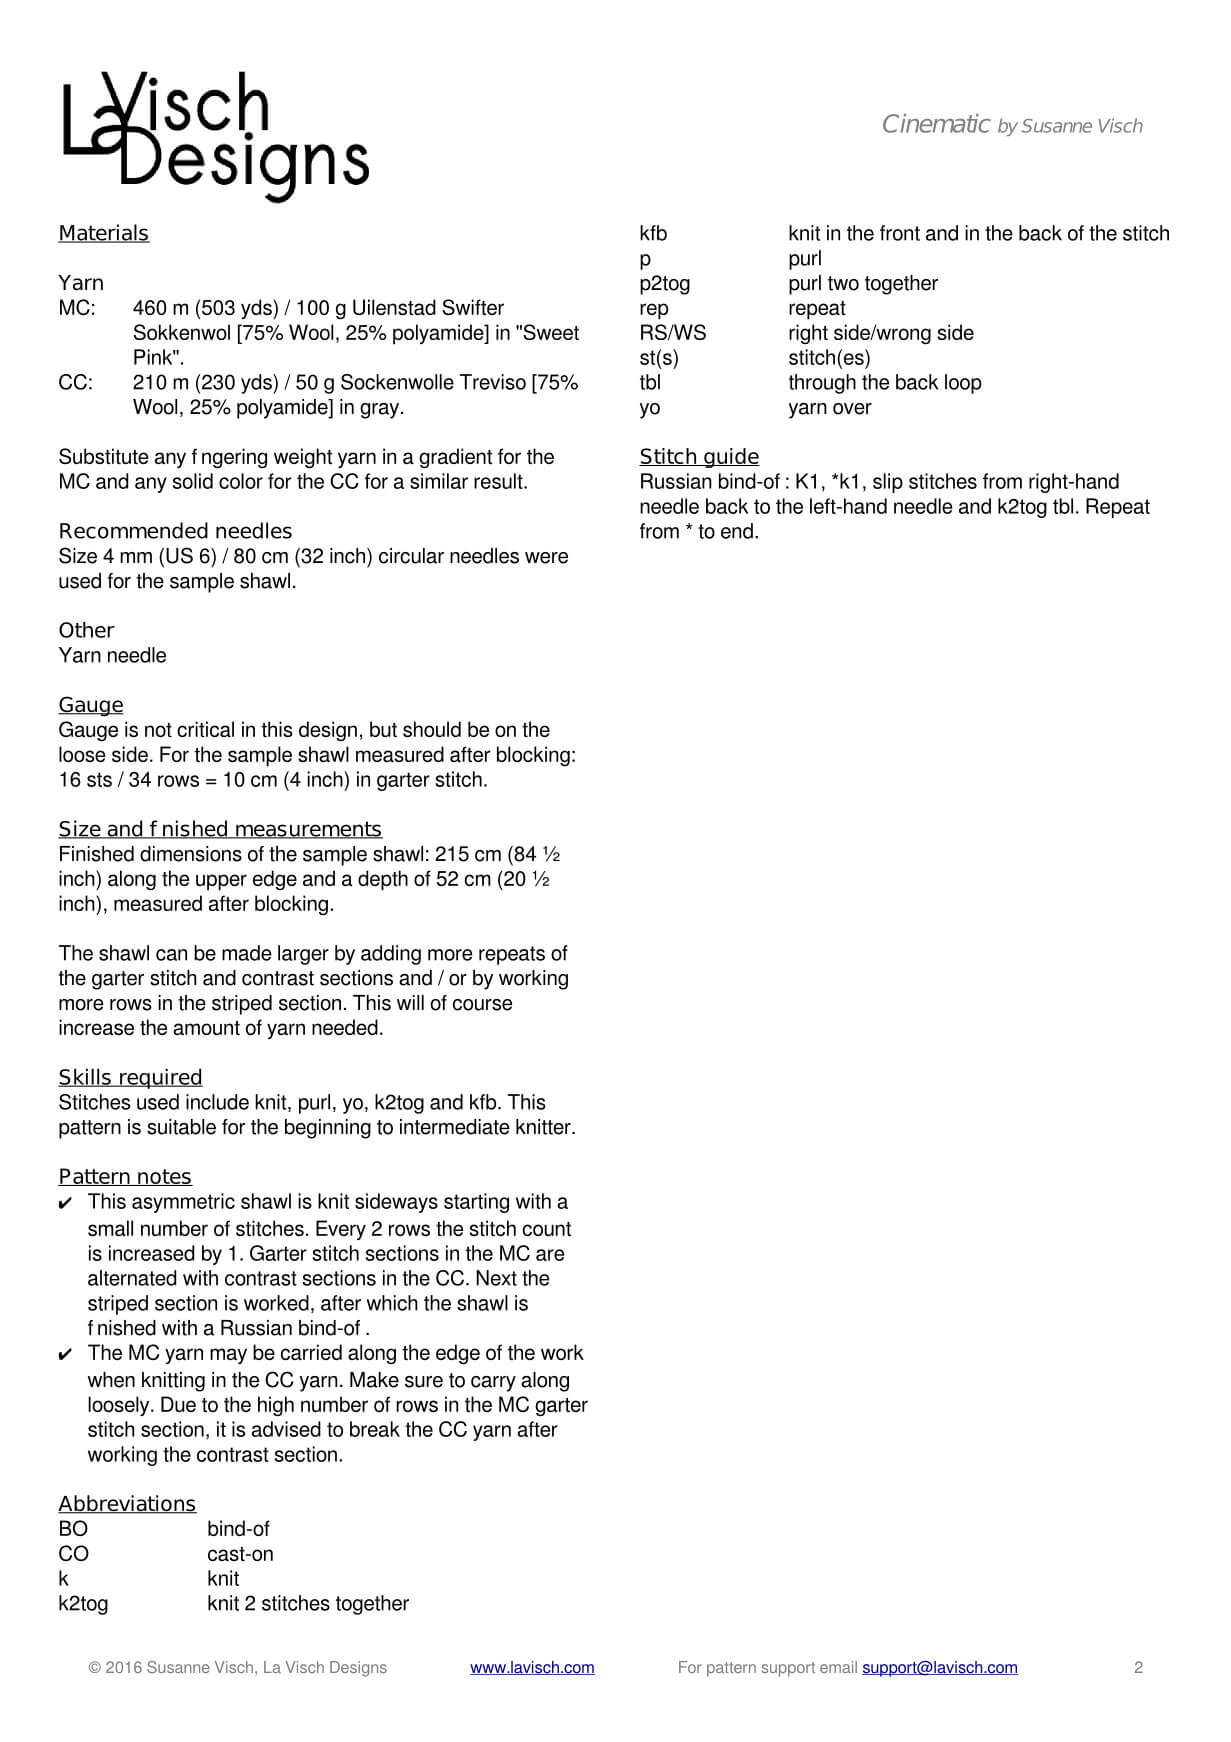
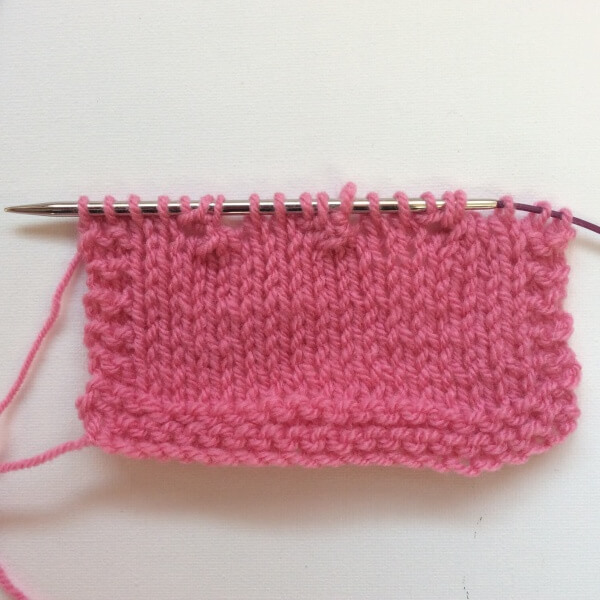
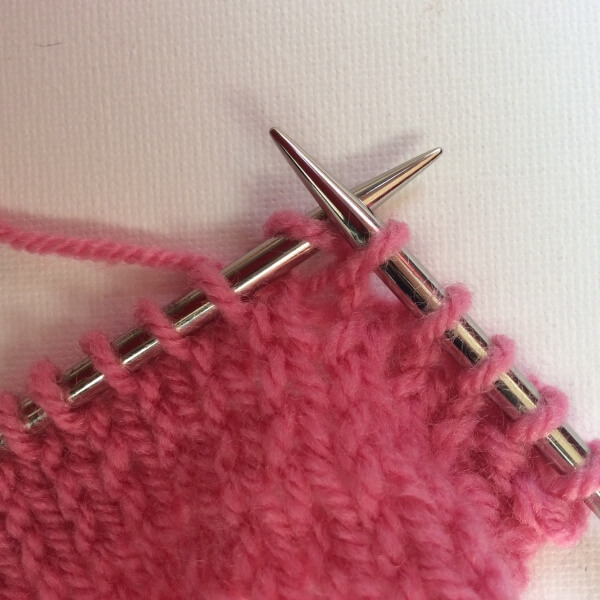
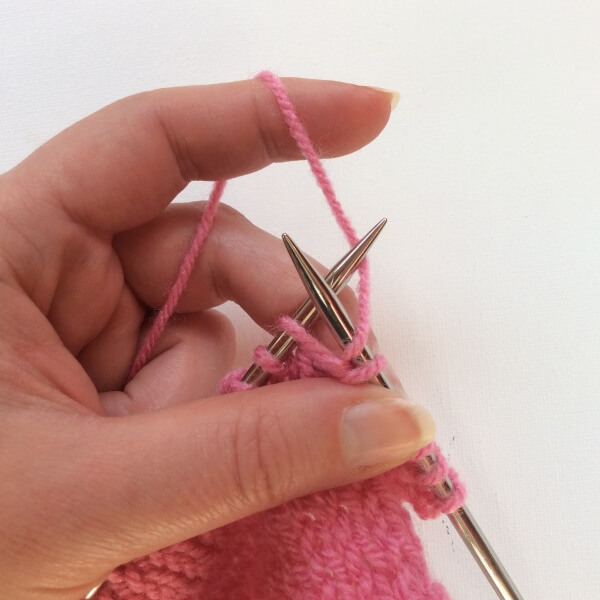
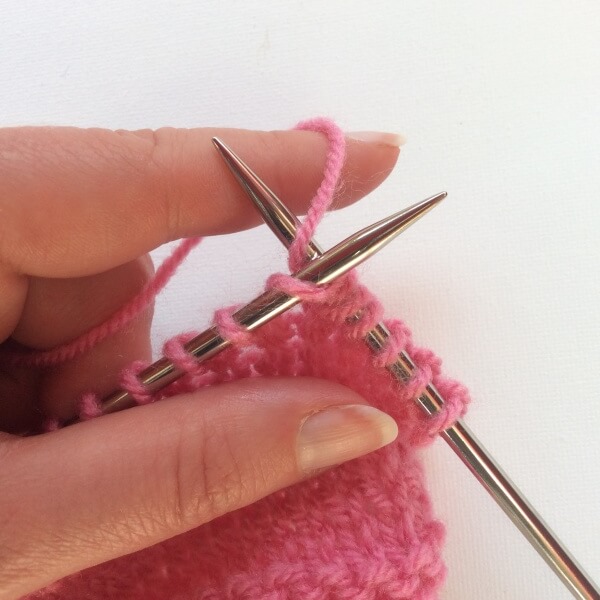
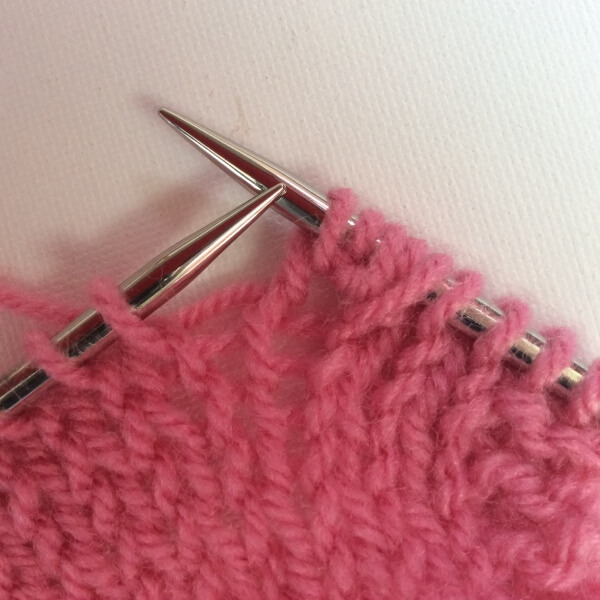
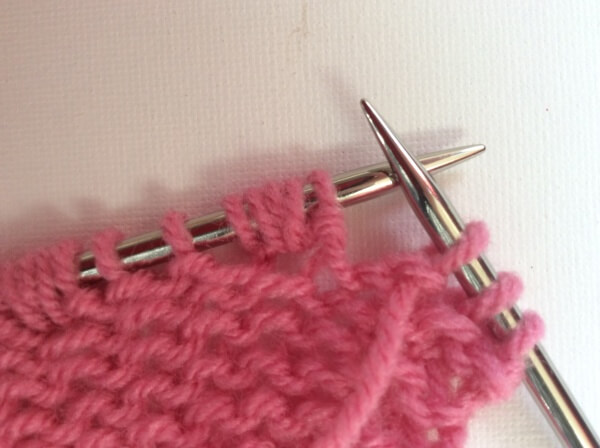
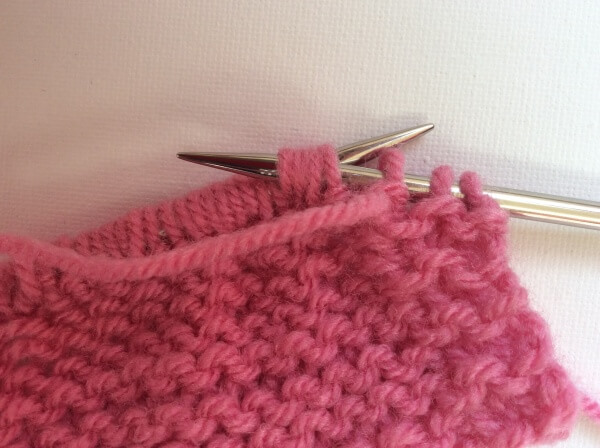
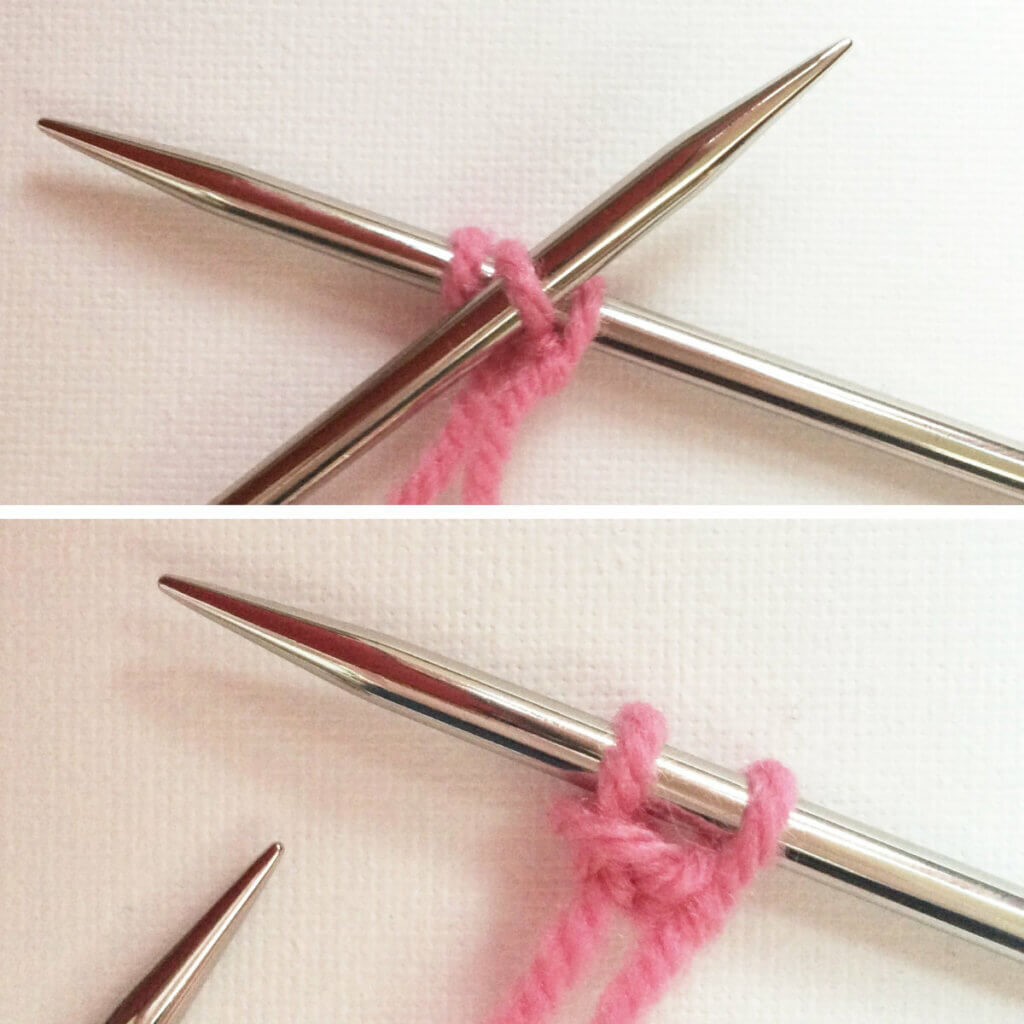
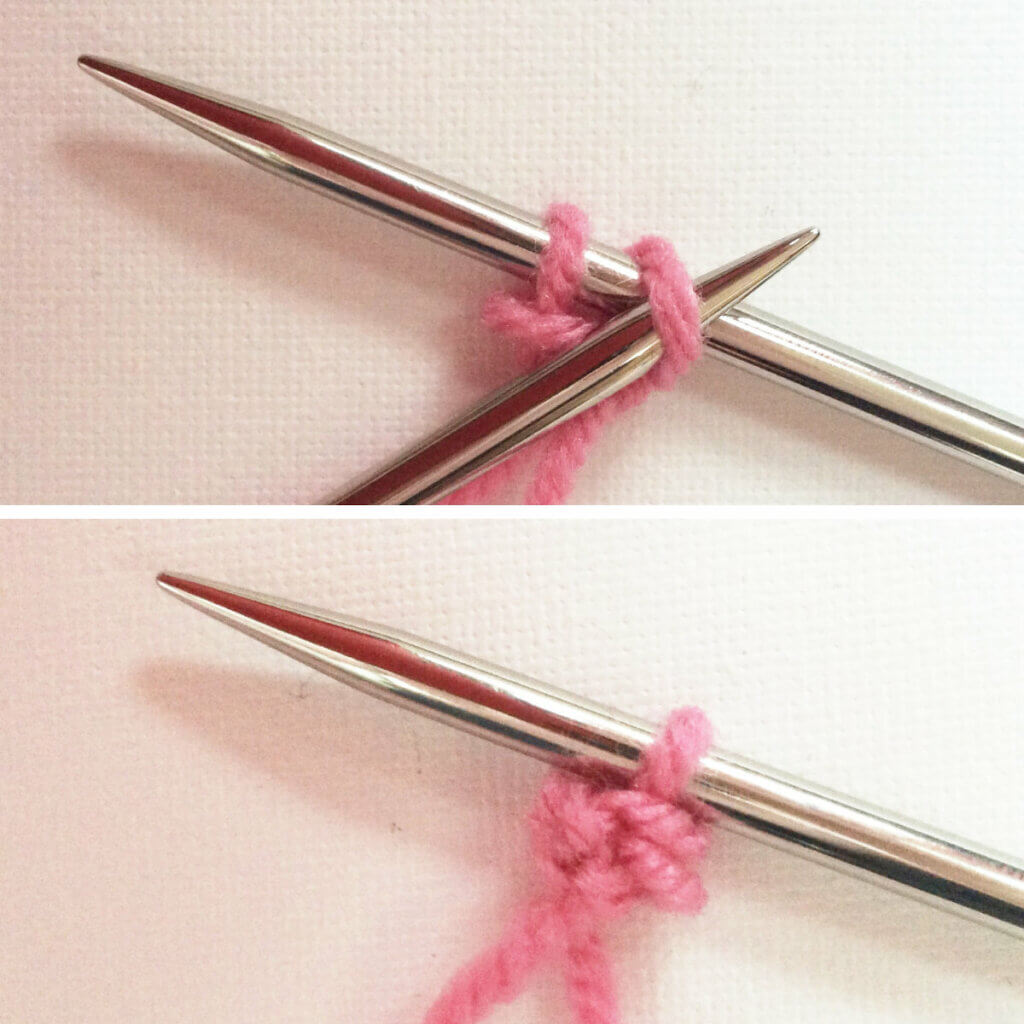
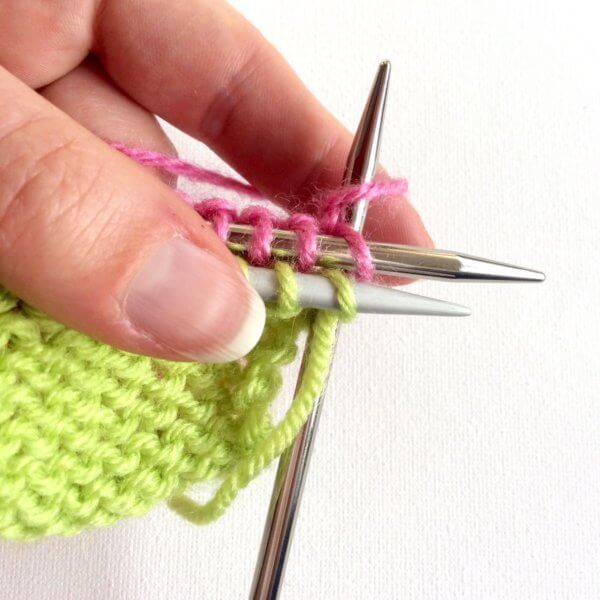
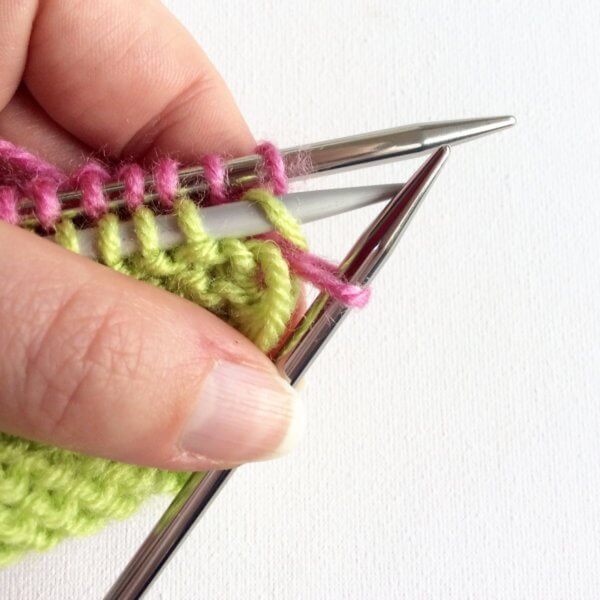
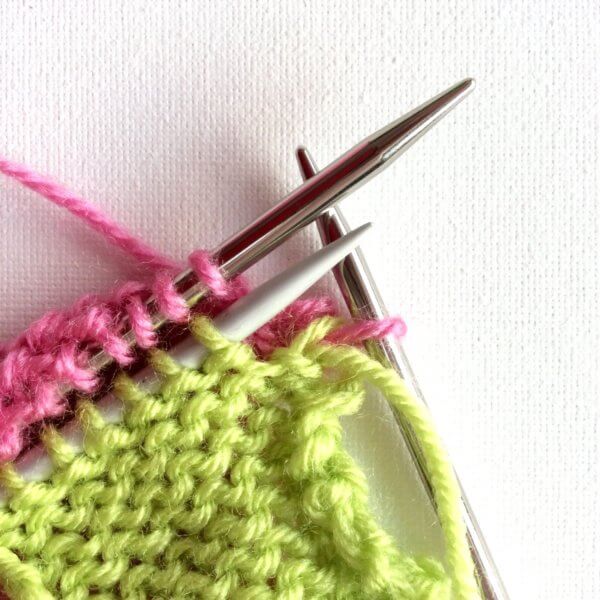
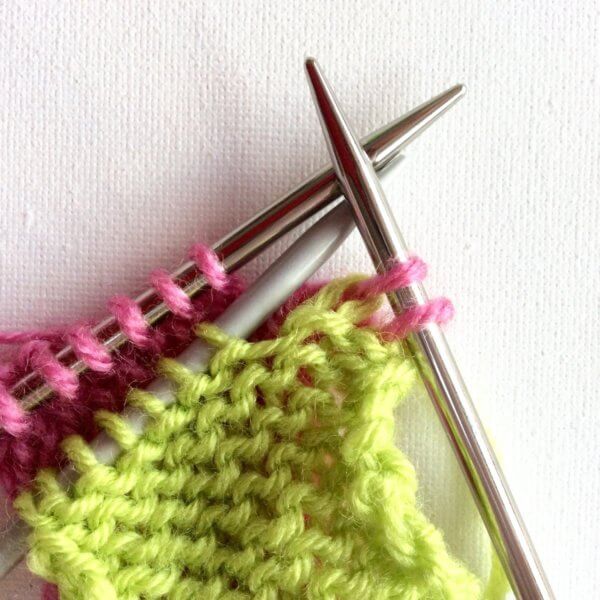
Stitches used include knit, purl, yo, k2tog and kfb. This pattern is suitable for the beginning to intermediate knitter.
Pattern details
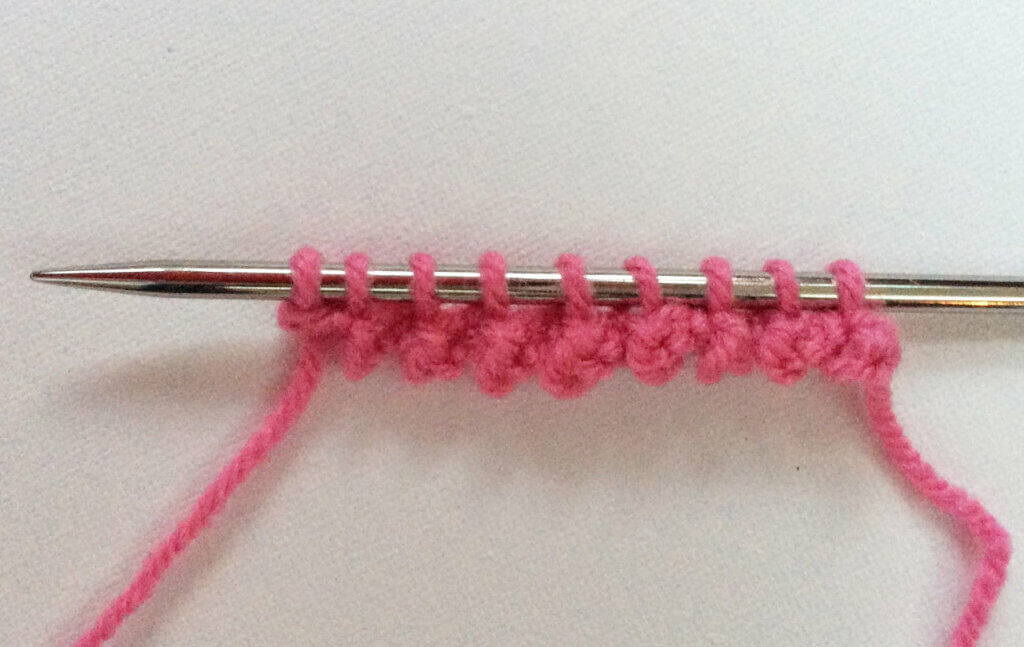
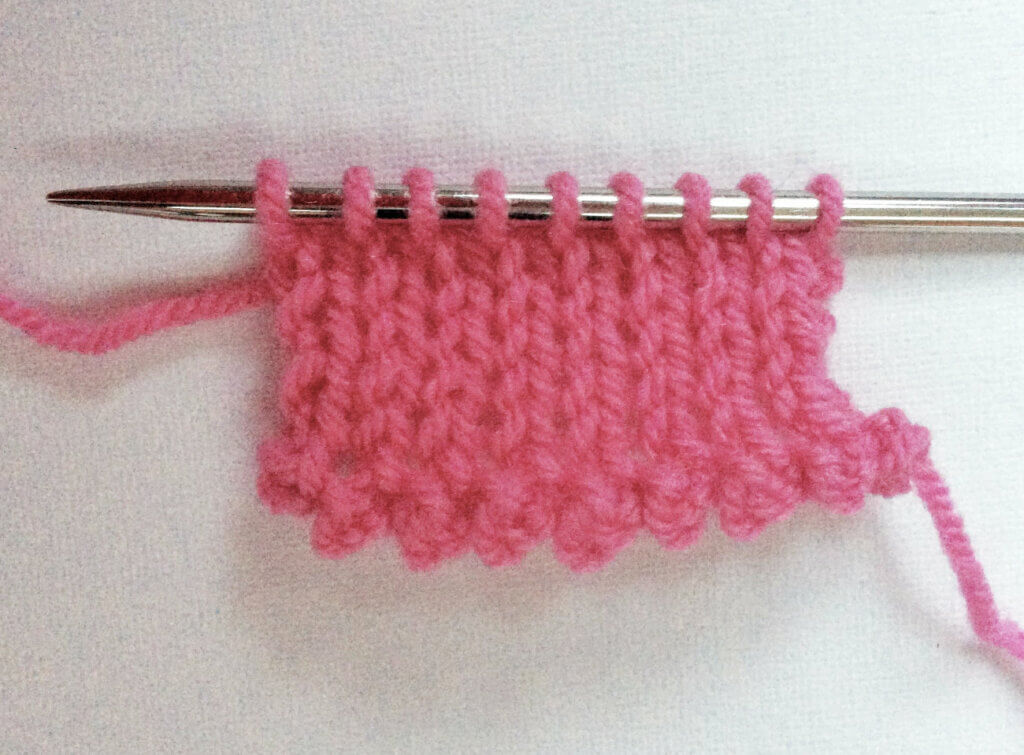
- Worked flat back and forth.
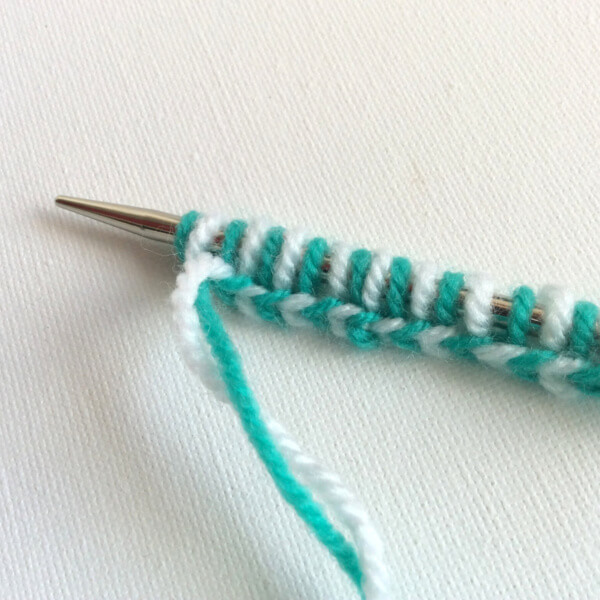
- Gauge is not critical in this design but should be on the loose side. For the sample shawl measured after blocking: 16 sts / 34 rows = 10 cm (4 inches) in garter stitch.
- Pattern languages included: English and Dutch (Dit patroon omvat zowel een Nederlandse als een Engelse versie).
- Digital PDF has 2 pages for the English version and 3 pages for the Dutch version (A4 size).
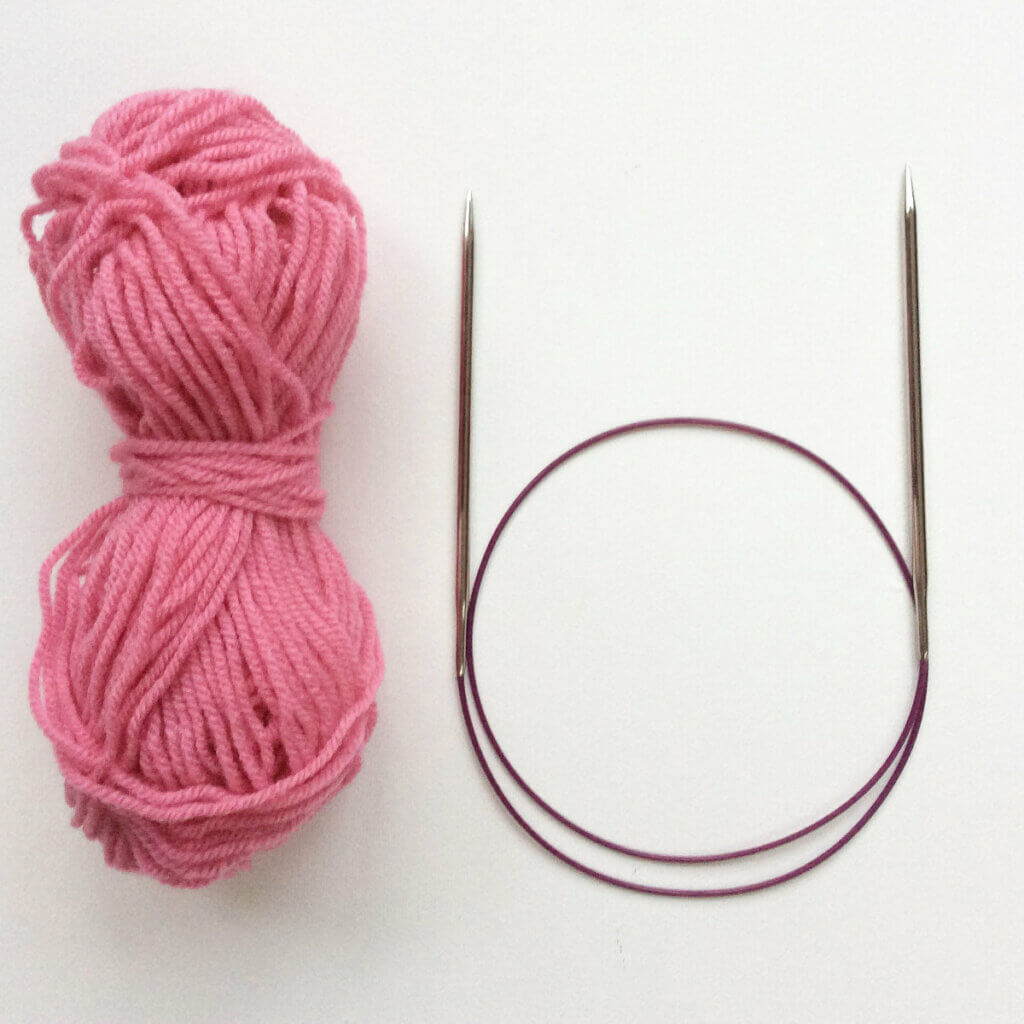
Materials
- Yarn: MC: 460 m (503 yds) / 100 g Uilenstad Swifter Sokkenwol [75% Wool, 25% polyamide] in “Sweet Pink”. CC: 210 m (230 yds) / 50 g Sockenwolle Treviso [75% Wool, 25% polyamide] in gray. Substitute any fingering weight yarn in a gradient for the MC and any solid color for the CC for a similar result.
- Size 4 mm (US 6) / 80 cm (32 inches) circular needles were used for the sample shawl.
- Yarn needle