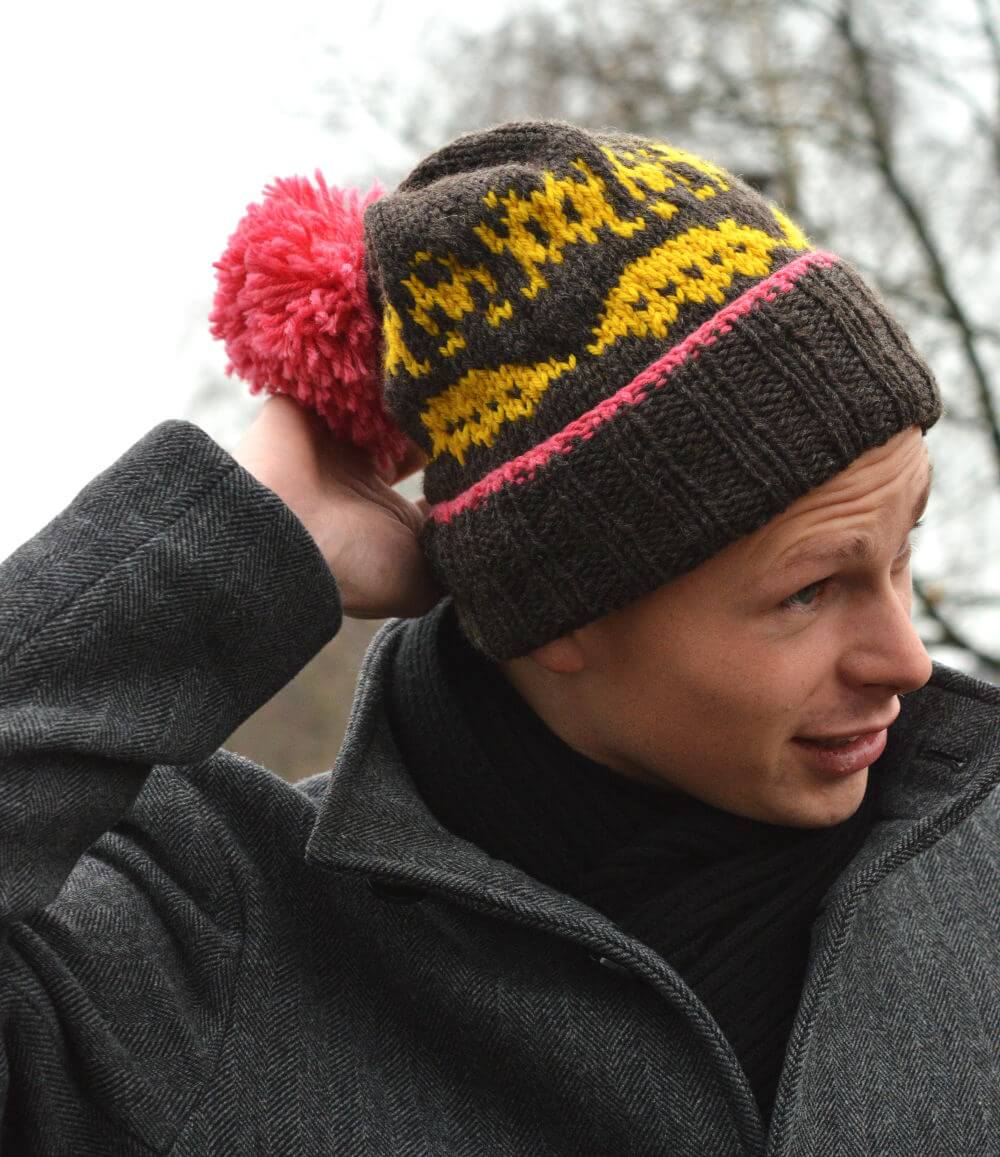
old school gaming hat

Old School Gaming Hat is a simple hat with a folded brim and fun stranded color work depicting old school gaming characters. With only two colors for the color work, this hat knits up super quick and is a great first stranded project for anyone who has never attempted this technique before.
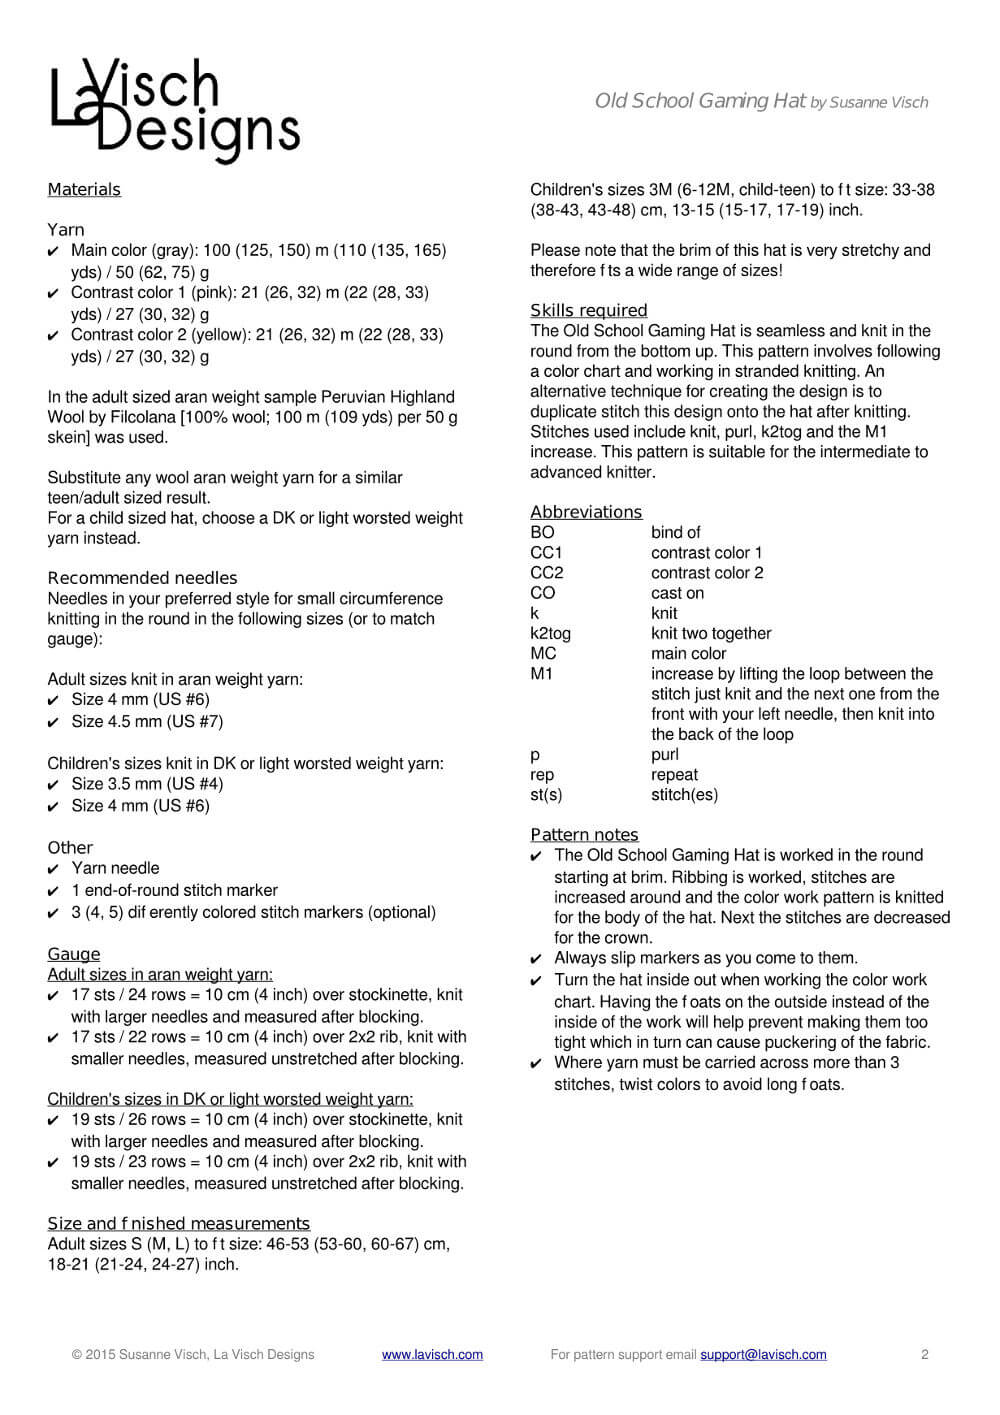
This pattern contains instructions for three adult sizes when worked in an aran weight yarn. Use a DK or light worsted weight yarn instead for sizes suitable for children from 3 months old and upwards.
The Old School Gaming Hat is completely seamless and knitted from the bottom up. The color work pattern for the body of the hat is provided charted only. All other instructions are in written form
Pay what you want: (minimum €4.90)

Difficulty level
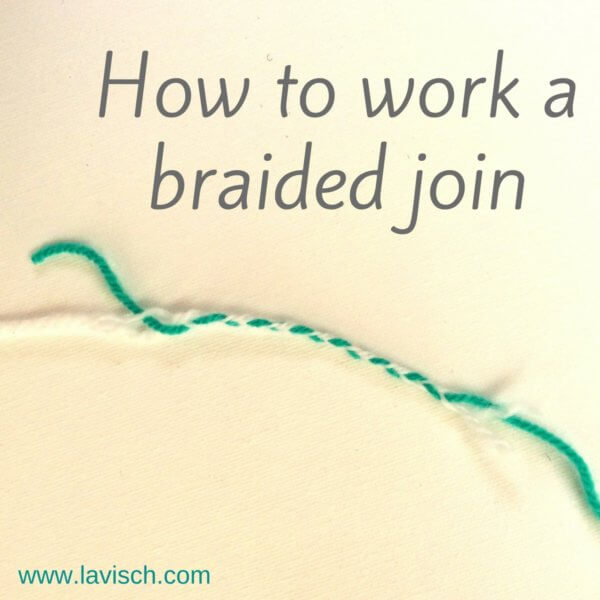
The Old School Gaming Hat is seamless and knit in the round from the bottom up. This pattern involves following a color chart and working in stranded knitting. An alternative technique for creating the design is to duplicate stitch this design onto the hat after knitting.
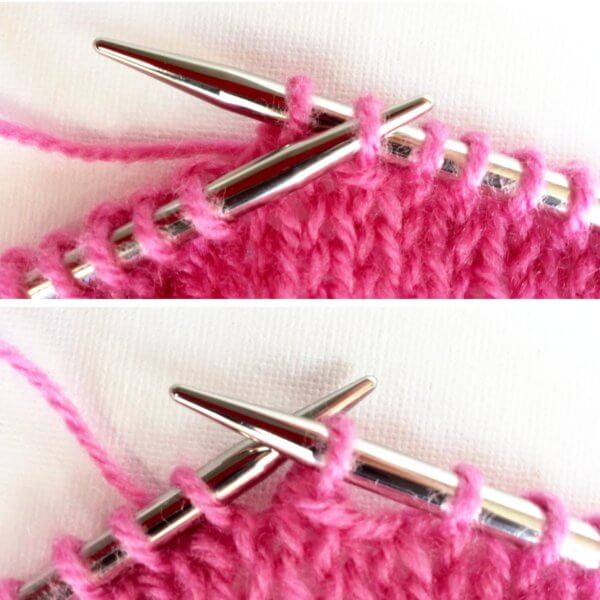
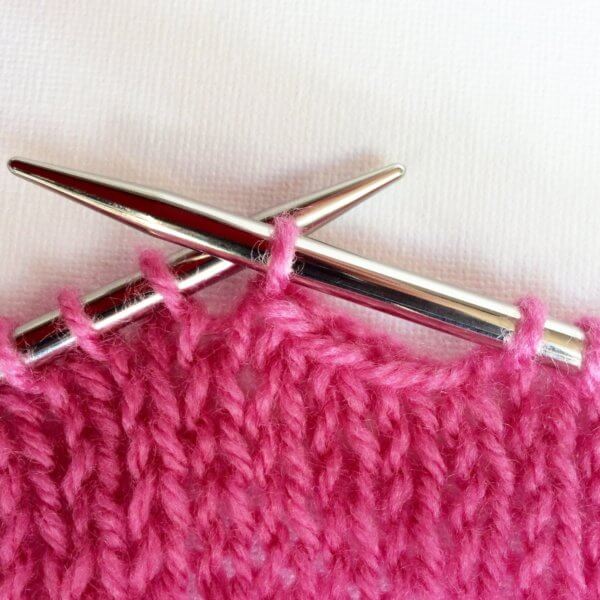
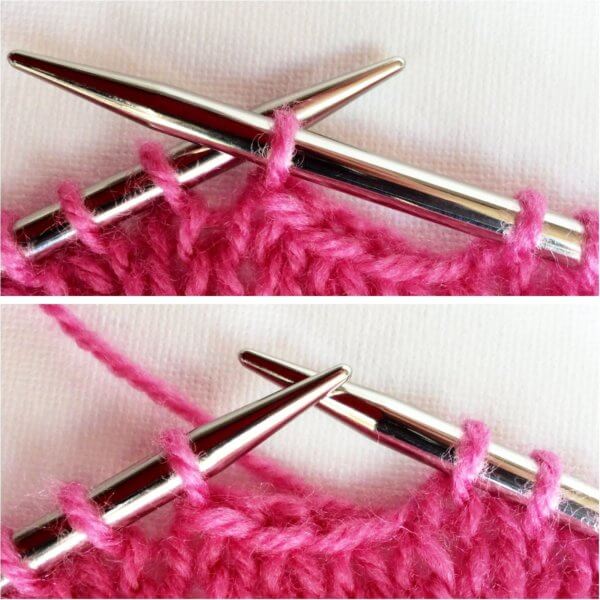
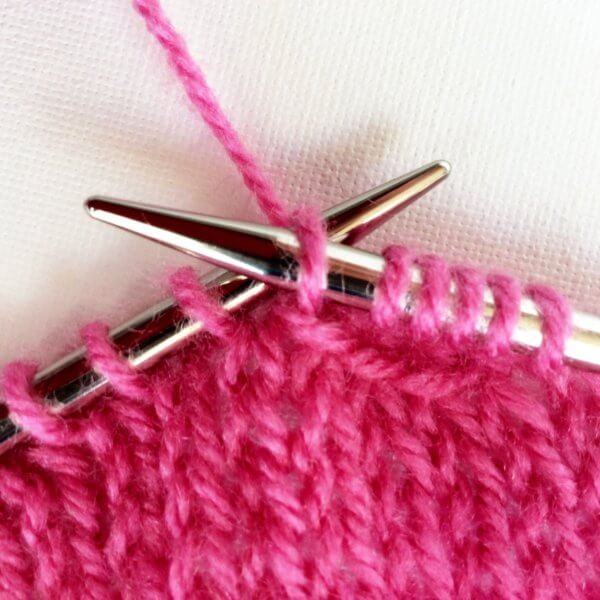
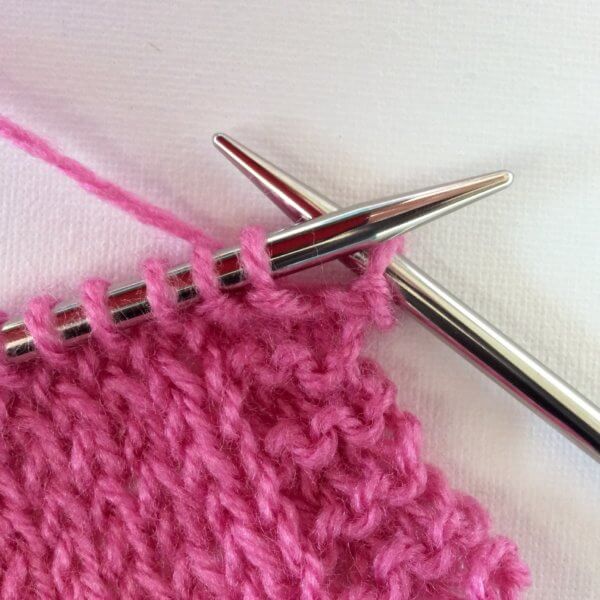
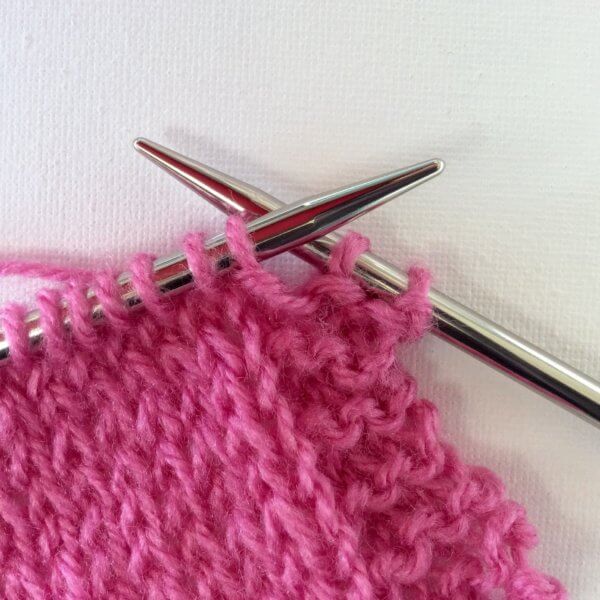
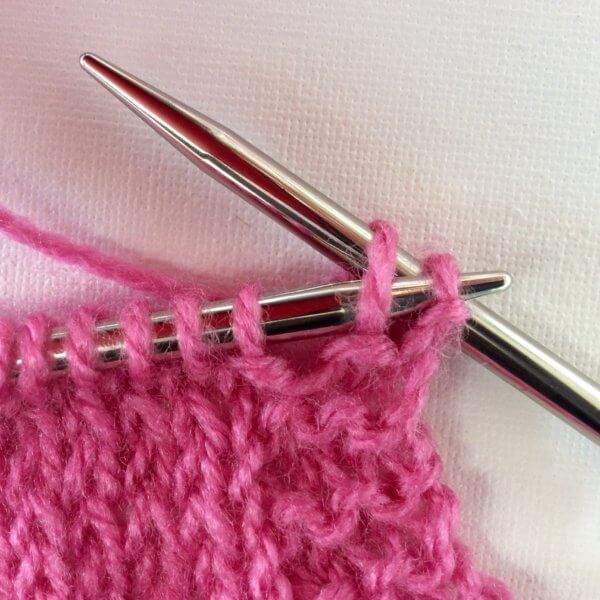
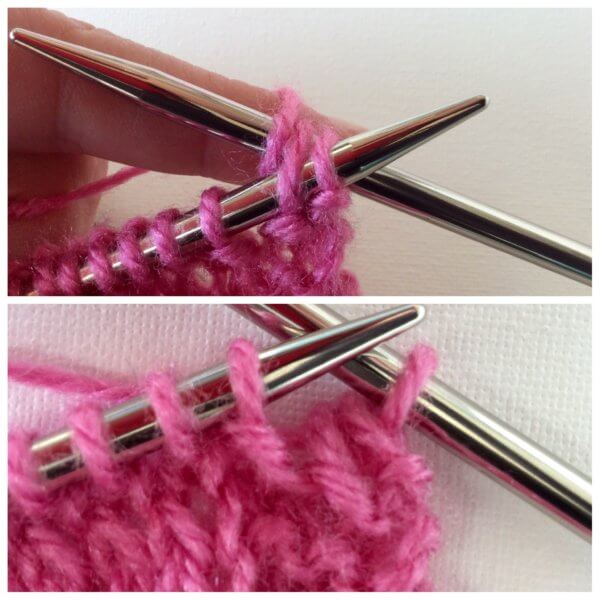
Stitches used include knit, purl, k2tog and the M1 increase. This pattern is suitable for the intermediate to advanced knitter.
Sizes and finished measurements
Adult sizes S (M, L) to fit size: 46-53 (53-60, 60-67) cm, 18-21 (21-24, 24-27) inches.
Children’s sizes 3M (6-12M, child-teen) to fit size: 33-38 (38-43, 43-48) cm, 13-15 (15-17, 17-19) inches.
Pattern details
- Worked in the round
- Gauge for adult sizes in aran weight yarn: 17 sts / 24 rows = 10 cm (4 inches) over stockinette, knit with larger needles and measured after blocking.
- Gauge for children’s sizes in DK or light worsted weight yarn: 19 sts / 26 rows = 10 cm (4 inches) over stockinette, knit with larger needles and measured after blocking.
- Pattern languages included: English and Dutch (Dit patroon omvat zowel een Nederlandse als een Engelse versie)
- Digital PDF has 3 pages (A4 size)
Materials
- Yarn: In the adult sized aran weight sample Peruvian Highland Wool by Filcolana [100% wool; 100 m (109 yds) per 50 g skein] was used. Substitute any wool aran weight yarn for a similar teen/adult sized result. For a child sized hat, choose a DK or light worsted weight yarn instead.
- Main color: 100 (125, 150) m (110 (135, 165) yds) / 50 (62, 75) g in gray.
- Contrast color 1: 21 (26, 32) m (22 (28, 33) yds) / 27 (30, 32) g in pink.
- Contrast color 2: 21 (26, 32) m (22 (28, 33) yds) / 27 (30, 32) g in yellow.
- Needles in your preferred style for small circumference knitting in the round in the following sizes (or to match gauge):
- Adult sizes knit in aran weight yarn: Size 4 mm (US 6) and size 4.5 mm (US 7).
- Children’s sizes knit in DK or light worsted weight yarn: Size 3.5 mm (US 4) and size 4 mm (US 6).
- Yarn needle
- 1 end-of-round stitch marker
- 3 (4, 5) differently colored stitch markers (optional)

old school gaming hat Read More »