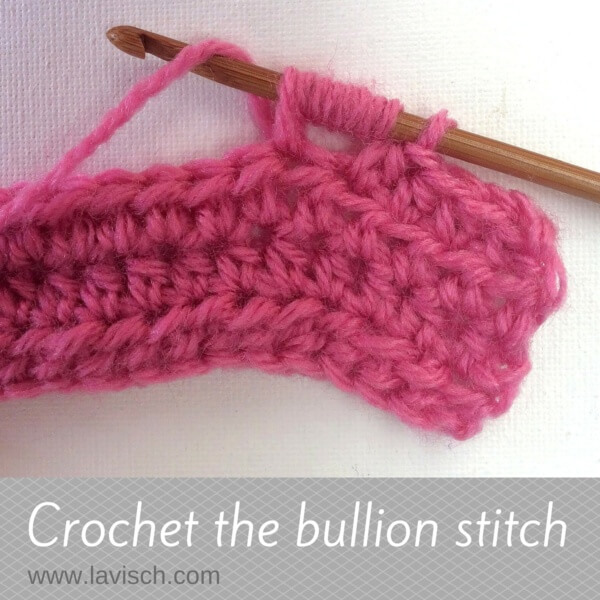
One of the many special crochet stitches is called the “bullion stitch”. This is a very decorative stitch, which can also be used to crochet flowers, jewelry or beautiful edges to projects.
In this post, I’ will show you how to crochet the bullion stitch. Please note that American crochet terminology is used.
The bullion stitch step by step
For this tutorial, I started with a small swatch in half double crochet (hdc).
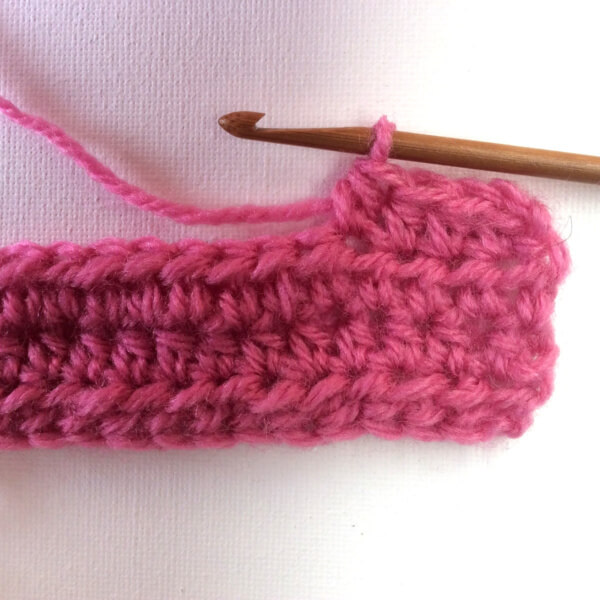
1. Wrap the yarn loosely around your hook. How much time depends on how high you want the bullion stitch to be. Here I am making the bullion stitches in a hdc fabric, therefor I am wrapping the yarn seven times around my hook. When making bullion stitches in a double crochet fabric, wrapping 10 times may be better. It really depends on your individual gauge, though.
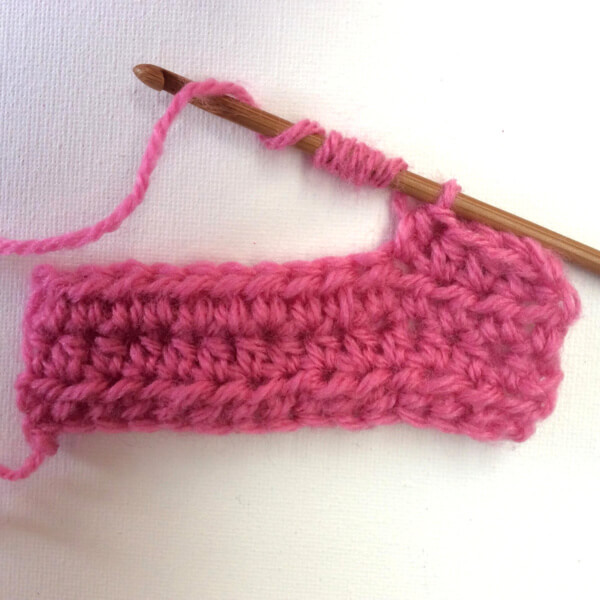
2. Insert the hook into the next stitch and pull up a loop.
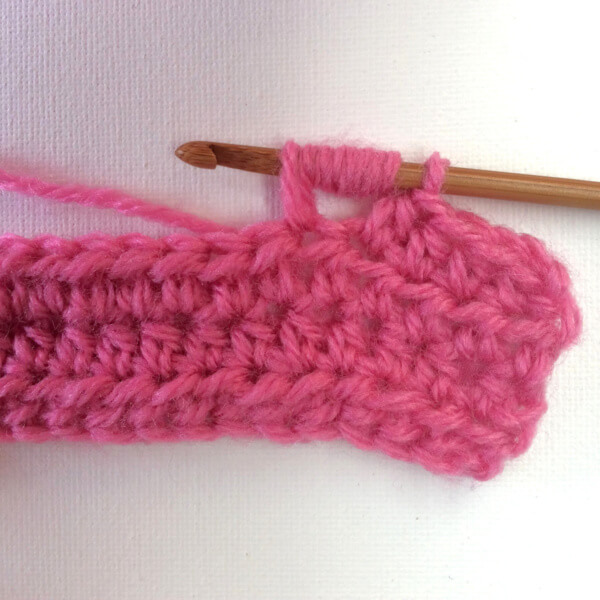
3. Make a yarn over …
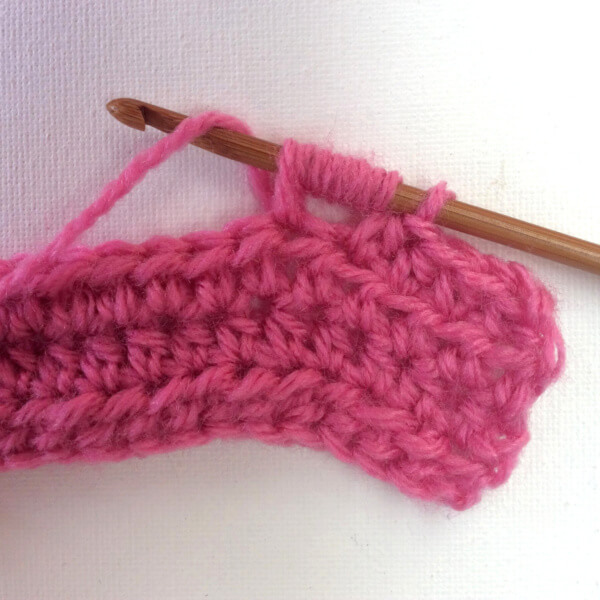
4. … and pull the yarn through all the loops on the hook. You will notice that this can be rather difficult when you have wrapped the yarn too tightly around the hook in step 1. This completes your first bullion stitch.
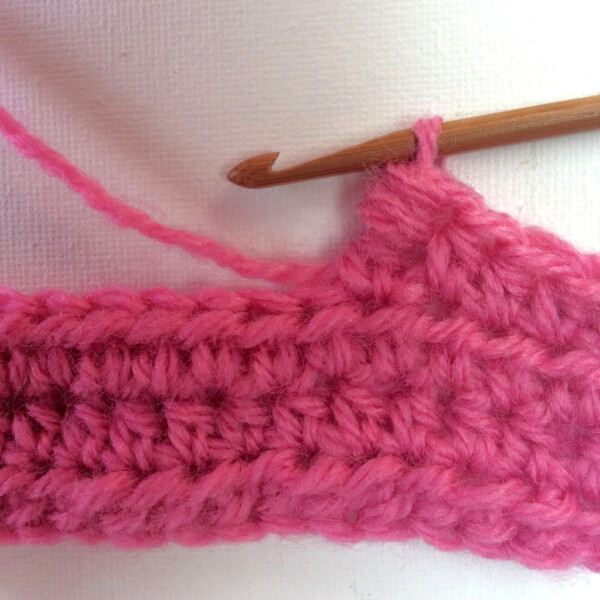
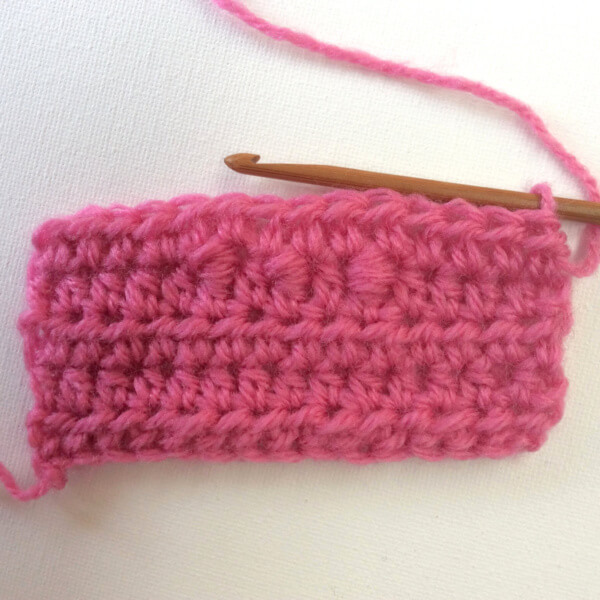
And this is how it looks when you’ve made multiple bullion stitches in between normal (in this case) half double crochet stitches.
Tips
As you may have noticed, it can be tricky to wrap the yarn loose enough around the hook in step 1. It can help to hold a thin knitting needle, crochet hook or yarn needle next to your hook while wrapping the yarn. Wrapping your yarn around both automatically means a looser wrap!
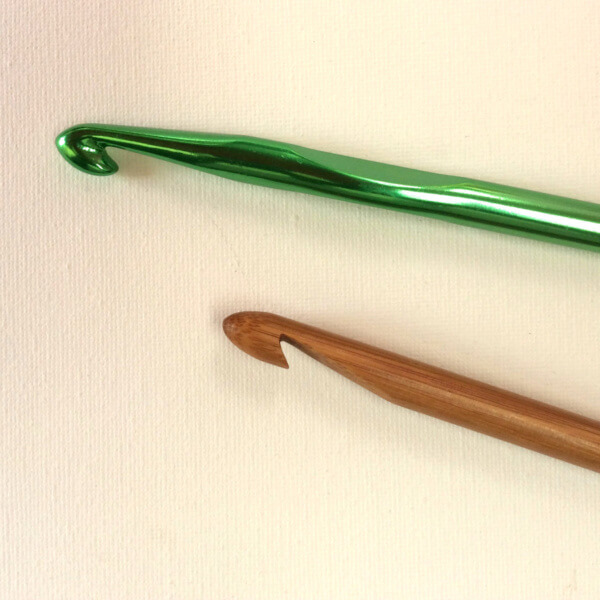
Also, use the right type of crochet hook! As you can see in the picture below, the tip of the green hook sticks out relative to the shaft of the hook. This makes it more difficult to pull a loop of yarn through multiple loops on the hook. With an in-line shaped hook like the bamboo one pictured below, both tip and shaft have the same thickness. This makes this type of crochet hook much better suited for making bullion stitches.
