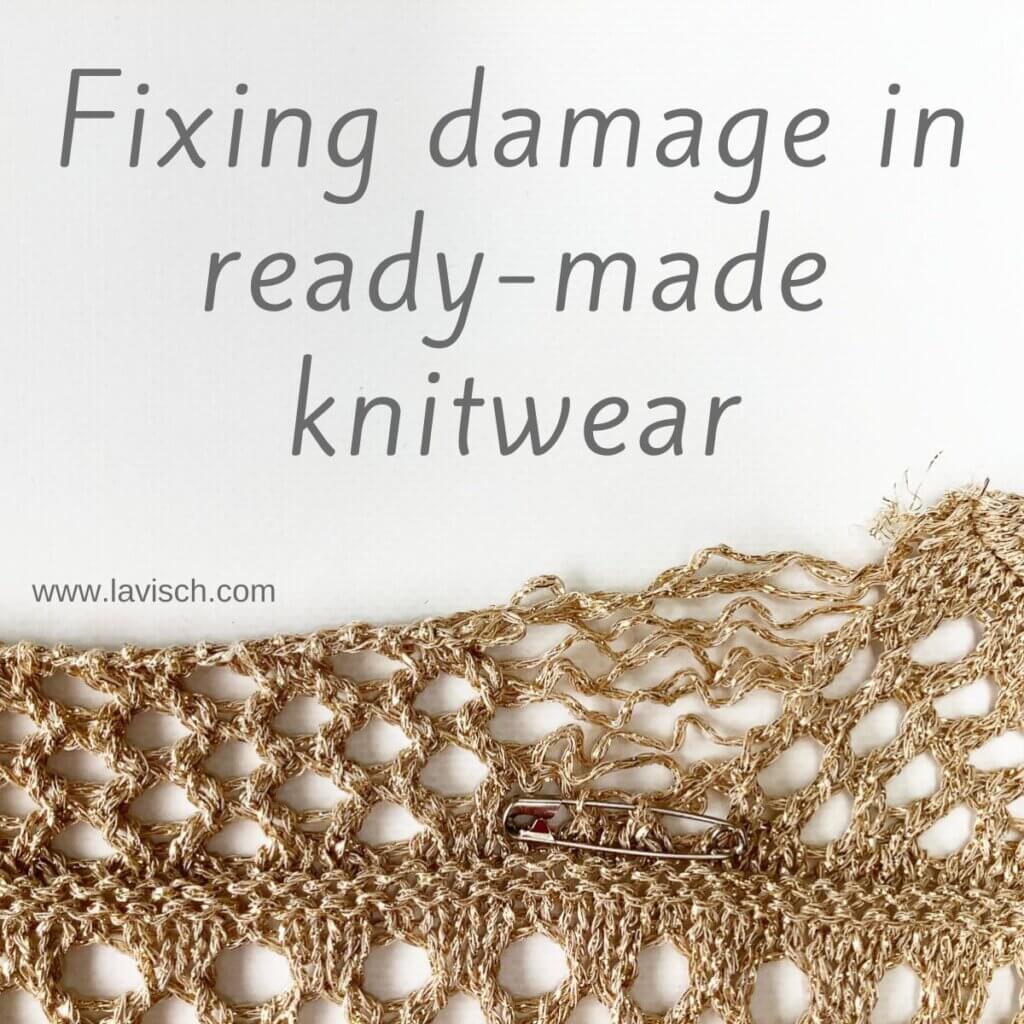
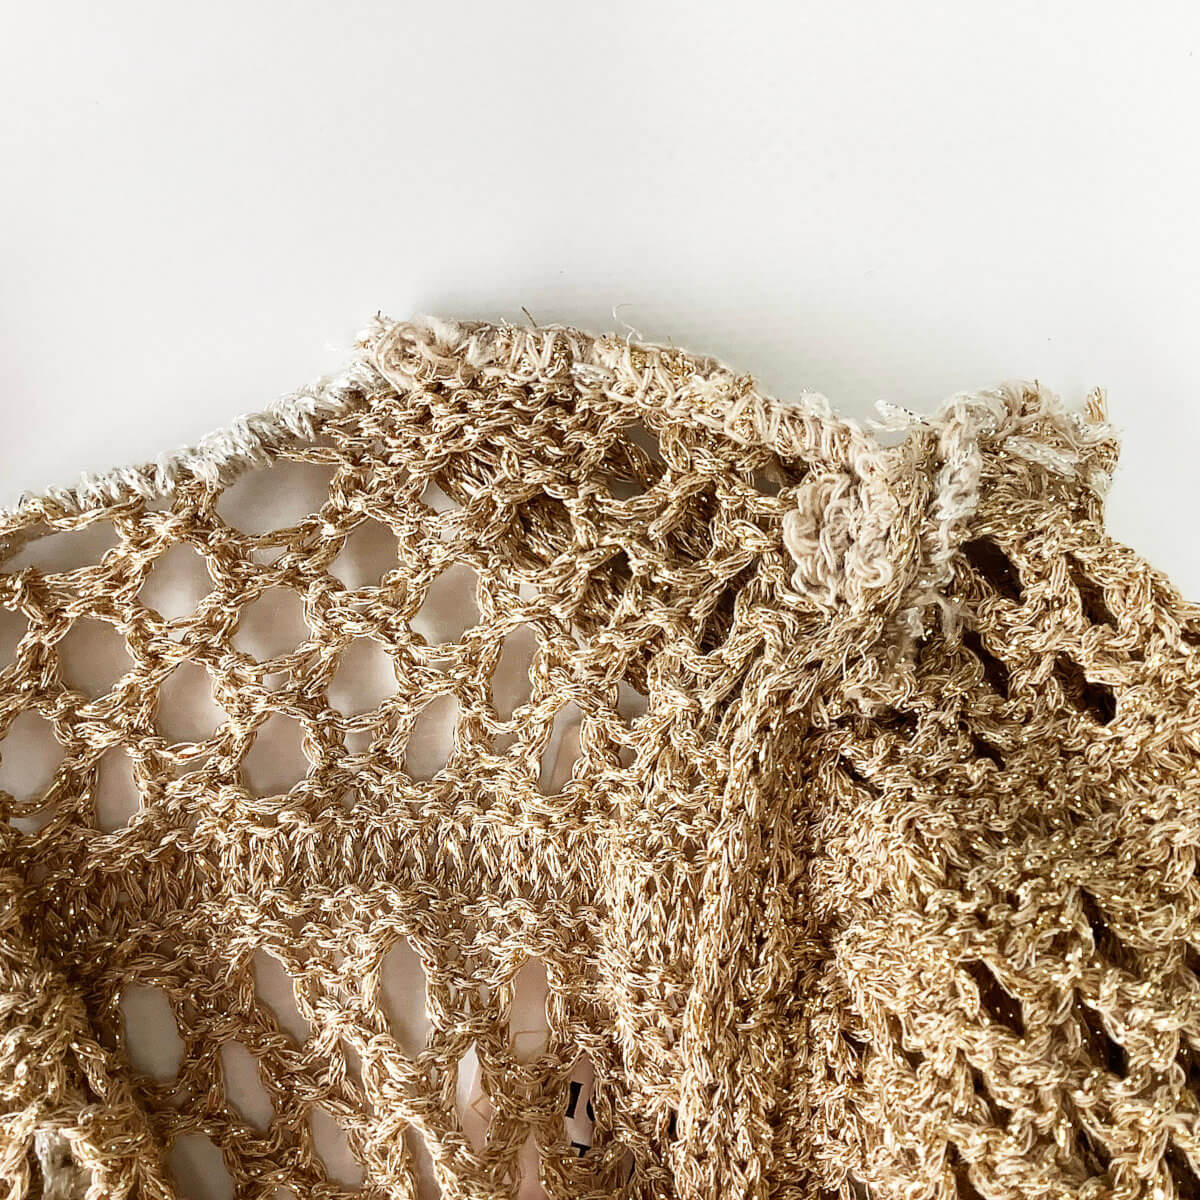
Last week, I was approached by a colleague about fixing damage in a garment: she had bought this lovely gold knit cardigan. But when she came home, she found this large laddered down area at the back neck of the garment. She could, of course, bring it back to the store, but it was the very last one they had available in her size. So, she approached me to see if I could perhaps fix it.
I must admit that I’m not too keen on mending, in the sense that I don’t particularly enjoy the process of mending itself. The concept of mending, however, is something I very much endorse. One of the best ways to minimize your environmental footprint, is to make sure to maximize the lifespan of the products you use. When examining this particular garment, mending actually seemed doable because it was indeed regular knitting, and not some complex machine-knit tuck-stitch. And it gave me an opportunity to show you that sometimes ready-made knitwear can be fixed just as nicely as our hand knits can.
So, I gave it a go! In this post, I’ll show you exactly what I did.
Helpful materials
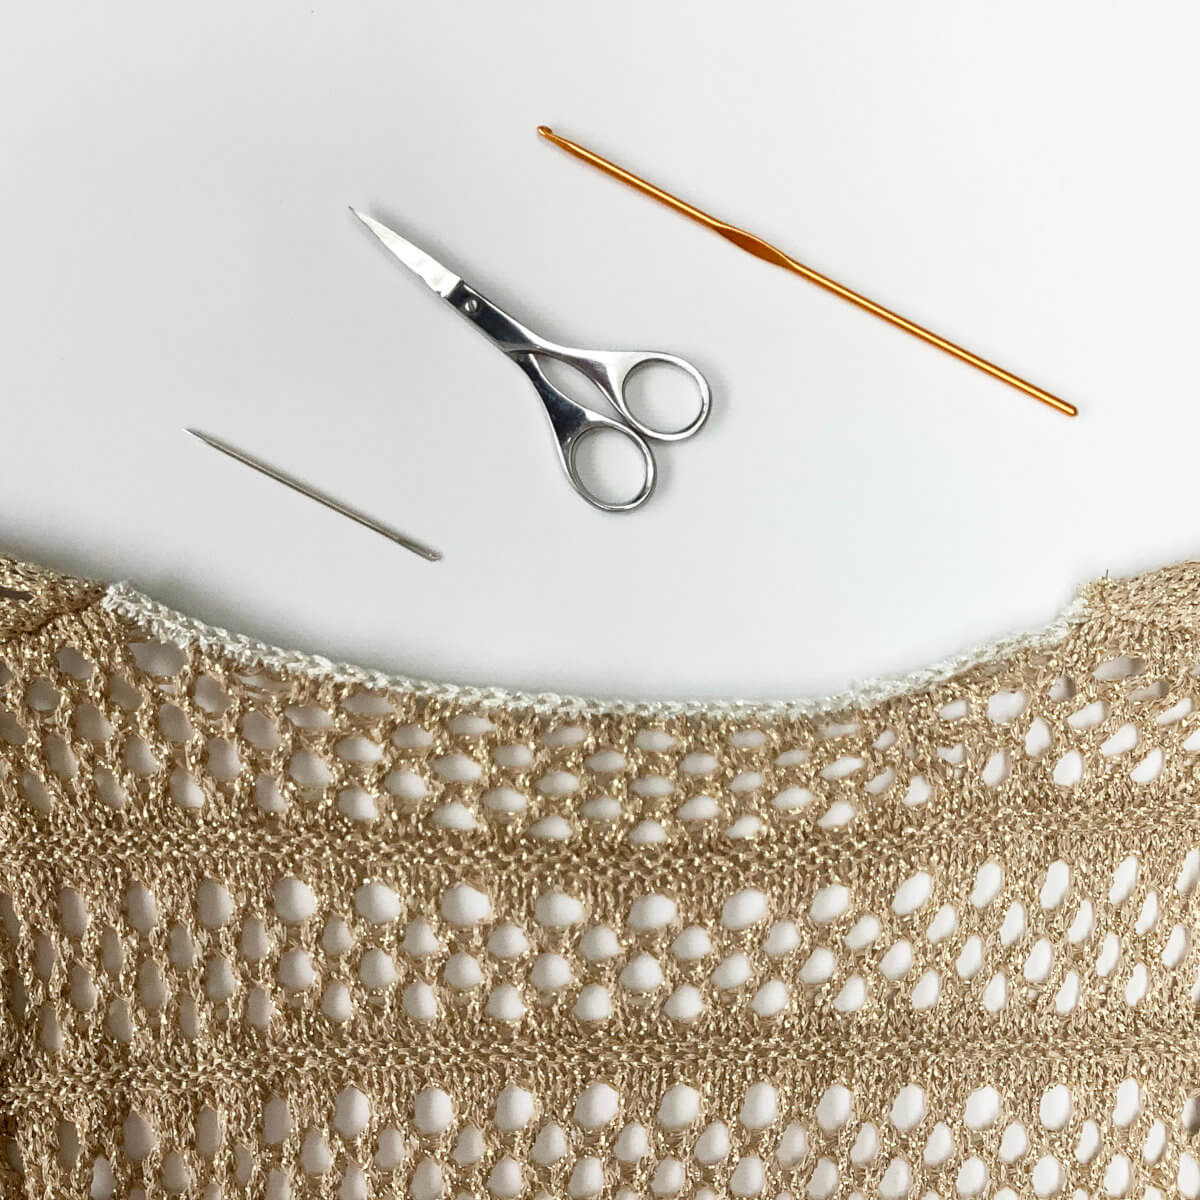
To start, it is pretty handy to have some tools available to make fixing the mistake easier. I used the following:
- A circular knitting needle, in a smallish size. Here I used 2.5 mm.
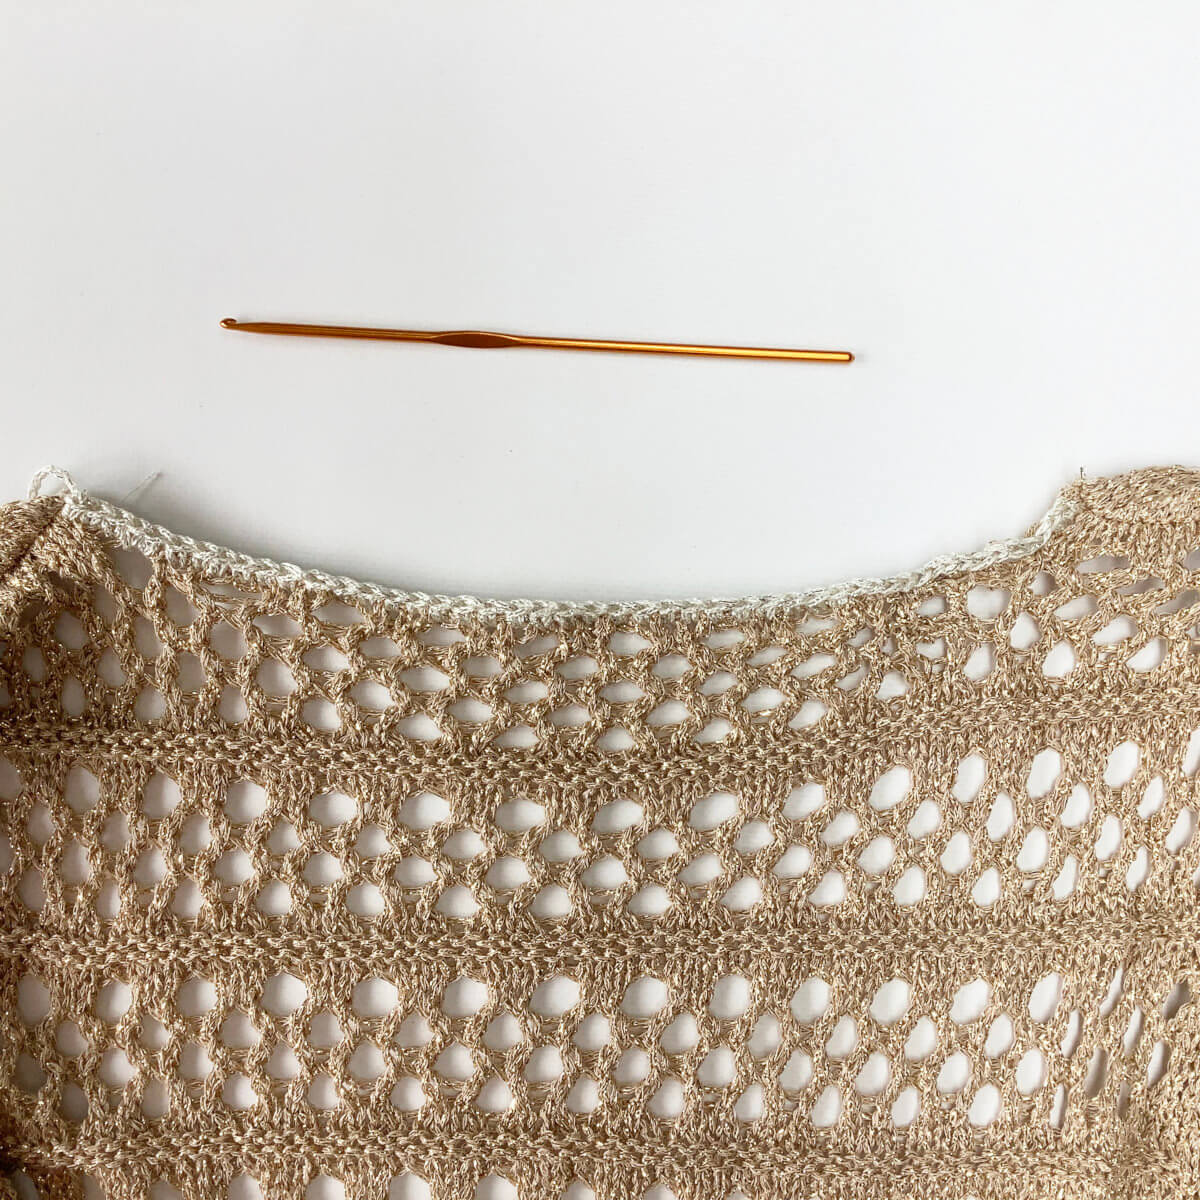
- A crochet hook.
- Some pins.
- A pillow.
- A darning needle.
- A ball of yarn in a somewhat matching weight and color.
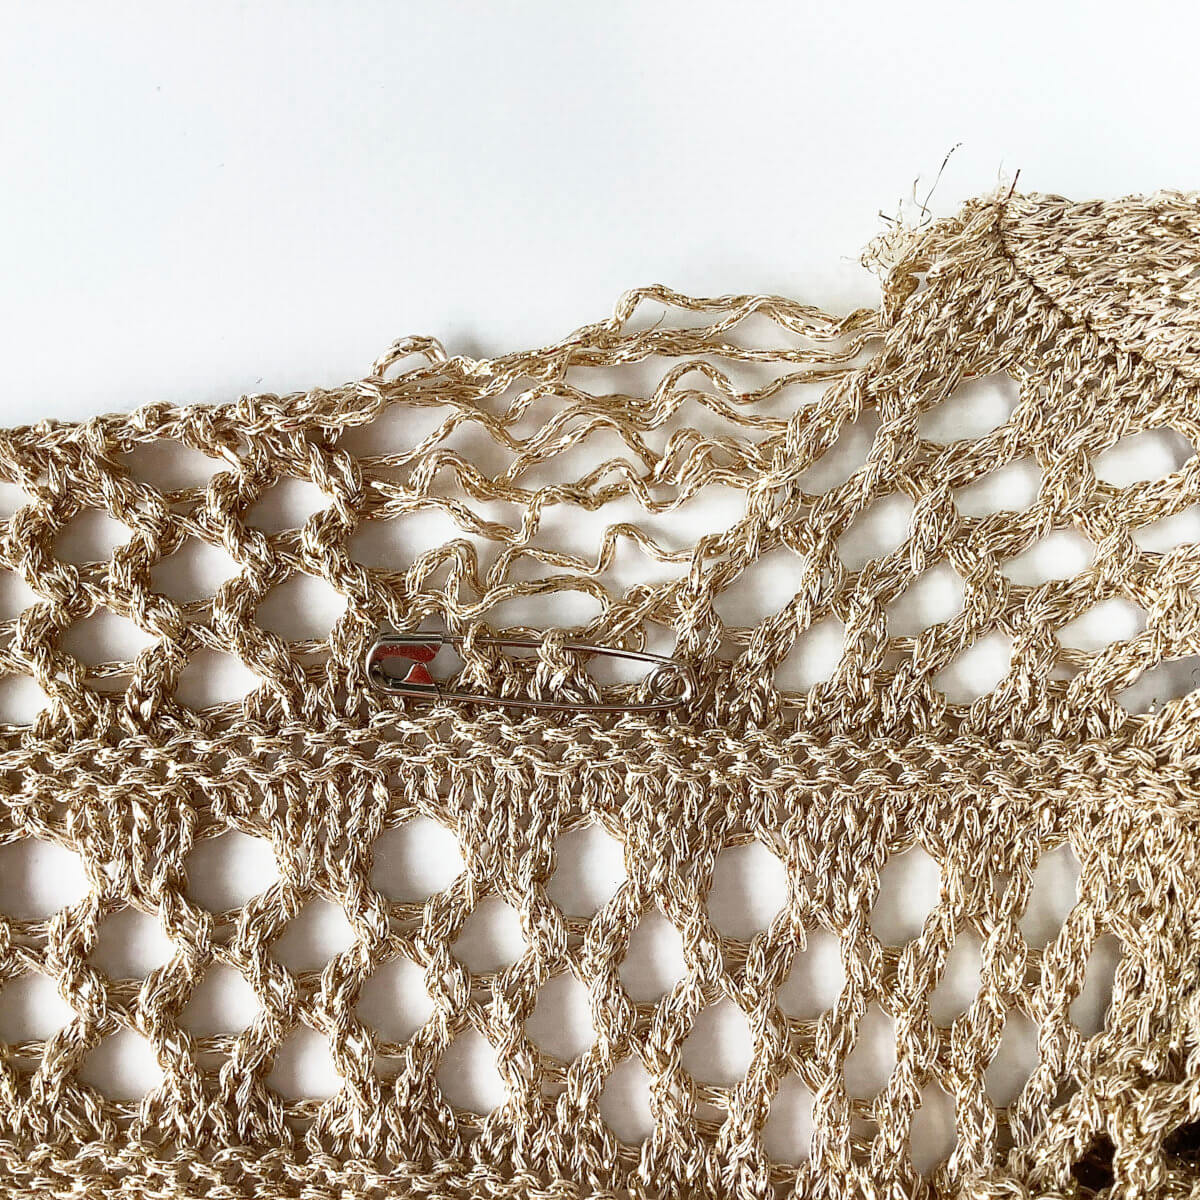
In this fix, I also used some new yarn, because I noticed that the top edge of the garment was consisted of a single thread of yarn holding the live stitches of the back panel. What probably happened, is that the thread snapped near the right shoulder, releasing the stitches and enabling them to run down. I was lucky that the stitches were caught before they ran through the bit of garter stitch below the first lace panel. In other words: the upper edge really needs some reinforcement.

The pillow and pins were used to make sure that your work stays exactly where you need it to be. Also, it helps to see the mistake better when pinned out, instead of all scrunched up like lace tends to be before blocking.
On to the fixing!
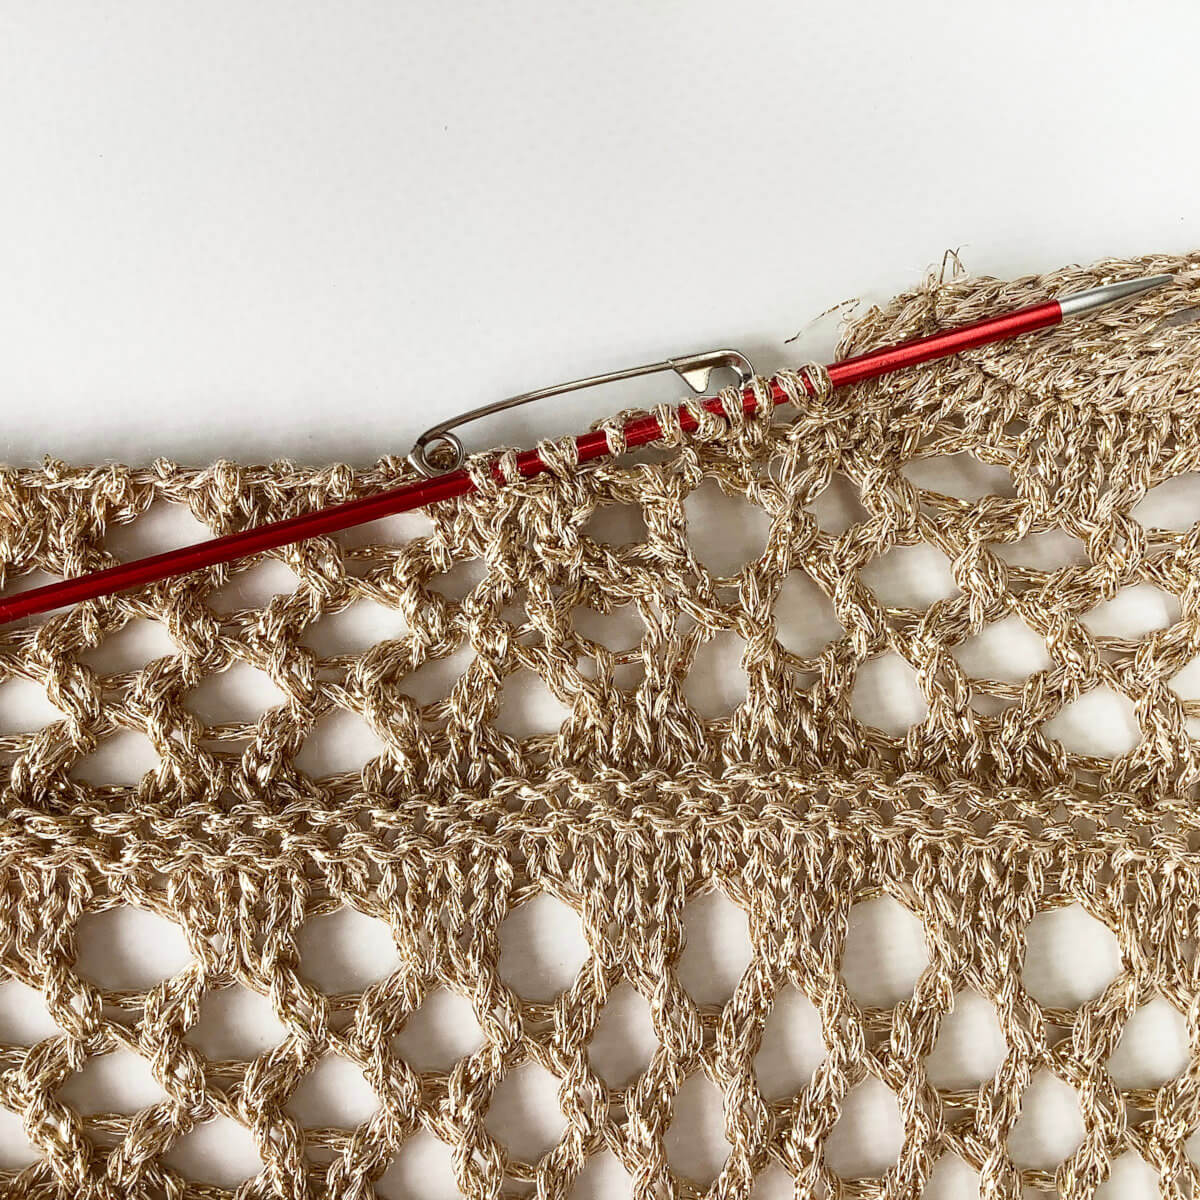
- To start, I first examined the work. The lace consists of some sort of patterning involving double yarn overs, as well as left- and right-leaning decreases. So, this is the patterning I somehow have to try to replicate.
- Once had a picture on how to work the patterning back up, I pinned out my knitting on the pillow as described in this other post of mine, and followed the various steps using my circular needle. I ended up with the below situation.
It’s not perfect, but being on the back of the garment, I think it’s good enough.
- Next, I used the new yarn to bind off these worked-up stitches using the crochet hook and a slip stitch bind-off.
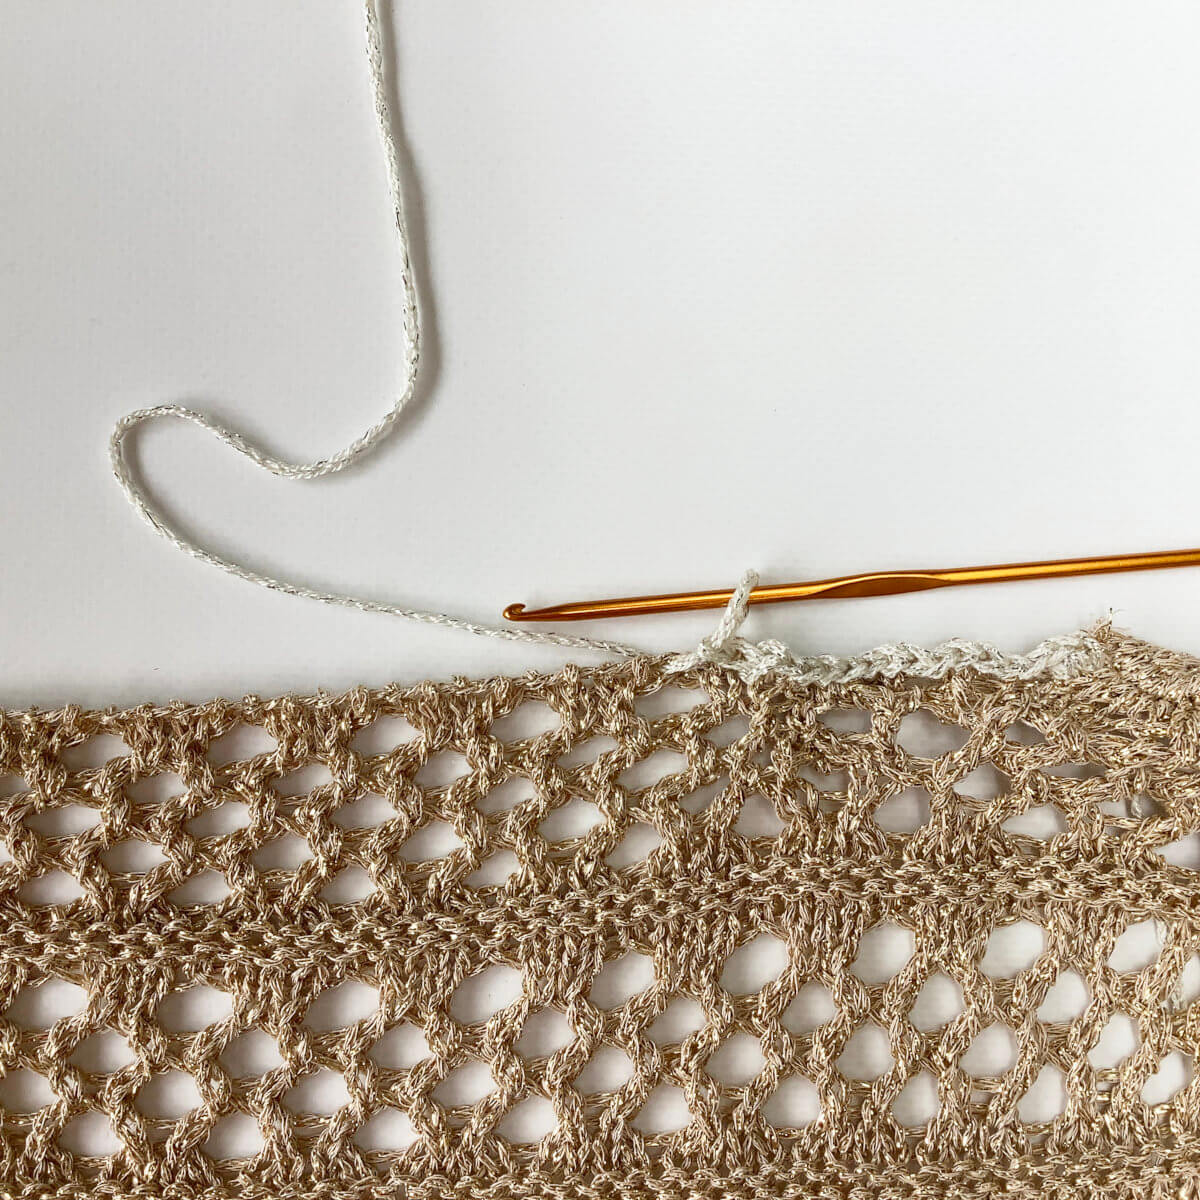
- Next, I continued reinforcing the rest of the back panel by edging it with a row of single crochet.
- It’s a bit hard to see in the above picture, but the newly bound-off part is not as high and looks a bit different from the rest of the edge. So, I also worked a bit of single crochet over that part of the edge. Better!
- Finally, I checked the garment for other potentially weak spots. And yes, I did find them… The shoulder seams were serged, but the finishing was such that the edges of the serged length were unraveling due to a lack of enough locking thread.
So, I fixed that too on both shoulder seams.
And there you have it, this is how I went about fixing damage in this garment! A fixed ready-made cardigan that can now at least be worn. I think my colleague will be happy!

Thanks to my Patreon supporters for bringing you this freebie! Creating quality patterns and tutorials is a lot of work and resource-intensive. However, I find it important to give you free content like this tutorial. Thanks to the generous support of my Patreon supporters, I can make it happen. Thank you, patrons! Click here to join, or click here to read more about La Visch Designs on Patreon.


 bust darts")
