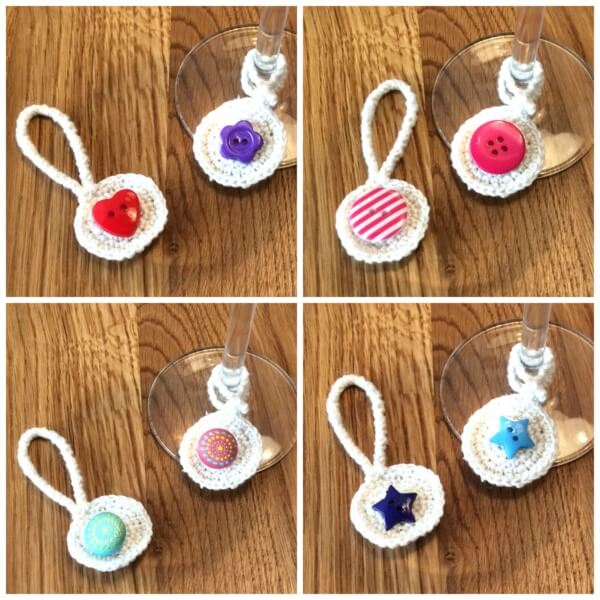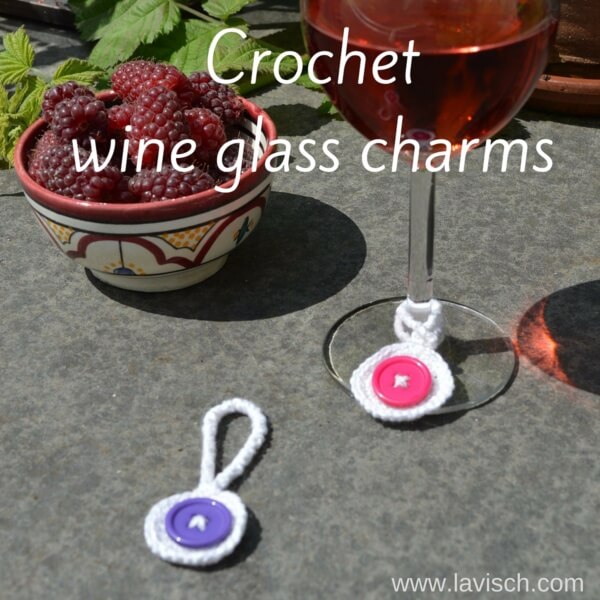
Here in the Netherlands Summer is having a somewhat hesitant start. The time for garden parties is bound to arrive soon though. Those I really enjoy: Firing up the BBQ, eating tasty sandwiches and salads and of course enjoying yourself with friends and family until the early hours. On those occasions I like to have a glass of wine. At busy parties there however usually comes a time that I really don’t know which one of the glasses on the table is mine…
For this I have found a solution: Wine glass charms! The idea is that you attach a unique charm to every glass, so you can always easily see which one is yours. Of course I wouldn’t be me if I didn’t make such charms myself!
In this post I’m giving you the pattern for wine glass charms that I designed to use with leftover bits of crochet cotton and a variety of buttons. These charms can of course also be used on other glasses with a stem. This pattern uses lobster stitch cord, that I explained step by step in this tutorial.
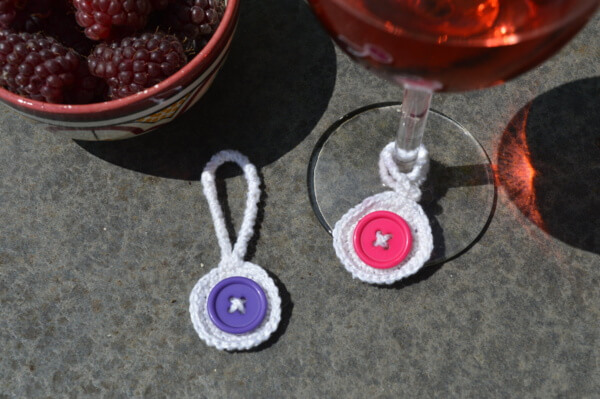
Pattern wine glass charms
This pattern is written in American English crochet terminology.
Materials
- Crochet Cotton, I used Schoeller + Stahl Manuela Häkelgarn No. 5 [100% mercerized cotton; 220 m / 50 g]
- Various different buttons with a diameter of 10 to 20 mm (3/8 to 13/16 inch)
- 1 crochet hook in size 2 mm (US steel crochet hook size 1)
Instructions
Round 1: Ch 2, 6 sc in second ch from hook and sl st closed to first sc. (6 sts)
Make sure you keep a yarn tail of about 30 cm (12 inch).
Round 2: Ch 1, 2 sc in each st, sl st to first ch of round. (12 sts)
Round 3: Ch 1, [2 sc in next st, 1 sc] 6 times, sl st to turning ch to close the round. (18 sts)
Round 4: Ch 1, [2 sc, 2 sc in next st] 6 times, sl st to turning ch to close the round. (24 sts)
Round 5: Ch 1, [2 sc in next st, 3 sc] 6 times, sl st to turning ch to close the round. (30 sts)
Next: Make a lobster stitch cord with a length of 12.5 cm / 5 inches.
Next: Close the cord into a loop by attaching the end with a sl st to the point where the start exists the crochet circle. Break yarn.
Finishing
Use the yarn tail from the center of the circle to sew on a button and weave in all ends.
Below you can find some examples of different types of buttons used. As you can see you can achieve very different effects by using various kinds of buttons!
