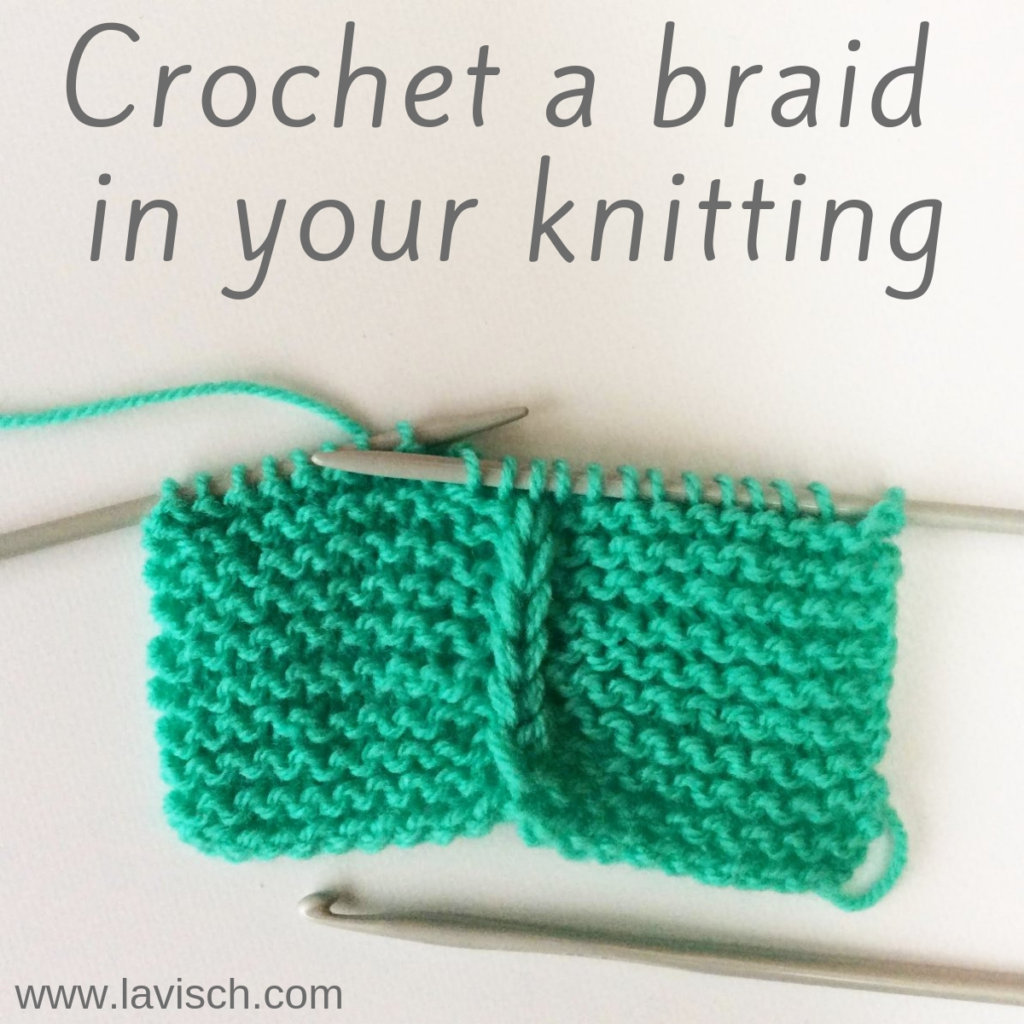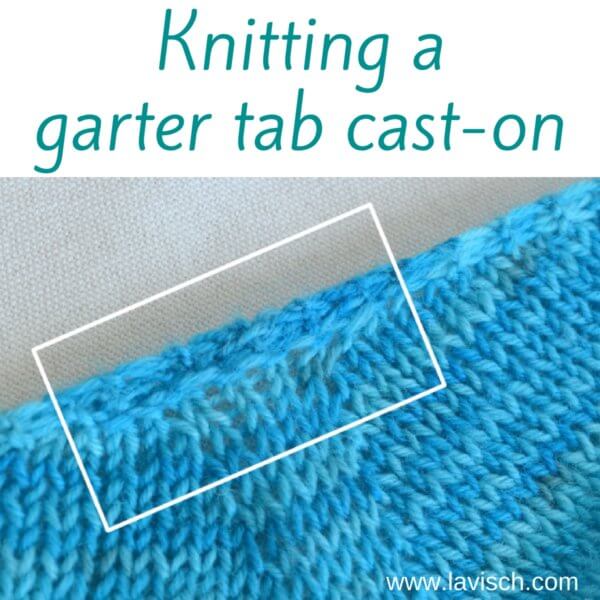
Many top-down shawl patterns start with a garter tab cast on. Why? Because it creates a lovely seamless start of any shawl. See for example the start of my Zomer Zilt shawl, pictured above, you almost can’t see where the cast on is! Yes, it can be a bit fiddly to work, especially when working with very skinny yarn. However, don’t let that deter you from knitting patterns that use this cast on: with the below step-by-step instructions and tips you are sure to master this technique.
In this example I used the garter tab instructions as used in Zomer Zilt:
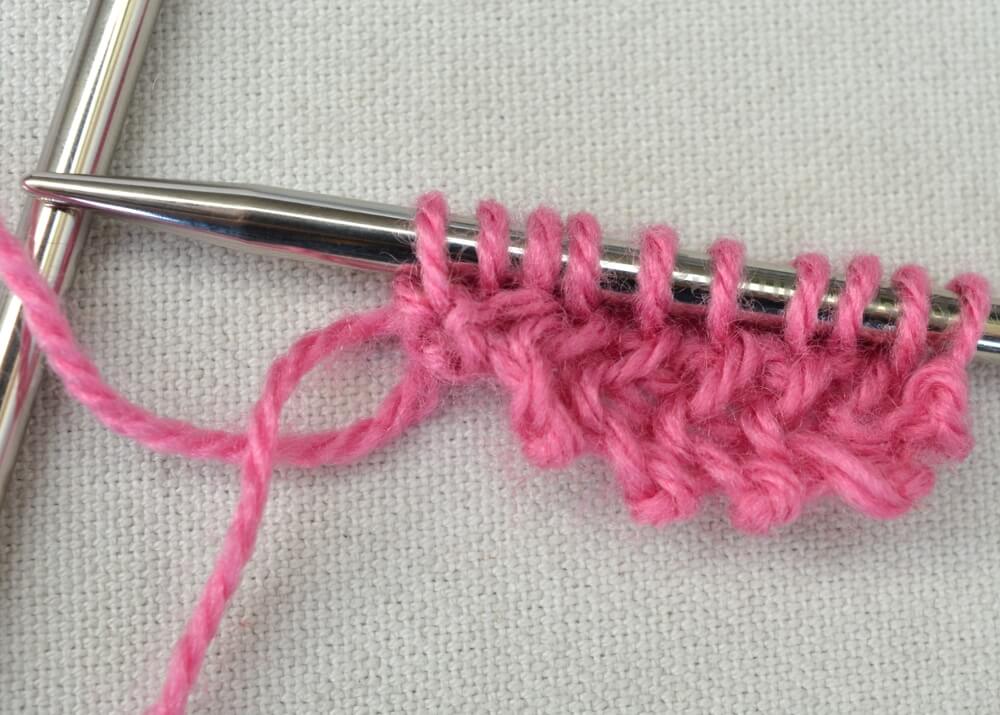
Cast on 2 sts and knit 12 rows. Turn work 90 degrees, then pick up and knit 6 sts from the garter stitch ridges along the long edge. Pick up and knit 2 sts along the cast on edge. (10 sts).
The garter tab cast on step by step
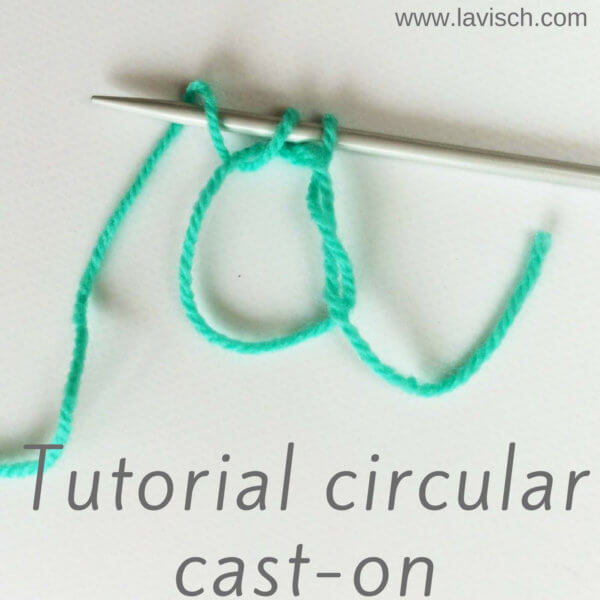
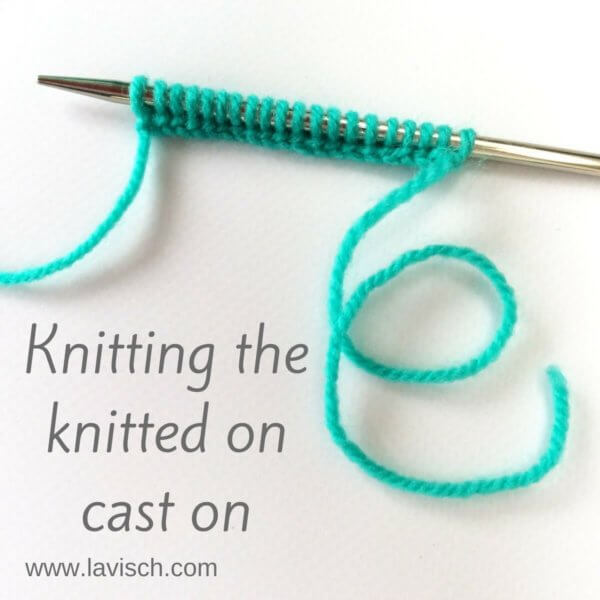
1. Cast on two stitches using your preferred cast-on method. In this example, I’m using the knitted on cast-on.
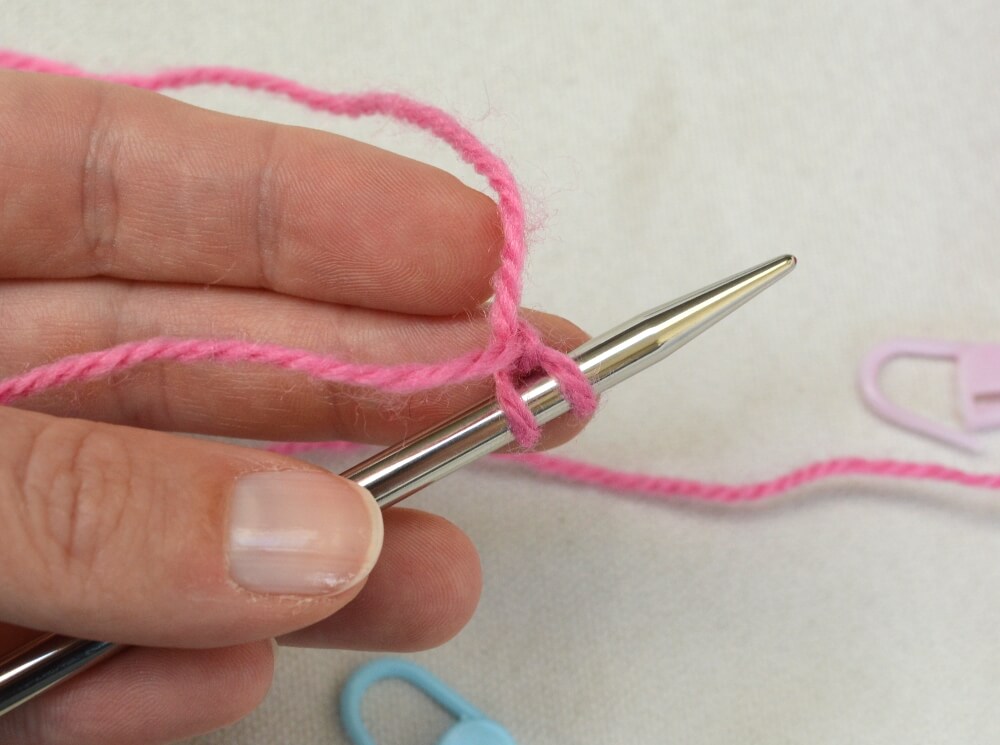
2. Place markers in each of every CO stitch, this will make it easier to pick them up later on.
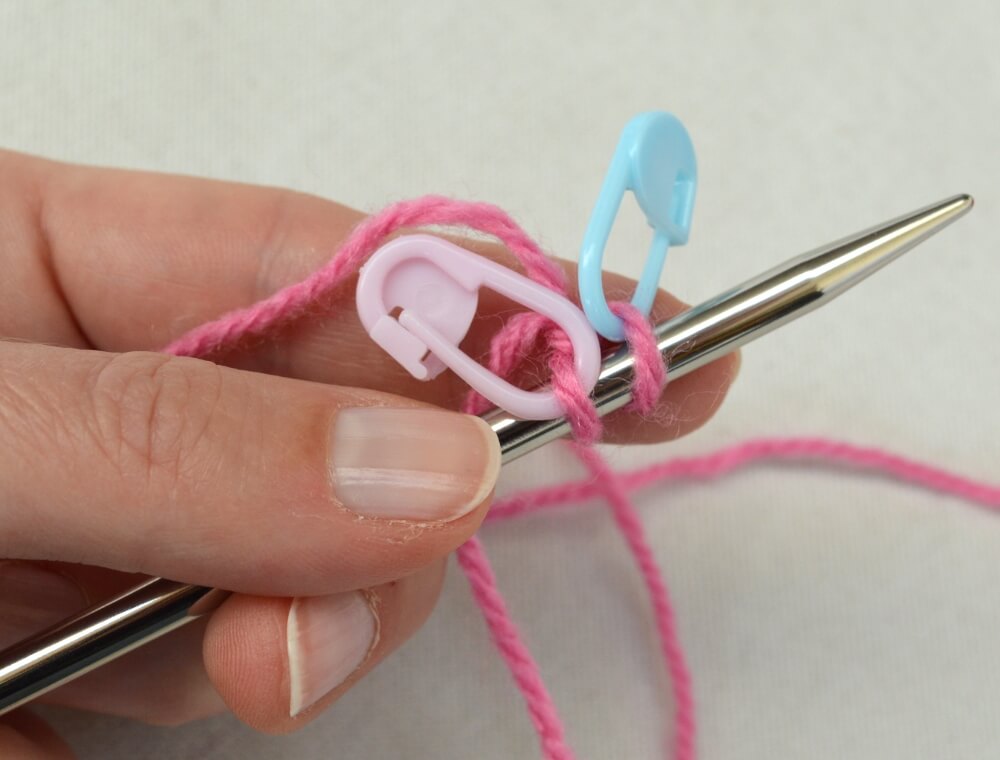
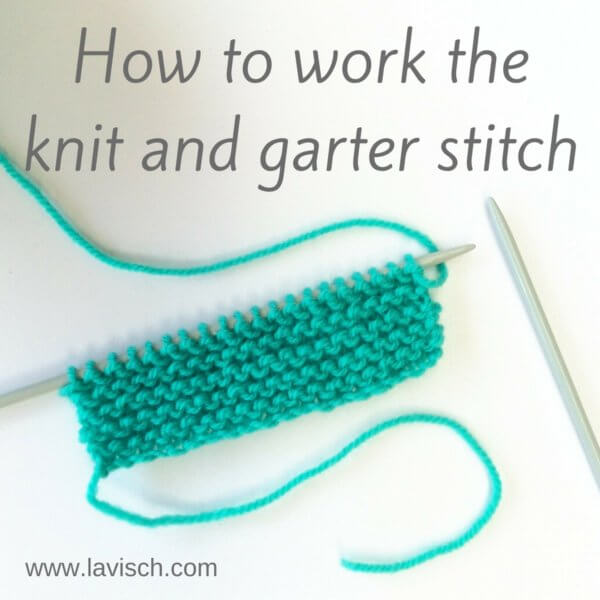
3. Work twelve rows in garter stitch (knit every row). This will give you 6 ridges to work into in the following steps. Then turn your work – still on the right-hand needle – 90 degrees clockwise.
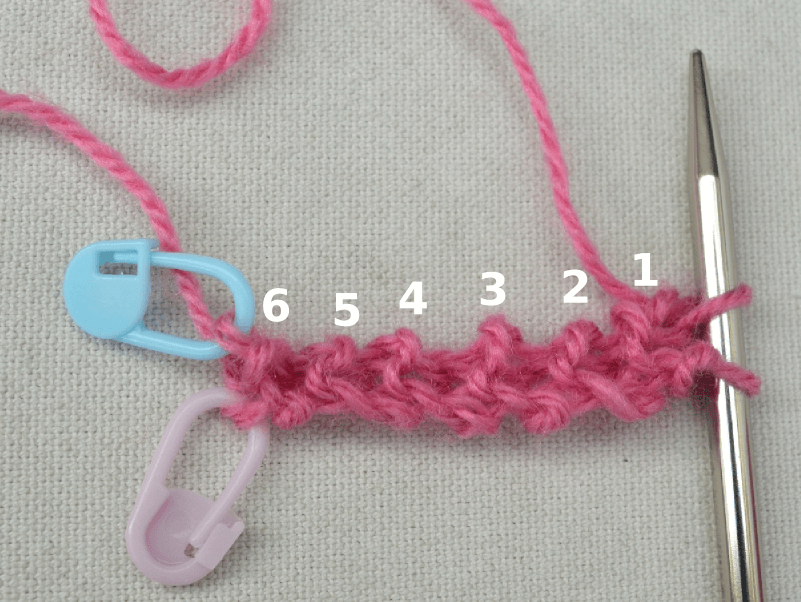
4. Using your left-hand needle pick up one stitch in each of the garter ridges along the edge, for a total of 6 stitches. In the picture the purl bumps are picked up, but you could also pick up from the legs of the knit stitches instead. You now have 8 stitches on your right hand needle.
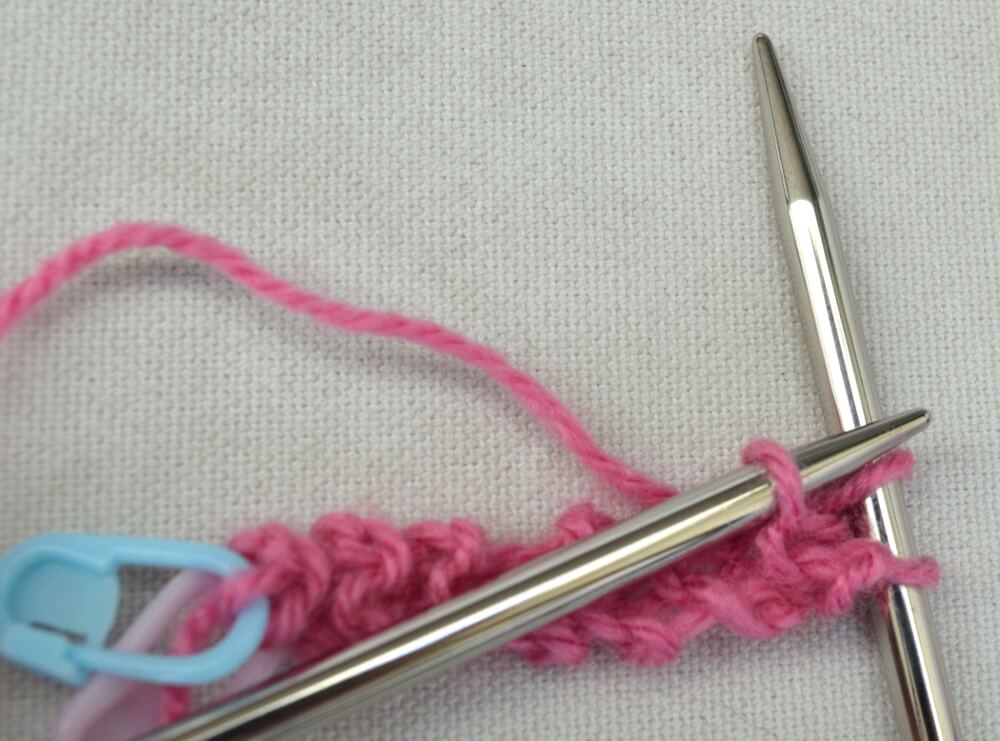
5. Turn your work 90 degrees clockwise again and pick up the two marked stitches along the cast-on edge. These stitches can be a tad hard to see, but because we marked them in step 2 this really isn’t an issue.
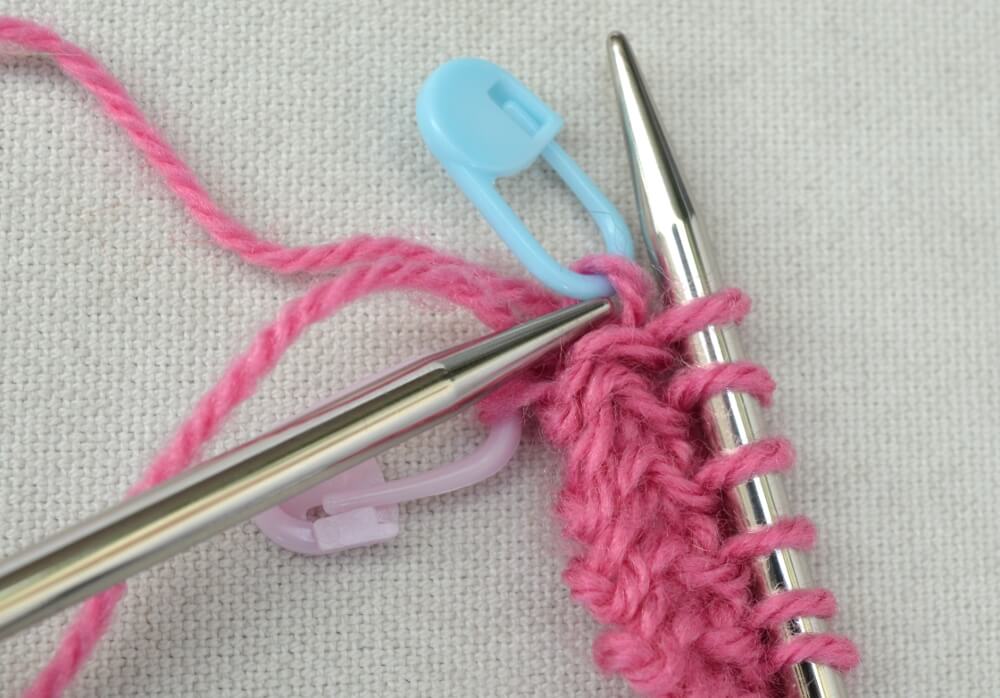
There you have it: a garter tab cast on! There are now 10 stitches: 2 stitches on either end which will become the garter edge stitches, and 6 stitches in the middle which will become the body of your shawl. You are now ready to start the rest of your pattern!
