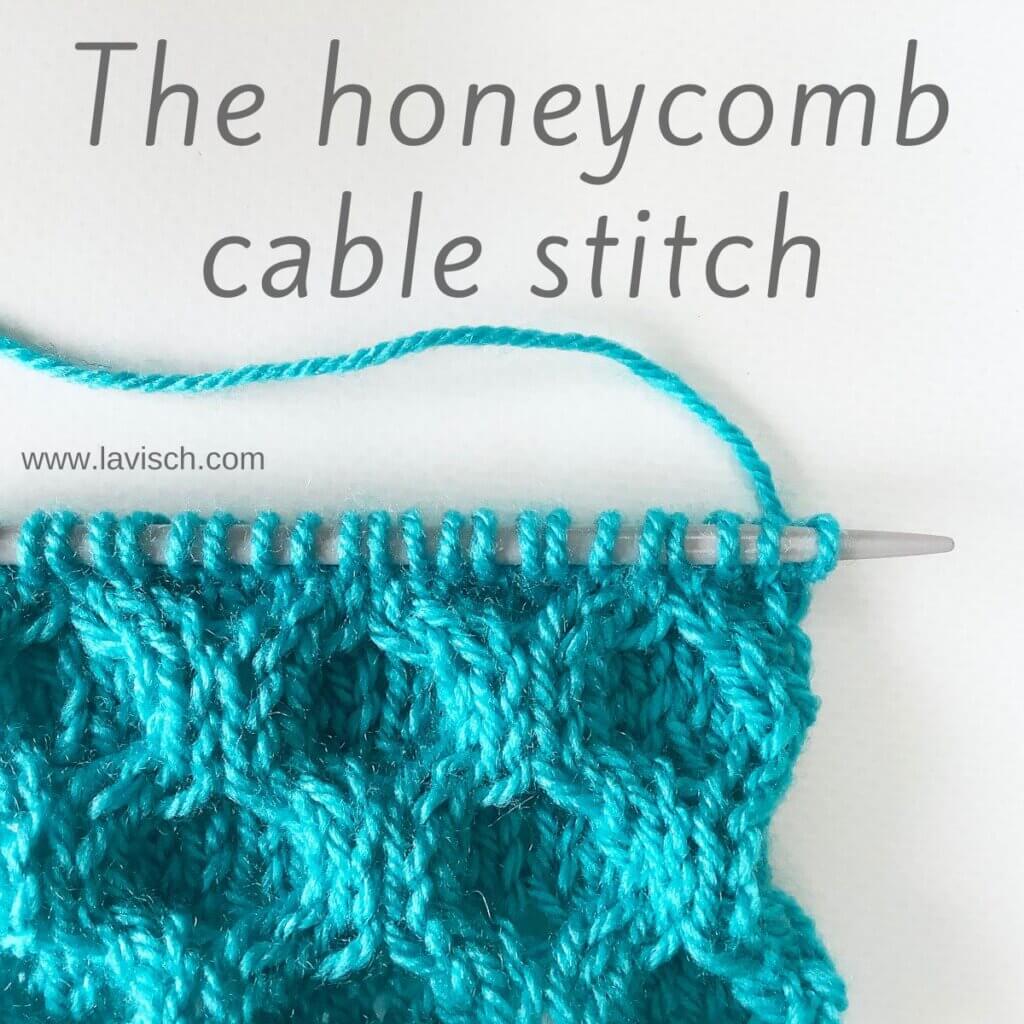
With cable knitting, you usually work stitches in stockinette against a background of either garter stitch or reverse stockinette. The cables themselves are worked in stockinette, and once every few rows the order of those stitches on your knitting needle is changed. However, unlike most cable stitch patterns, the honeycomb cable does not use any background stitches. The pattern is purely cable crossings every few rows to create the all-over honeycomb effect.
Stitch patterns with cables can be very complex. In this stitch pattern, however, I show you a simple 2/2 RC, and a 2/2 LC cable. This stitch pattern is worked in a multiple of 8 stitches. Please note that in the above picture, I did not add any edge stitches to the swatch.
Materials used


Yarn: Paintbox Yarns Simply DK, a good value, good quality 100% acrylic yarn, here in the color Marine Blue.
Knitting needles: This is a pair of straights that I picked up at the second-hand store when I started knitting, brand unknown.
You will also need a cable needle in a similar or slightly smaller size as your knitting needles. Unless, of course, you’re going to work the cables without a cable needle. The cables made in this stitch pattern are small enough to make that doable.
Stitches used
- k – knit
- p – purl
- 2/2 LC (2/2 left-cross cable): Slip next 2 stitches to cable needle and place at front of work, k2, then k2 from cable needle.
- 2/2 RC (2/2 right-cross cable): Slip next 2 stitches to cable needle and place at back of work, k2, then k2 from cable needle.
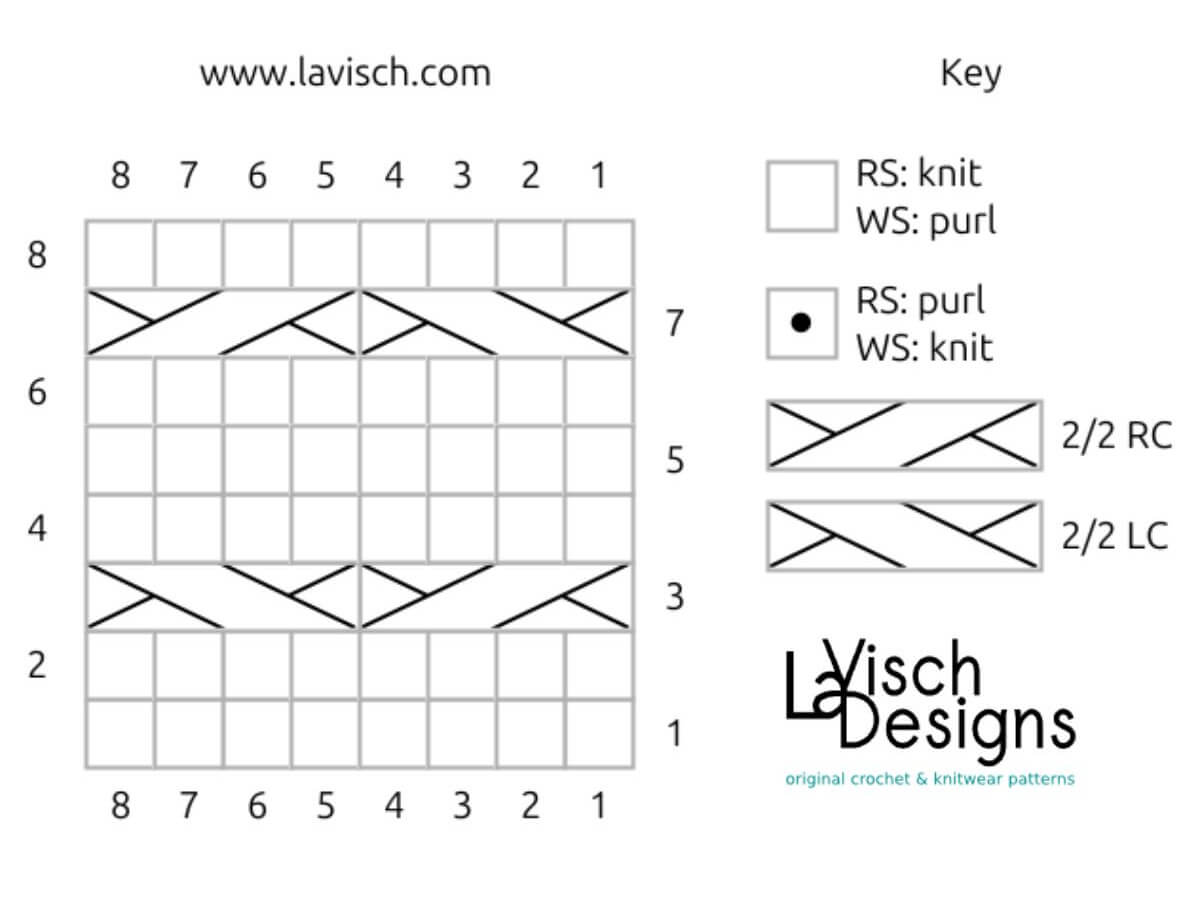
Honeycomb cable stitch instructions
Row 1 (right side): Knit. (8 sts)
Row 2 and all following wrong side rows: Purl.
Row 3: *2/2 RC, 2/2 LC*; rep *-* to end.
Row 5: Knit.
Row 7: *2/2 LC, 2/2 RC*; rep *-* to end.
Row 8: Purl.
Repeat rows 1-8 for pattern.
To adjust this stitch pattern for working in the round, simply replace all purl instructions with knit!

Thanks to my Patreon supporters for bringing you this freebie! Creating quality patterns and tutorials is a lot of work and resource-intensive. However, I find it important to give you free content like this tutorial. Thanks to the generous support of my Patreon supporters, I can make it happen. Thank you, patrons! Click here to join, or click here to read more about La Visch Designs on Patreon.


