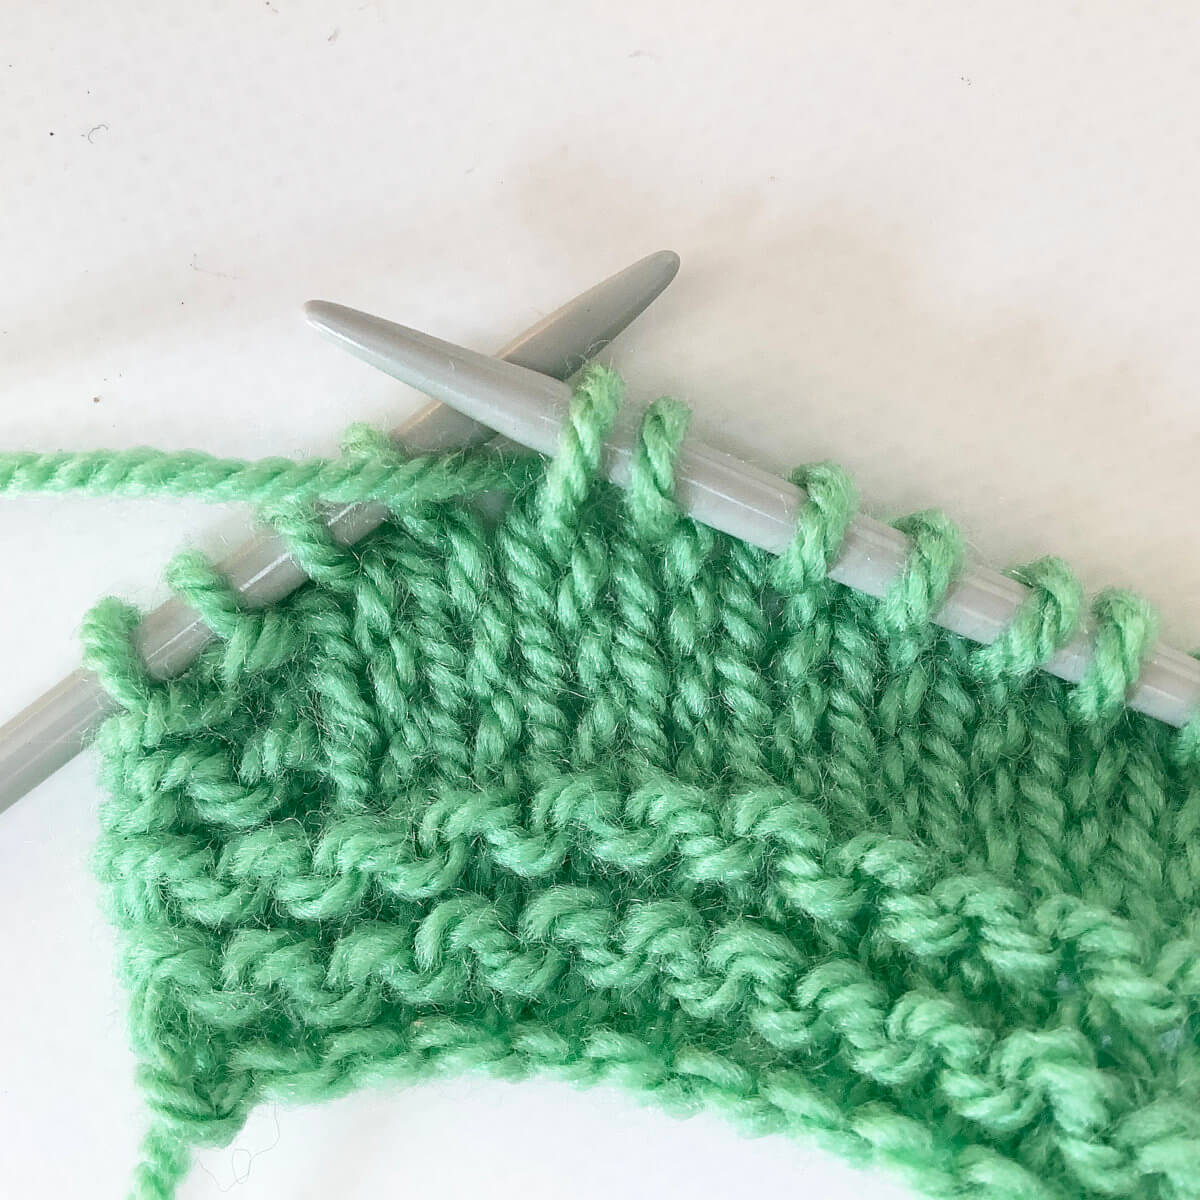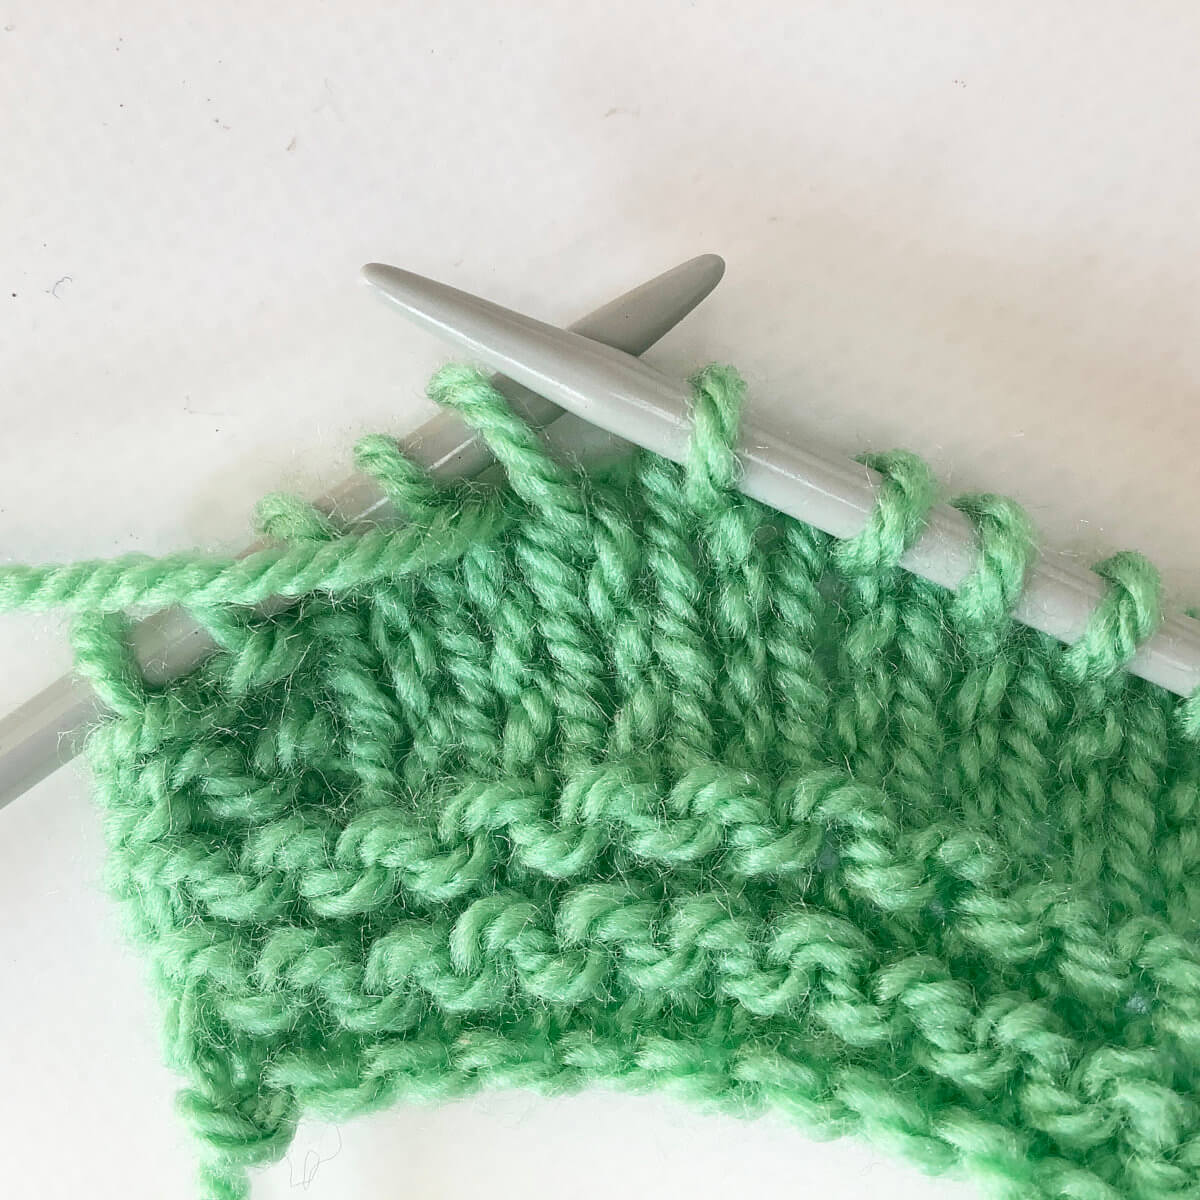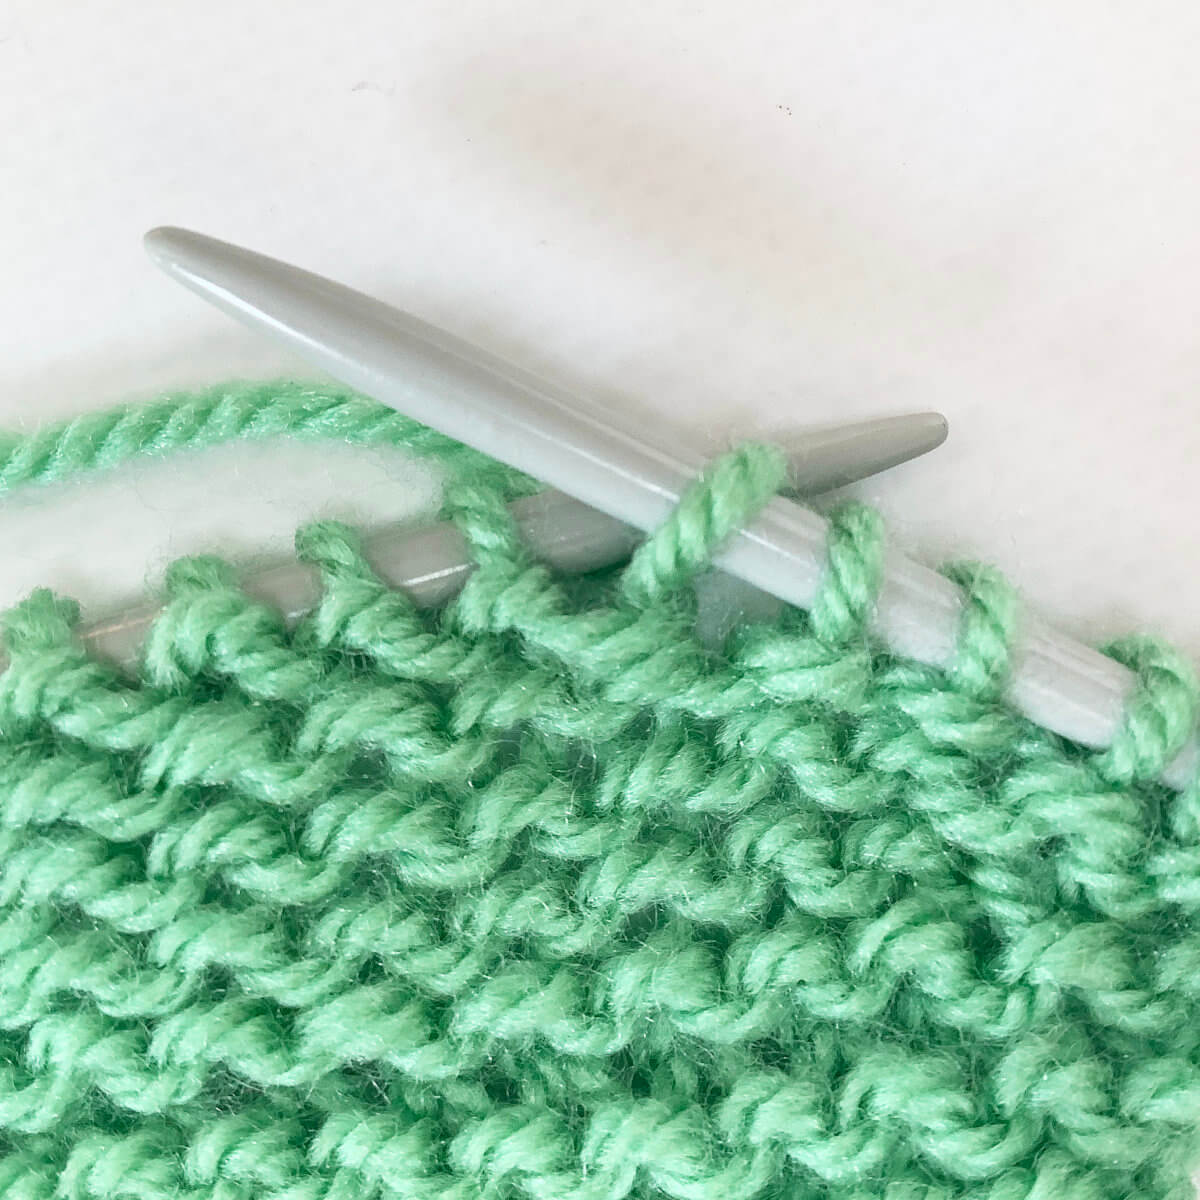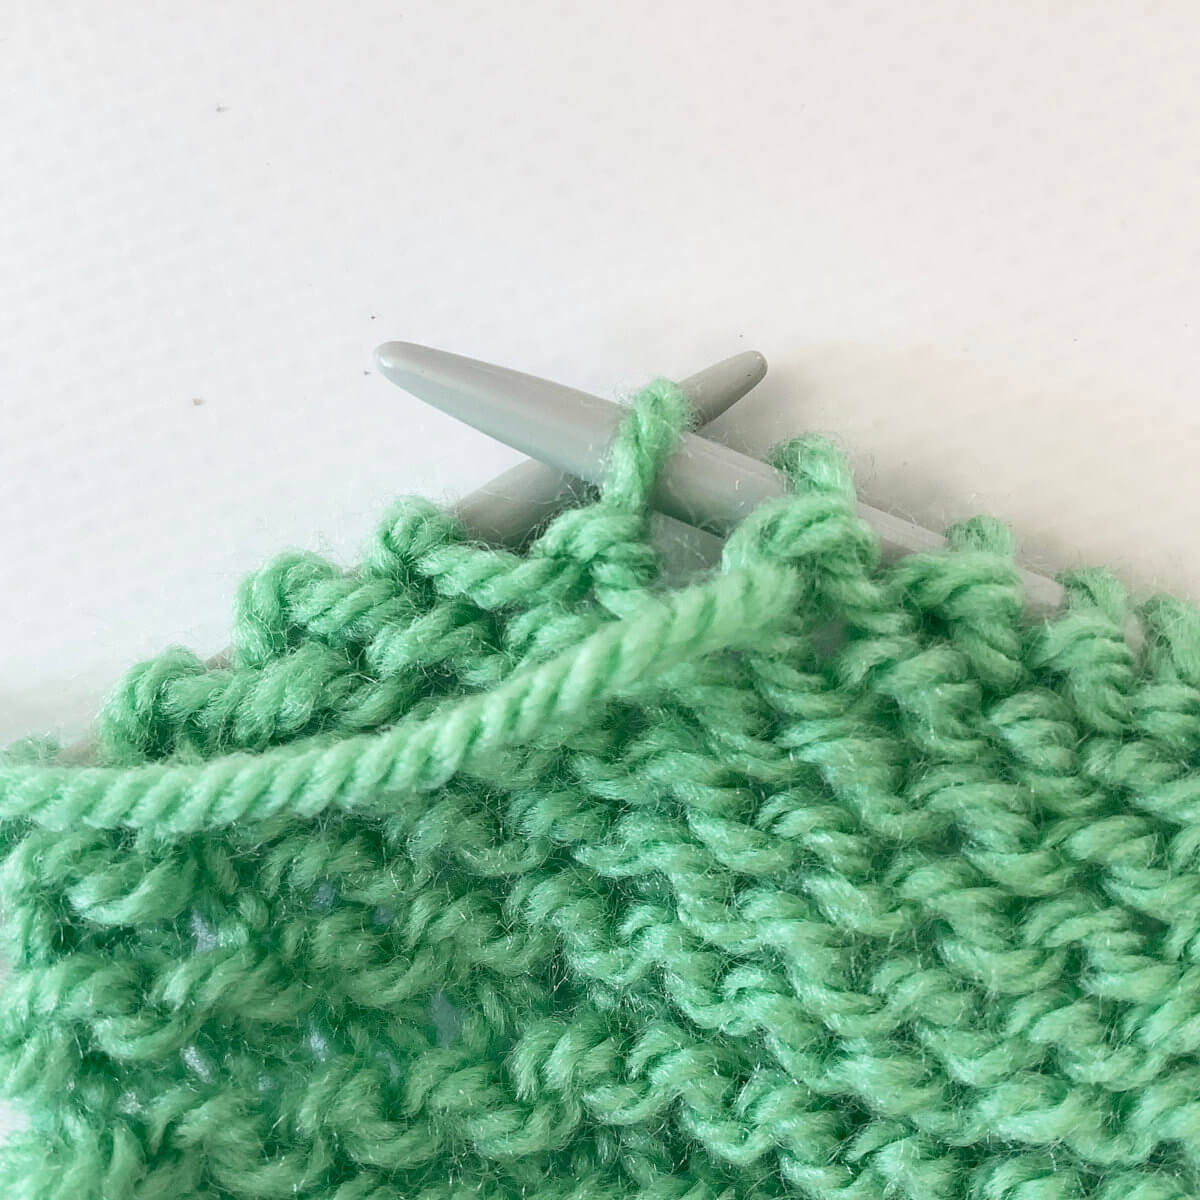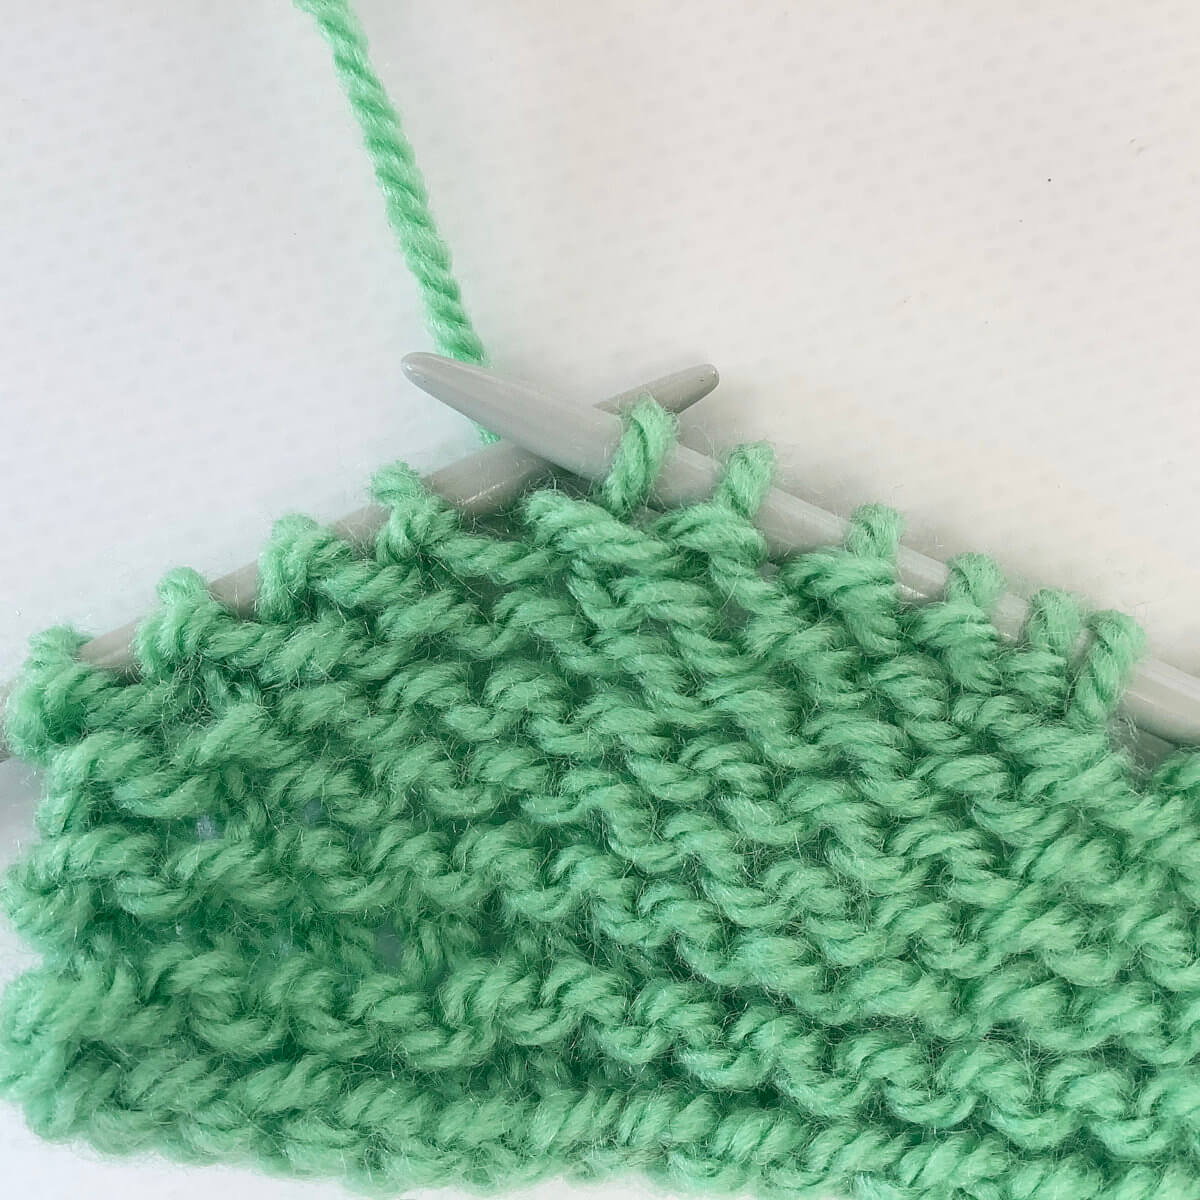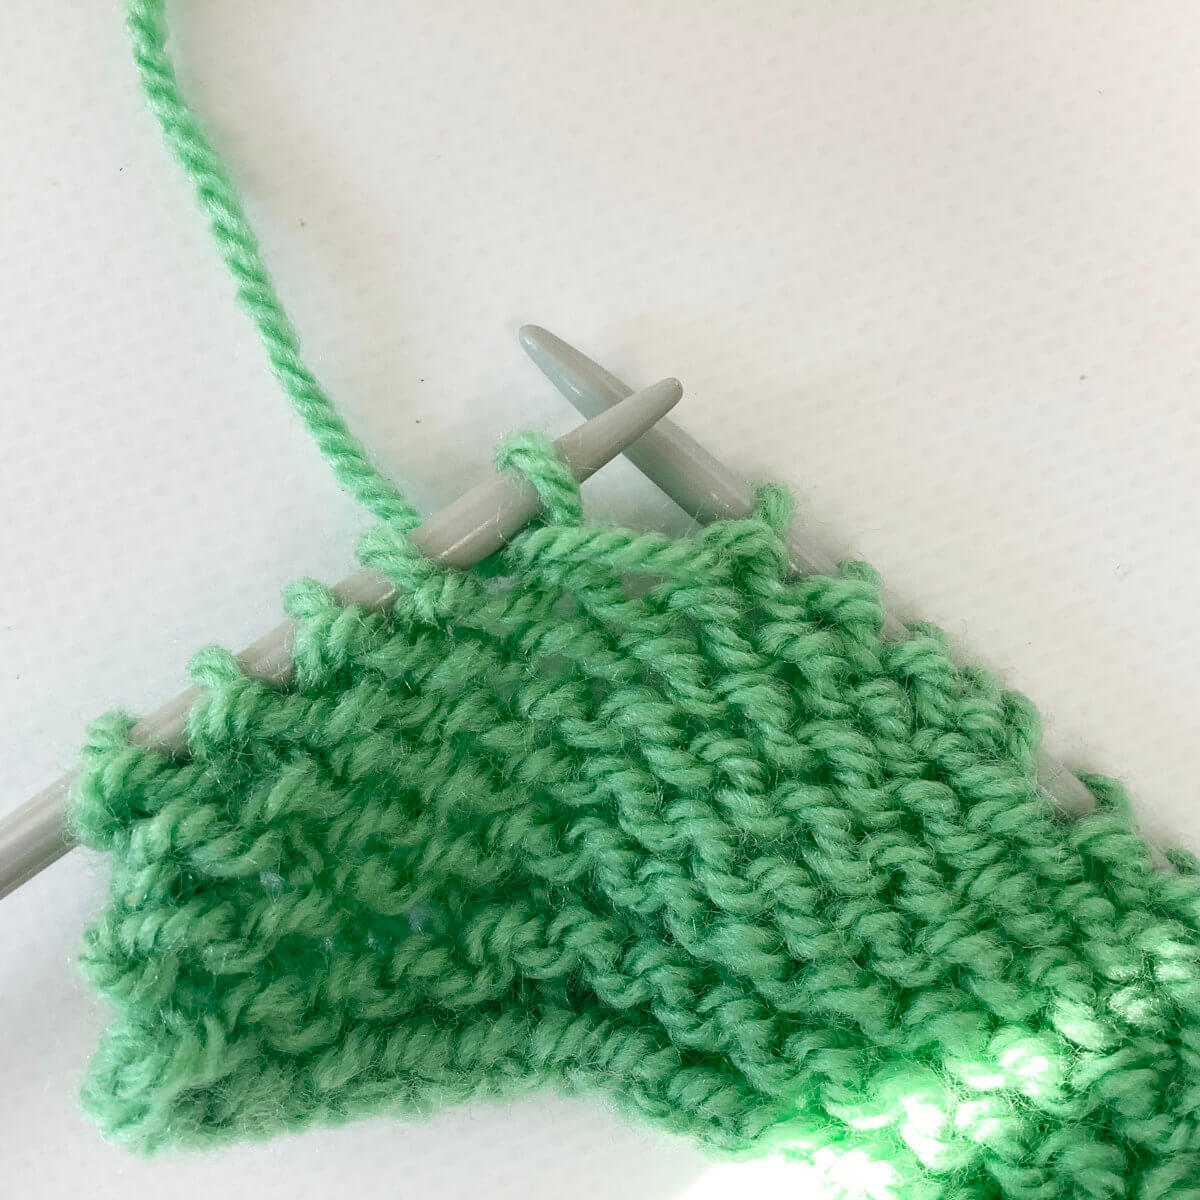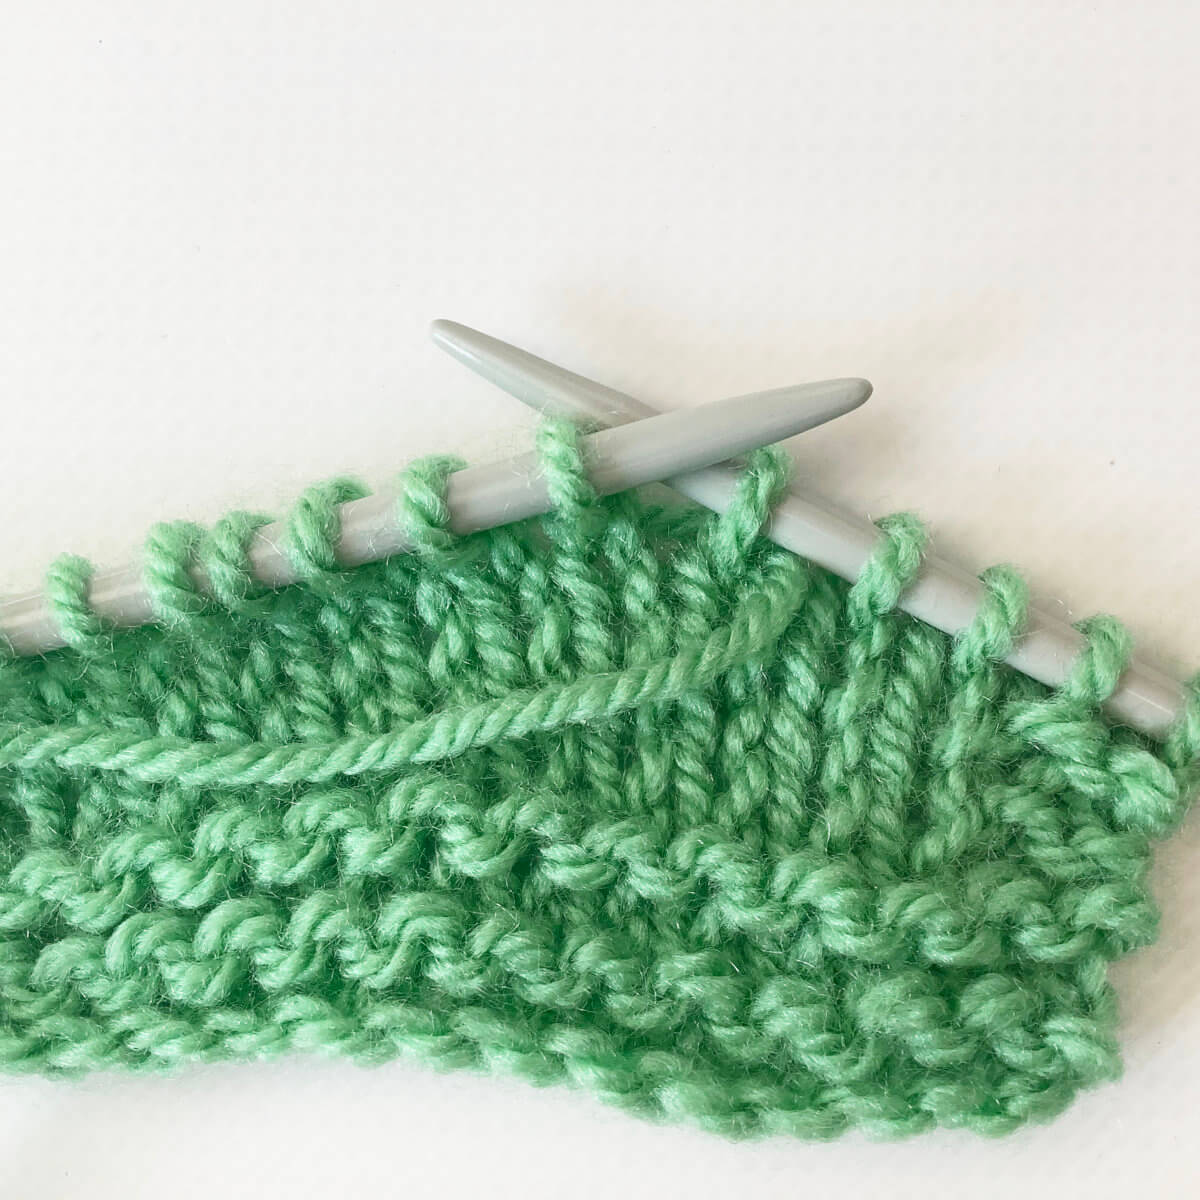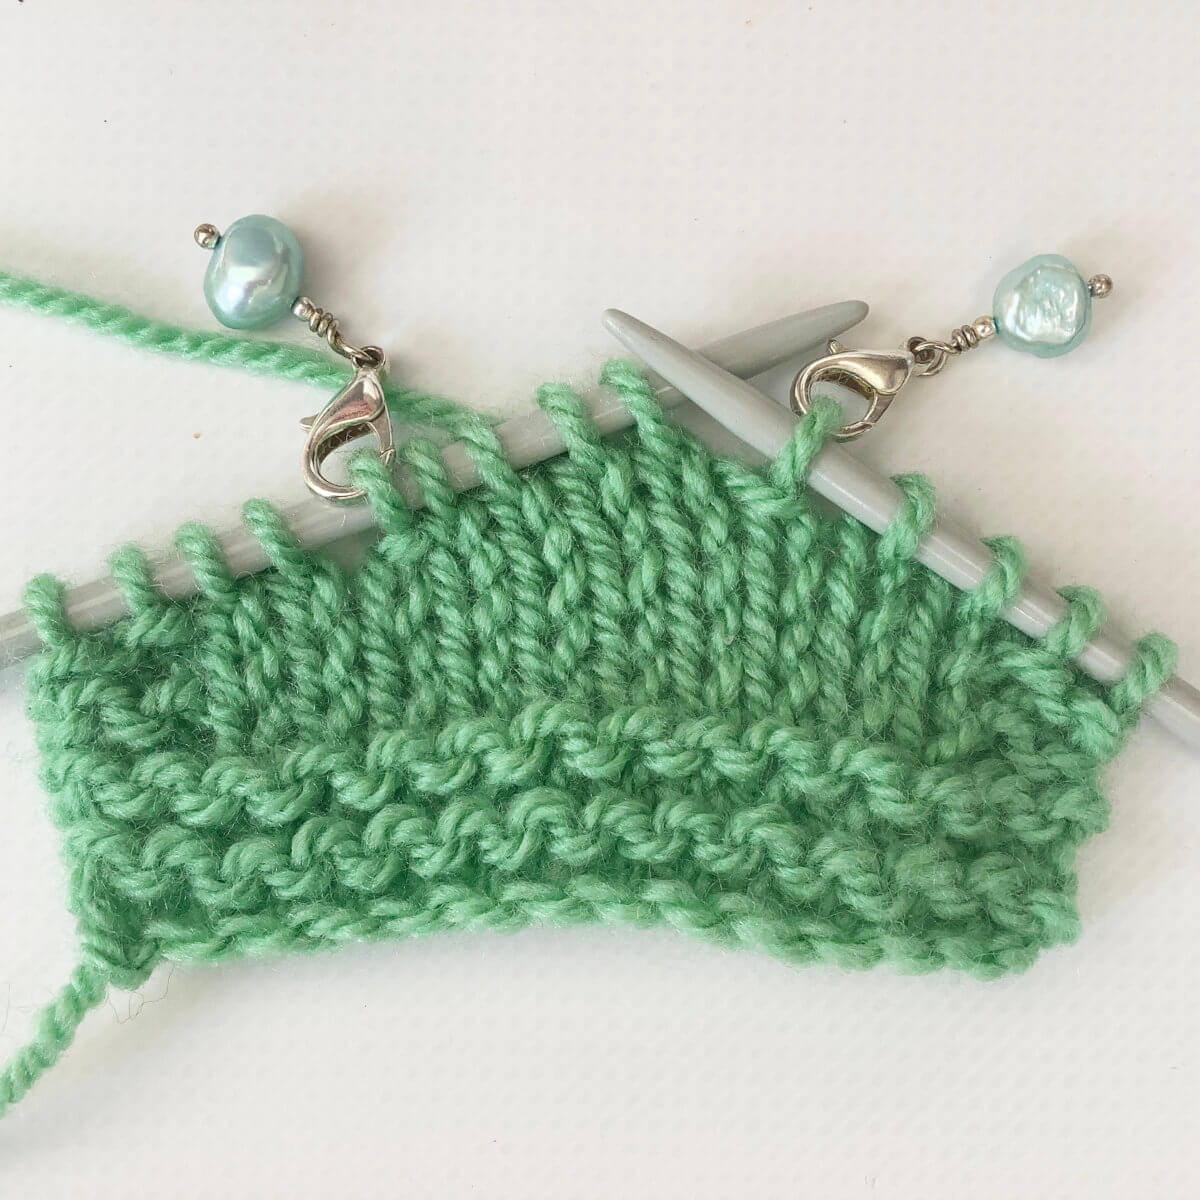
tutorial – preparing alpaca for spinning

Tutorial preparing alpaca for spinning

Recently I learned that the mother of an acquaintance of my mom has a small flock of alpacas, and piles of unused freshly shorn fiber. So when, the question came if I would be interested in taking some of her hands, I was delighted! I’ve never worked with raw alpaca before. I got a big bag of white and another one in brown, the pictures below really don’t do it justice.

And, of course, I had to prepare this raw alpaca to be able to spin it into yarn! In this post, I’ll show you how I went about it. Please bear in mind that I’m new to processing alpaca, so this very first batch really was a matter of trial and error for me.

Differences between alpaca and wool

Before going into detail about how I prepped this fiber for spinning, it’s good to talk about the differences between wool from sheep and the fiber from alpaca’s. Off course, there are many differences in fiber even within both sheep and alpaca’s, due to breed, age, nutrition etc. A very basic difference, however, is that alpaca fibers are hollow, where sheep fibers are not. Because of this, alpaca fiber repels water and retains heat, making it warmer than wool. Also, in general, alpaca will have better drape and less elasticity than sheep wool.

From a fiber prep perspective, the main difference is that sheep wool contains lanolin and alpaca fiber does not. However, alpaca’s just love their dust baths, so a wash before spinning is absolutely advised to prevent locking in dirt.

Ok, let’s get started on this fiber!

Alpaca fiber prep step by step

Since I’m very new to preparing raw alpaca for spinning, I’ve started with only a small amount of fiber. My aim is to prep enough to spin a shawl-amount of yarn.

  1. Picking through the yarn to remove the short bits.

    This fiber was not shorn with the hand spinner in mind and contains quite a lot of vegetable matter and shortcuts that will have to be filtered out. In the picture below, you see on the right the pile of shortcuts that I’ve already removed from this handful of alpaca.Step 1 of fiber prep

  2. After, picking each handful of fiber, I put it into this laundry bag.

    This particular one has compartments, which is a good thing, since it reduces the amount of movement possible in the bag, and thus possible felting/Step 2

  3. One bag completely filled!

    There fits much more fiber into the bag than one might think. The pile in front of it are all the short bits I filtered out.First laundry filled!

  4. Next step is washing the fiber.

    Here I used some wool wash and warm water. Not to remove lanolin from the fiber, since alpaca doesn’t have any, but to get some of the dust and dirt out. Take care not to agitate or squeeze the fiber, because it doesn’t take much to felt it. Washing the alpaca

  5. Do you see how filthy the water turns?

    The fiber itself didn’t look as dirty, but looks can be deceiving!Washing water turning brown

  6. The grit remaining in the sink after washing.

    I really didn’t expect this much dirt to come out.Grit remaining in the sink

  7. After washing, I rinsed the fiber in a new bath with hot water.

    Again, take care not to agitate the fiber to prevent felting.Rinsing the washed fiber

  8. Next, I’m removing as much water out of the fiber as possible, without squeezing!

    Because this is a tiny amount of fiber, I used my dedicated fiber salad spinner. For bigger quantities, a centrifuge would be best. Please note that the centrifuge in your washing machine is only advised if you can use it without any rinsing water, because that would cause the fiber to felt.Squeeze all the water out!

  9. The next step is to dry the alpaca.

    I filled up my laundry bag twice and agitated the second batch even less than the first one. You can see the difference in this picture: on the left is the first batch, and on the right the second one. This stuff really felts as soon as you look at it wrong! I use a flat perforated crate for drying fiber, to promote air circulation. (Also, Donut is of the opinion that wet alpaca smells funny.)Drying the fiber

  10. After drying, which took a couple of days, this is what I ended up with.

    It looks a tad felted, despite handling it as lightly as possible.Dried alpaca

  11. Fortunately, the fiber fluffed up quite nicely!

    On the right, you see some more shortcuts that I found and separated out.After fluffing

  12. Below, you can see the result of all the washed alpaca fluffed up.

    Doesn’t it look wonderful?A big crate of fluffed up alpaca!

  13. Next is carding all the fluffed up fiber into batts for spinning.

    I ended up with 5 batts total. For those who’re interested: my carding machine is an Ashford drum carder, with a 72 point carding cloth.Carding the alpaca

  14. During carding, I again removed any shortcuts that I found.

    The dirt pictured, is what I found underneath my carder after I was finished.Waste after carding

And that’s everything I did to prep the raw alpaca for spinning!

Patreon logo

Thanks to my Patreon supporters for bringing you this freebie! Creating quality patterns and tutorials is a lot of work and resource-intensive. However, I find it important to give you free content like this tutorial. Thanks to the generous support of my Patreon supporters, I can make it happen. Thank you, patrons! Click here to join, or click here to read more about La Visch Designs on Patreon.

tutorial – preparing alpaca for spinning Read More »

duin

Duin by La Visch Designs

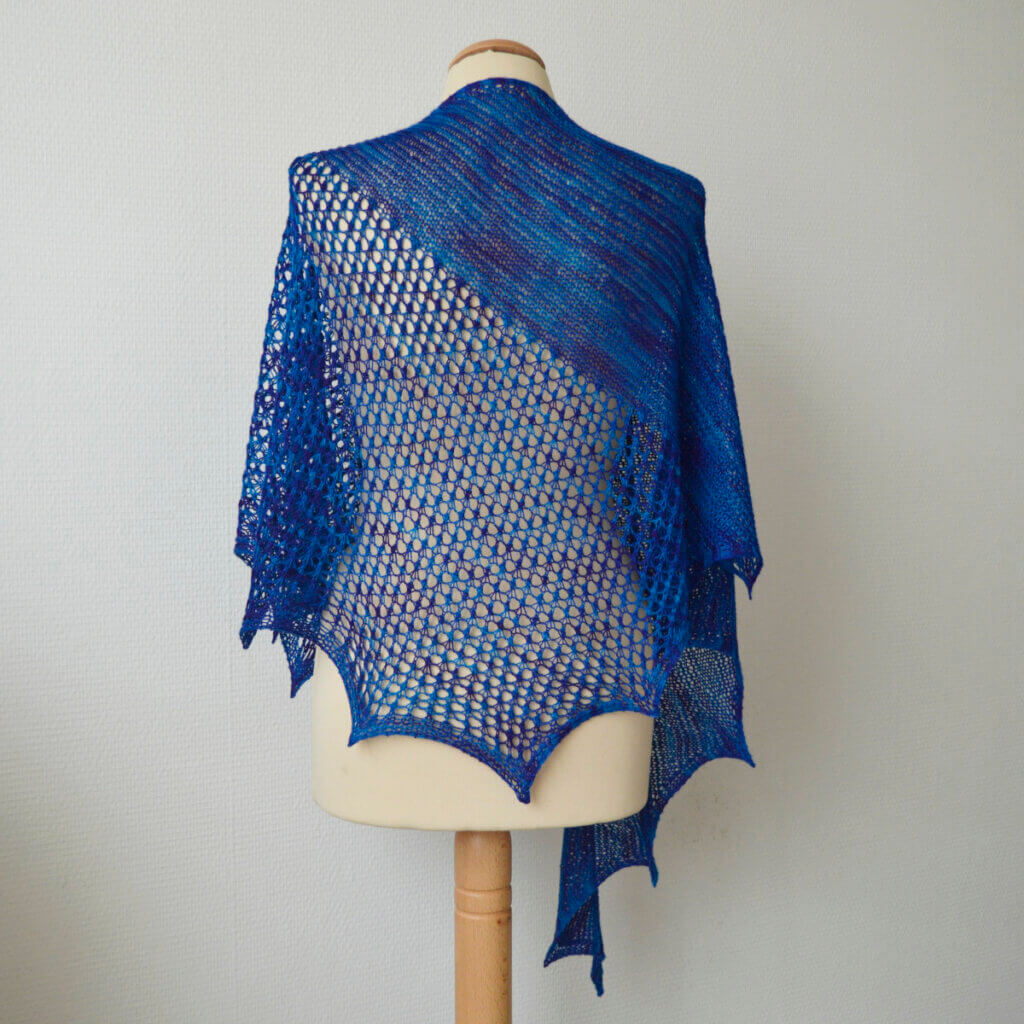
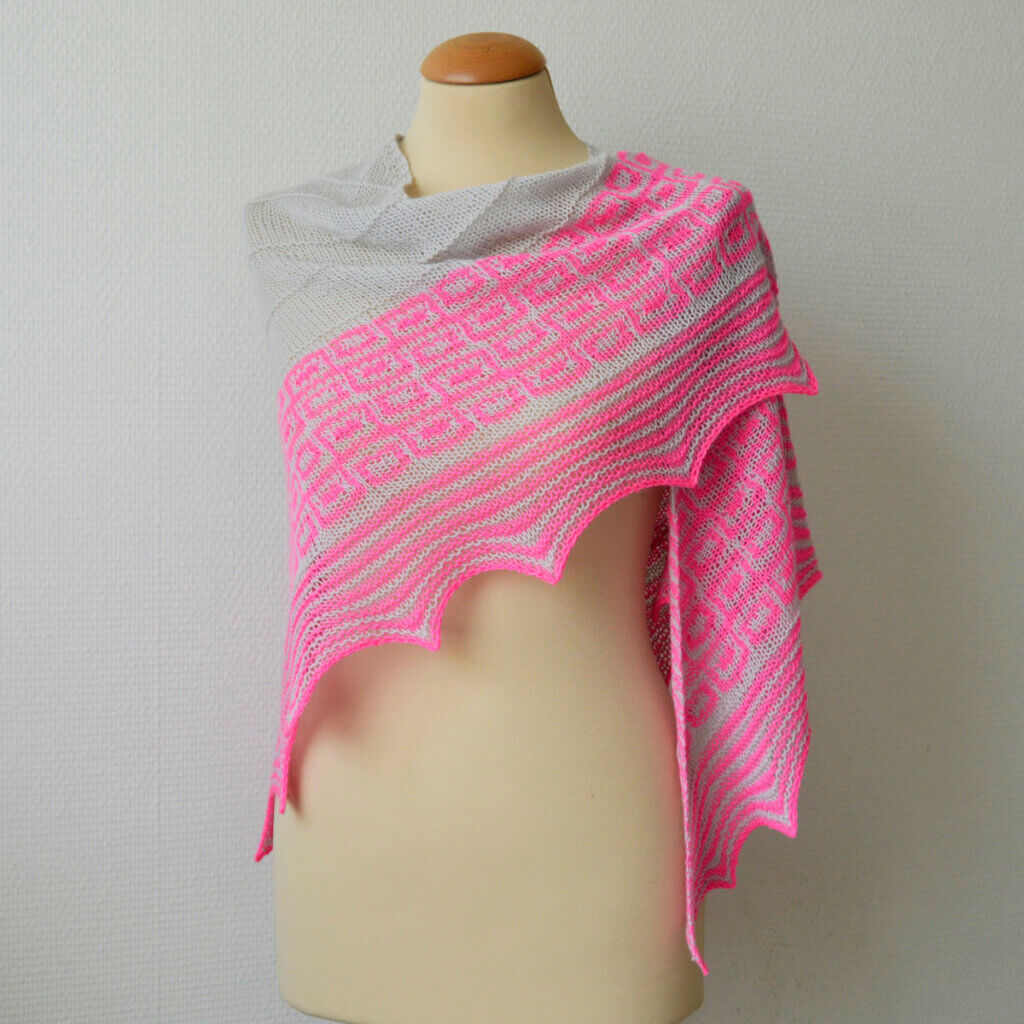
Duin is a crescent-shaped shawl worked from the top-down. The design contains color work in the border with the mosaic slip stitch technique: only one color is worked at a time. The perfect way to do color work without any tension issues or stress!

Start the shawl with a garter stitch tab. The body contains special shaping, which helps to avoid the “bump” in the upper edge of the shawl, so often present in crescent shawl designs. The instructions for the mosaic color work are provided both fully charted and written out.


Pay what you want: (minimum €6.50)

Add to cart


Difficulty level

Start the Duin shawl with a special garter stitch tab, the pattern contains a link to a La Visch Designs photo tutorial. Stitches used include knit, purl, yo, k2tog, and m1l, and m1r increases. This pattern is therefor suitable for the advanced beginner or intermediate knitter.

Sizes and finished measurements

Finished dimensions of the sample shawl: 200 cm (78 ¾ inches) along the upper edge and a depth of 62 cm (24 ½ inches), measured after blocking.

Change the size of this shawl by using lighter or heavier yarn. This will, of course, change the amount of yarn needed.

Pattern details

  • Duin has a gauge of approx. 17 sts / 22 rows = 10 cm (4 inches) over stockinette, measured after blocking. Gauge is not critical in this design, but for a look similar to the sample shown, a loose gauge is advised.
  • Pattern languages included: English.
  • Digital PDF has 4 pages (letter size)

Yarn

Sandnes Garn Tynn merinoull (100% Merino; 175 m (191 yds) / 50 g) in the following colors and amounts:

  • MC: 525 m (573 yds) / 150 g in 2564 Caramel
  • CC: 175 m (191 yds) / 50 g in 6562 Petrol

Substitute any wool fingering or sport weight yarn in colors with sufficient contrast for a similar result.

Materials

  • Size 4 mm (US 6) / 80 cm (32 inches) circular needles. Use needles appropriate for the yarn chosen.
  • Size 4.5 mm (US 7) / 80 cm (32 inches) circular needles (or larger as needed) – for mosaic color work, to minimize “pulling in”.
  • 2 stitch markers to indicate the center stitches of the shawl.
  • Yarn needle
duin Read More »

tutorial – working the Turkish cast-on

Working the Turkish cast-on

The Turkish cast-on is a way to invisibly cast-on for projects to be worked in the round. Think, for example, of toe-up socks. This cast-on can be used for a wide range of projects and not just for socks. It can be used for anything that requires knitting in the round and a neat, seamless start. In other words, for anything you’d use Judy’s Magic Cast-On for, this cast-on is a good alternative. And, to be honest, I find this one to be much easier and less fiddly to work!

Materials used

Yarn: Paintbox Yarns Simply DK, a good value, good quality 100% acrylic yarn, in the color 128 Lime Green.

Needles: KnitPro Zing Fixed Circular Needles. In this tutorial, I used the 4 mm (US 6) size with a cable length of 80 cm (32 inches).

Working the Turkish cast-on step by step

In this example, I’m casting on 20 stitches, as one would do for toe-up socks.

  1. To start, we make a slipknot, and place it on the needle.

    making a slipknot

  2. Next, arrange both needle tips as shown in the picture below.

    Place both needle tips parallel to each other, with the slipknot-holding needle below the other one, and the working yarn behind and above the top needle.Arrange the needles

  3. Now wrap the working yarn around both needles. Make as many wraps as half the total stitches you want to cast-on.

    In this example, I want 20 stitches total, so I wrap the yarn 10 times around the needles.Wrapping the yarn around the needles

  4. Next, pull out the bottom needle (the one with the slipknot).

    It helps to keep the wrapped yarn in place by holding it close to the needle with your left hand.Step 4

  5. Now use the pulled-out needle tip as your working (right-hand) needle to knit into the first stitch on the main (left-hand) needle.

    To do so, first insert the needle knit-wise into the stitch…Turkish cast-on step 5

  6. …, and wrap the yarn around the needle.

    Step 6

  7. To finish the knit stitch, pull the yarn through en let the loop fall off the left-hand needle.

    This is how it then looks:Step 7 of the Turkish cast-on

  8. Repeat steps 5-7 until there are no more loops on the needle.

    This is how it looks:Step 8

  9. To work the other 10 stitches that are on the cable, we have to rearrange the circular needle.

    First, orient the work in such in a way that the row of stitches with the slipknot is on top, as shown below. Now push the needle in, so they no longer rest on the cable, but on the needle tip instead. For the other row of stitches, pull the needle tip out, so the stitches rest on the cable.Step 9

  10. In this step, I’ve slipped the slipknot off the needle, because I don’t need it as a stitch.

    Just gently pull the yarn tail to pull the slipknot loose. Next, knit all the stitches on the needle as described in steps 5 to 7.Step 10

  11. This is the cast-on result, ready for further knitting in the round (using magic loop) as described in your pattern!

    Step 11, the result of the Turkish cast-on

Patreon logo

Thanks to my Patreon supporters for bringing you this freebie! Creating quality patterns and tutorials is a lot of work and resource-intensive. However, I find it important to give you free content like this tutorial. Thanks to the generous support of my Patreon supporters, I can make it happen. Thank you, patrons! Click here to join, or click here to read more about La Visch Designs on Patreon.

tutorial – working the Turkish cast-on Read More »

second sock (or sleeve) syndrome

second sock (or sleeve) syndrome

For anyone who has ever made socks, a sweater or cardigan, this will probably sound very familiar: You’ve finished your first sock or sleeve, and it’s just great. The fit is good, the length is exactly how you like it. And then you realize you HAVE to make another one. And you really want to cast-on something new, instead of doing that thing again. That, my friends, is second sock (or sleeve) syndrome.

I’m not really into sock knitting, although I’ve made a couple of pairs in the past. But I am into a me-made wardrobe, and have been knitting quite some sweaters, tees and cardigans for myself over the years. So yes, feeling bored and stranded on sleeve-island really is a thing, and carries the risk of having a growing pile of one-sleeved sweaters (or single socks) instead of things you can actually wear. Fortunately, there are ways to deal with second sock (or sleeve) syndrome. In this post, I’ll tell you all about it!

1. Working two-at-a-time (TAAT)

This is the method I usually go for, using circular needles with a cable length of either 80 cm / 32 inches or 100 cm / 40 inches. The basic premise with this approach is to work the sleeve or sock magic loop style, but instead of putting the stitches of only 1 tube on the circular needle, you put the stitches of both tubes (or even more!) on the needle. This forces you to work one round of each tube, before you can proceed with the next round. This also has the advantage that even if there are differences in tension from round tot round, they will at least be the same for both socks or sleeves.

Of course, there are also disadvantages to the TAAT technique. For one, progress seems to go very slow when compared with working on only one sock or sleeve. Also, you’re continually adjusting the cable and juggling the balls of yarn to prevent them from tangling. For me, this really breaks the knitting flow.

That said, getting both done and exactly the same is the main reason I often do choose this option.

2. Using two circulars or sets of DPN’s and knit simultaneously

With this option, you’re working each sleeve or sock on their own needle. For this, it really doesn’t matter what your preference is for small-circumference knitting, being it DPN’s, tiny circulars, or longer circulars for travelling loop or magic loop knitting. The main take is, that each sock or sleeve is worked on individually, but that you switch back and forth between them in regular intervals. You can, for example, first work ribbing on both tubes, then the same number of plain rounds plus 1 shaping round etc. etc.

With this method, it is important to keep track of where you are, and that you end both tubes at the same point. Or, of course, keep good track of any differences to correct when starting a new knitting session.

Sock on a tiny circular

3. Embrace the differences!

This option is, depending on design, possibly better suited for socks then for sleeves. That said, it really is a good option. The main issue with second sock (or sleeve) syndrome is the boredom associated with knitting the exact same thing again. So, if you make sure there are differences, this may be enough to keep your attention on the project.

You can think, for example, of different stitch patterns or textures. For me, self-striping or gradient yarn never fails to want to work another round to see what happens next. Alternatively, you can really embrace the differences and go for mismatched socks on purpose. This is what I did with the socks pictured below for my youngest. I used up various odds and ends of fingering weight yarn for wildly unique socks. The pattern is No-Heel Spiral Socks by La Maison Rililie.

Let me know if there are more ways with dealing with second sock (or sleeve) syndrome. I’m happy to expand on the options already mentioned!

Patreon logo

Thanks to my Patreon supporters for bringing you this freebie! Creating quality patterns and tutorials is a lot of work and resource-intensive. However, I find it important to give you free content like this tutorial. Thanks to the generous support of my Patreon supporters, I can make it happen. Thank you, patrons! Click here to join, or click here to read more about La Visch Designs on Patreon.

second sock (or sleeve) syndrome Read More »

mamaku

Mamaku shawl by la Visch Designs

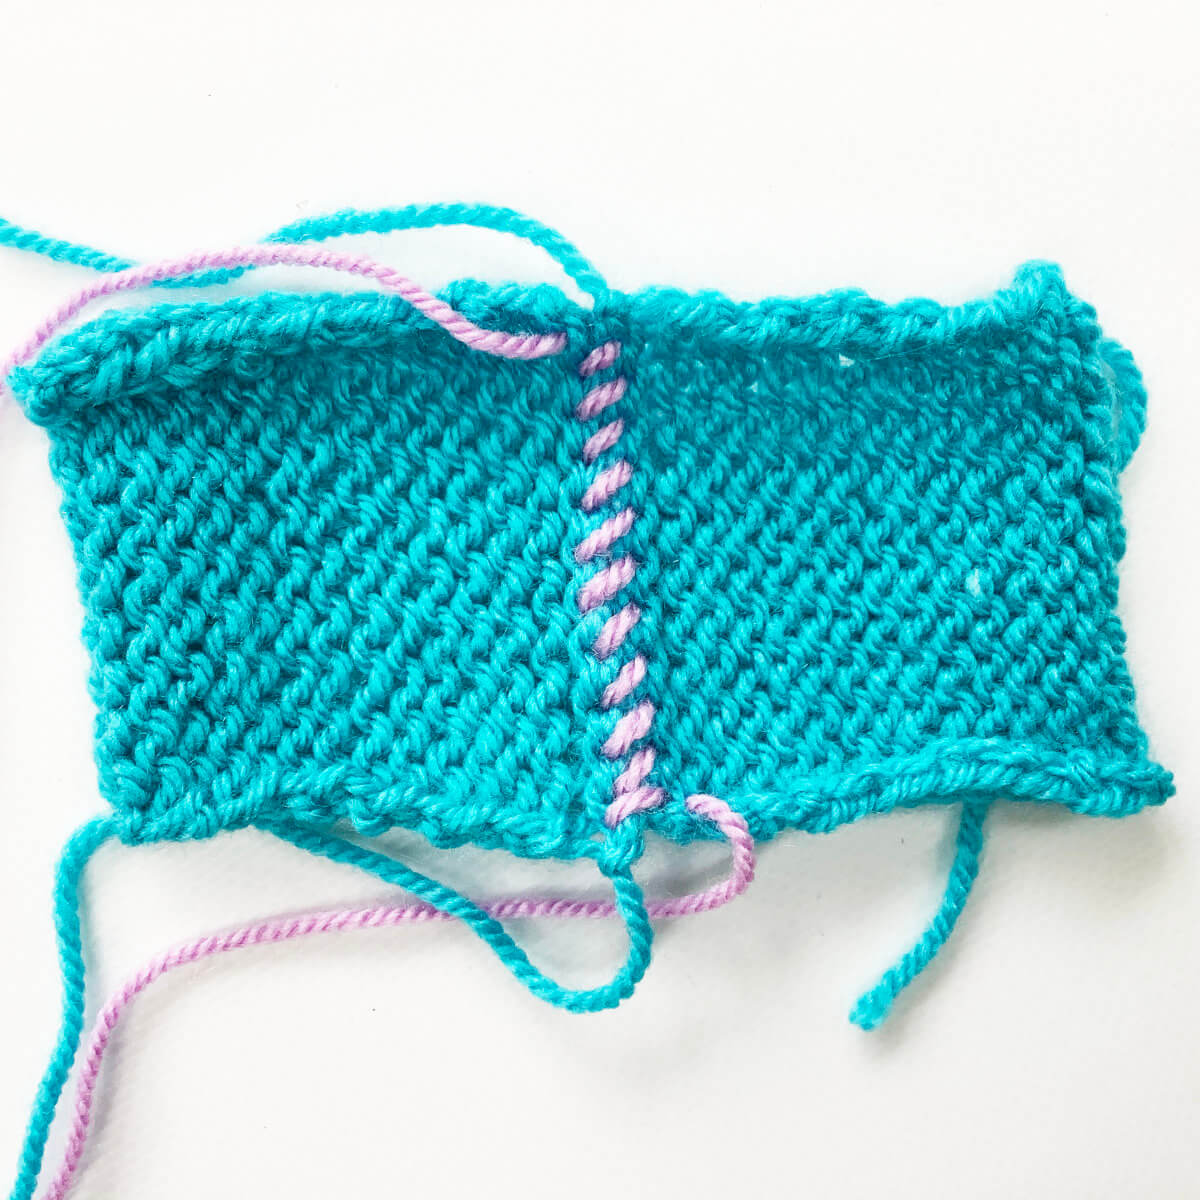
Mamaku, scientifically known as Cyathea medullaris, is a black tree fern native to New Zealand, that is commonly found in damp gullies across forested areas in the country. While I’ve never been to New Zealand, the lace edging of this shawl really looks like fern fronds. The Mamaku shawl pairs this delightful lace edging with a lovely, relaxing-to-knit textured body.

This shawl is knitted from the top-down in one piece, starting at the neck edge with a garter stitch tab. The instructions for the edging are both charted and written out.


Pay what you want: (minimum €6.50)

Add to cart


Difficulty level

This shawl is worked from the top down, starting with a garter stitch tab. Stitches used include knit, purl, yo, k2tog, skp, kfb, m1l, and m1r increases. This pattern is therefor suitable for the intermediate knitter.

Sizes and finished measurements

Finished dimensions of the sample shawl: 175 cm (68 ¾ inches) and a depth of 85 cm (33 ½ inches), measured after blocking.

Change the size of this shawl by using lighter or heavier yarn and/or working fewer (or more) repeats of the various sections of the shawl. This will, of course, change the amount of yarn needed.

Pattern details

  • Mamaku has a gauge of approx. 14 sts / 25 rows = 10 cm (4 inches) over body pattern, measured after blocking. Gauge is not critical in this design, but for a look similar to the sample shown, a loose gauge is advised.
  • Pattern languages included: English.
  • Digital PDF has 4 pages (letter size)

Yarn

554 m (606 yds) / 100 g Ice Yarns Afro Wool (100% wool; 277 m (303 yds) / 50 g) in Black.

Substitute a 2-ply wool (light) fingering to sport weight yarn in a solid or tonal colorway for a similar result.

Materials

  • In the sample shawl: Size 4 mm (US 6) / 80 cm (32 inches) circular needles. Use needles appropriate for the yarn chosen.
  • 4 stitch markers to indicate the center stitch and the edge stitches.
  • Stitch markers to indicate repeats of the lace patterning (optional)
  • Yarn needle
mamaku Read More »

tutorial – the standard knitted bind-off

Working the standard knitted bind-off

This particular bind-off is the one most knitters learn first, and with good reason: it’s a very versatile bind-off that can be used in both knit and purl variations. This makes it my go-to bind-off when a pattern instructs me to bind-off “in pattern”. That said, in this tutorial, I will focus only on the knit variation, to work this in purl, just replace all knits by purls!

But I’m getting ahead of myself. The standard knitted bind-off creates a lovely edge, that is perfect for seaming, picking up stitches or doing “pick up and knit” for further finishing. Think for example of knitting a button band for a cardigan. That said, while this bind-off has some elasticity, it can be hard to get the tension exactly right. It’s not advised to use for edges that need a lot of stretch, like the ribbing of toe-up socks. If you know you’re a tight knitter, it may be a good idea to go up a needle size when doing this bind-off. Likewise, if you’re a very loose knitter, you may want to drop down a size.

Materials used

Yarn: Paintbox Yarns Simply DK, a good value, good quality 100% acrylic yarn, here in the color 125 Spearmint Green.

Knitting needles: This is a pair of straights that I picked up at the second-hand store when I started knitting, brand unknown.

The standard knitted bind-off step by step

In patterns, you may see the following instruction for this bind-off:
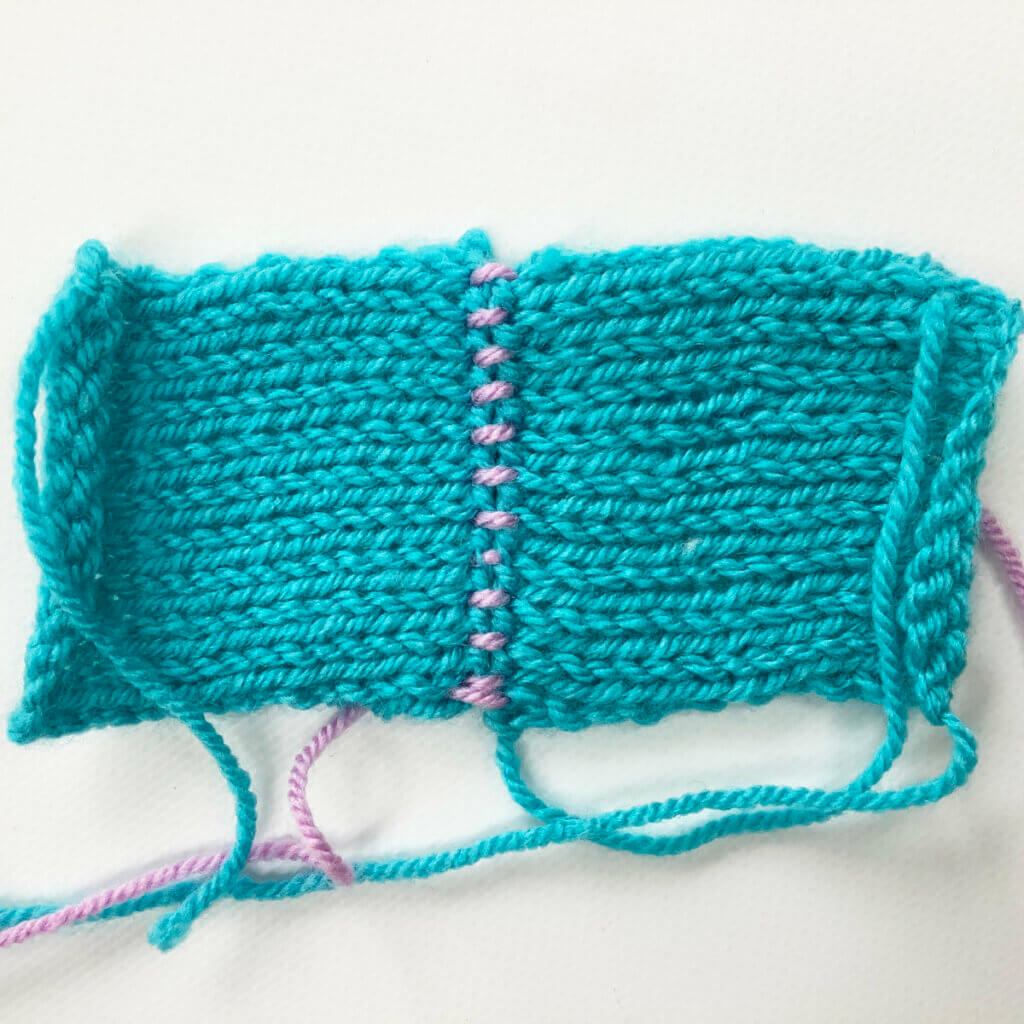
K1, *k1, insert tip of the left-hand needle into first stitch on the right-hand needle, pass this stitch over the second stitch; repeat from * to end.
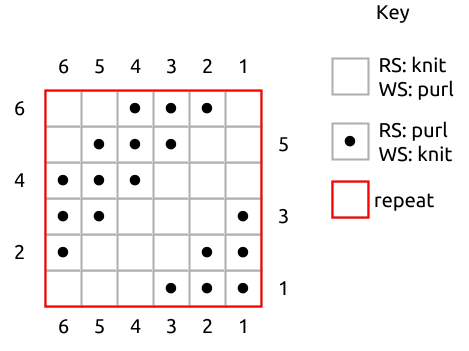
Below I’ll show you step by step how this looks like in knitting!

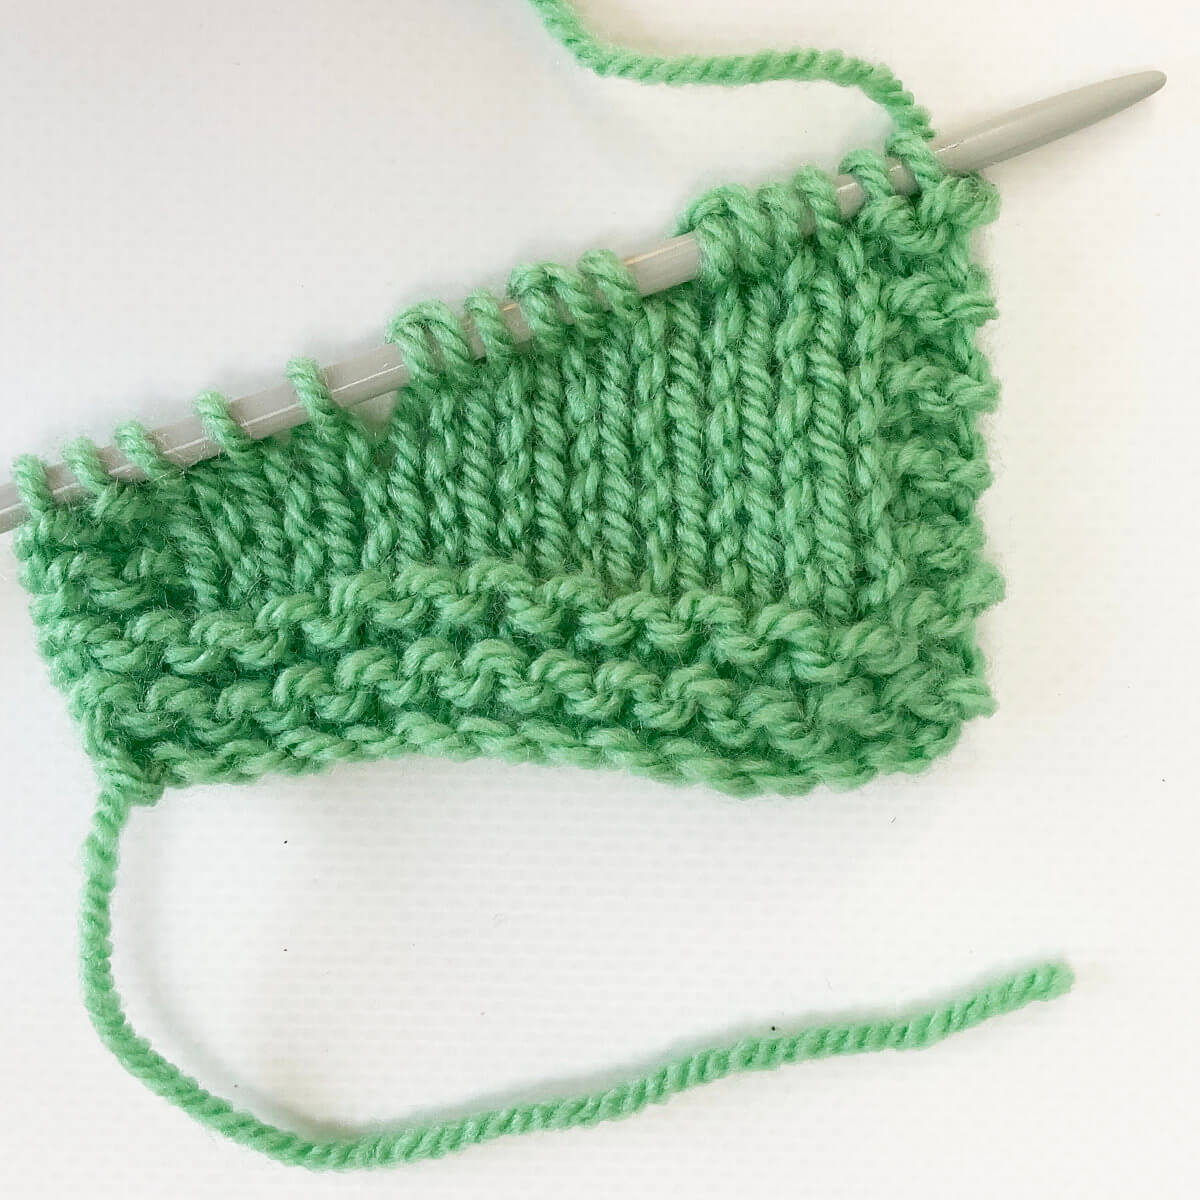
  1. To start, take the piece of knitting you want to bind-off.

    In this case I’m using the swatch I made for the Double Lace Rib stitch pattern.Step 1

  2. Knit the first stitch on the left-hand needle.

    Step 2

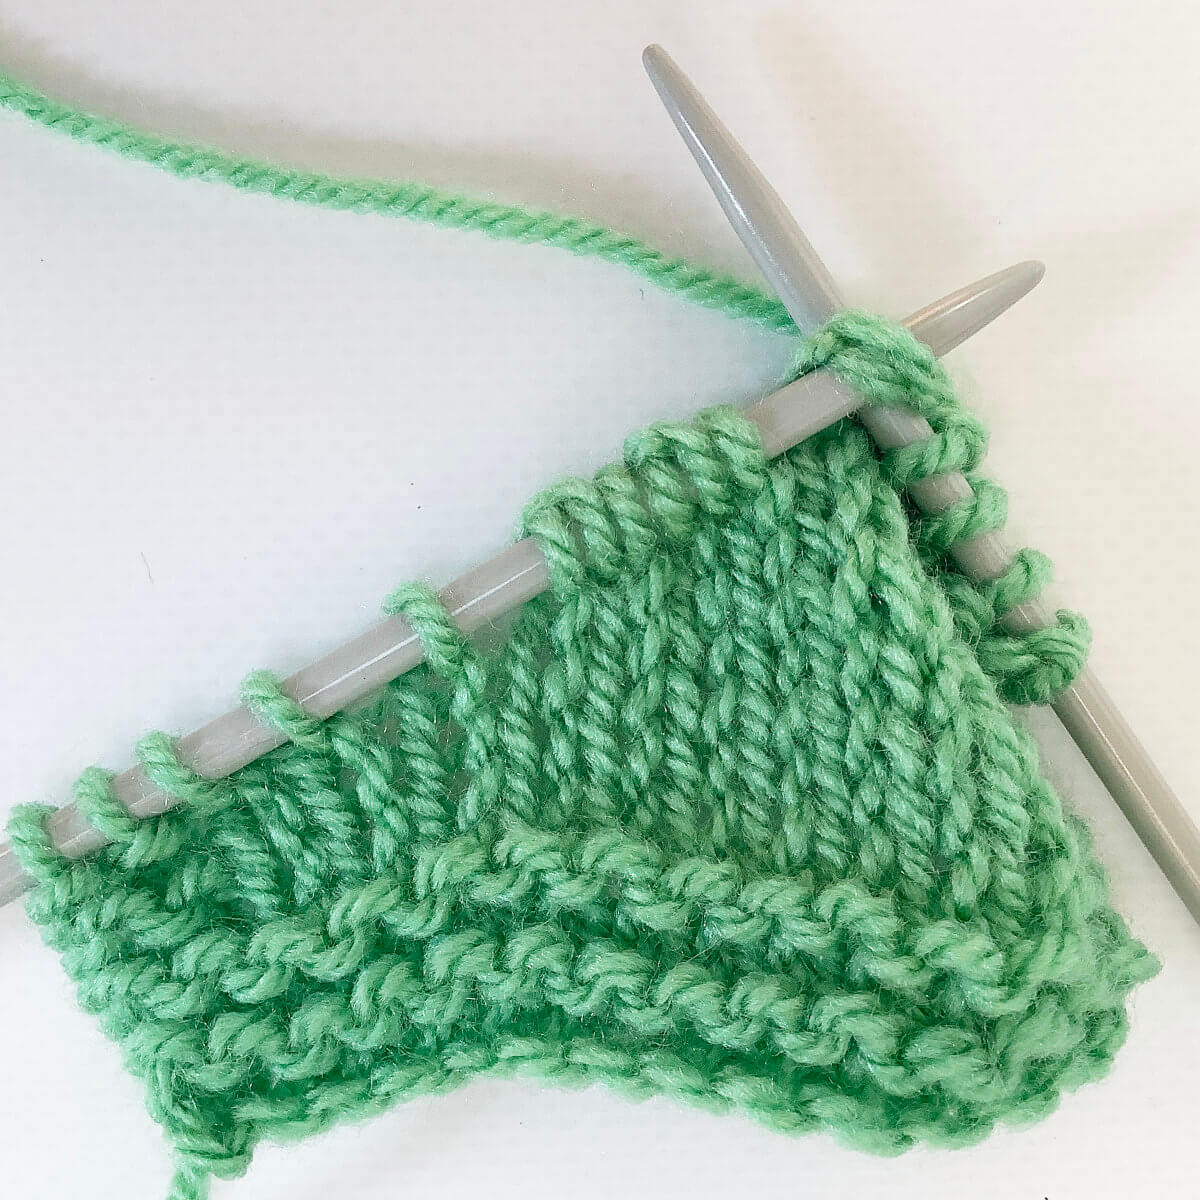
  3. Next, knit the new stitch nearest to the tip of the left-hand needle.

    Step 3

  4. Insert the tip of the left-hand needle into the second stitch on the right-hand needle….
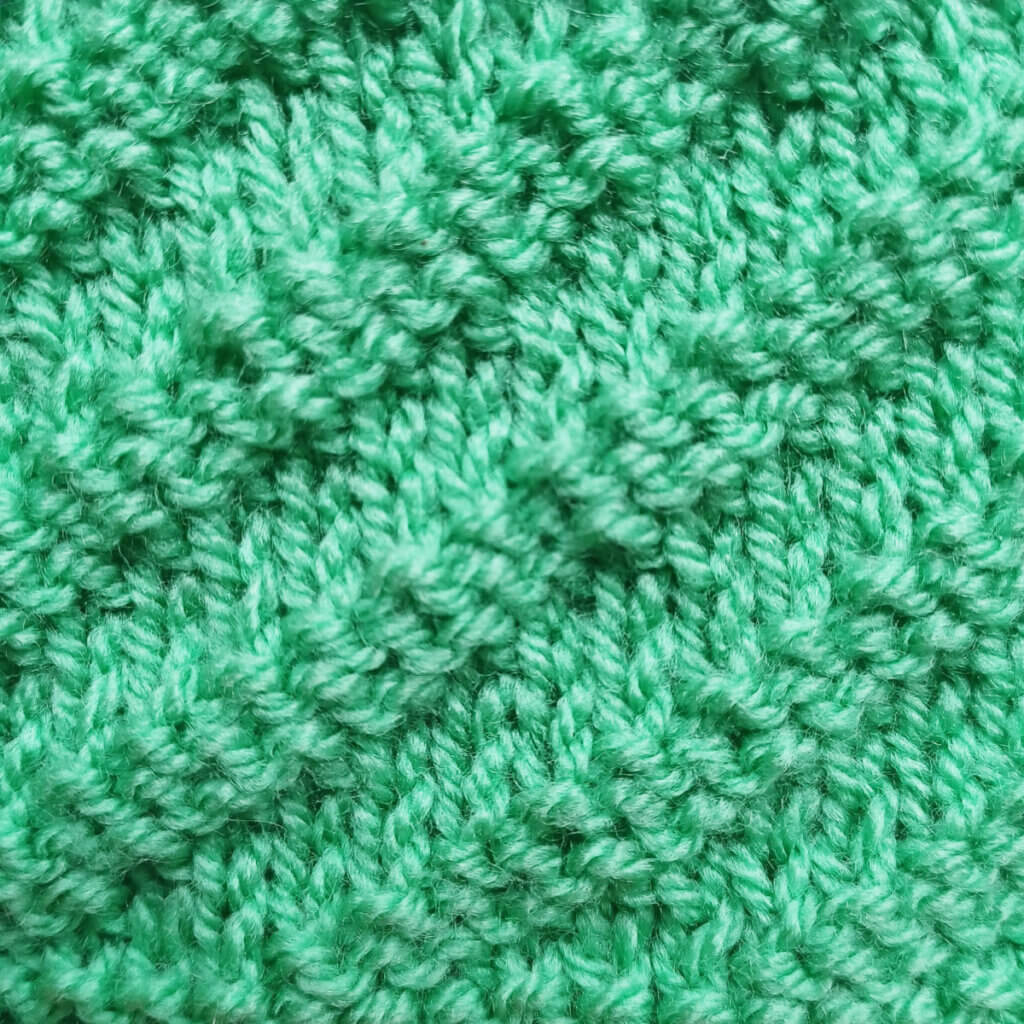
    Step 4

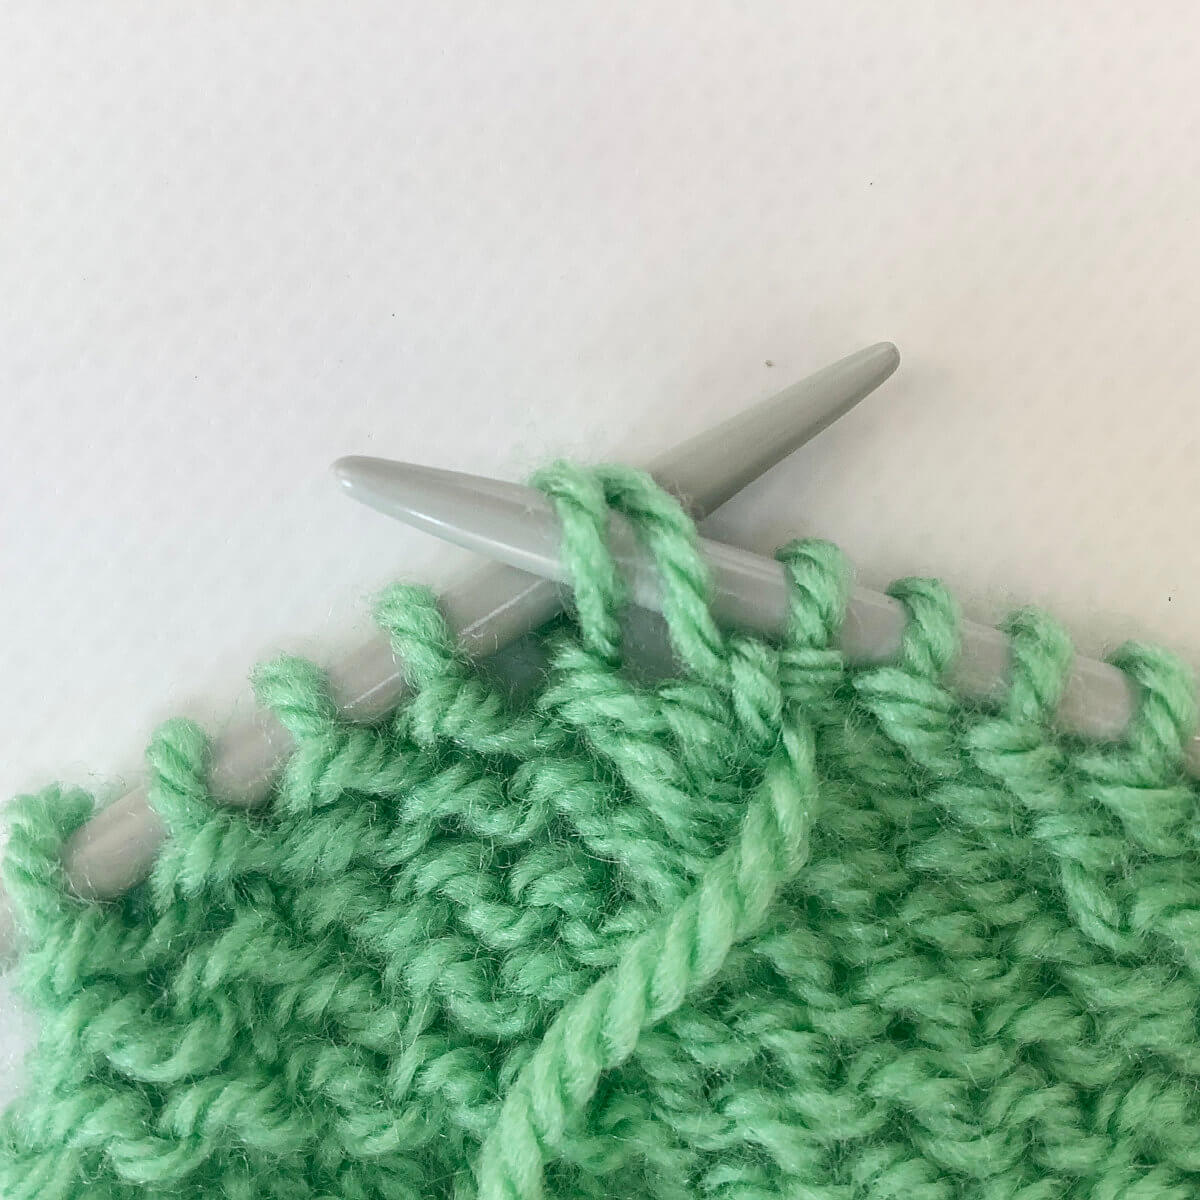
  5. …., and pass this second stitch over the first one.

    You have now bound-off a stitch!Step 5

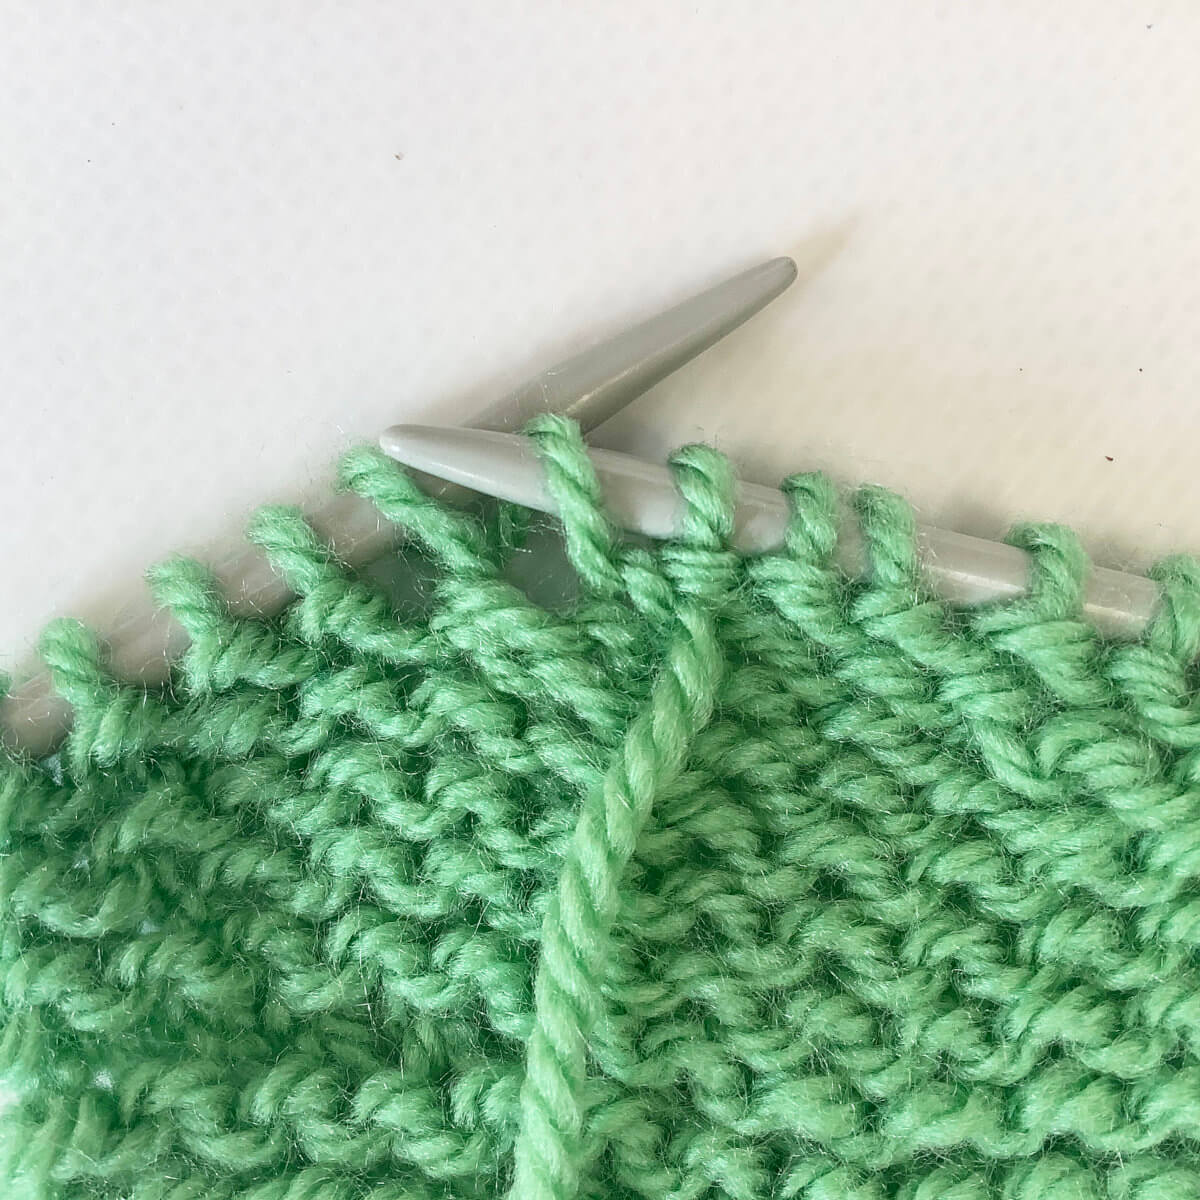
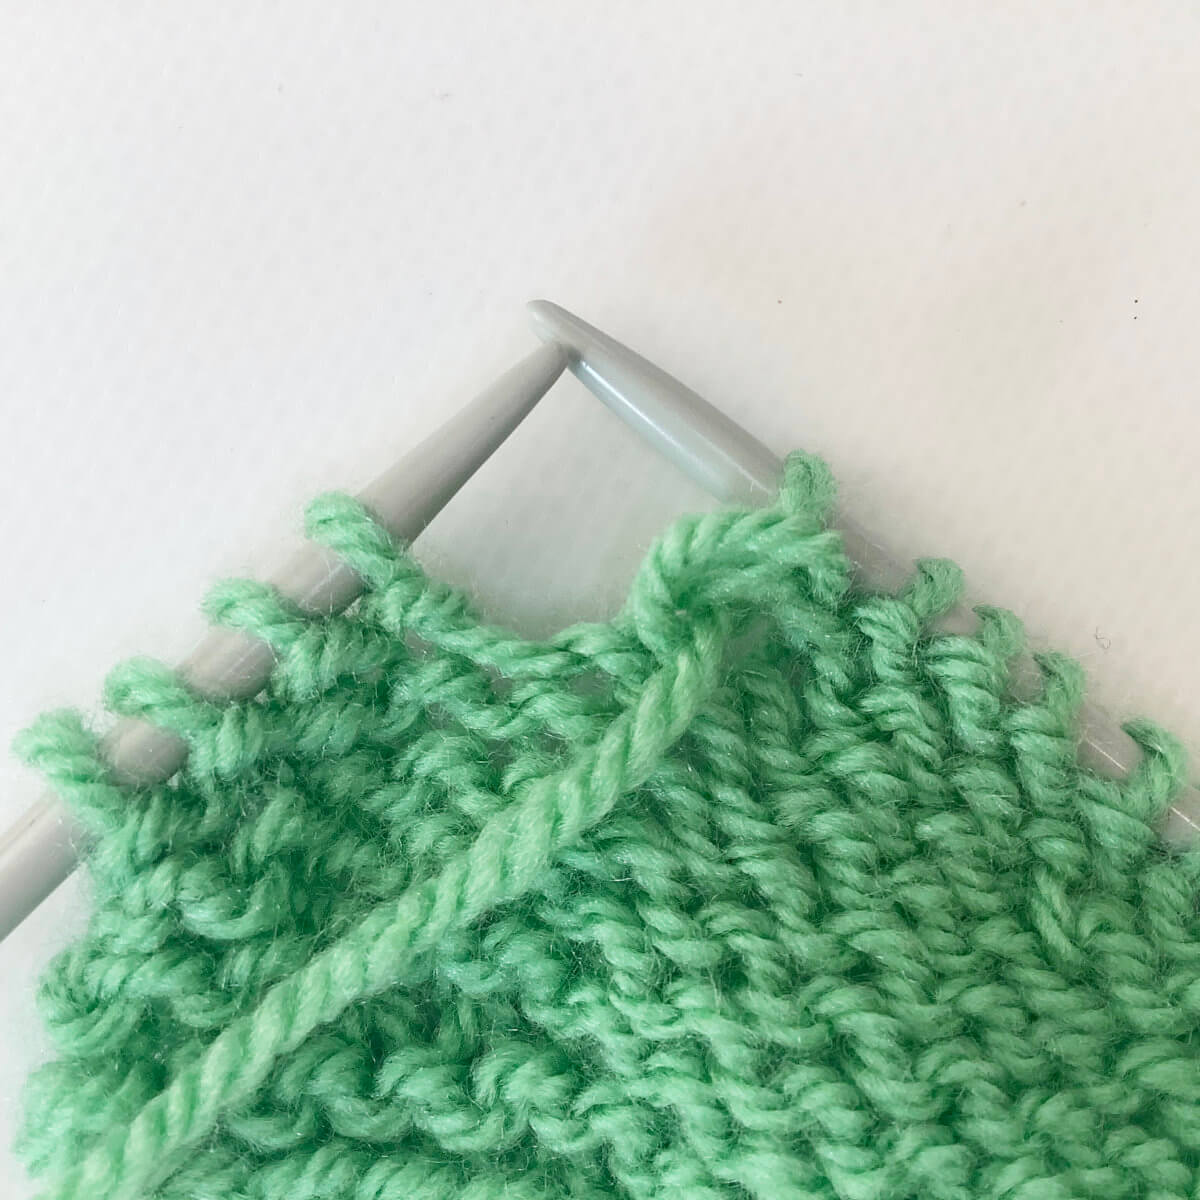
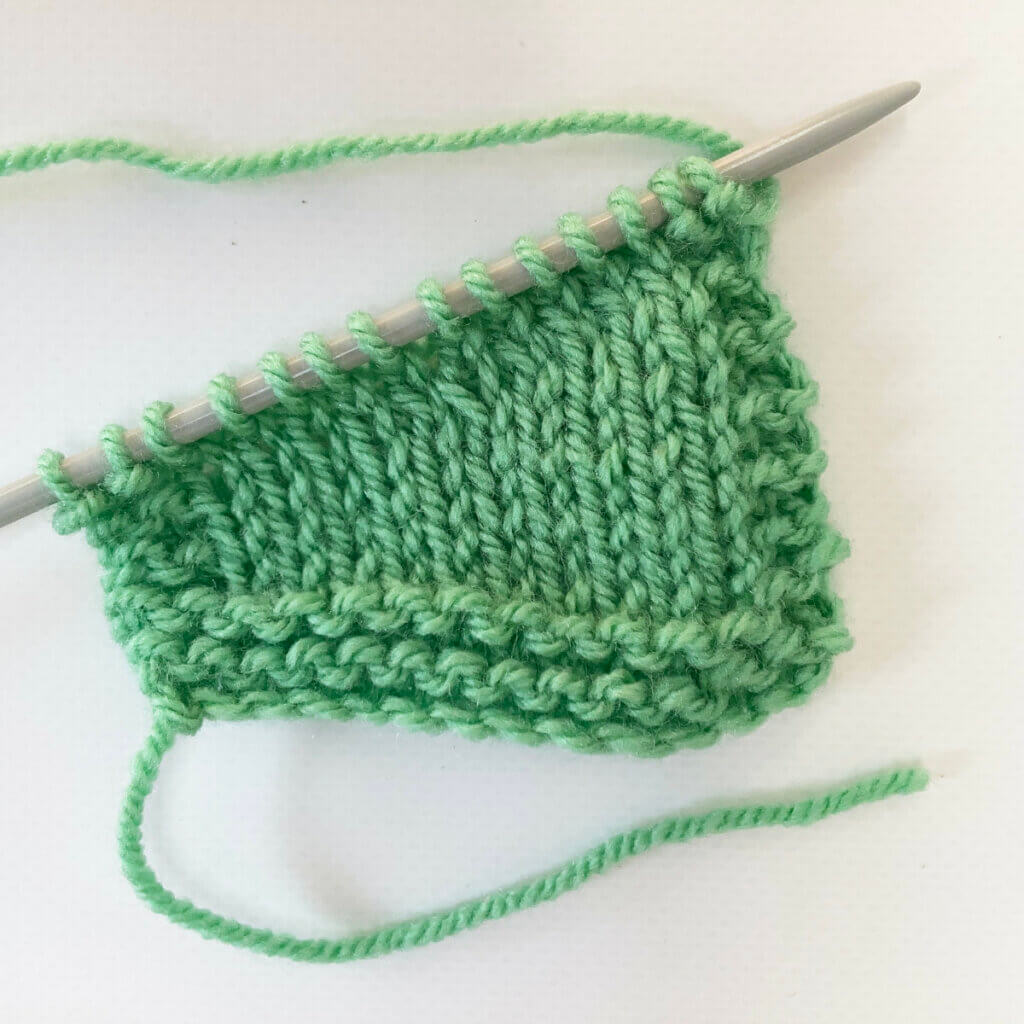
  6. Repeat steps 3-5 until all stitches have been bound-off.

    Midway, it will look something like this:Step 6

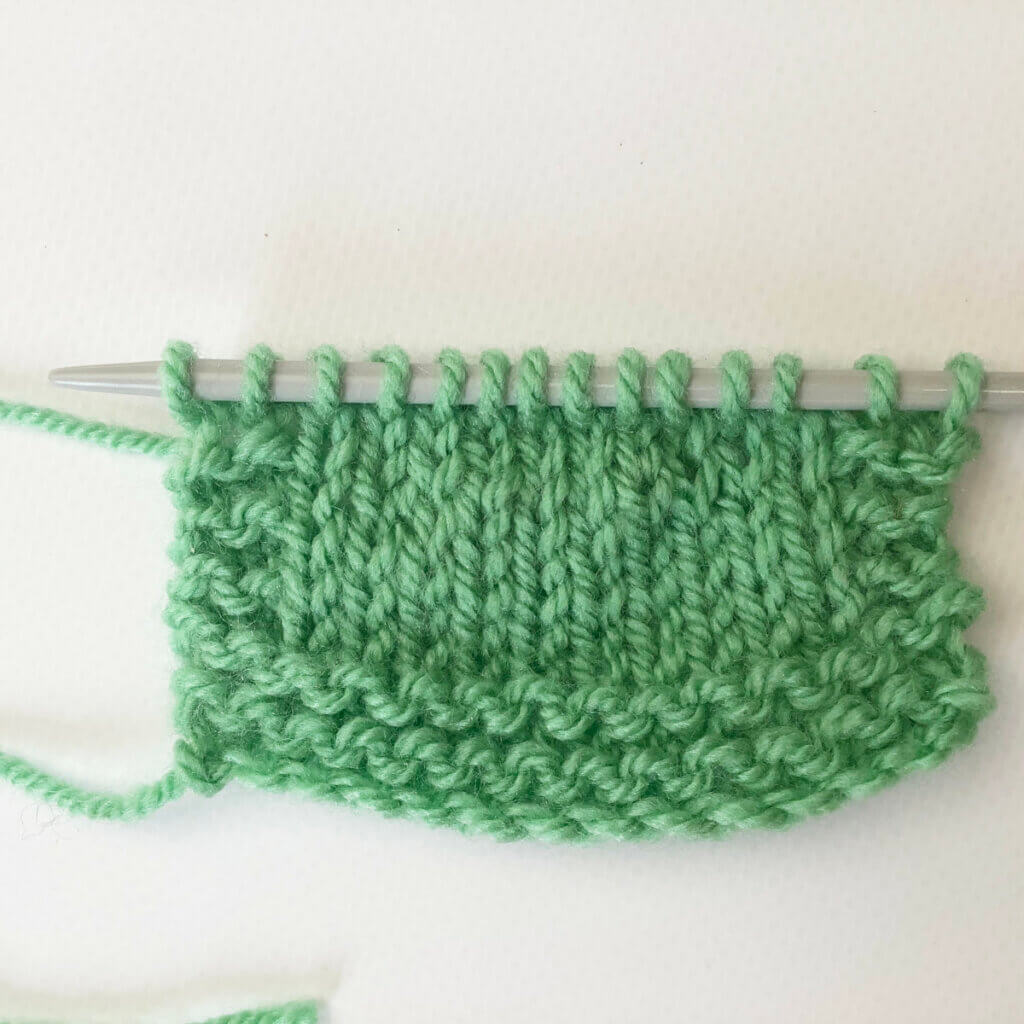
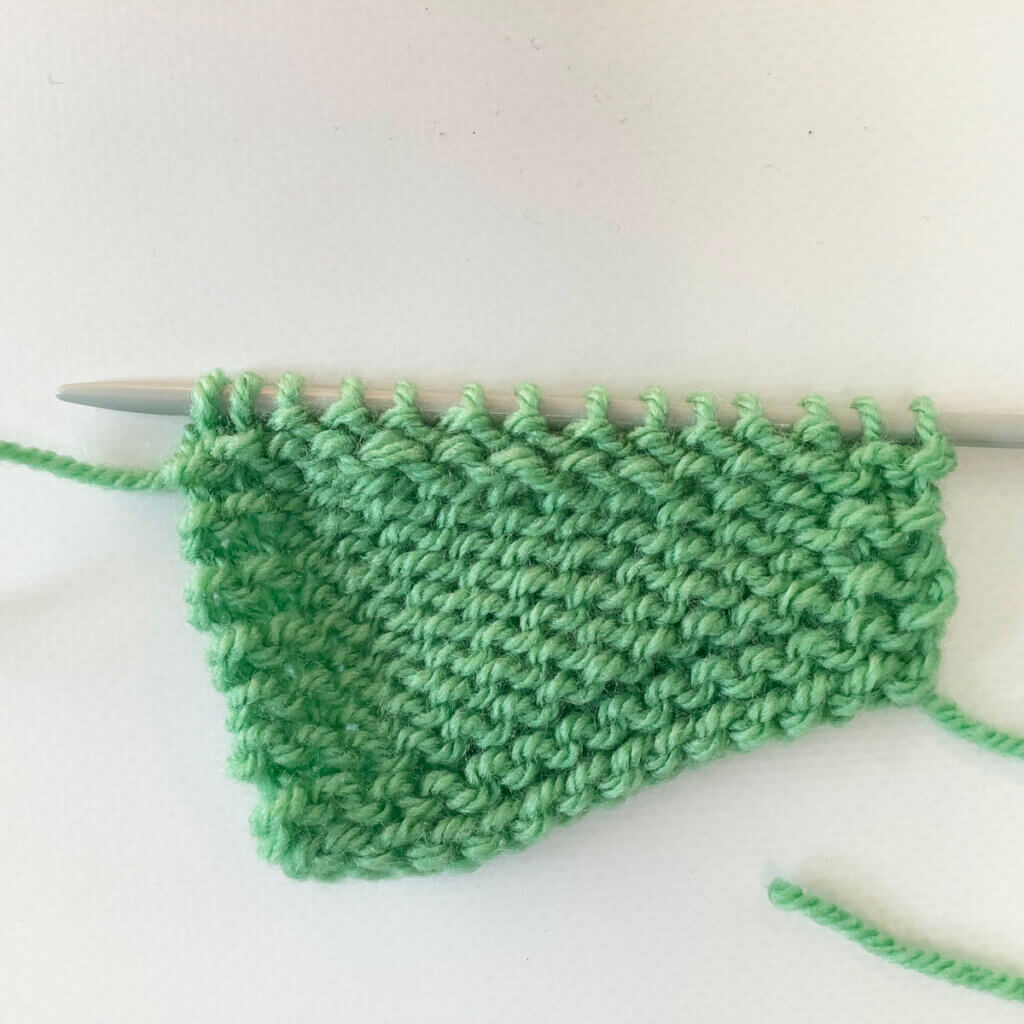
And here also a picture of the resulting edge. Pretty, isn’t it?!

The Standard Knitted Bind-Off - the result
Patreon logo

Thanks to my Patreon supporters for bringing you this freebie! Creating quality patterns and tutorials is a lot of work and resource-intensive. However, I find it important to give you free content like this tutorial. Thanks to the generous support of my Patreon supporters, I can make it happen. Thank you, patrons! Click here to join, or click here to read more about La Visch Designs on Patreon.

tutorial – the standard knitted bind-off Read More »

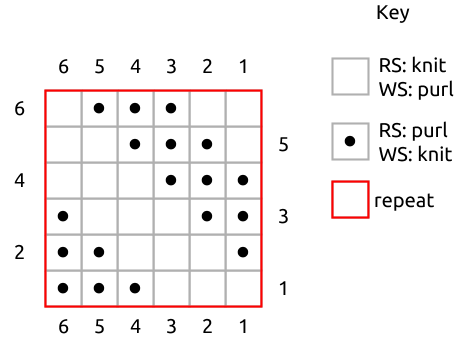
stitch pattern – double lace rib

Stitch pattern - Double Lace Rib

This post is about working the double lace rib stitch pattern. It works well both as an insert or as all-over patterning. This stitch pattern is worked on both right side and wrong side rows, and is a multiple of 6 + 2 stitches.

Materials used

Yarn: Paintbox Yarns Simply DK, a good value, good quality 100% acrylic yarn, here in the color 125 Spearmint Green.

Knitting needles: This is a pair of straights that I picked up at the second-hand store when I started knitting, brand unknown.

Stitches used

Double Lace Rib stitch pattern instructions

Row 1 (right side): K2, *p1, yo, k2tog tbl, p1, k2; rep from * to end.

Row 2: (wrong side): P2, *k1, p2; rep from * to end.

Row 3: K2, *p1, k2tog, yo, p1, k2; rep from * to end.

Row 4: P2, *k1, p2; rep from * to end.

Repeat rows 1-4 for pattern.

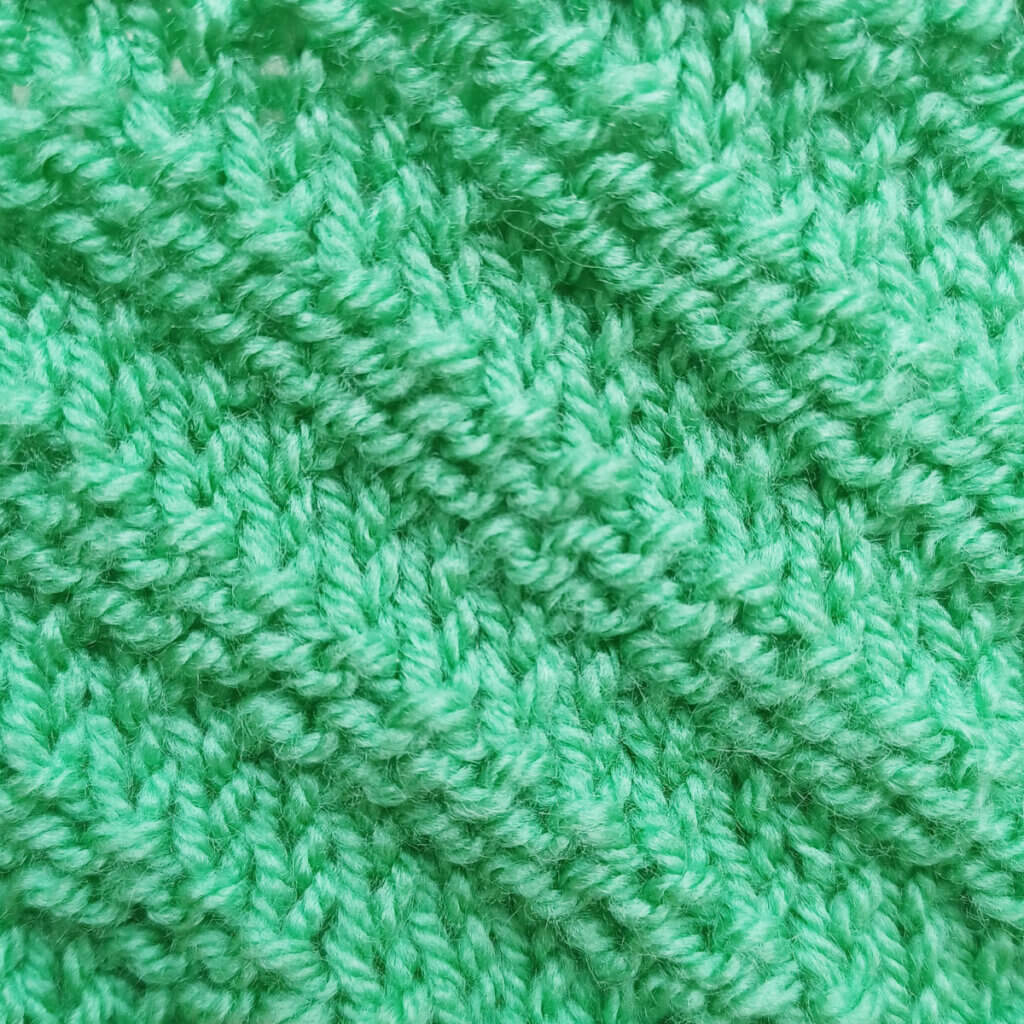
Double Lace Rib stitch pattern
Patreon logo

Thanks to my Patreon supporters for bringing you this freebie! Creating quality patterns and tutorials is a lot of work and resource-intensive. However, I find it important to give you free content like this tutorial. Thanks to the generous support of my Patreon supporters, I can make it happen. Thank you, patrons! Click here to join, or click here to read more about La Visch Designs on Patreon.

stitch pattern – double lace rib Read More »

tutorial – working a k2tog tbl

Working a k2tog tbl

In this tutorial, I’ll show you how to work the k2tog tbl decrease. The abbreviation stands for “knit 2 stitches together through the back loop”. Basically, it’s the twisted version of the k2tog decrease. However, while the k2tog is a right-leaning decrease, k2tog tbl is a left-leaning decrease. It’s similar in appearance to the skp and ssk decreases.

Knitting the k2tog tbl decrease step by step

  1. First, take your project and work to the spot indicated in your pattern, where the decrease is supposed to be made.

    In this case, I’m working a stitch pattern in which I have to work a k2tog tbl directly after a YO, over the 2 stitches near the tip of the left-hand needle.Step 1

  2. Next, insert the tip of the right-hand needle into the first 2 stitches at the same time as if to knit through the back loop of these stitches.
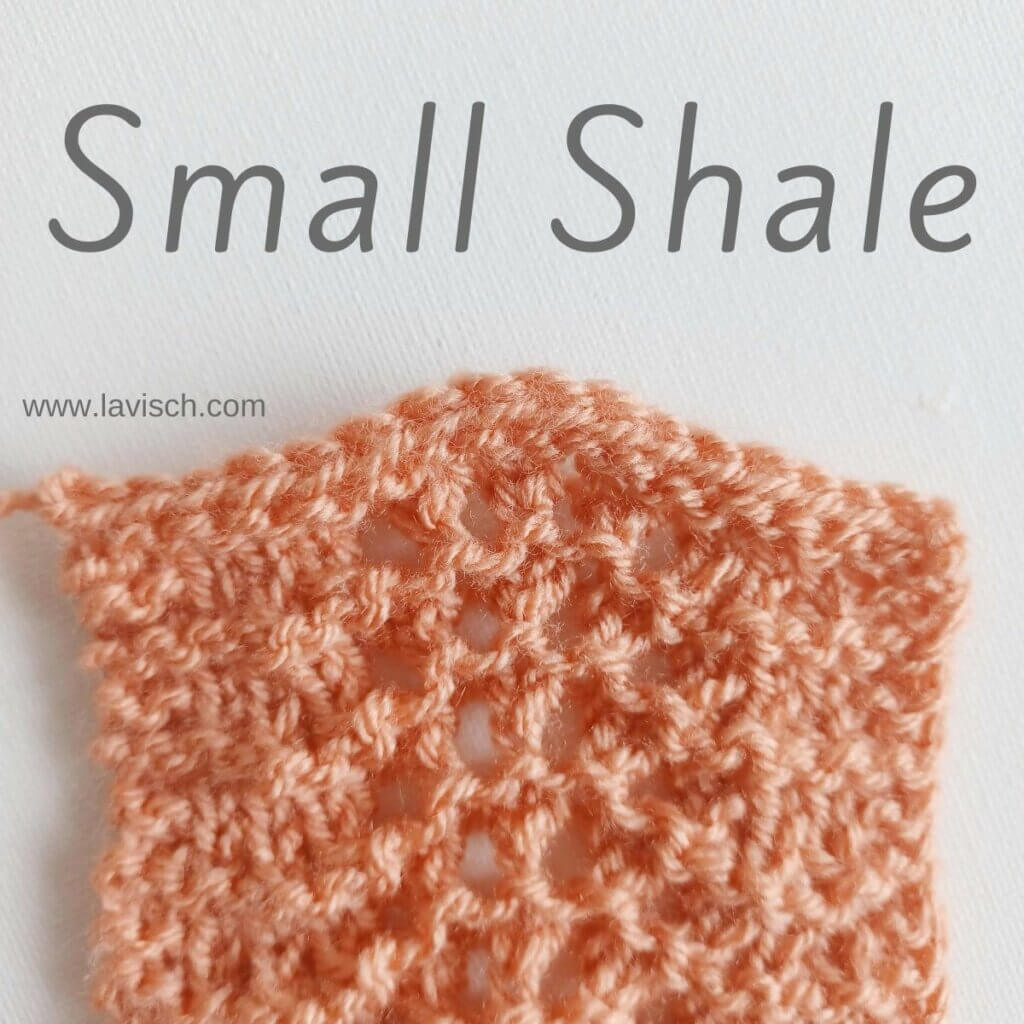
    This can be a tad hard to get right, I find it helps to pull the fabric down a bit.Step 2

  3. Wrap the yarn around the needle…

    Step 3

  4. …, and pull it through the stitches you inserted the right-hand needle in.

    step 4

  5. To finish the decrease, slip the original stitches of the left-hand needle.

    The k2tog tbl decrease finished

And this is how to work the k2tog tbl decrease!

Patreon logo

Thanks to my Patreon supporters for bringing you this freebie! Creating quality patterns and tutorials is a lot of work and resource-intensive. However, I find it important to give you free content like this tutorial. Thanks to the generous support of my Patreon supporters, I can make it happen. Thank you, patrons! Click here to join, or click here to read more about La Visch Designs on Patreon.

tutorial – working a k2tog tbl Read More »

tutorial – the cable cast-on
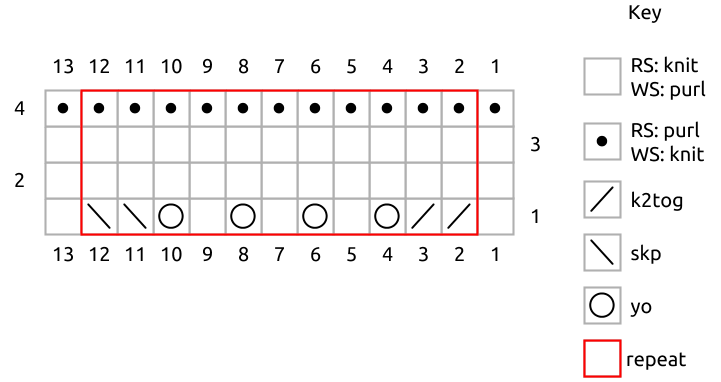
Working the cable cast-on
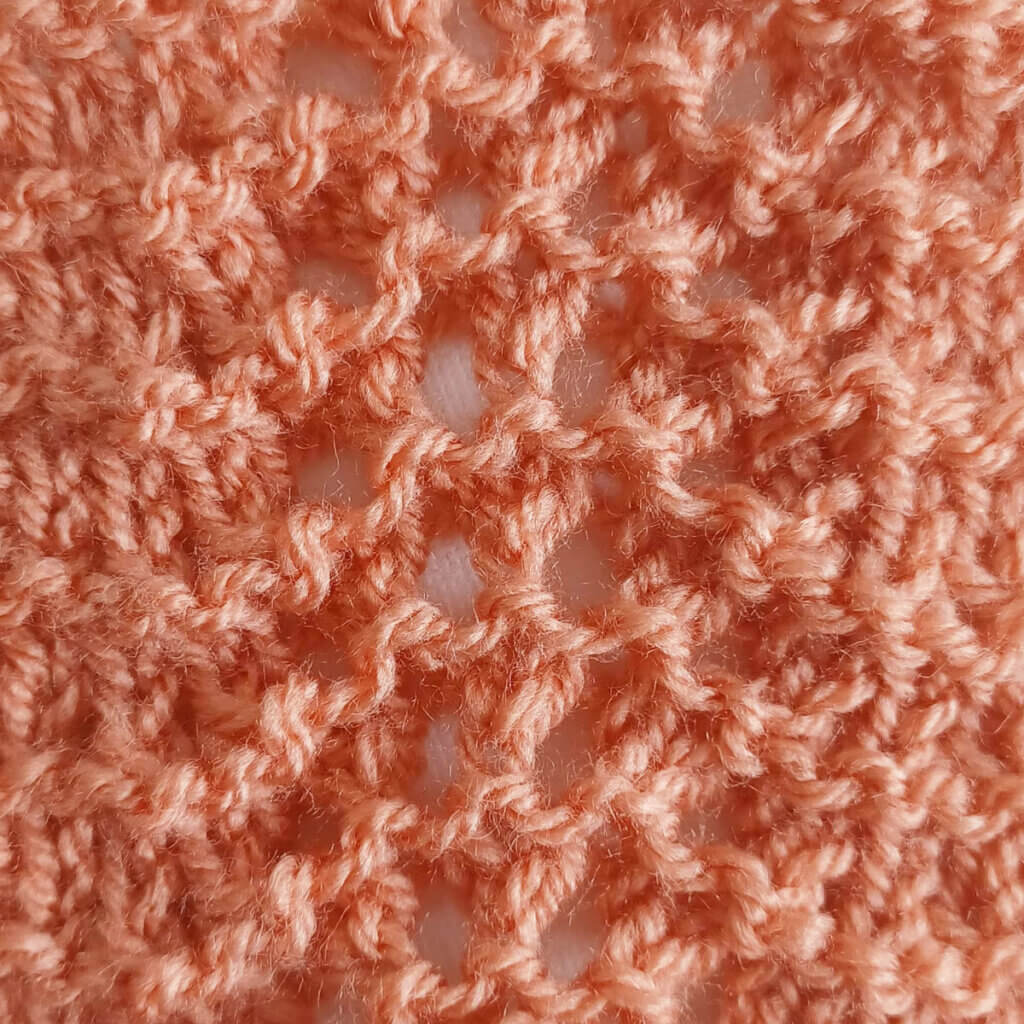
The cable cast-on is a cast-on very similar to the knitted on cast-on. It is worked similarly and creates a clean, and sturdy edge. It is, however, more firm and less stretchy; a very good choice for edges that benefit from that stability and don’t need any stretch. Take for example edges from which stitches are picked up and knit. For this reason, I personally wouldn’t use it for a knitting project that would be blocked heavily. For most other applications, though, it makes a very nice decorative edge. Think for example of edges of non-lace blankets.

This particular method is also great for the beginner knitter because it is basically the knit stitch that is used to cast on. In this post, I’ll show you how to do it!

Materials used

Yarn: Paintbox Yarns Simply DK, a good value, good quality 100% acrylic yarn, here in the color 125 Spearmint Green.

Knitting needles: This is a pair of straights that I picked up at the second-hand store when I started knitting, brand unknown.

The cable cast-on step by step

  1. Make a slip knot and place it on your needle.

    This forms the first stitch, make sure to leave enough on the tail of the yarn to weave in later. It is also possible not to use a slip knot and just loop the yarn around the needle for your first stitch, thus avoiding the knot in the corner of your work. For the sake of this tutorial, however, I’m going with the slip knot version.Step 1

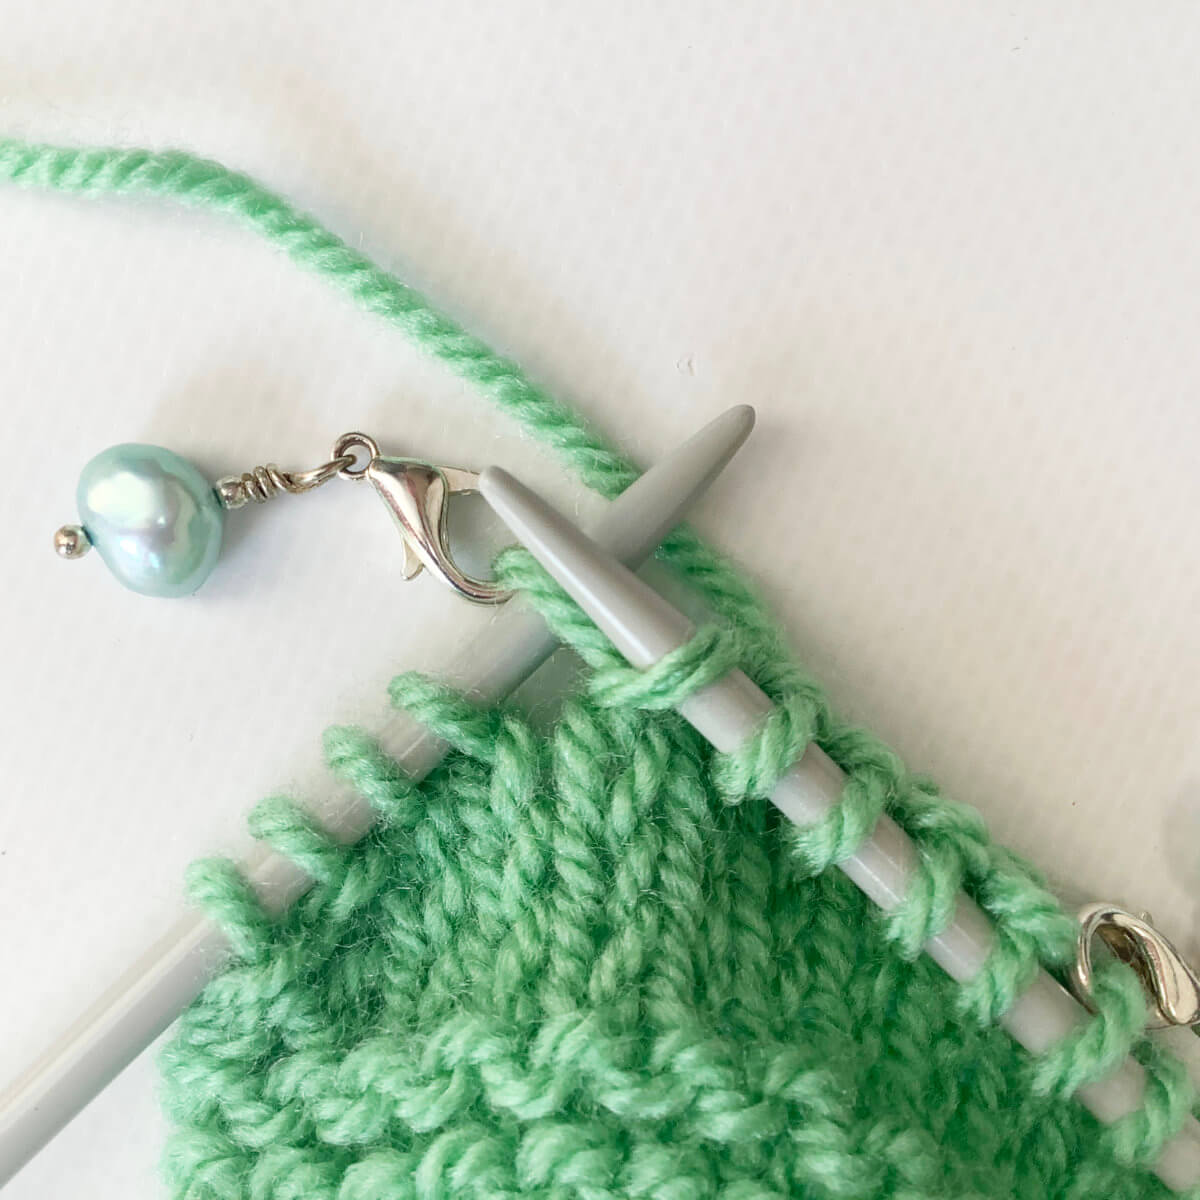
  2. Take your second needle and insert the tip into the stitch with the needle under your main needle.

    Insert at an angle, so your needles cross as pictured.Step 2

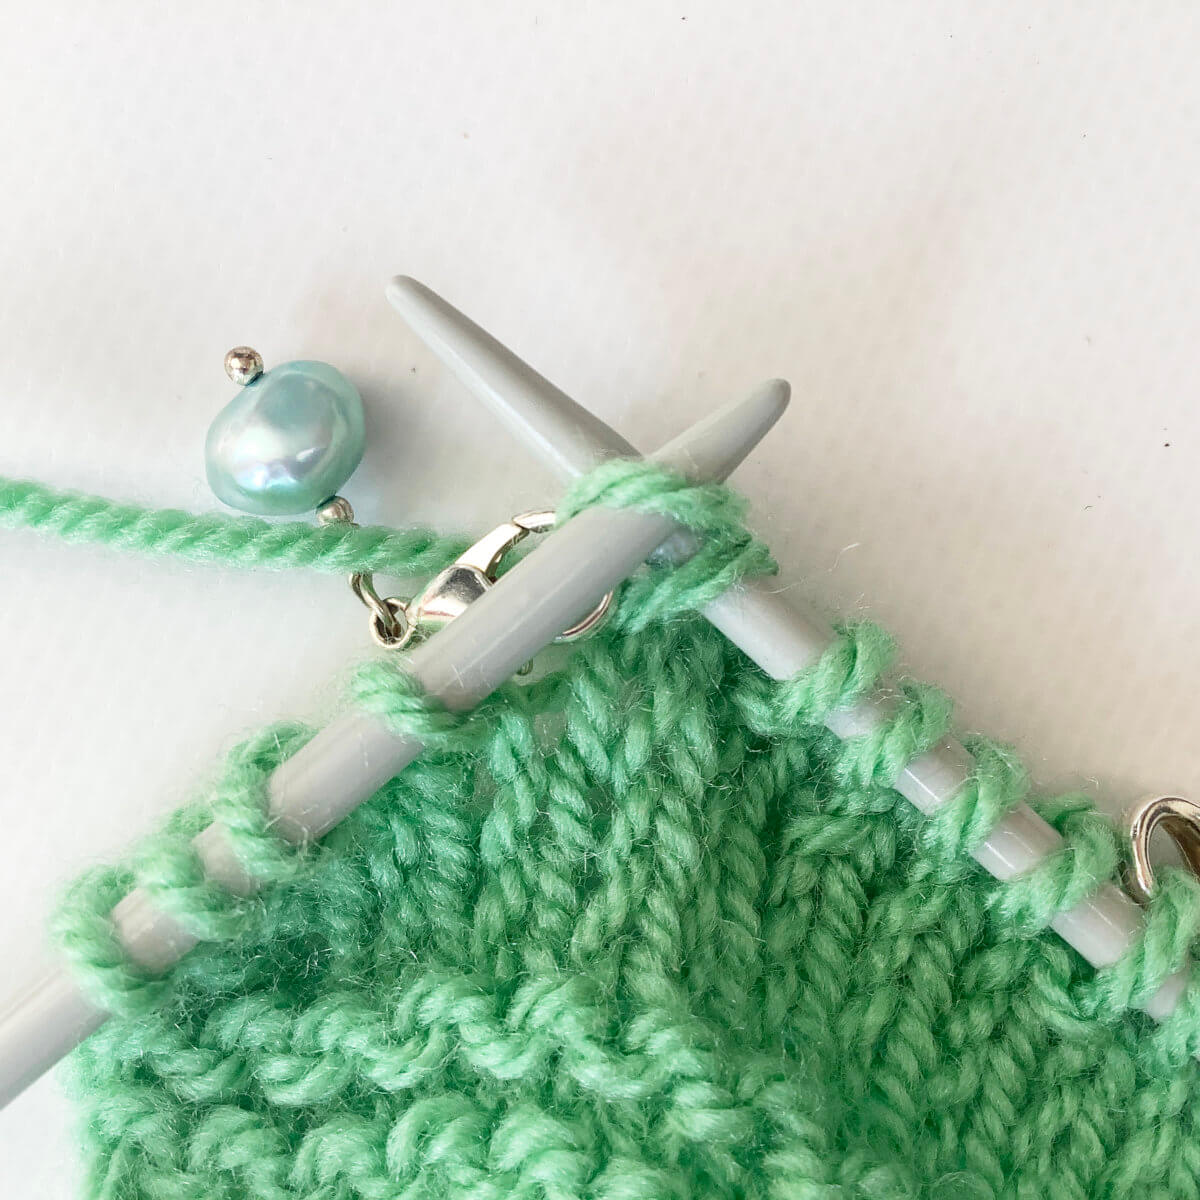
  3. Hold the crossed needles together, take the yarn connected to your ball and wrap it around the bottom needle: go around, and then over.

    Depending on your knitting style, this can be done with either your left or your right hand. The end result is however always the yarn wrapped around the needle as pictured.Step 3

  4. Take the bottom needle and bring it back through the stitch, pulling the yarn with it in a loop.

    Step 4

  5. Now transfer the new loop from the bottom needle to the other needle and tighten the yarn.

    You have now cast on a stitch!Step 5 of working a cable cast-on

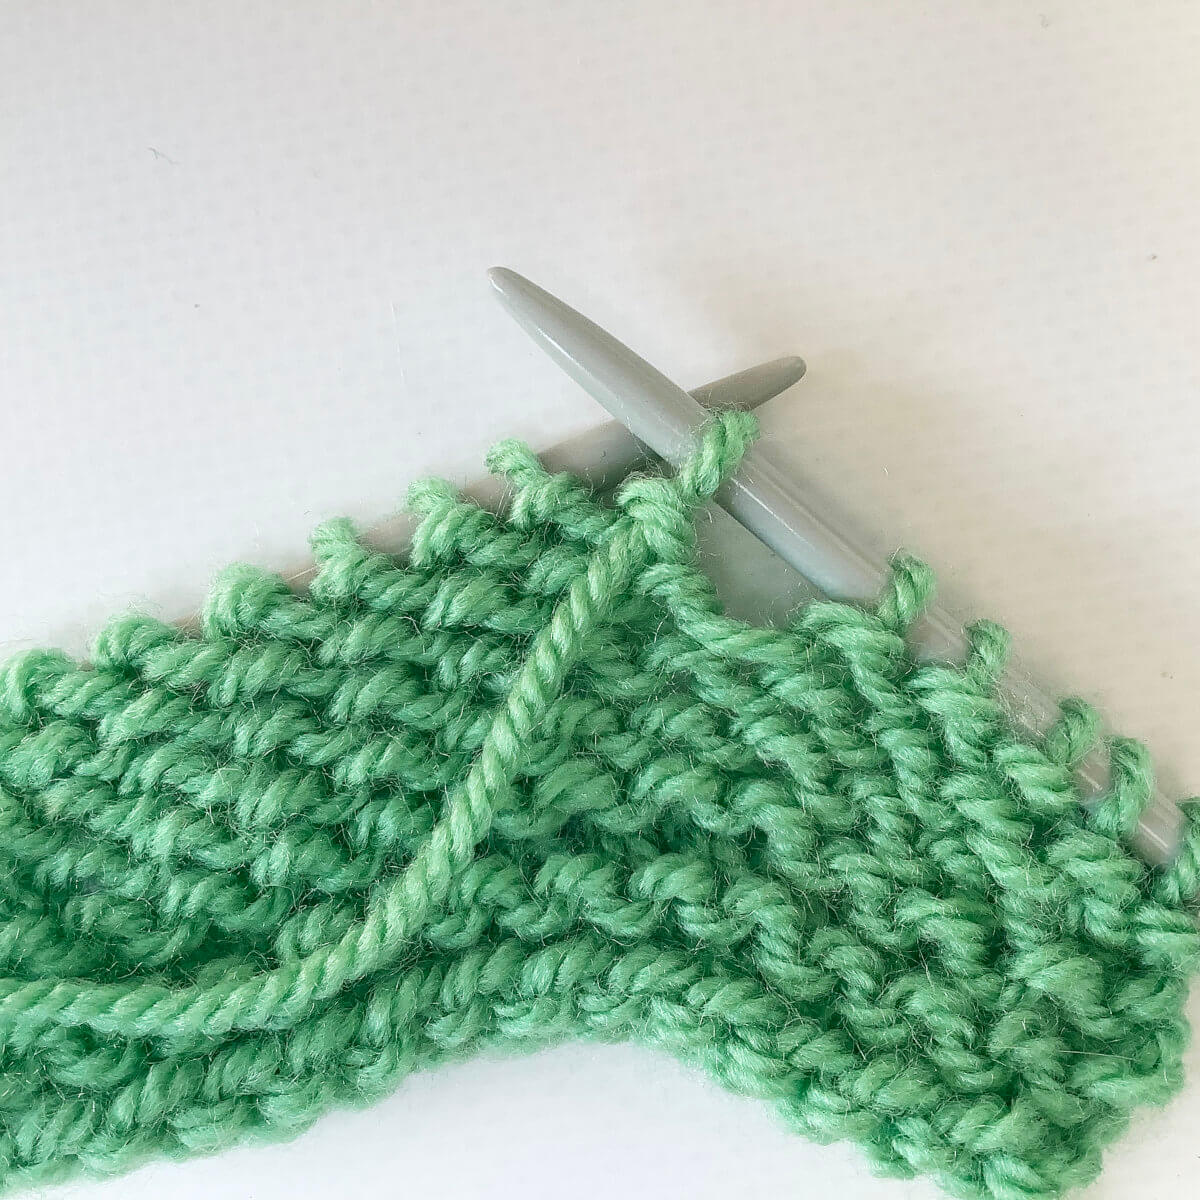
  6. Take your second needle and insert the tip in between the 2 stitches closest to the tip of the main needle.

    In this step, we’re deviating from the knitted-on cast-on.Step 6

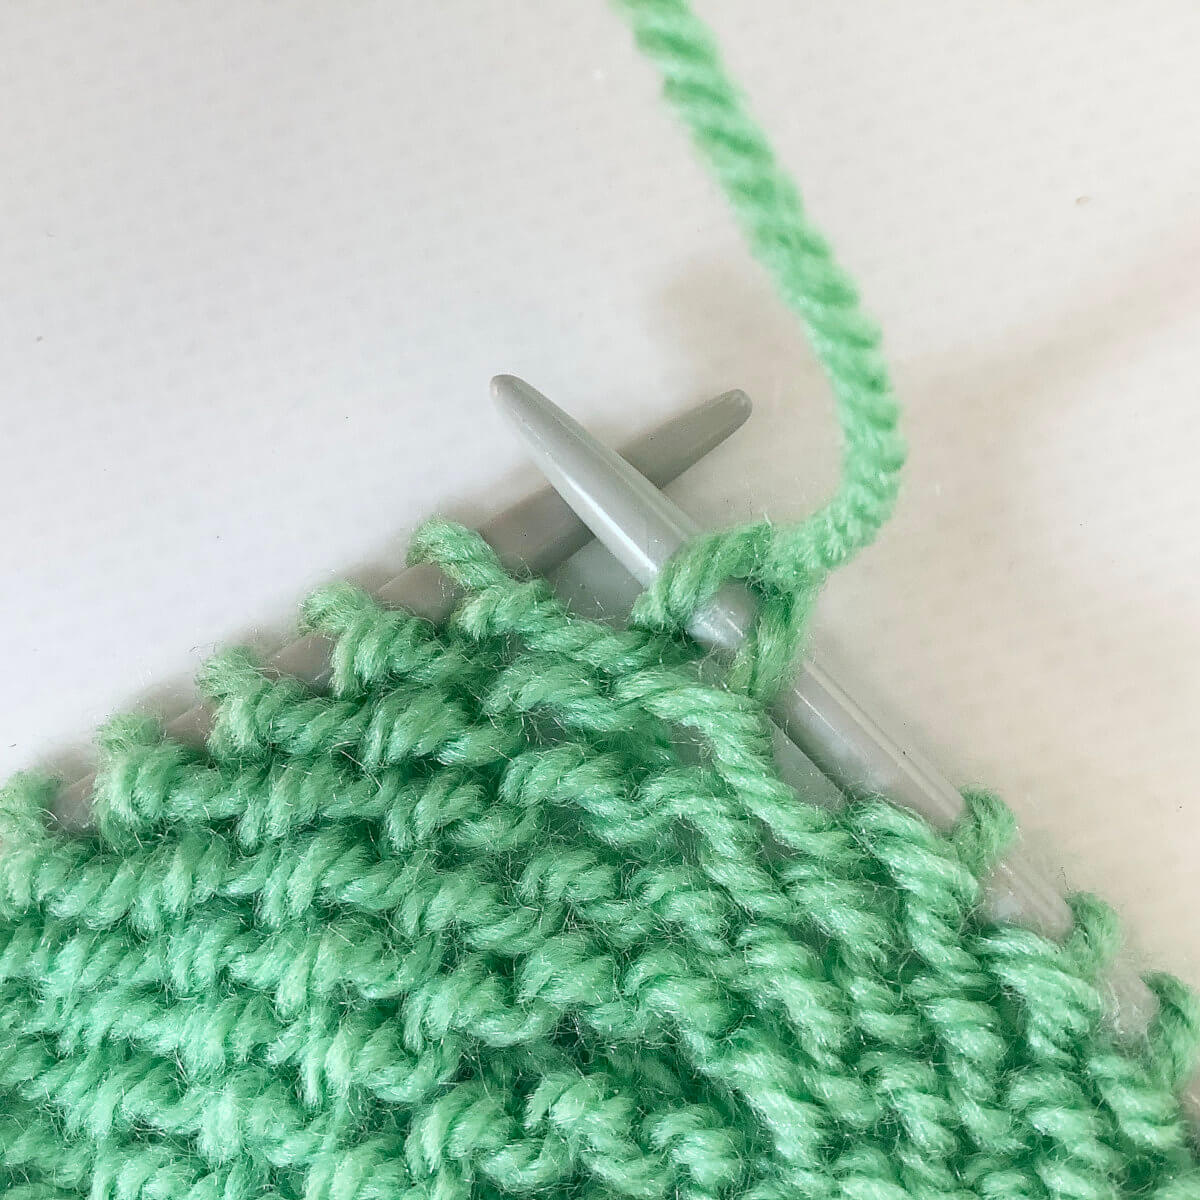
  7. Wrap the yarn around the needle….

    Step 7

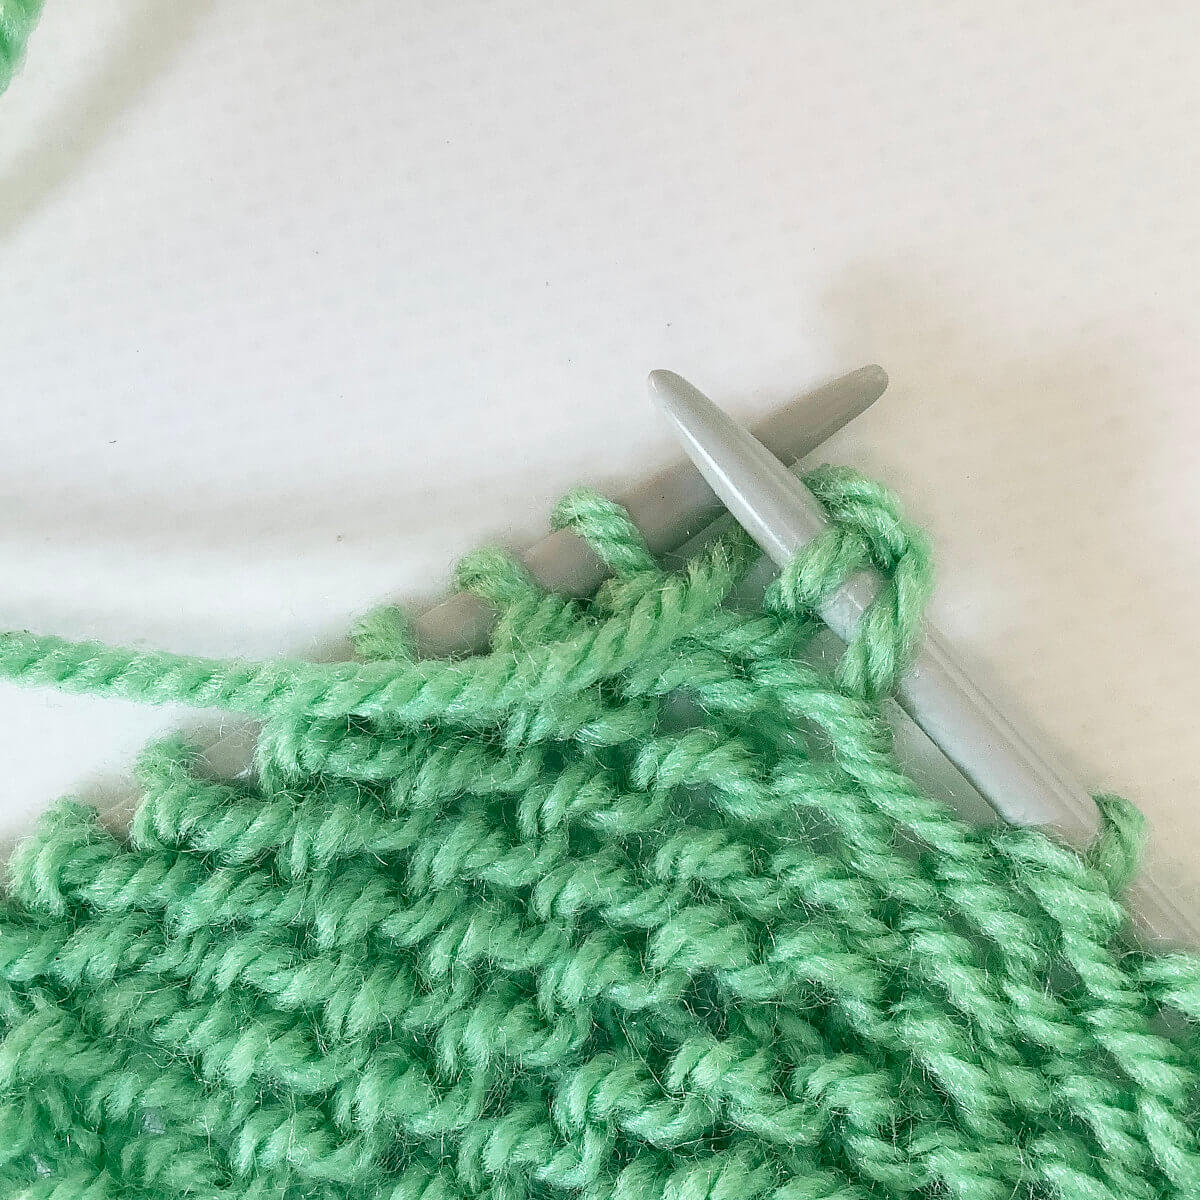
  8. … and pull it through the stitch.

    Step 8

  9. To finish adding the new stitch, place it on the main needle.

    Step 9

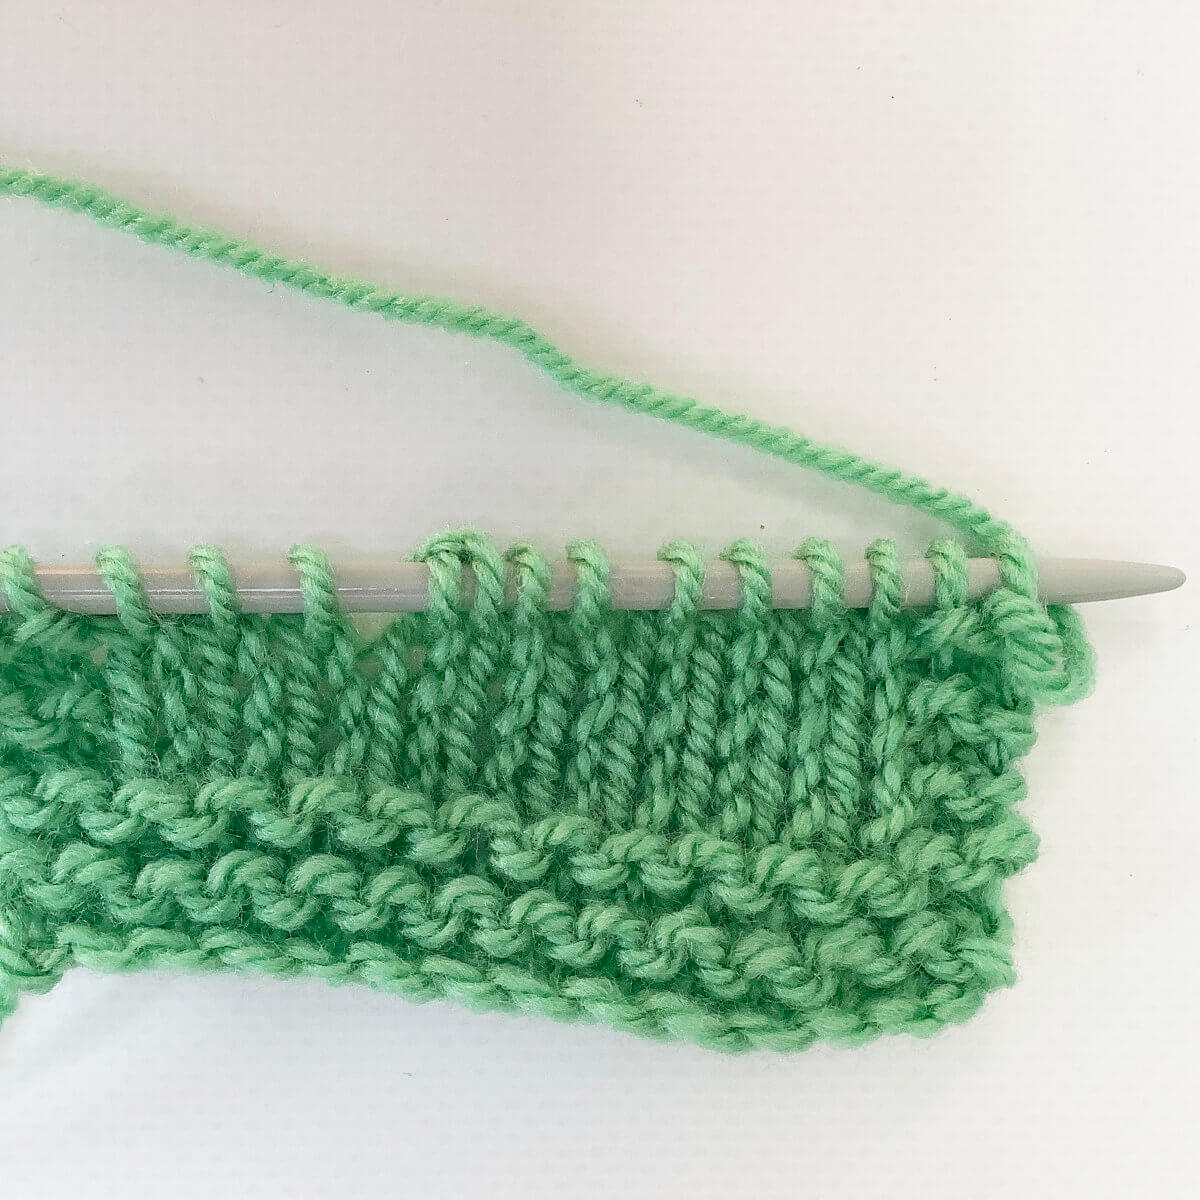
  10. Repeat steps 6-9 until you have reached the desired amount of stitches on your needle.

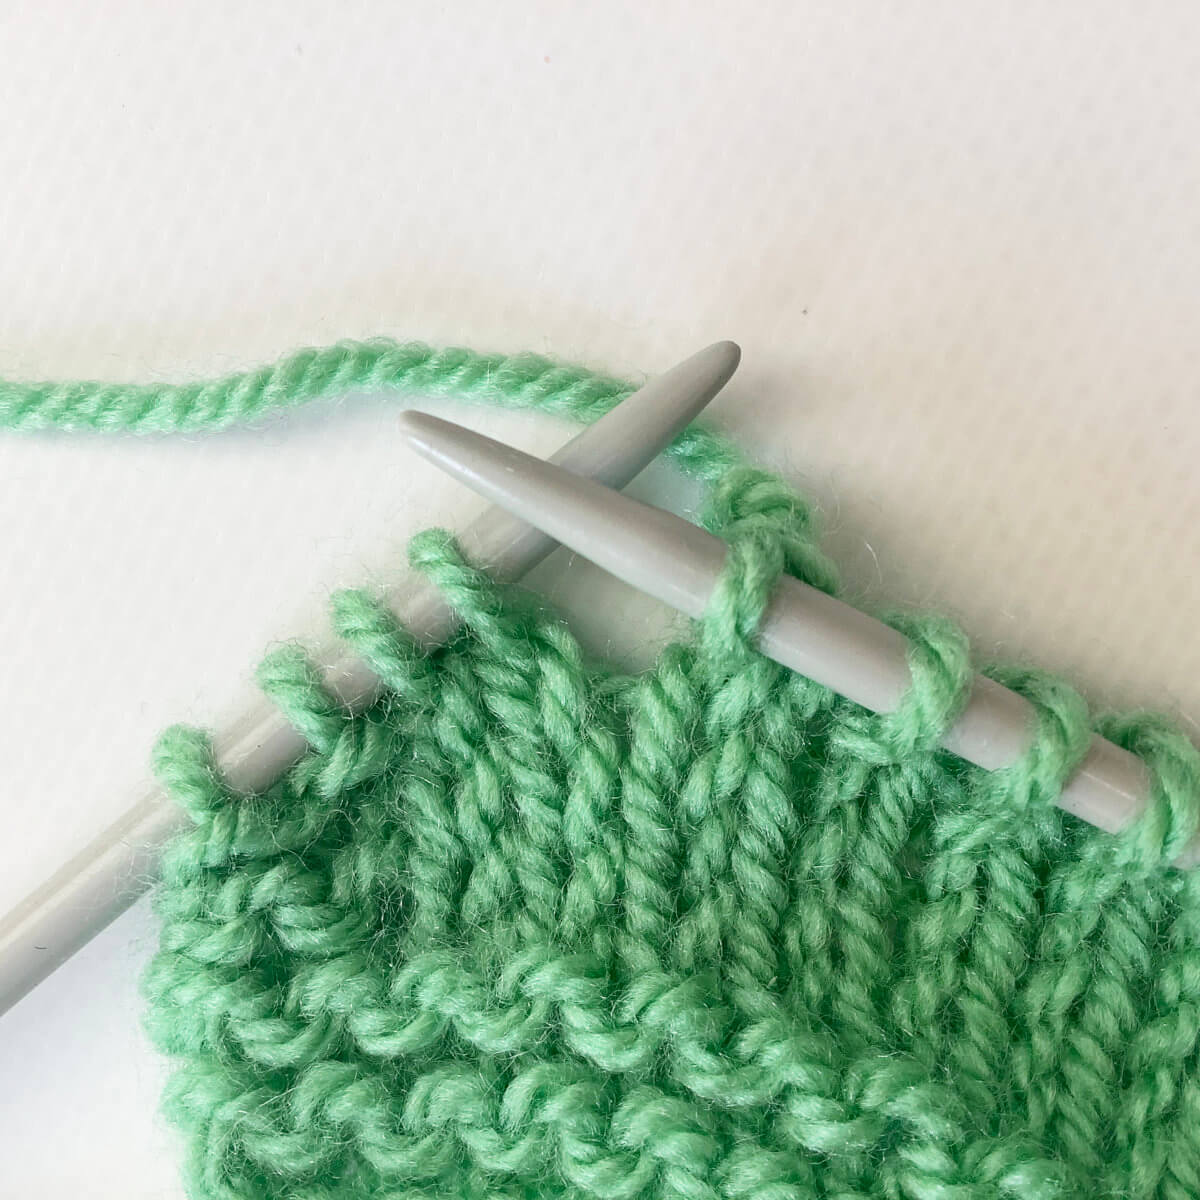
    This is how it looks from the RS of the work, after a couple rows have been worked in garter stitch.The result of the cable cast-on from the RS

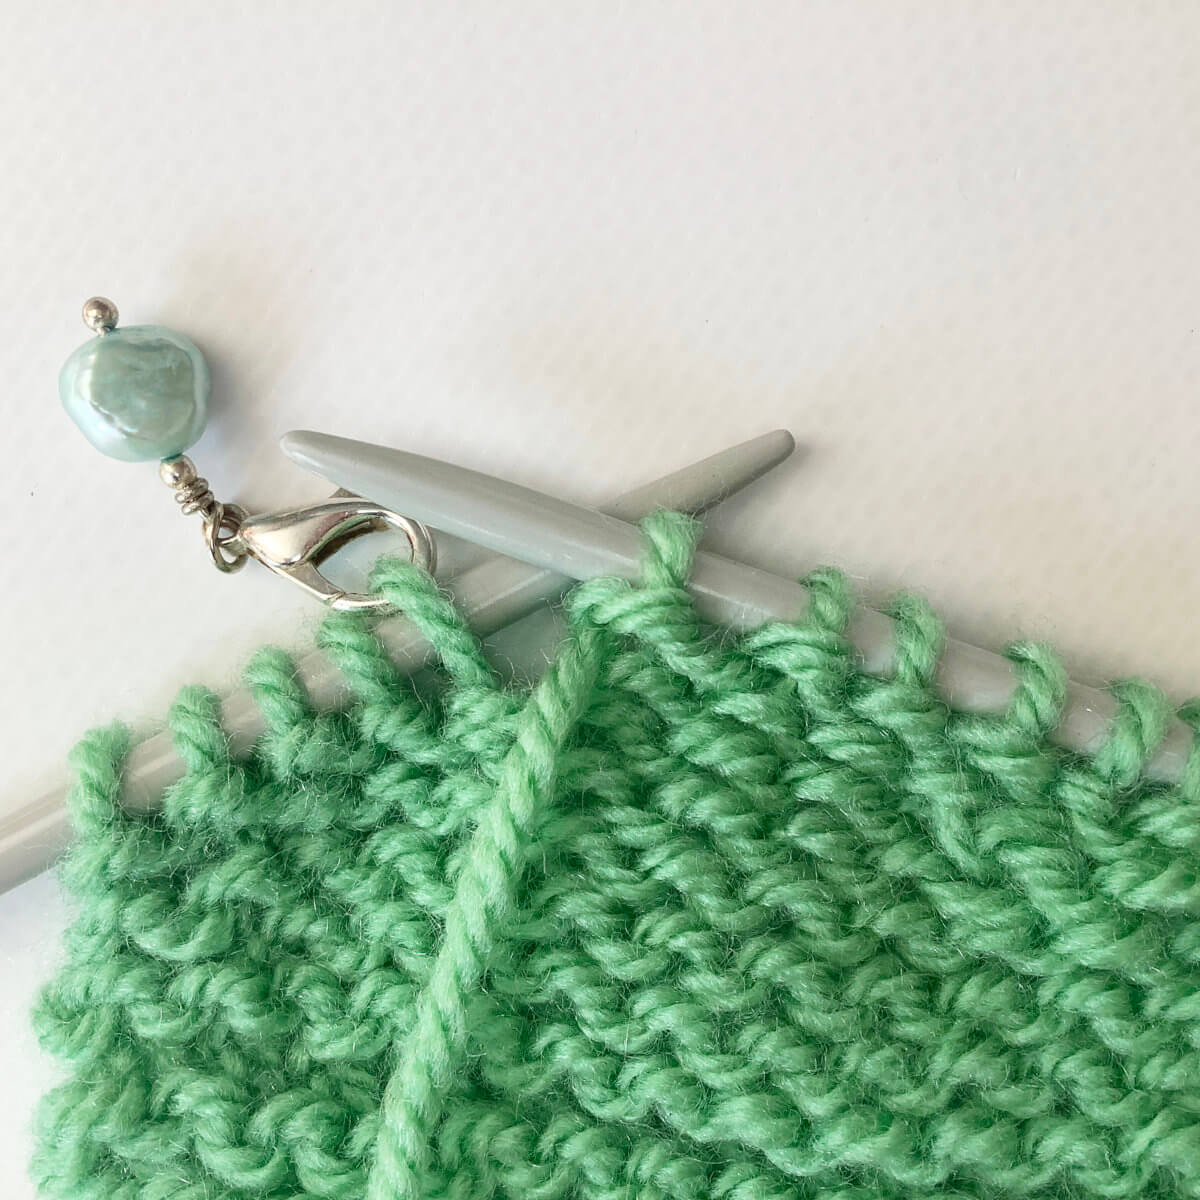
  11. And the result from the WS:

    The result of the cable cast-on from the WS

Patreon logo

Thanks to my Patreon supporters for bringing you this freebie! Creating quality patterns and tutorials is a lot of work and resource-intensive. However, I find it important to give you free content like this tutorial. Thanks to the generous support of my Patreon supporters, I can make it happen. Thank you, patrons! Click here to join, or click here to read more about La Visch Designs on Patreon.

tutorial – the cable cast-on Read More »

cherry blossom stole in tinyStudio Creative Life magazine

Cherry Blossoms Stole by La Visch Designs

I’ve got some exciting news for you: my Cherry Blossom Stole pattern makes an appearance in issue 11 of tinyStudio Creative Life magazine! I can tell you it’s a very special edition. Not only does it have over 120 pages of articles on spinning, weaving, knitting & crochet, it’s also available in both digital and print format!

I don’t know if you’re familiar with it, so I’ll just tell you. It’s a quarterly digital publication, with rich content like embedded videos, and slidable galleries of eye candy. It focuses on mindfulness, freedom from stress and clutter, and a conscious approach to fiber crafts. tinyStudio Creative Life is not just a magazine for spinners and fiber artists. There is also the tinyStudio TV video podcast. This gives hands on demonstrations of techniques, interviews with contributors, etc. to enrich and enhance the content of each issue. Below you can find the table of contents of this issue:

The underlying theme of this issue is naturally beautiful. Editor Suzy Brown has left this deliberately quite open, because it is a subject that could have many different interpretations. And indeed, throughout this issue you will see many naturally beautiful things. We all see beauty
in our own unique ways and find our own expressions of the inspiration it brings us by using our own voices.

Cherry Blossoms Stole by La Visch Designs

To get your copy of this issue of tinyStudio Creative Life, visit this link. Not sure yet whether you’d like it? Visit this page to download the free anniversary issue of tinyStudio magazine, and see all the rich content each and every issue provides.

cherry blossom stole in tinyStudio Creative Life magazine Read More »