mint chocolate
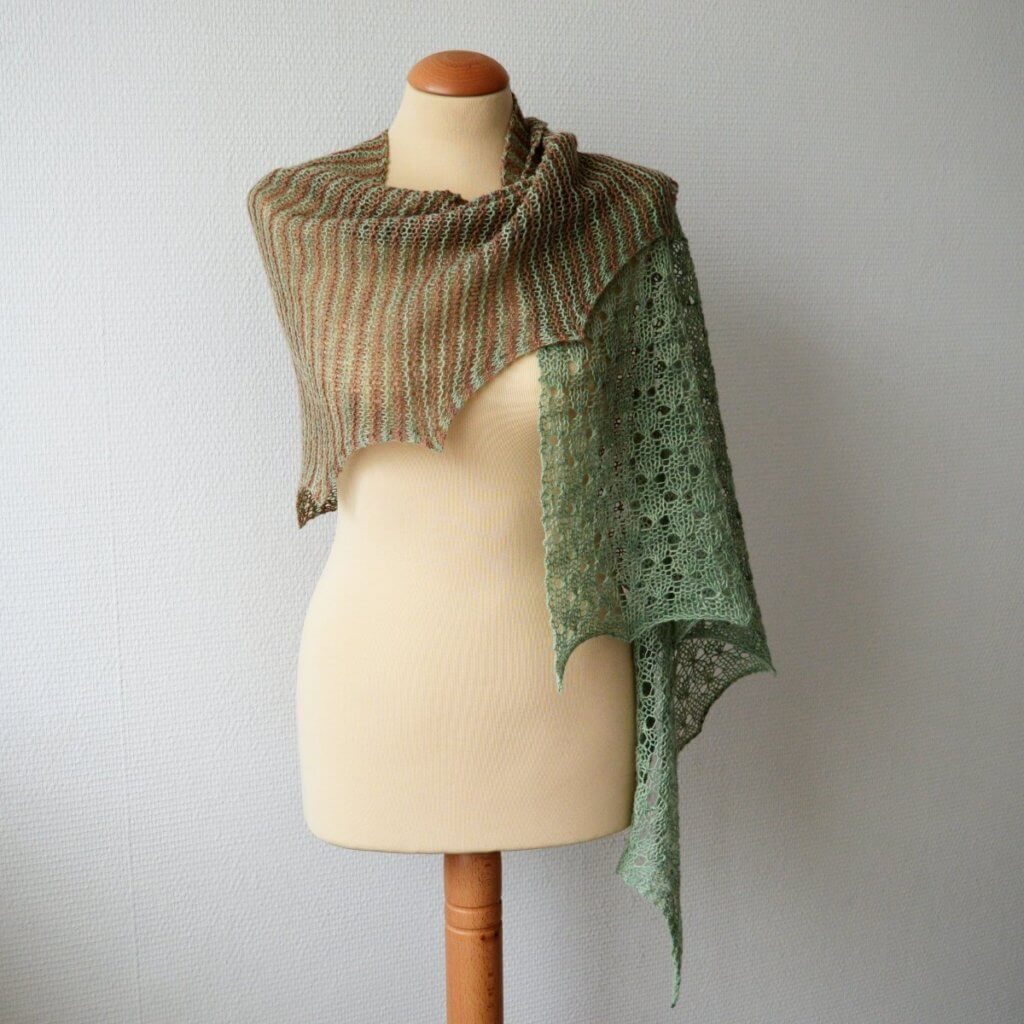
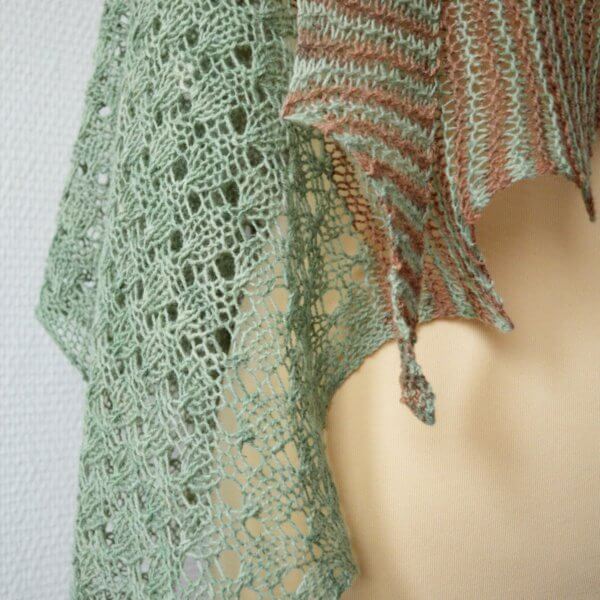
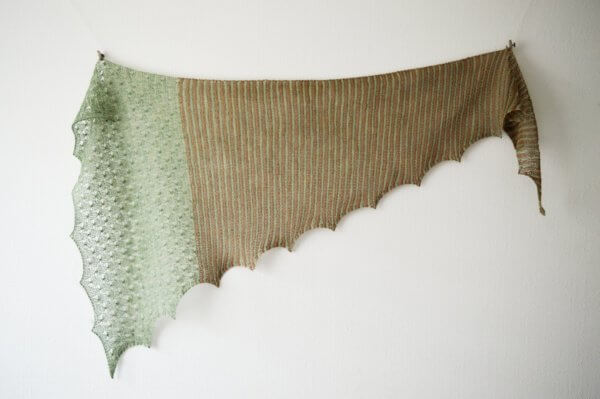
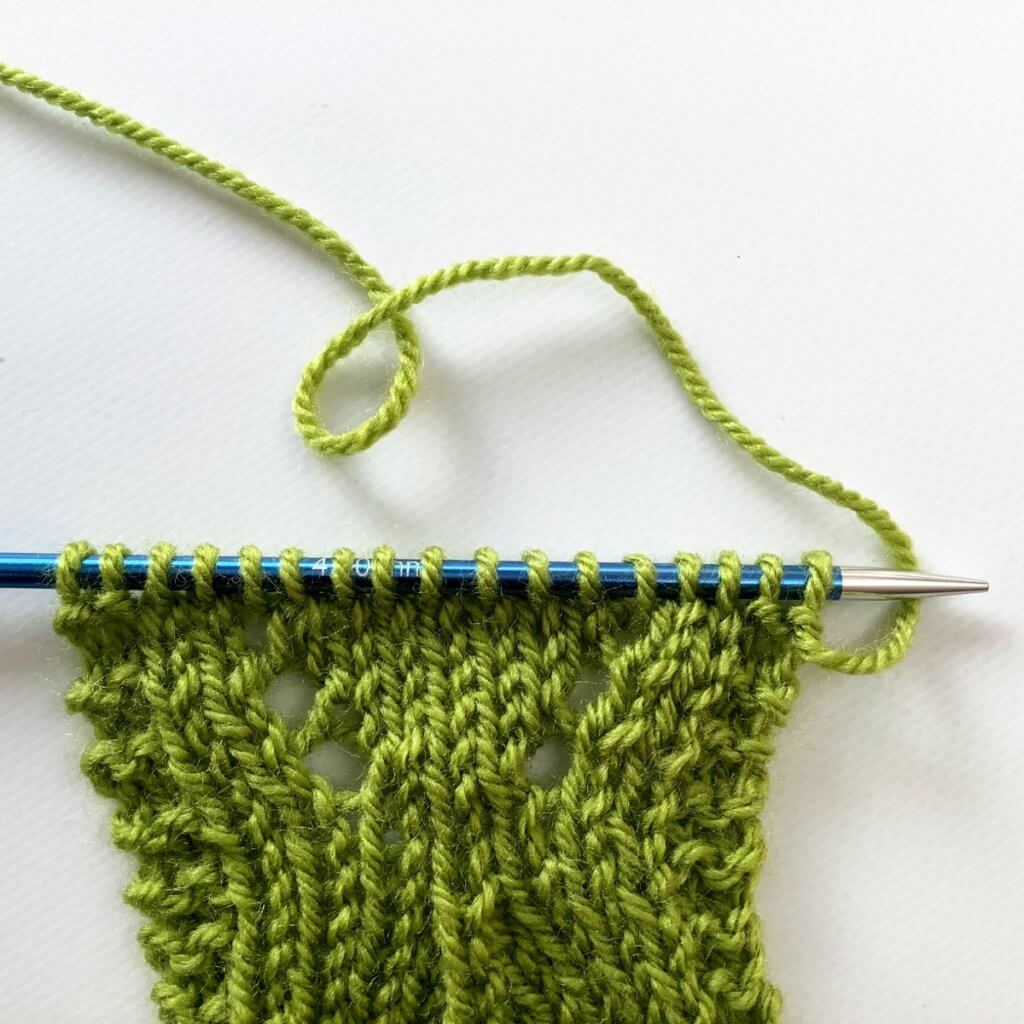
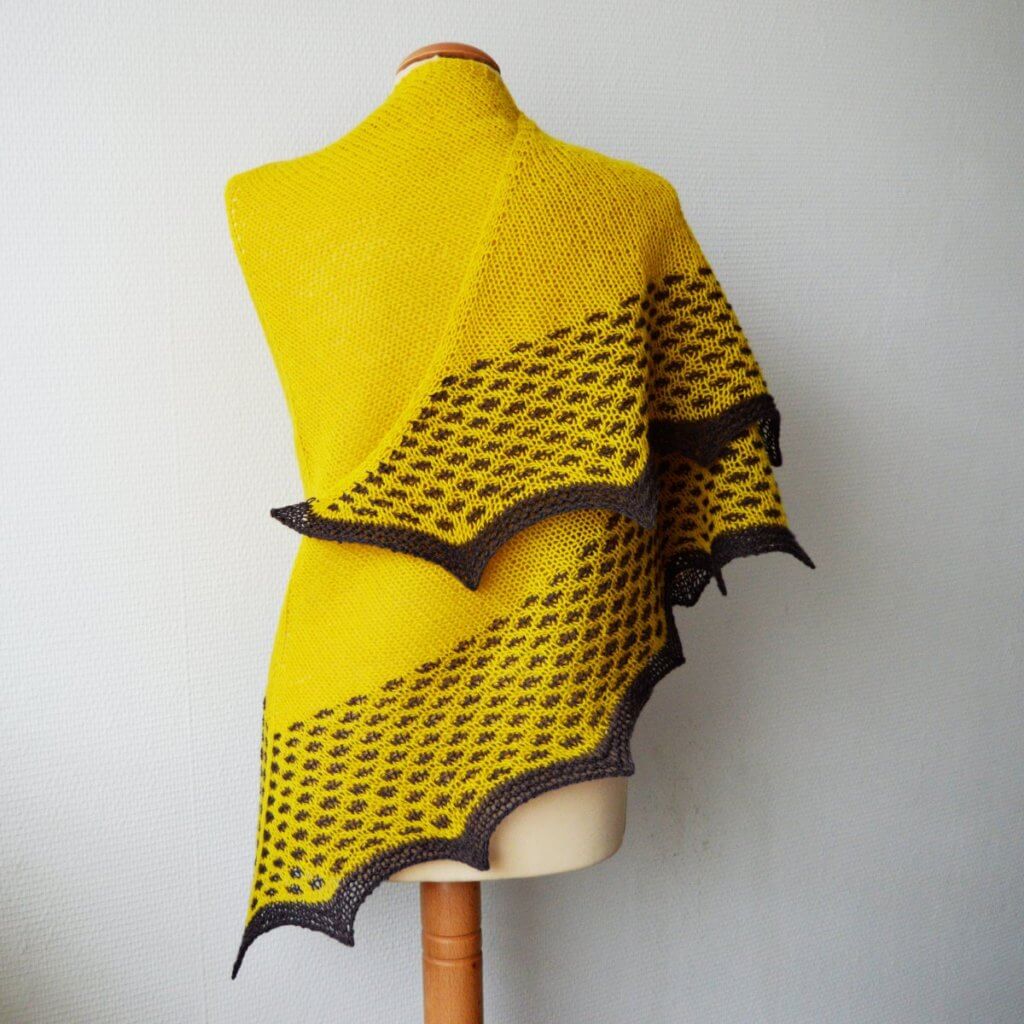
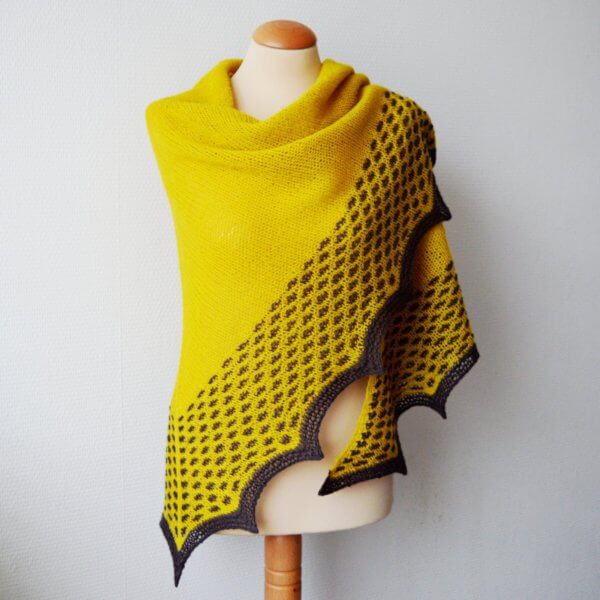
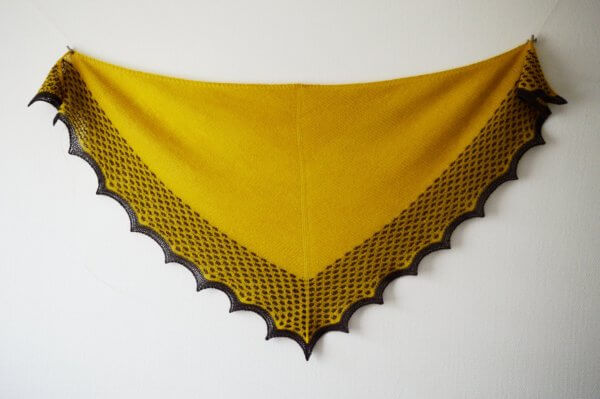
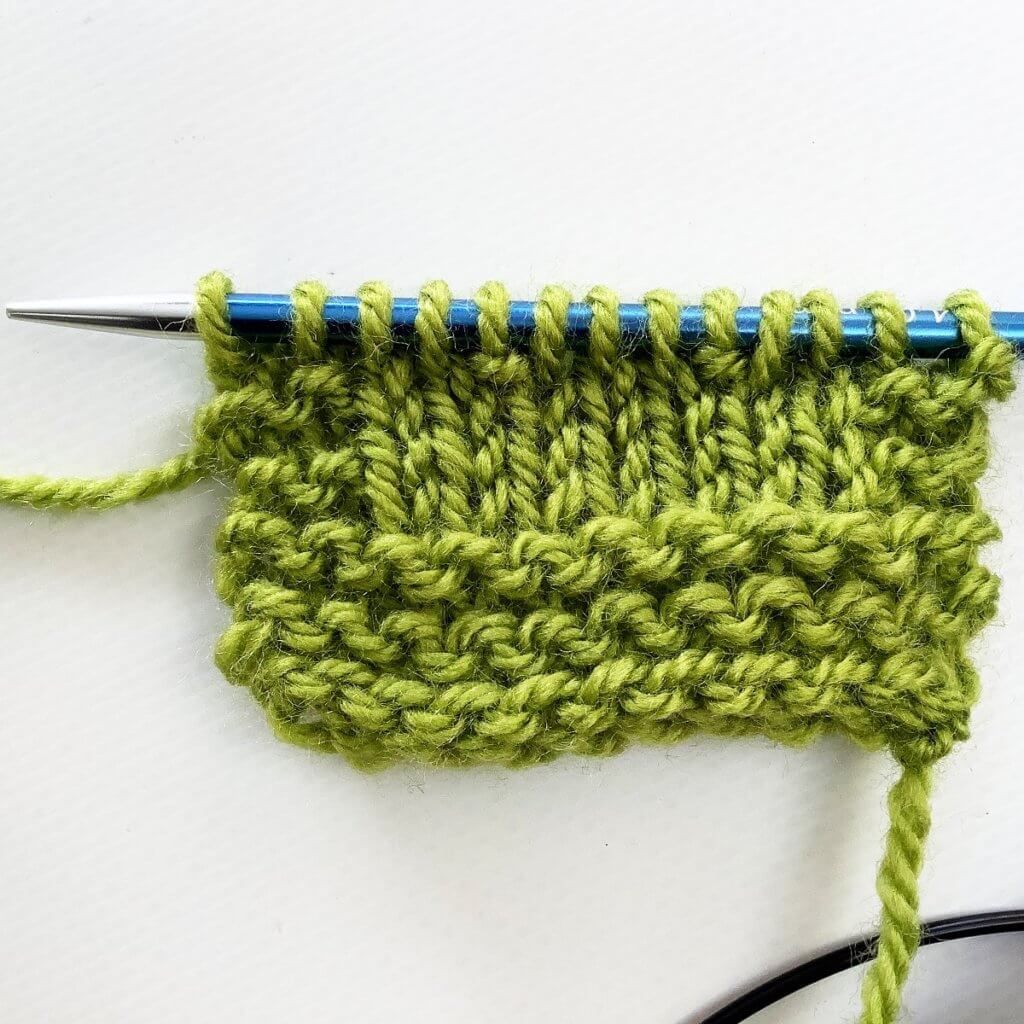
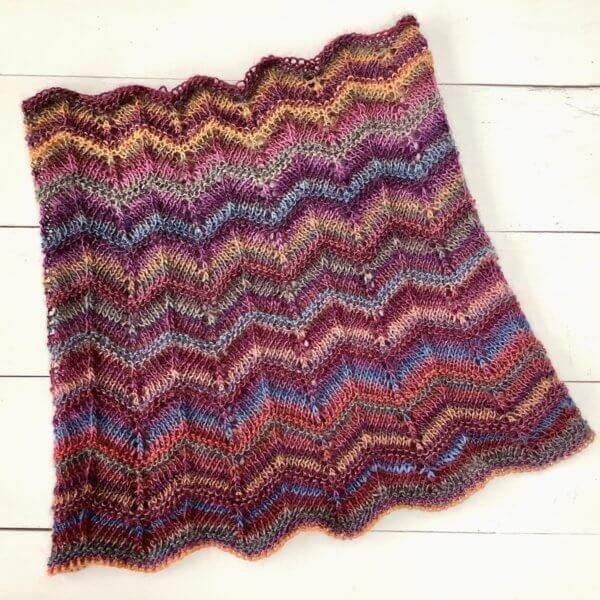
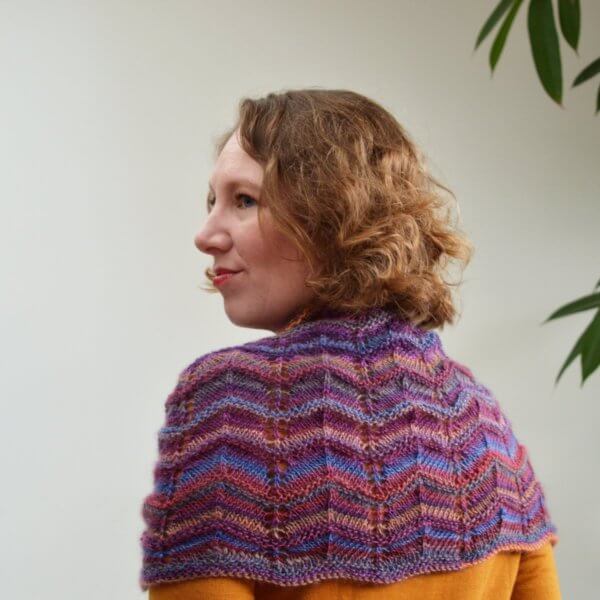
Mint Chocolate is a shallow triangular shawl knit sideways. There is just something about the combination of striped garter stitch and openwork that appeals to me: Lazy mindless knitting, together with patterning that requires a tad more attention. The perfect project for me!
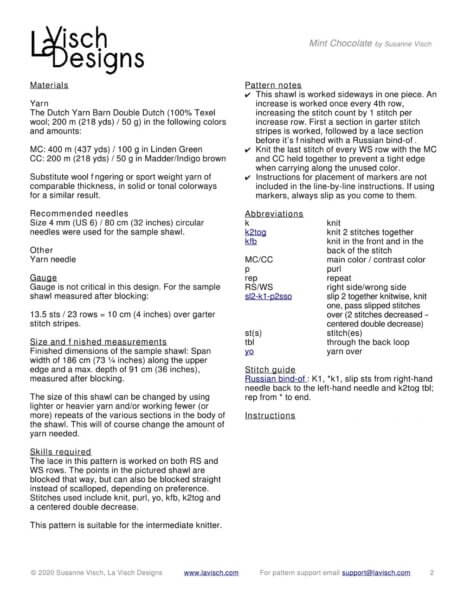
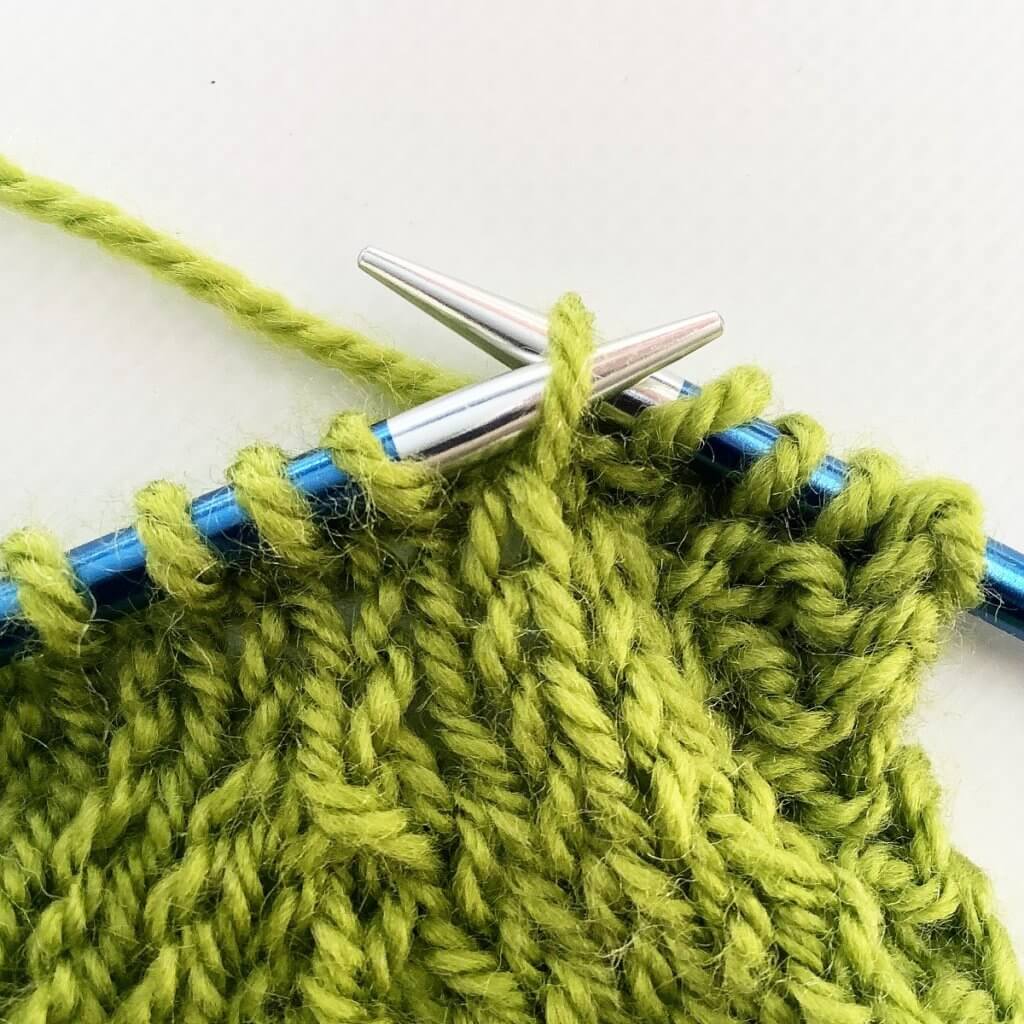
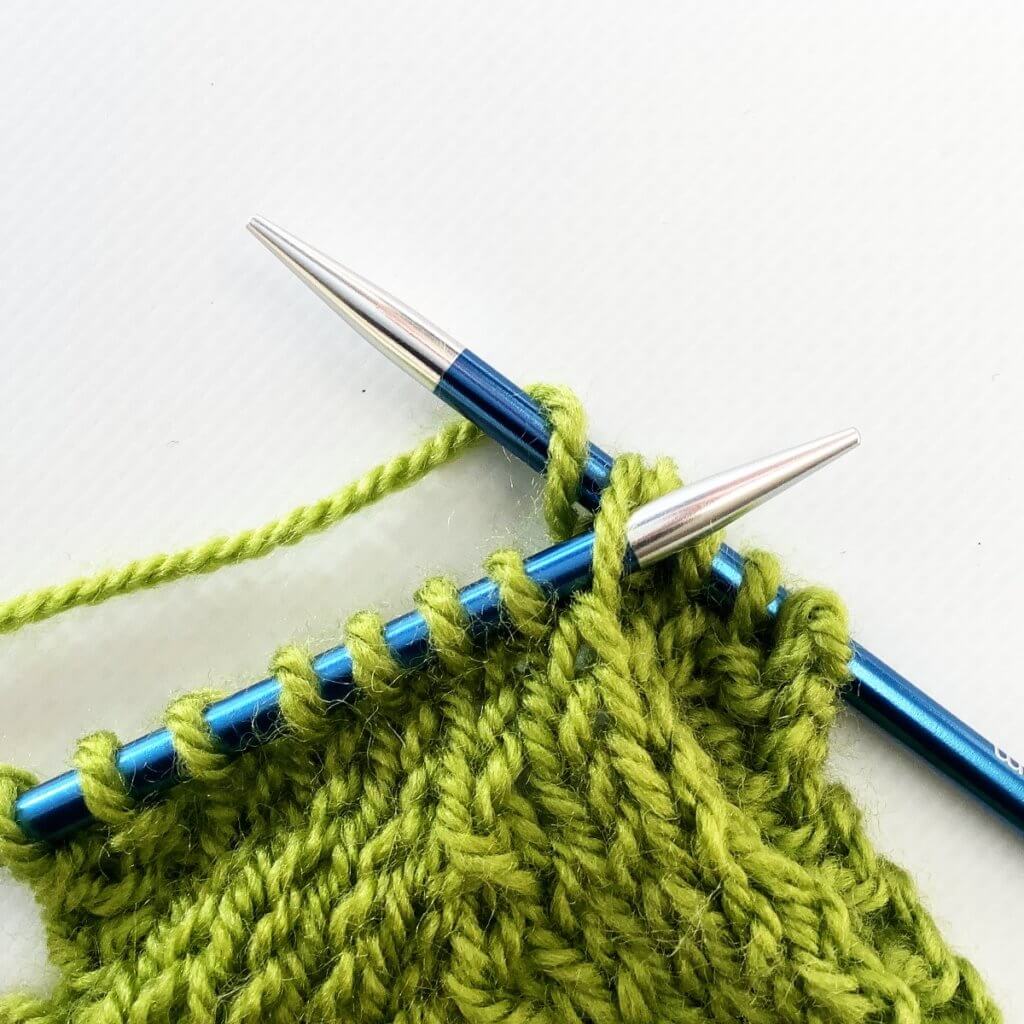
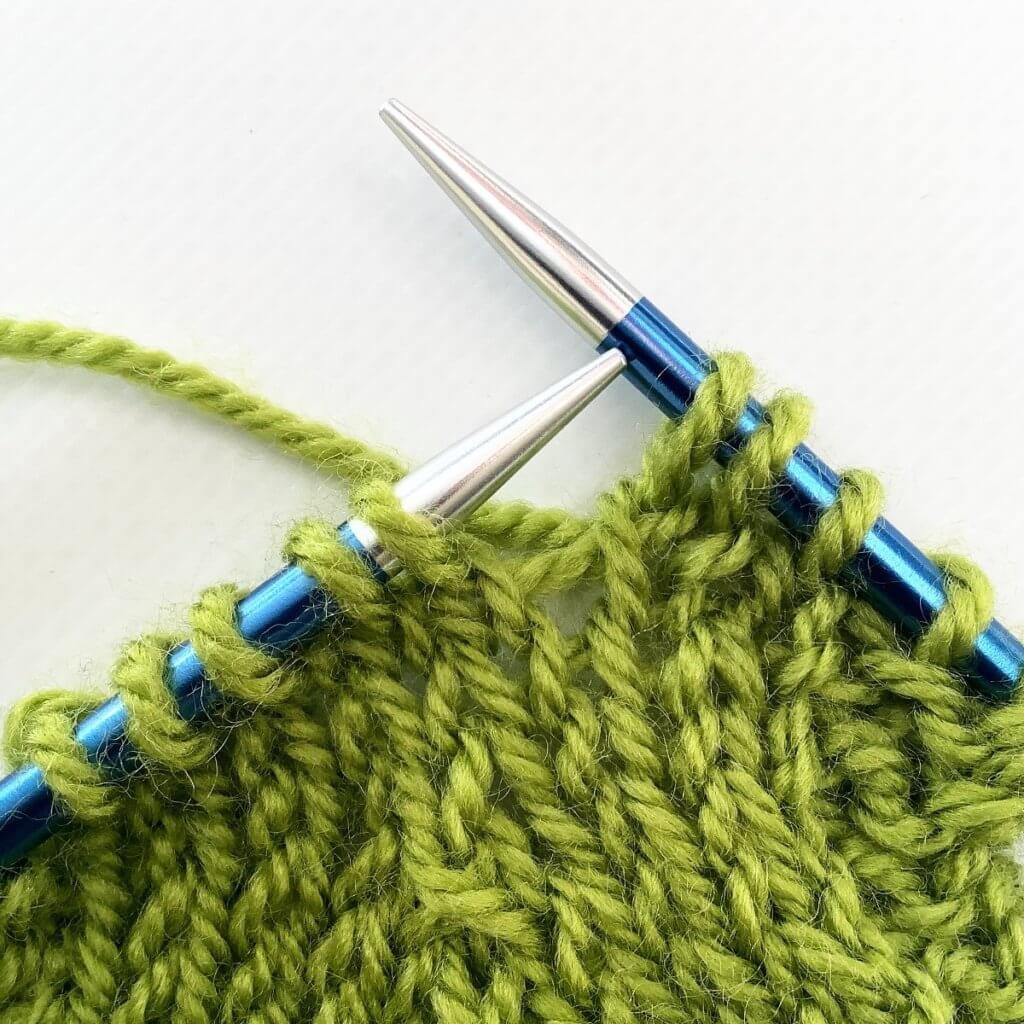
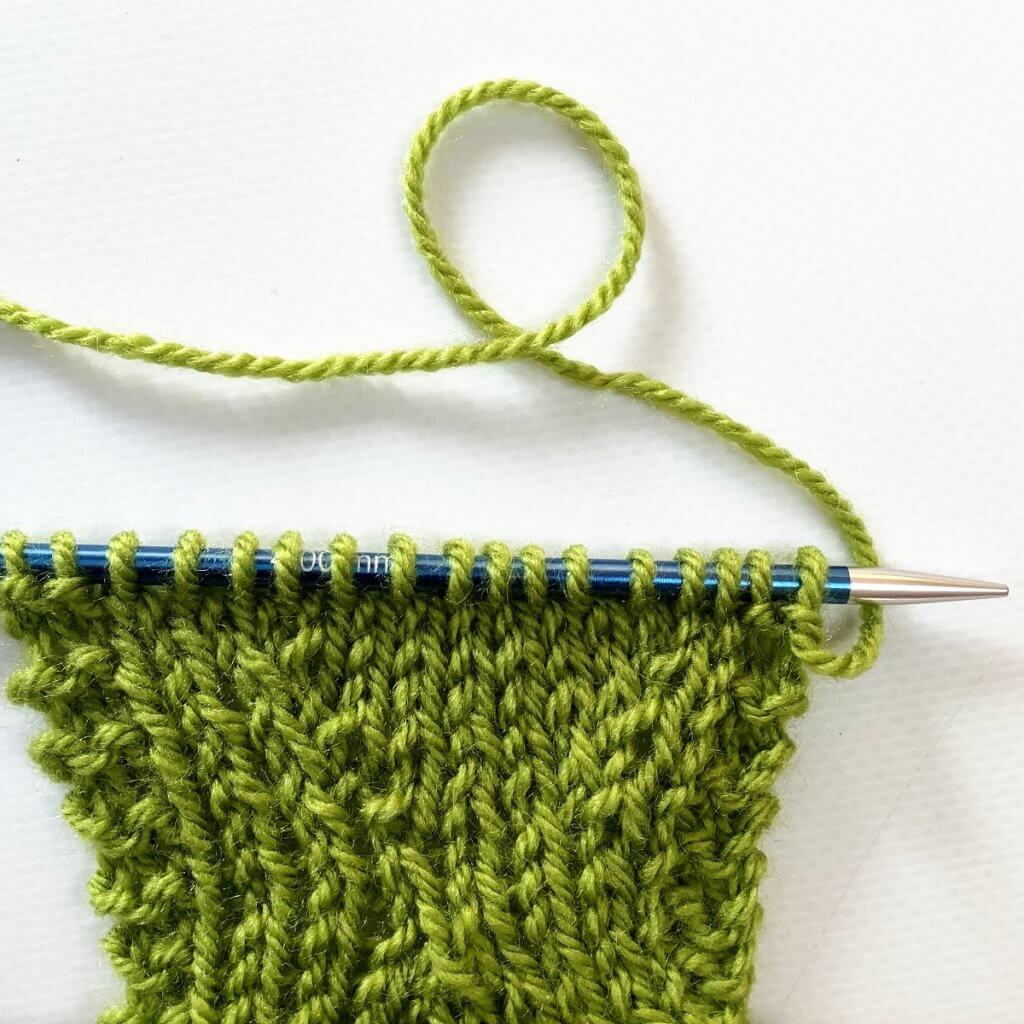
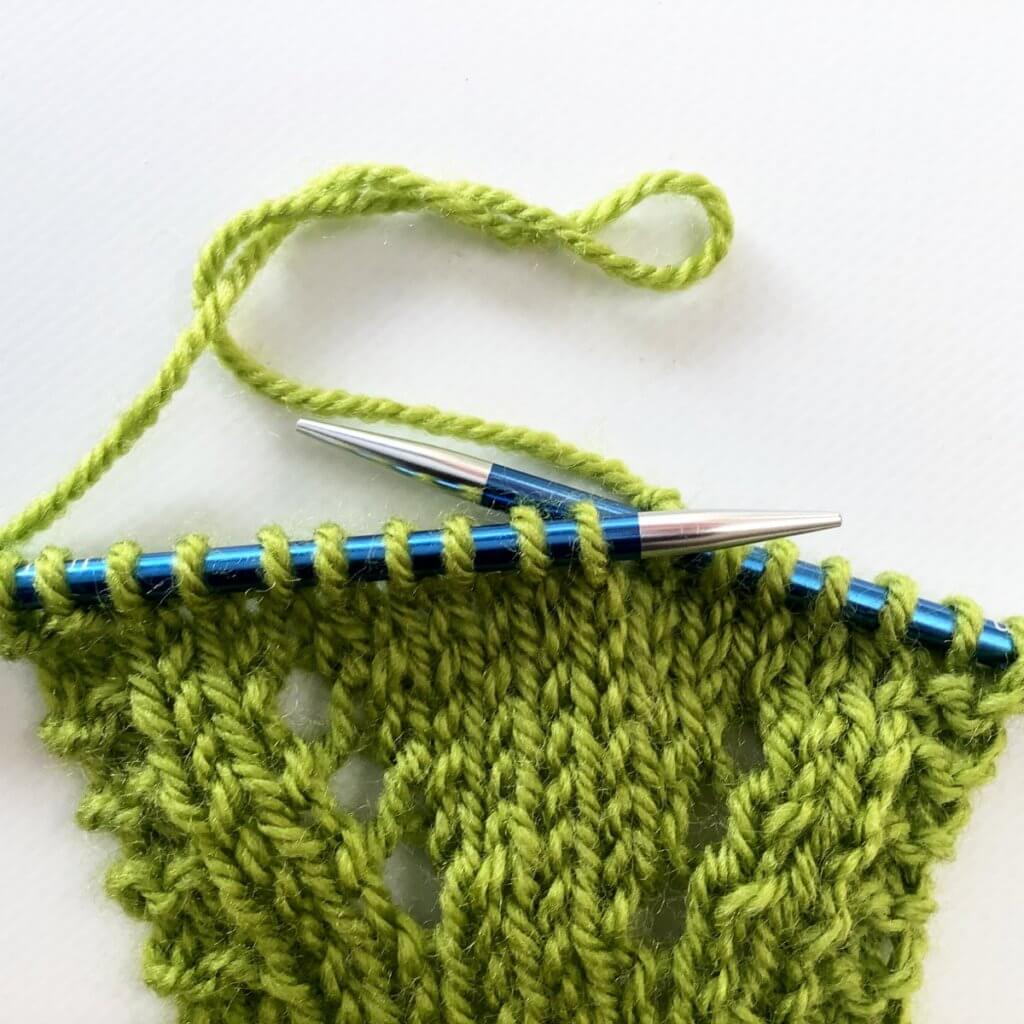
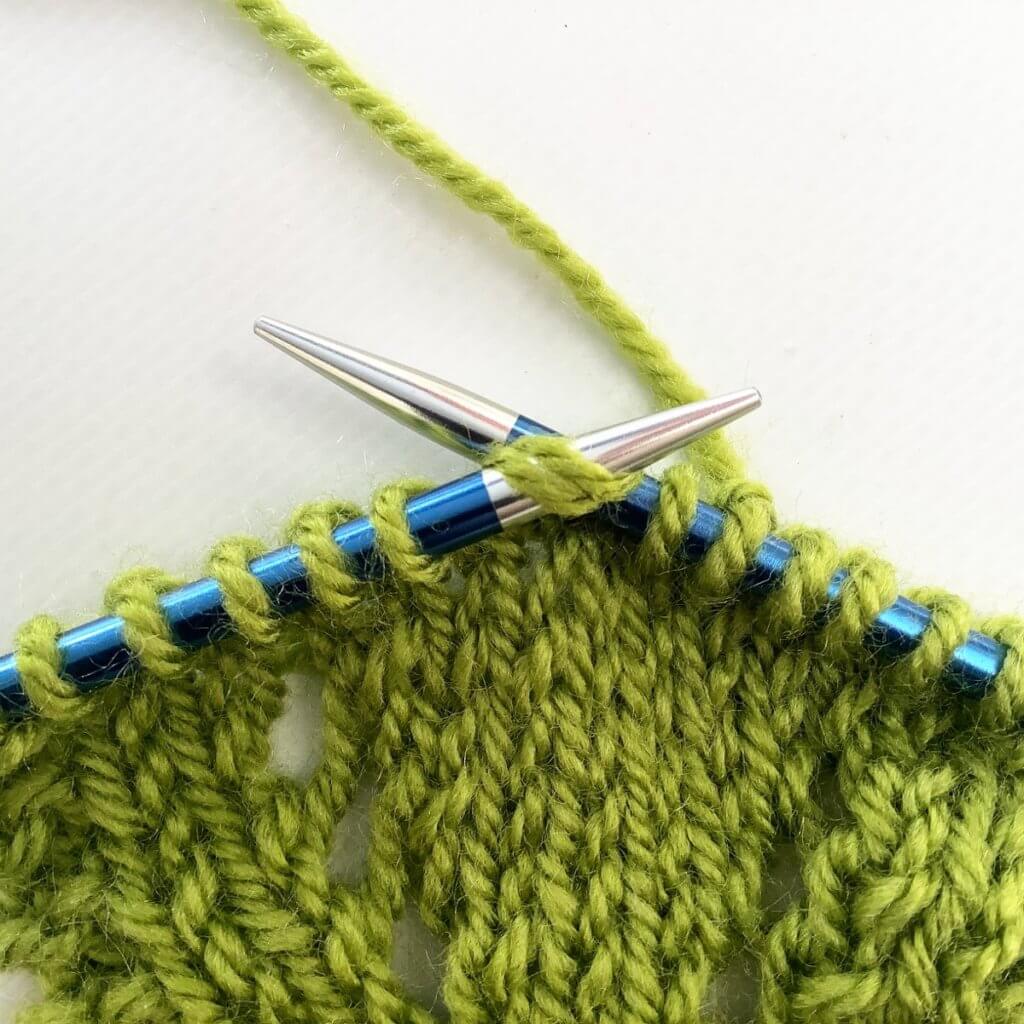
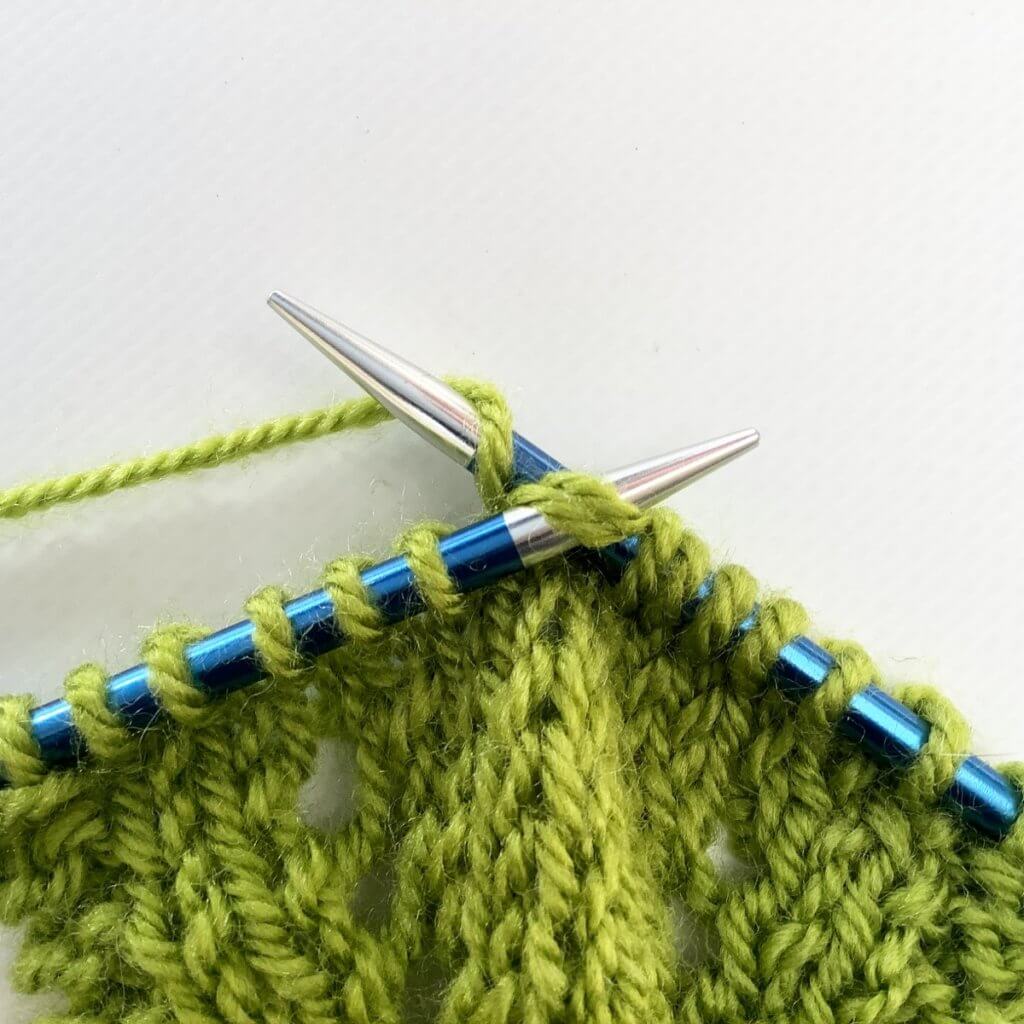
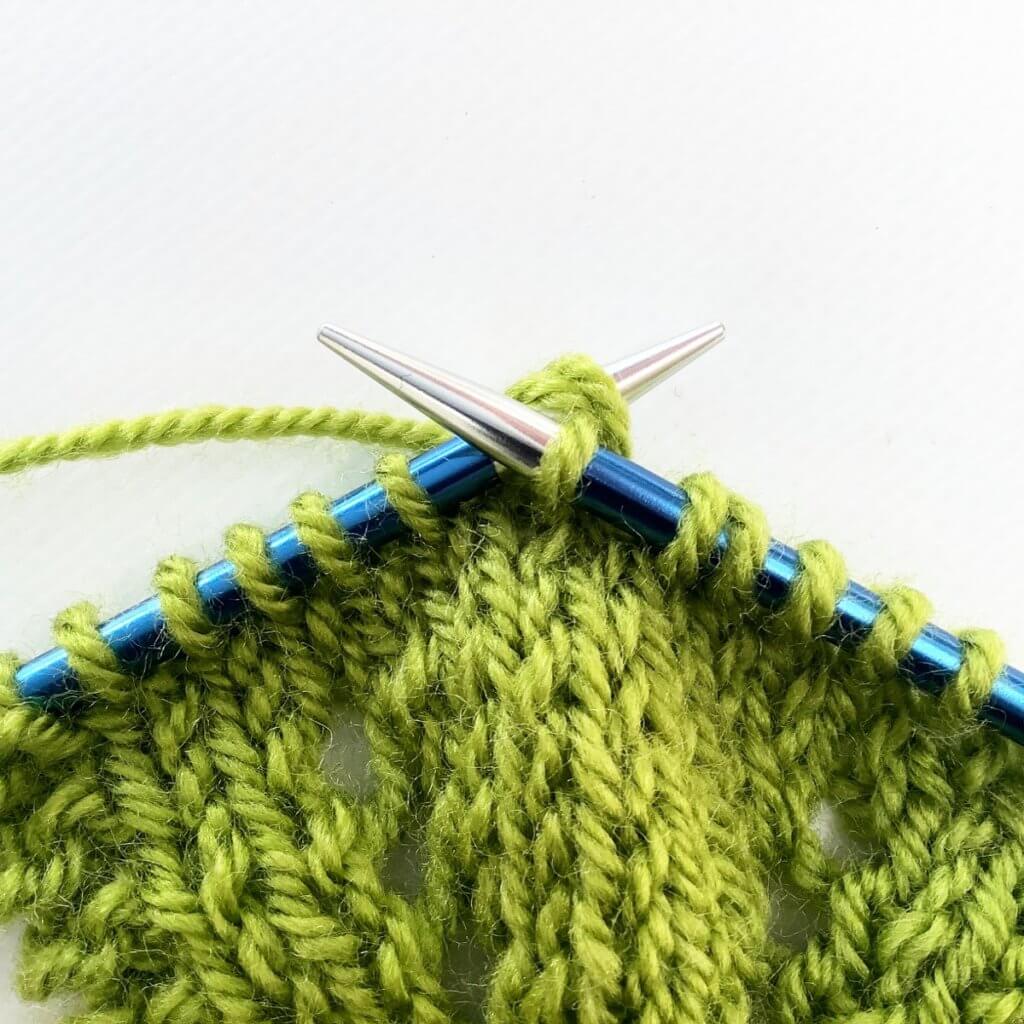
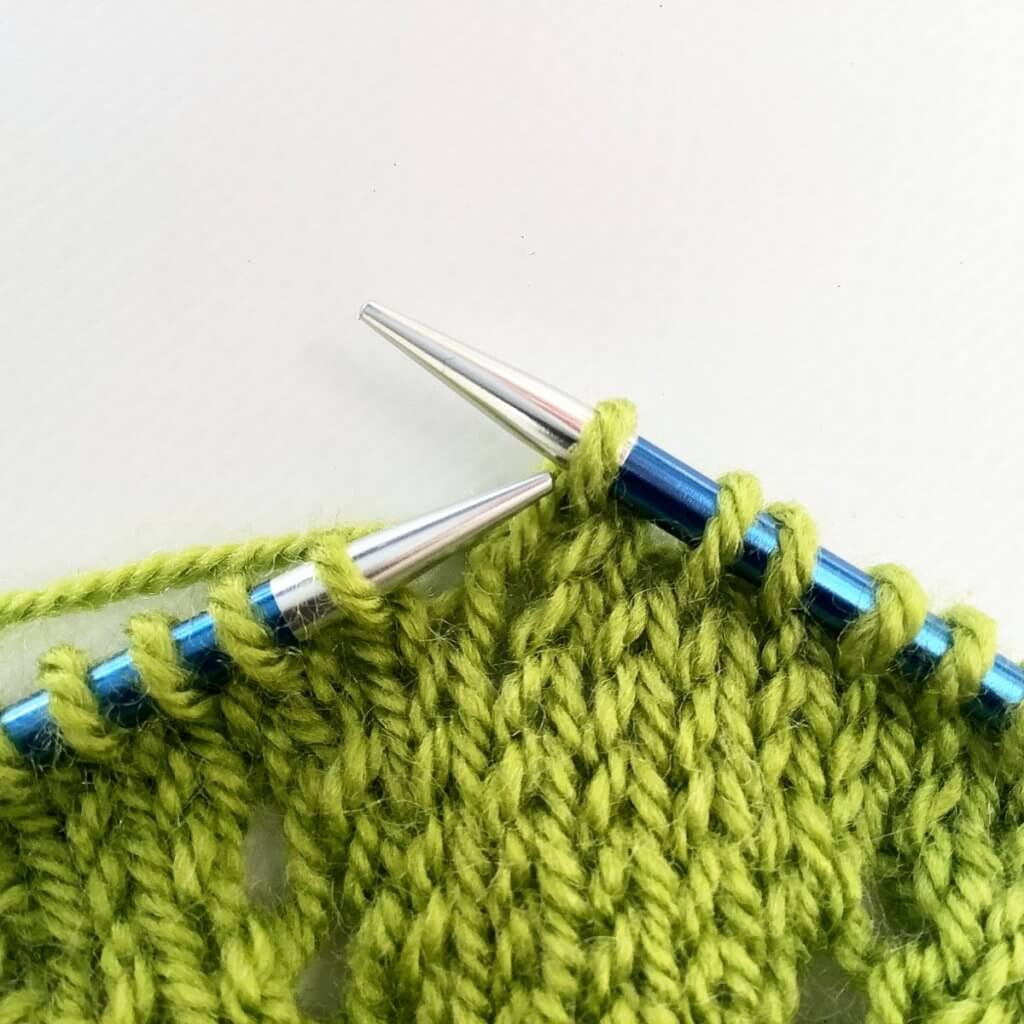
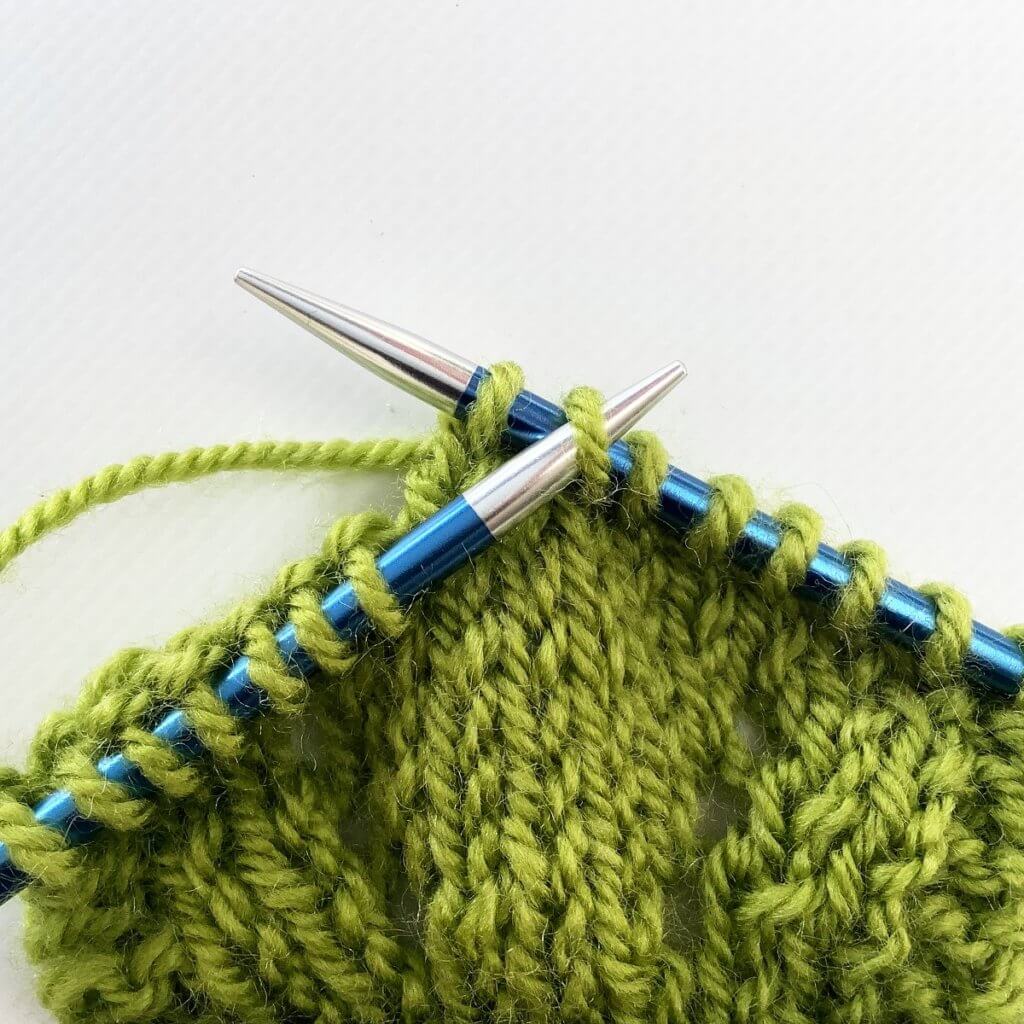
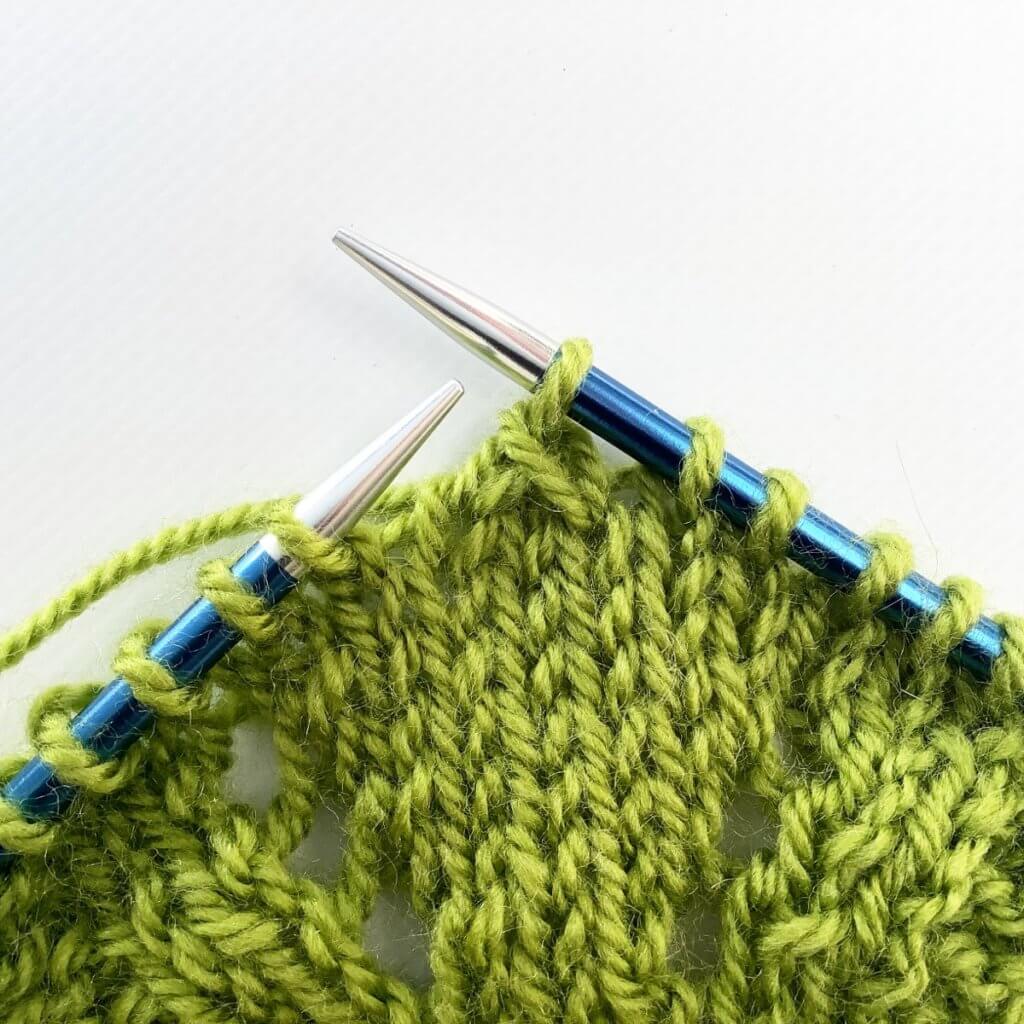
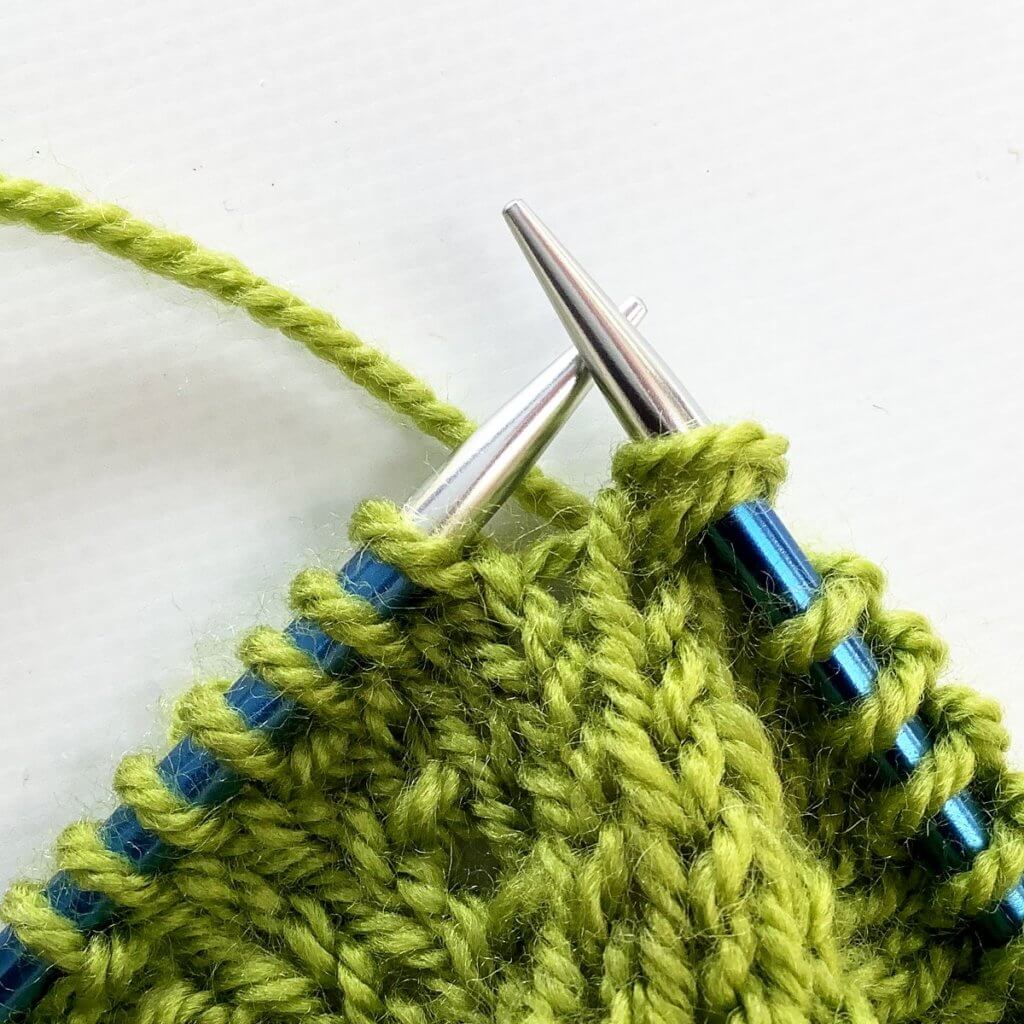
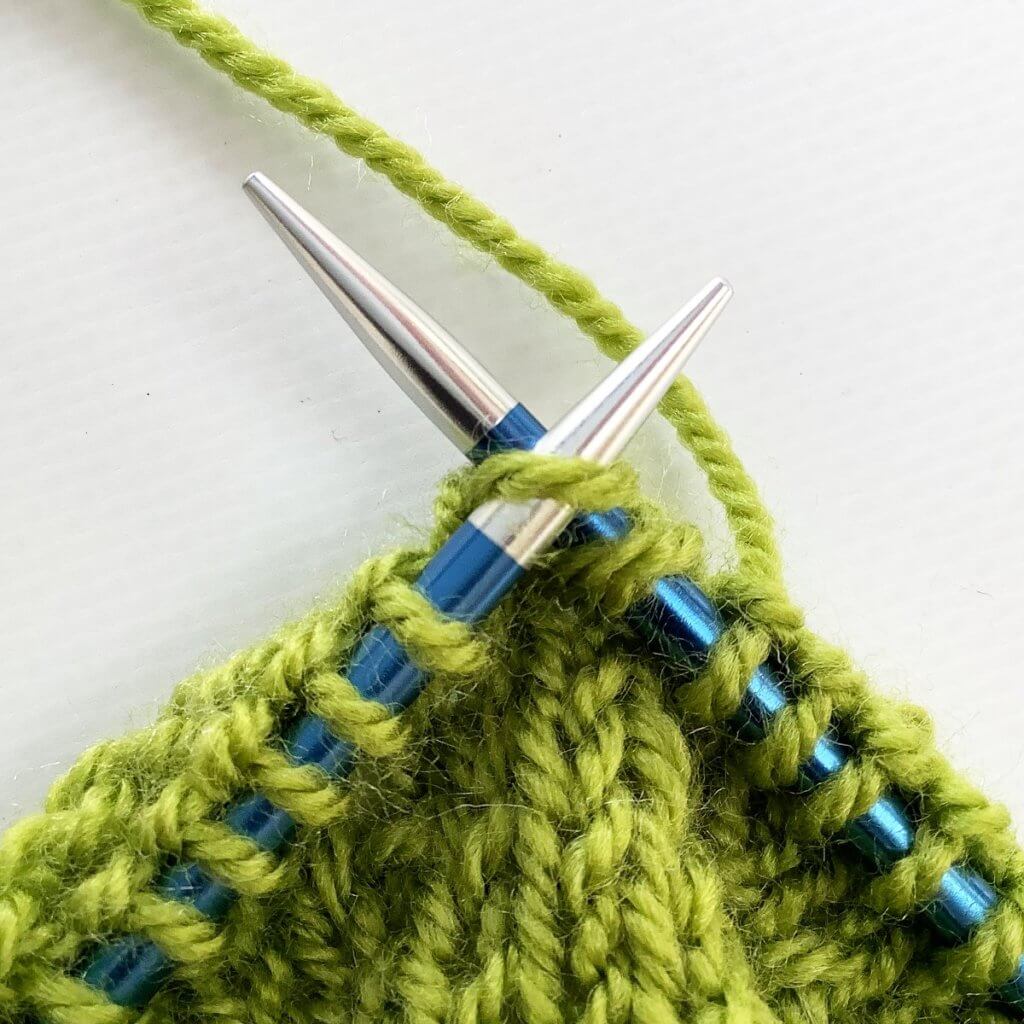
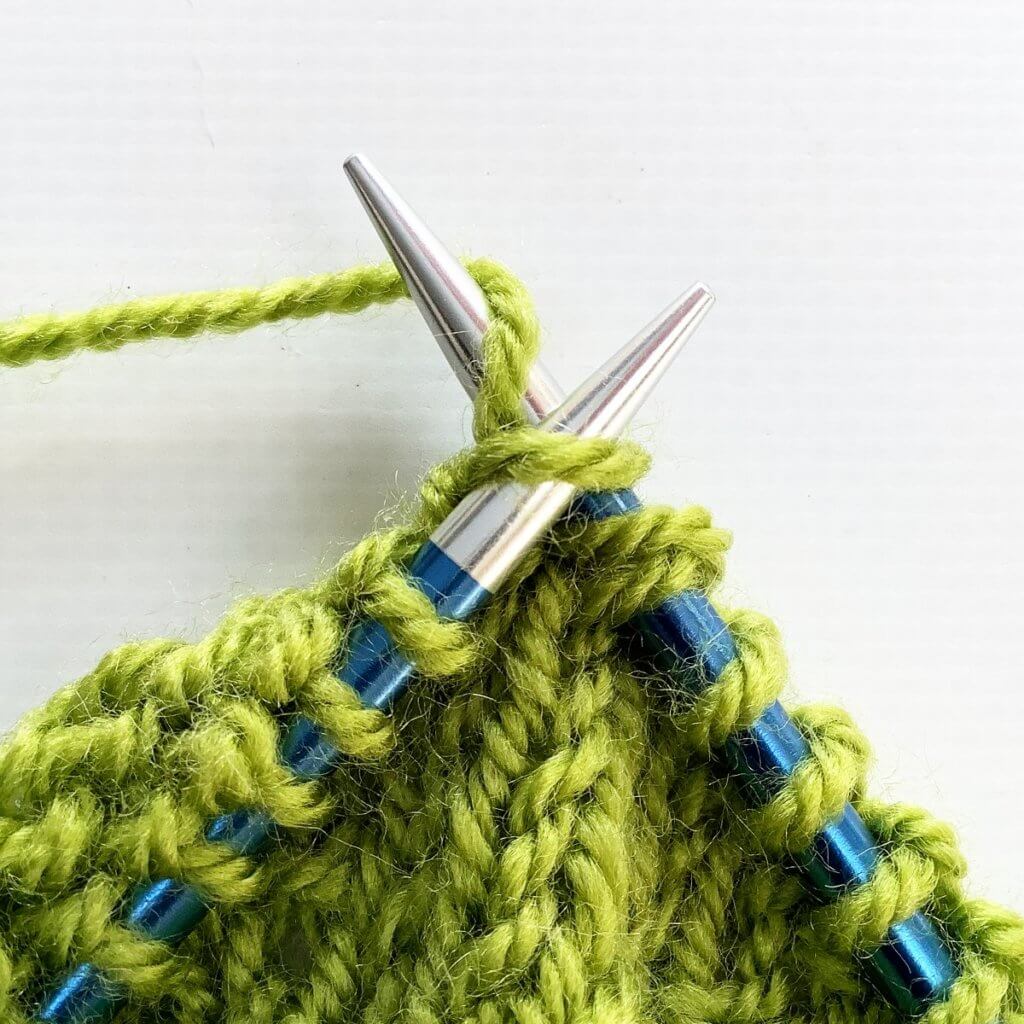
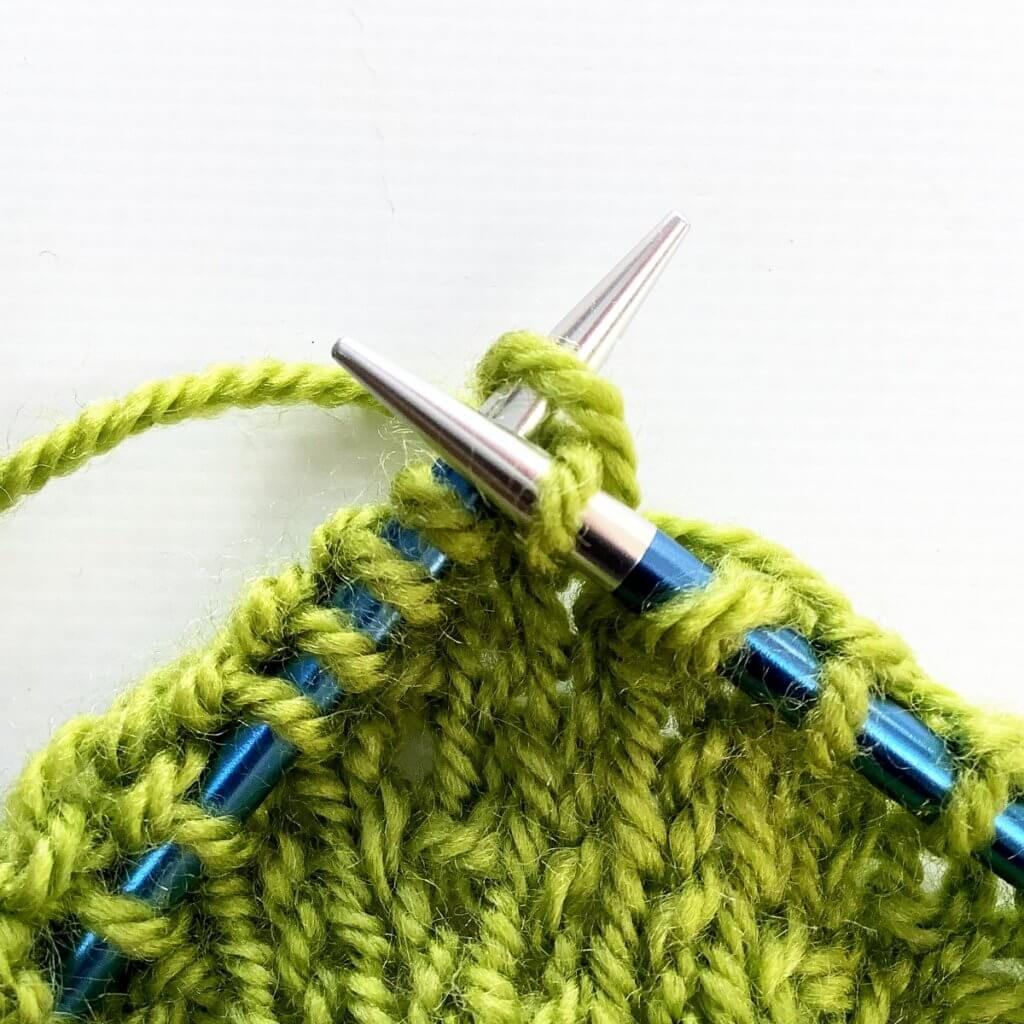
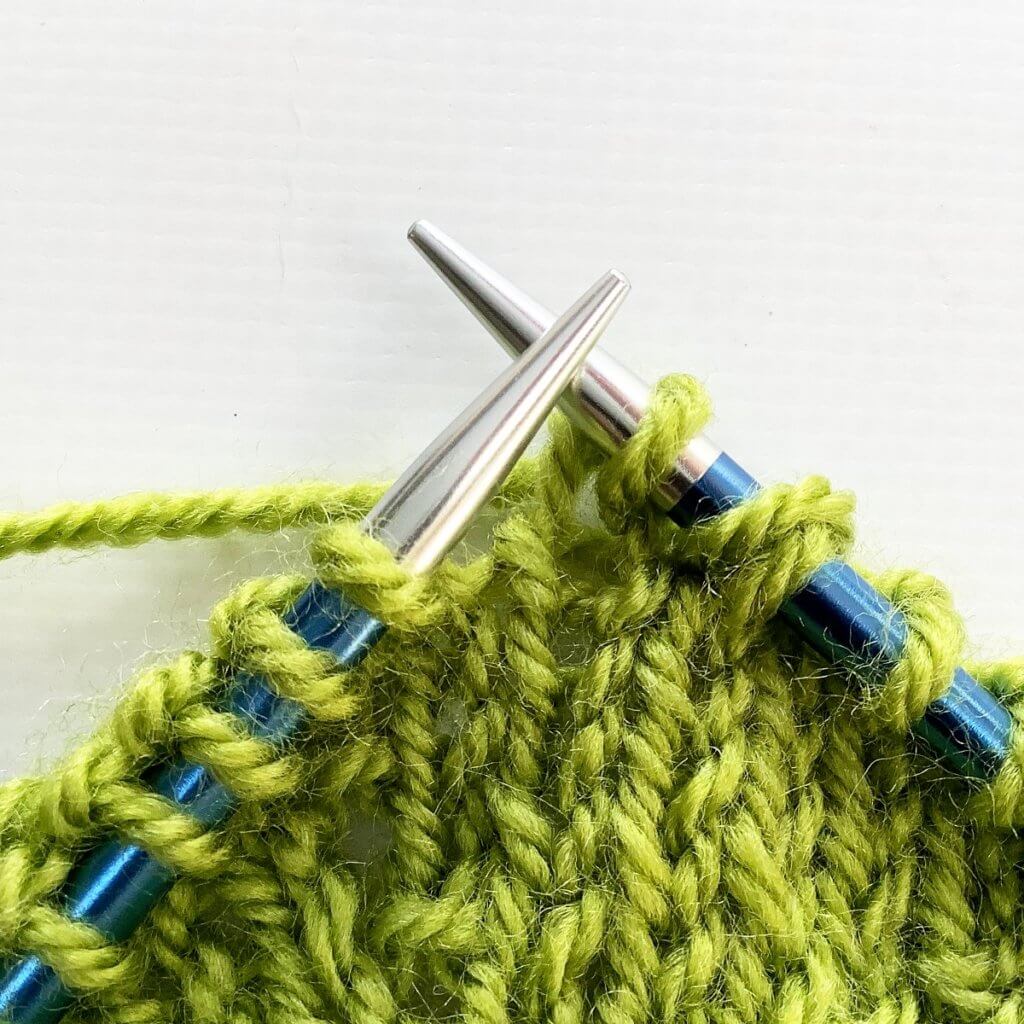
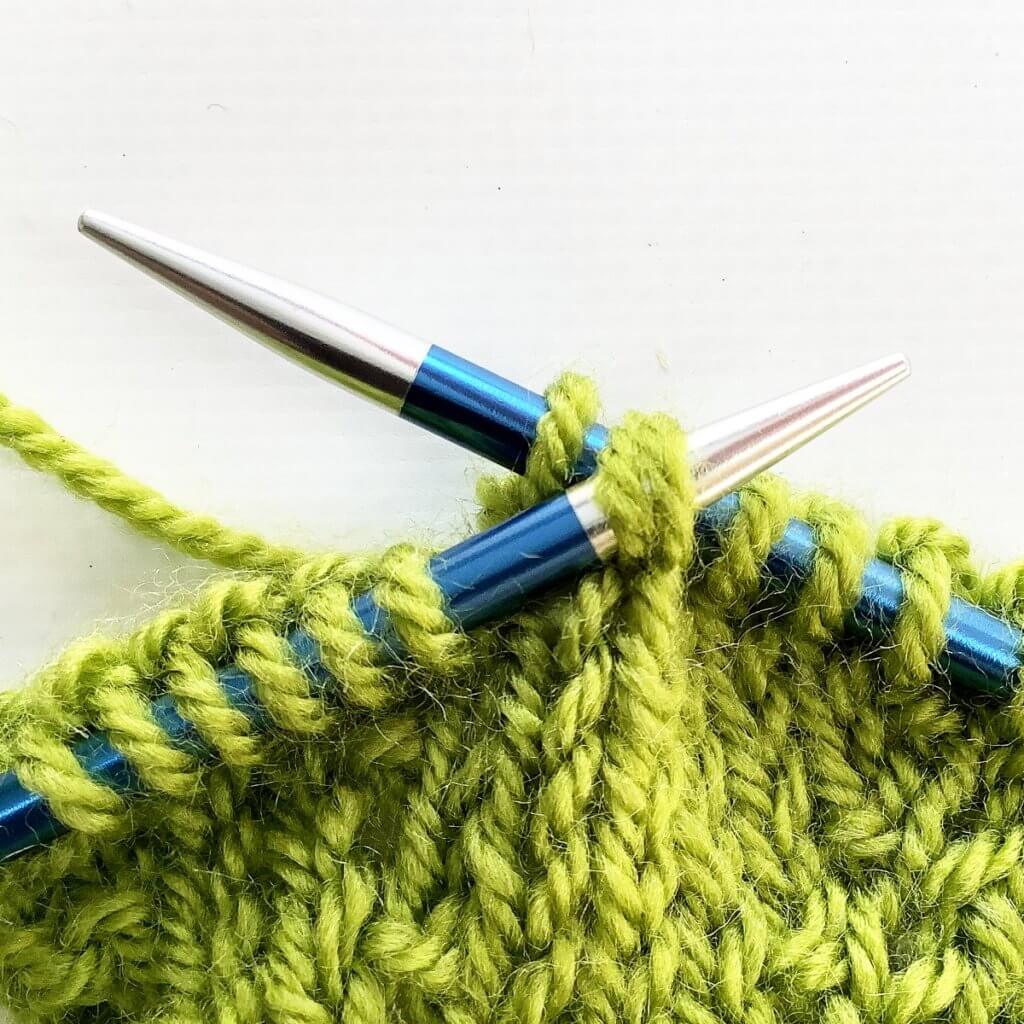
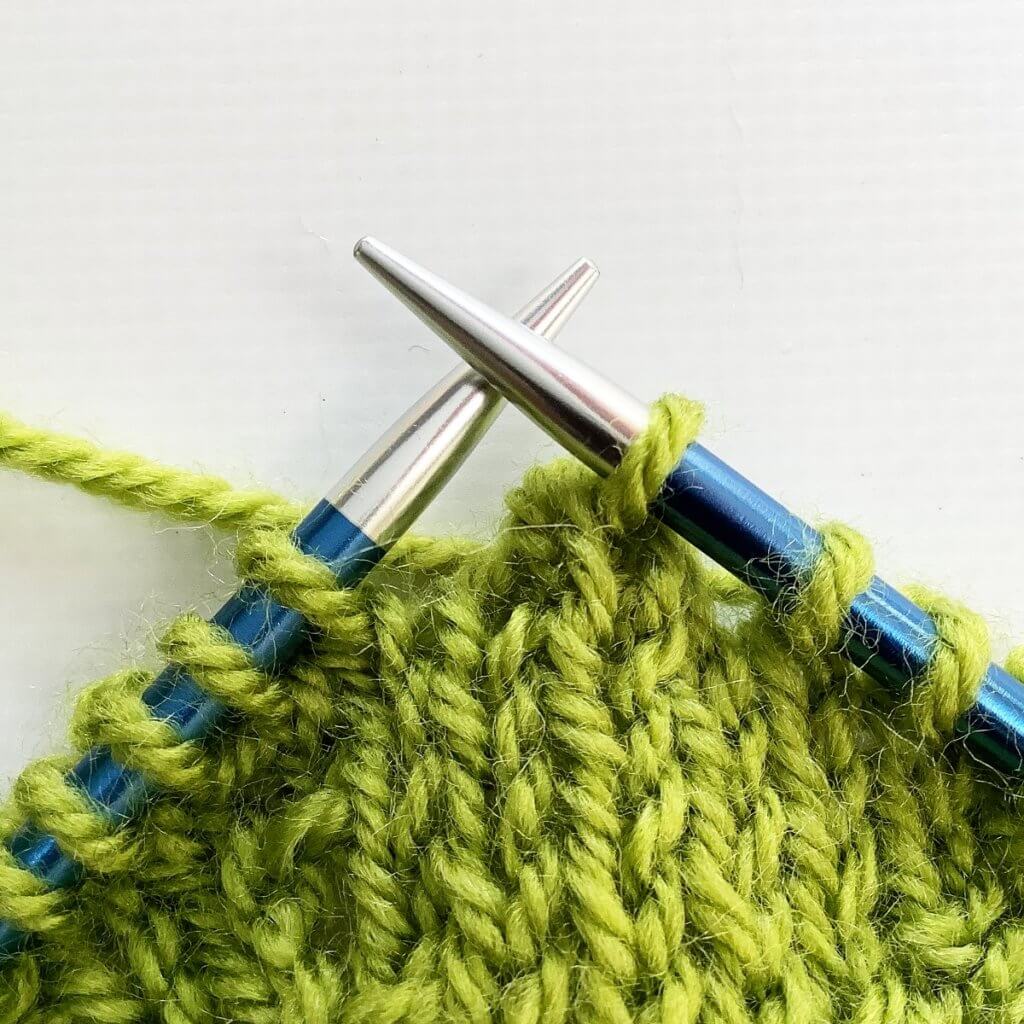
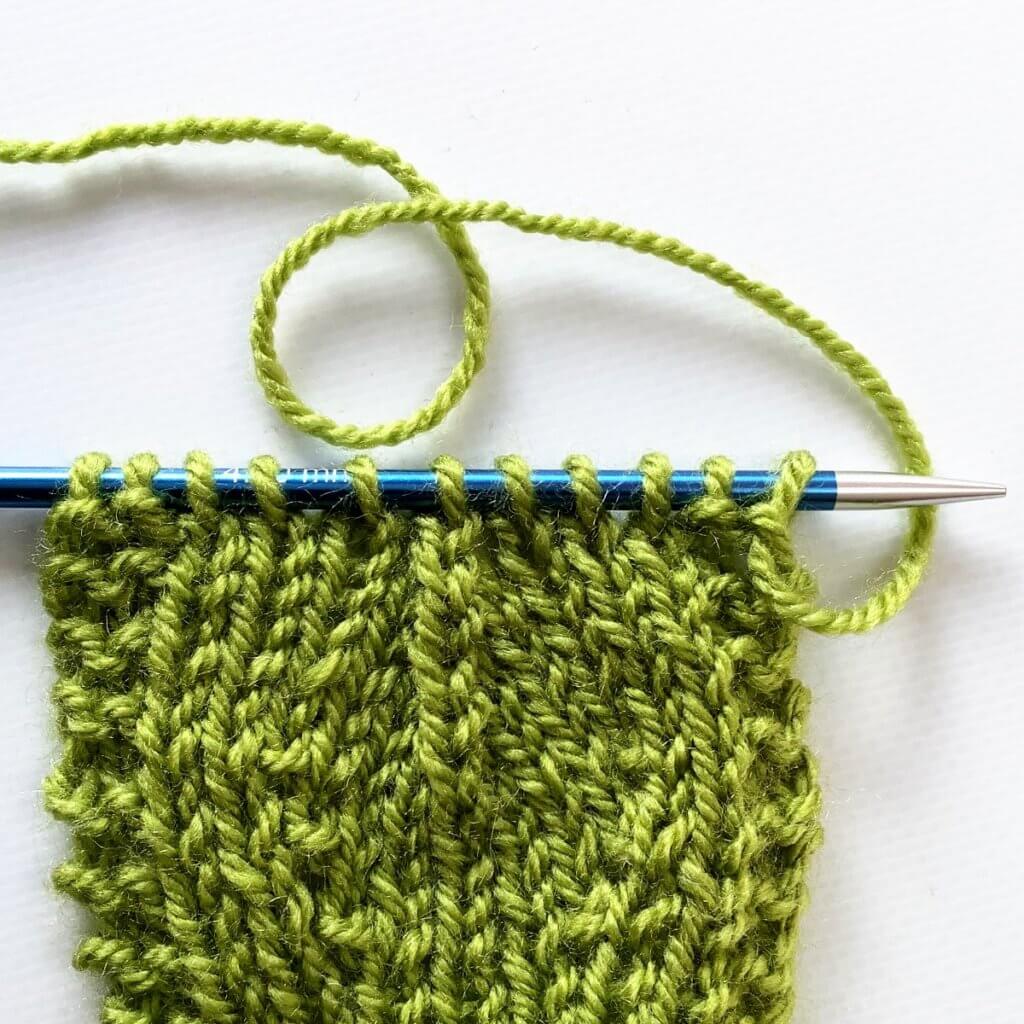
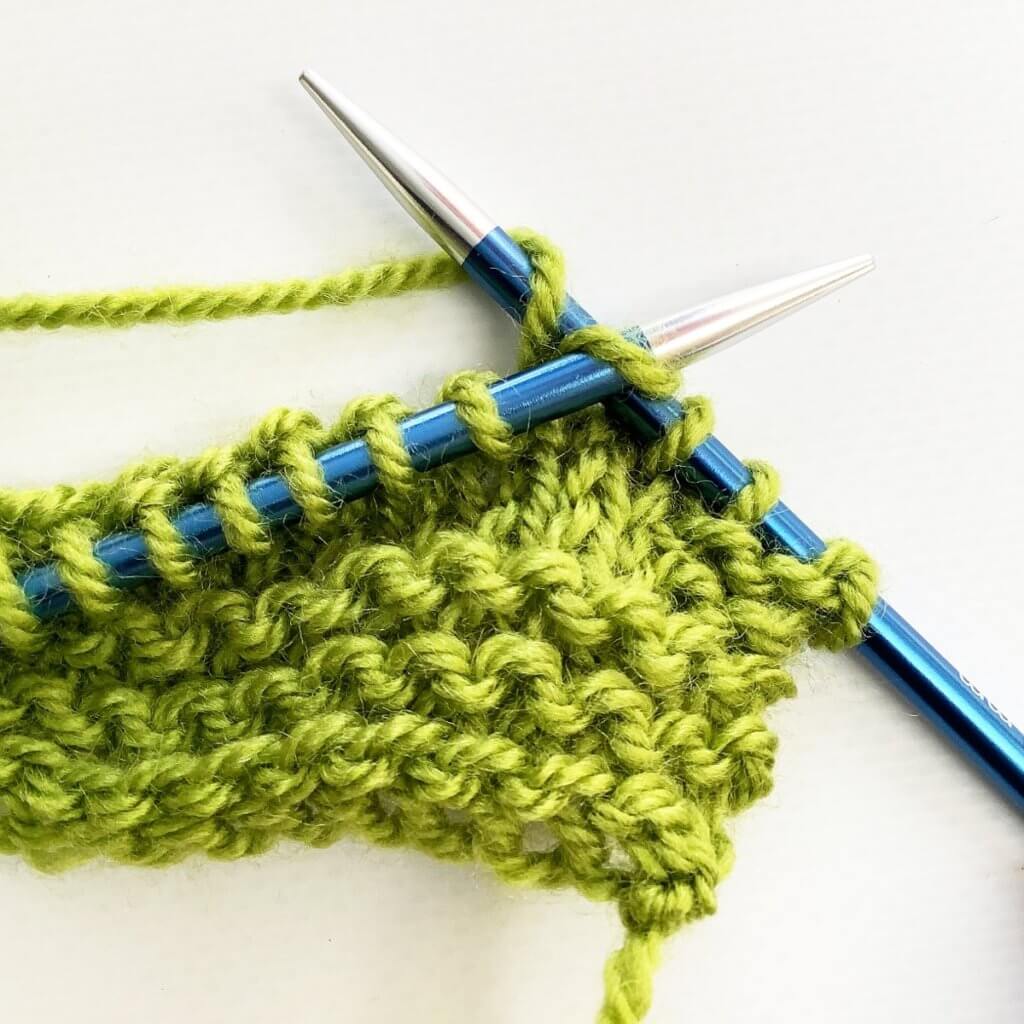
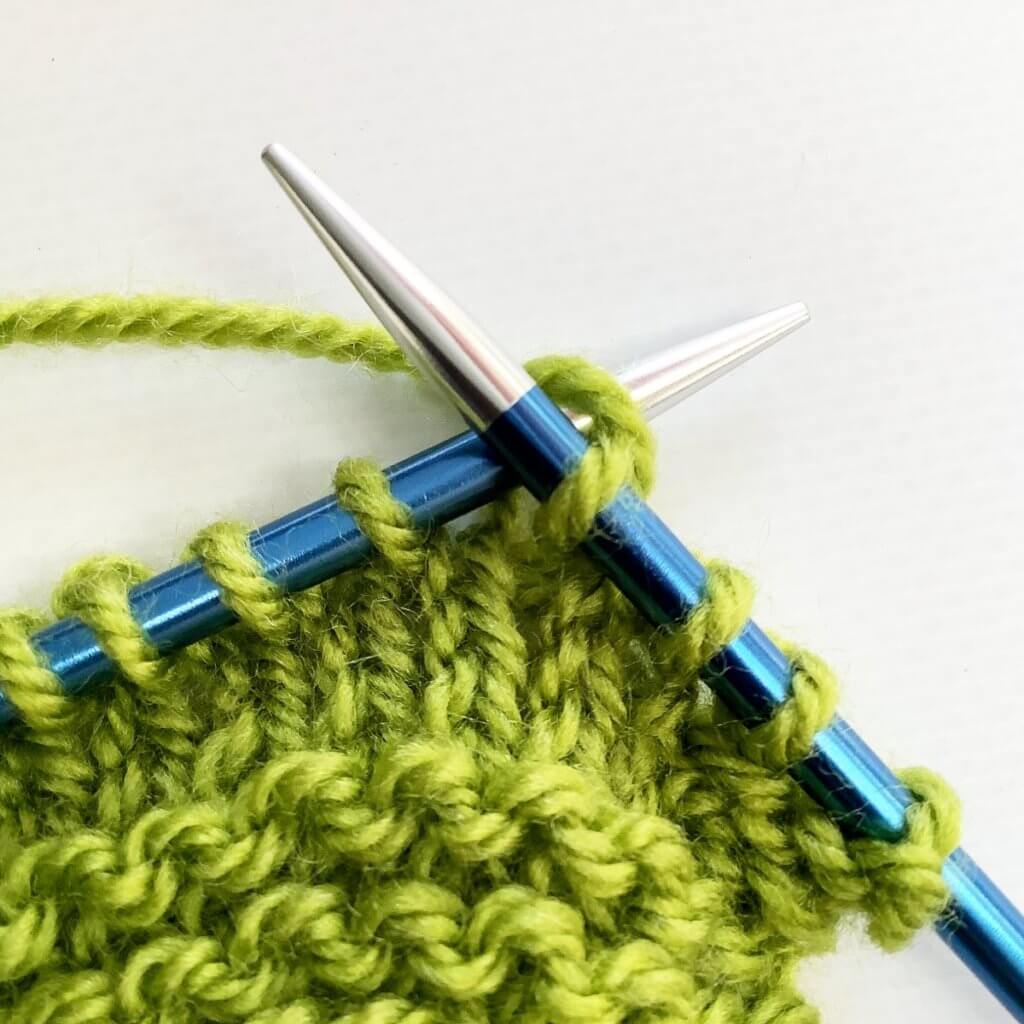
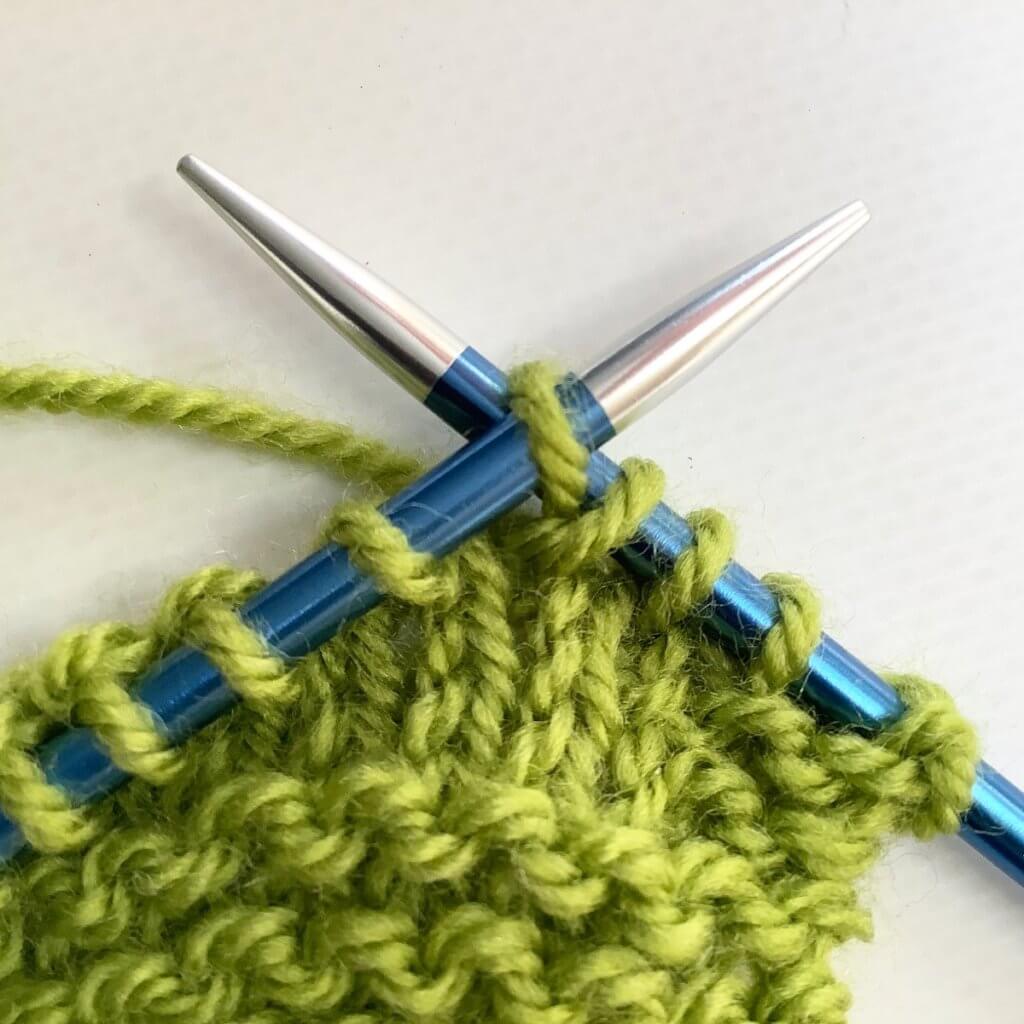
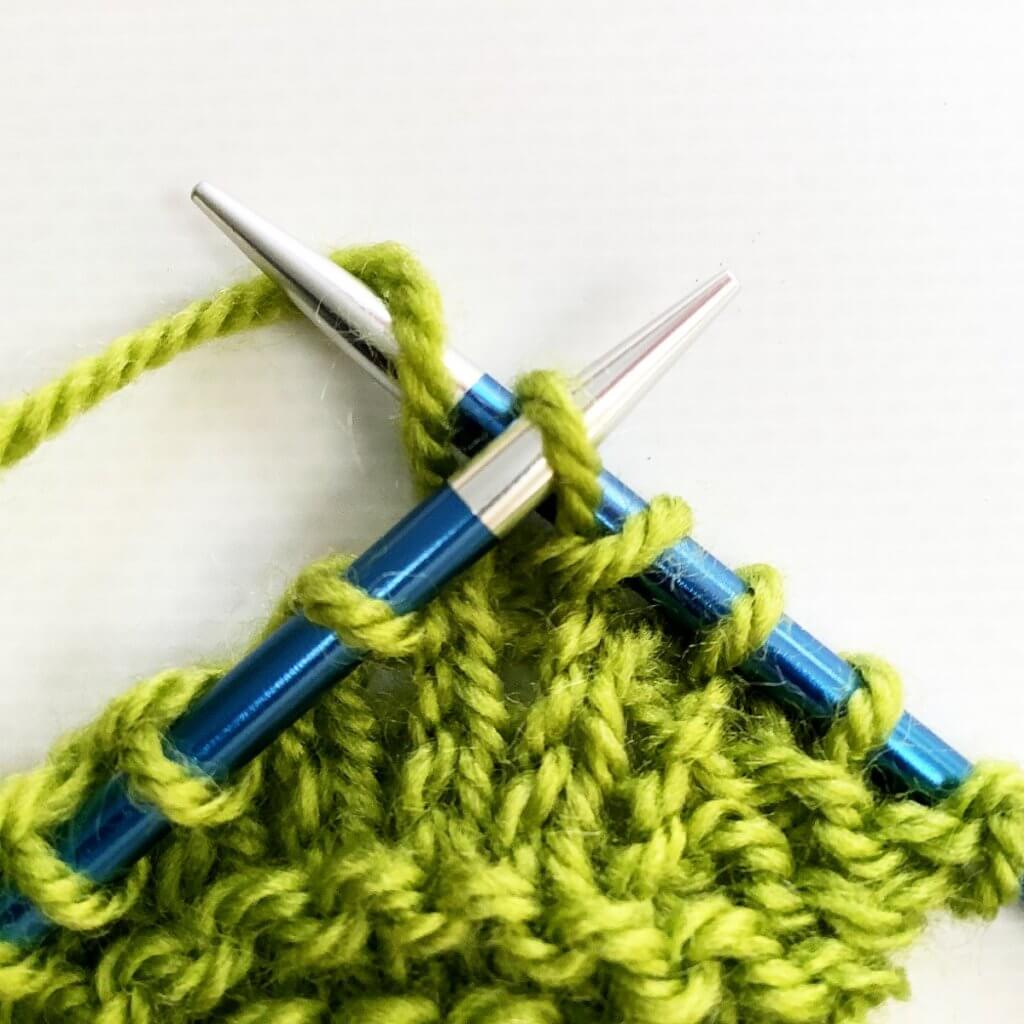
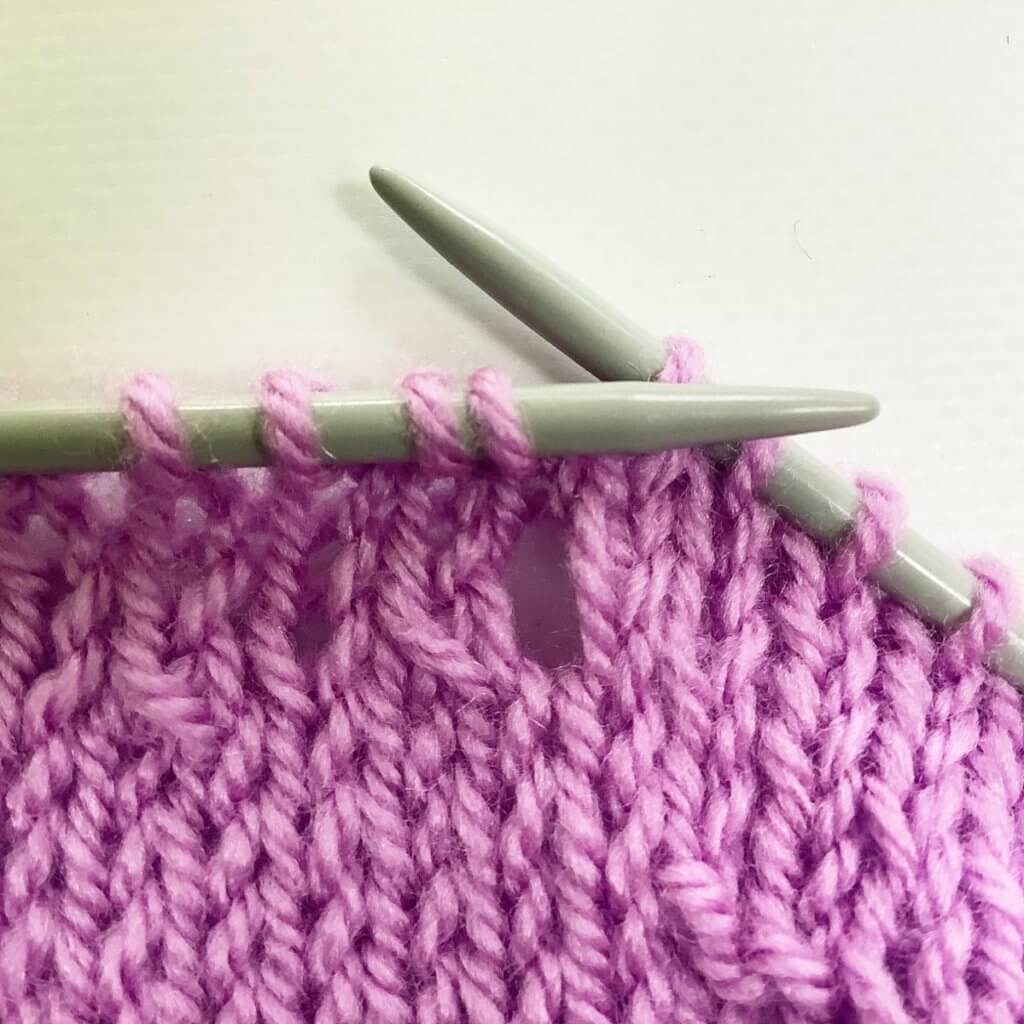
The pattern contains both fully written out as well as charted instructions for the lace. The lace section is worked on both wrong and right side rows. However, increases and decreases are only worked every 4th row, making it quite suitable for new “true lace” knitters.
Pay what you want: (minimum €6.50)

Difficulty level
The lace in this pattern is worked on both RS and WS rows. The points in the pictured shawl are blocked that way. You can, however, block it straight instead of scalloped, if you prefer.
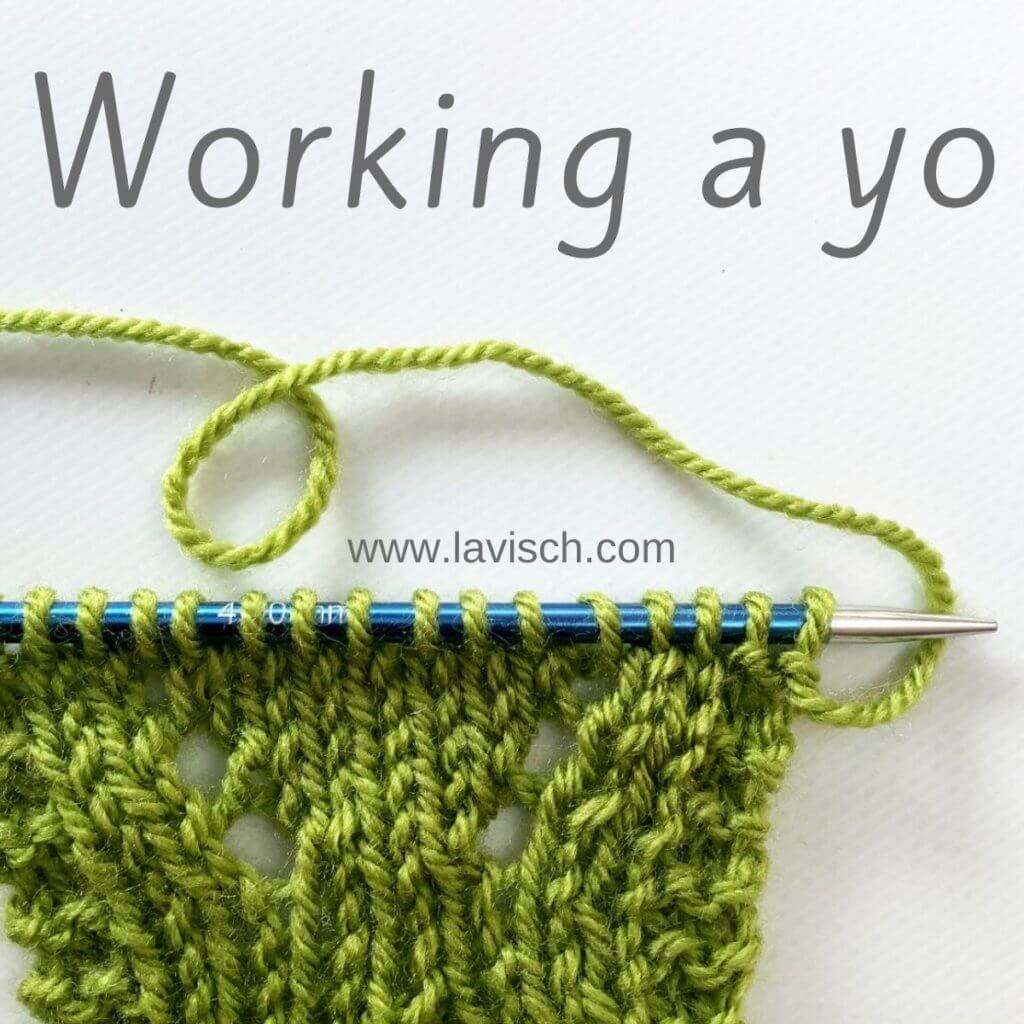
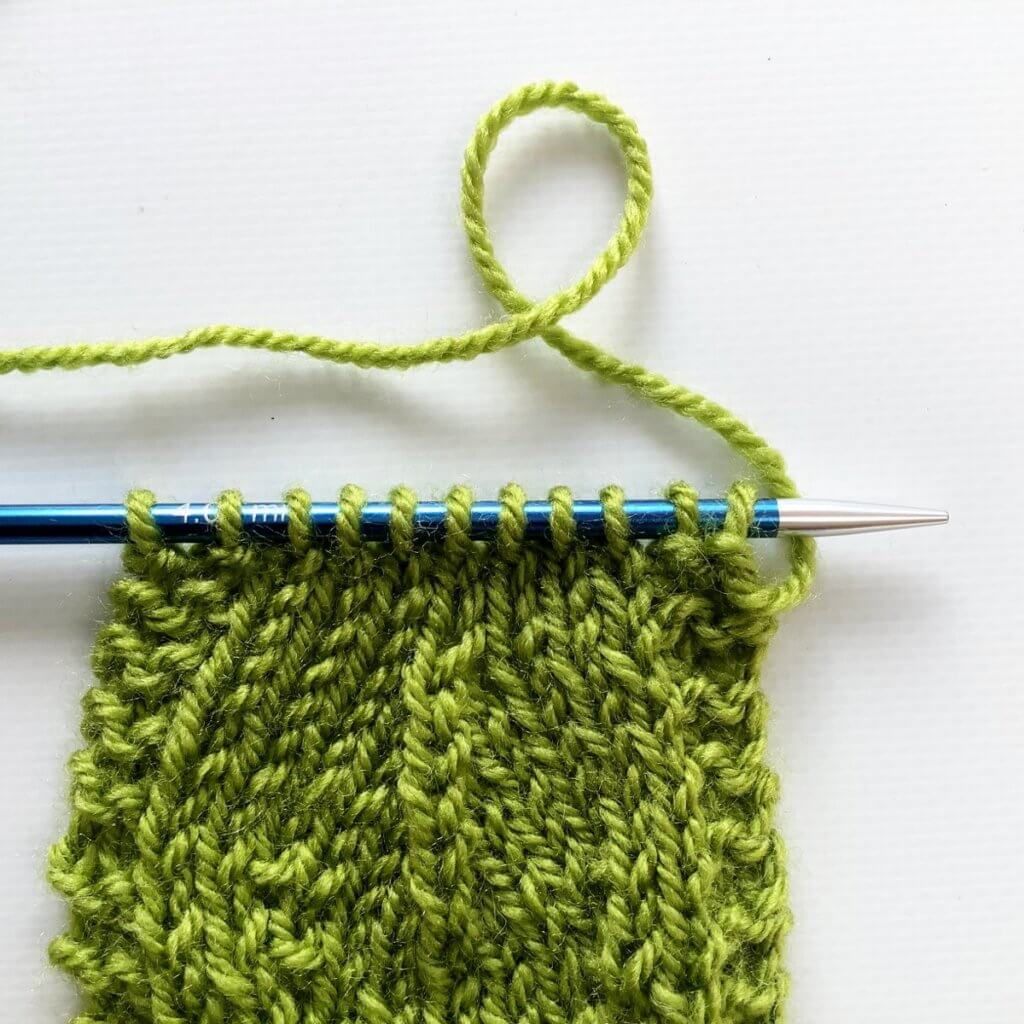
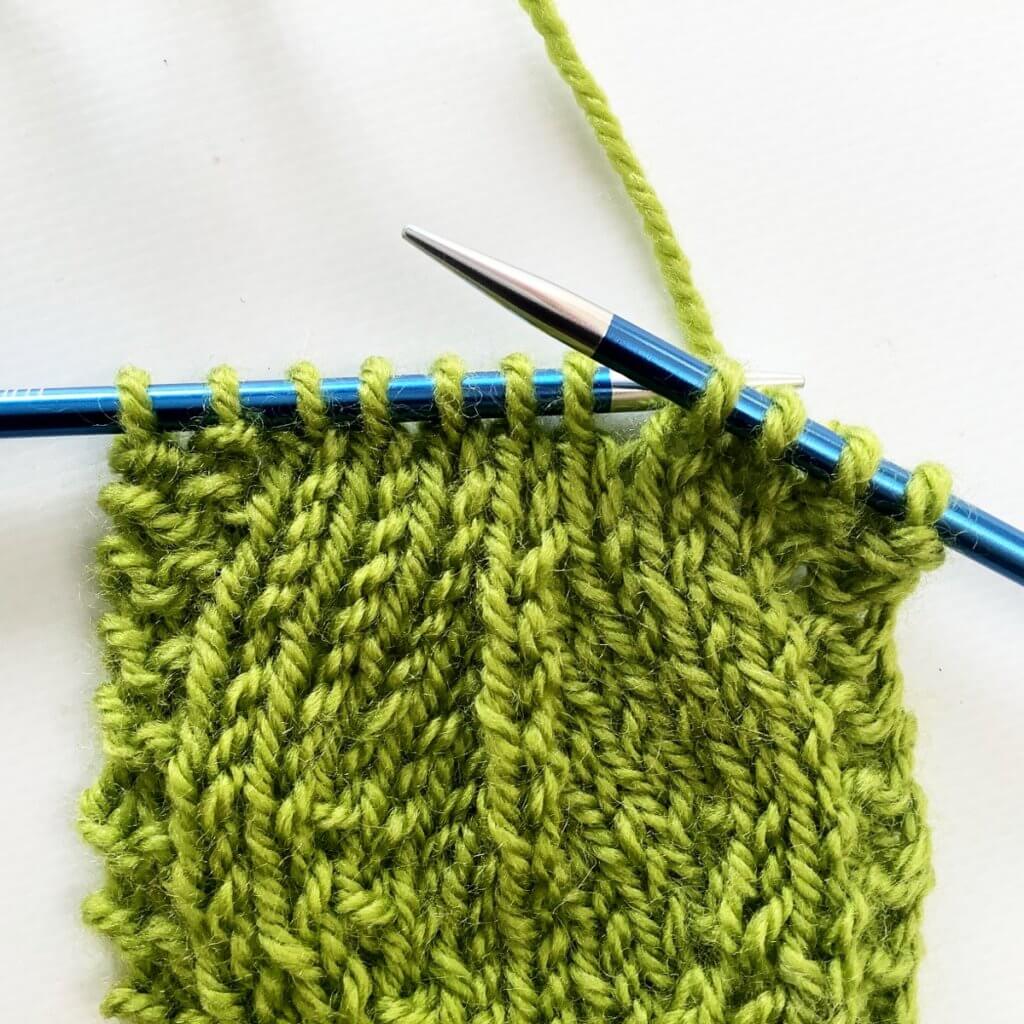
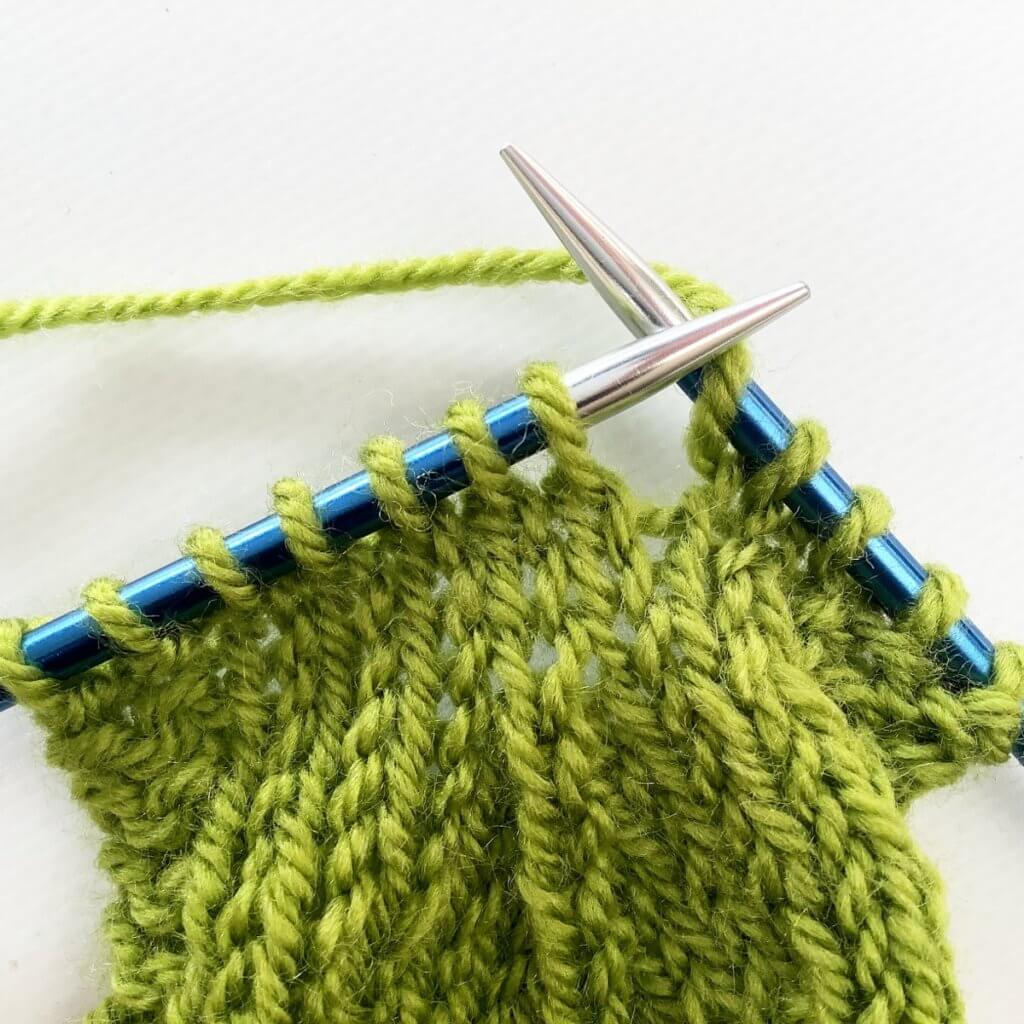
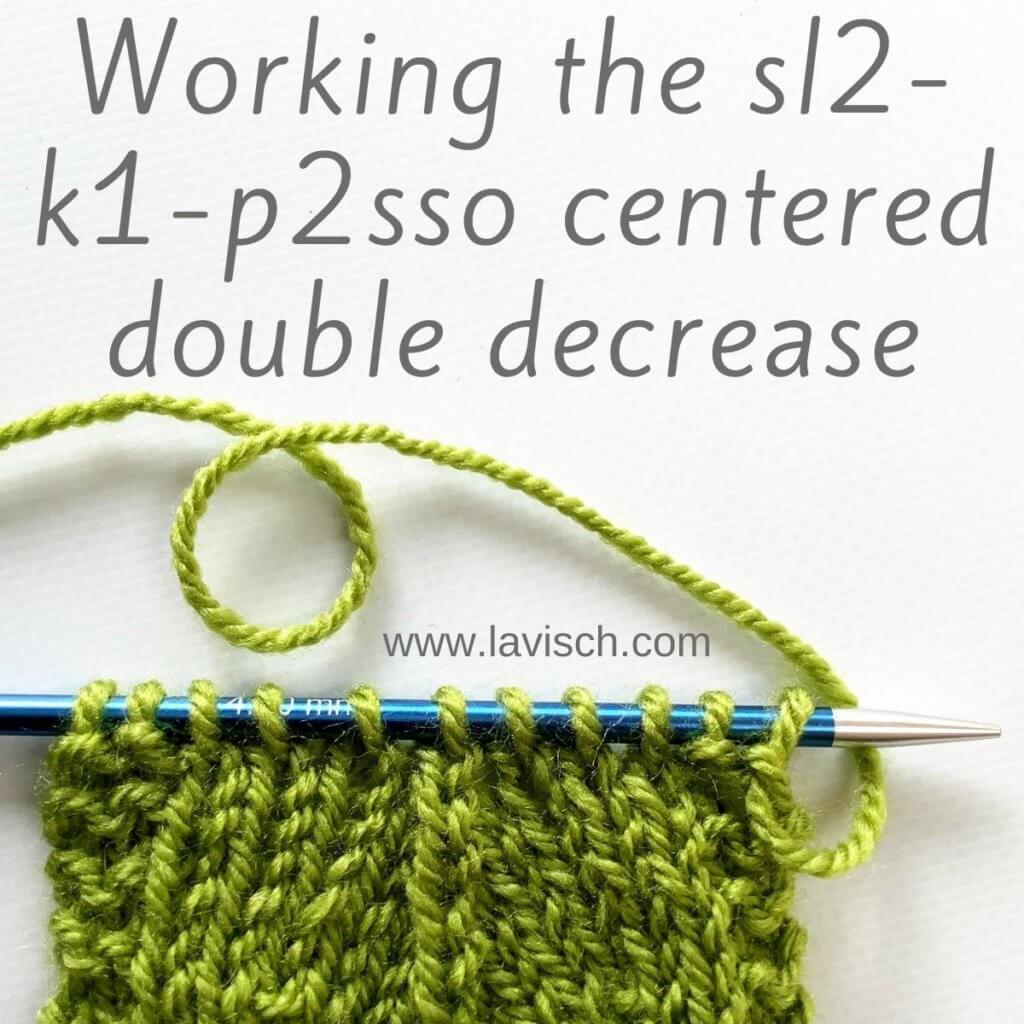
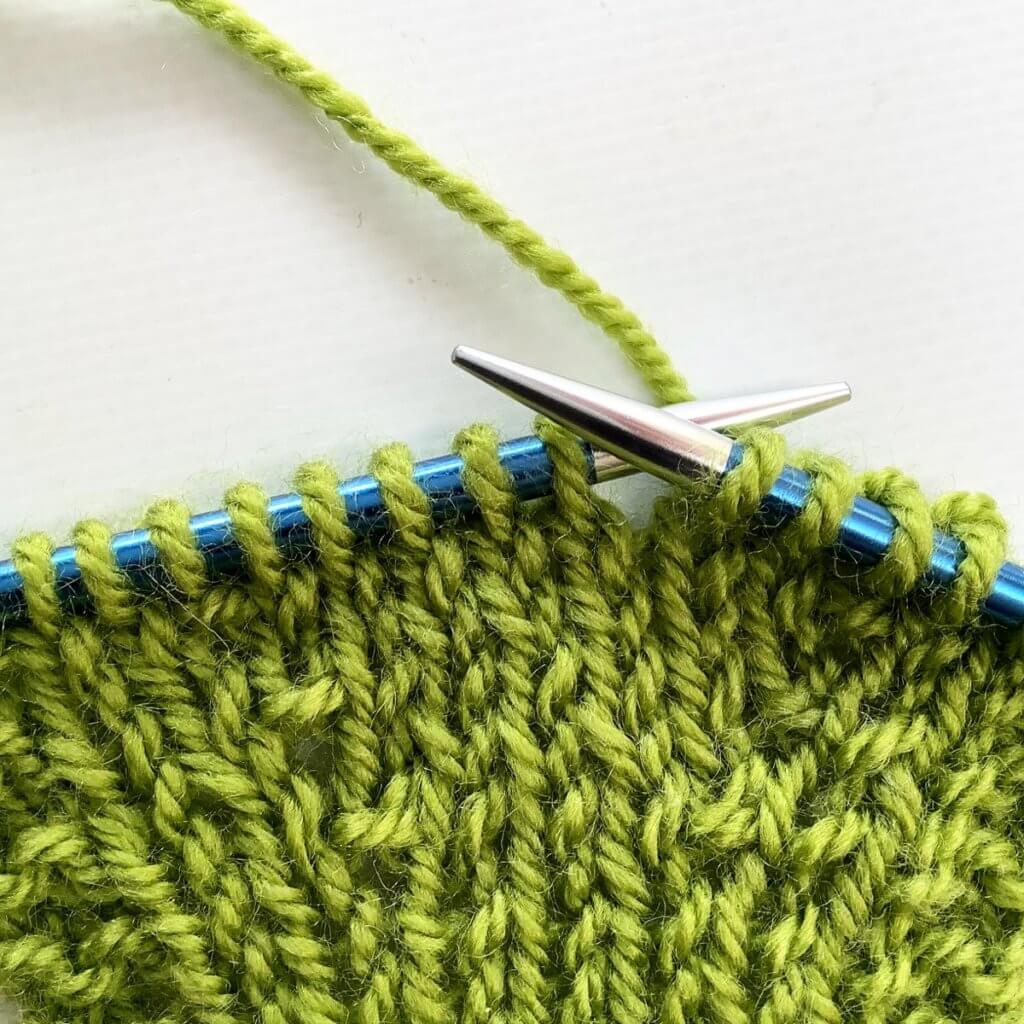
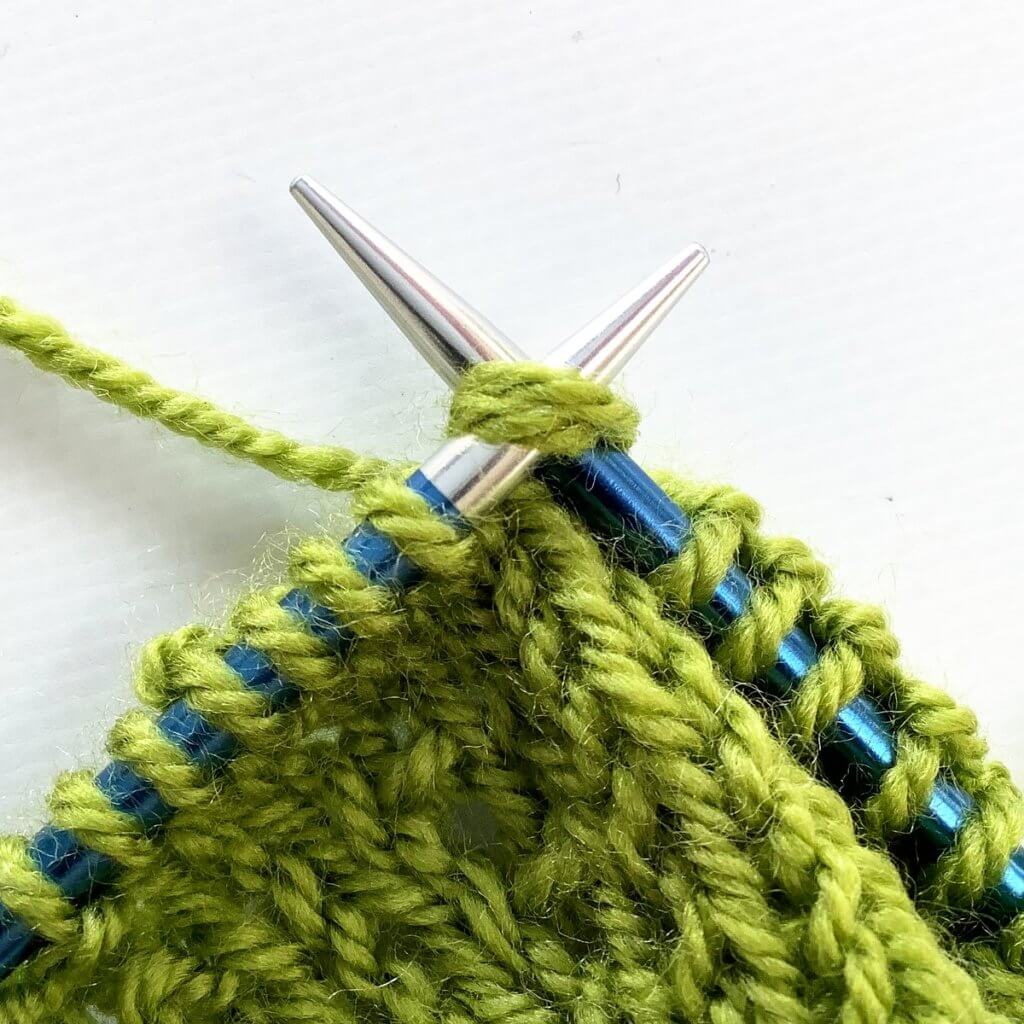
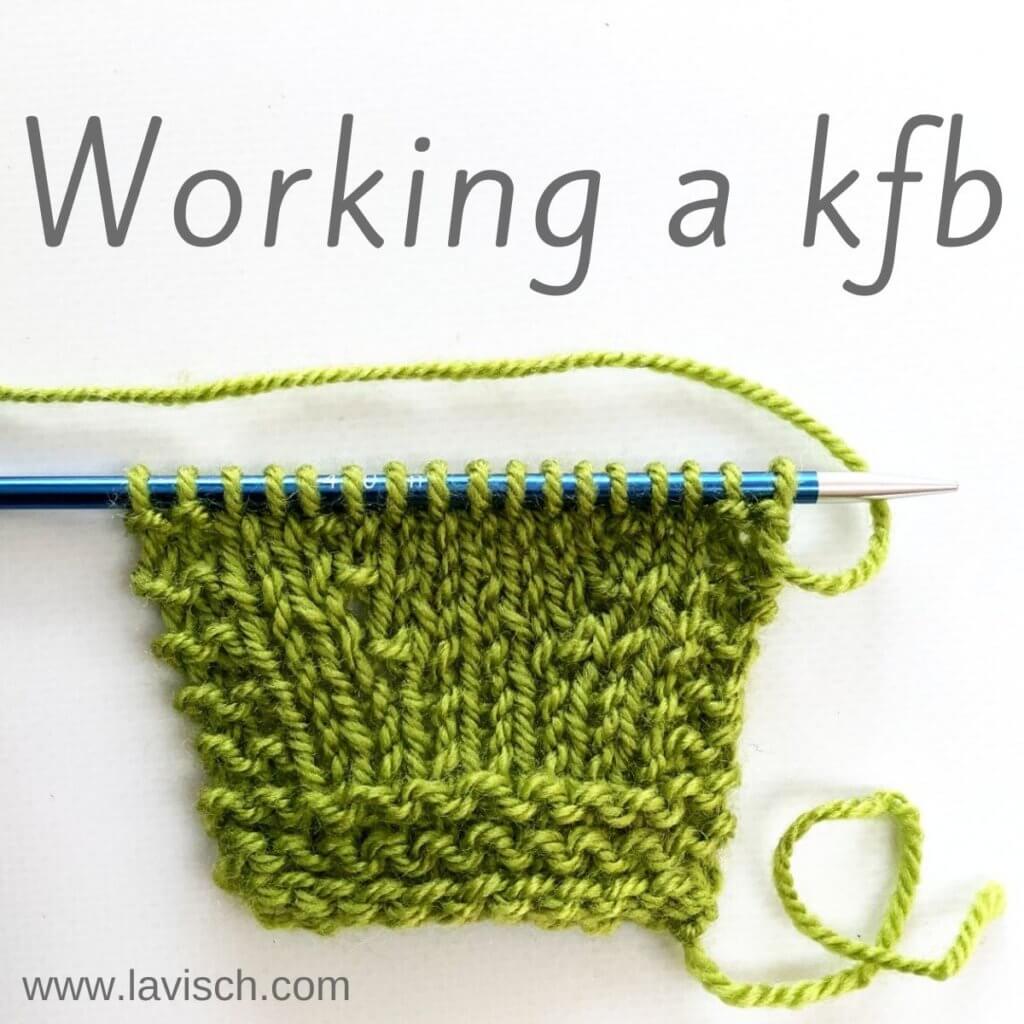
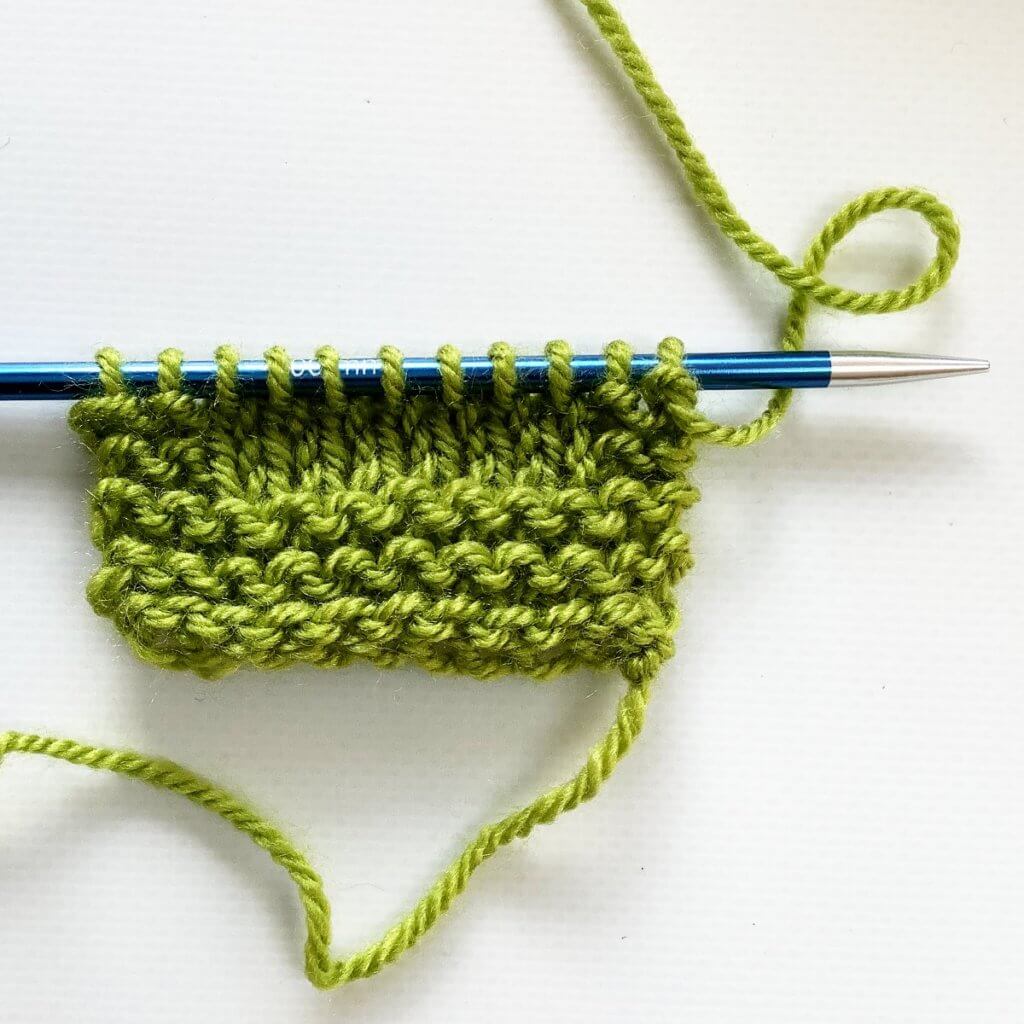
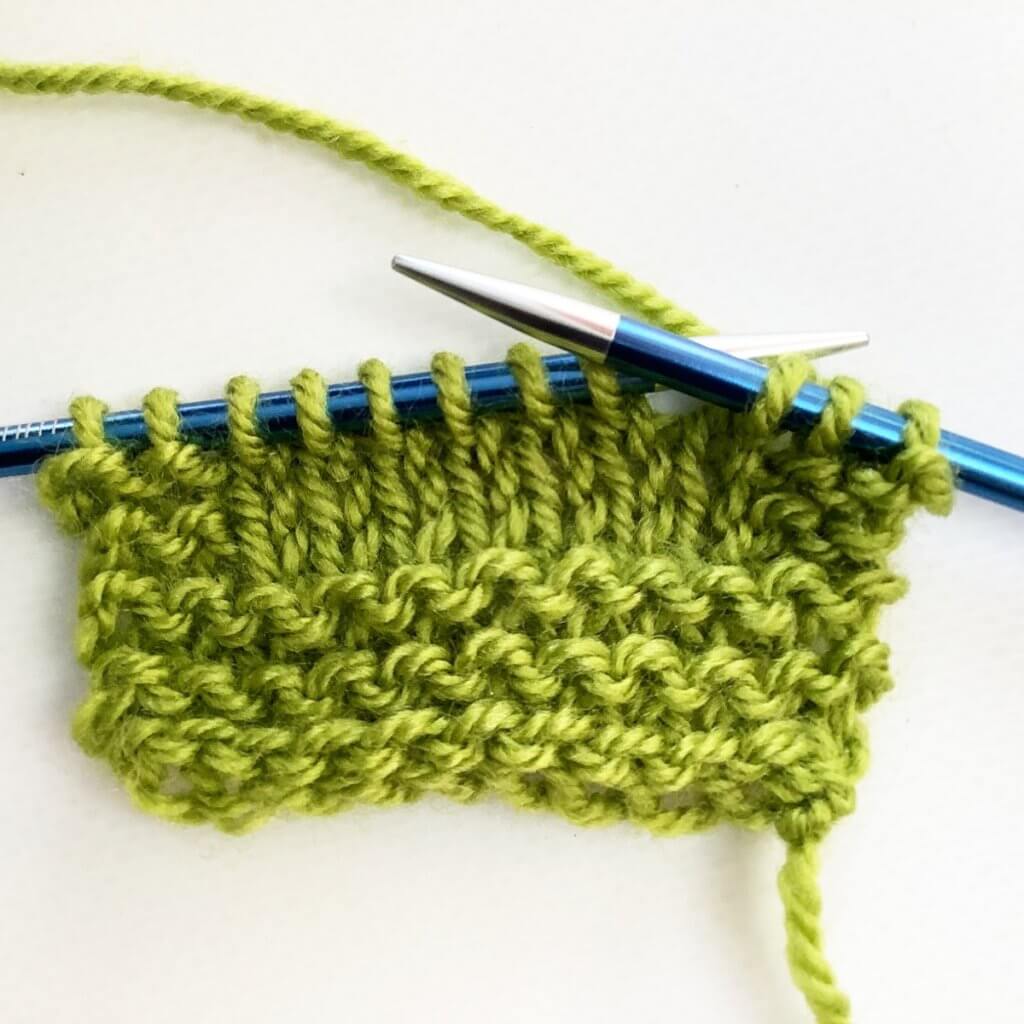
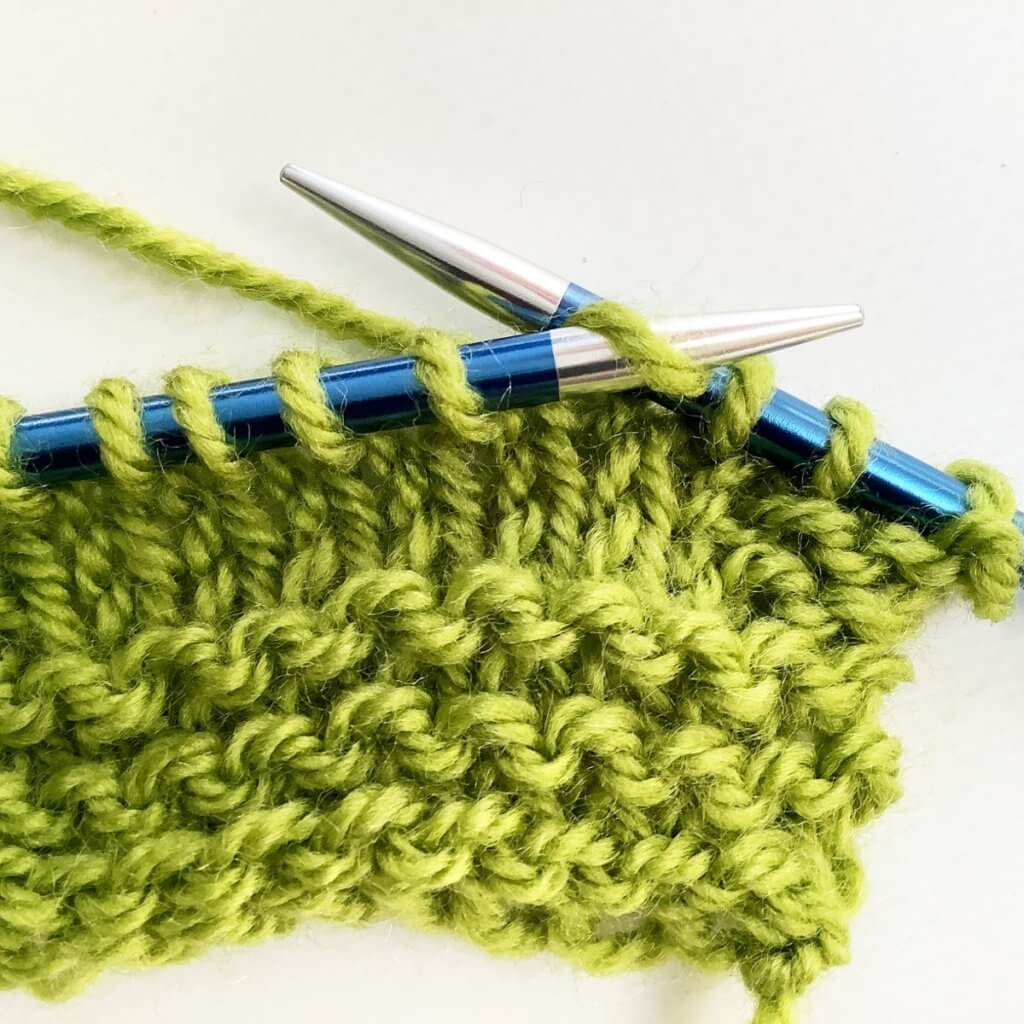
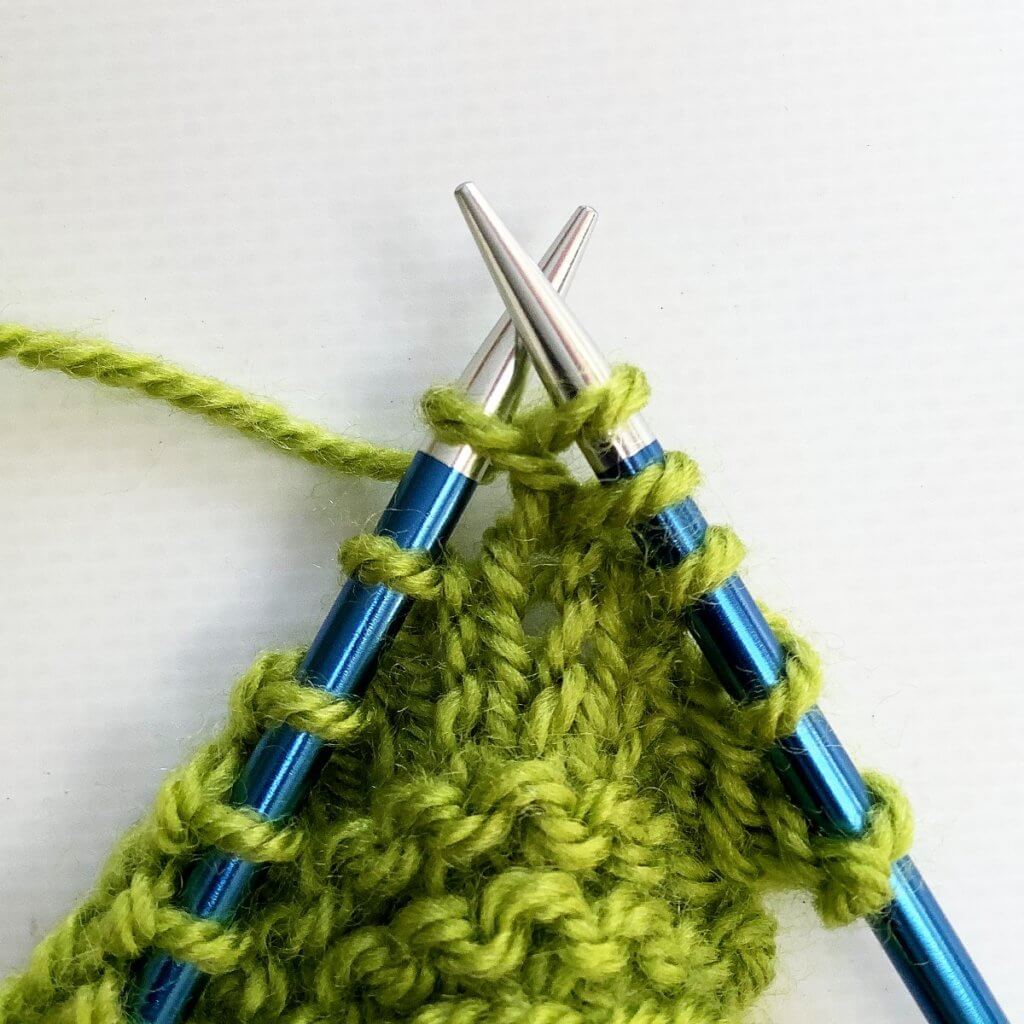
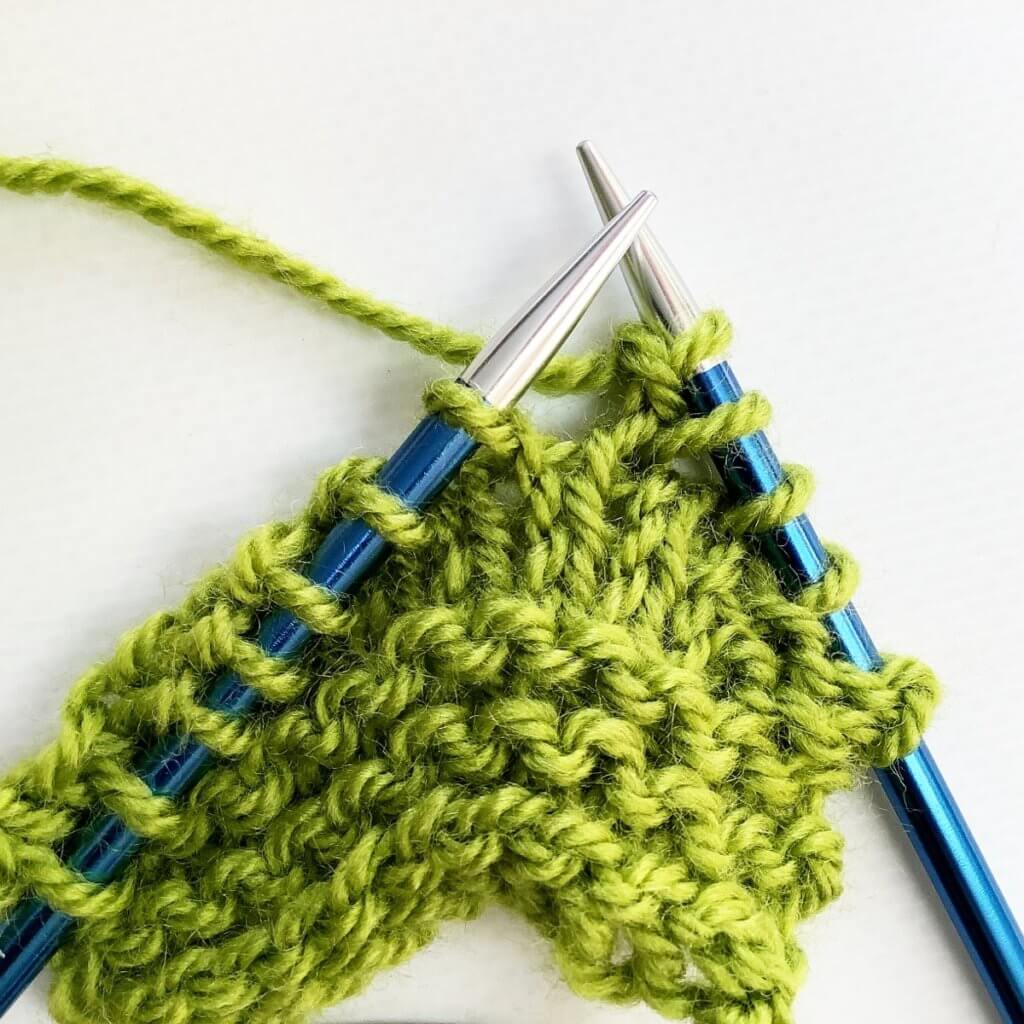
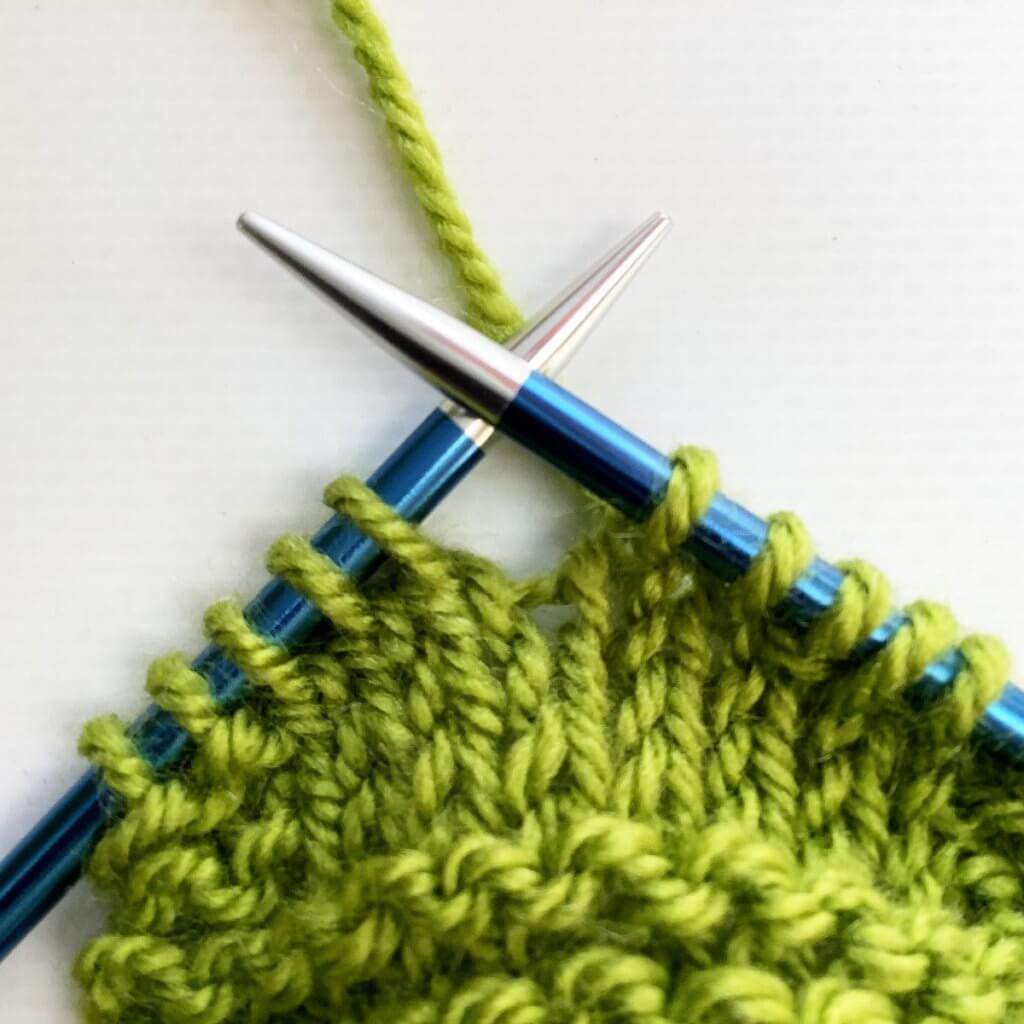
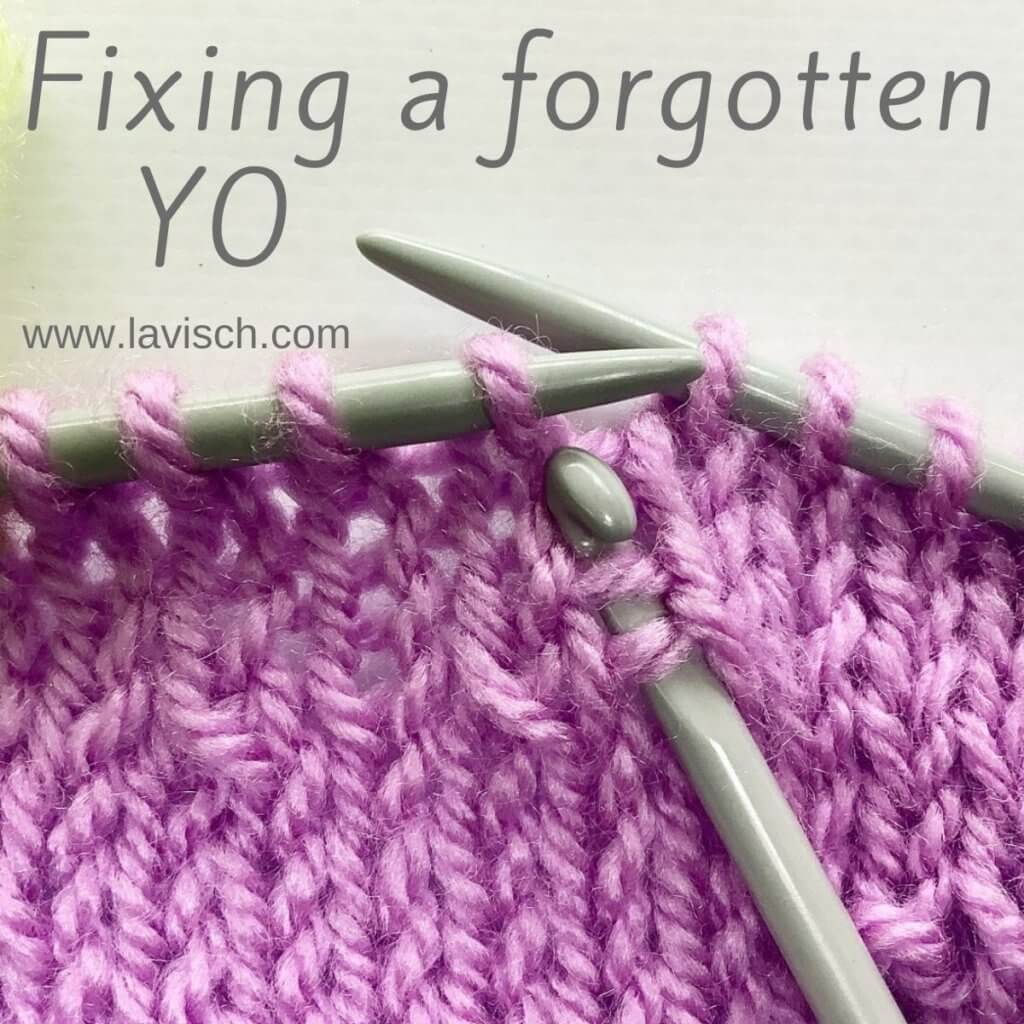
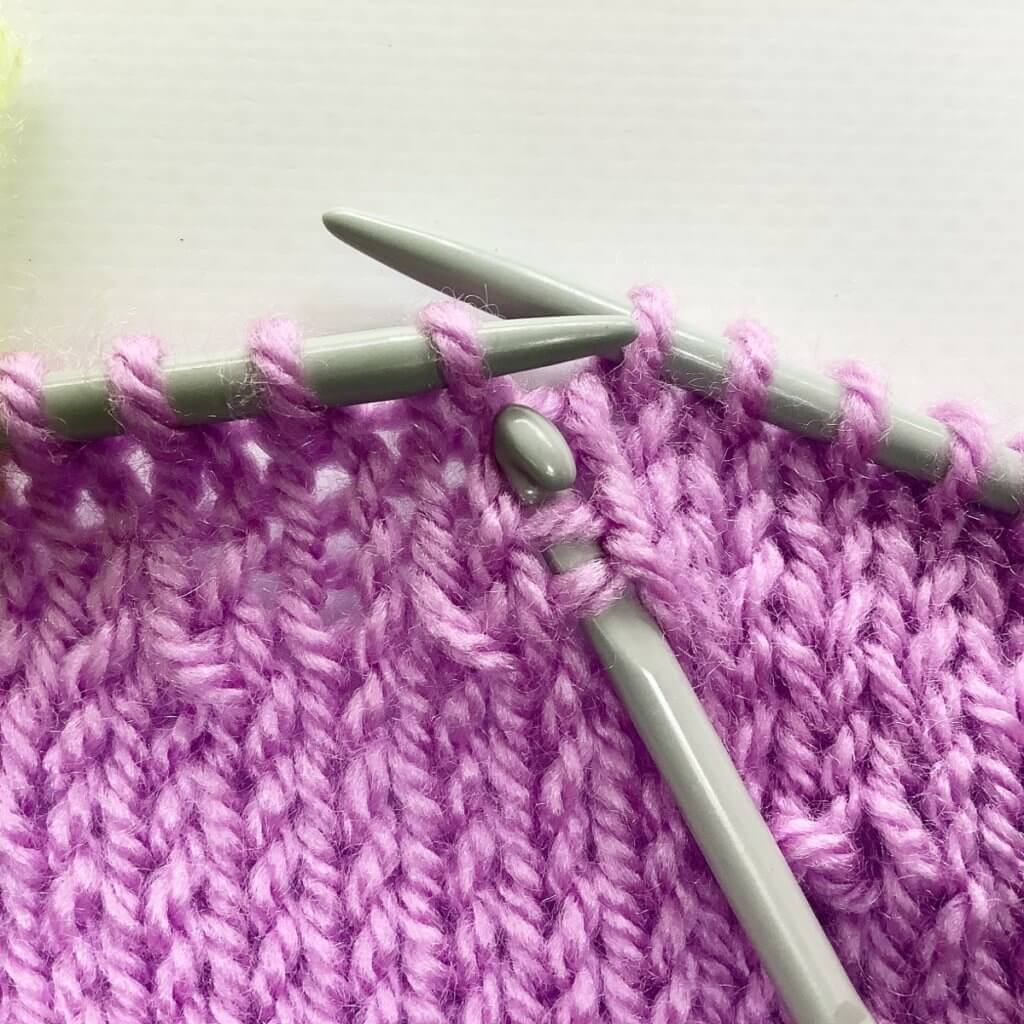
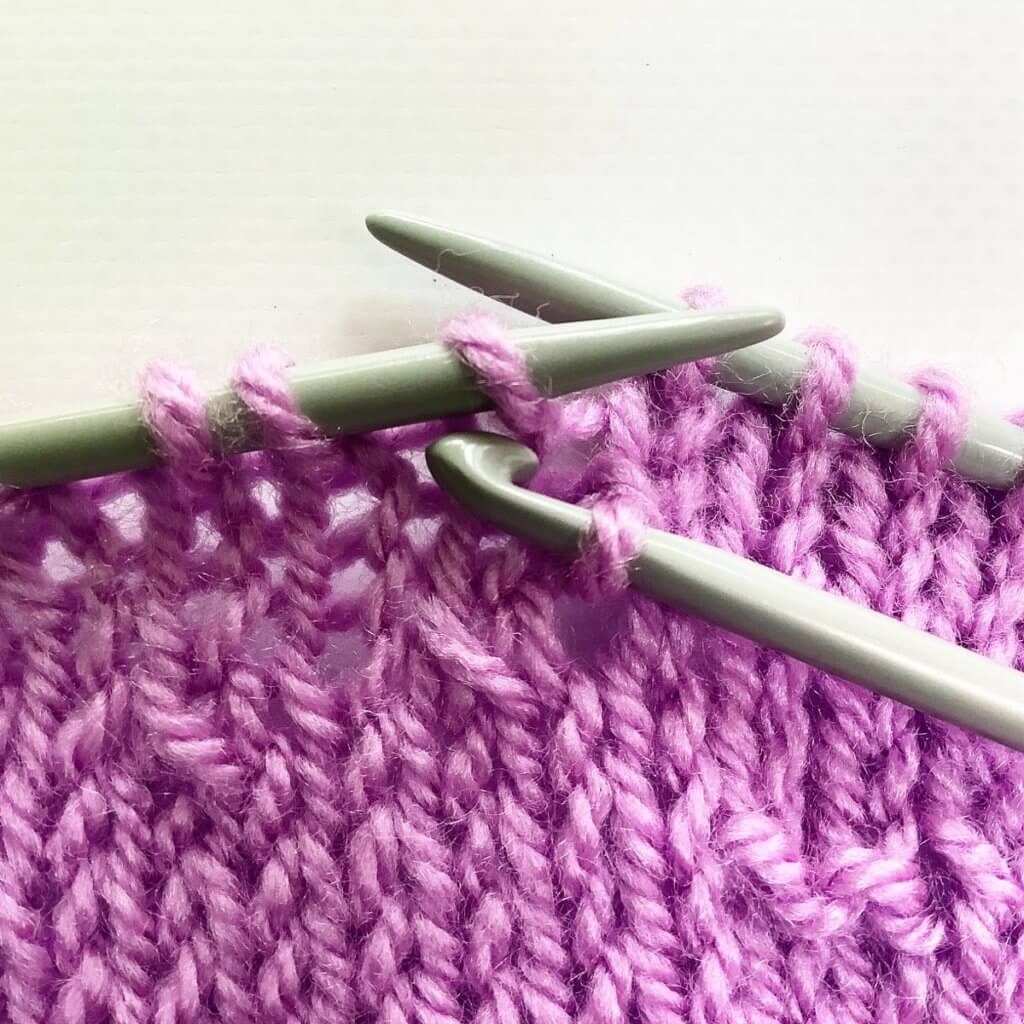
Stitches used include knit, purl, yo, kfb, k2tog and a centered double decrease.
This pattern is suitable for the intermediate knitter.
Sizes and finished measurements
Finished dimensions of the sample shawl: Span width of 186 cm (73 ¼ inches) along the upper edge and a max. depth of 91 cm (36 inches), measured after blocking.
Change the size of this shawl by using lighter or heavier yarn and/or working fewer (or more) repeats of the various sections in the body of the shawl. This will, of course, change the amount of yarn needed.
Pattern details
- Gauge: approx. 13.5 sts / 23 rows = 10 cm (4 inches) over garter stitch stripes, after blocking.
- Pattern languages included: English and Dutch (Dit patroon omvat zowel een Nederlandse als een Engelse versie)
- Digital PDF has 4 pages (letter size)
Materials
- Yarn: The Dutch Yarn Barn Double Dutch (100% Texel wool; 200 m (218 yds) / 50 g) in the following colors and amounts – MC: 400 m (437 yds) / 100 g in Linden Green, and CC: 200 m (218 yds) / 50 g in Madder/Indigo brown. Substitute wool fingering or sport weight yarn of comparable thickness, in solid or tonal colorways for a similar result.
- Size 4 mm (US 6) / 80 cm (32 inches) circular needles
- Yarn needle