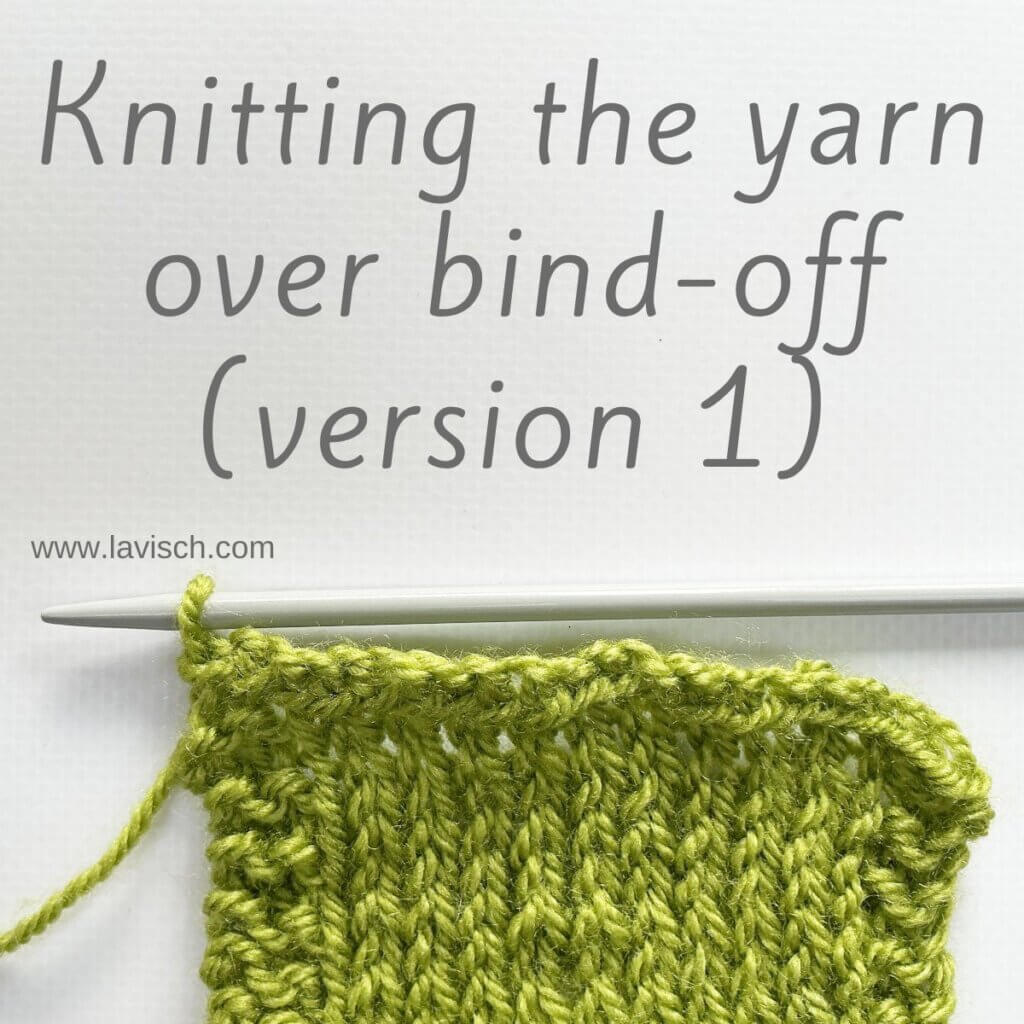
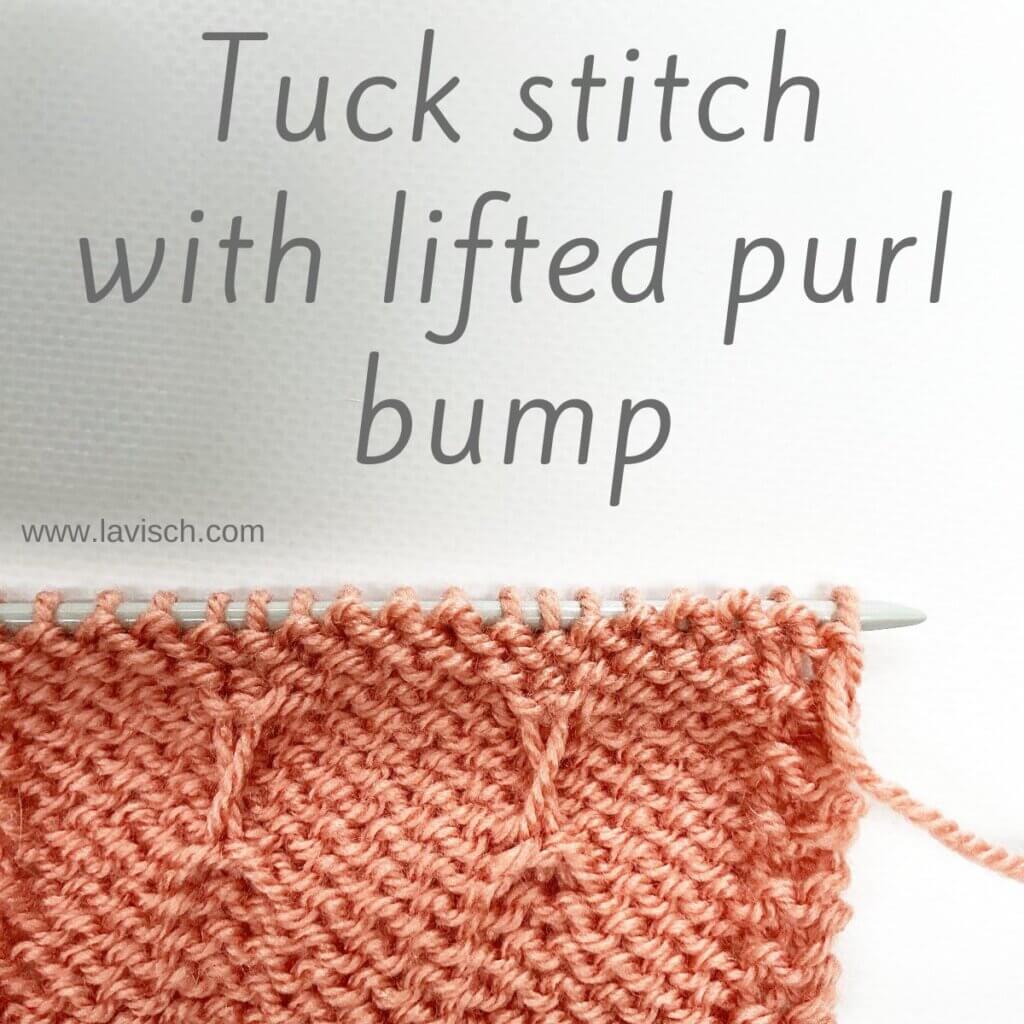
stitch pattern – how to work the spring stitch

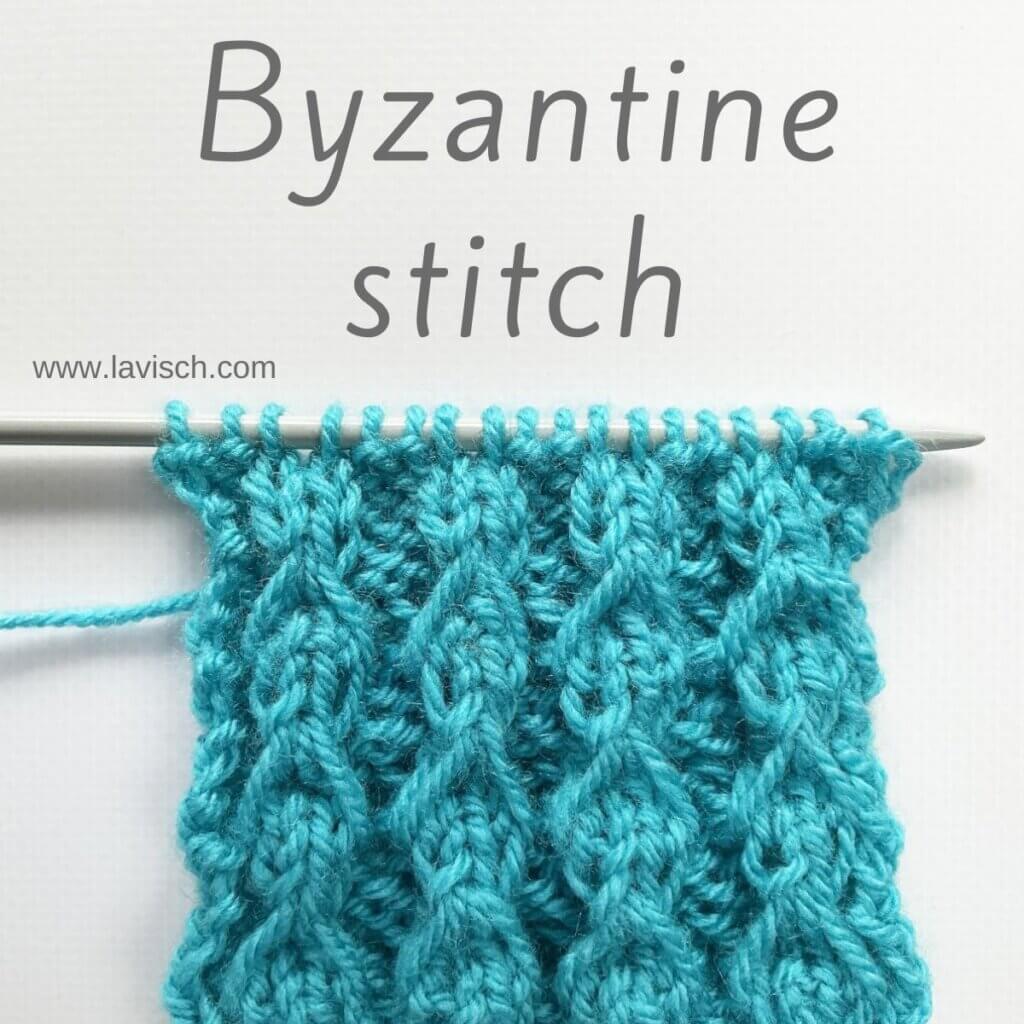
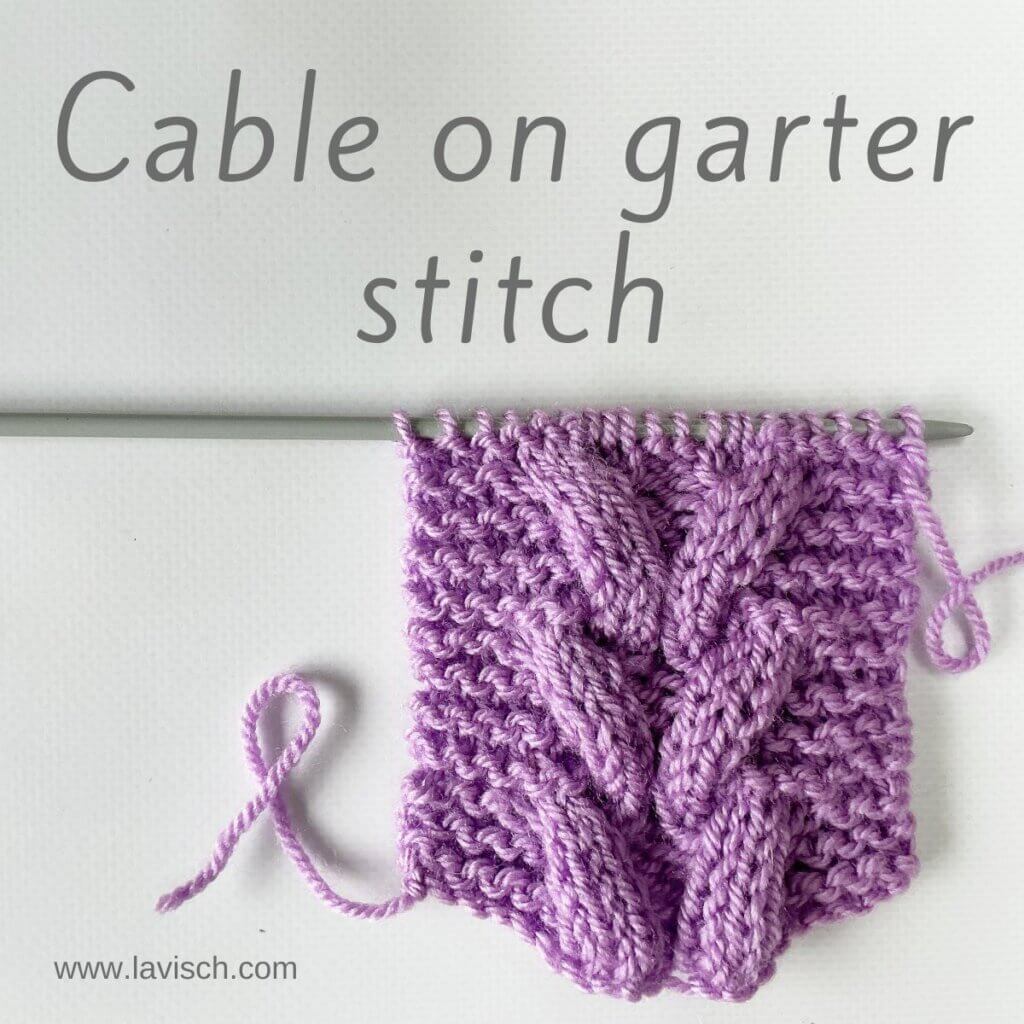
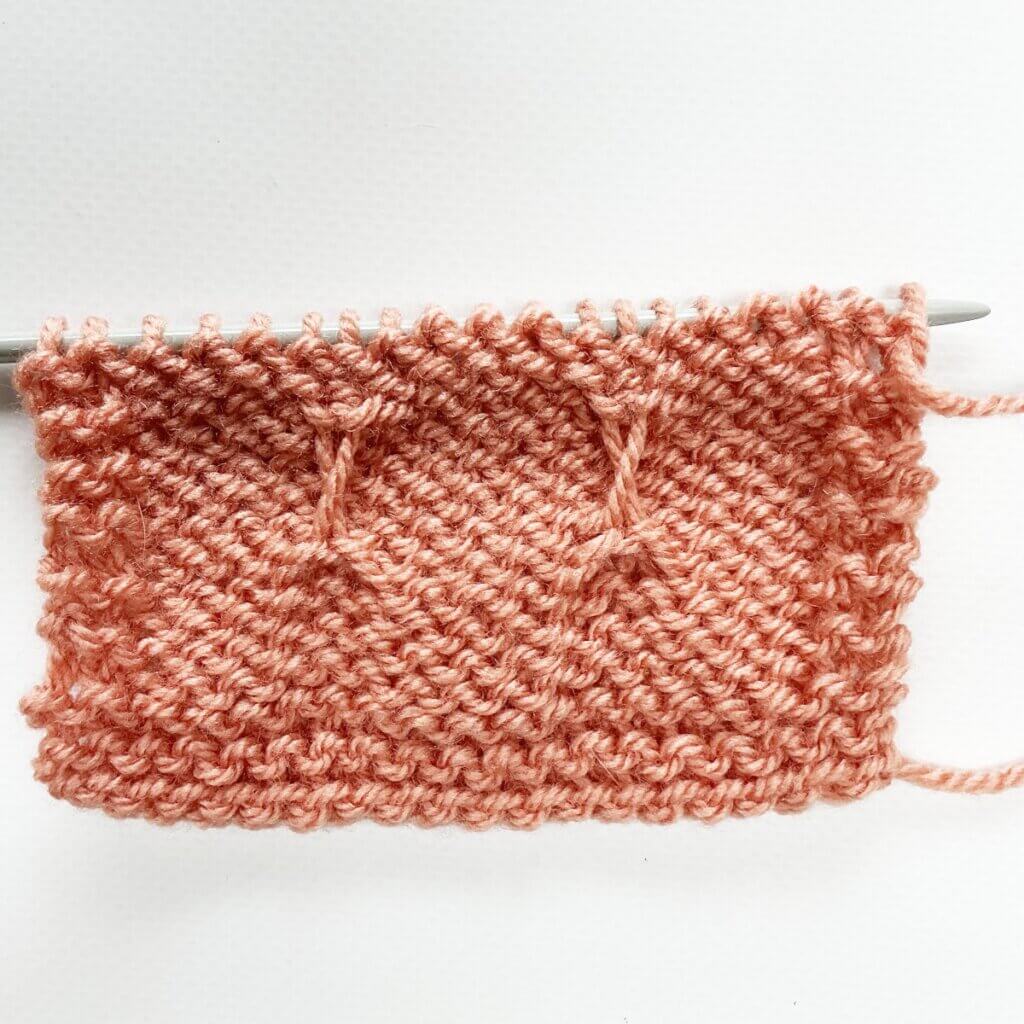
The spring stitch is sometimes referred to as the helical spring stitch, a name inspired by the way the yarn coils into a bobble-like shape. In the photo above, you can already catch a glimpse of the spring bobble stitch pattern in which it’s used. In this post, however, I’ll focus solely on how to work the spring stitch itself. Instructions for the full spring bobble stitch pattern will be available soon.
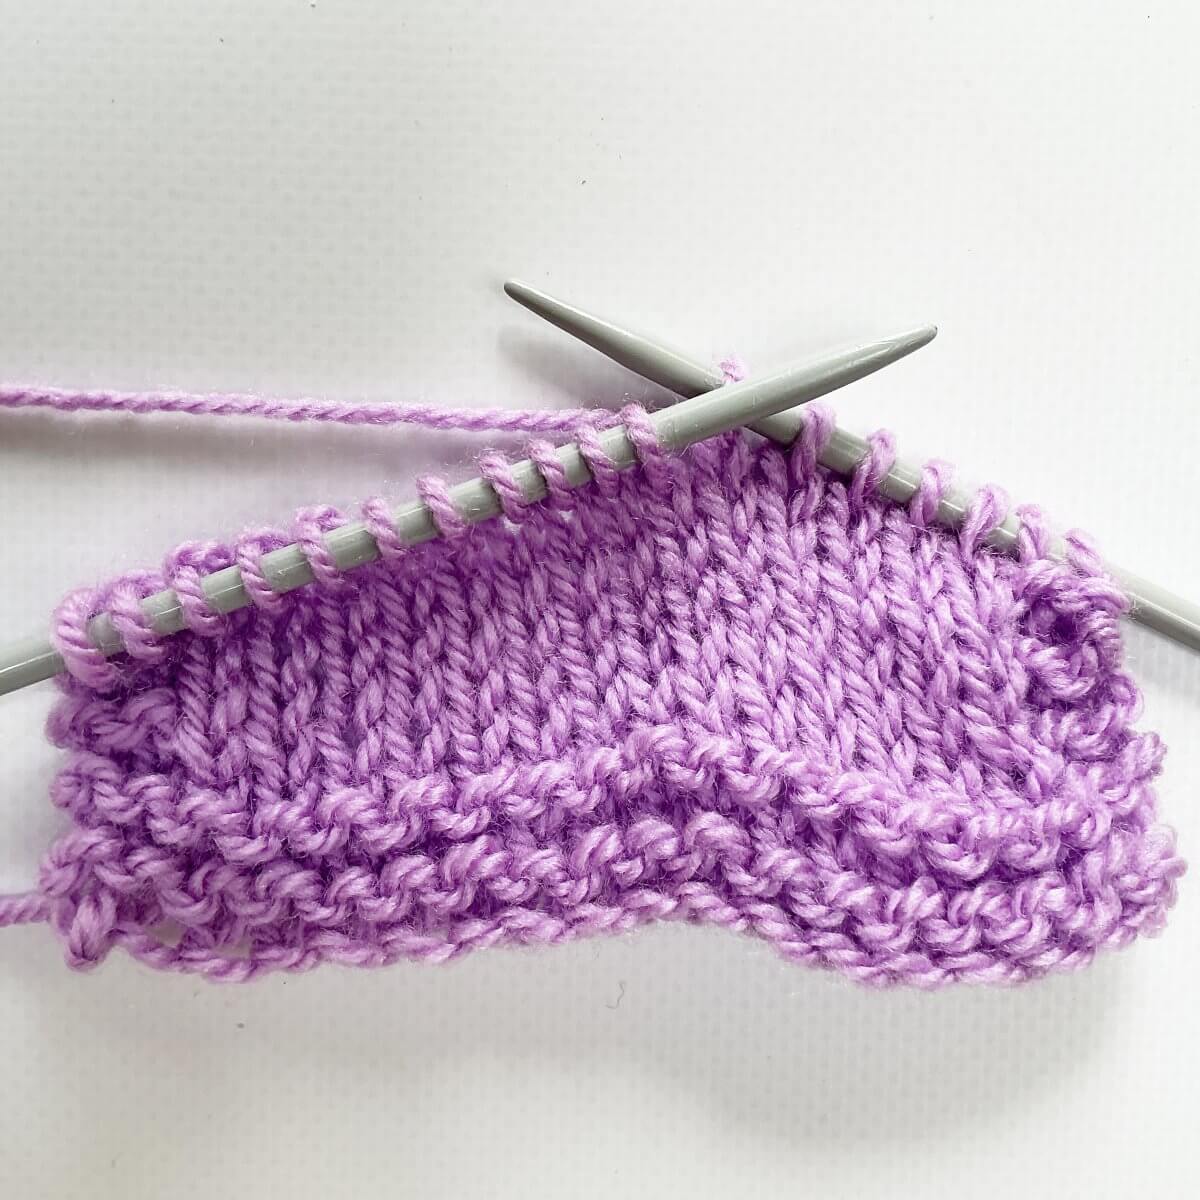
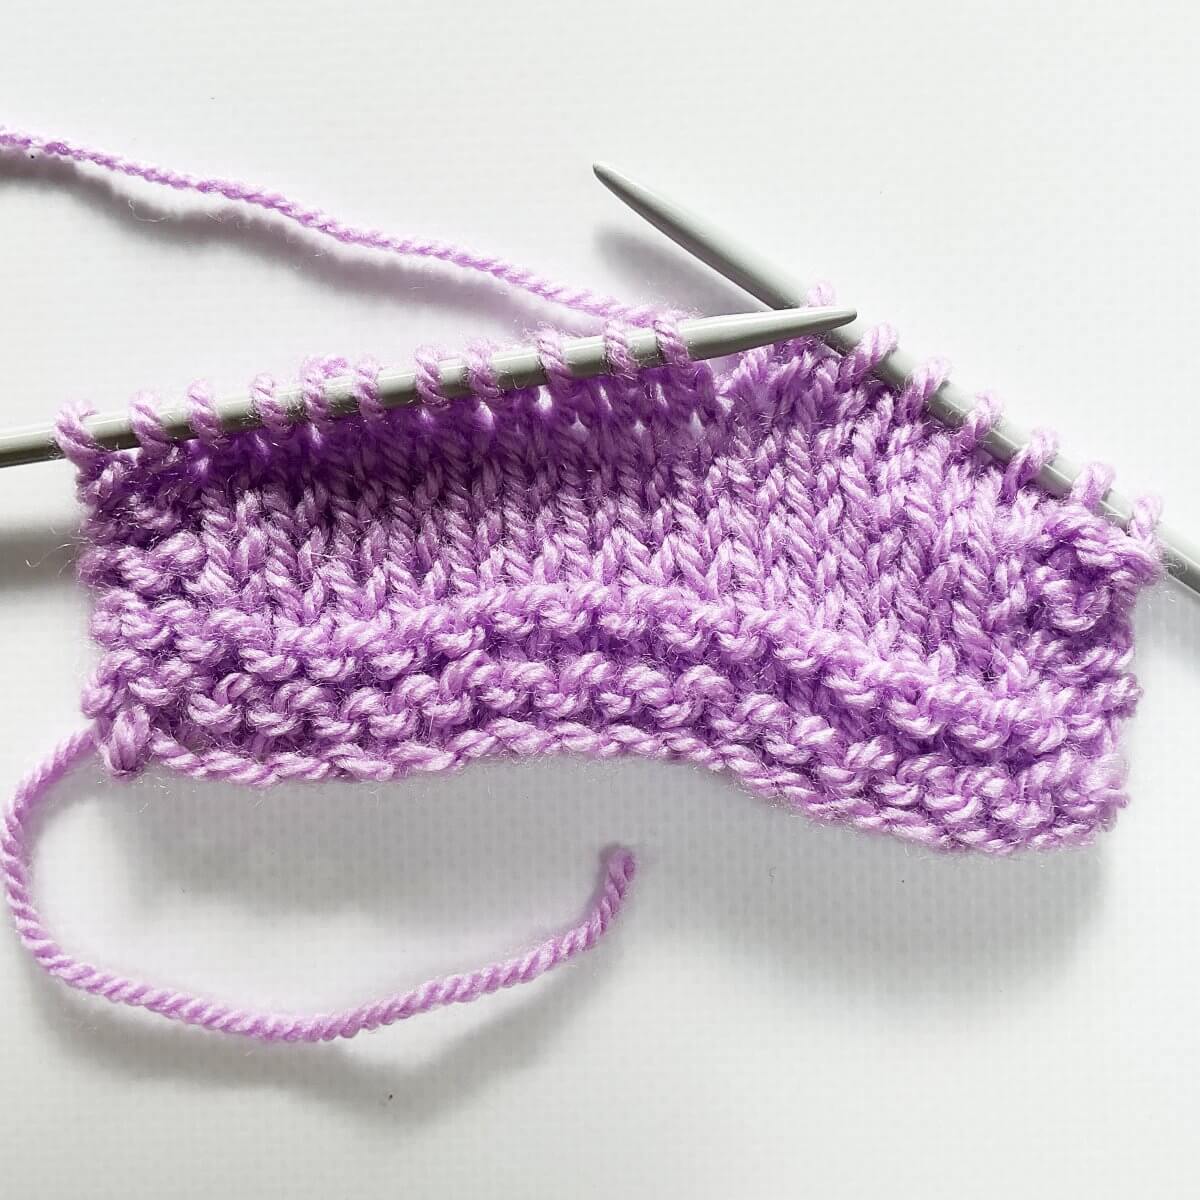
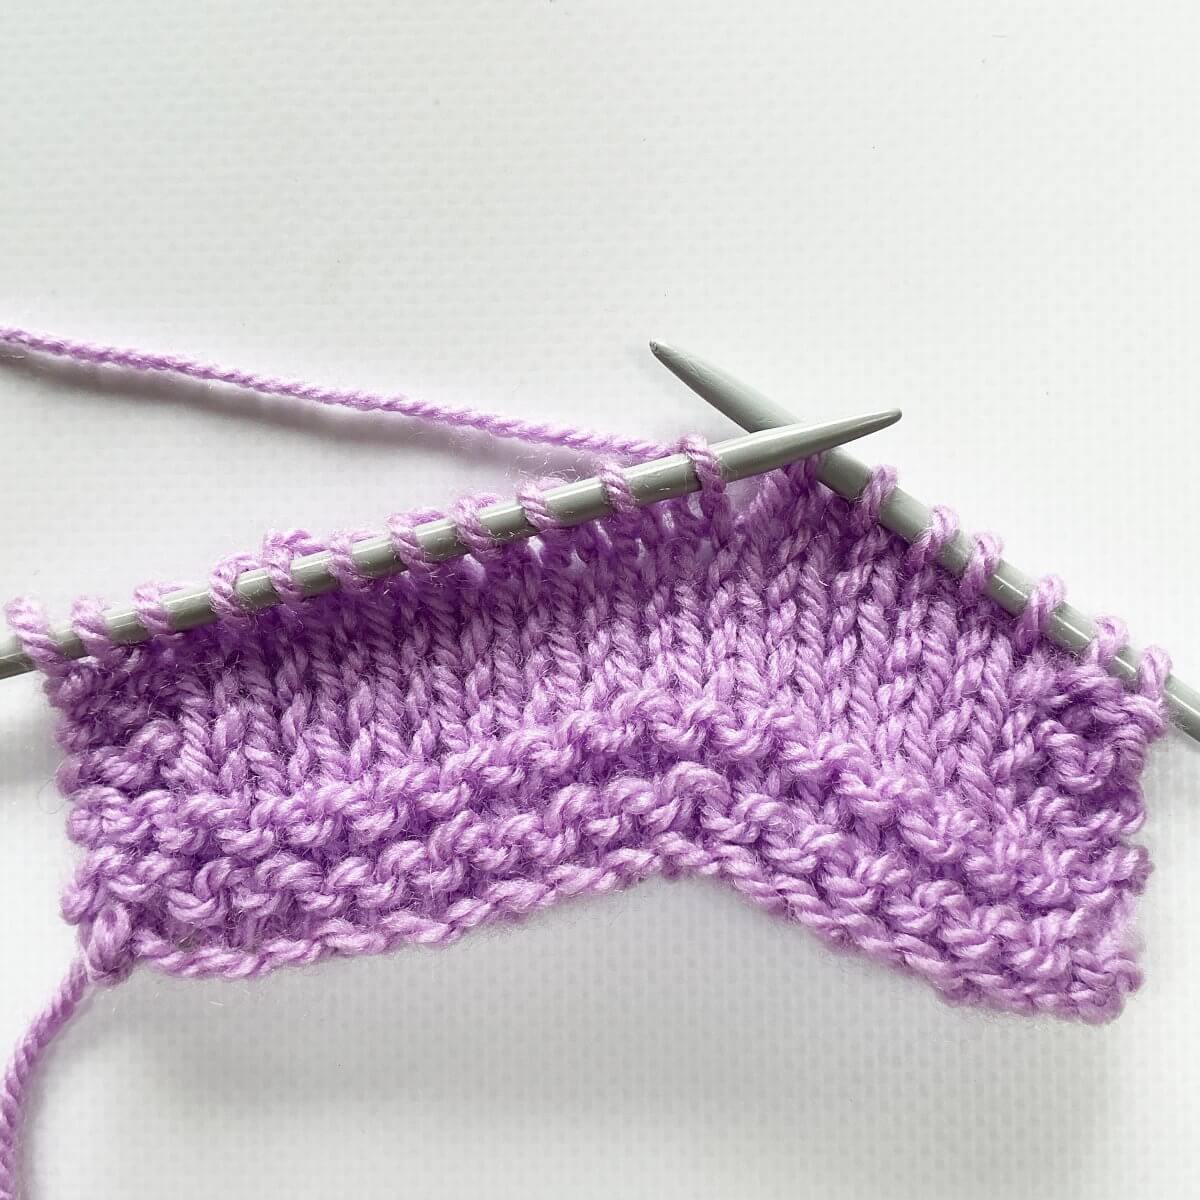
The spring stitch is worked on the wrong side of the fabric and is created over two stitches. The first stitch forms the base, while the second anchors the coiled yarn in place. Although it may look intricate, it’s actually much easier to work than it appears. Let’s get started!
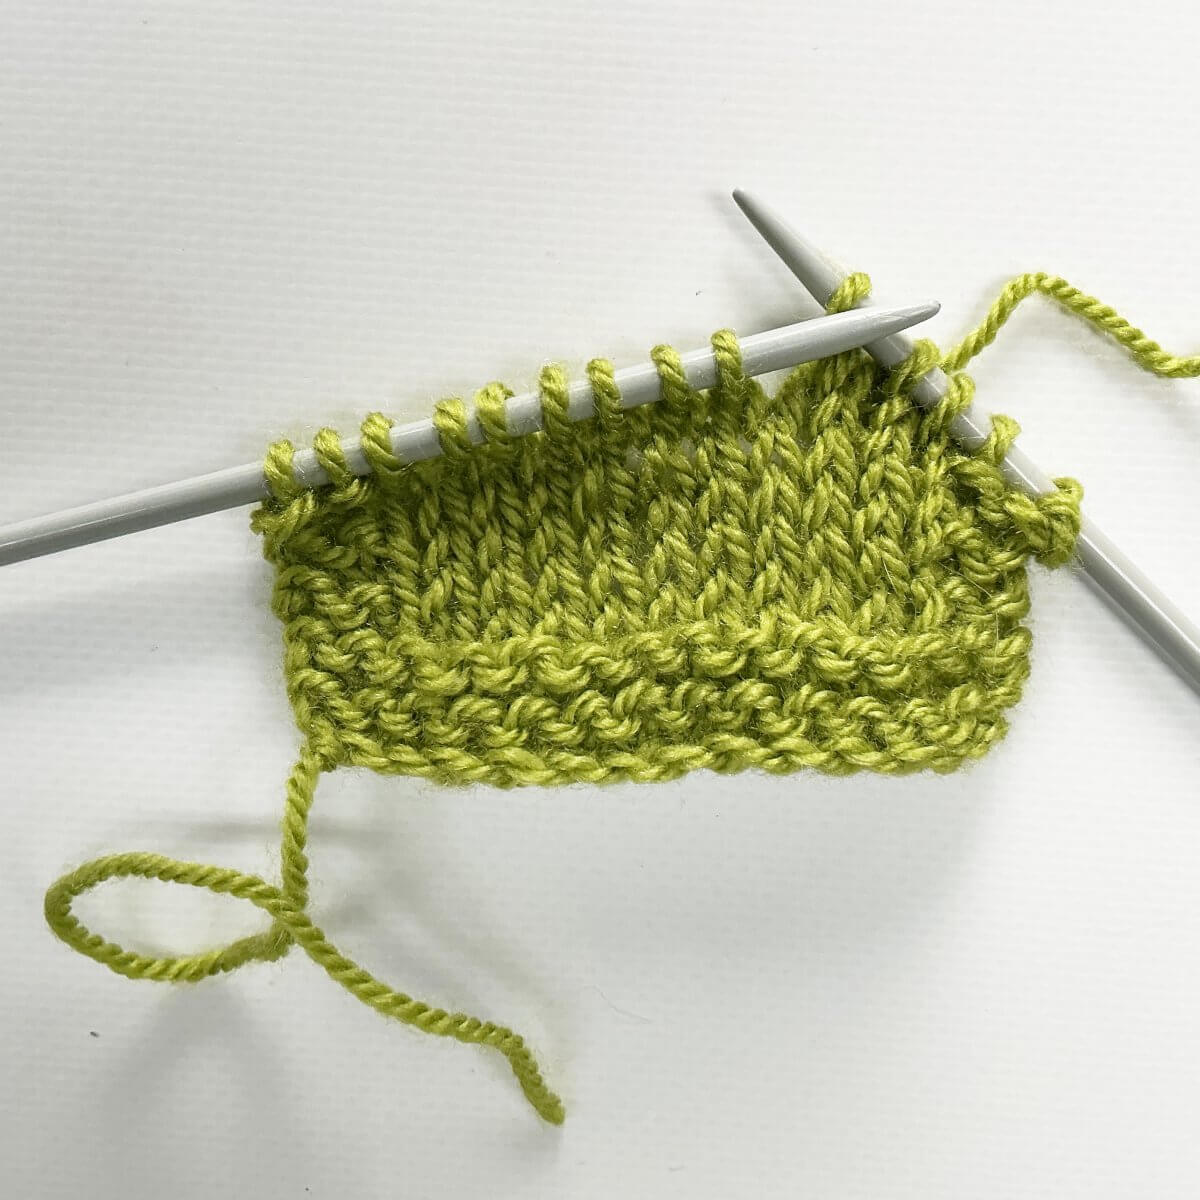
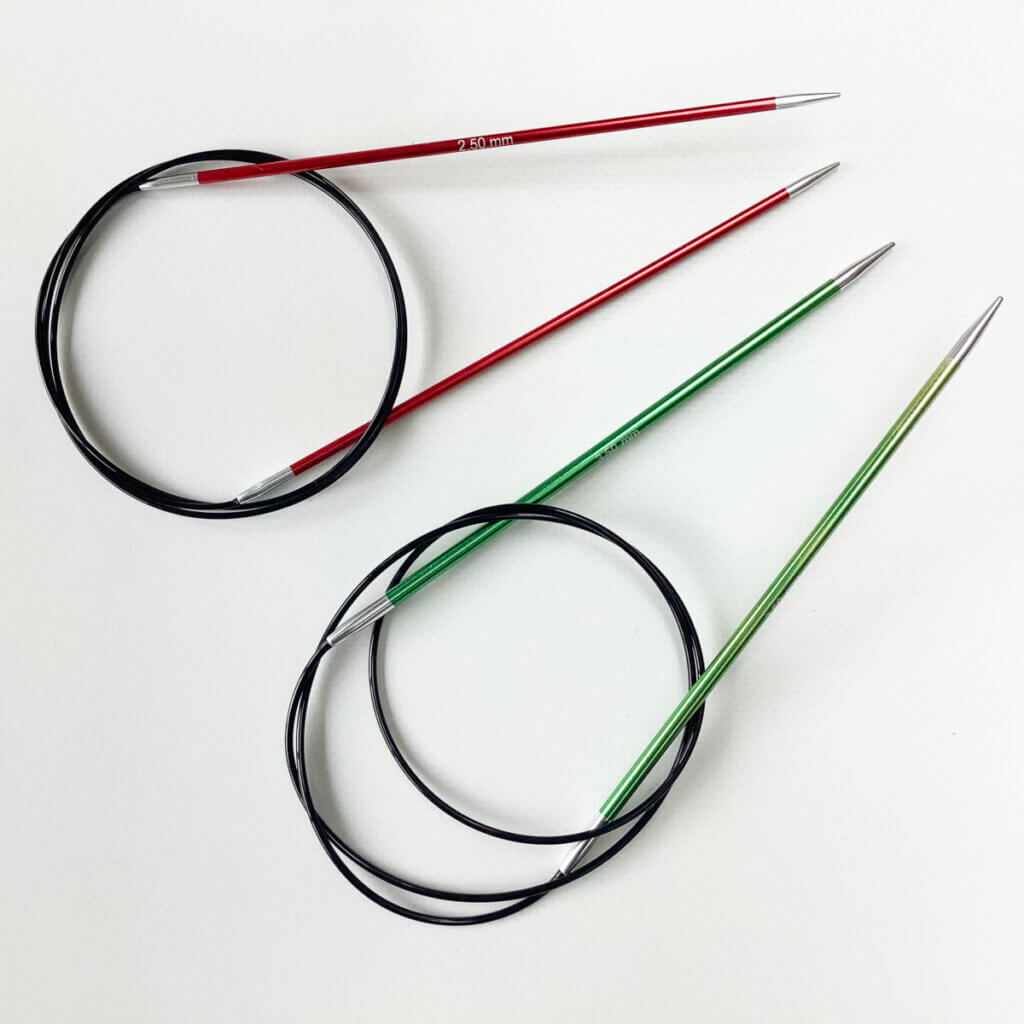
Materials used


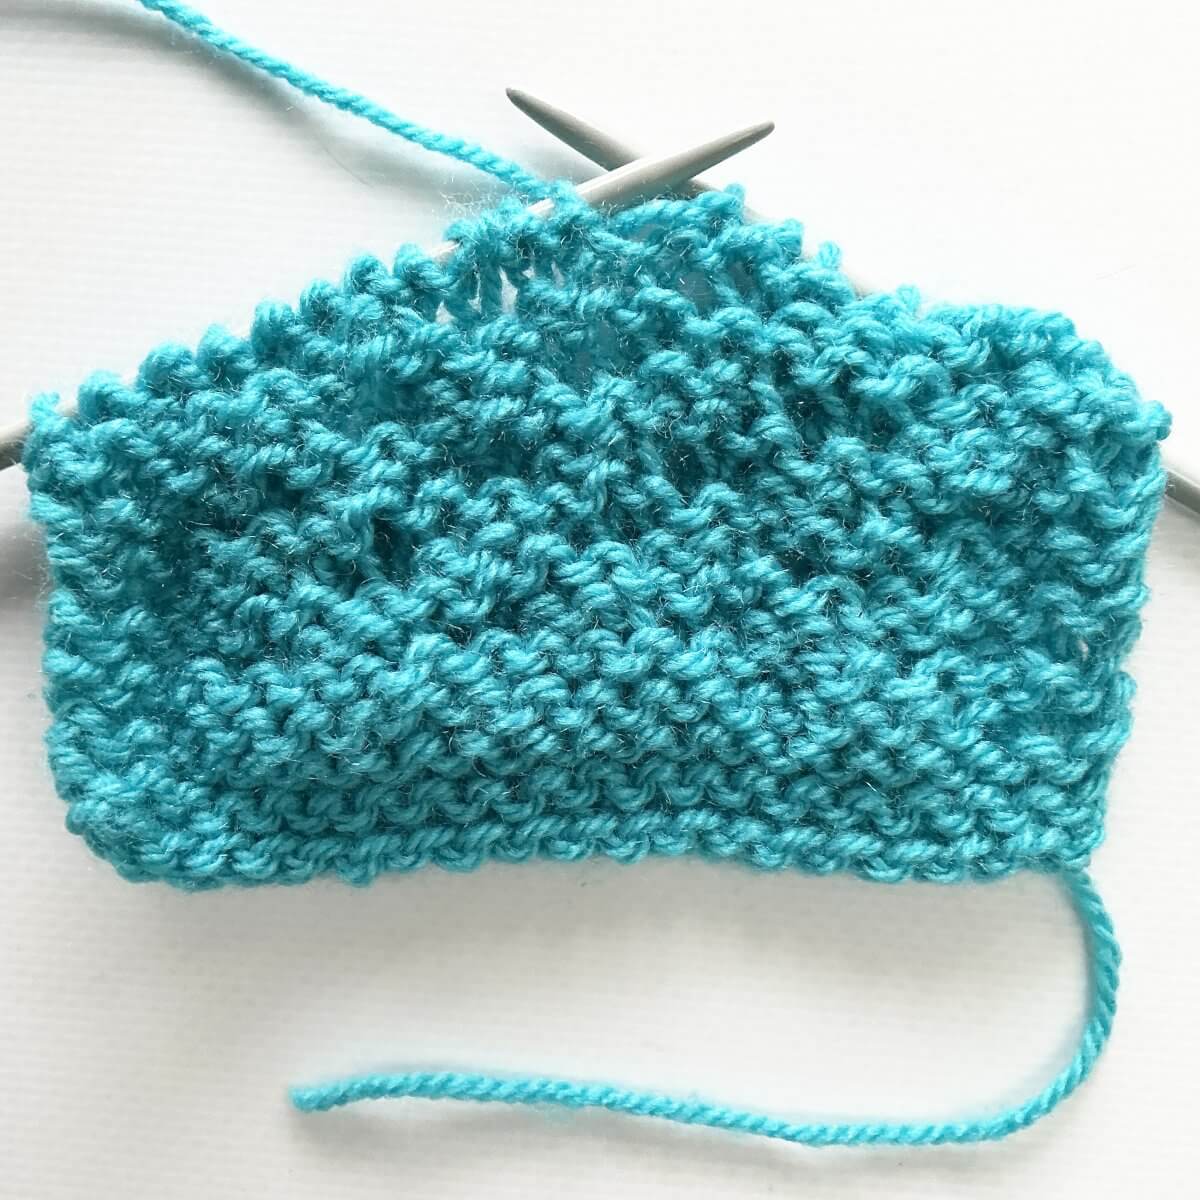
Yarn: Paintbox Yarns Simply DK, a good value, good quality 100% acrylic yarn, here in the color Marine Blue.
Needles: This is a pair of straights that I picked up at the second-hand store when I started knitting, brand unknown.
Working the spring stitch step by step
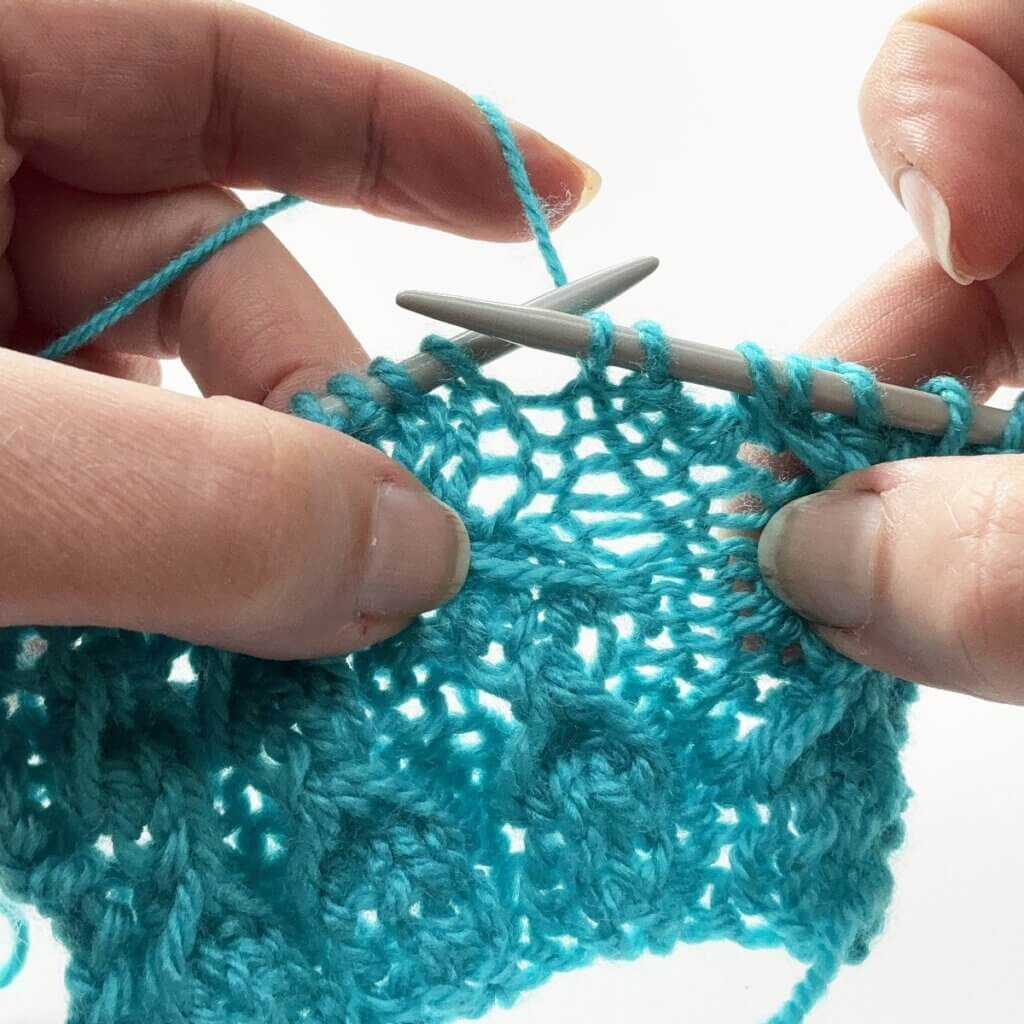
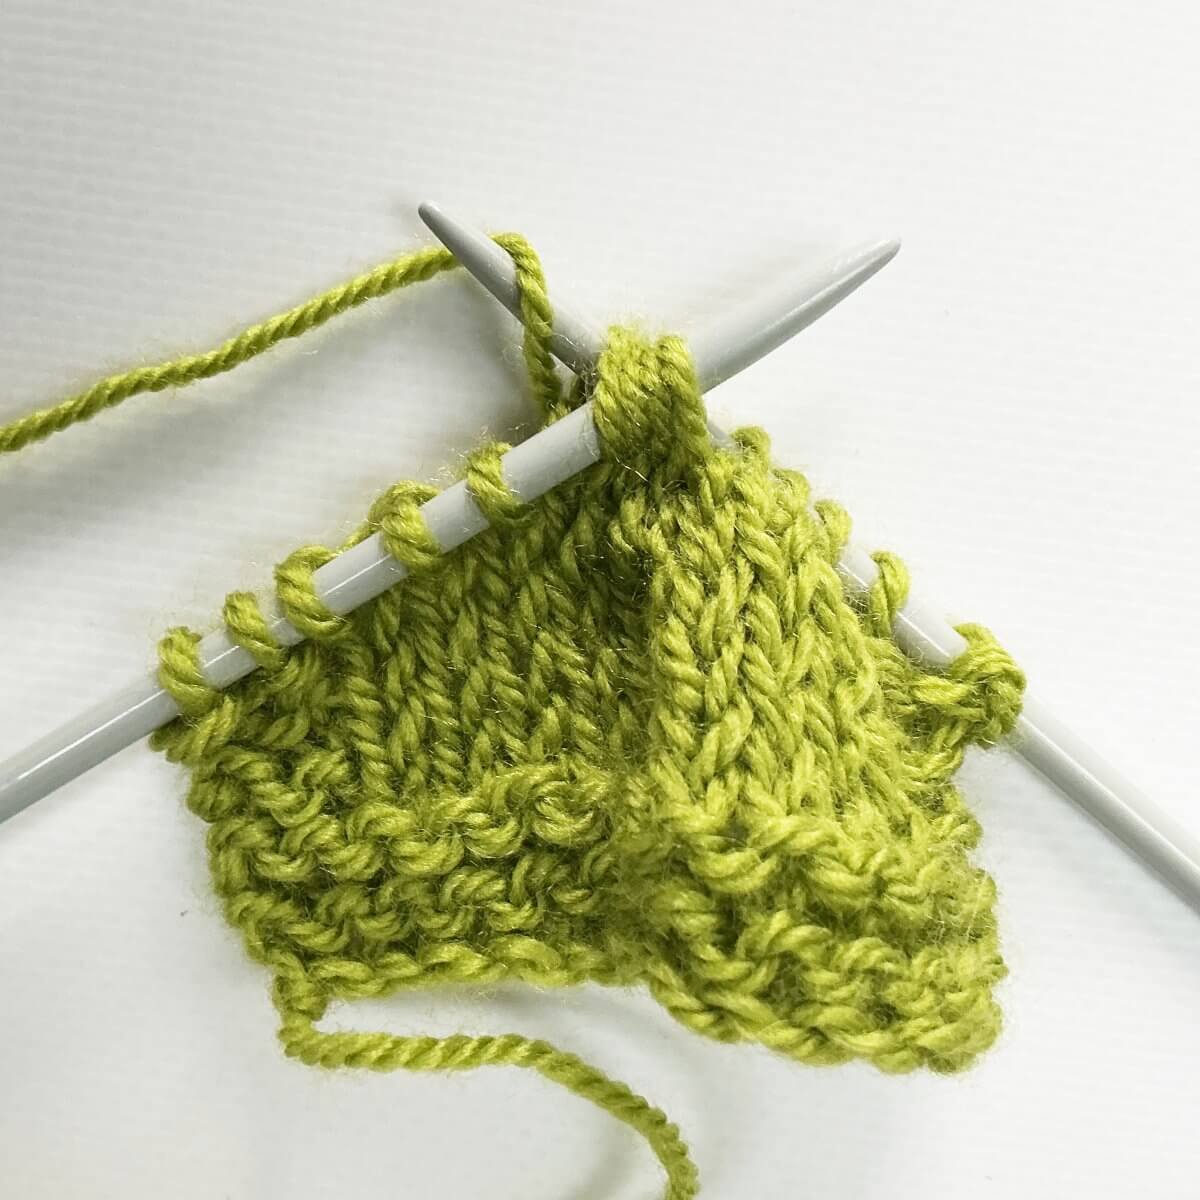
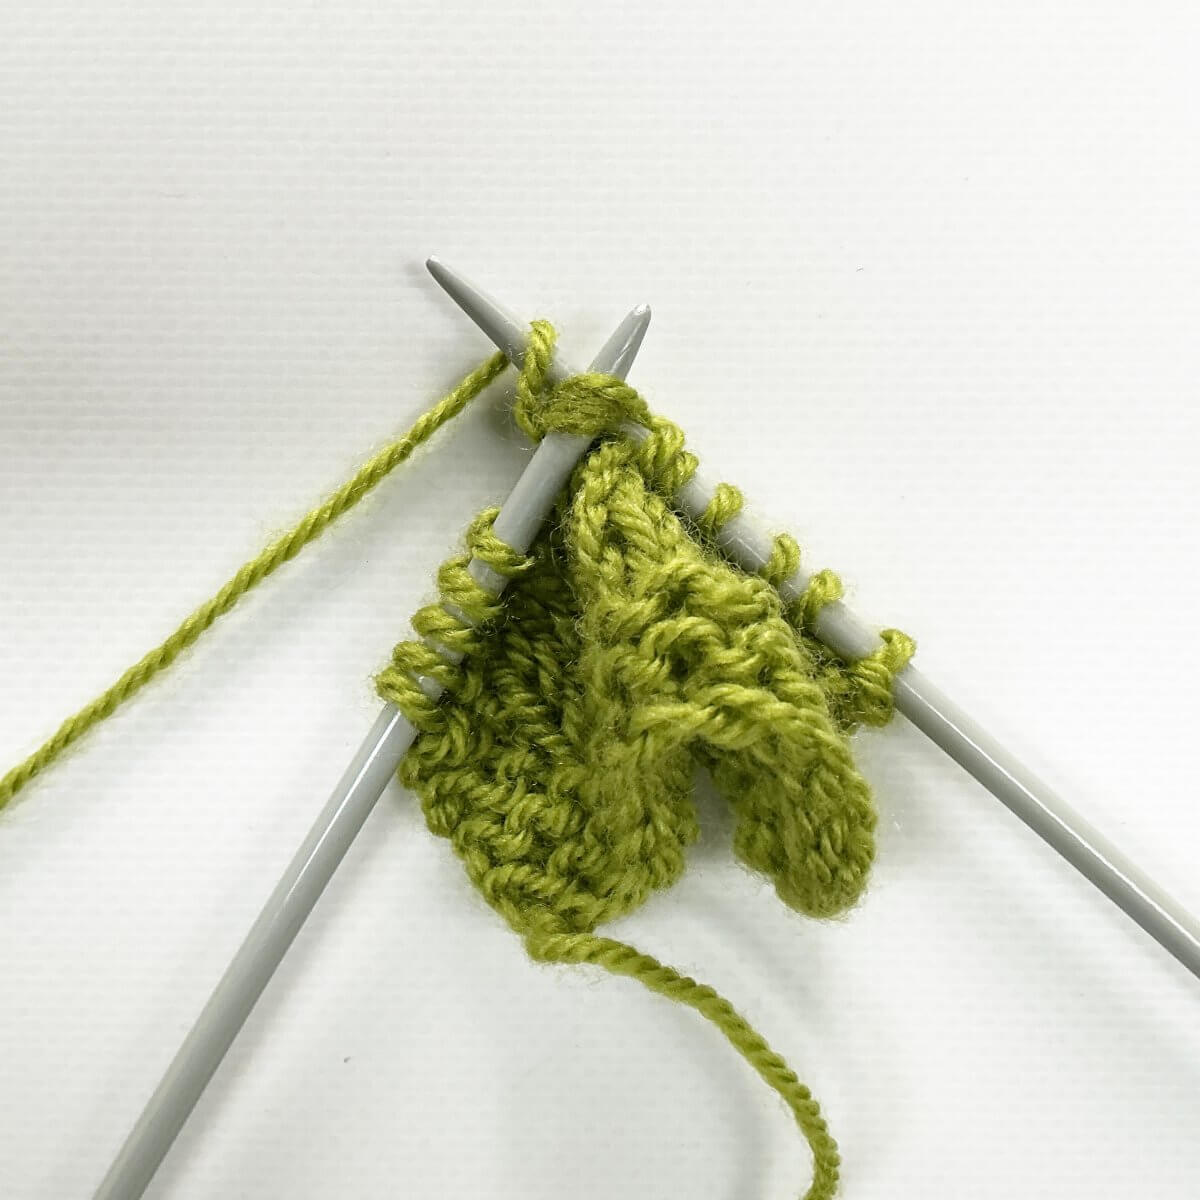
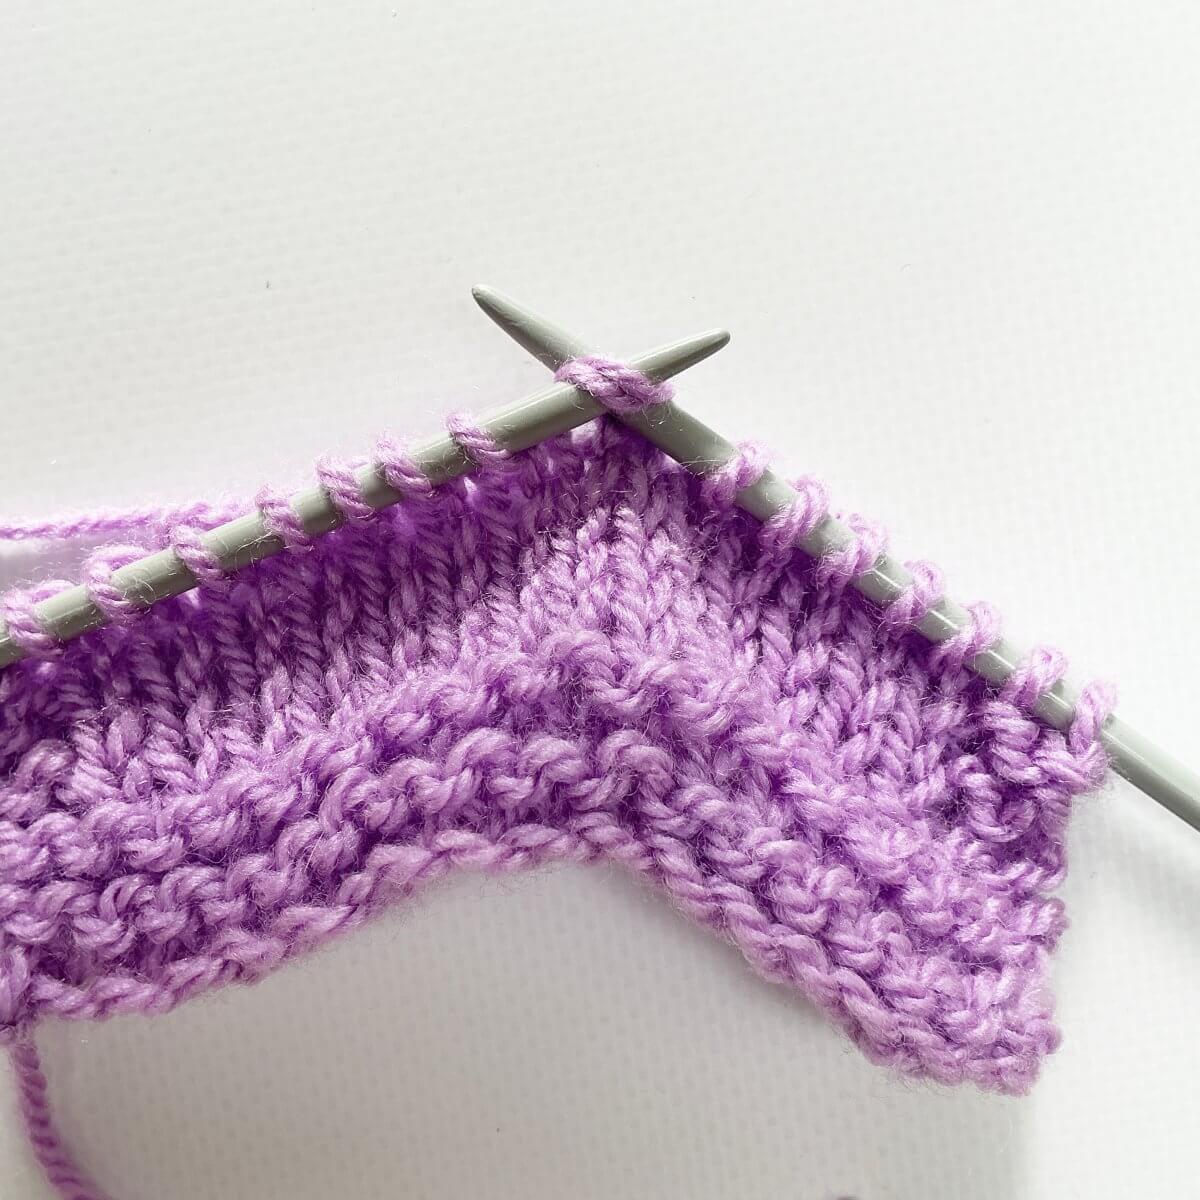
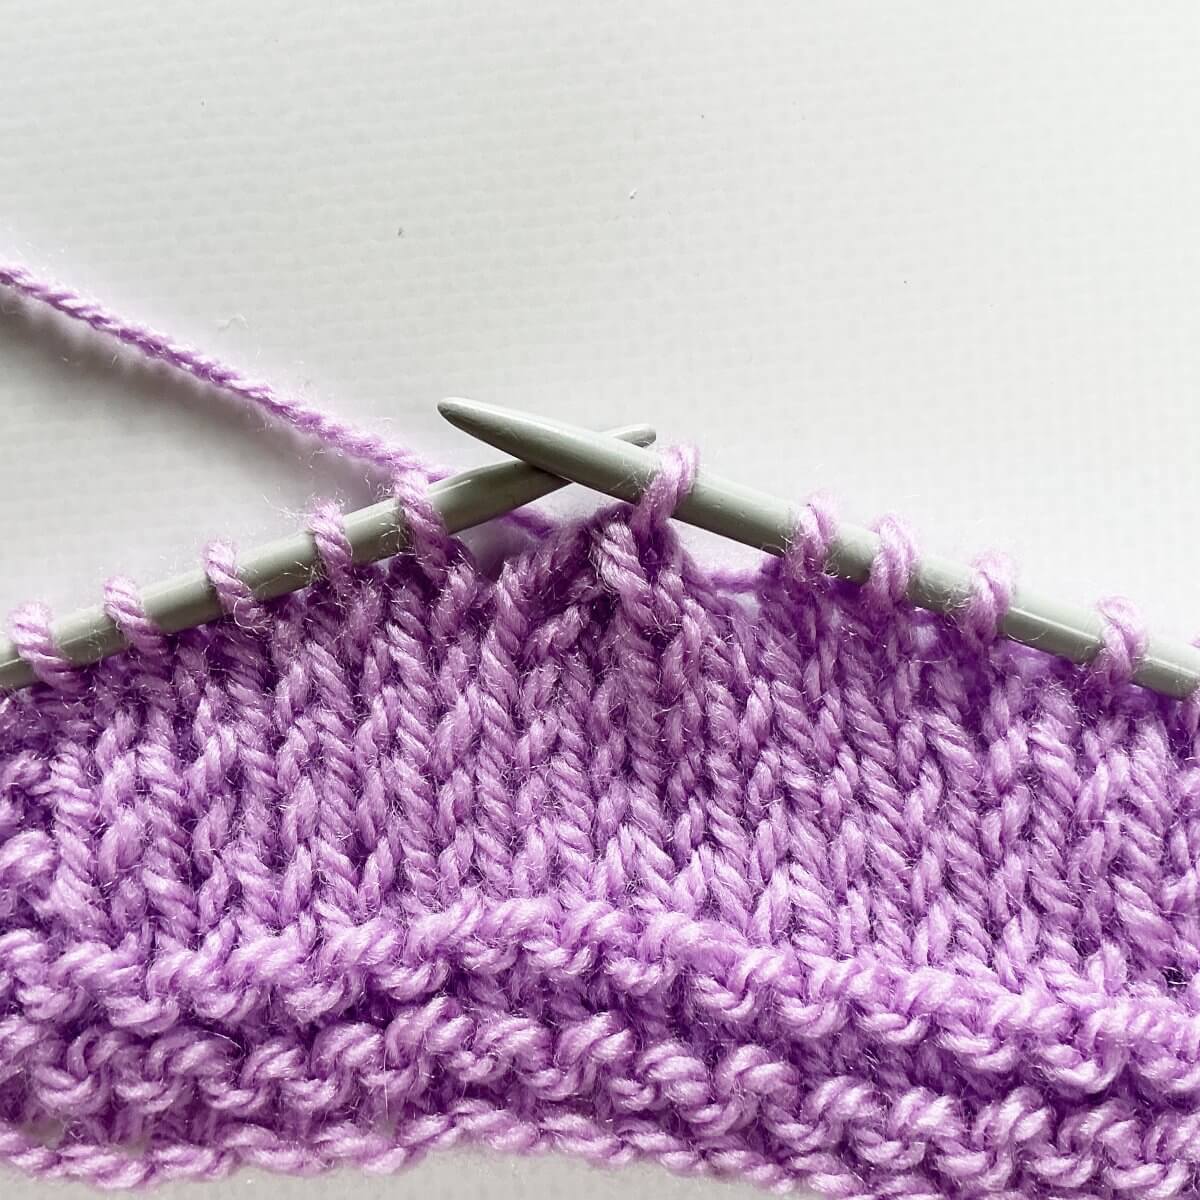
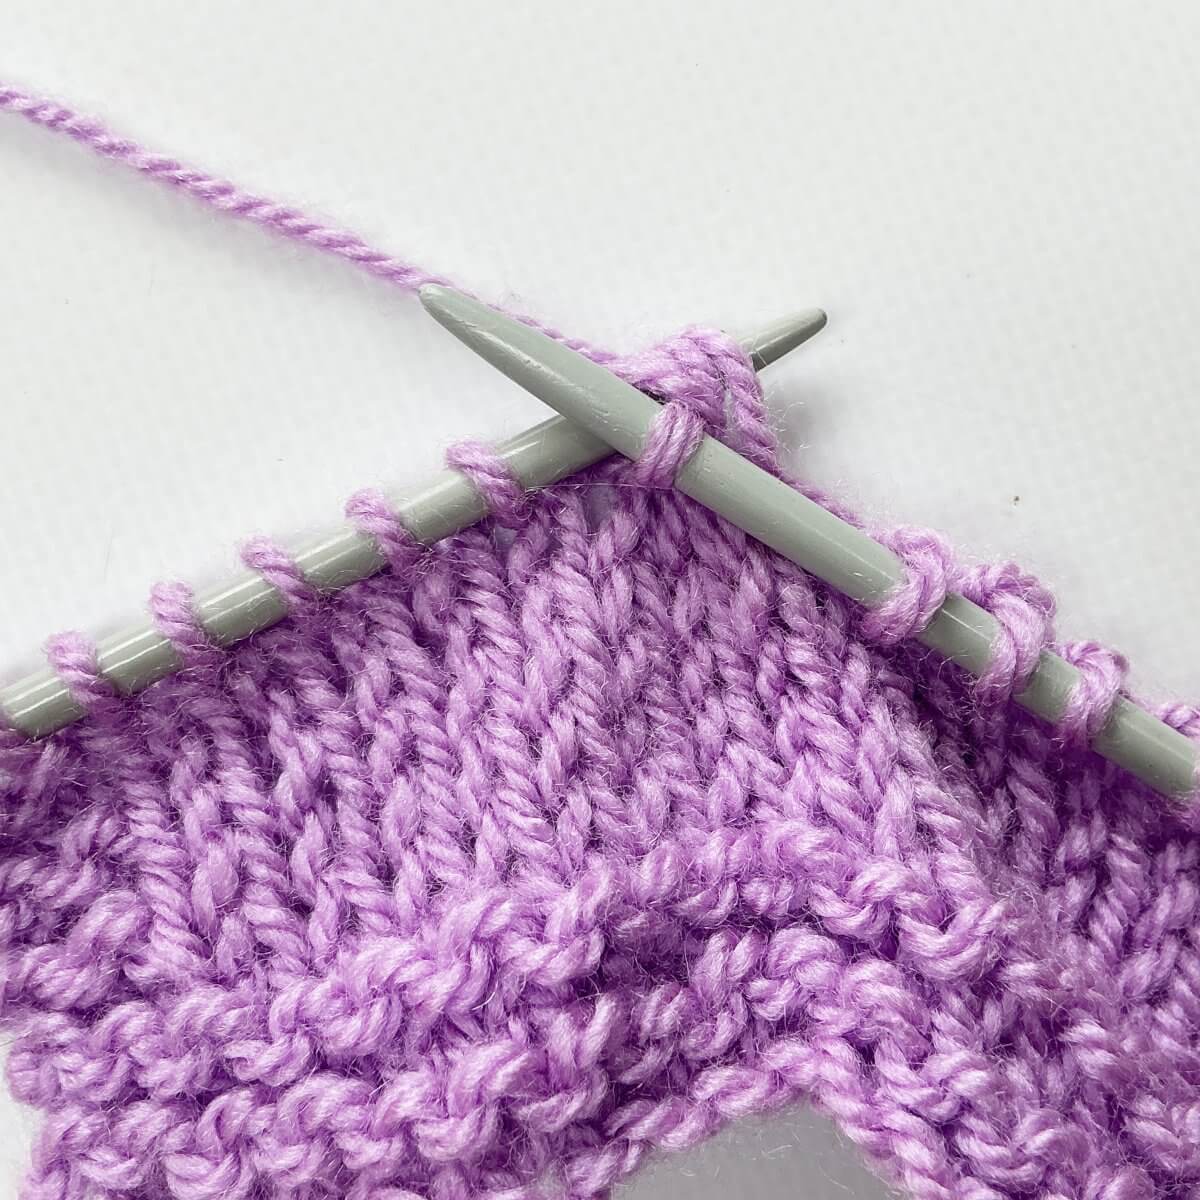
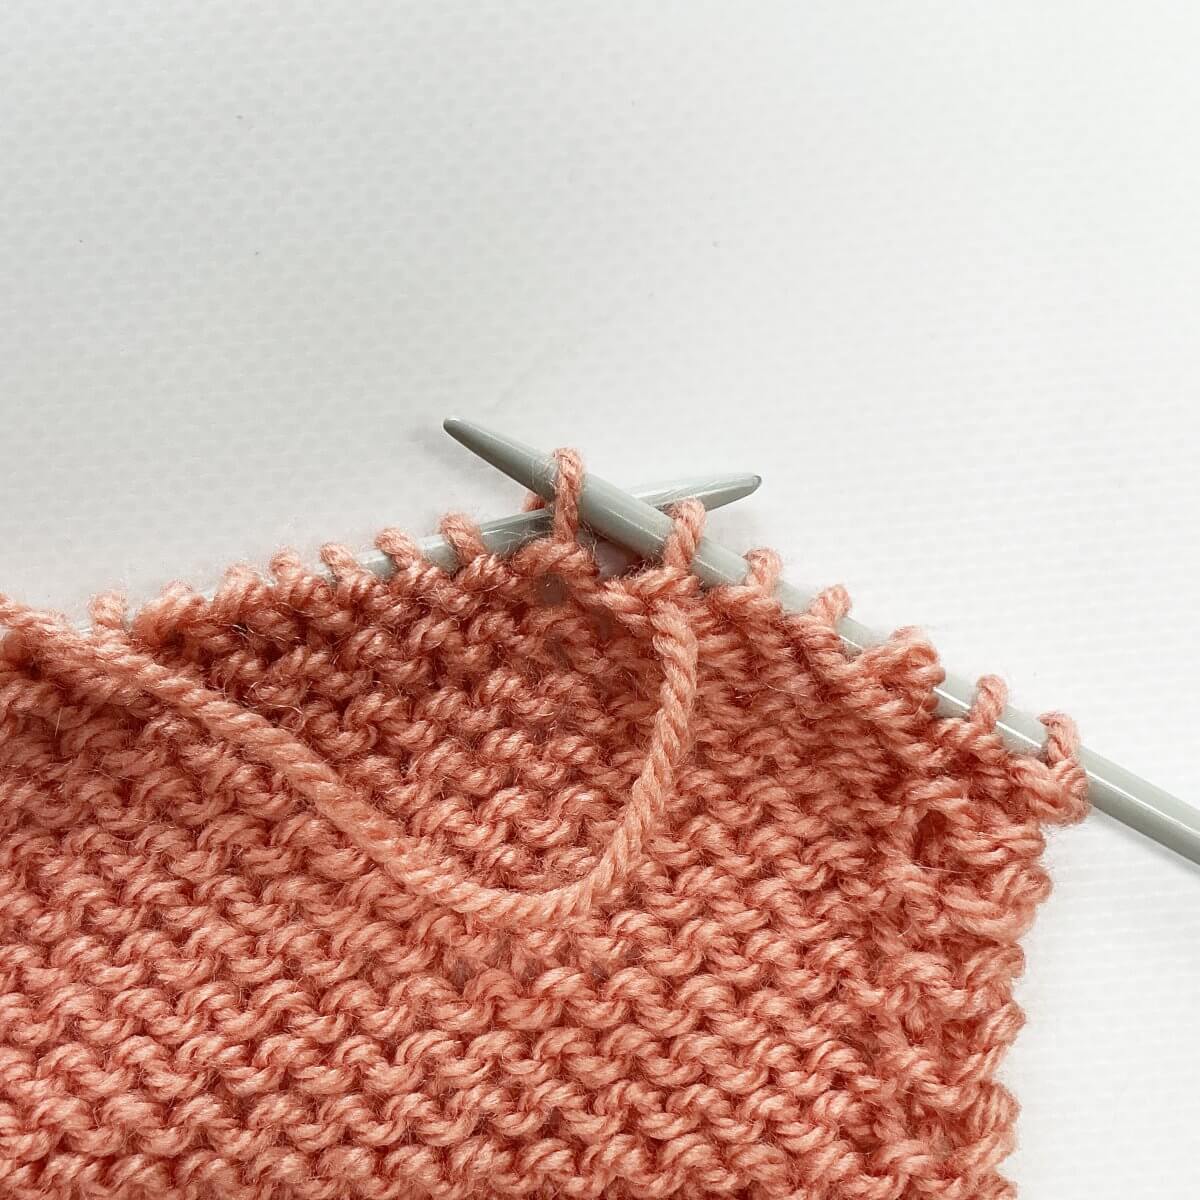
- First, work to the point where you want to insert the spring stitch. Remember: Work this stitch from the wrong side of the fabric, with the wrong side facing.
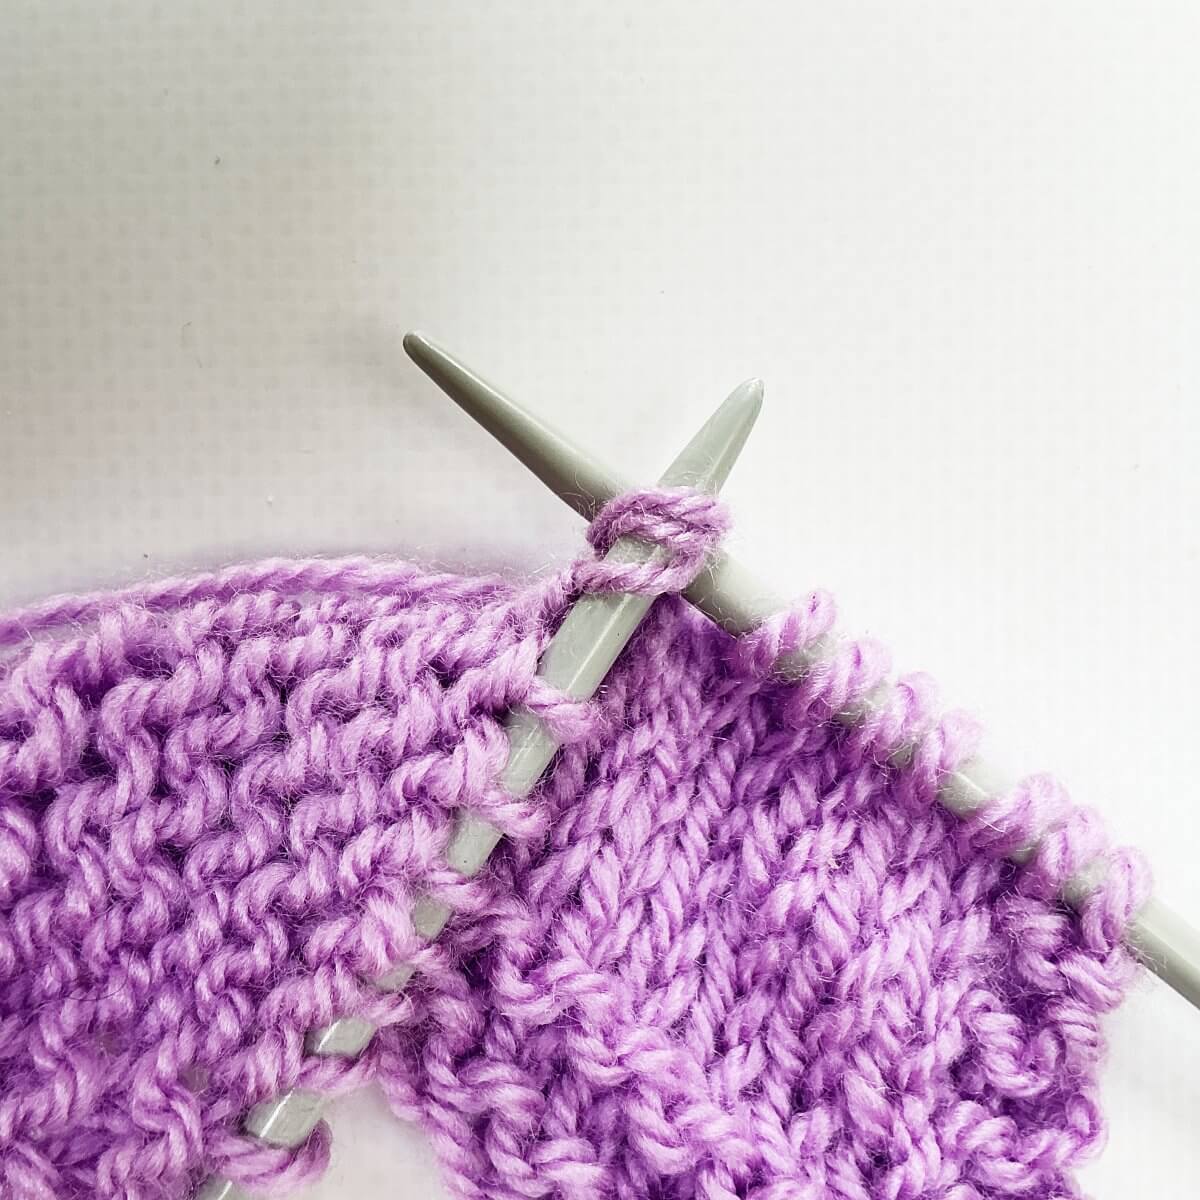
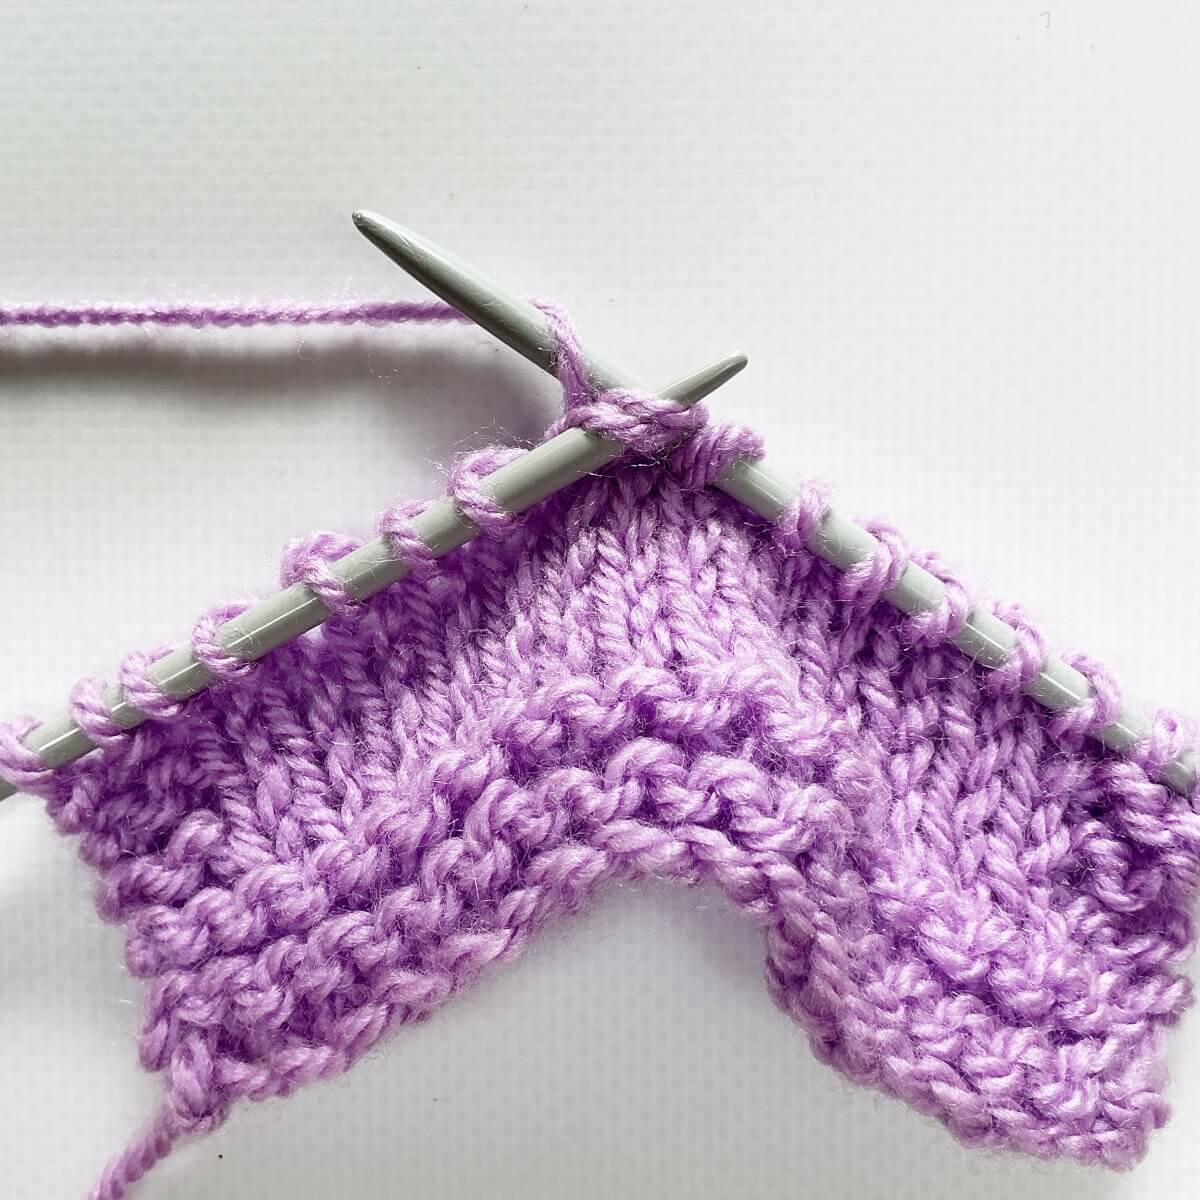
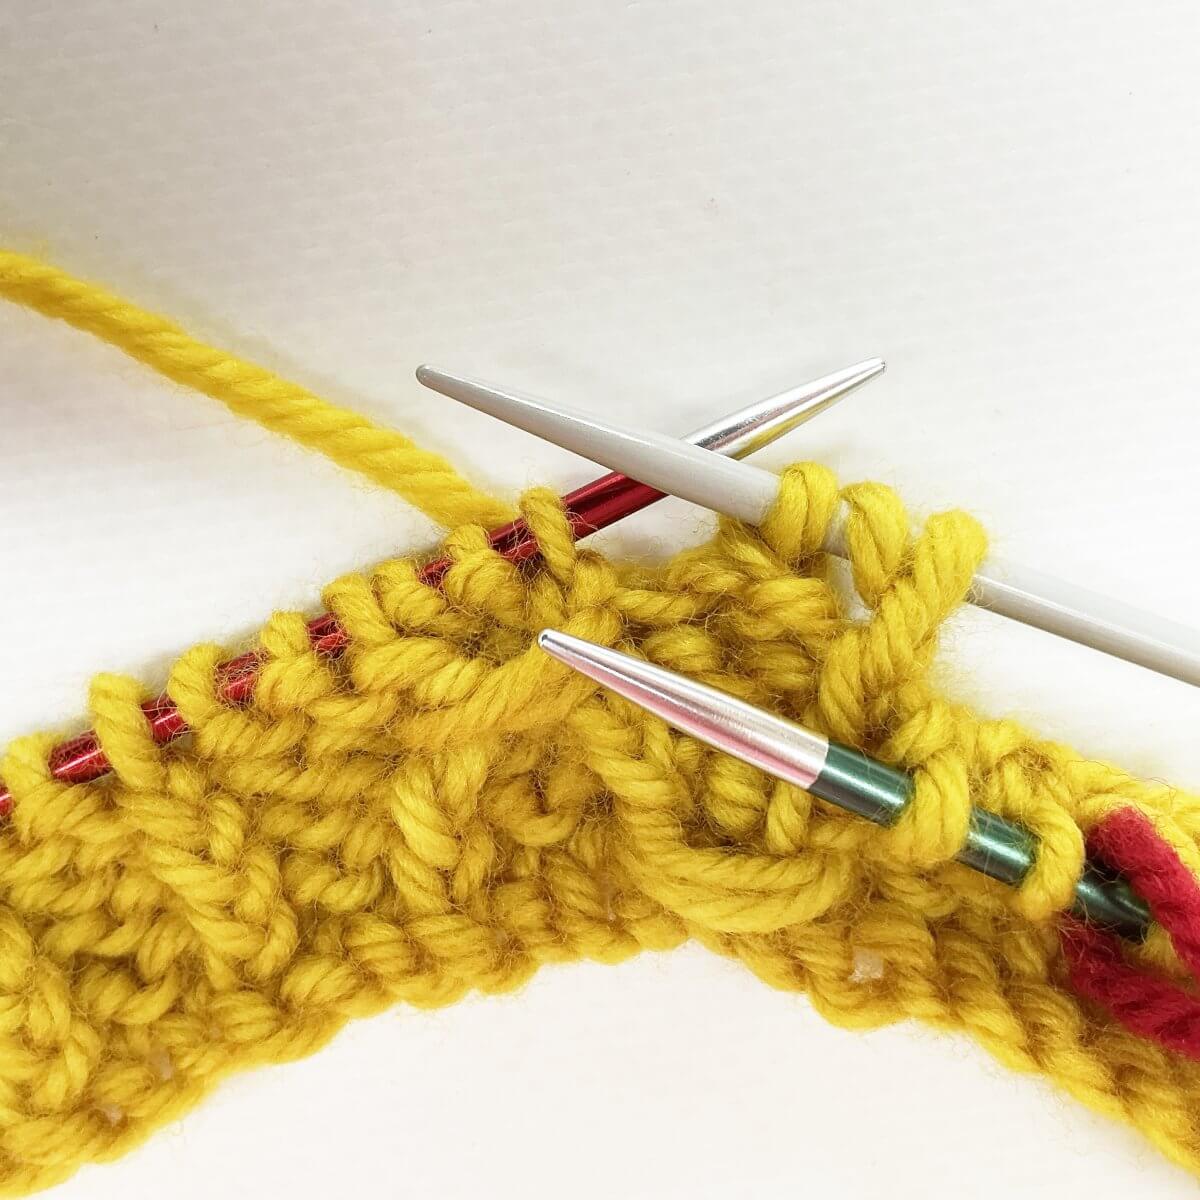
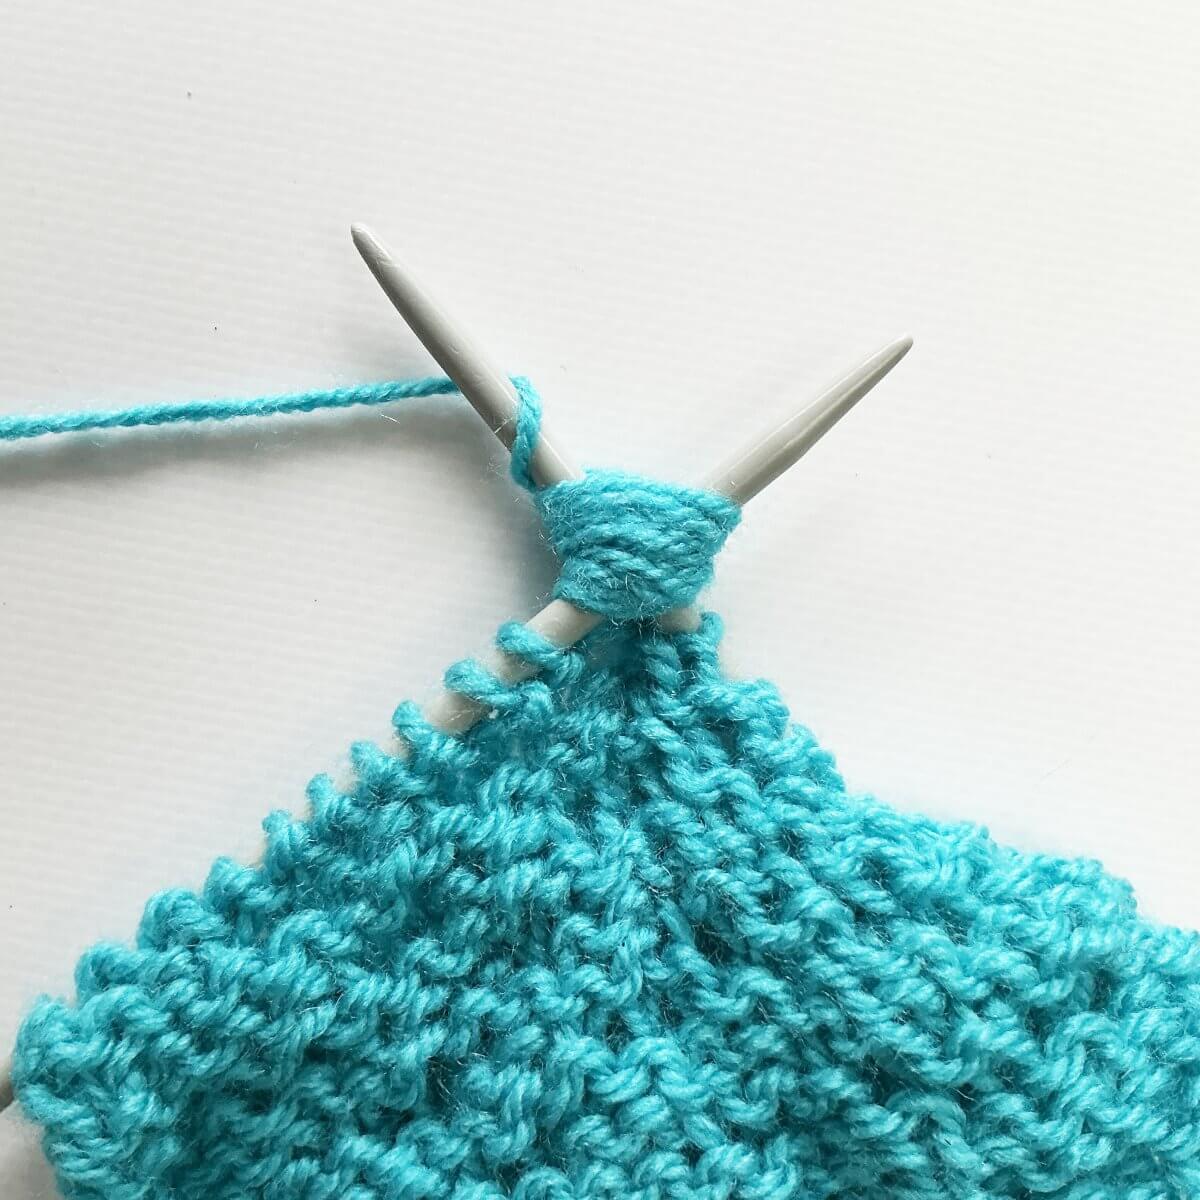
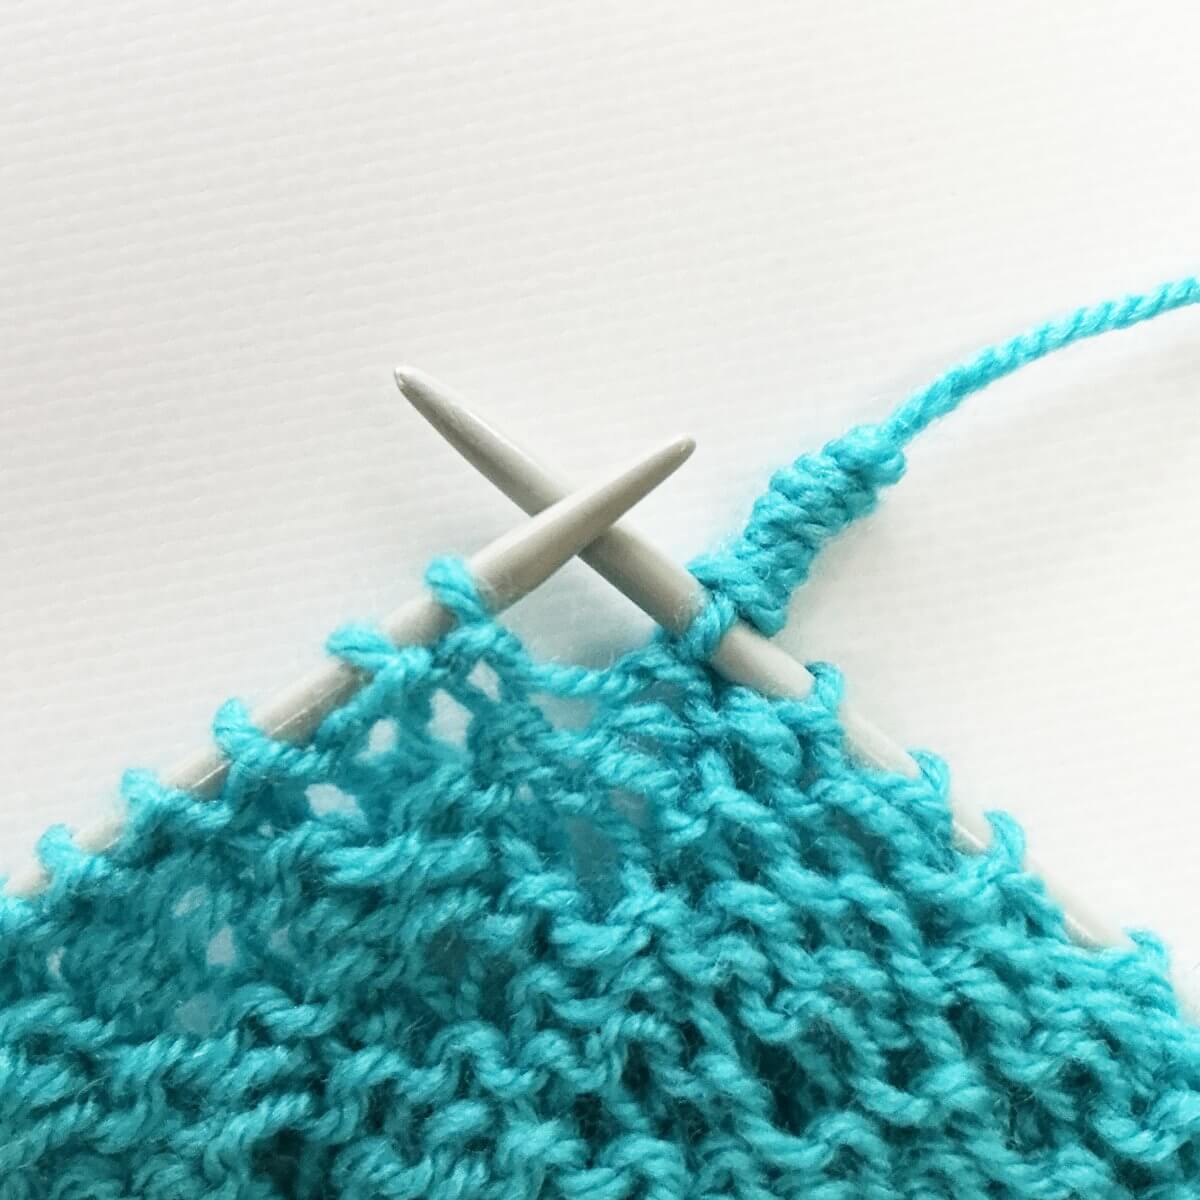
- Move the yarn to the back of the work, and insert the right-hand needle into the next stitch on the left-hand needle as if to knit.
Make sure there is a bit of length visible to both needle tips. The reason will become clear in a moment!
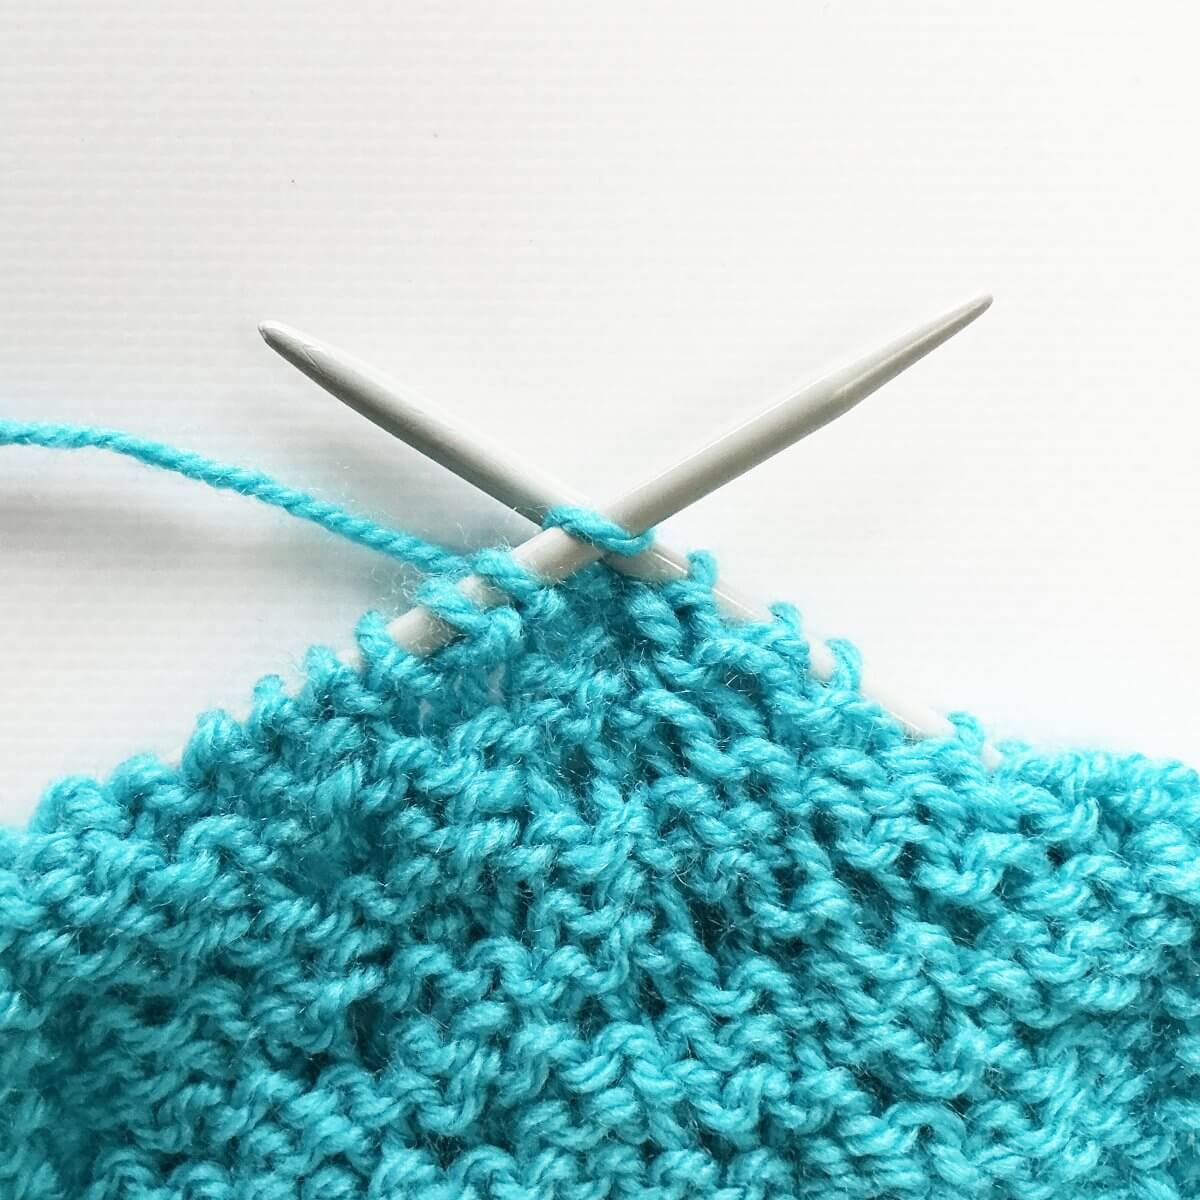
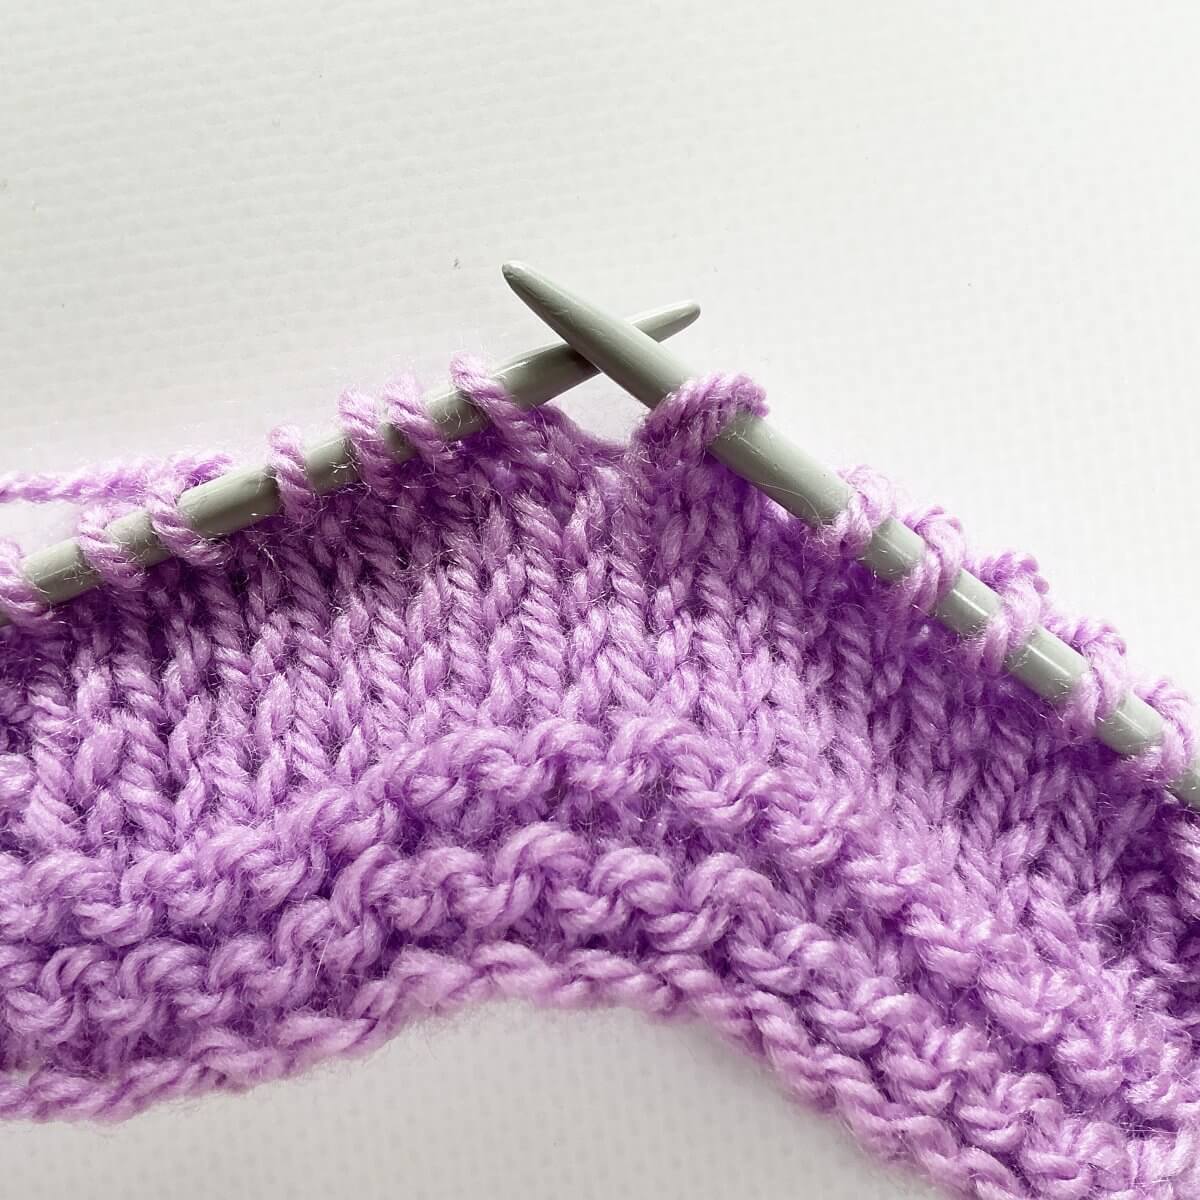
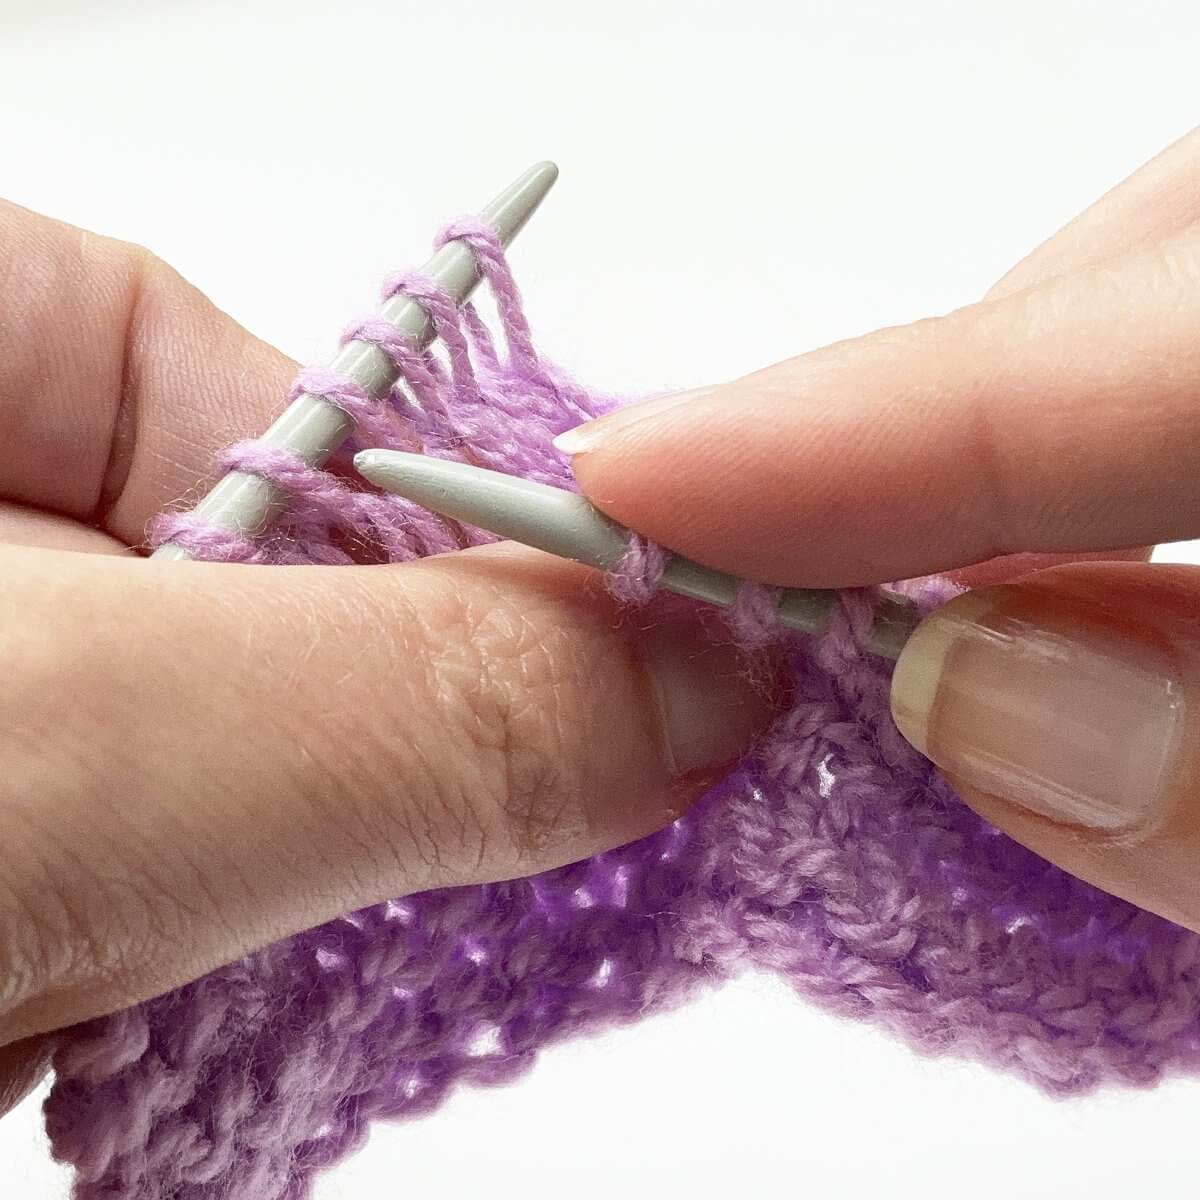
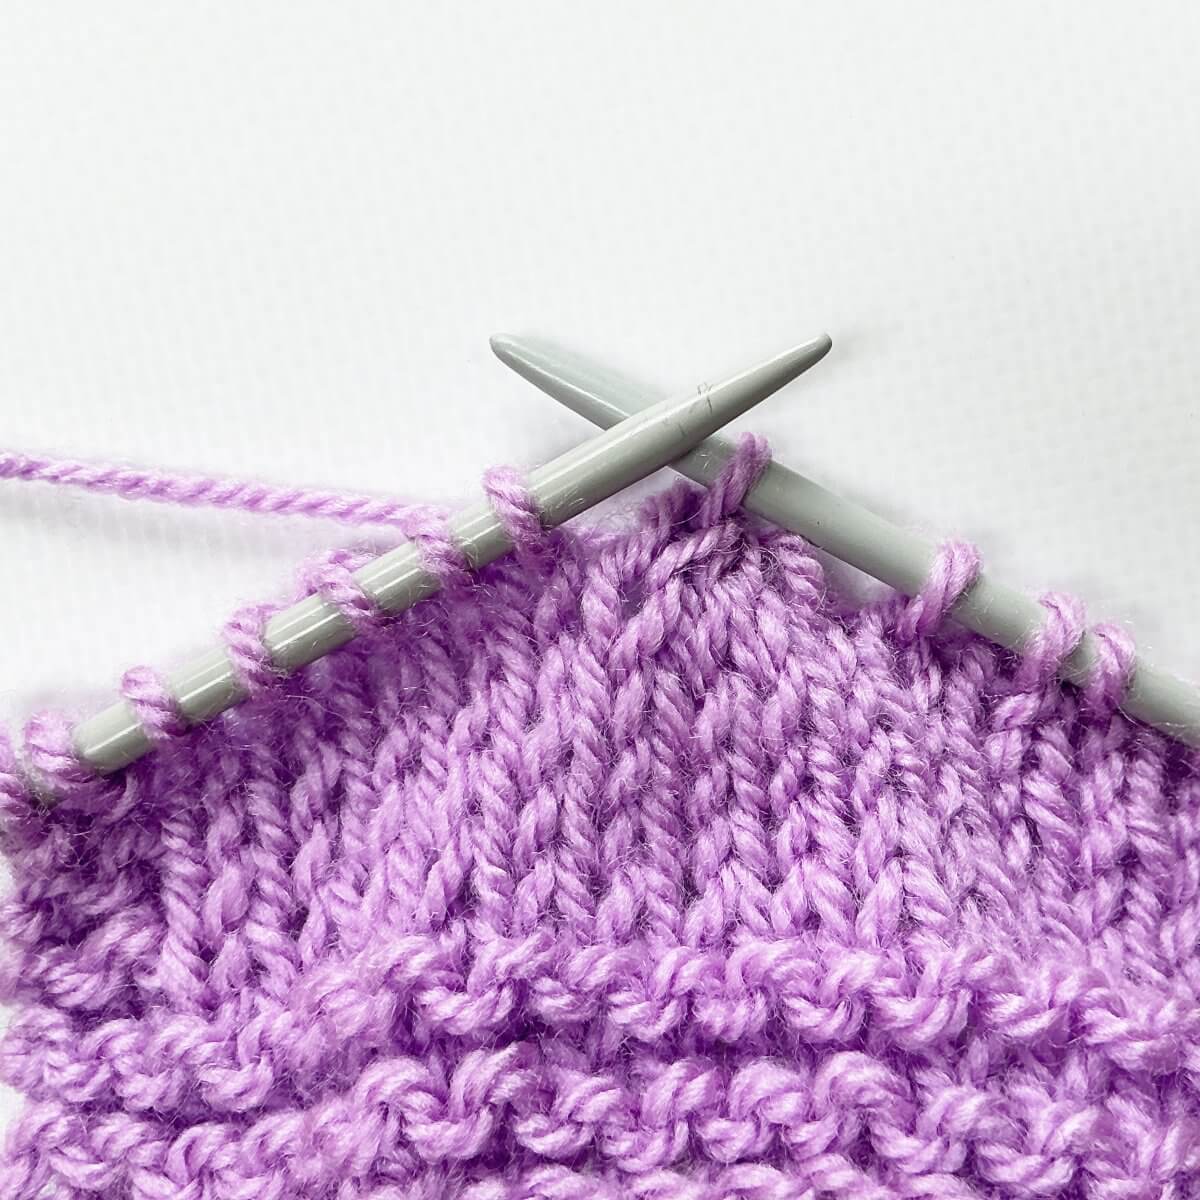
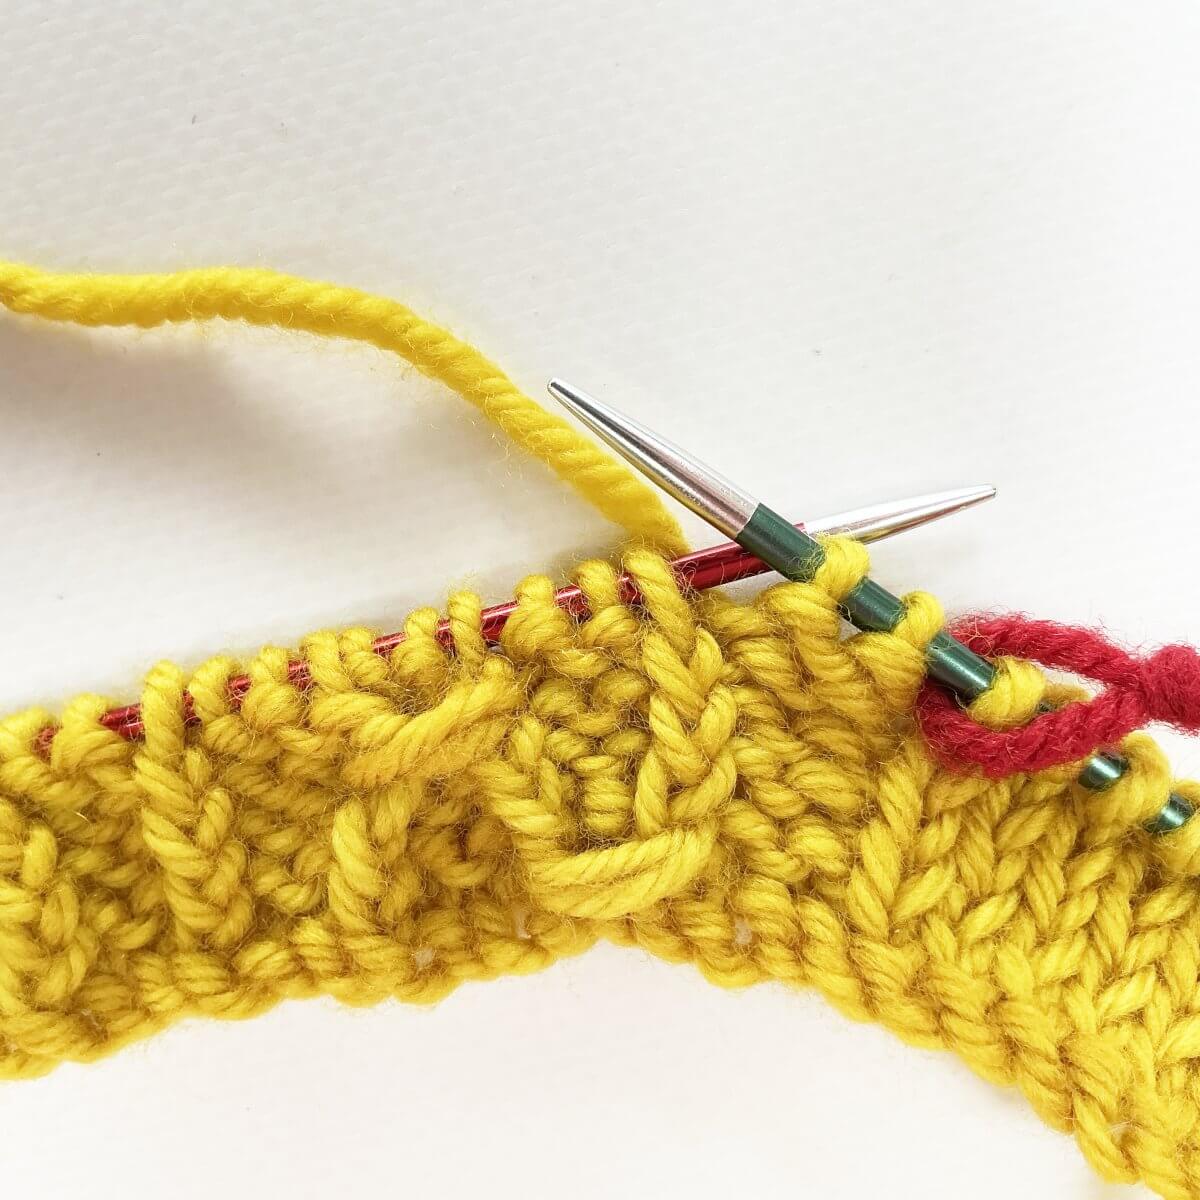
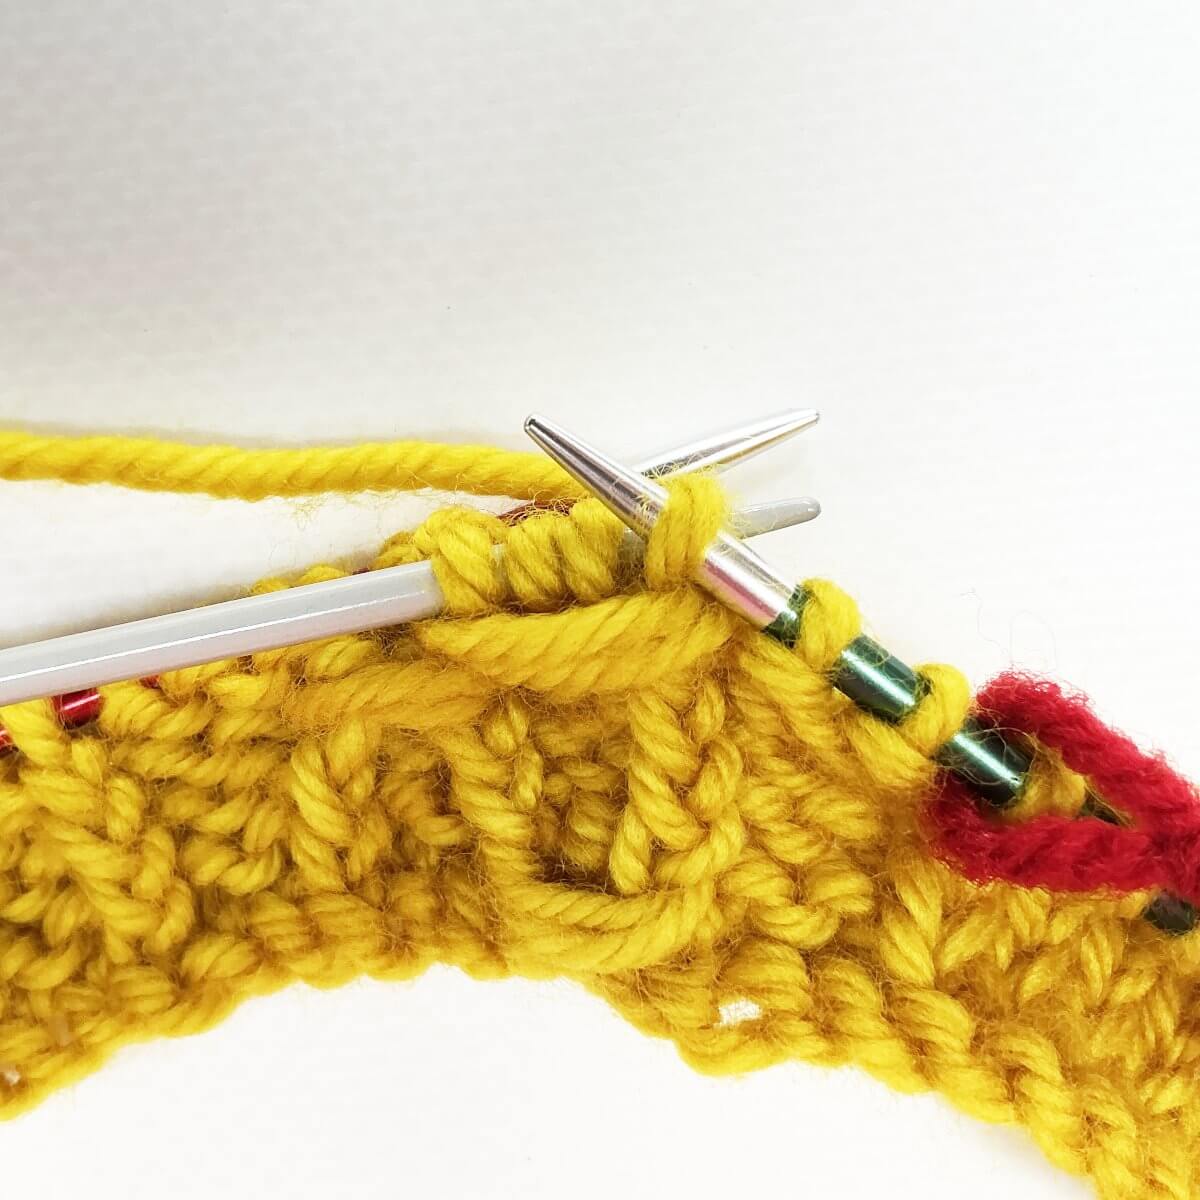
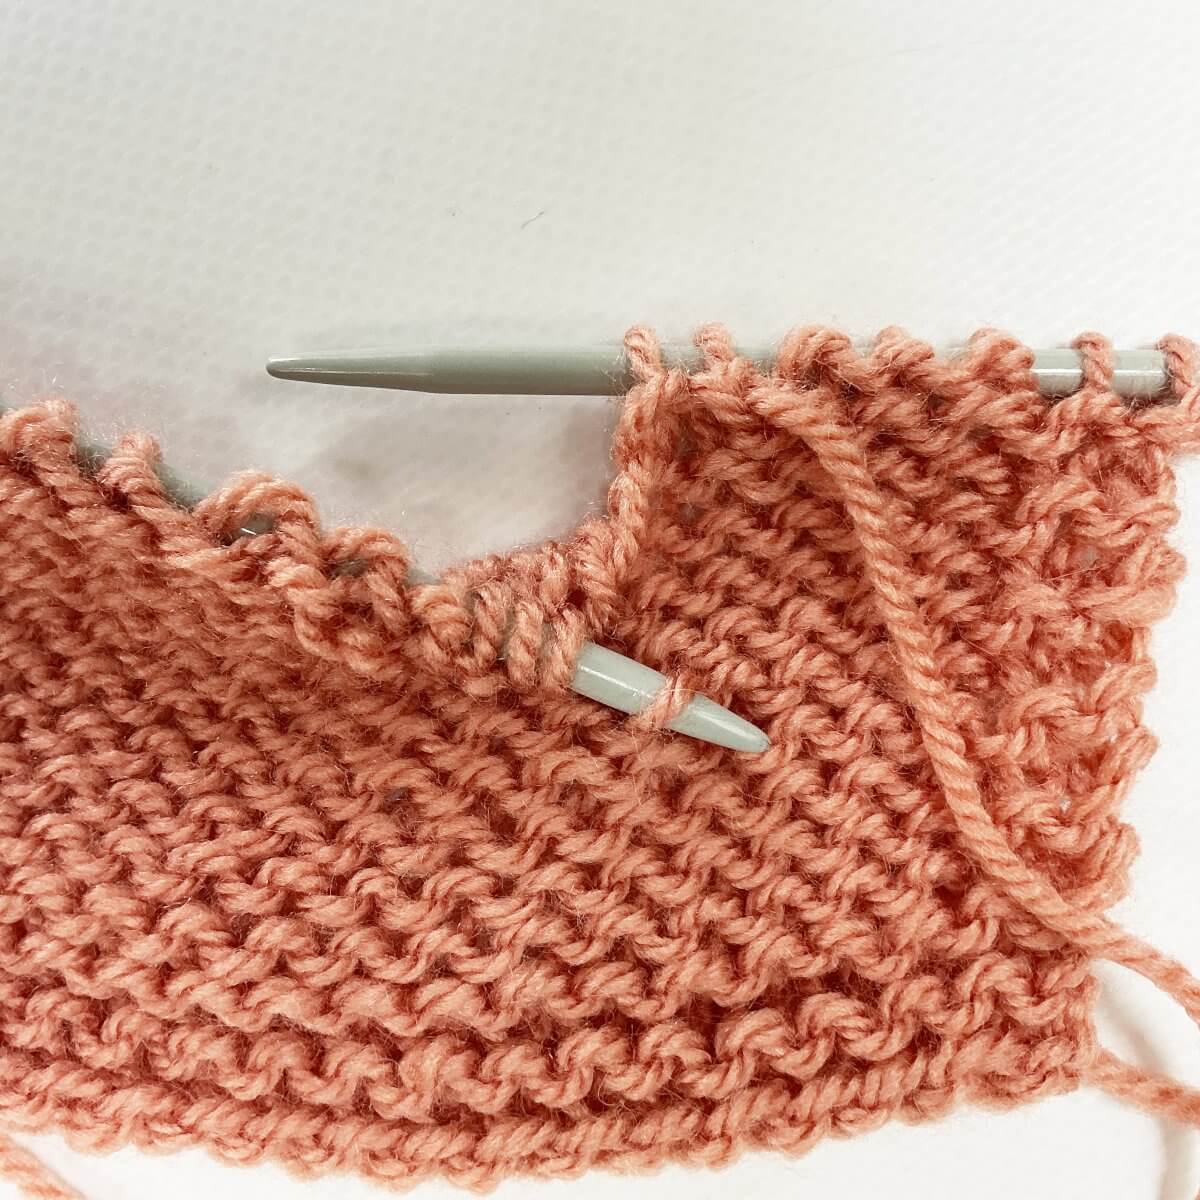
- Now wrap the yarn counter-clockwise around both needles for a total of 10 times.
Make sure all loops are stacked, and do not overlap each other, because that would make later steps more difficult.
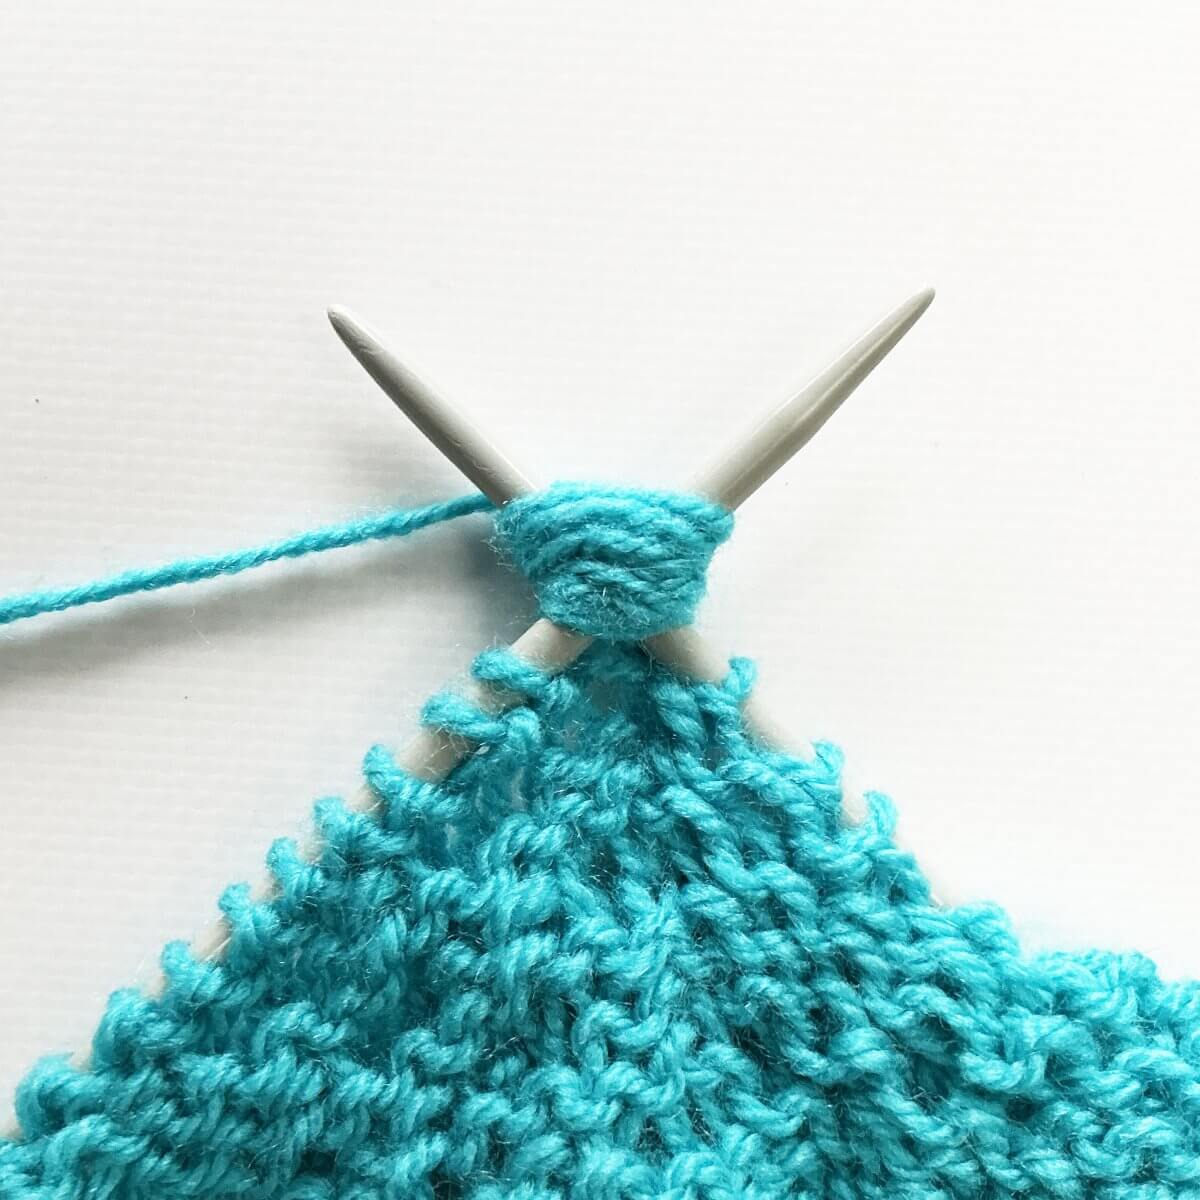
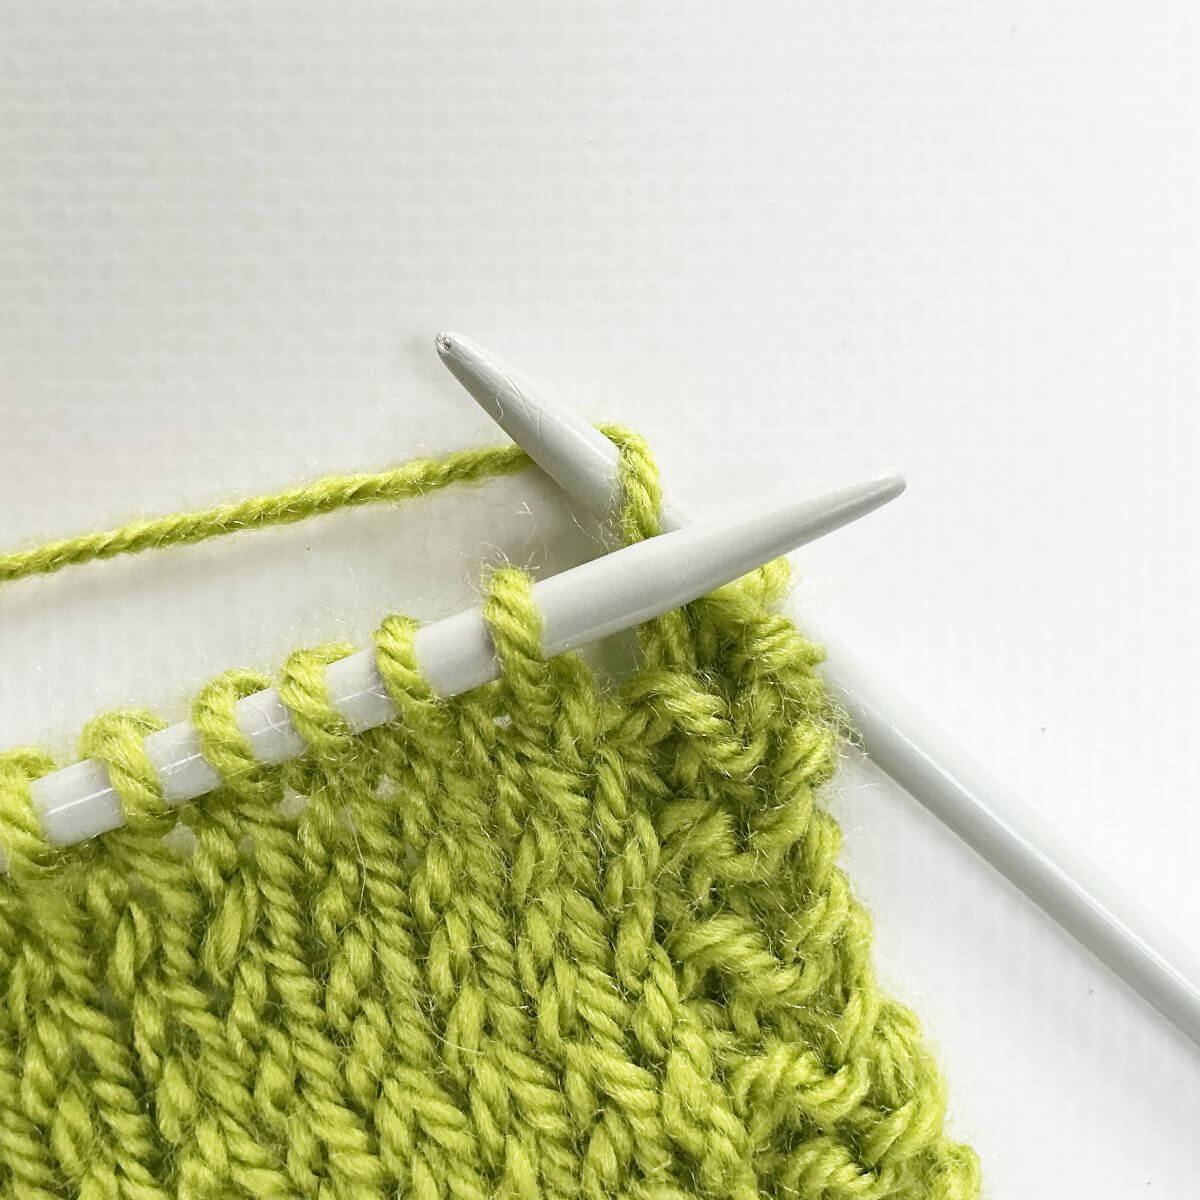
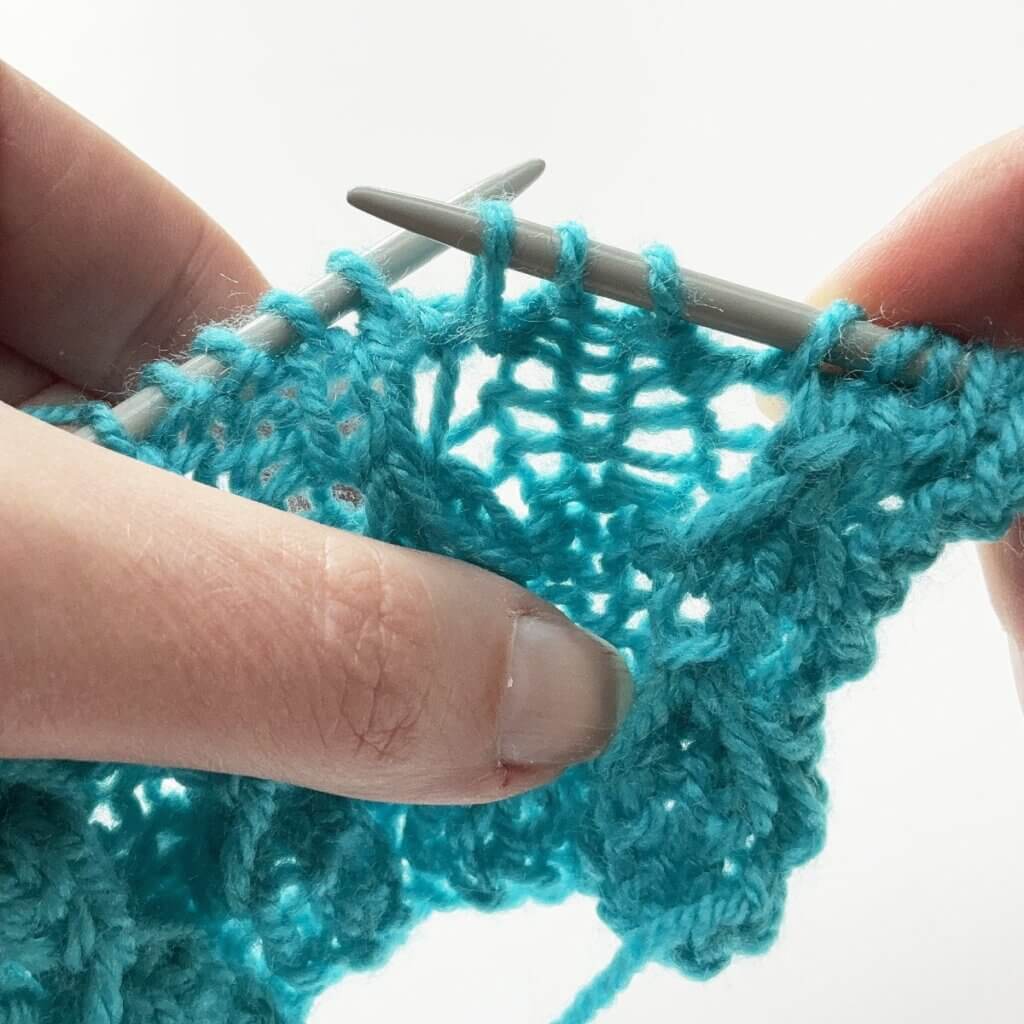
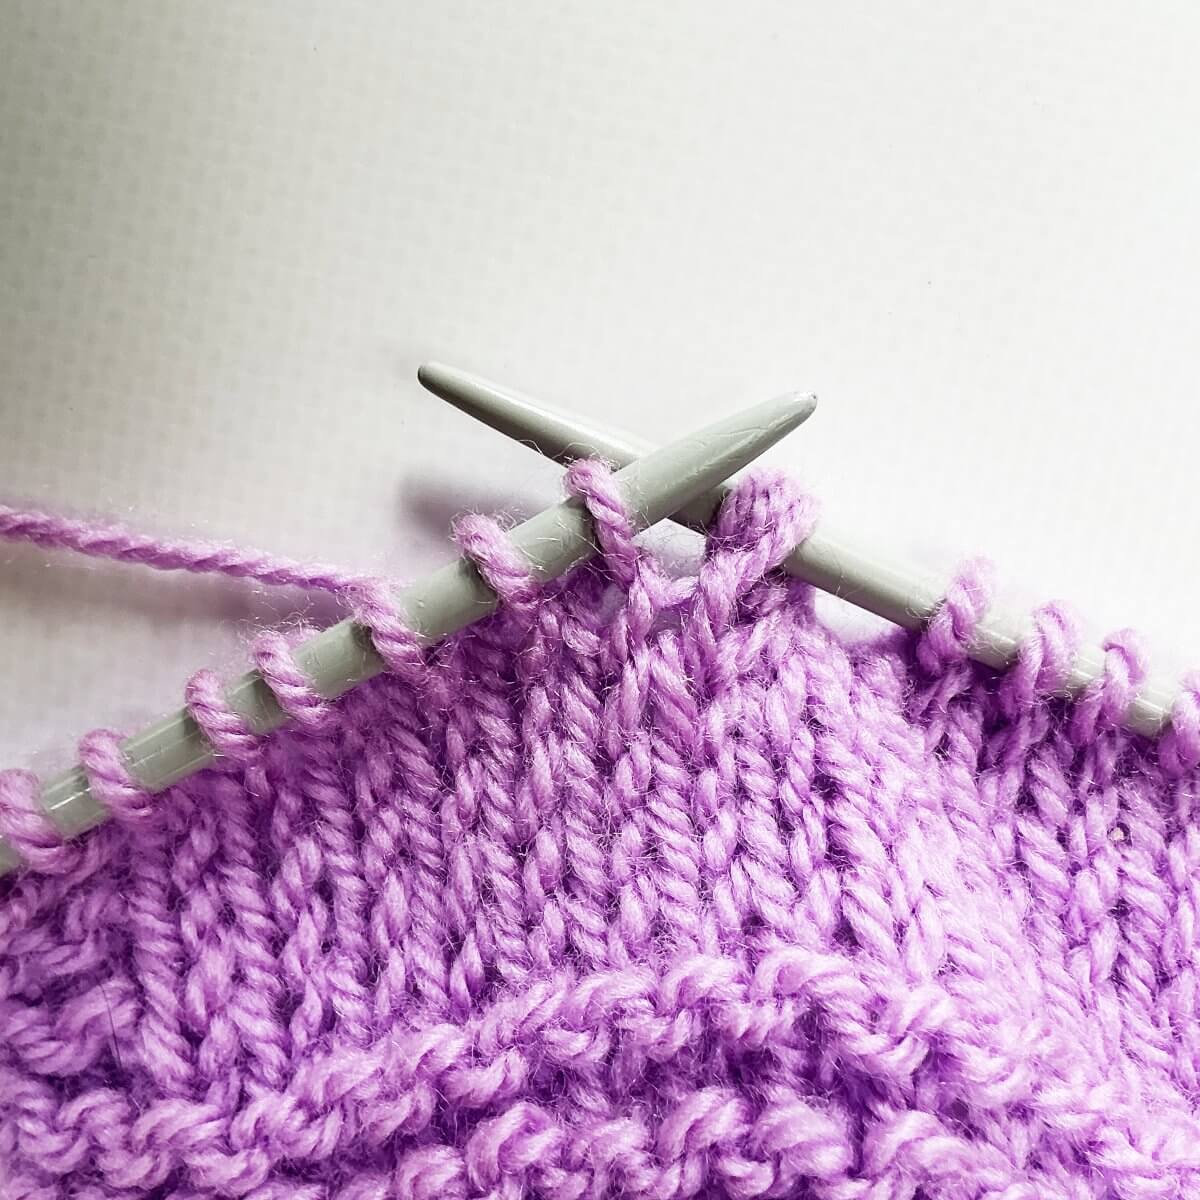
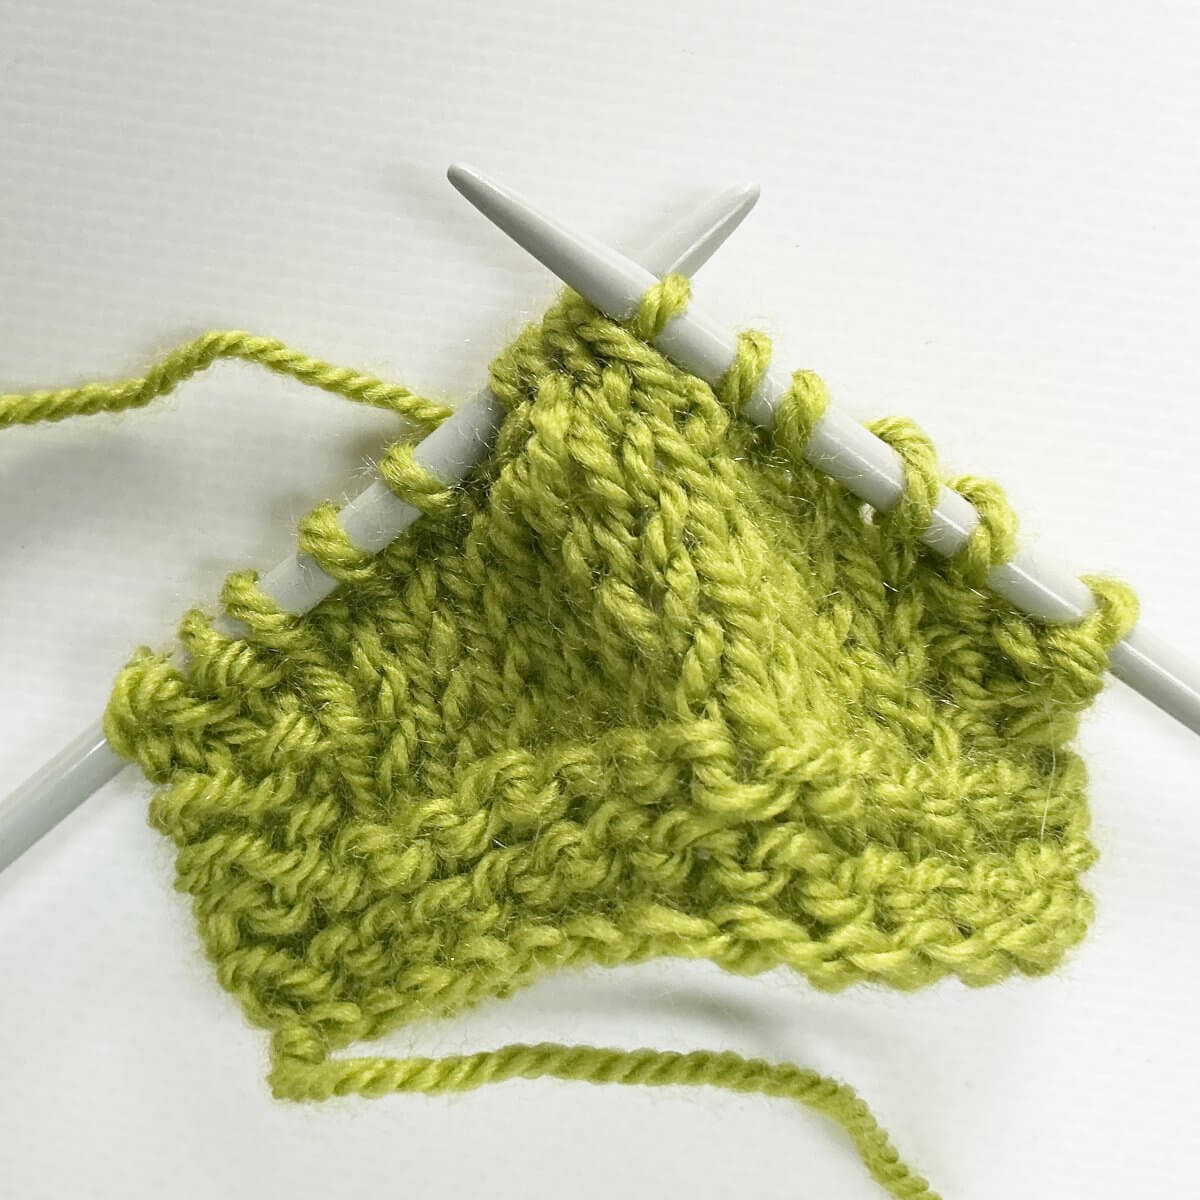
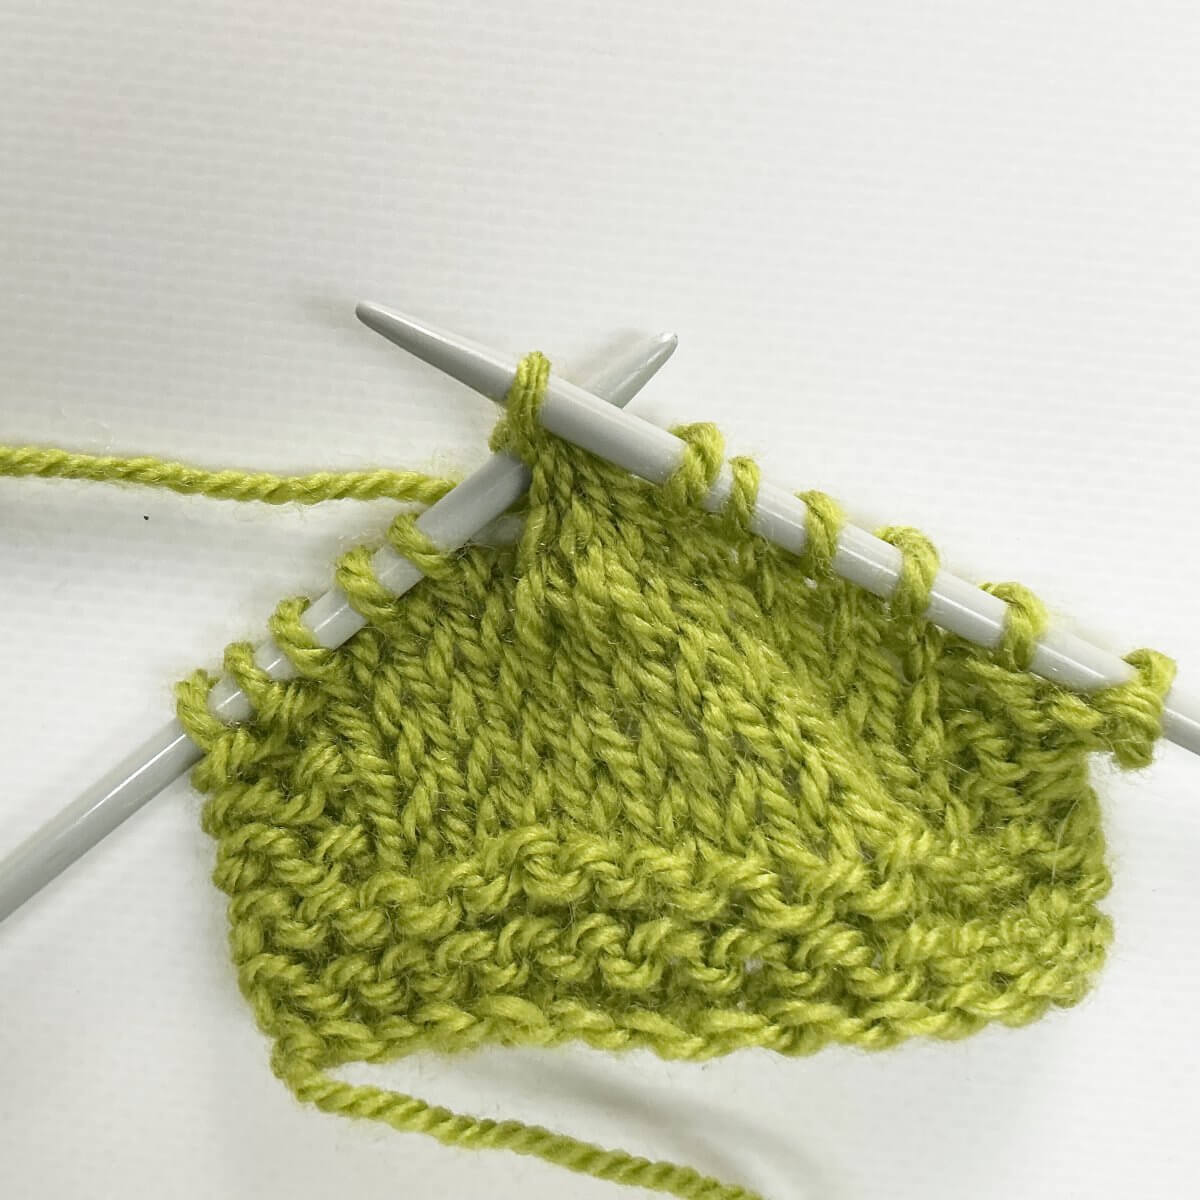
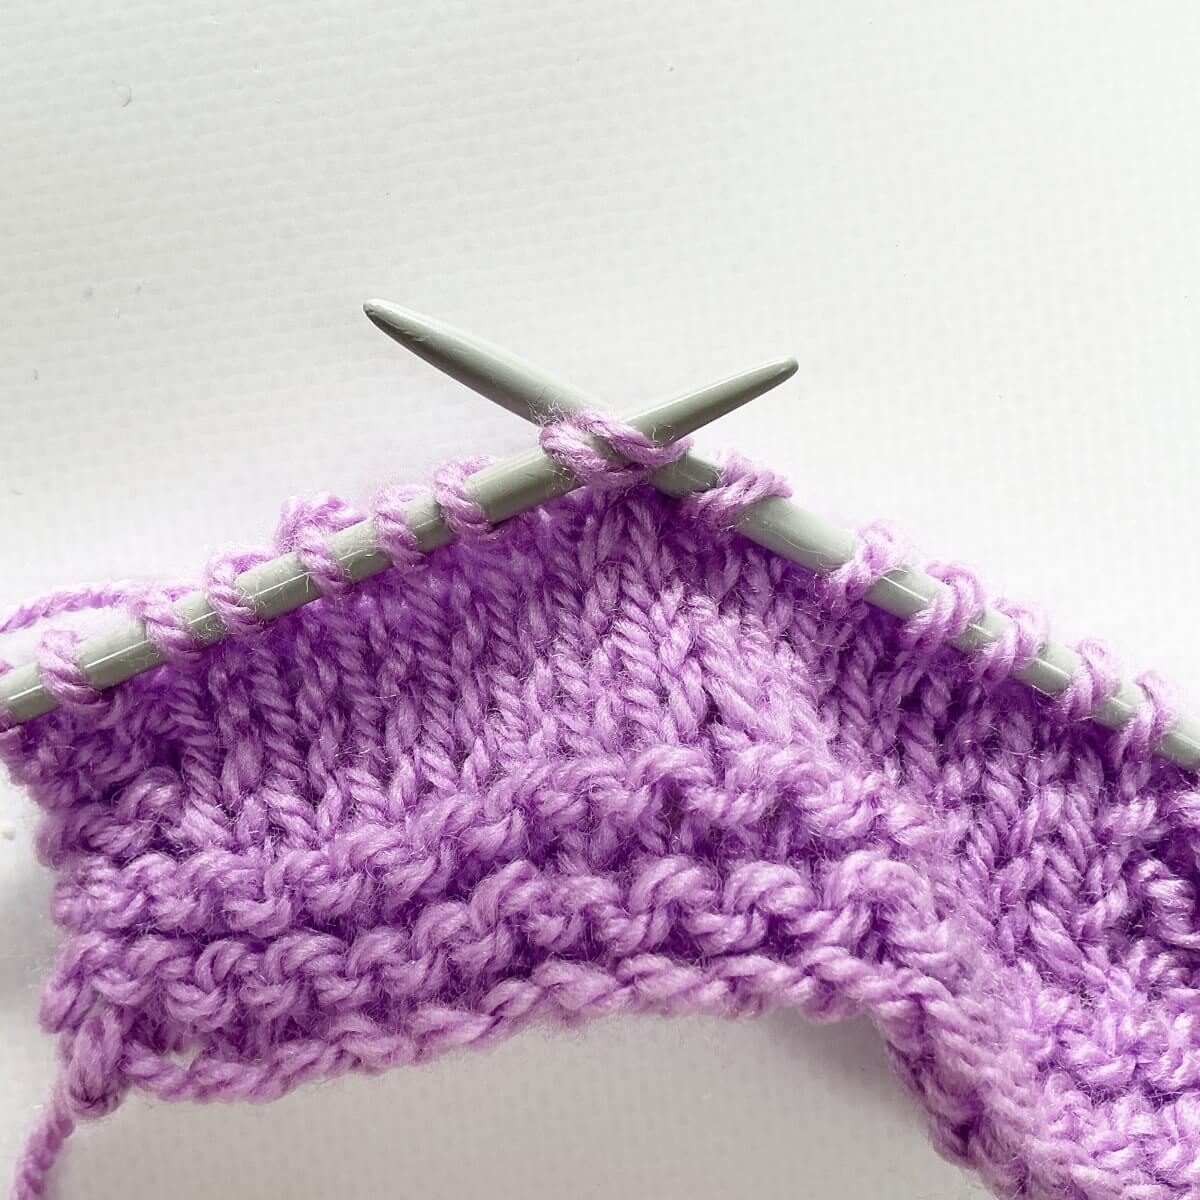
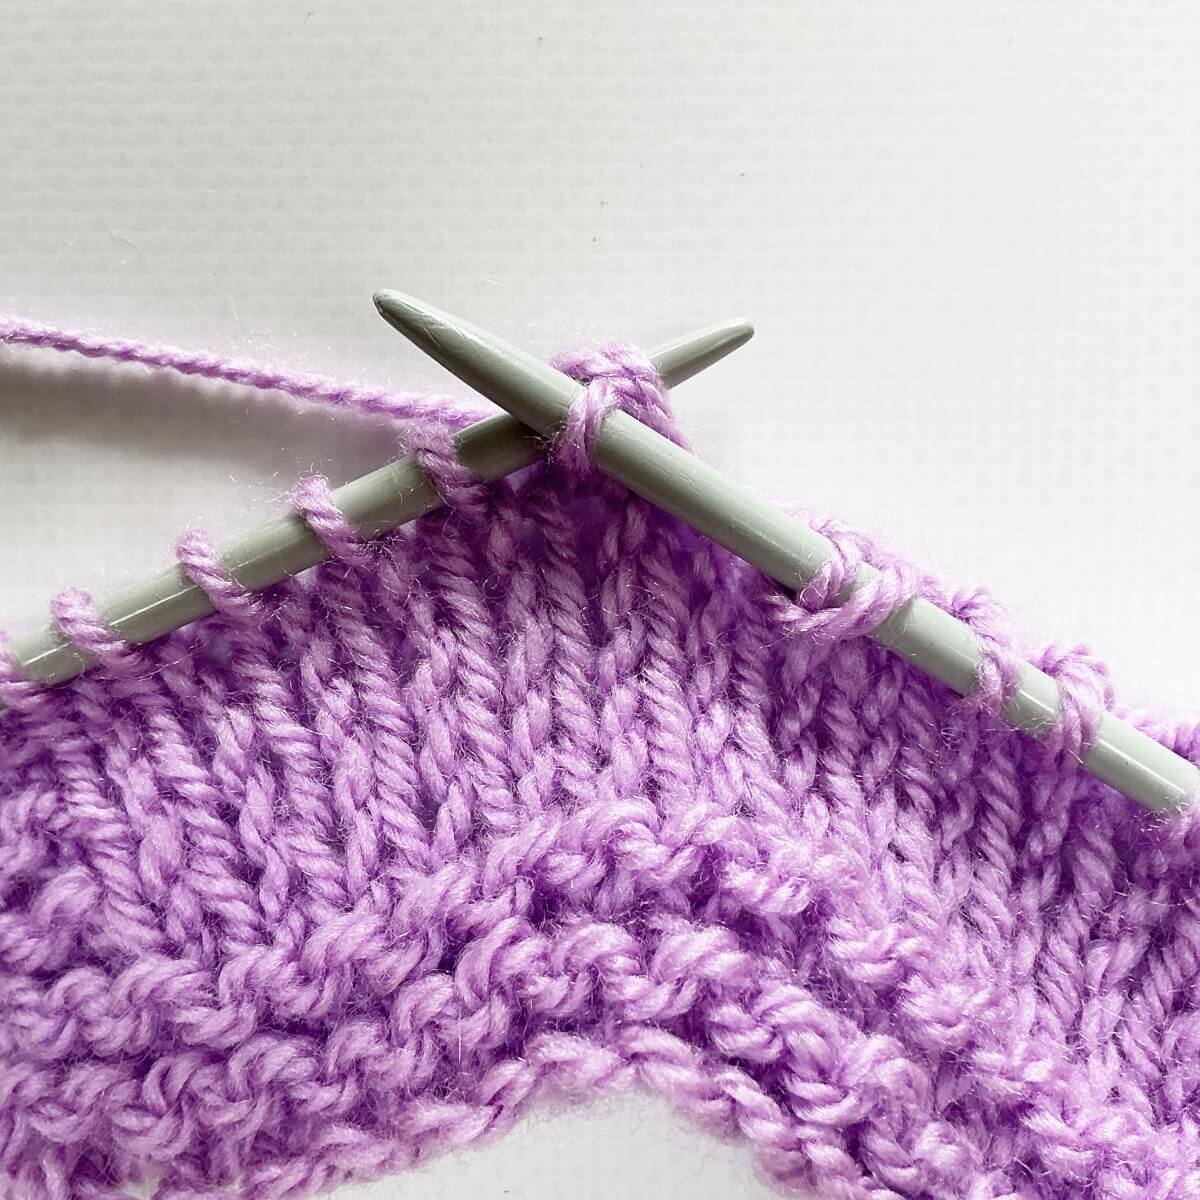
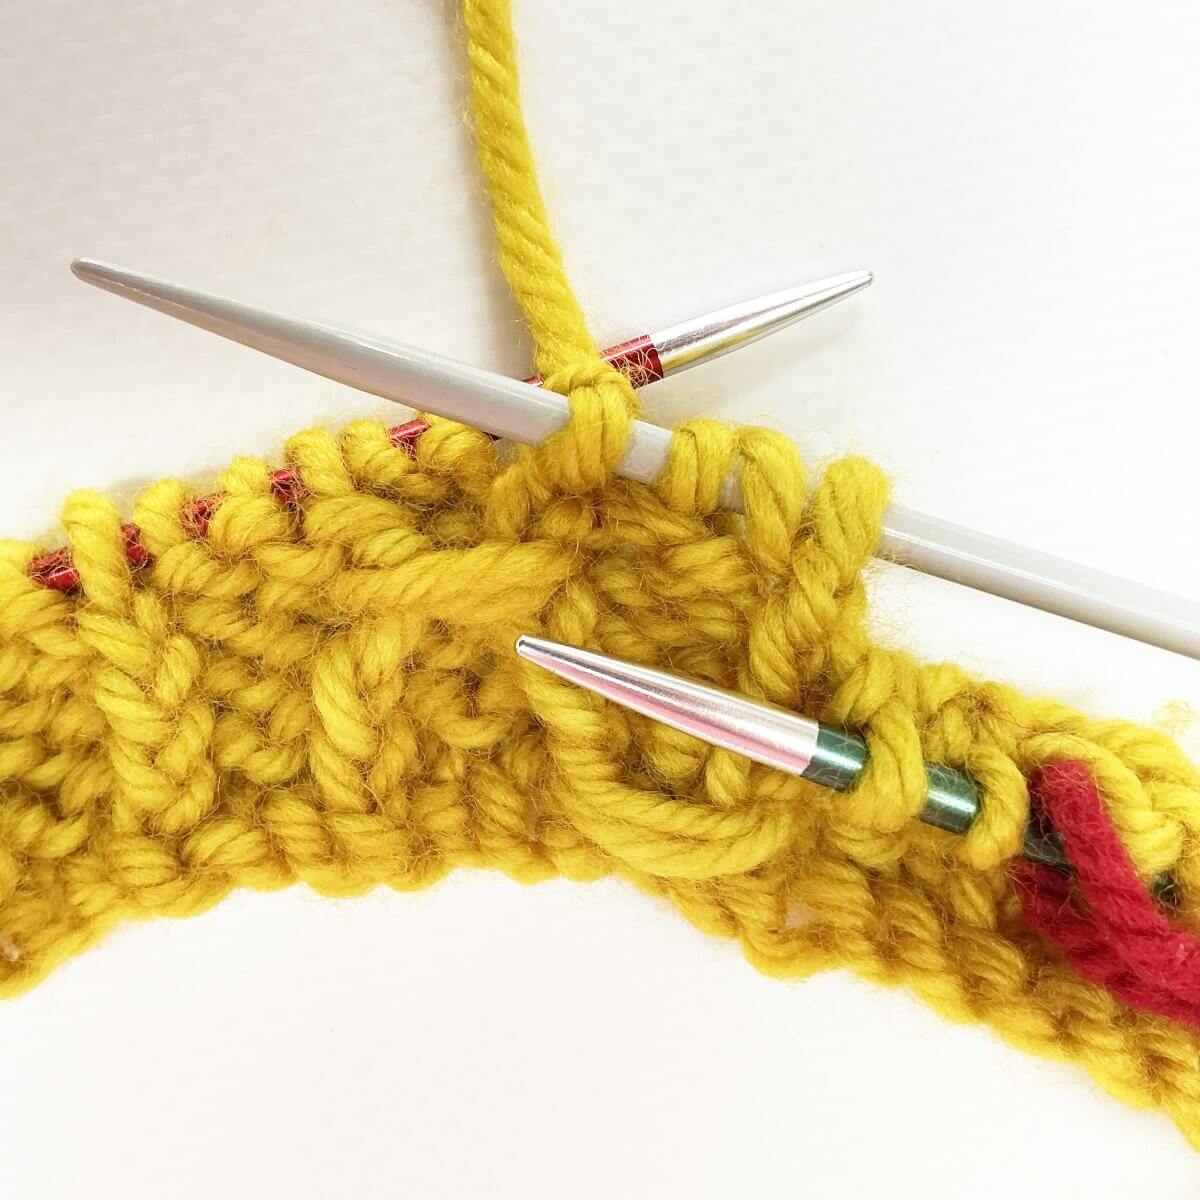
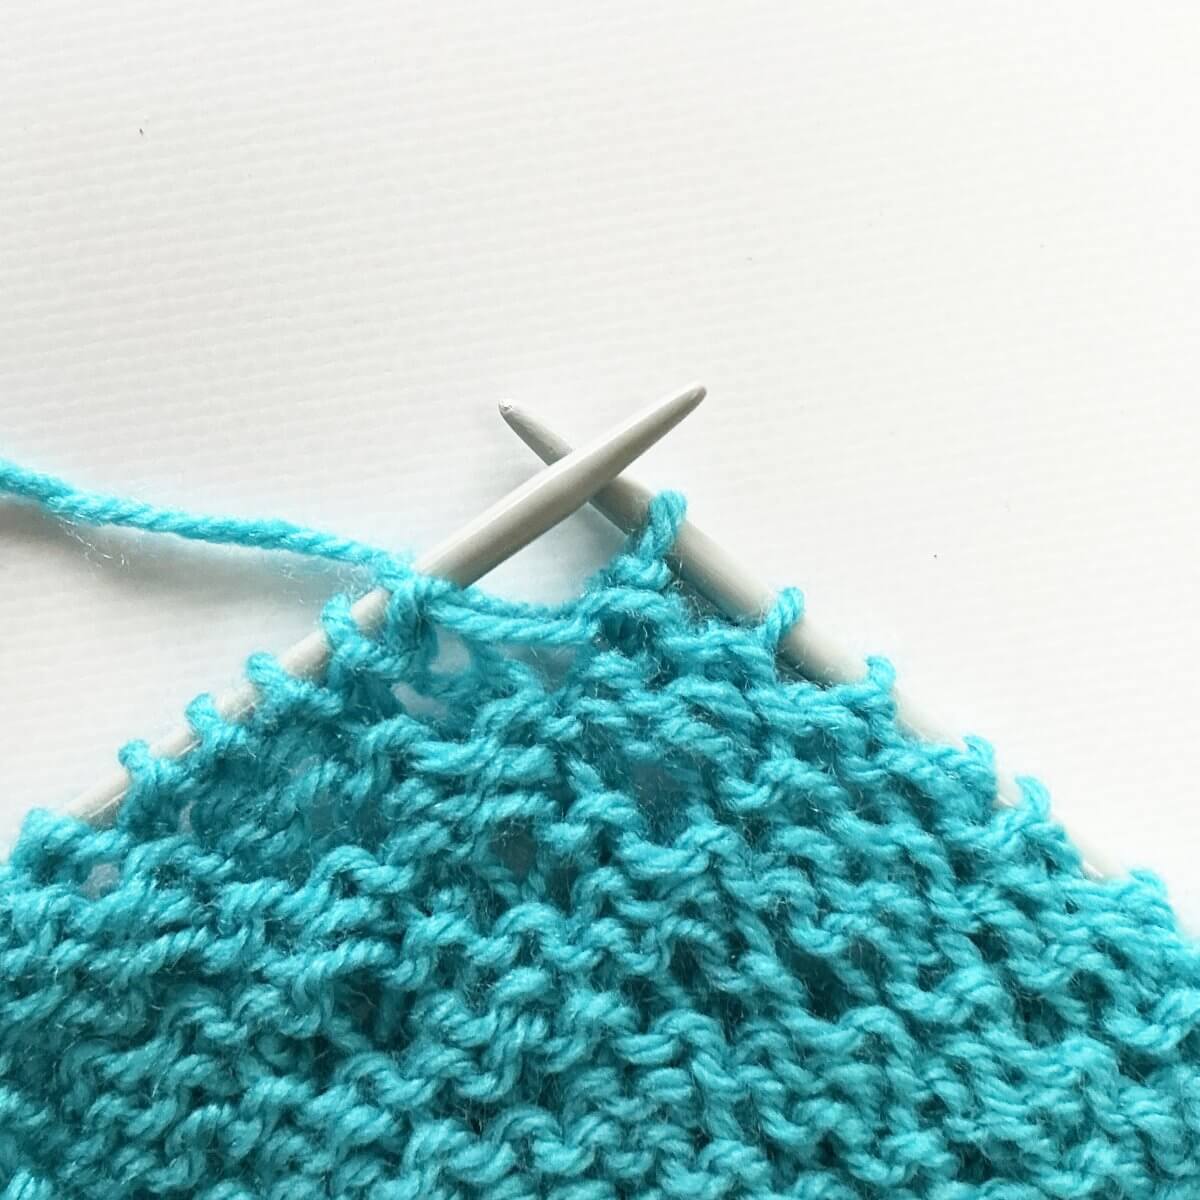
- Wrap the yarn around the right-hand needle….
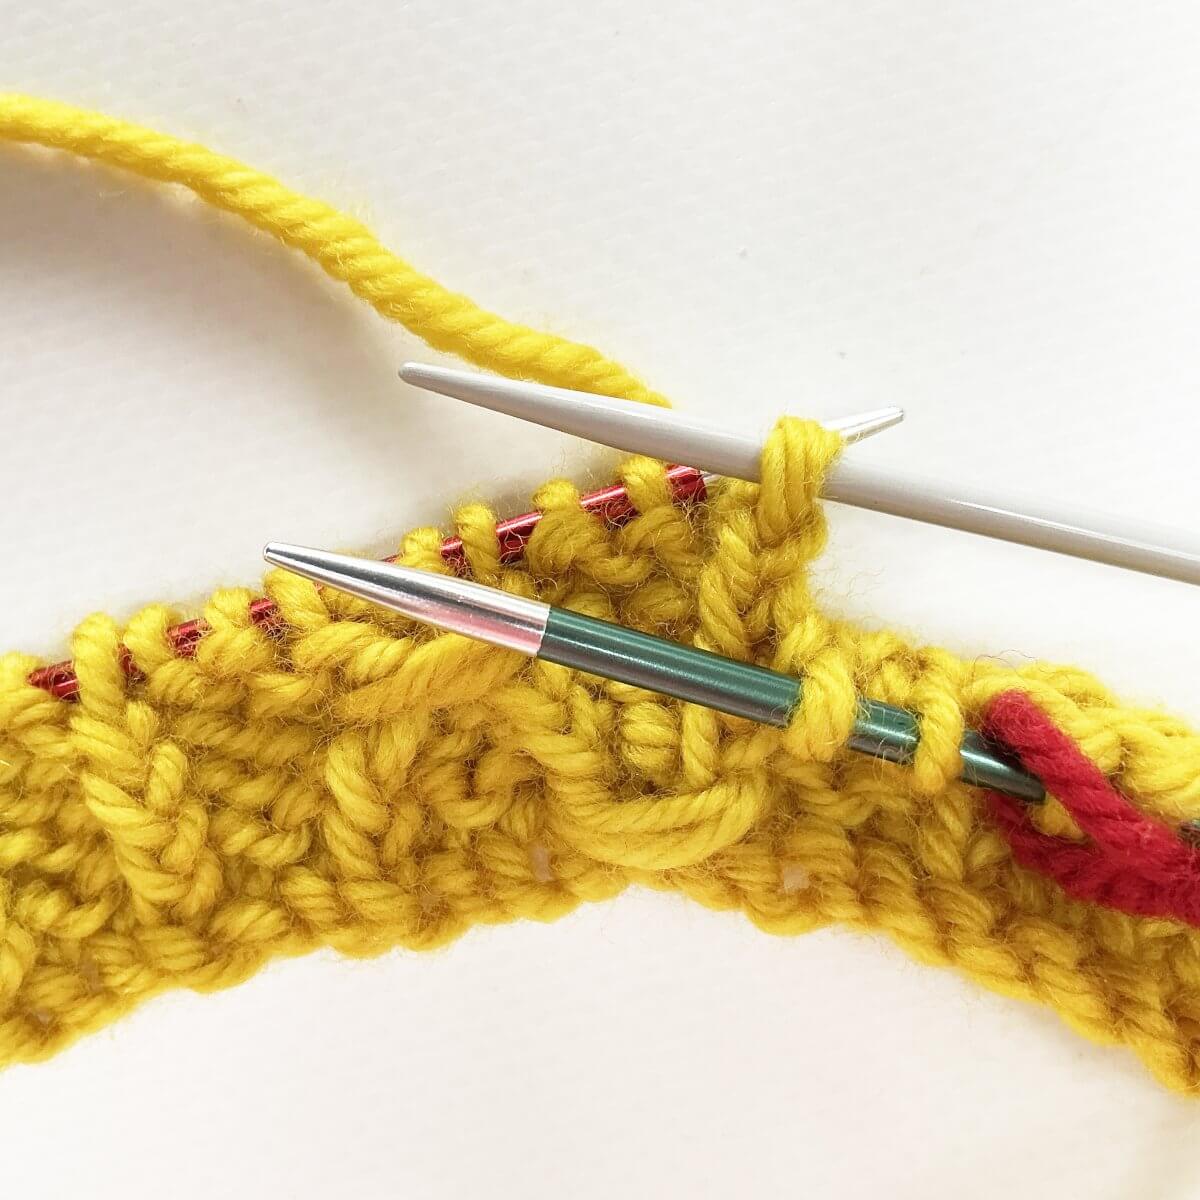
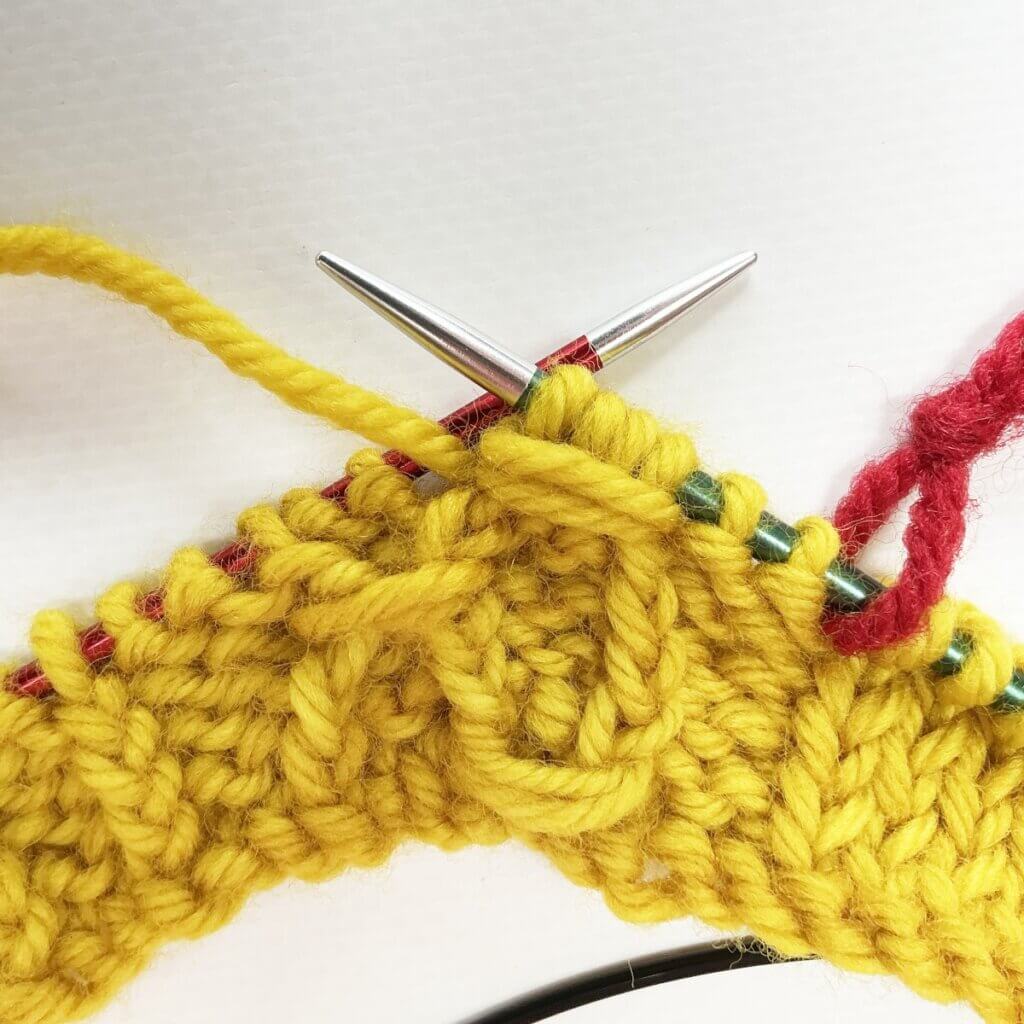
- …. and pull it through all 10 loops plus the original stitch you inserted the needle in.
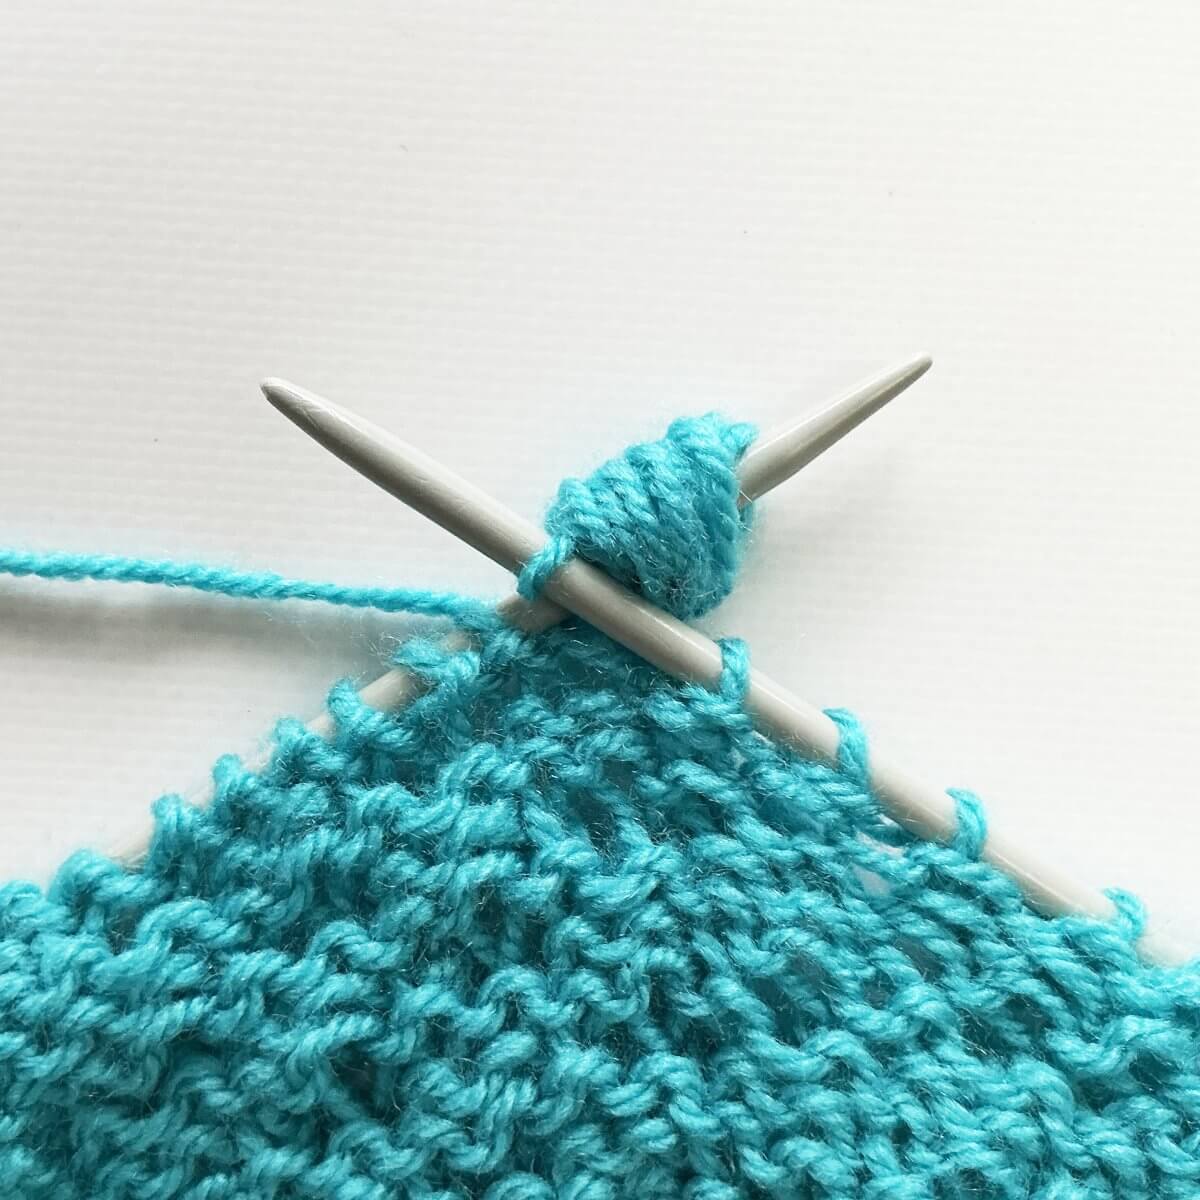
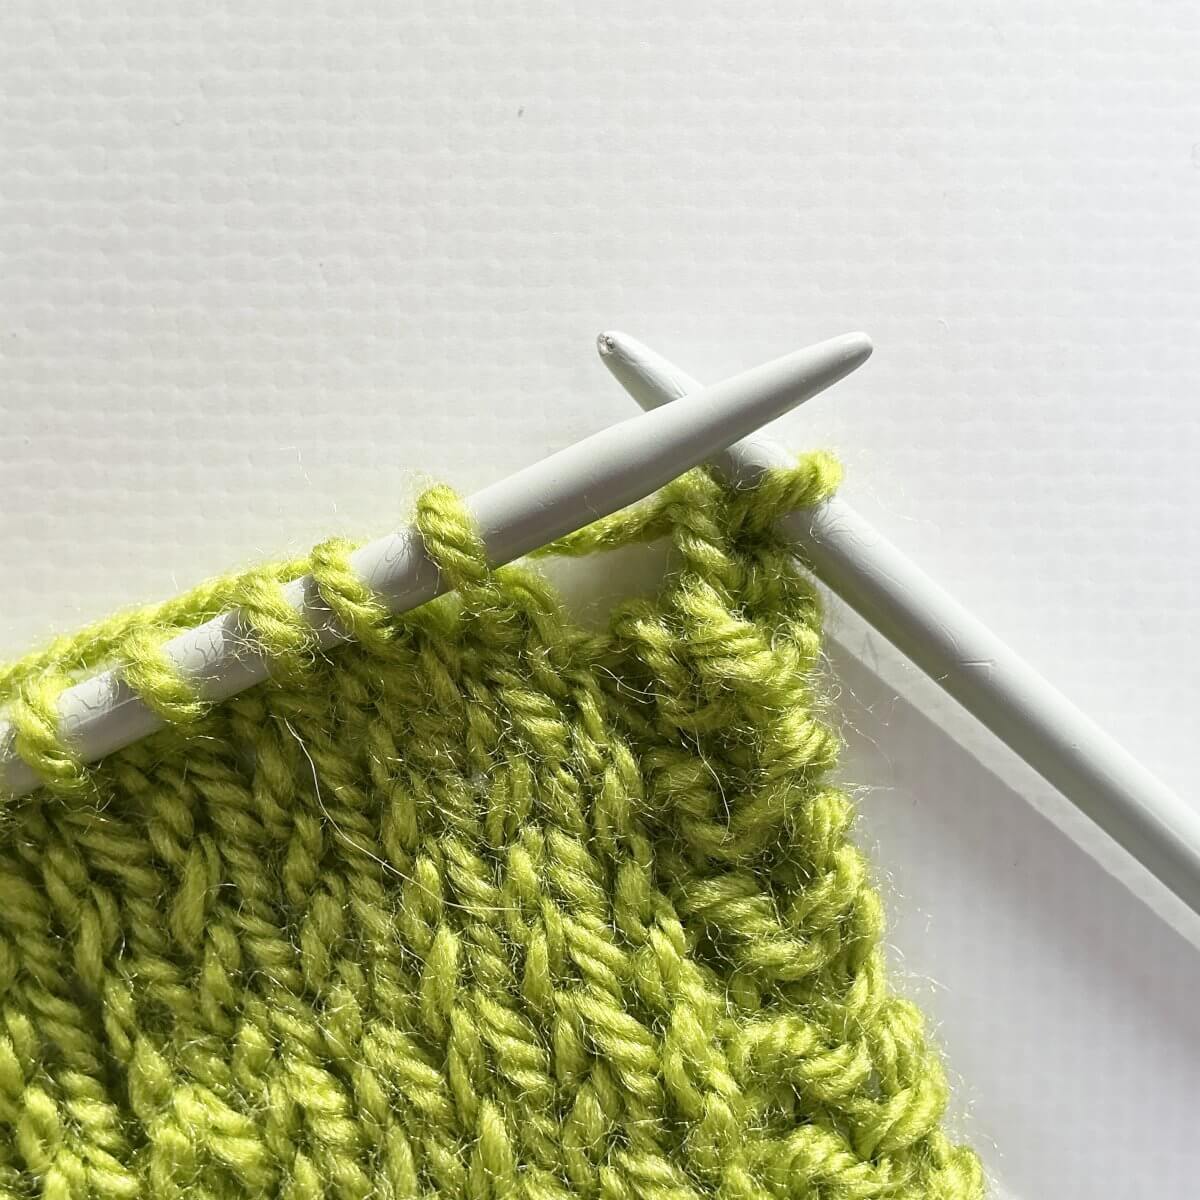
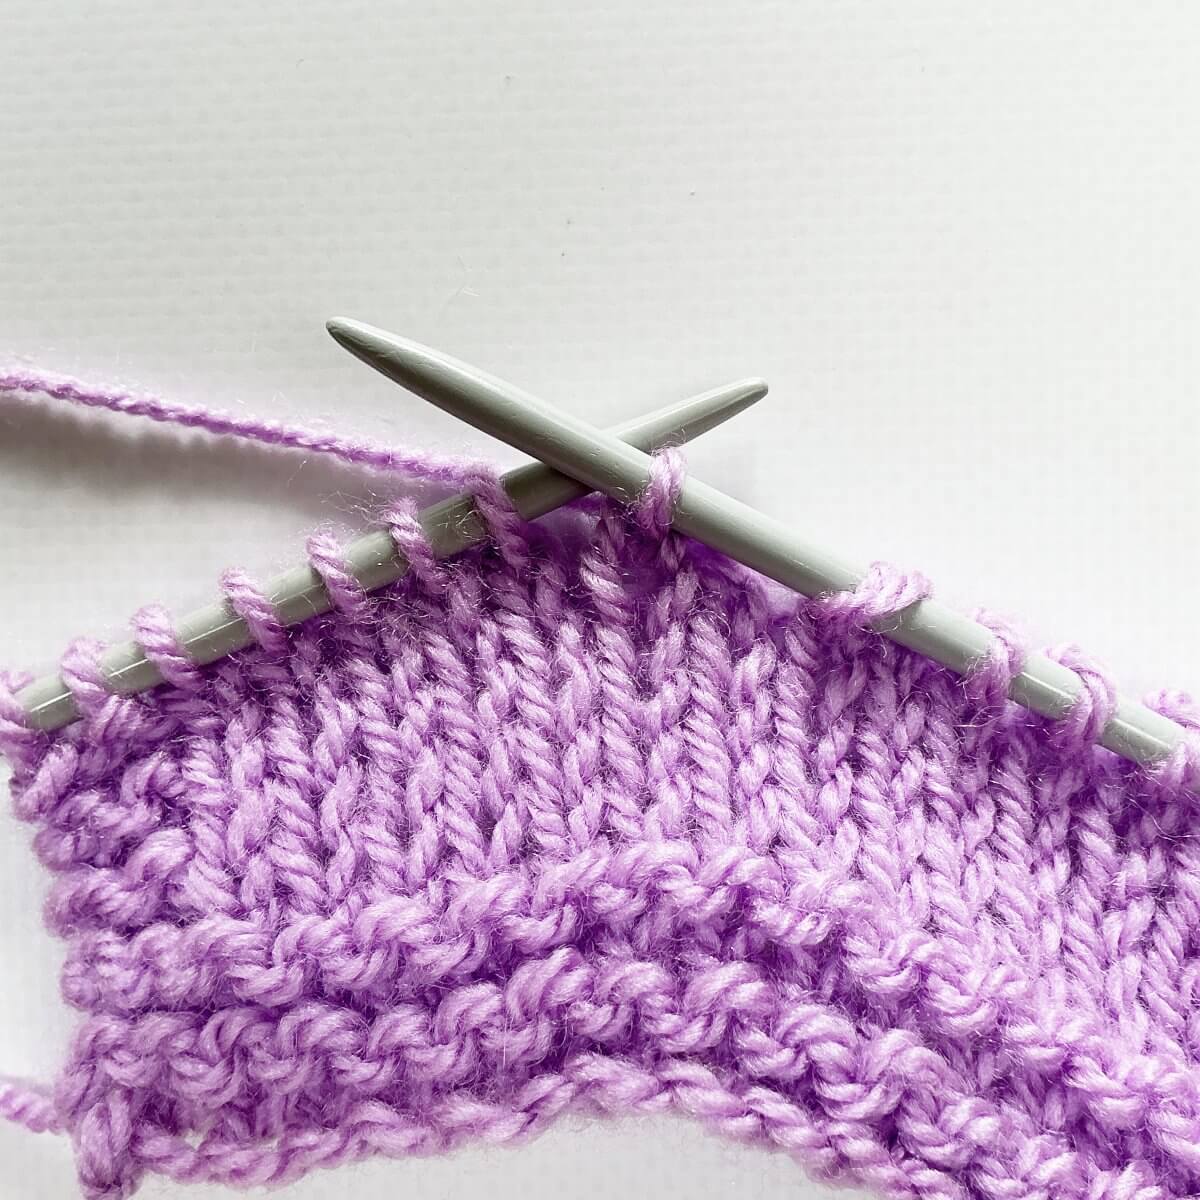
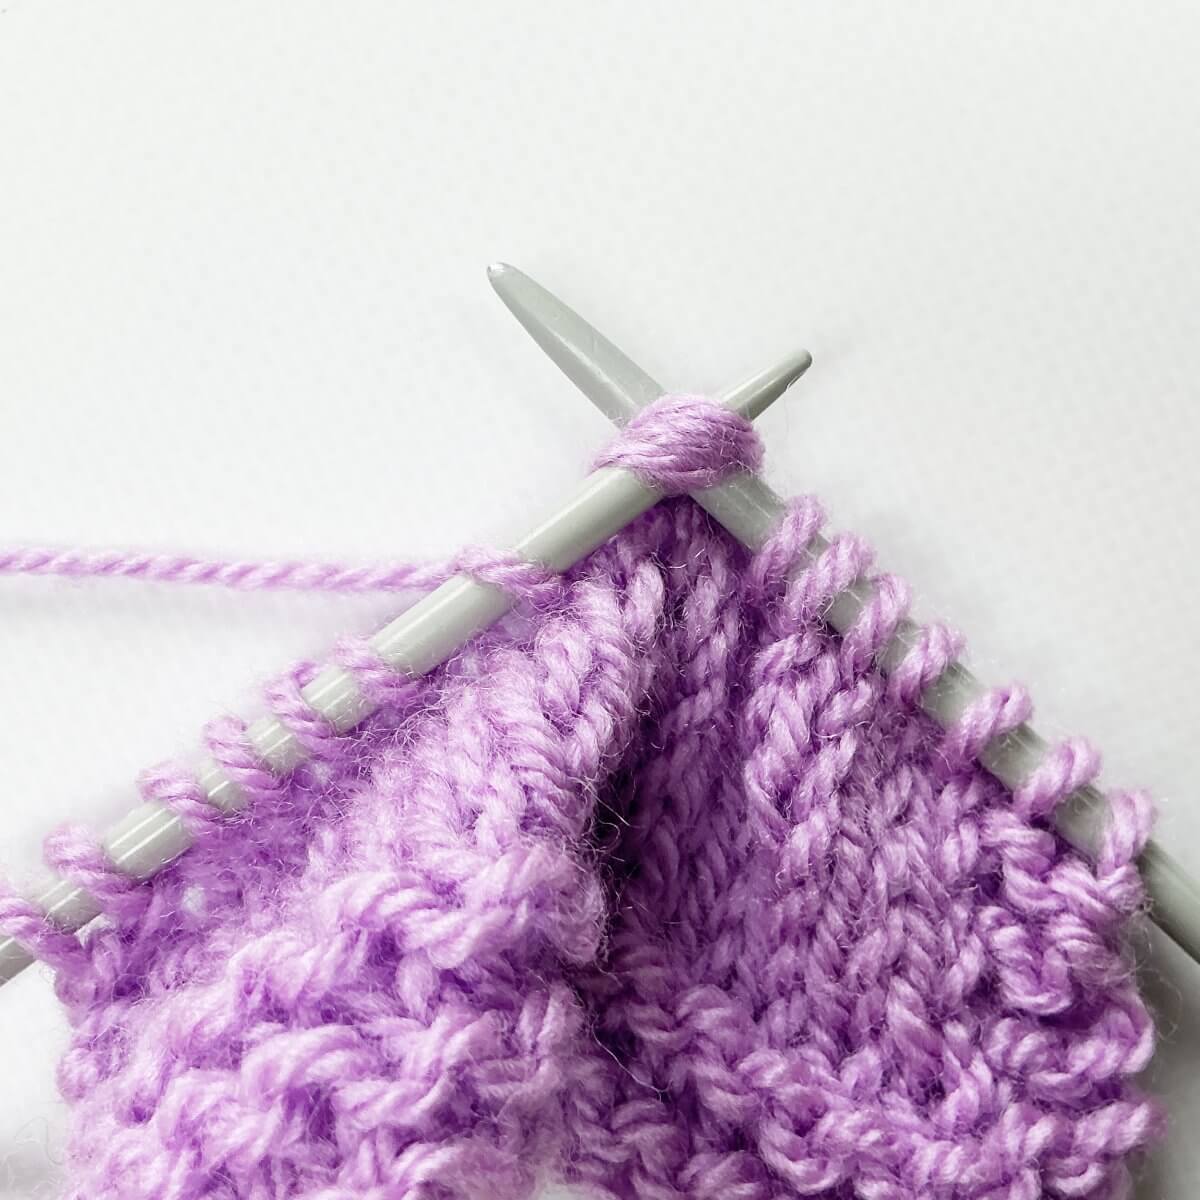
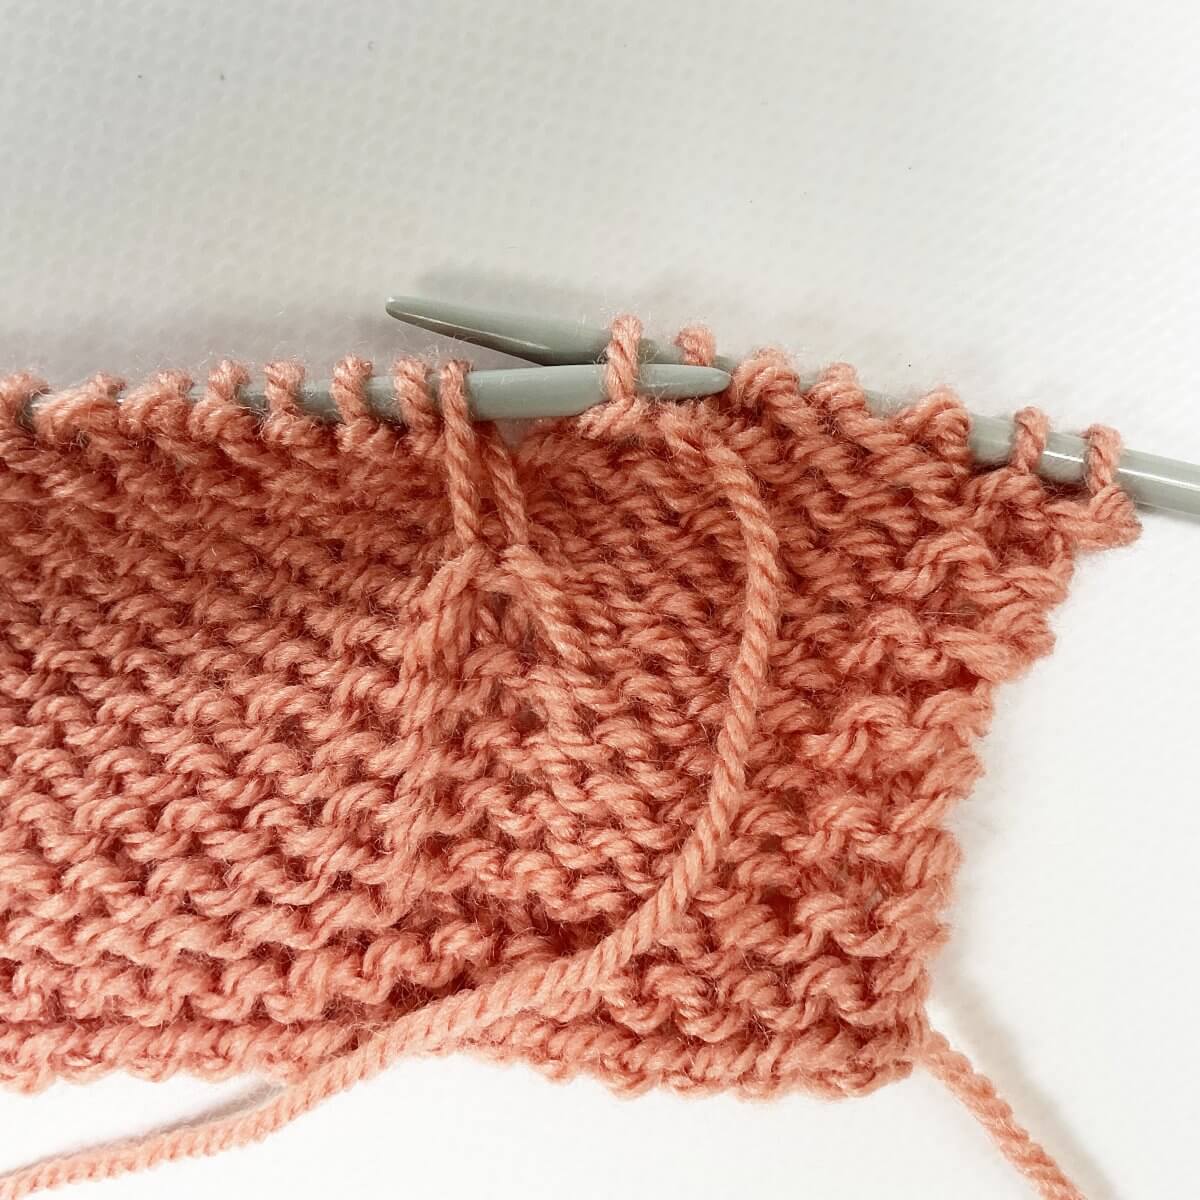
- Next, slip it all of the needle and move the working yarn to right.
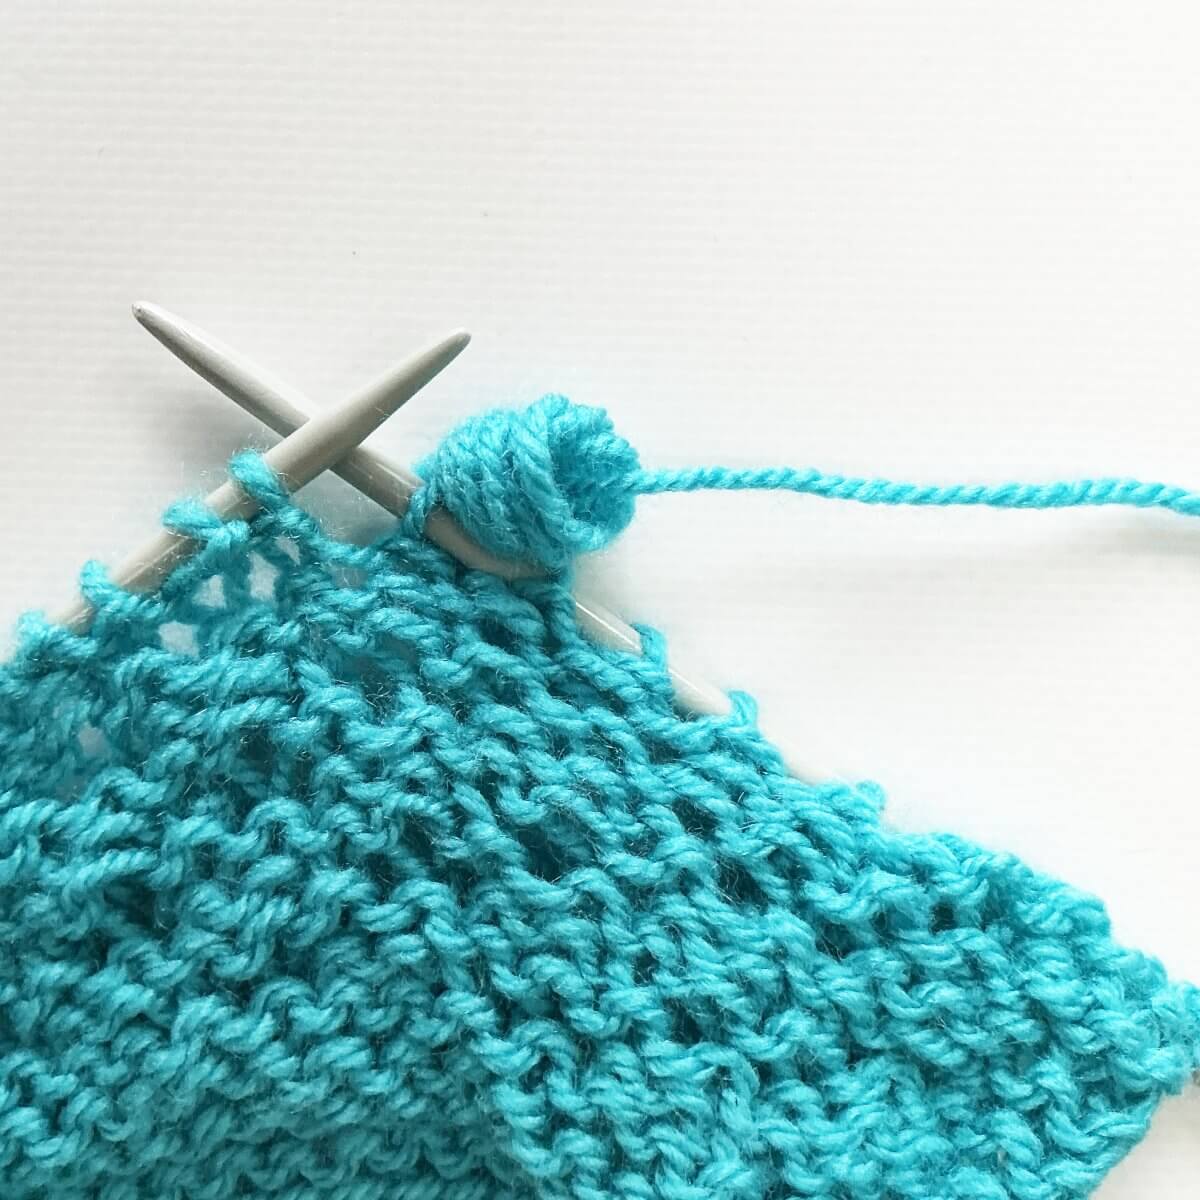
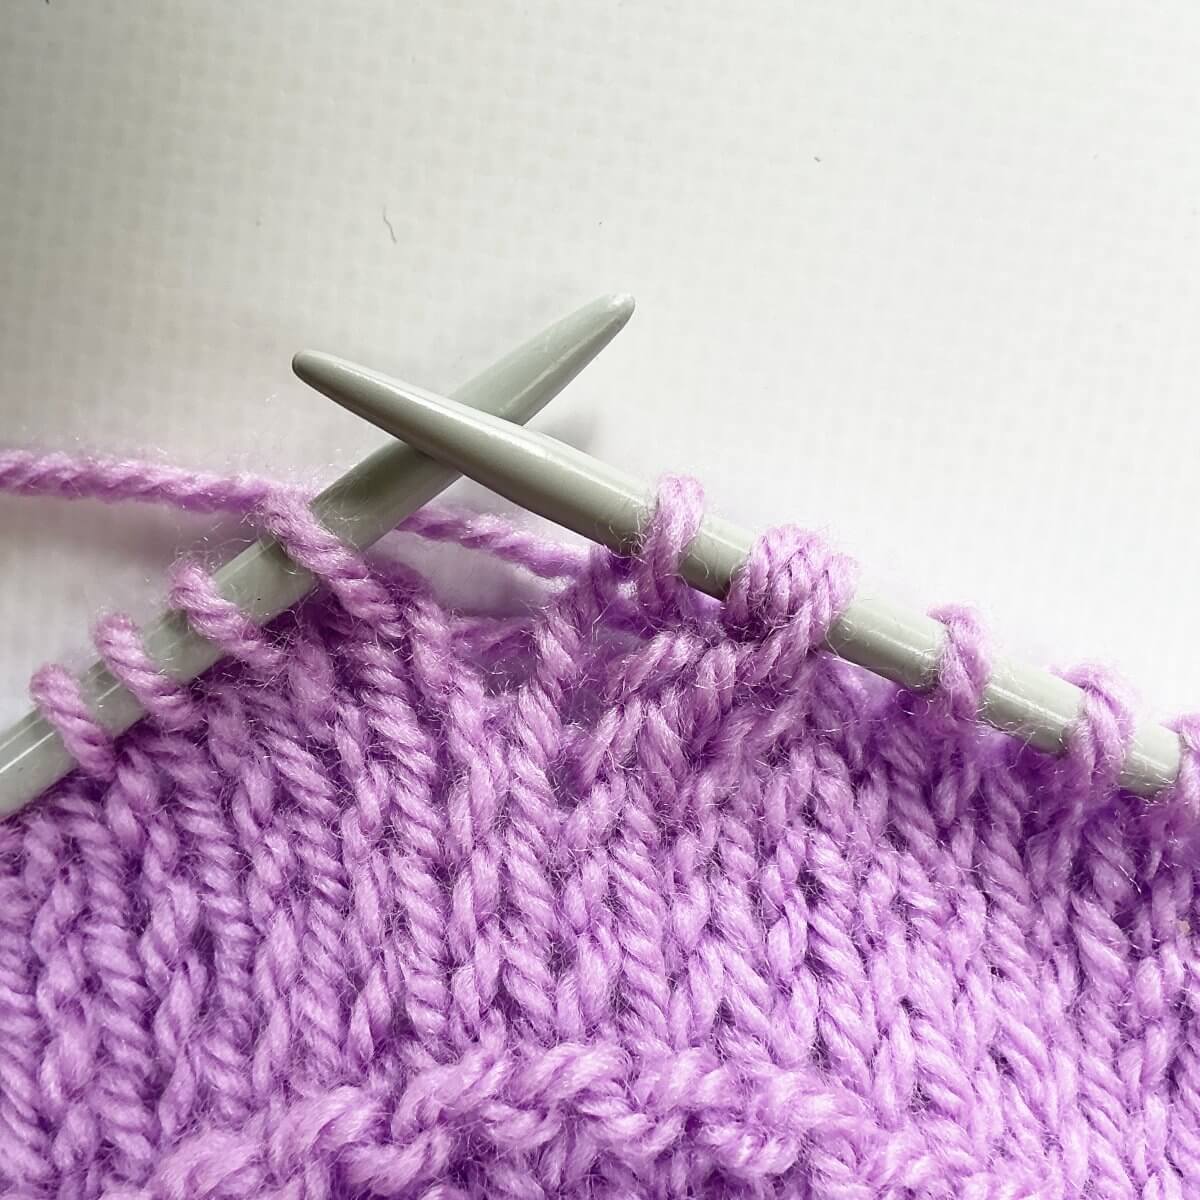
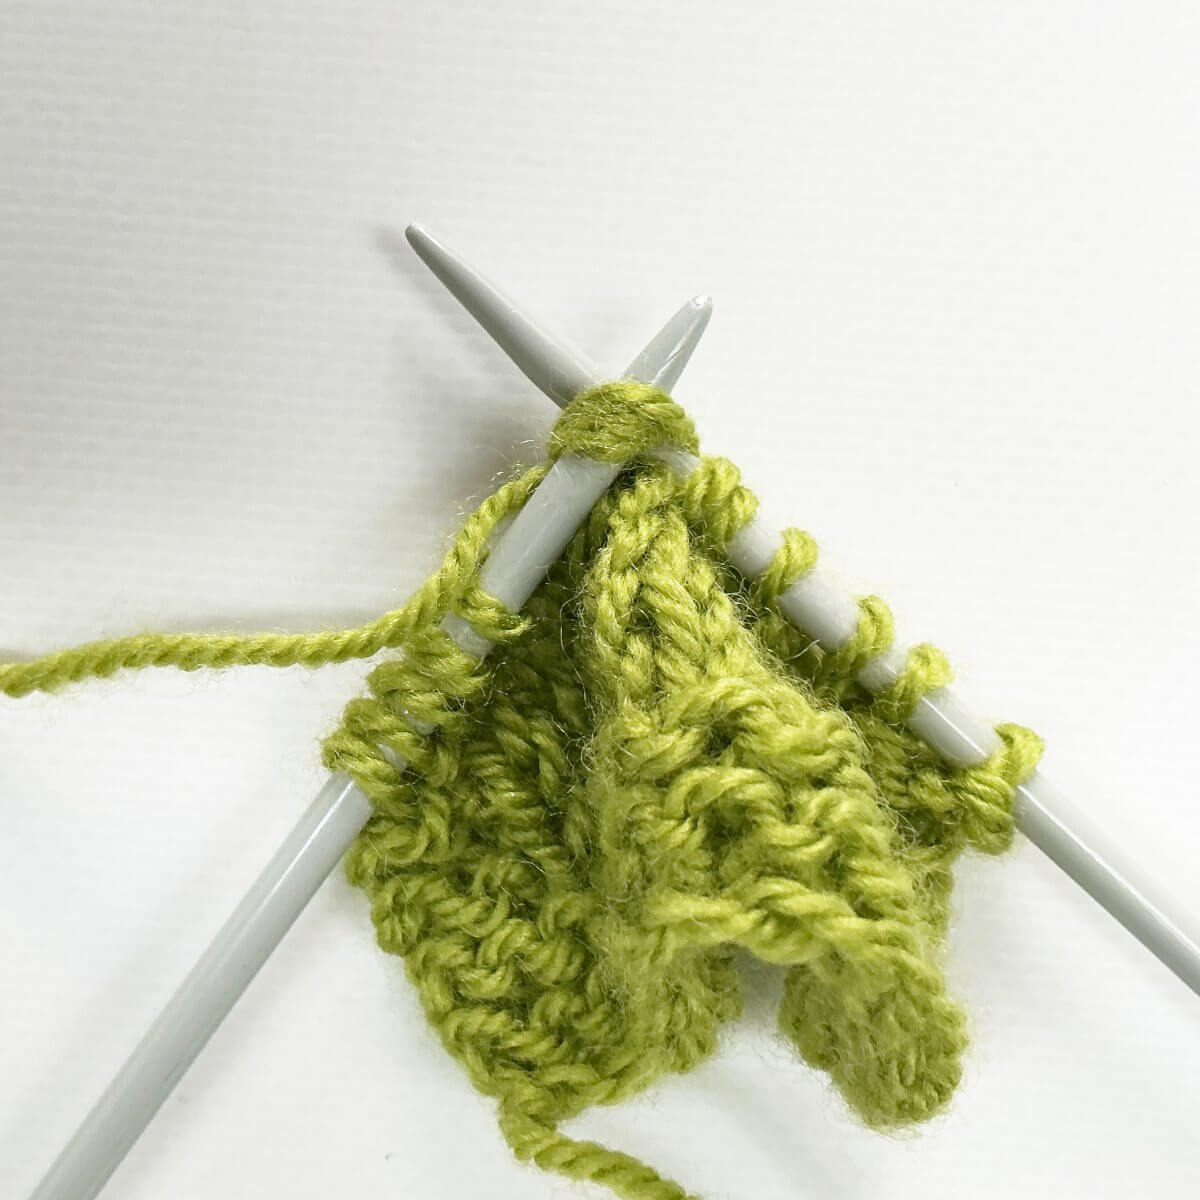
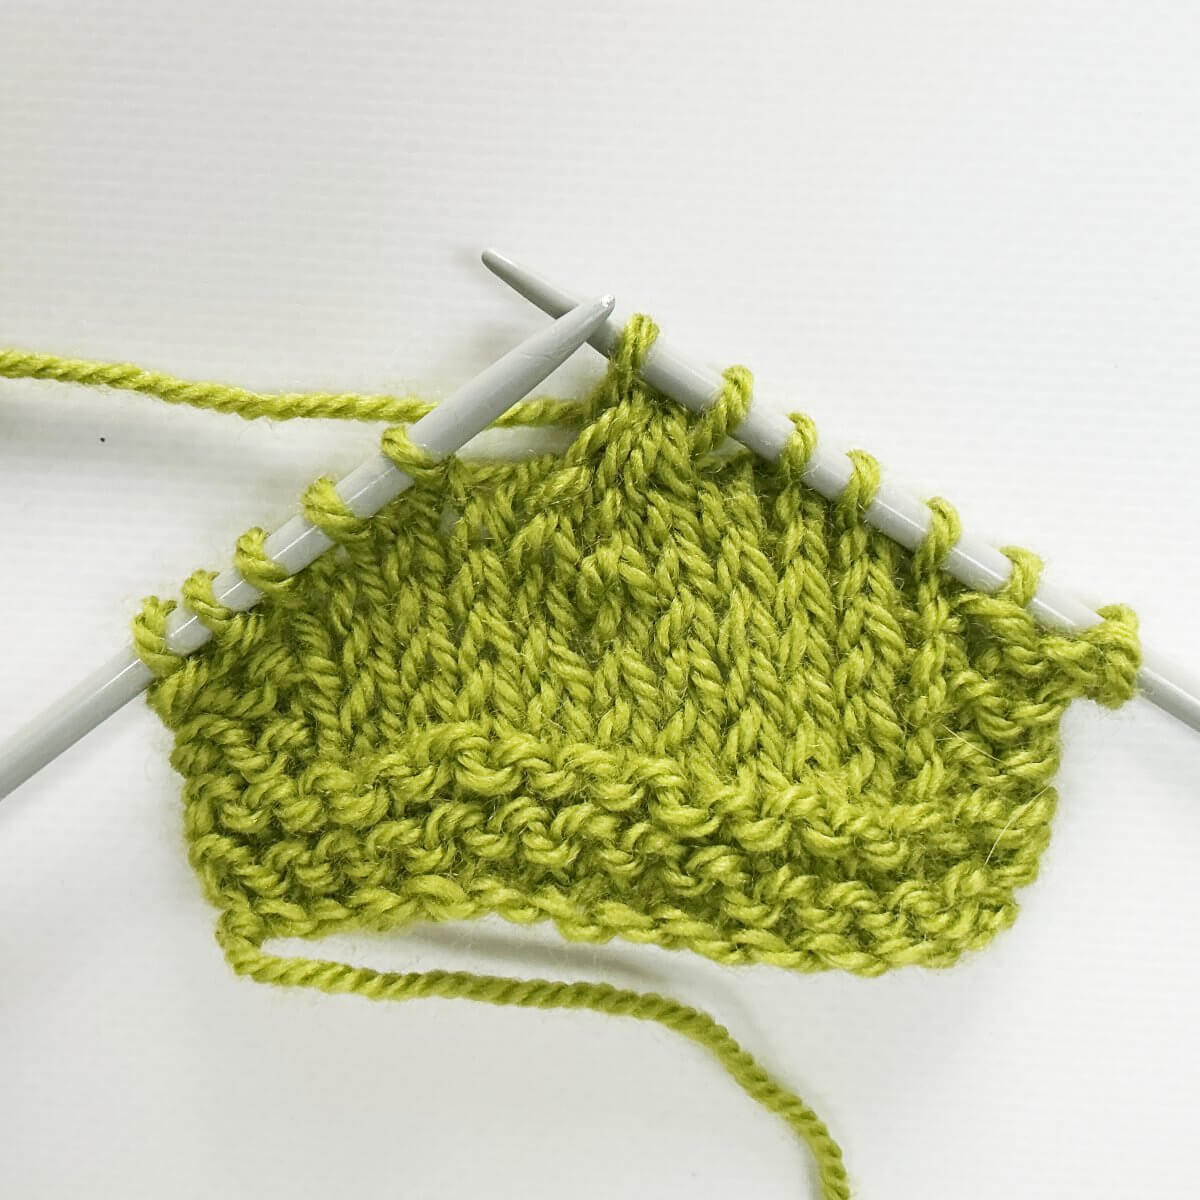
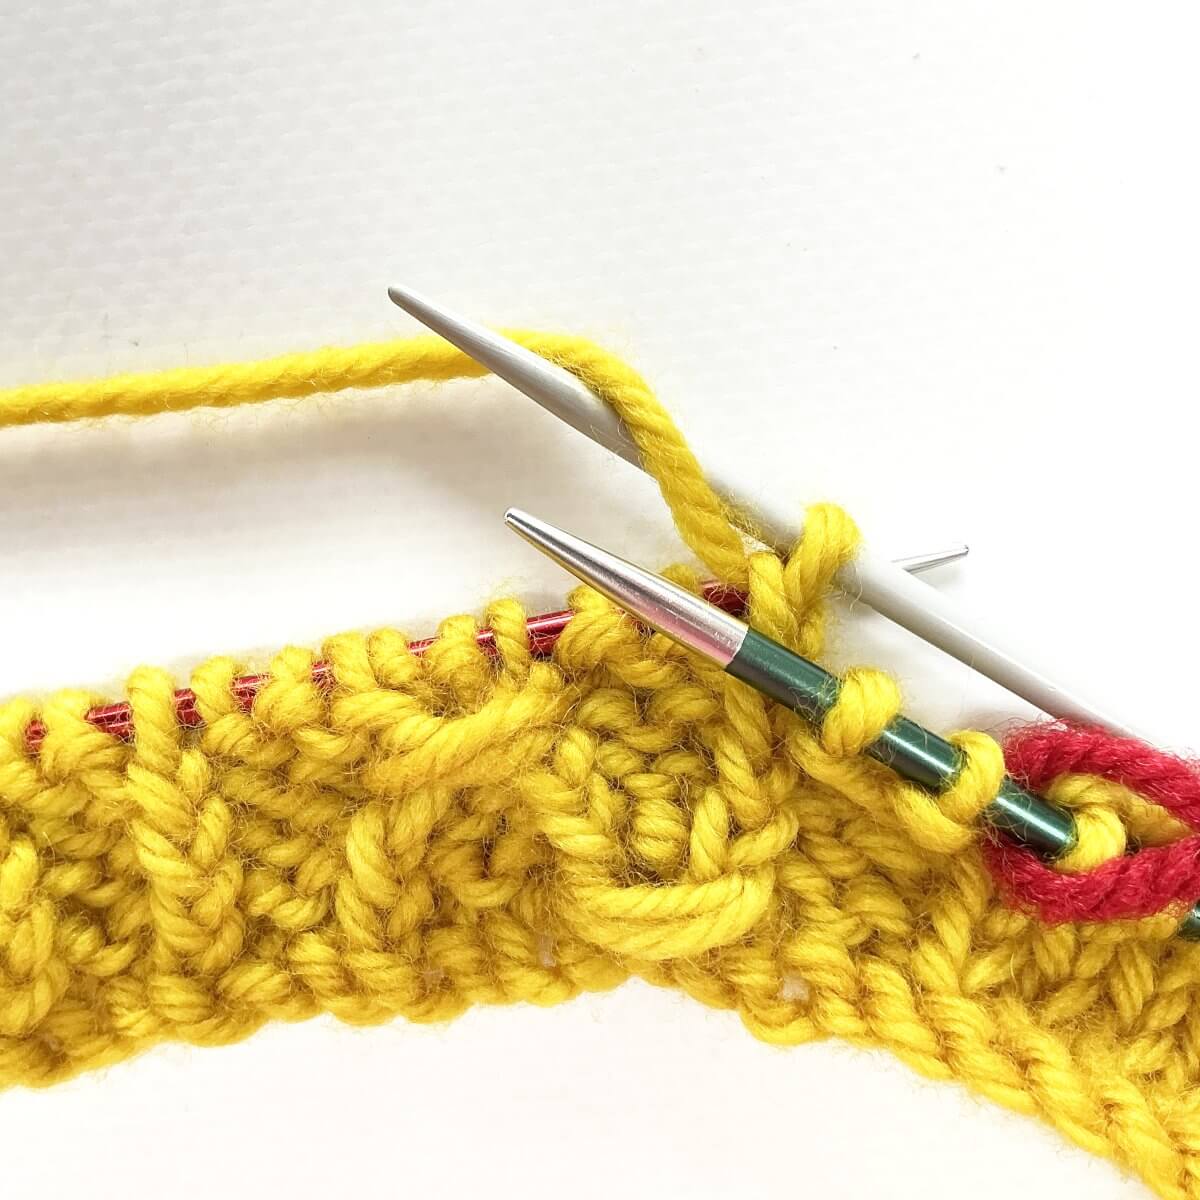
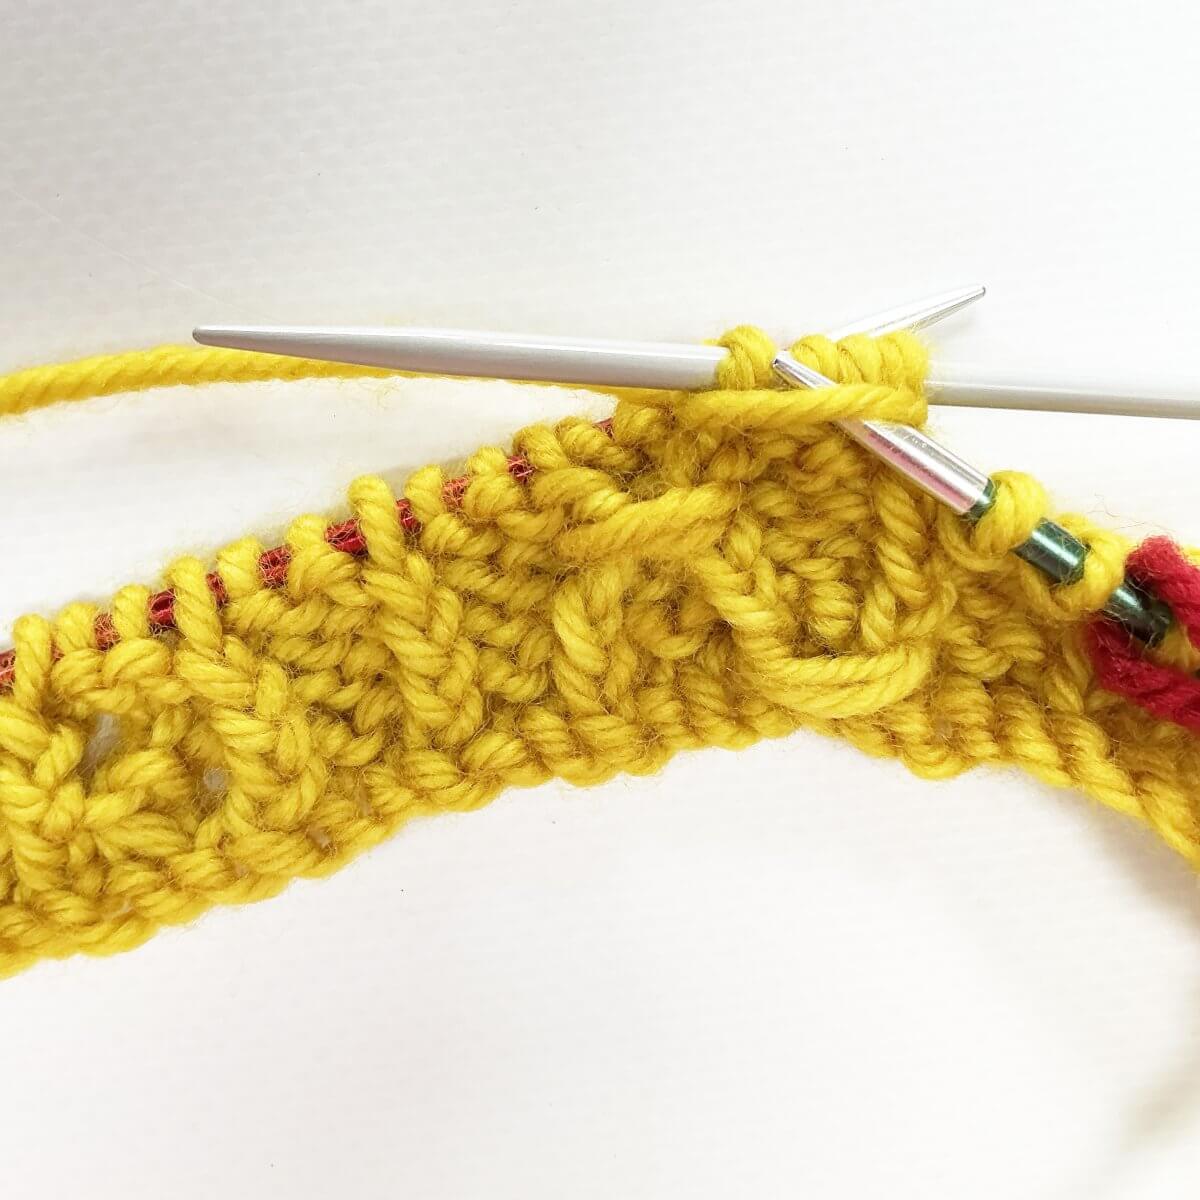
- Unravel the spring coil along the yarn tail, make sure it’s unraveled all the way from the base to the end-loop.
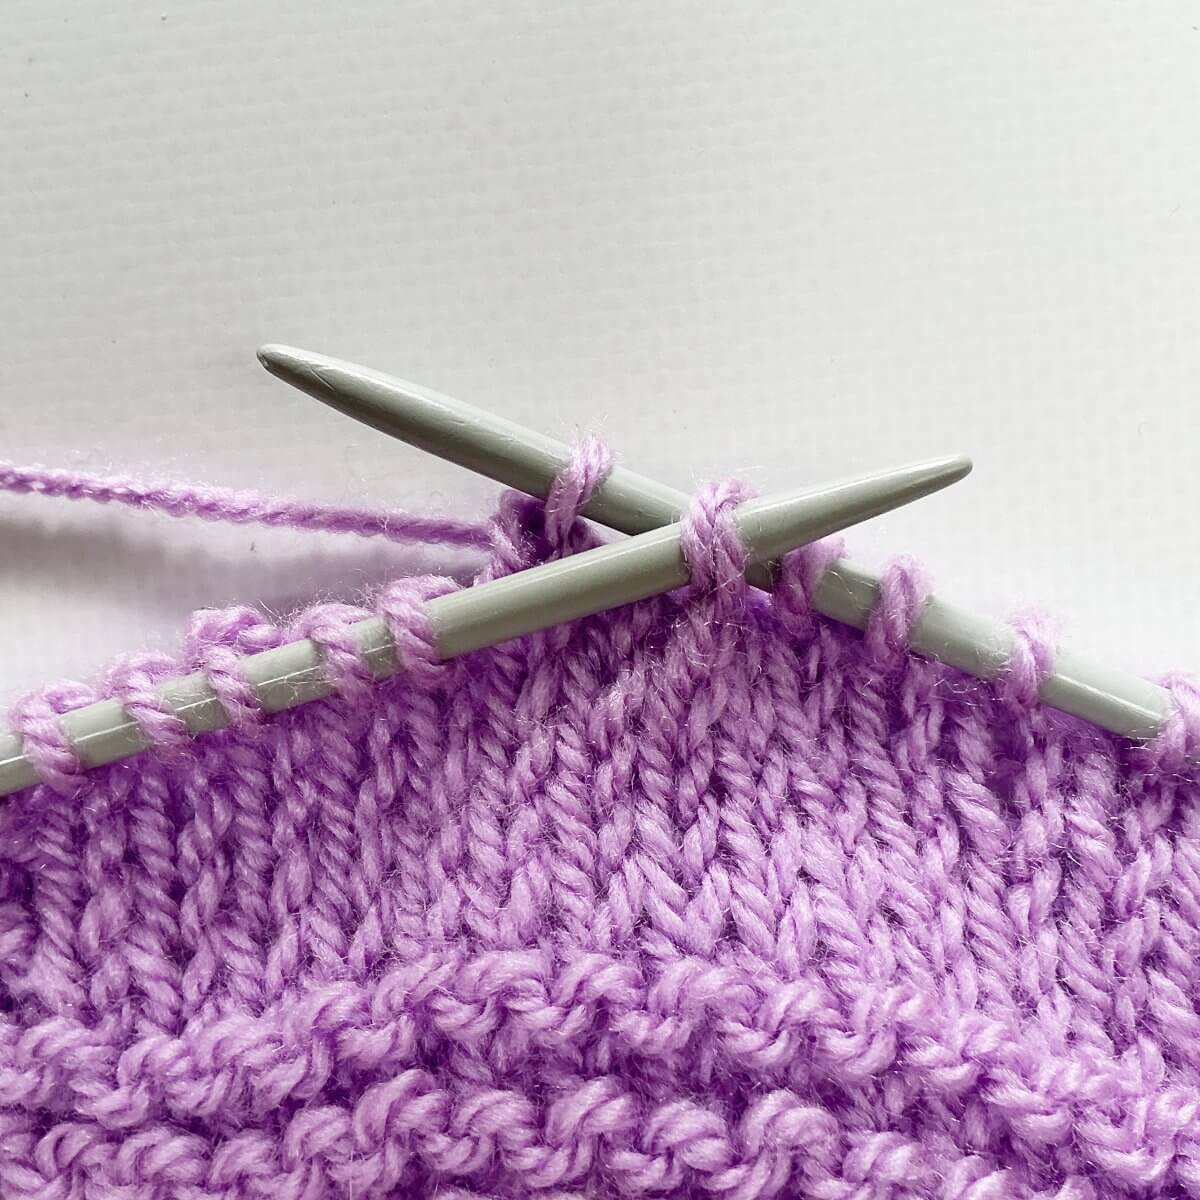
- Now gently pull on the working yarn to cinch the loops up into a coil.

- Pull some more, until you have a neat little coil with the tension you like.
When pulling very tight, the coil also gets tighter and smaller. Especially when working the spring bobble stitch pattern with multiple coils, you want to make sure the tension is roughly the same for all coils.
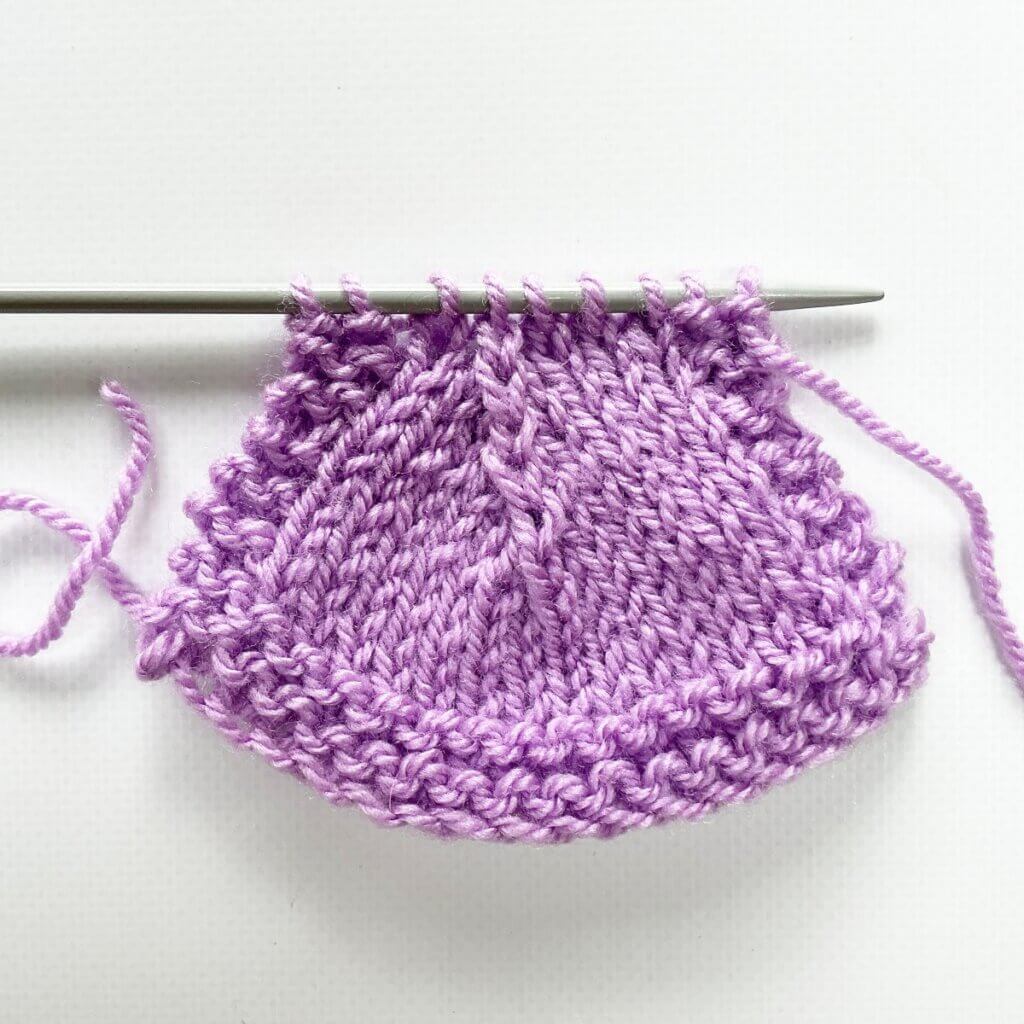
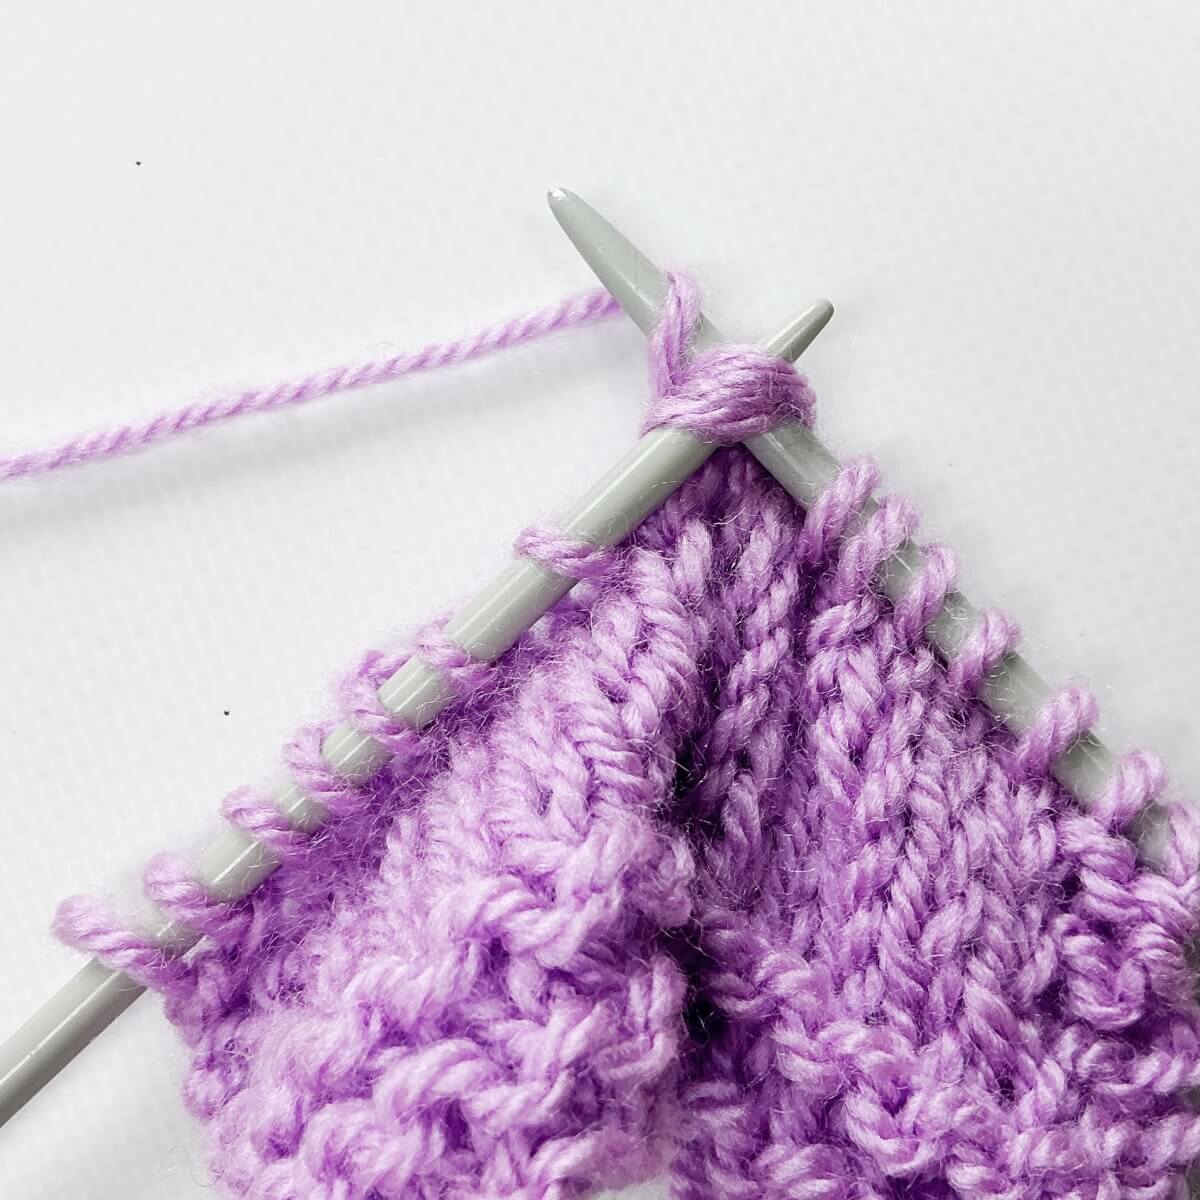
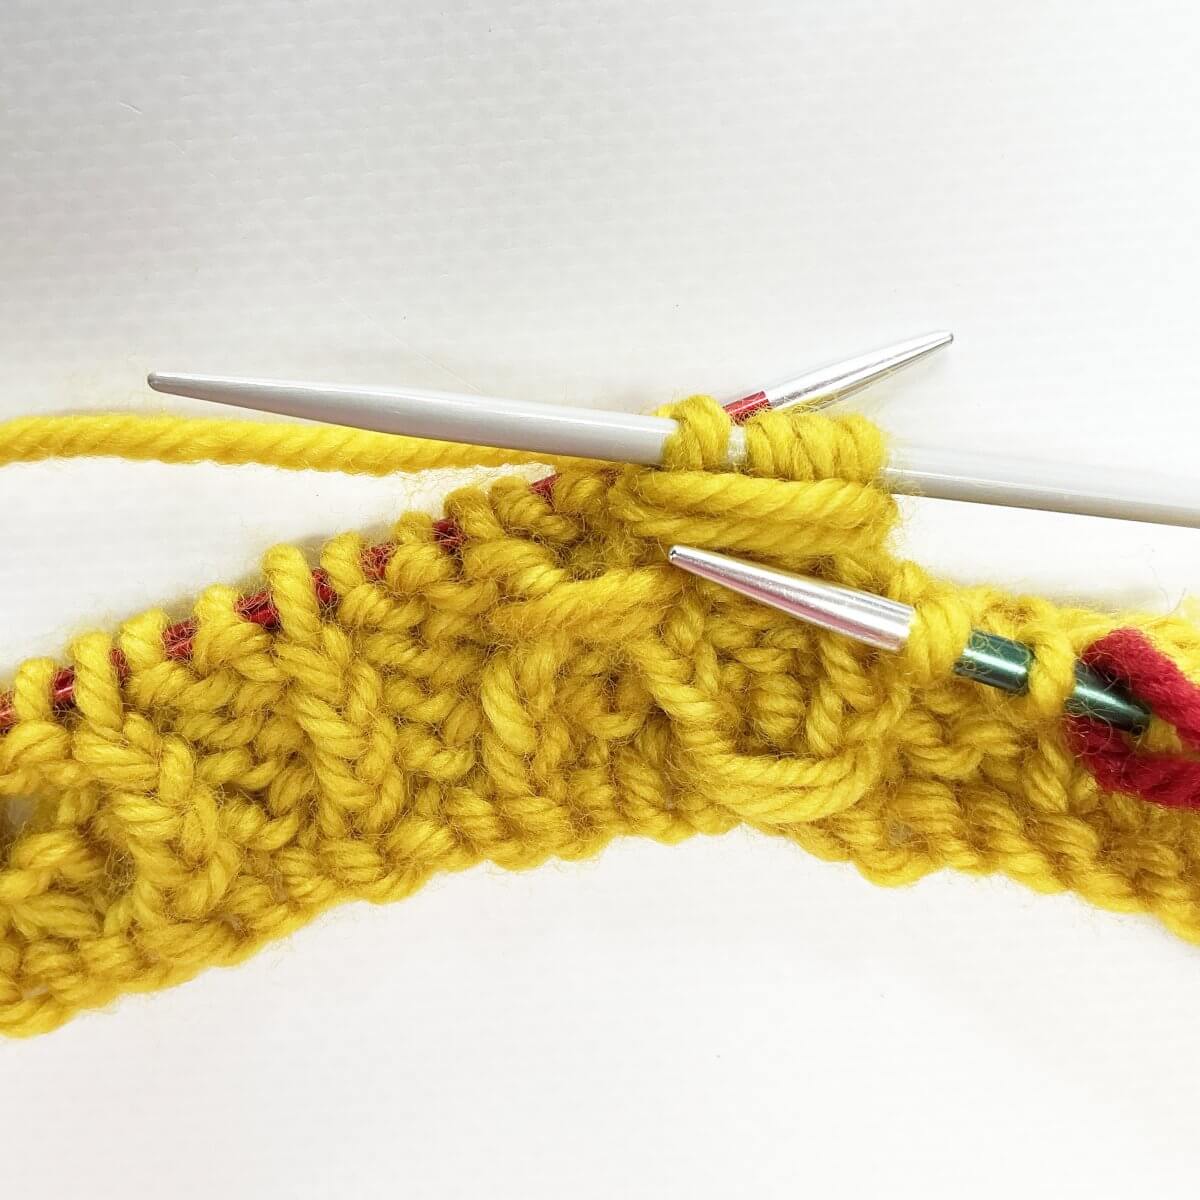
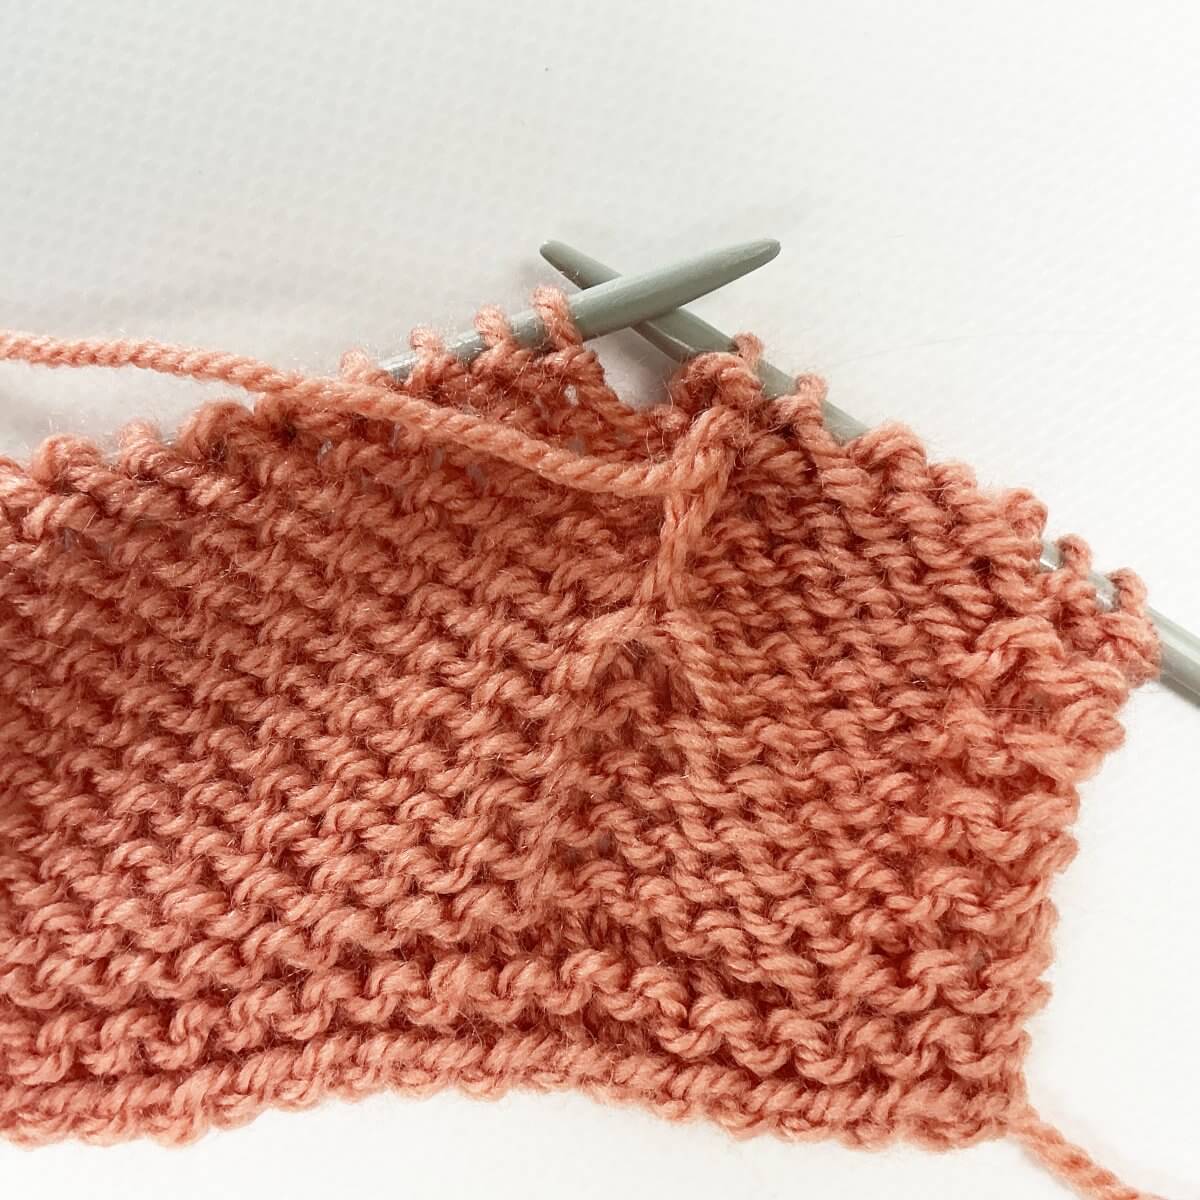
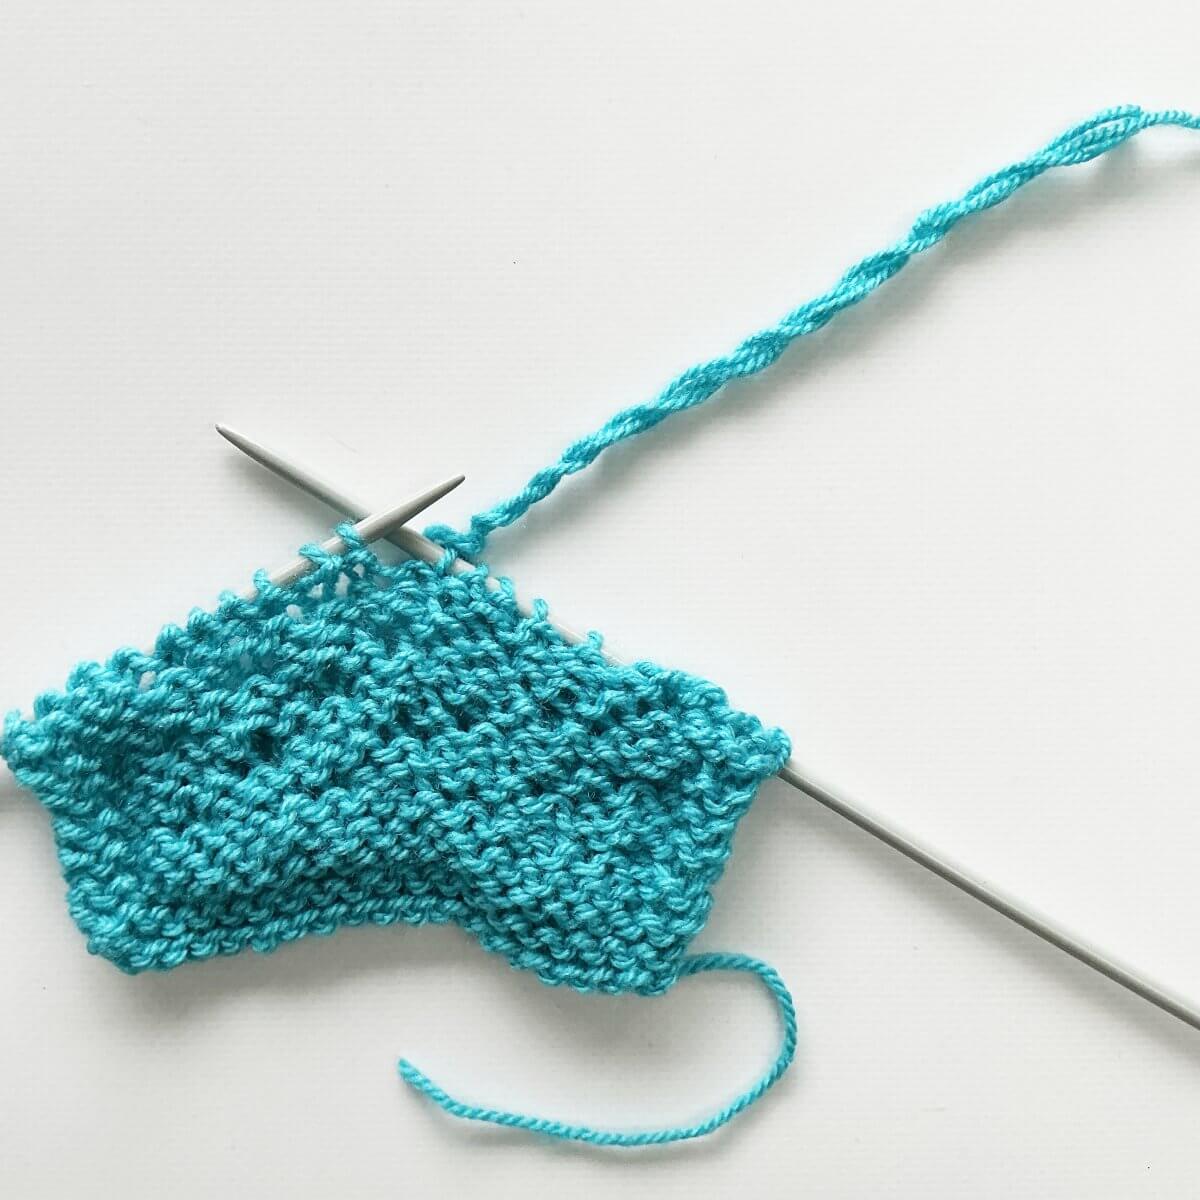
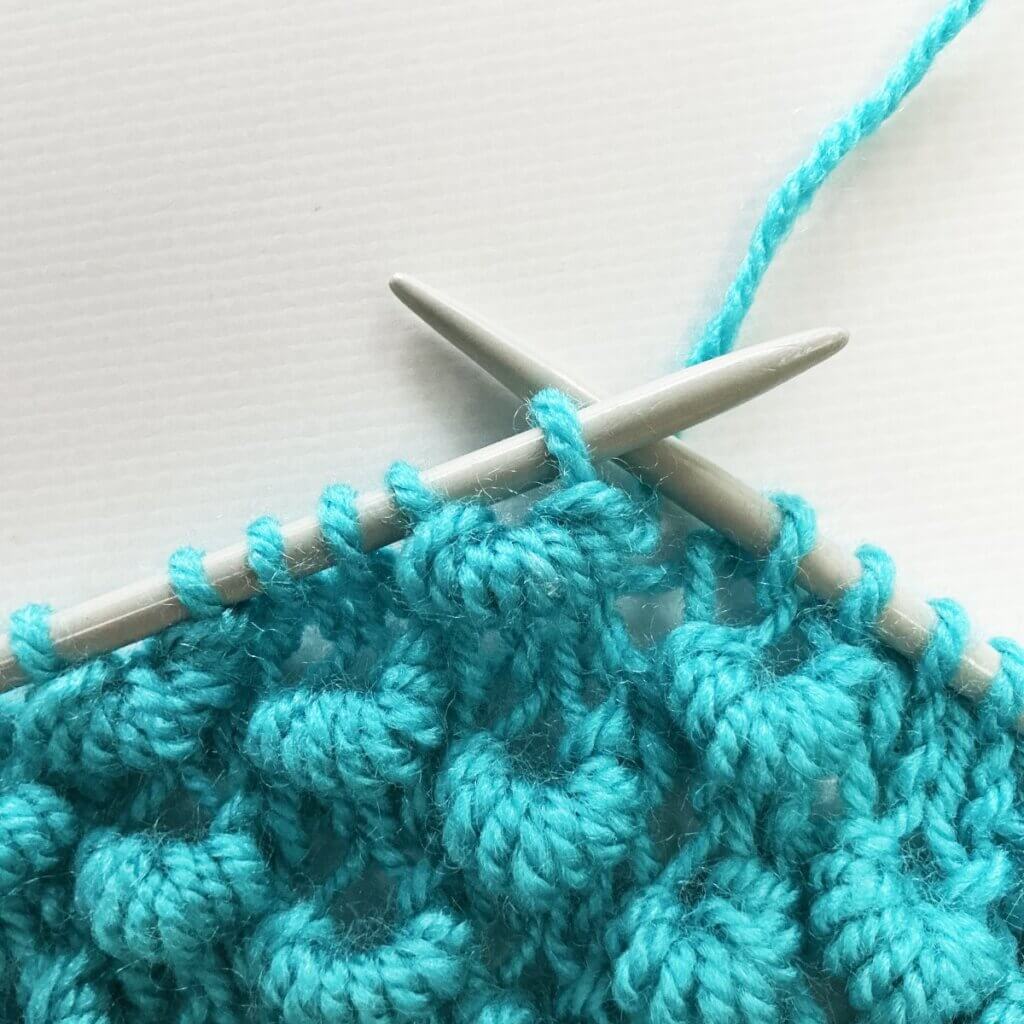
- To anchor the coil to the fabric, knit the next stitch.
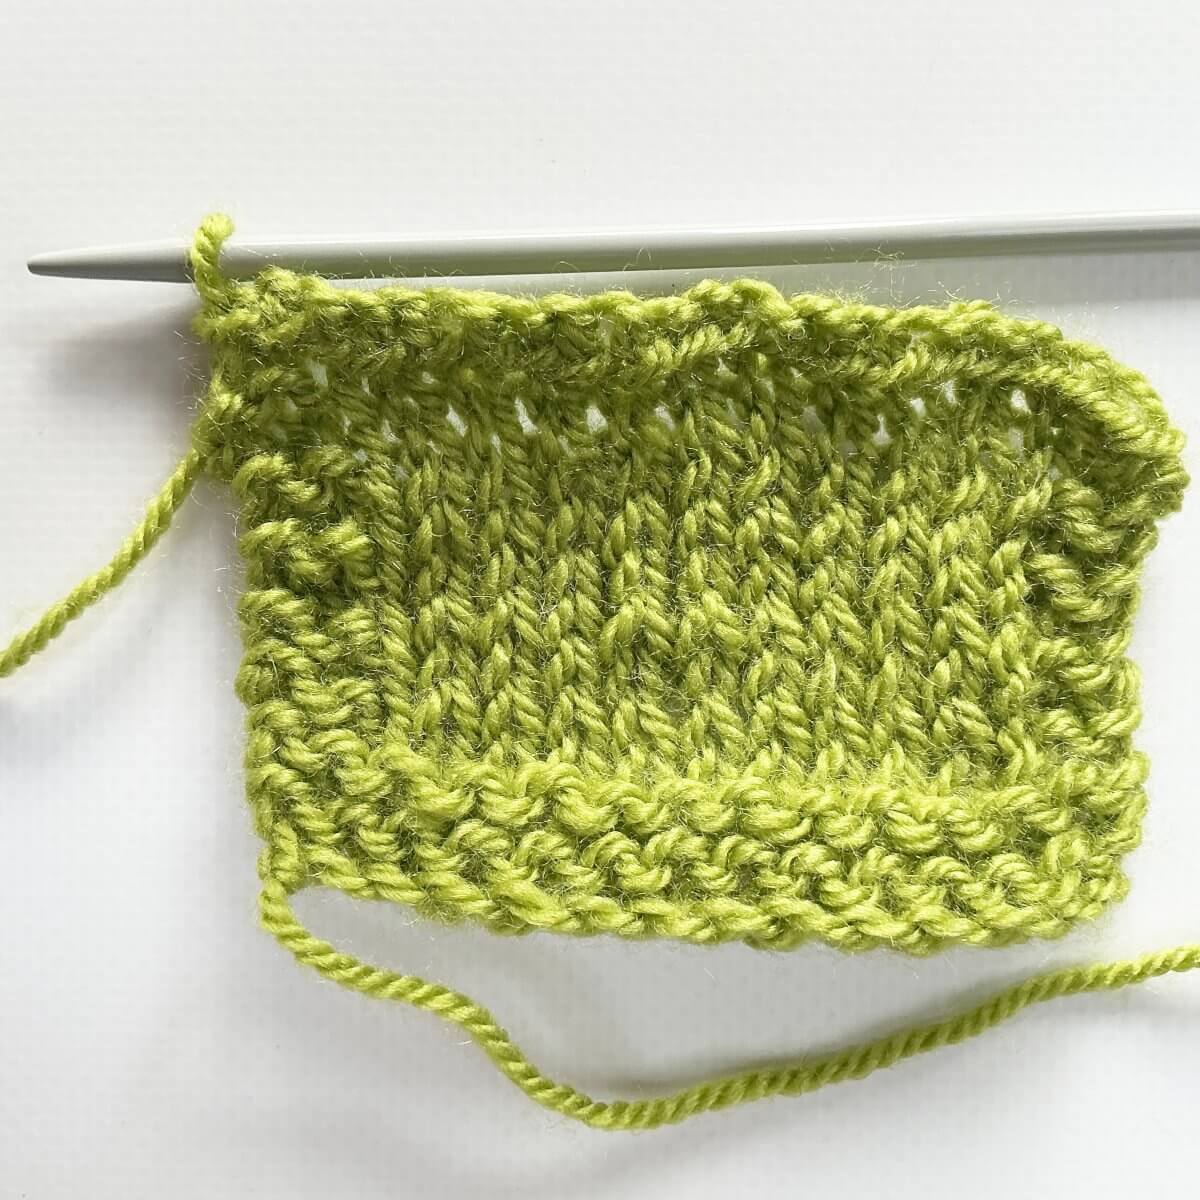
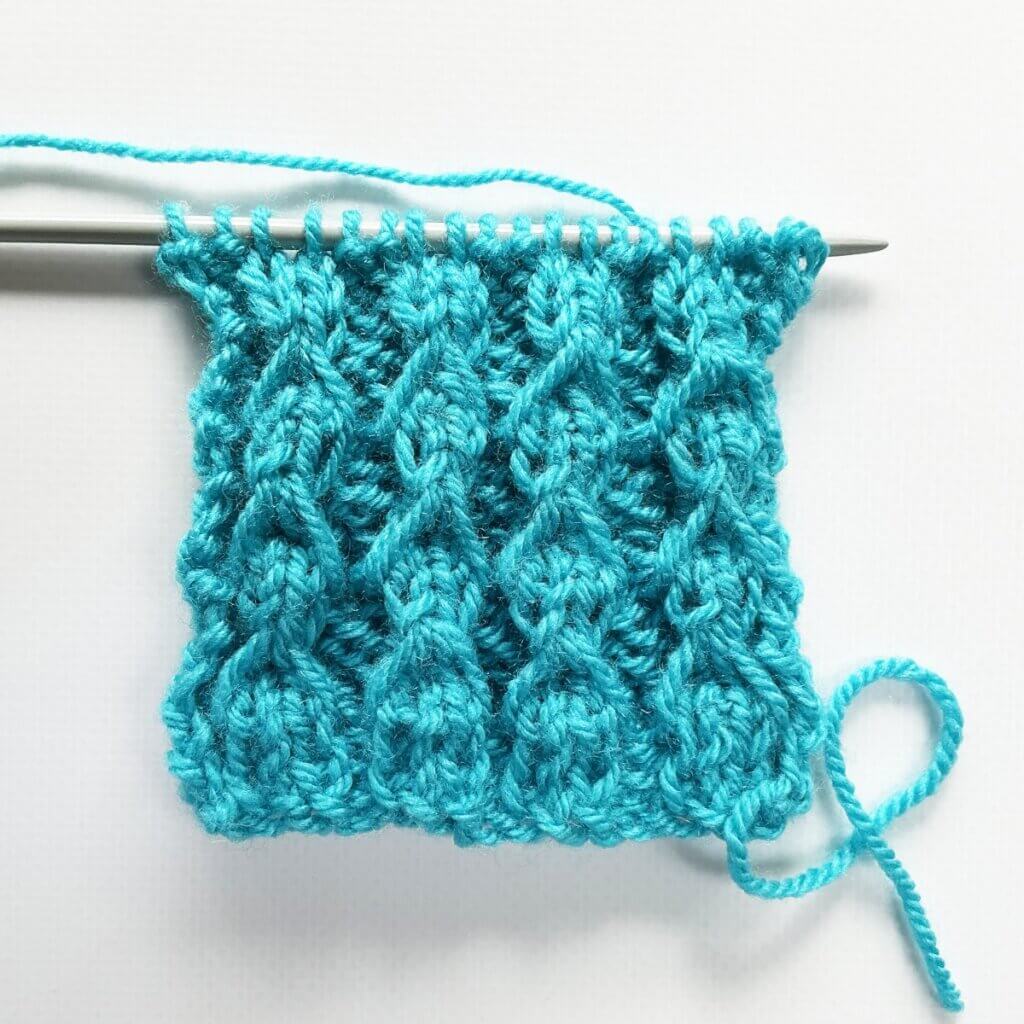
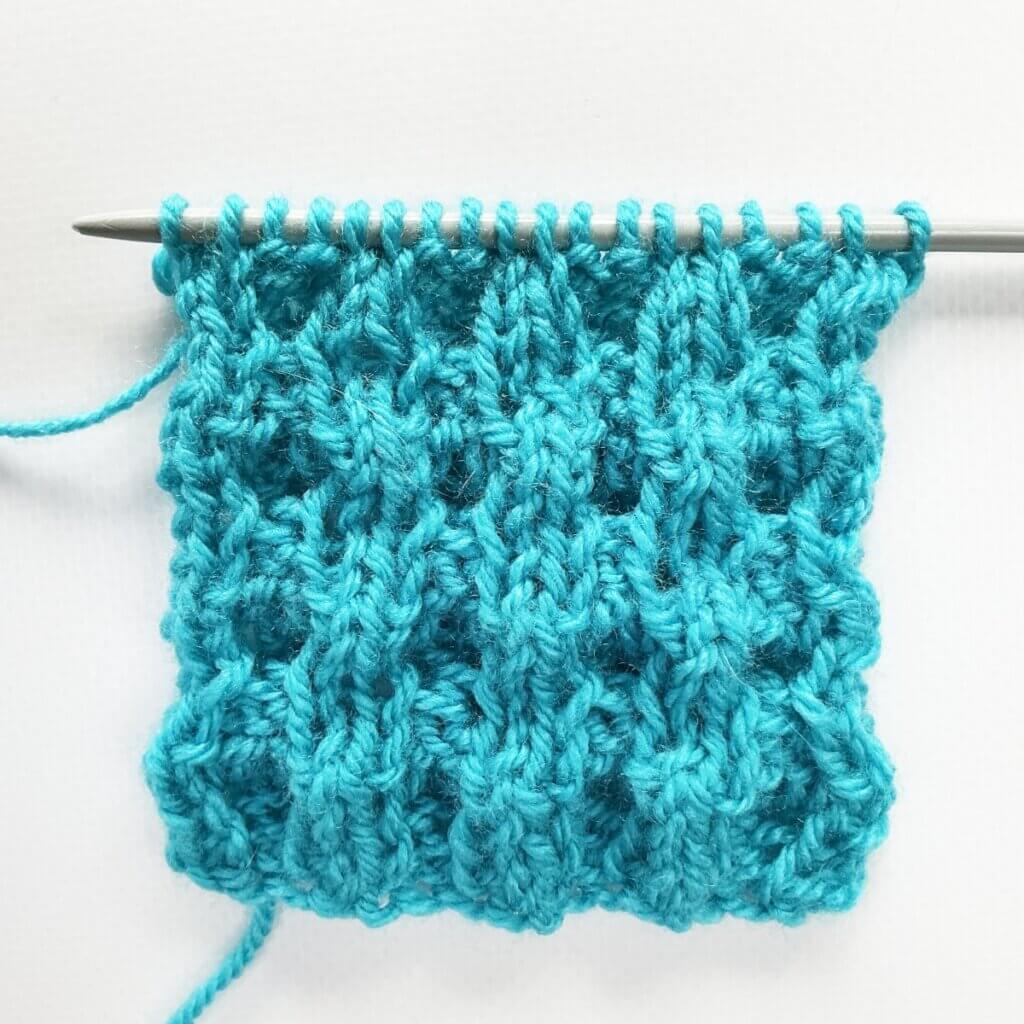
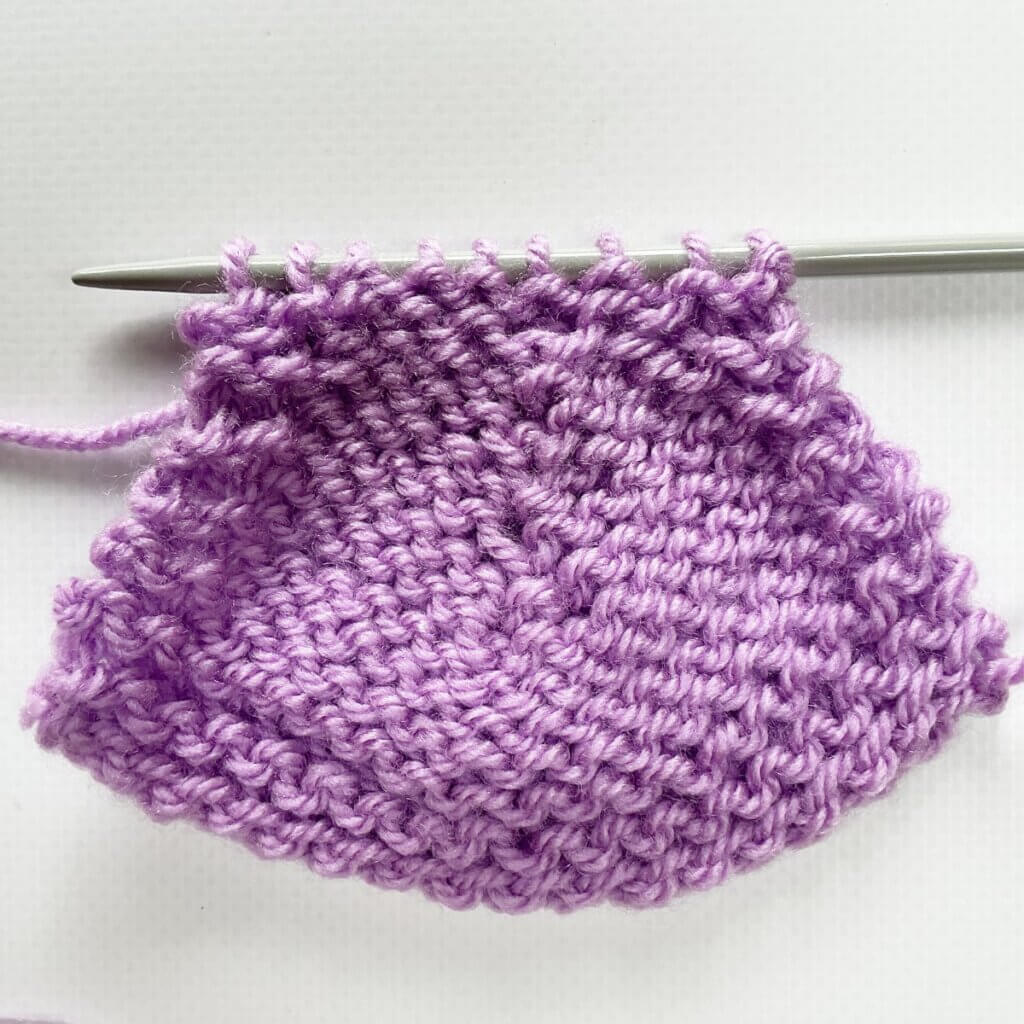
The result
When you turn the piece around, you see the spring stitch just worked! Neat, right?

Thanks to my Patreon supporters for bringing you this freebie! Creating quality patterns and tutorials is a lot of work and resource-intensive. However, I find it important to give you free content like this tutorial. Thanks to the generous support of my Patreon supporters, I can make it happen. Thank you, patrons! Click here to join, or click here to read more about La Visch Designs on Patreon.
stitch pattern – how to work the spring stitch Read More »