luule
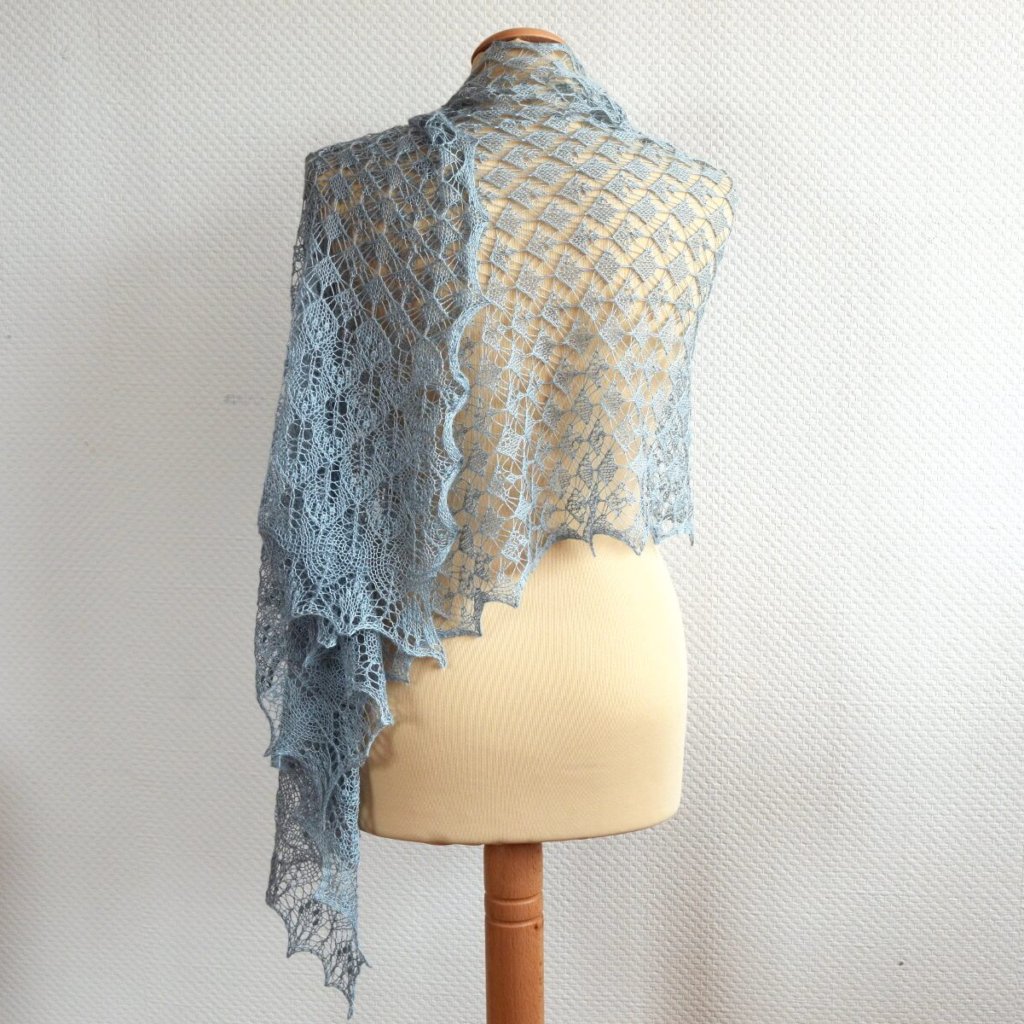
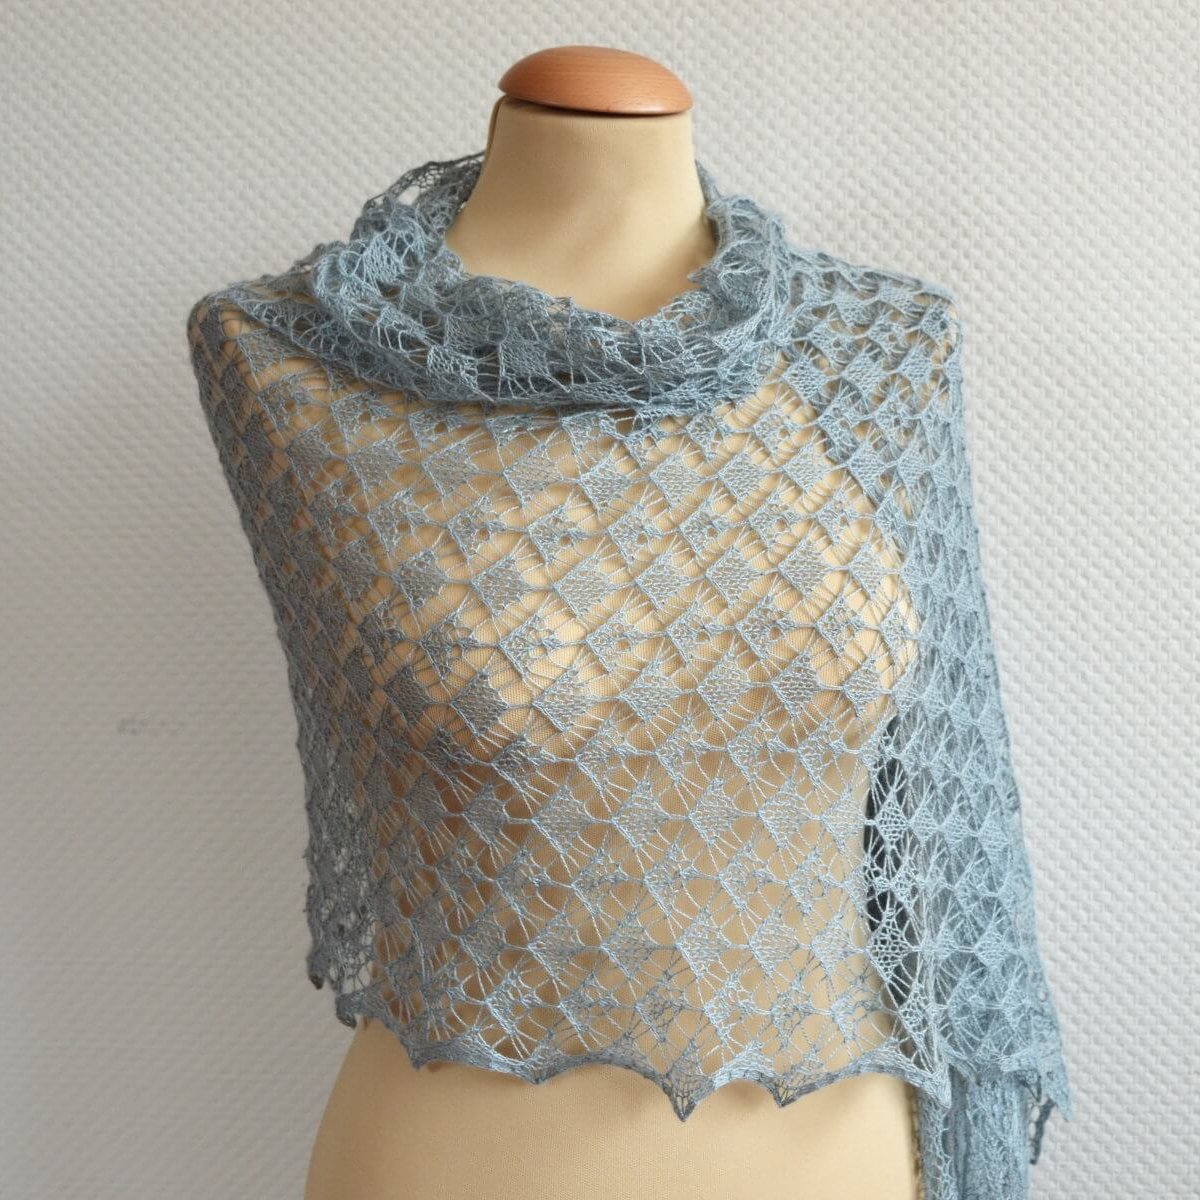
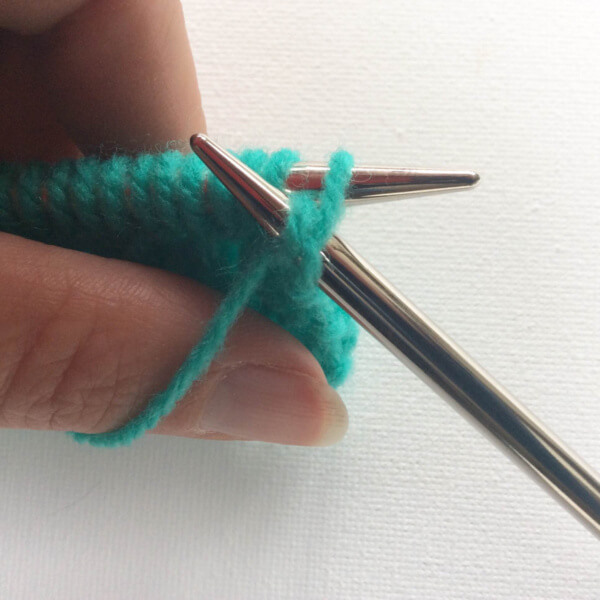
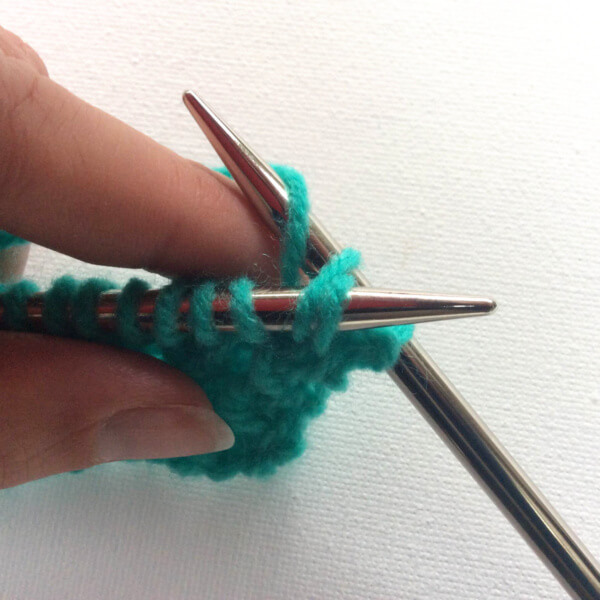
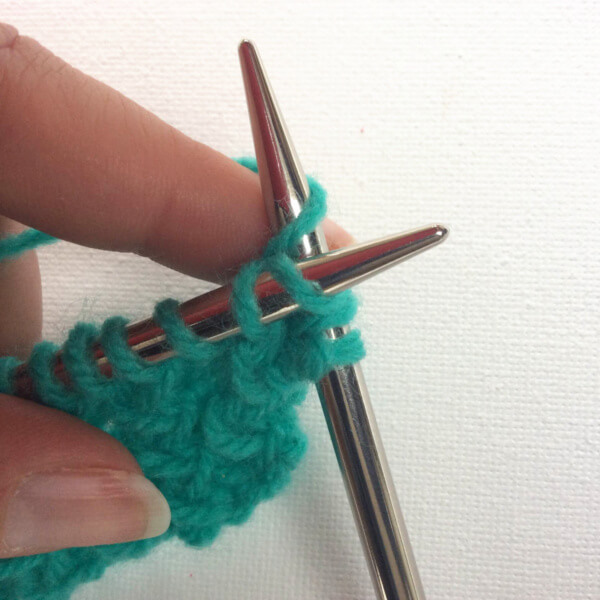
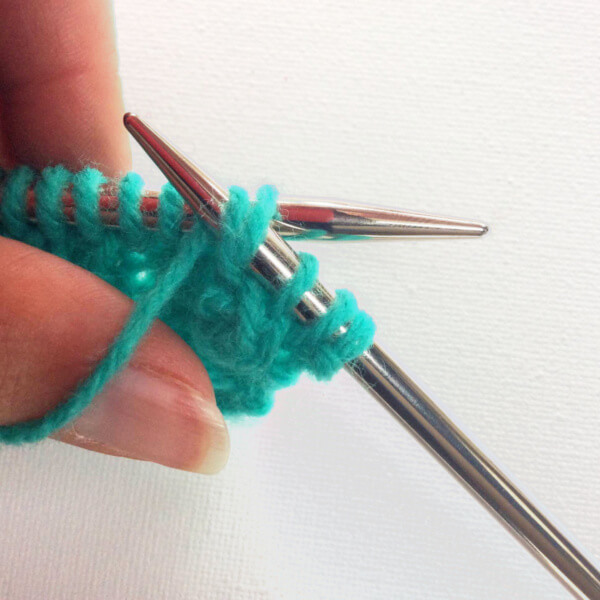
Luule means “poetry” in Estonian. The Luule stole was designed for and dedicated to my mother, because she wanted to knit pretty lace. The delicate lace is based on traditional Estonian stitch patterns, knit on both right and wrong sides of the fabric and include nupps. Instructions for both traditional and easy nupps are included.
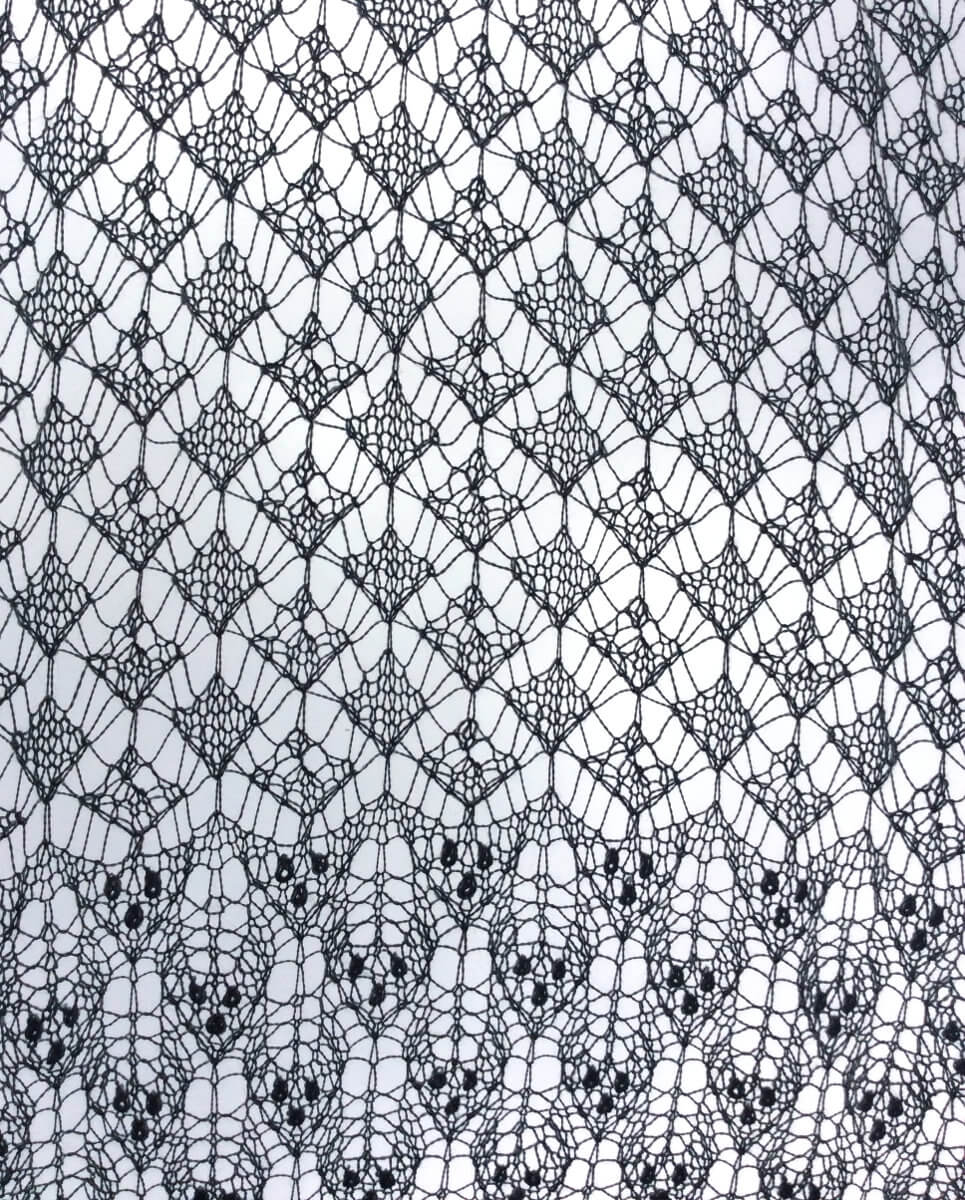
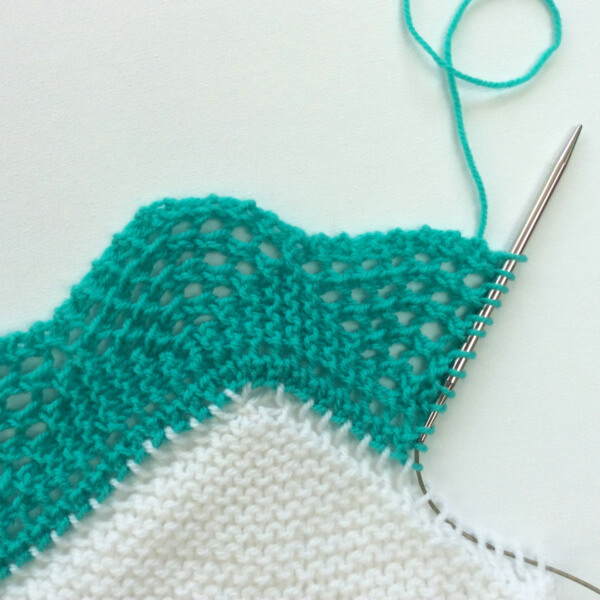
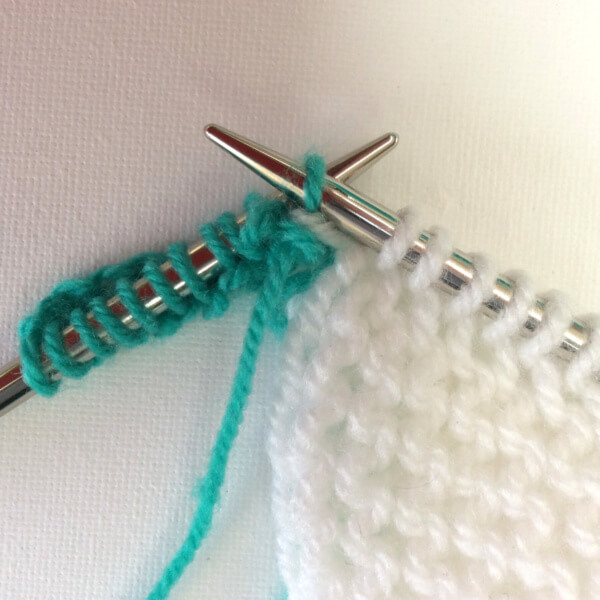
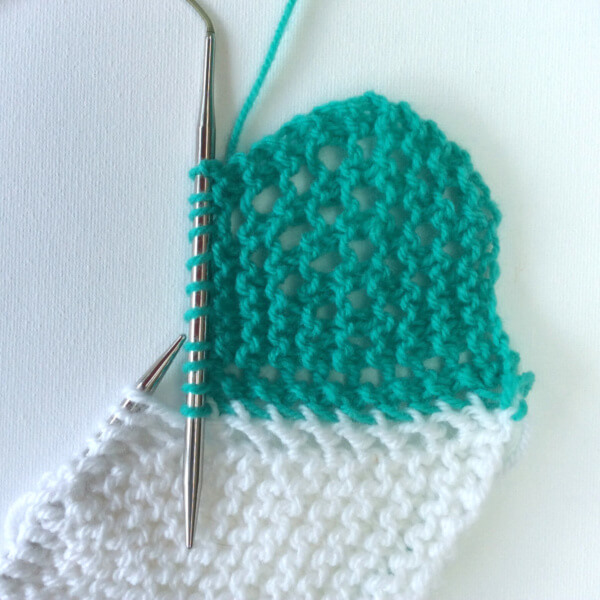
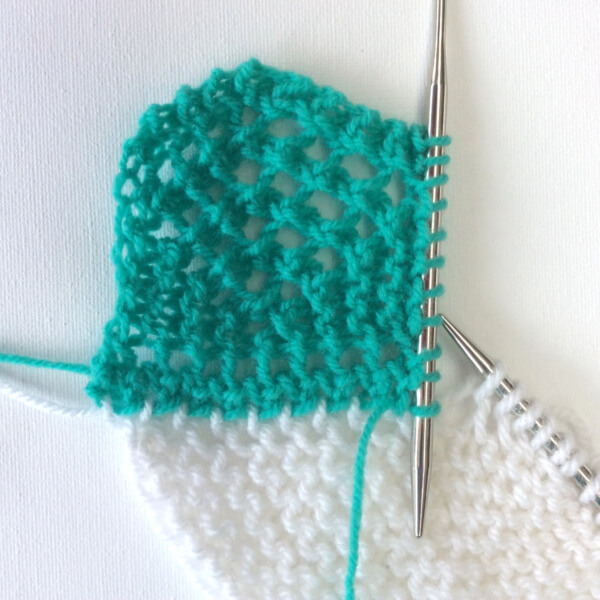
This shawl begins with a provisional cast on followed by a lovely leaf lace edging and border. After the provisional cast on has been undone, the center is filled with diamond lace. The top edge mirrors the bottom. The instructions for the shawl are provided both fully charted and written out.
Pay what you want: (minimum €6.50)

Size and finished measurements
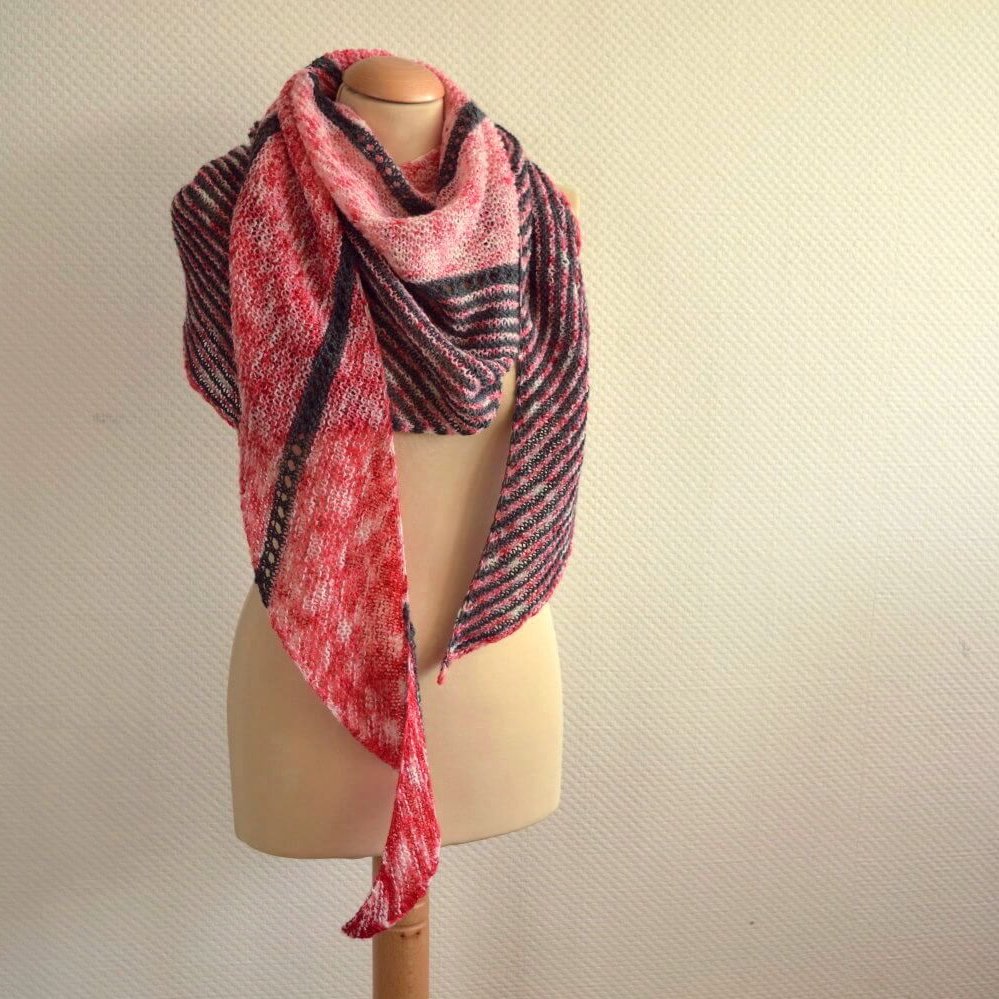
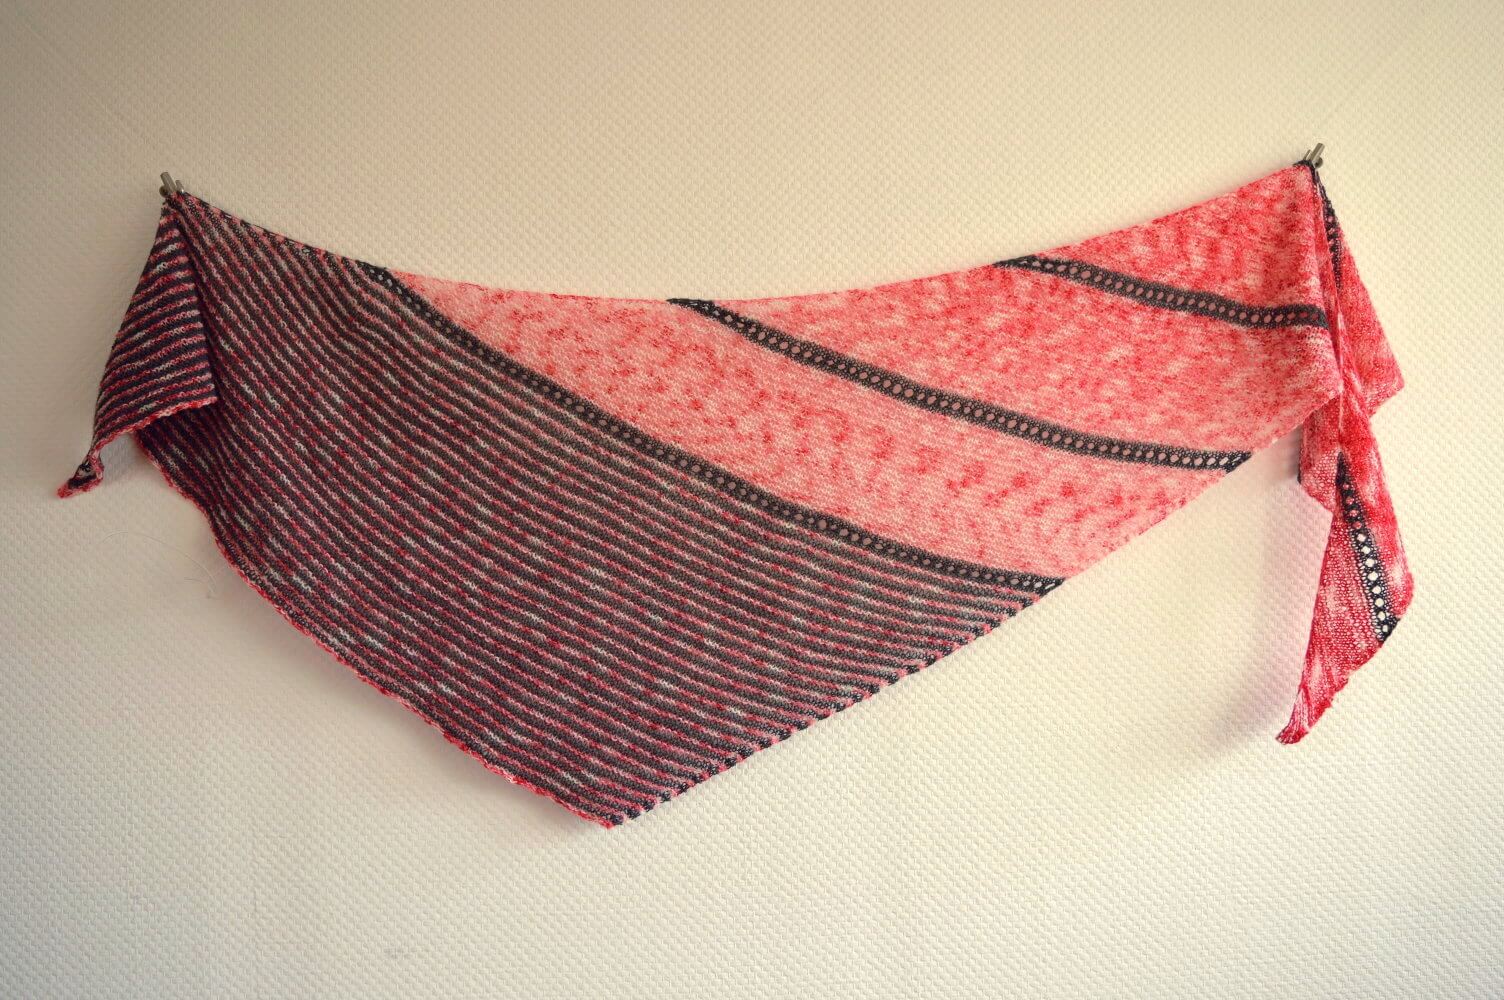
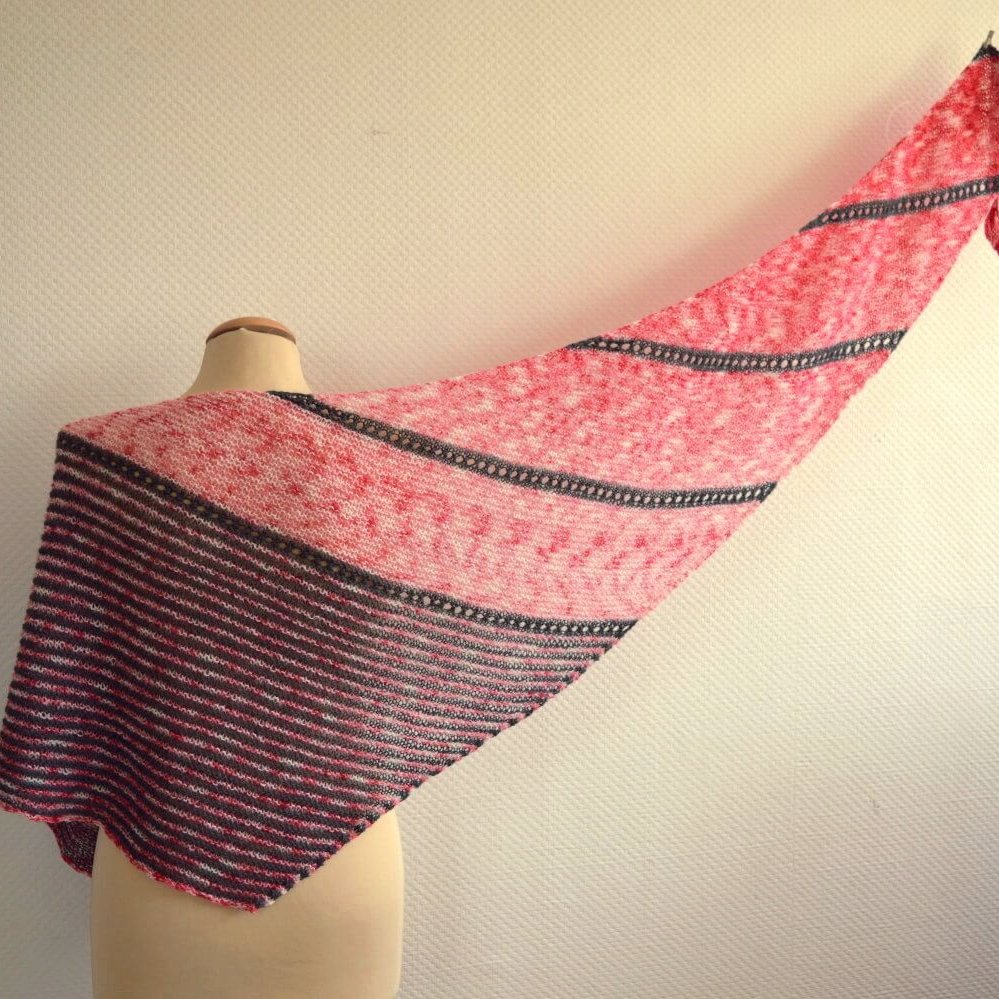
One size – finished dimensions: 58 cm (23 inches) wide and 180 cm (71 inches) long, measured after blocking.
Difficulty
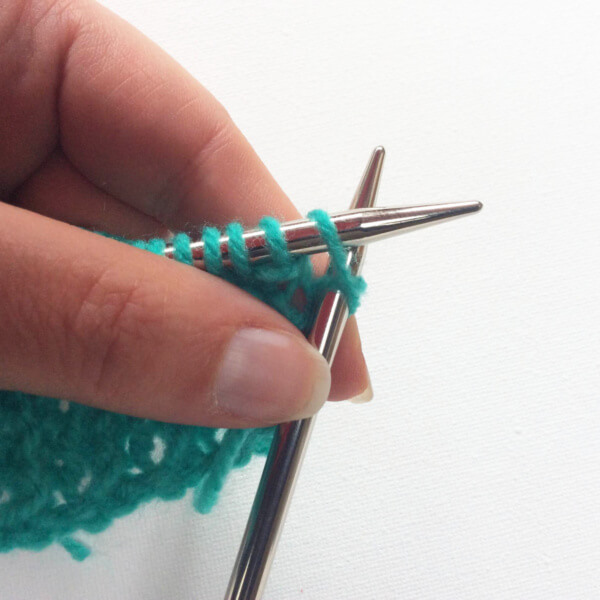
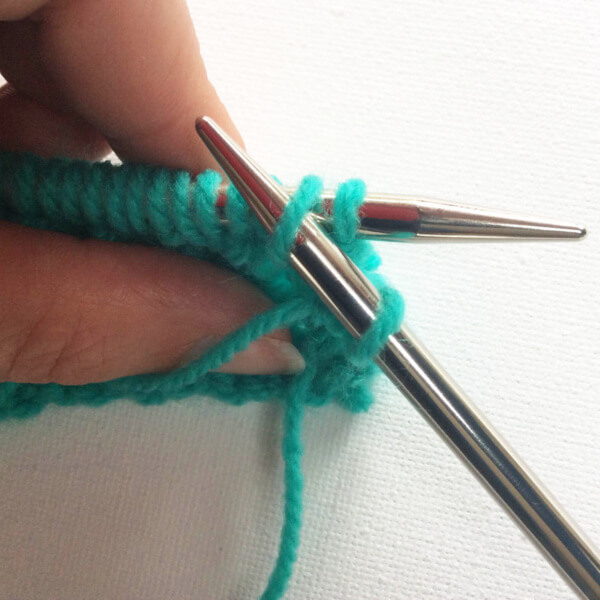
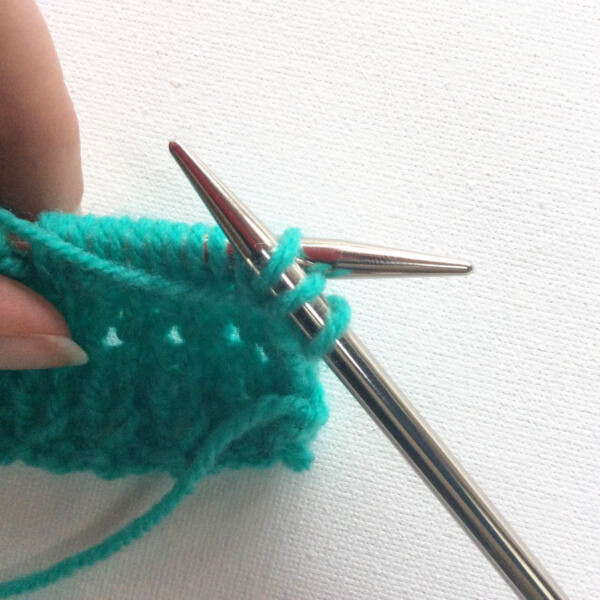
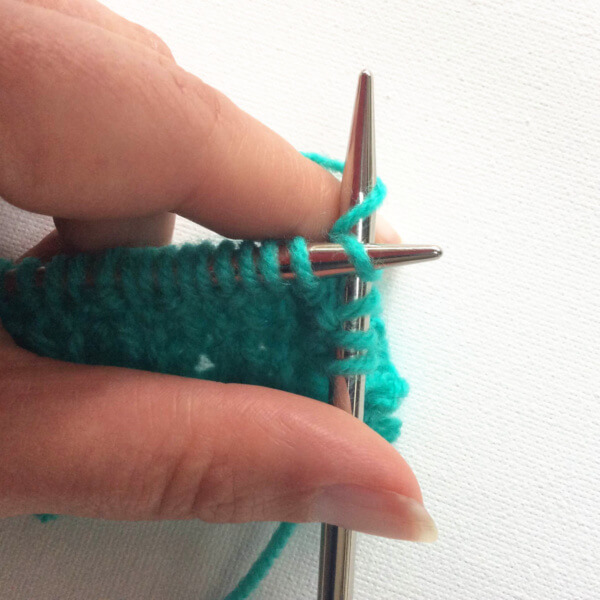
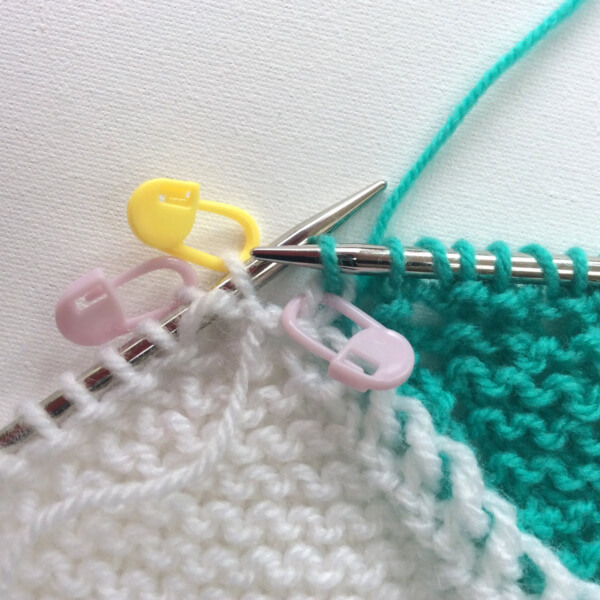
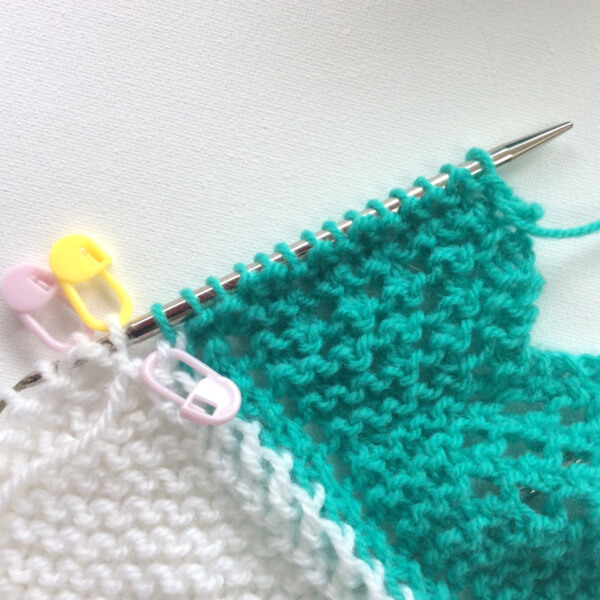
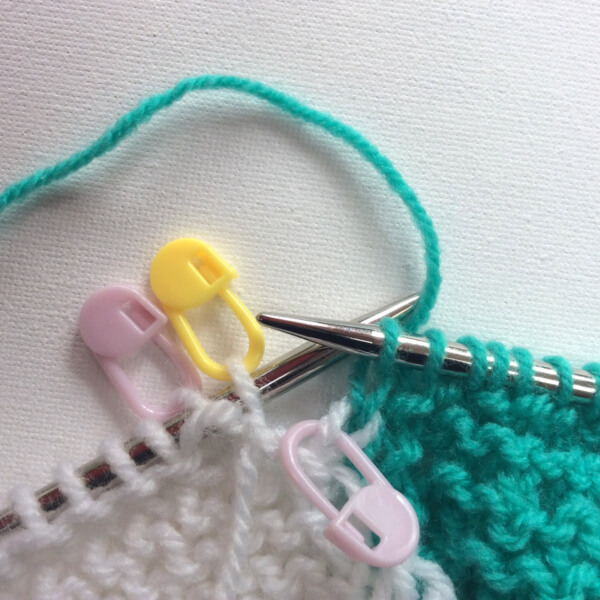
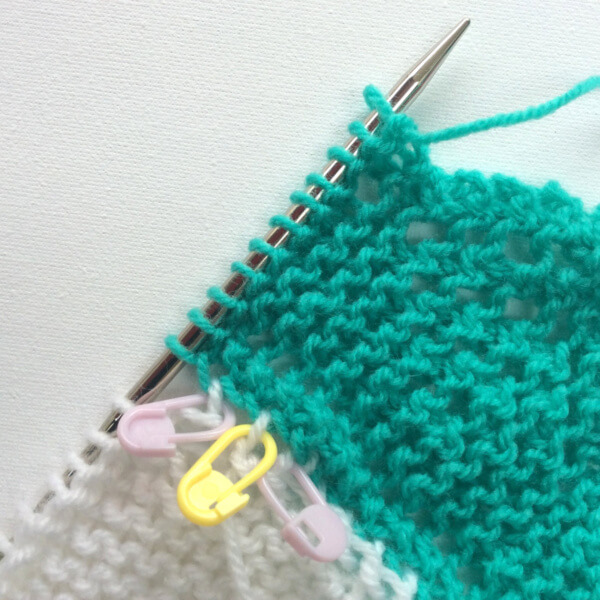
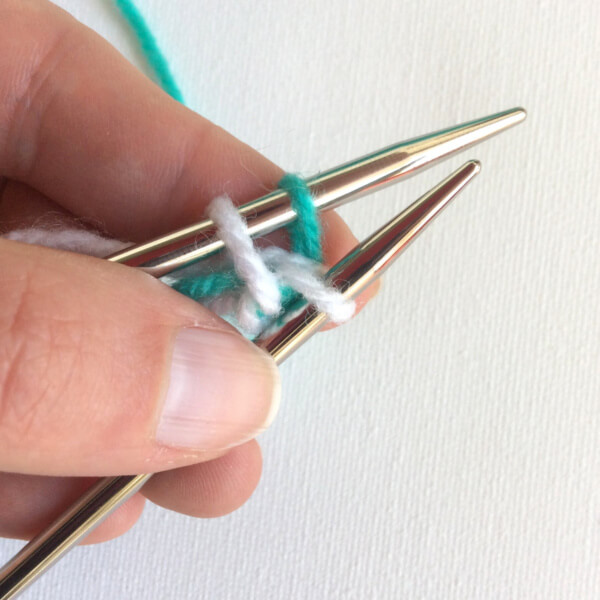
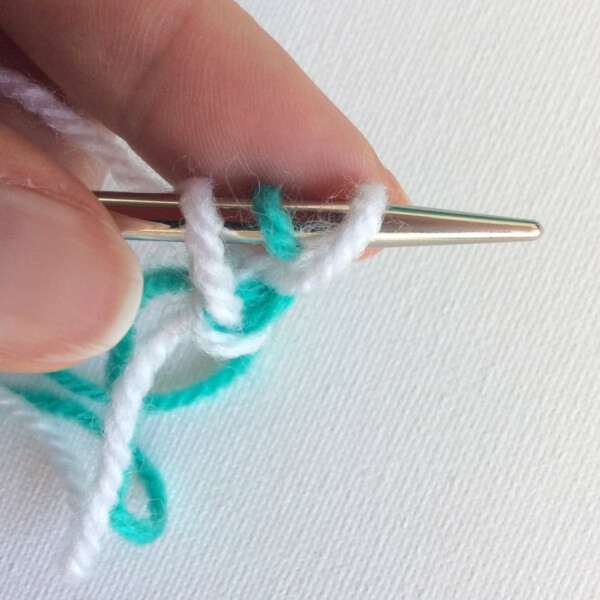
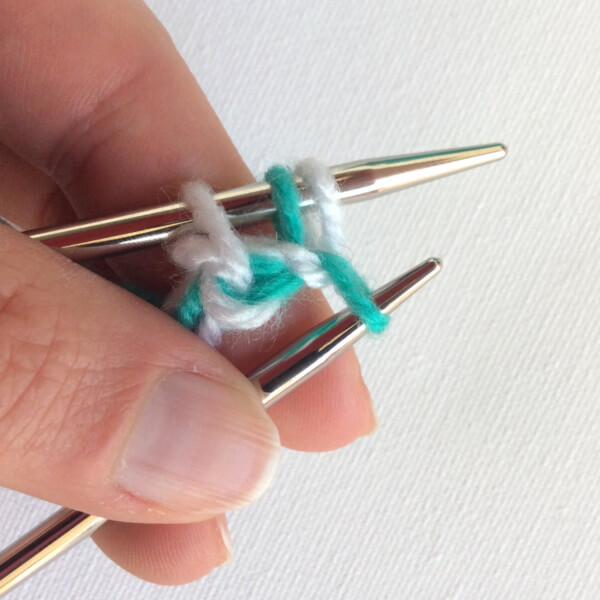
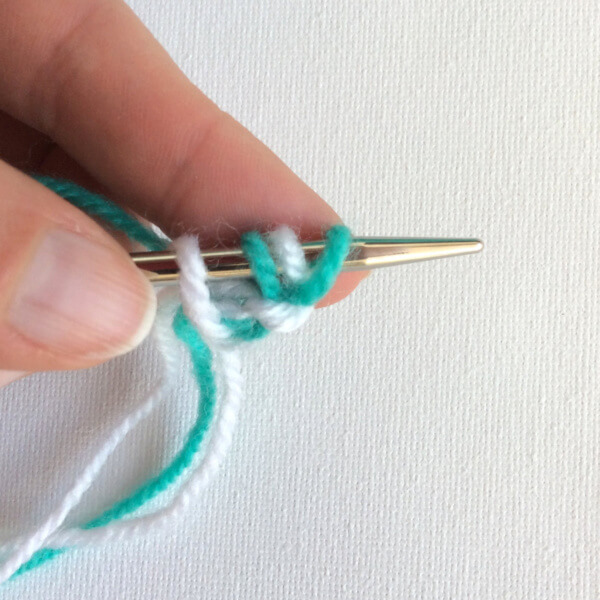
This stole starts with a provisional cast on and contains lace patterning on both right and wrong sides of the fabric. Stitches used include knit, purl, k2tog, k3tog, skp, yo, p2tog, a centered double decrease (sl2-k1-p2sso), Estonian 3 into 3 gathered stitches and nupps.
This pattern is suitable for the advanced knitter.
Pattern details
- Worked flat back and forth.
- For the sample shawl measured after blocking: 19.2 sts / 24 rows = 10 cm (4 inches) over the body in Diamonds pattern. Gauge is however not critical for this design, the lace will open up after blocking.
- Pattern languages included: English and Dutch (Dit patroon omvat zowel een Nederlandse als een Engelse versie).
- Digital PDF has 4 pages (letter size).
Materials
- Yarn: 800 m (875 yds) Garnstudio Drops Lace [70% alpaca, 30% silk; 400 m (438 yds) per 50 g]. Substitute any lace weight yarn of comparable thickness for a similar result
- Knitting needles in your preferred style in size 3.5 mm (US 4).
- Yarn needle
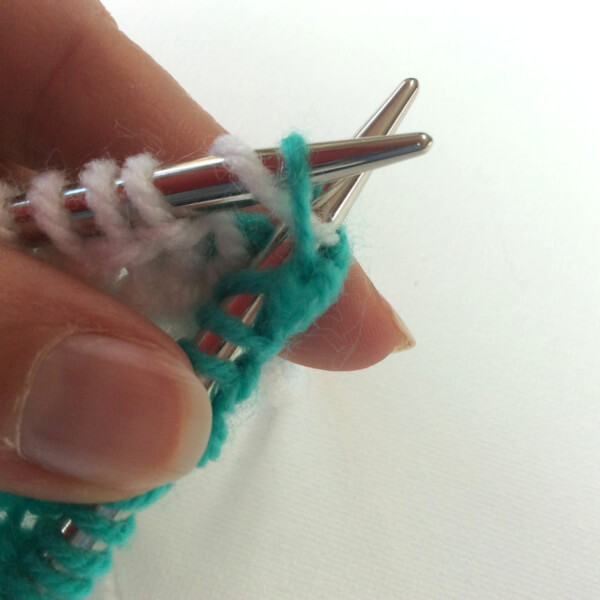
- Waste yarn for provisional cast on
- 11 stitch markers (optional)
- Crochet hook in a size equivalent to the size of your knitting needles (optional, for easy nupps)