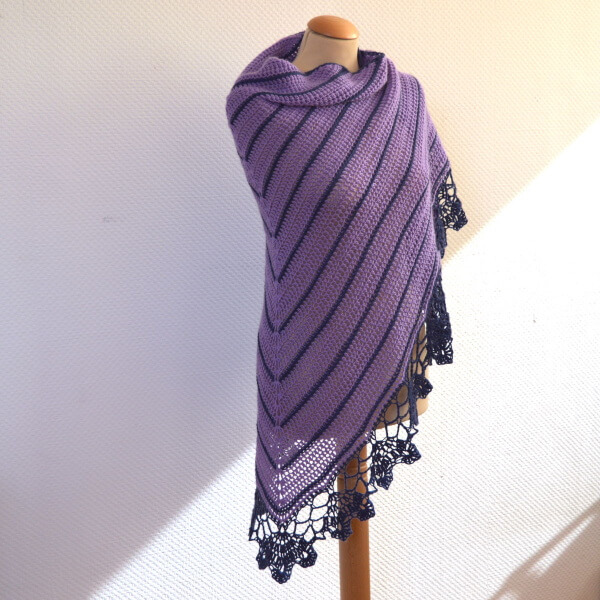
sedum shawl
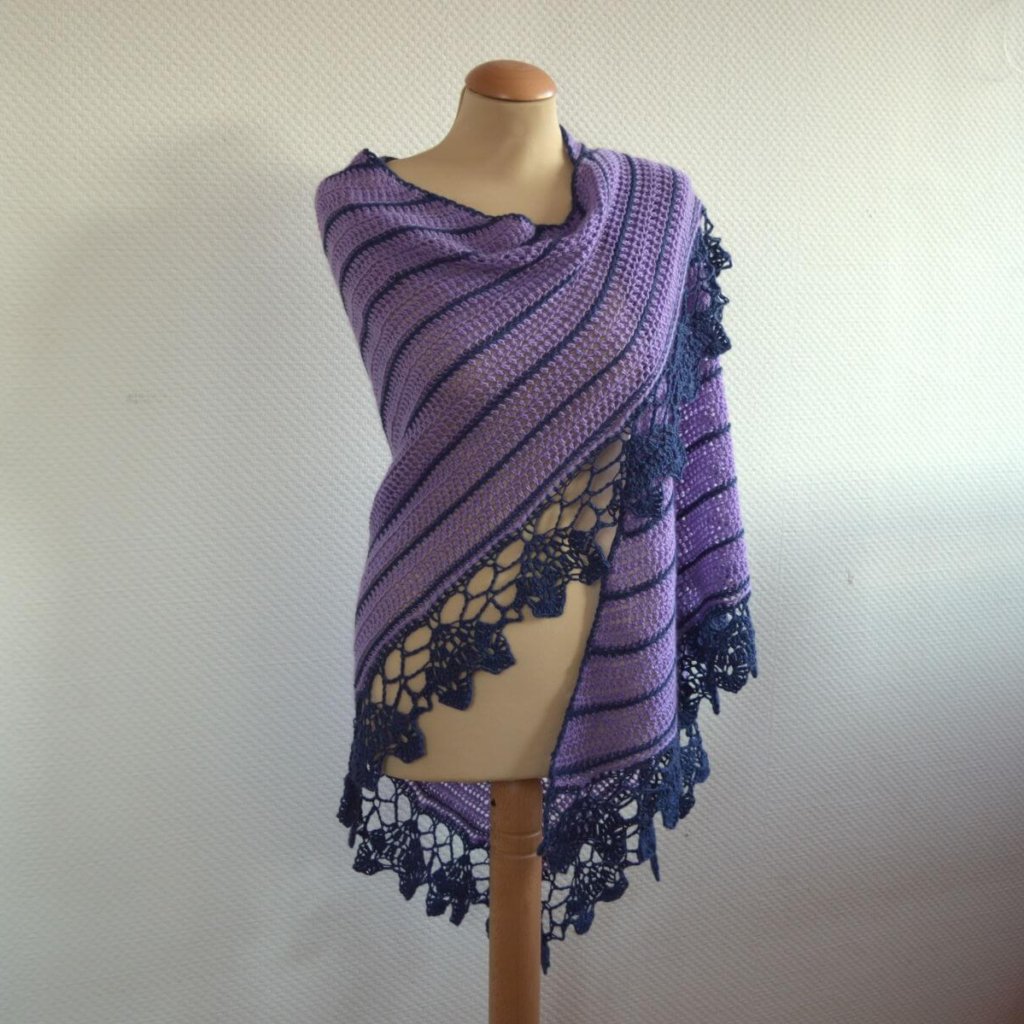
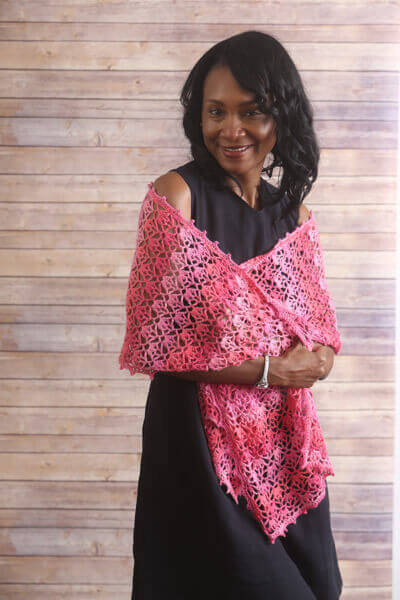
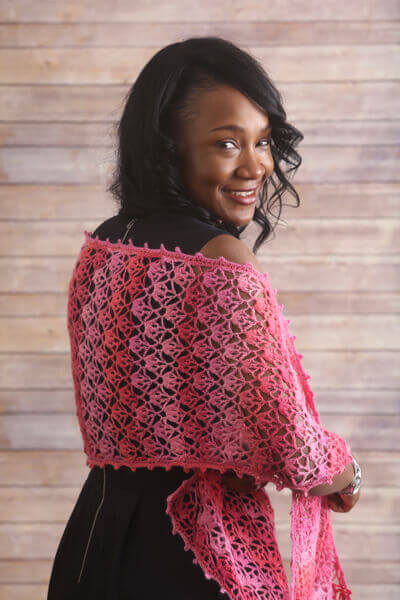
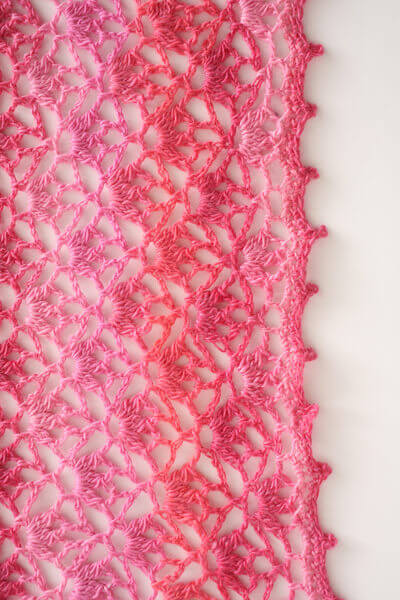
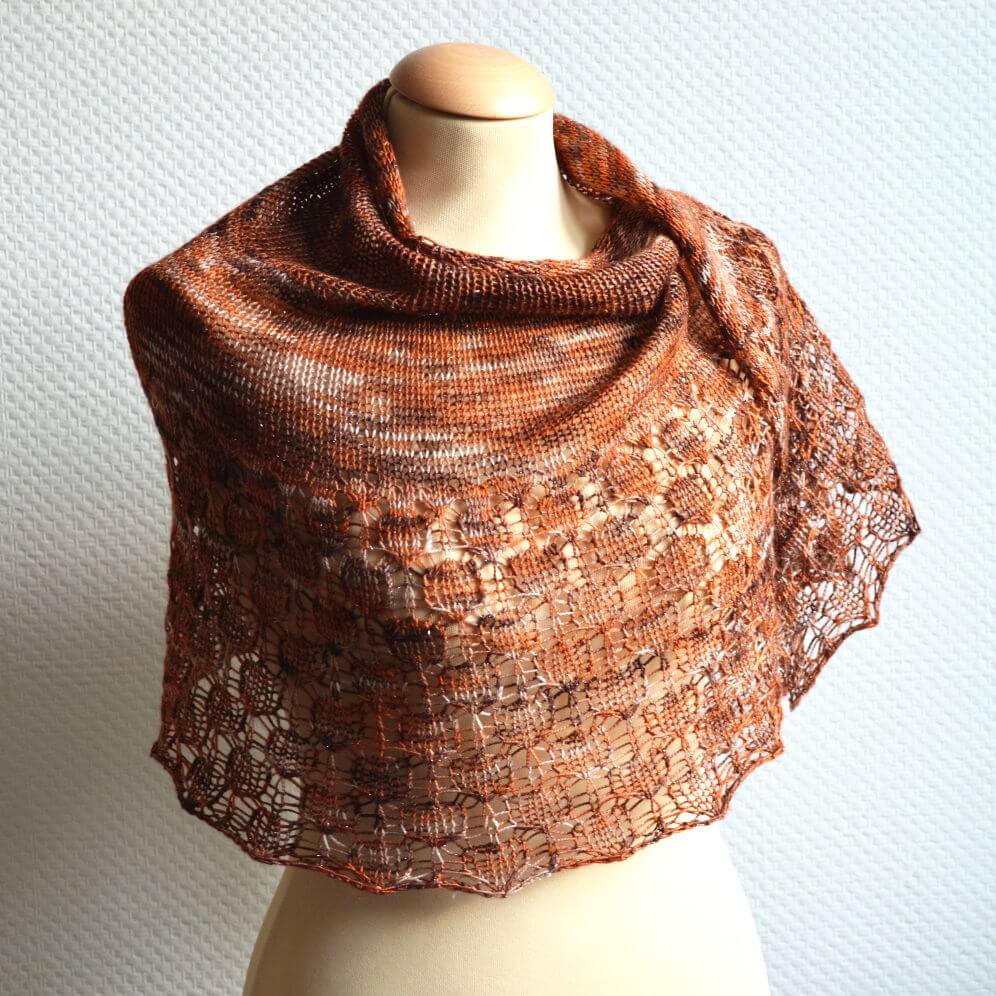
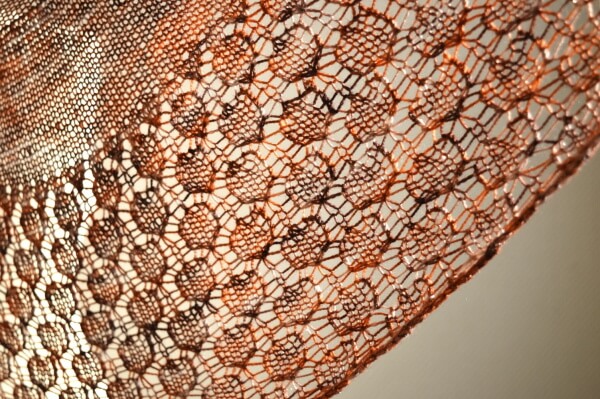
The Sedum Shawl is a lovely two-tone shawl with a striped body and delicate contrasting lace edging. Make it in the small size for a sweet kerchief or in one of the three larger sizes for a lovely elegant and warm cover-up.
This shawl is worked from the top-down in one piece, starting at the neck edge. The instructions for the border of the shawl are provided both fully charted and written out.
This pattern is written in American English crochet terminology.
Pay what you want: (minimum €6.50)

Size and finished measurements
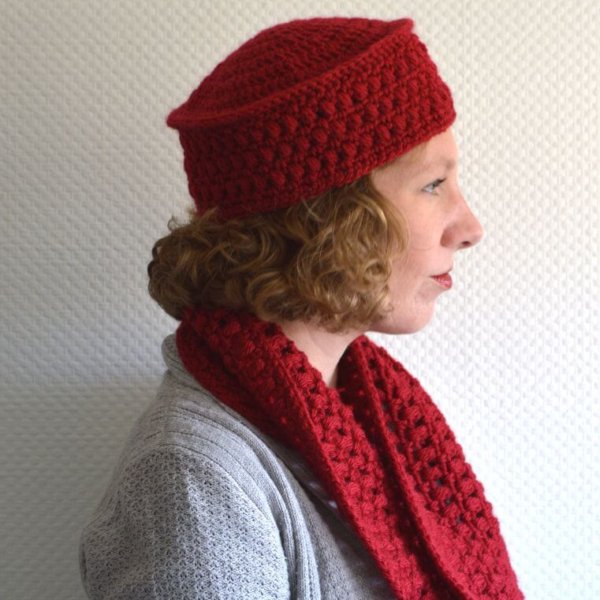
This pattern includes 4 sizes: S (M, L, XL) with a wingspan of 126 (155, 200, 229) cm (50 (61, 79, 90) inches) and a depth of 60 (77, 100, 115) cm (24 (30, 39, 45) inches), measured after blocking. The shawl pictured is in size L.
Difficulty
Techniques used in The Sedum Shawl consist of sl st, sc, hdc, dc and ch st. Because of this the pattern is suitable for the advanced beginner.
Pattern details
- Worked flat back and forth.
- Gauge is not critical in this design. For the sample shawl: 14 sts / 9 rows = 10 cm (4 inches) over hdc, measured after blocking.
- Pattern languages included: English and Dutch (Dit patroon omvat zowel een Nederlandse als een Engelse versie).
- Digital PDF has 3 pages (letter size).
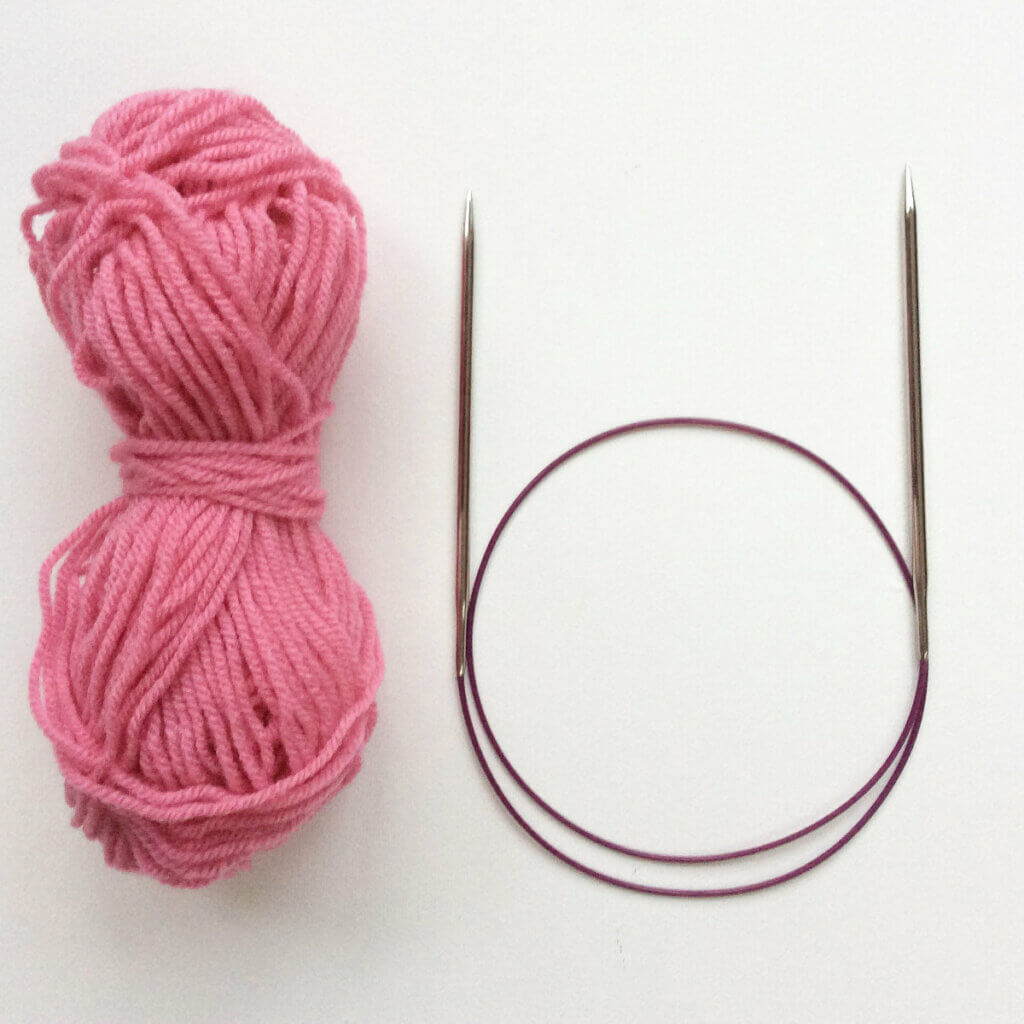
Materials
- Yarn: Used in the sample: Ice Yarns Virgin Wool Deluxe (100% wool; 280 m (306 yds) / 100 g) in lilac and blue / petrol. Use yarn in DK weight in the following quantities:
- MC – Lilac: 275 (445, 760, 1025) m or 300 (485, 835, 1120) yds.
- CC – Blue / Petrol: 200 (275, 390, 490) m or 215 (305, 425, 535) yds. Used in the sample: Ice Yarns Virgin Wool Deluxe (100% wool; 280 m (306 yds) / 100 g) in lilac and blue / petrol.
- Size 5.5 mm (US I/9) and size 6 mm (US J/10) crochet hooks.
- Yarn needle
- 2 removable stitch markers (optional)

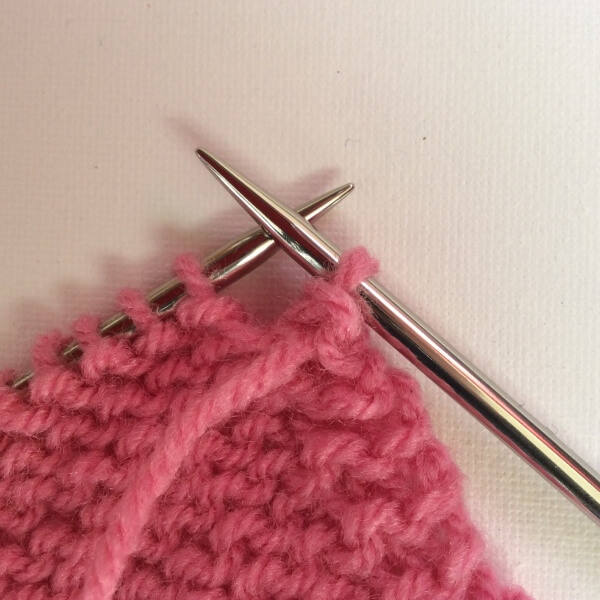
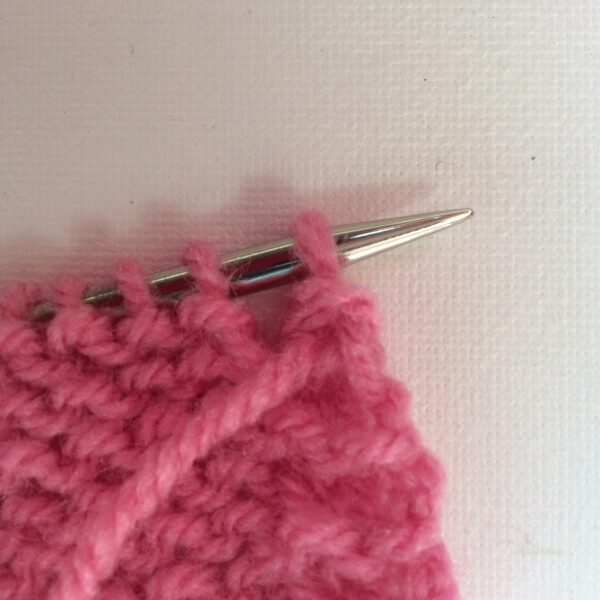
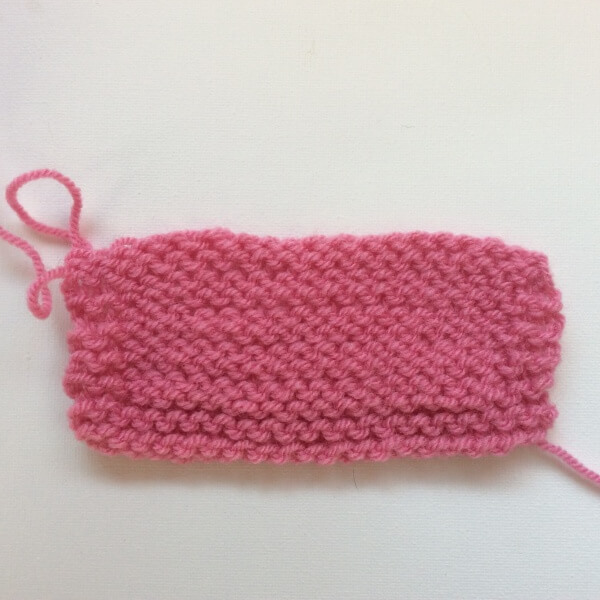
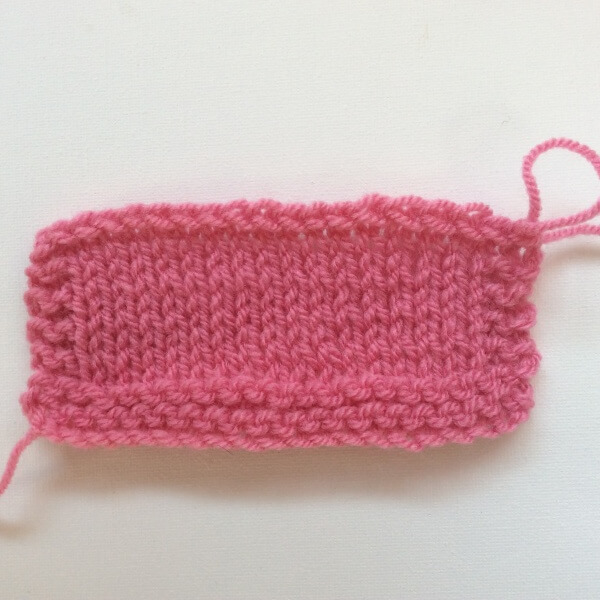


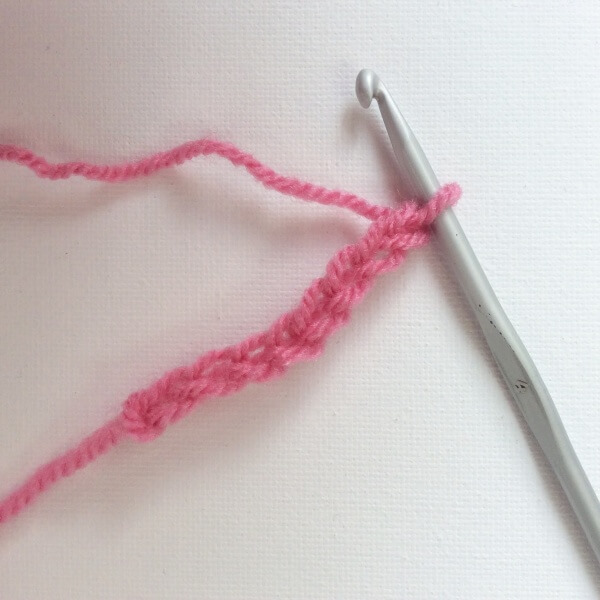
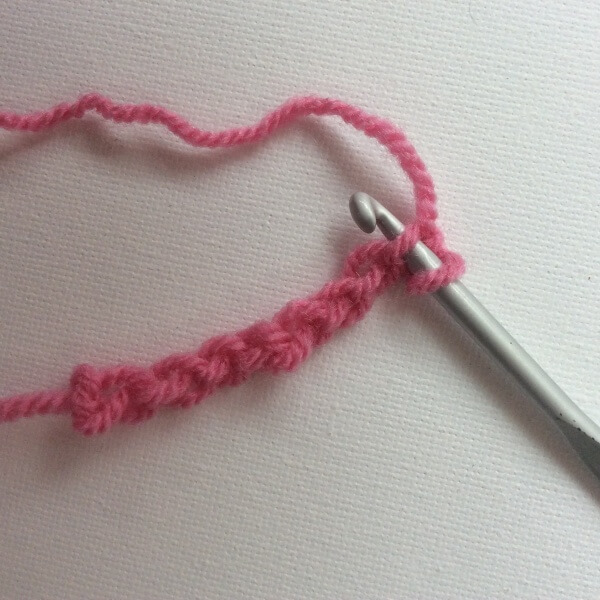
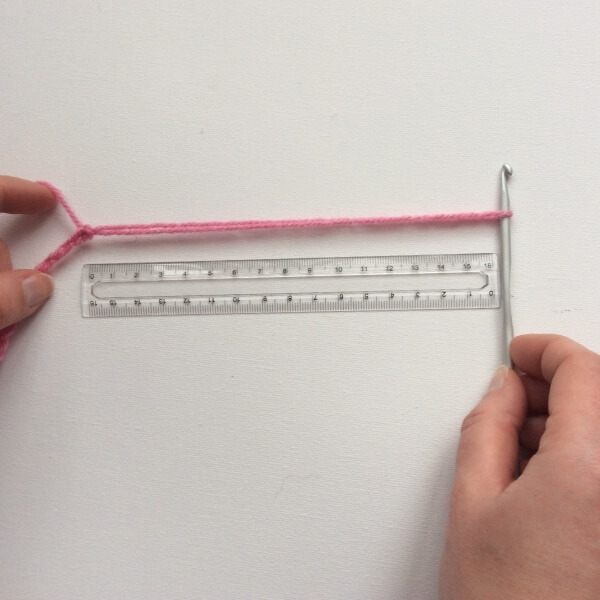
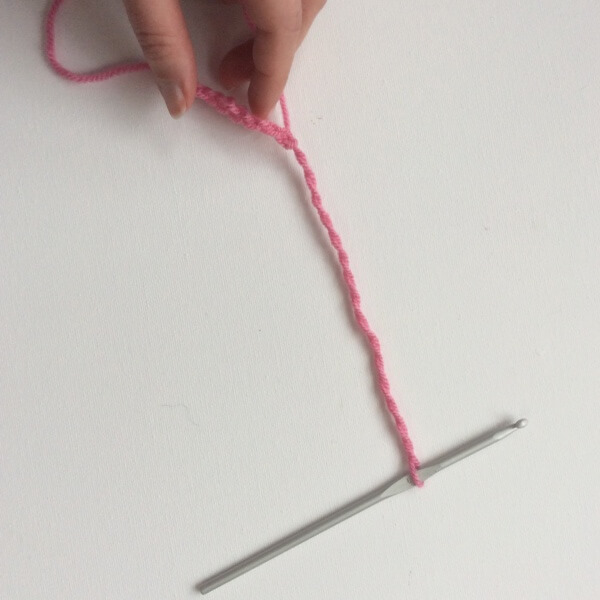
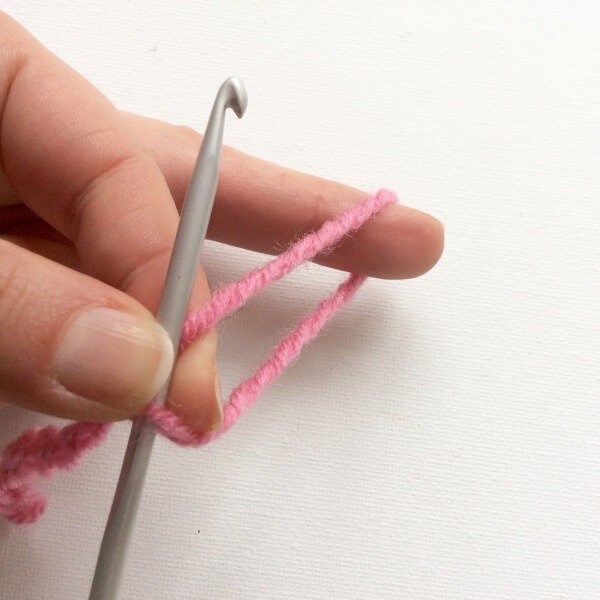
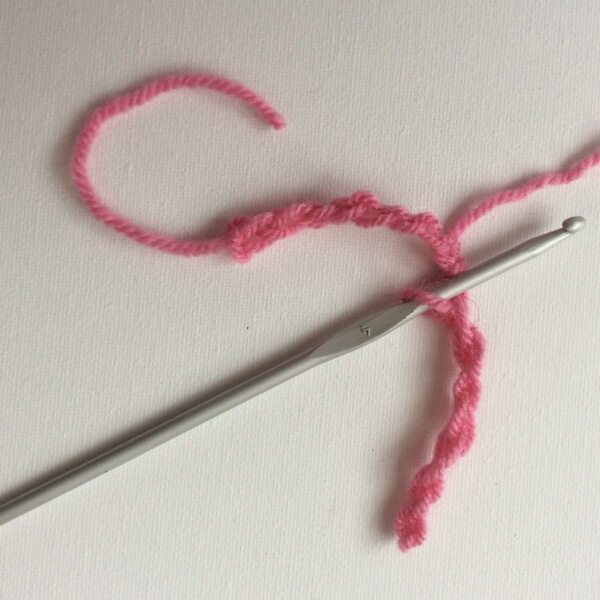
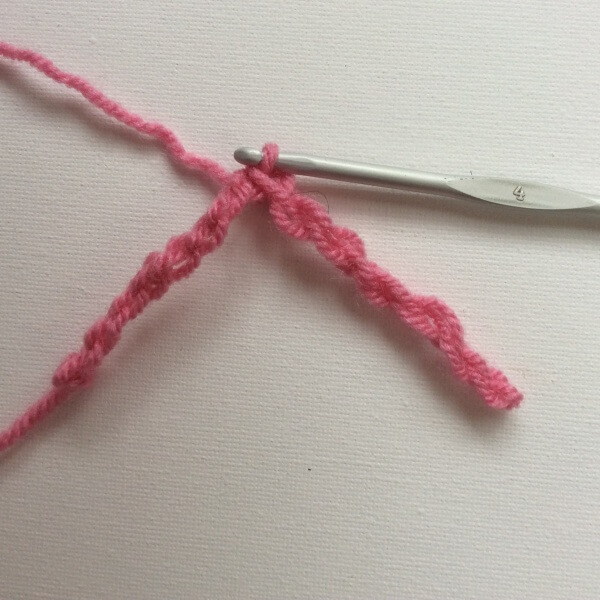
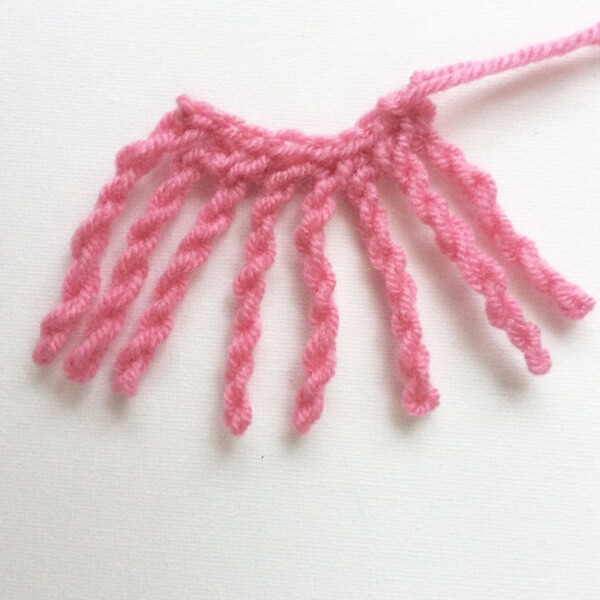

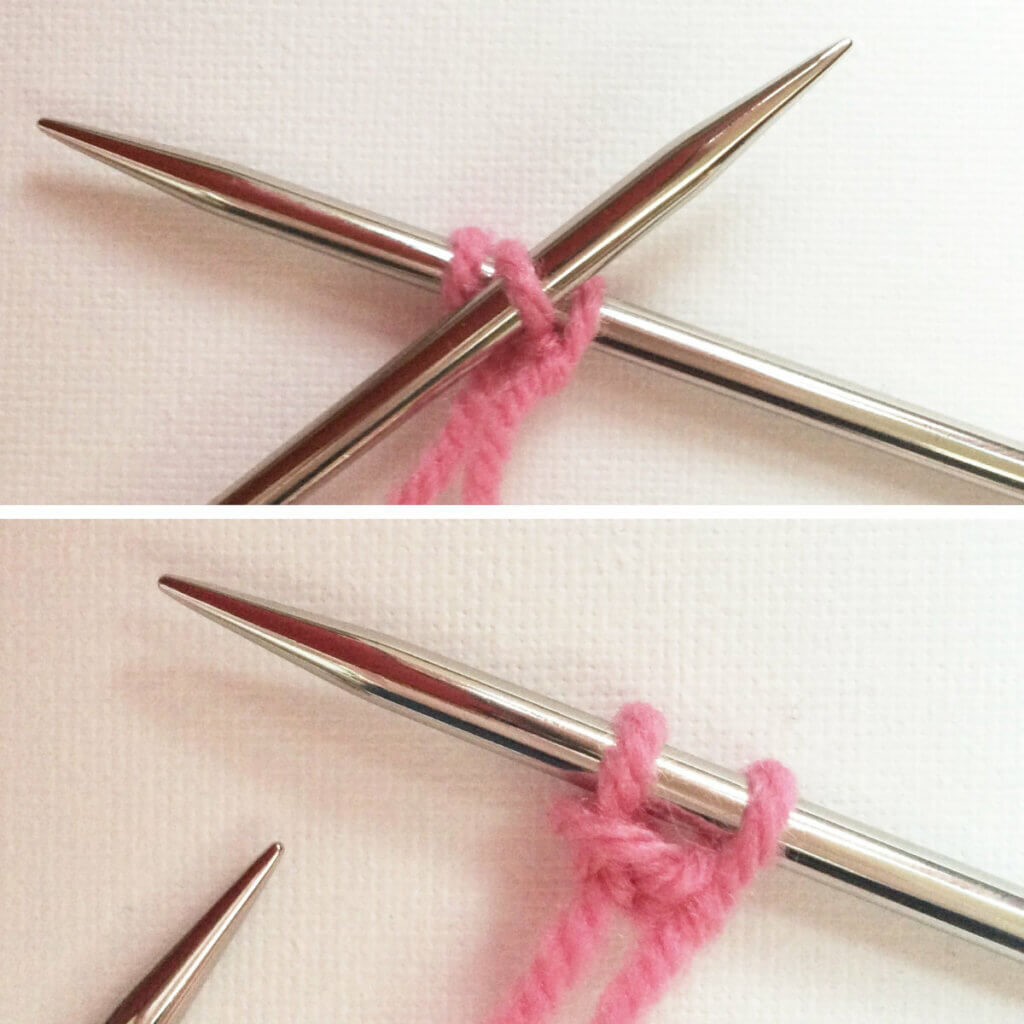
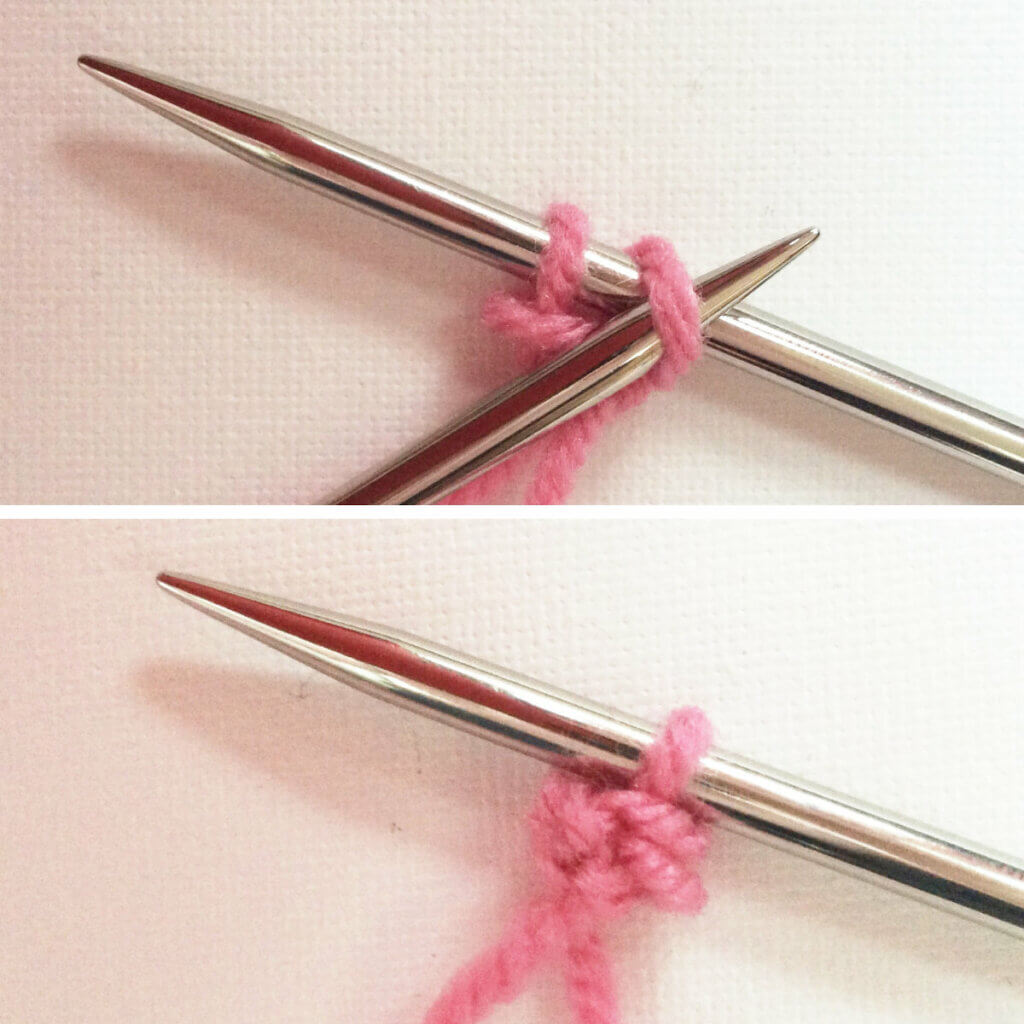
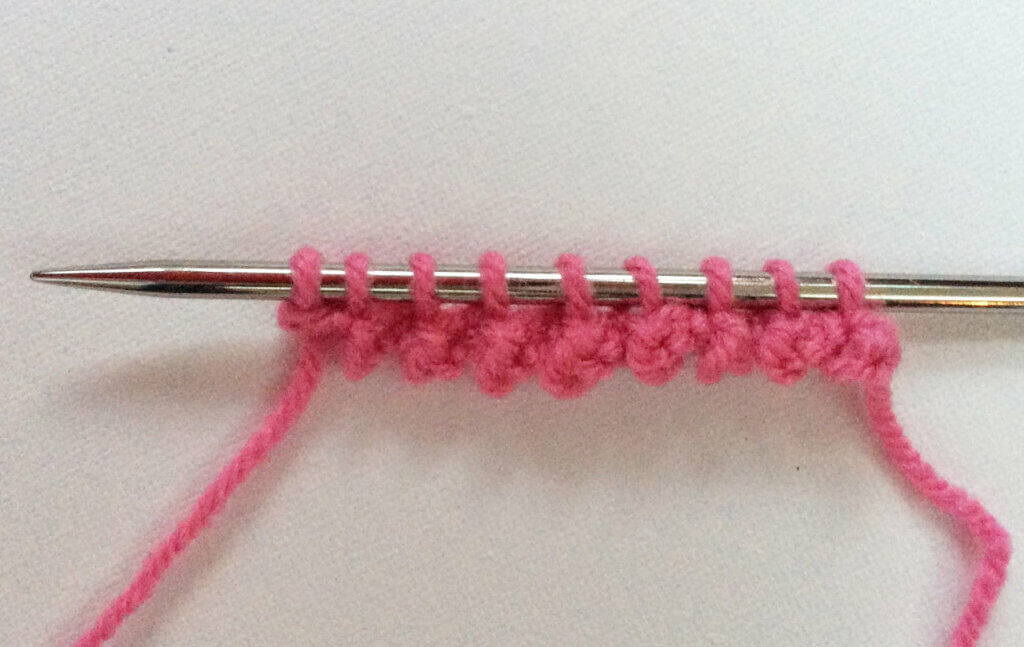


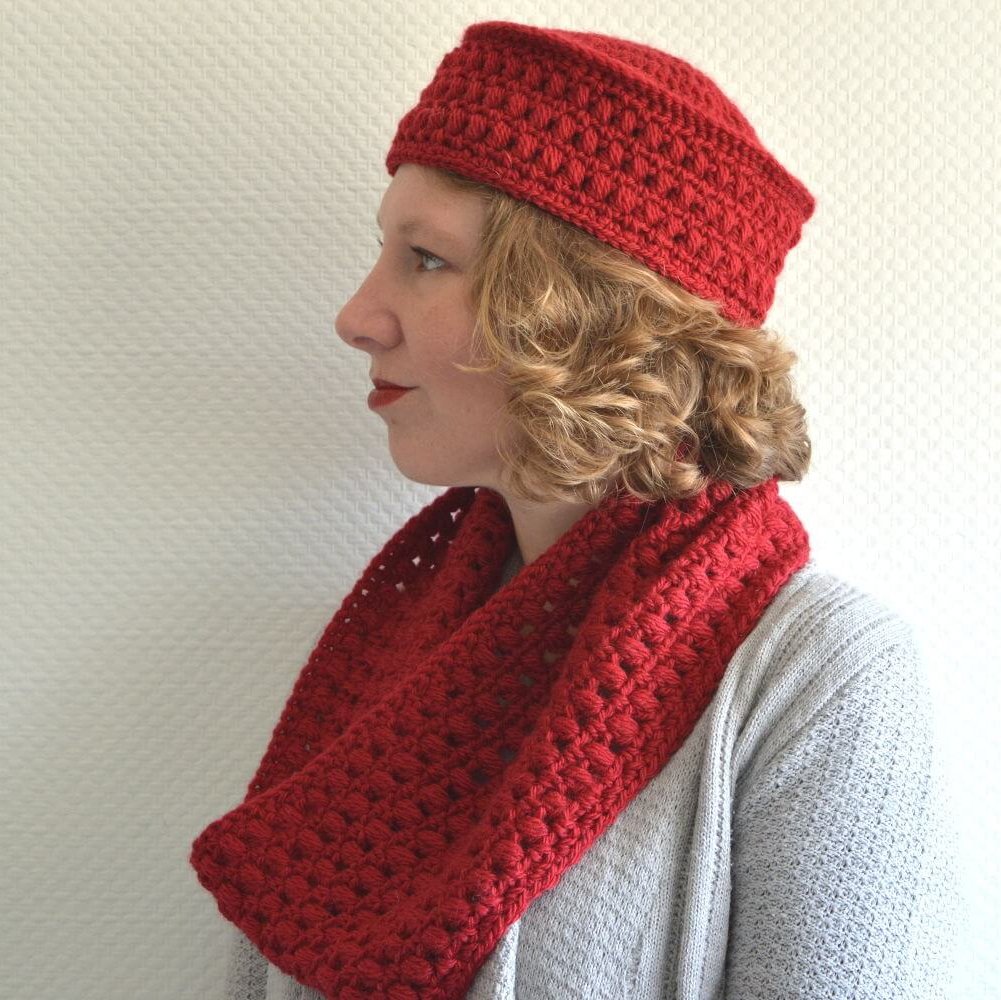

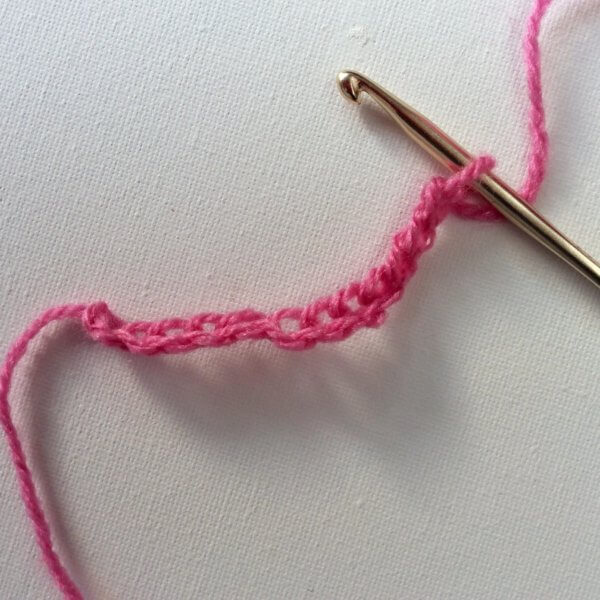
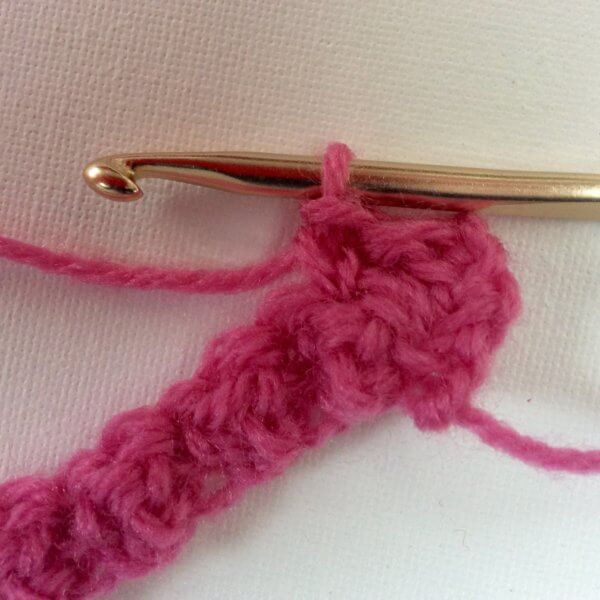
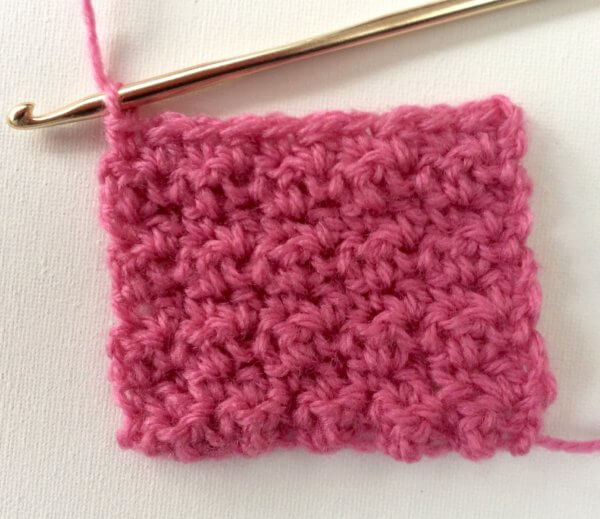
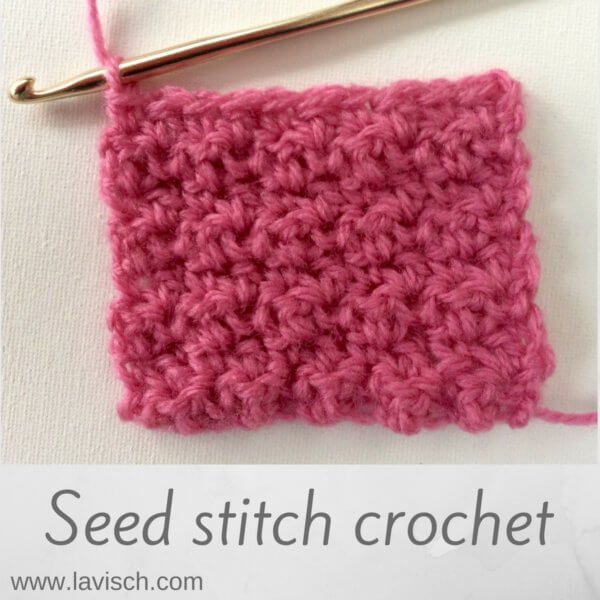 In this post I will show you how to crochet the “seed stitch”. In this stitch single crochet stitches are alternated with double crochet stitches (US crochet terminology!). This gives a really lovely and dense fabric, very suitable for projects like scarves, blankets and bags. Let me show you step by step how it is done.