tutorial: foundation half double crochet (fhdc)
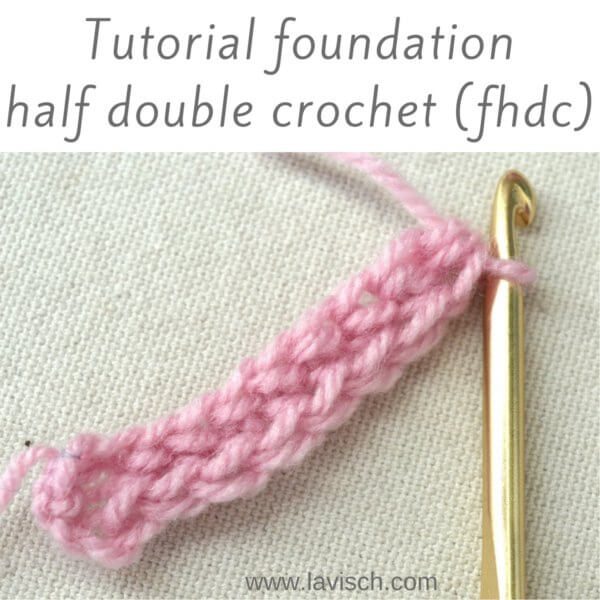
In another post, I have already shown you how to make a foundation row based on single crochet stitches. I really like this method of a chainless start of my crochet projects for all the reasons already explained in the other post. In this post I will show you how to make a half double crochet foundation row or fhdc for short.
This is a type of foundation row I use a lot myself, because I really like the fabric hdc stitches produce: not too dense, as is often the case with sc stitches. And not too holey either as a dc based fabric usually is. Exactly right as far as I’m concerned!
In a pattern, you may find the following instruction for fhdc:
Foundation half double crochet: make a slip knot and place onto hook, ch 3, yo and insert hook into both lps of the third st from hook, yo and draw through st, ch 1, yo and draw through all 3 lps on hook, *yo, insert hook in ch part of previous st, yo and draw through st, ch 1, yo and draw through all 3 lps on hook; rep from *.
Foundation half double crochet step by step
Below you can find the various steps and accompanying pictures. Please note that American crochet terminology is used in this tutorial.
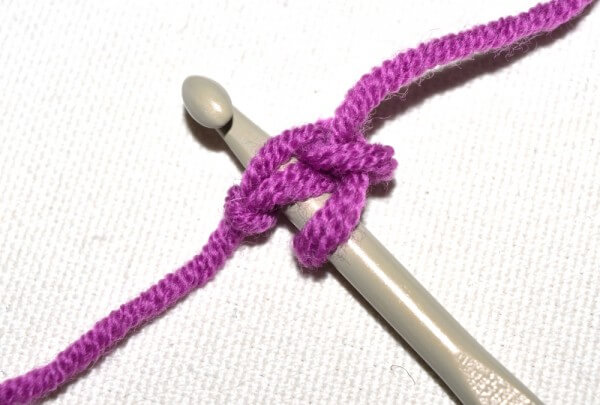
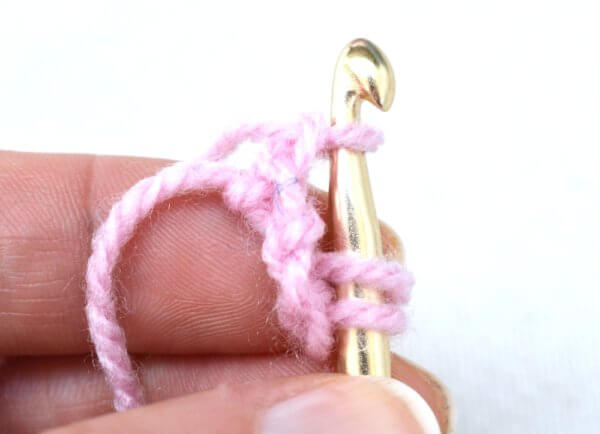
1. Make a slip knot and chain 3.
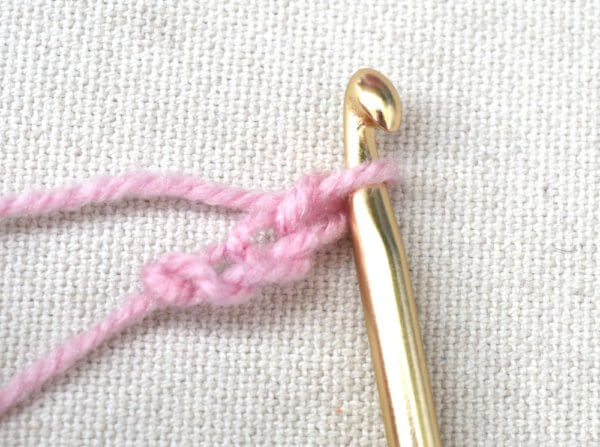
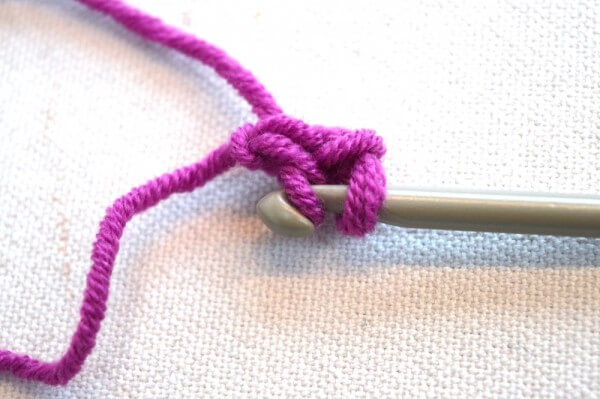
2. Insert the hook from right to left under the top strands of the third chain from the hook.
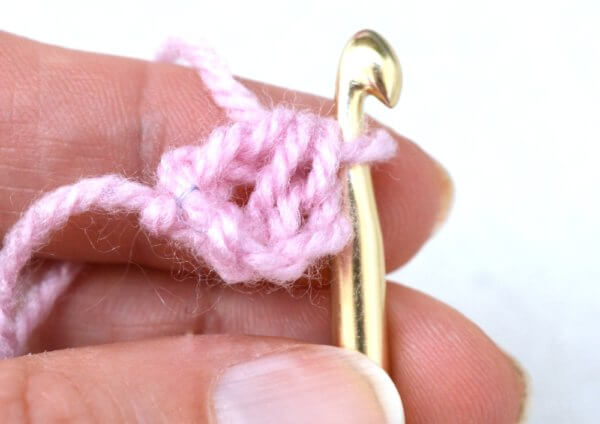
3. Yarn over and draw through those top strands indicated above.
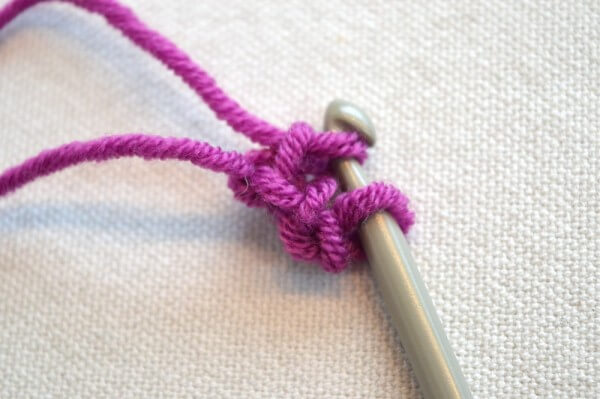
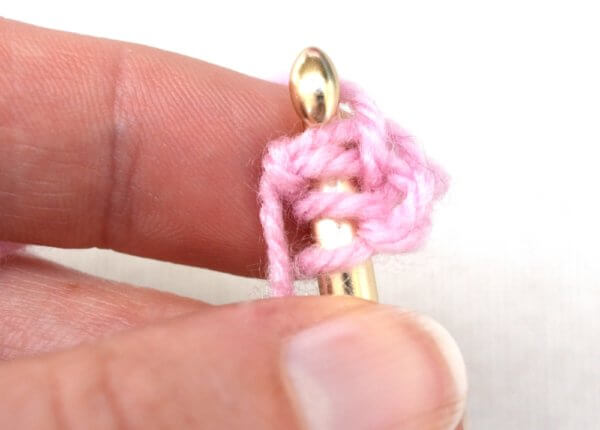
4. Chain one stitch, make sure to make this one not too tight, because here you create the “chain” part of your foundation row.
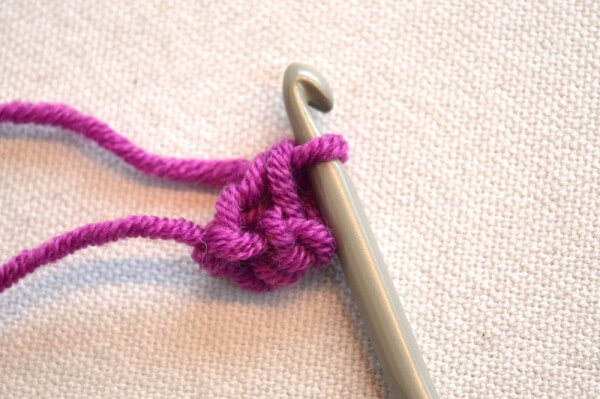
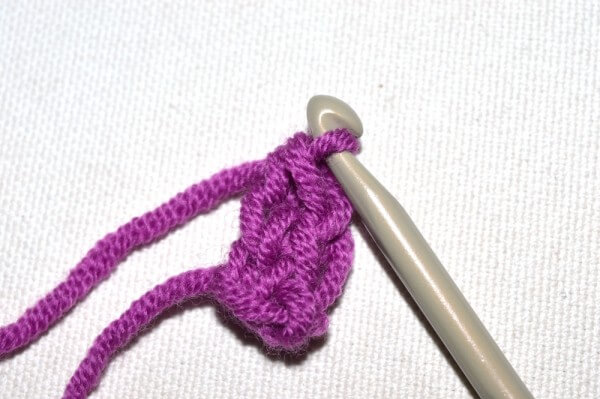
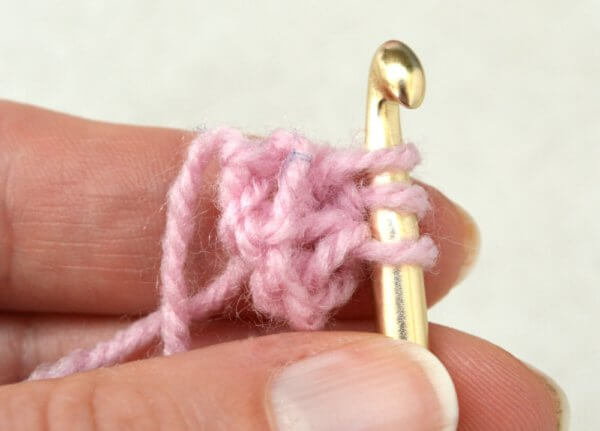
5. Yarn over and draw through all three loops on your hook. This completes the first stitch in your foundation half double crochet.
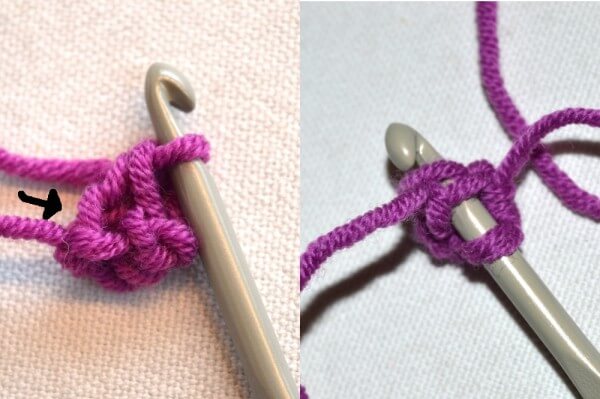
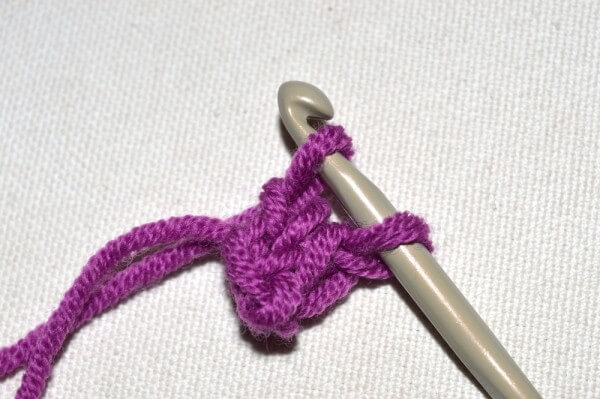
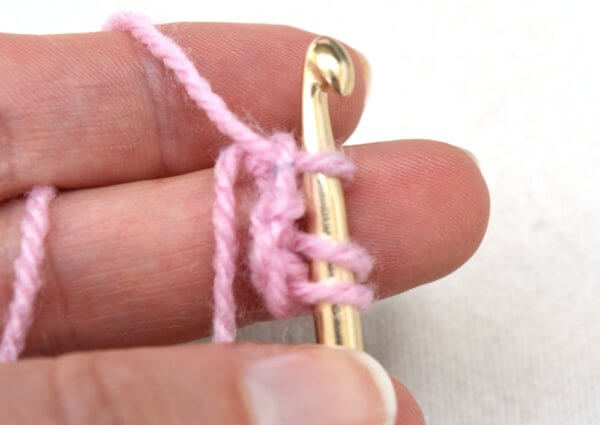
6. Insert the hook in the chain part of the previous stitch, this can be a tad hard to make out.

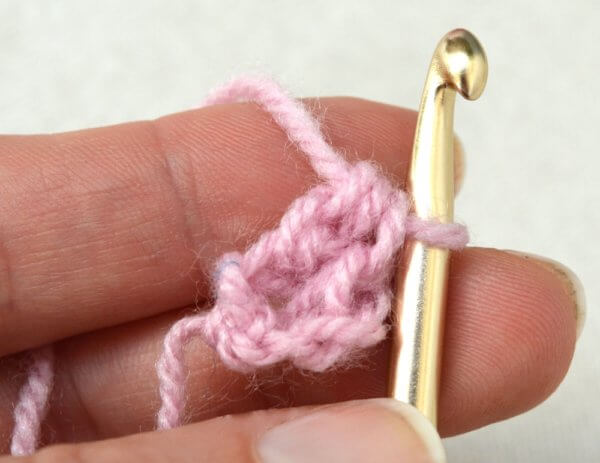
7. Yarn over and draw through both strands indicated above.
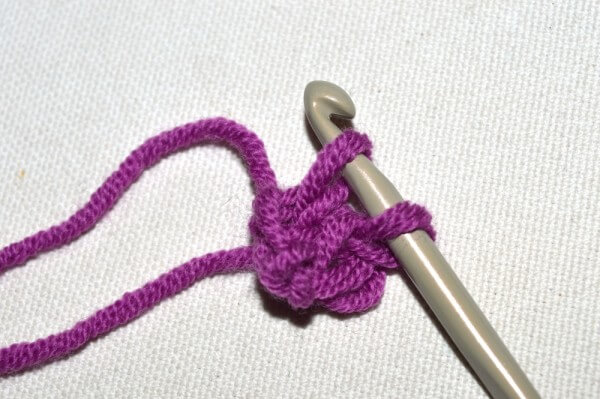
8. Chain one stitch, make sure again to make this one not too tight.

9. Yarn over and draw through all three loops on the hook.
Repeat steps 6-9 as often as needed!

tutorial: foundation half double crochet (fhdc) Read More »