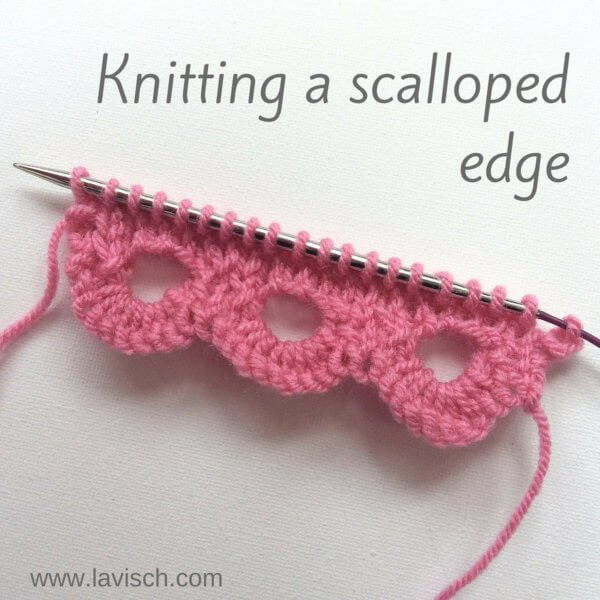
I have said it before and will say it again: a nice border can really make an otherwise simple project. In this tutorial I want to show you how to knit a scalloped edge. This particular edge is not only very beautiful, but is also relatively easy to knit!
This edge is knitted over two rows immediately after casting on your stitches. Therefore, this edging is particularly suitable for pieces that are knit up from the cast on edge. Think of sweaters, cardigans or, for example a bottom-up shawl.
The scalloped edge is knit in multiples of 11 stitches + 2. Please note, though, that when you’re finished with the cast on and are ready to begin the rest of you project, you’ll only have a multiple of 6 + 2 stitches left. So, don’t forget to take this into account.
Knitting a scalloped edge step by step
1. In this example, I will be knitting a scalloped edge with 3 scallops. This means I will be casting on a total of 33 + 2 stitches. I used the knitting-on method to cast on my stitches.
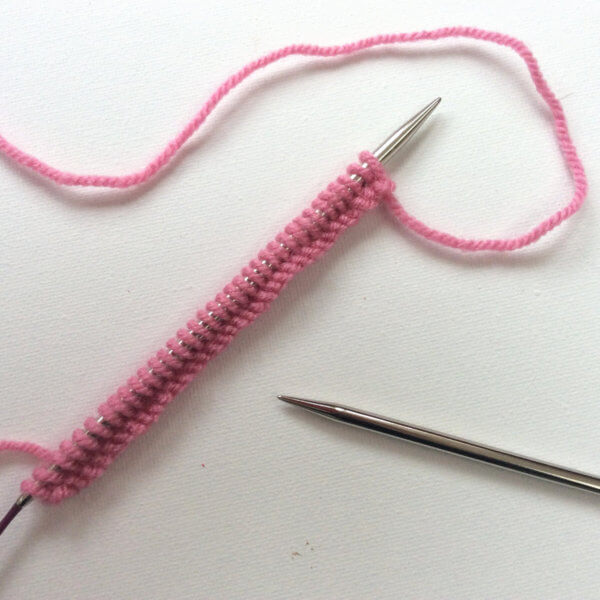
2. Purl 1 row.
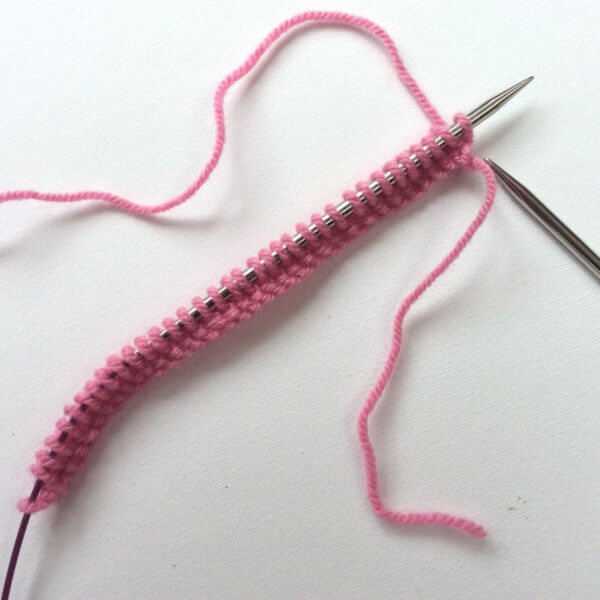
3. Turn your work and knit the first 2 edge stitches.
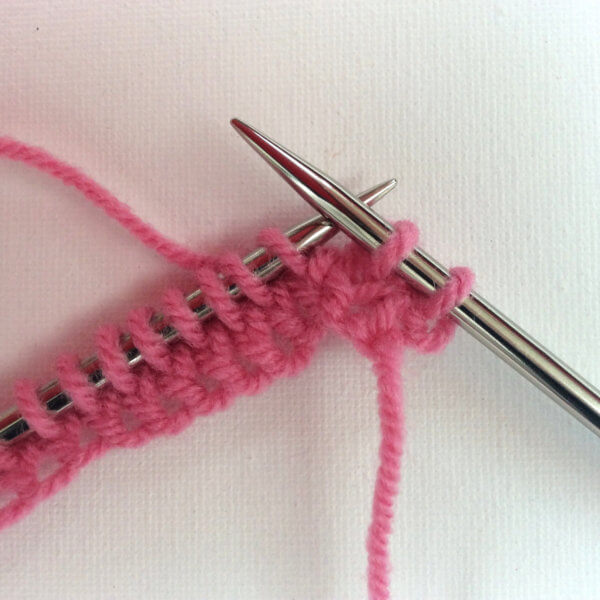
4. Knit one stitch and slip it back to the left-hand needle.
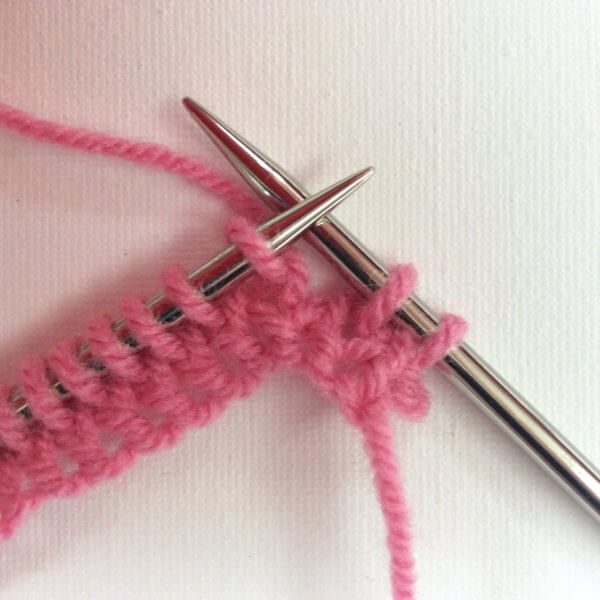
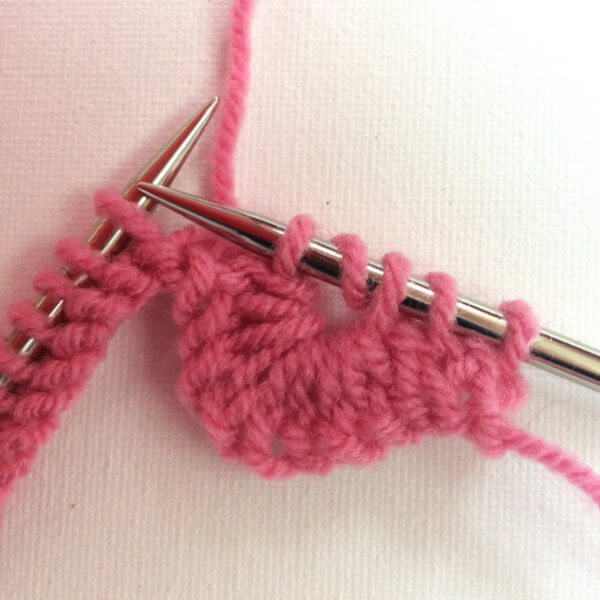
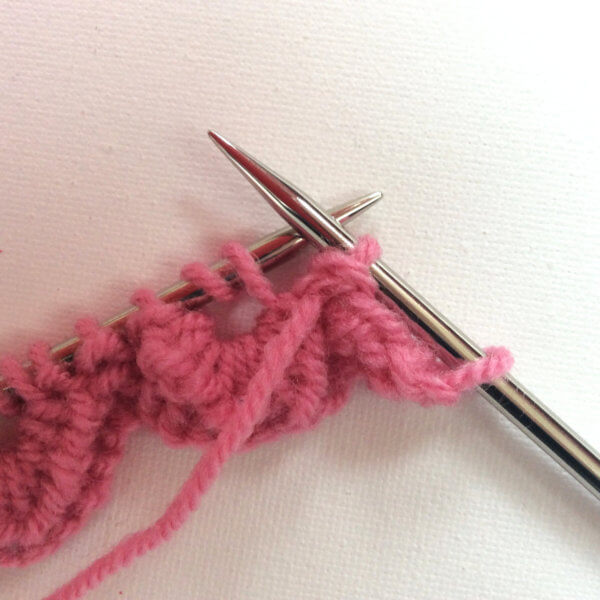
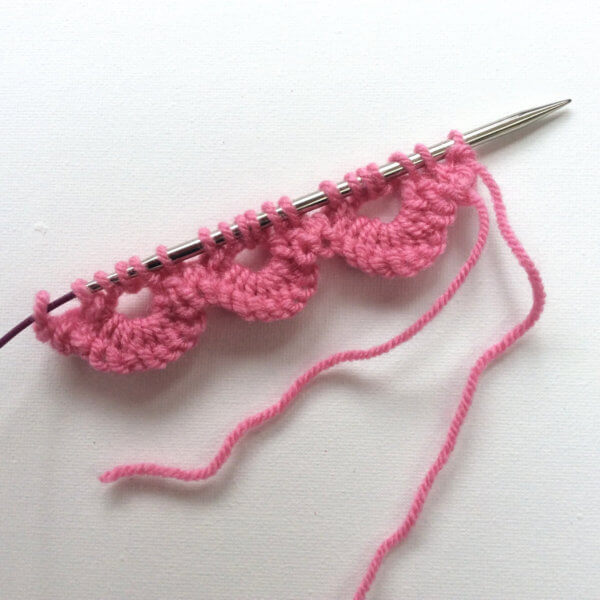
5. Pass the next 8 stitches over the last stitch knit. You can do this one by one or all at once, whatever you find easiest! I did one by one as you can see in the first picture below.
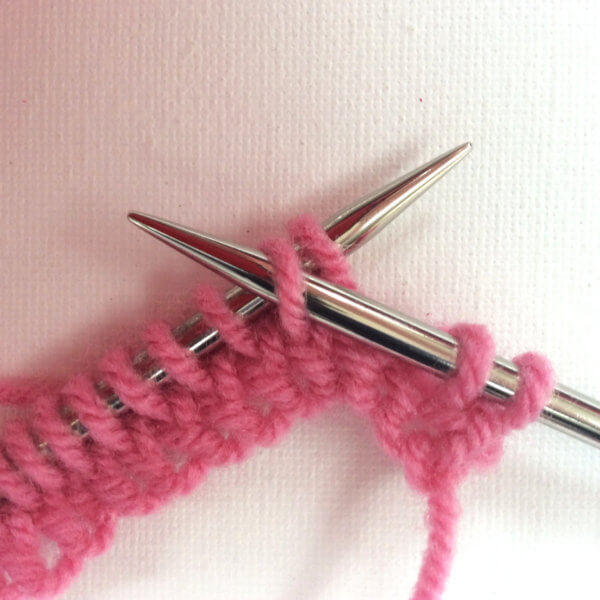
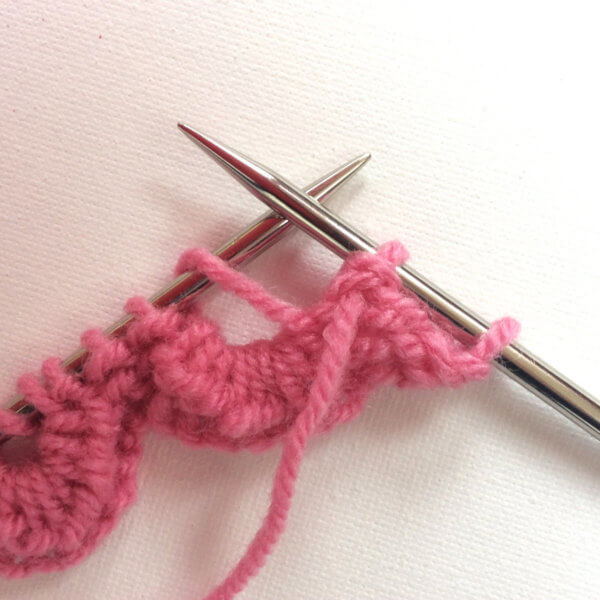
6. Make a double yarn over….
7. ….and knit the stitch previously slipped back to the other needle.
8. Knit 2 stitches.
9. Repeat steps 4 to 8 for the two other scallops.
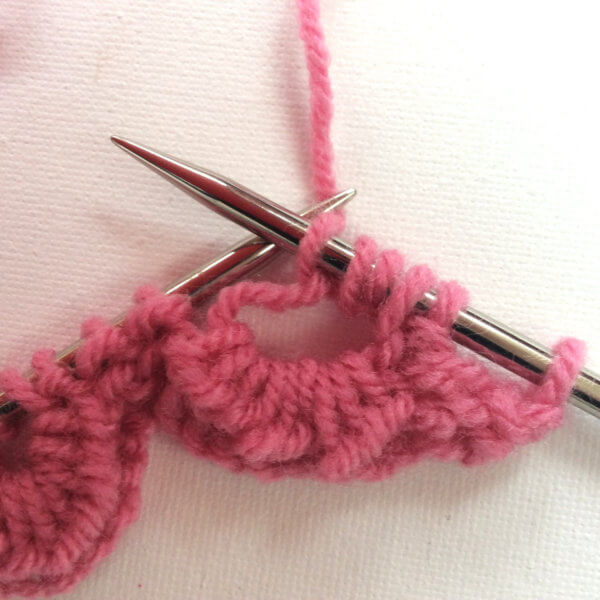
10. Turn work and knit 1 stitch…
11. … and continue purling 2 stitches together. For this step, you will use one of your edge stitches!
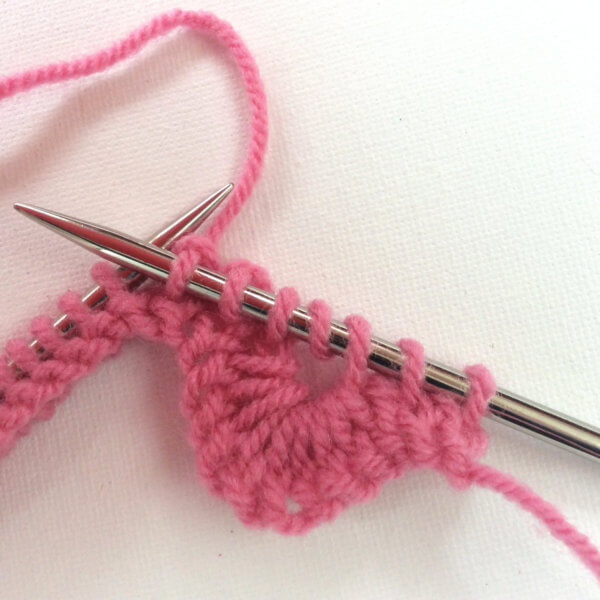
12. Drop one of the 2 double yarn overs, so you have just the one (big) loop on your left-hand needle.
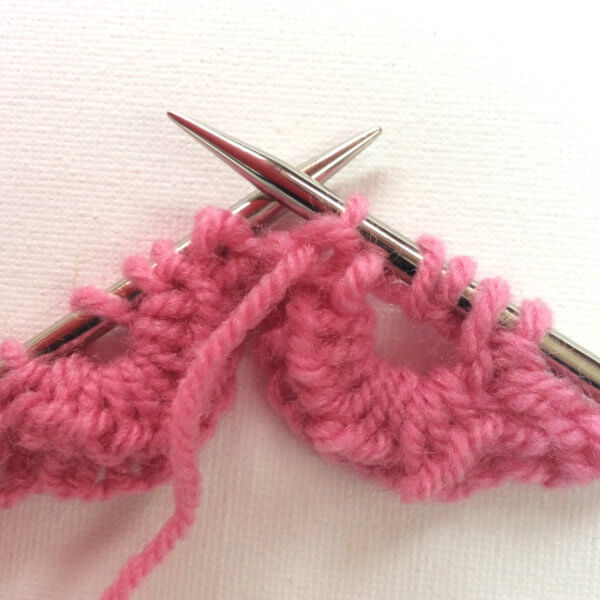
13. Next knit into this loop without slipping of the stitch [knit 1, yarn over, knit 1, yarn over], now you can slip the big-loop stitch off.
14. Purl 1 stitch.
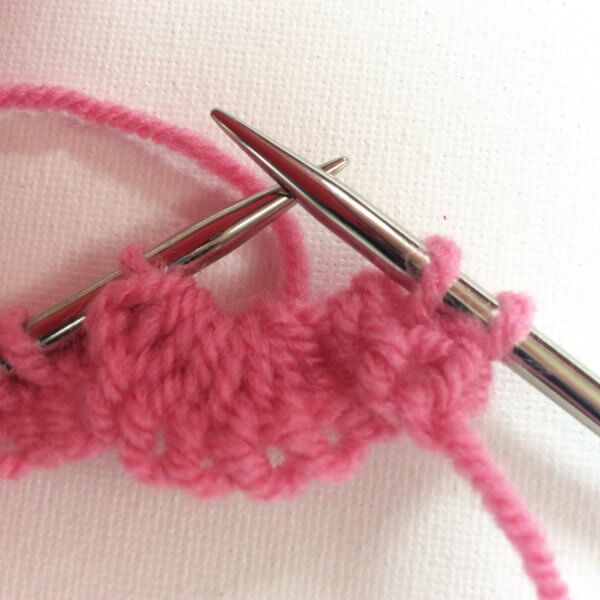
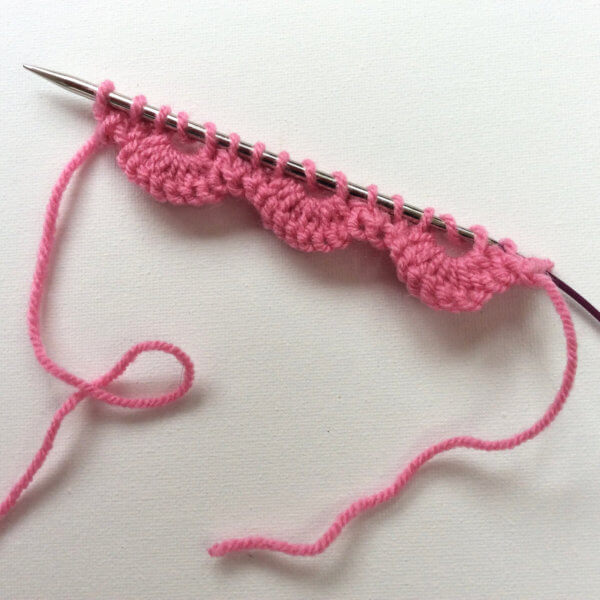
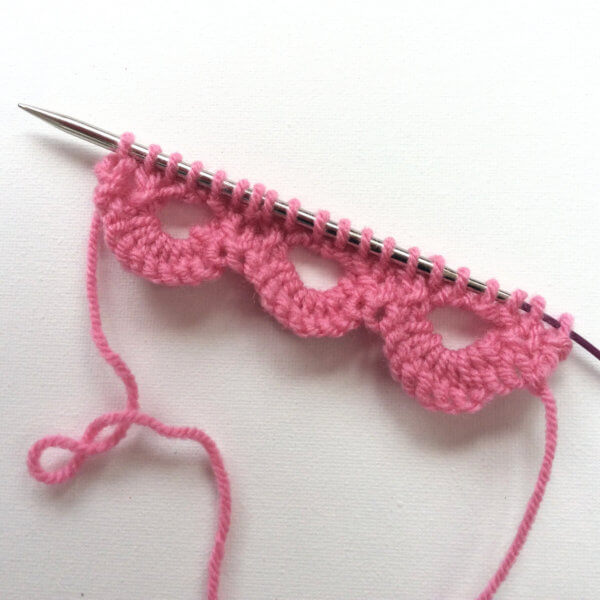
15. Repeat steps 11 to 14 for the two other scallops, and then work the remaining edge stitch. This is how the scalloped edge then looks like on the right side of work:
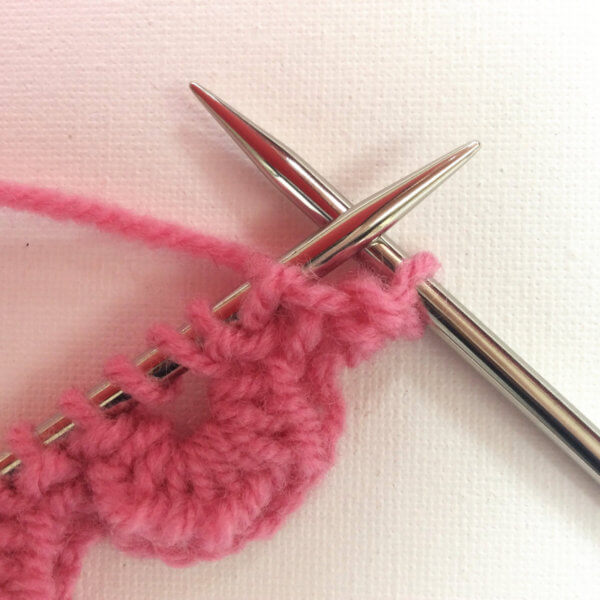
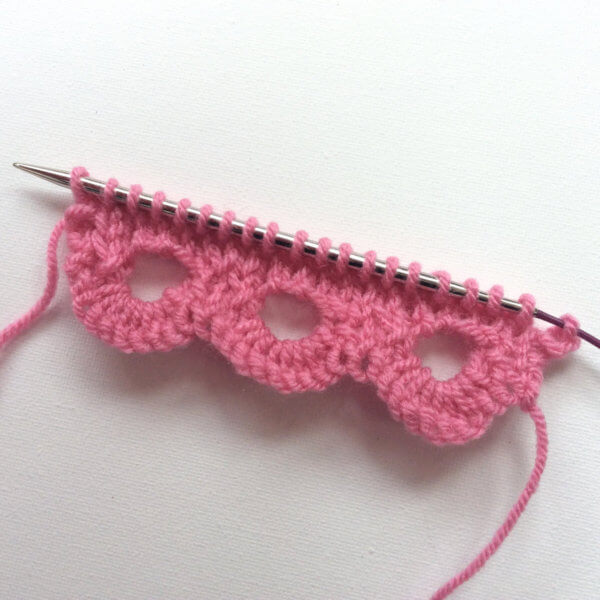
16. Knit the next row, please note that every first stitch of each scallop should be knit through the back loop to tighten it up.
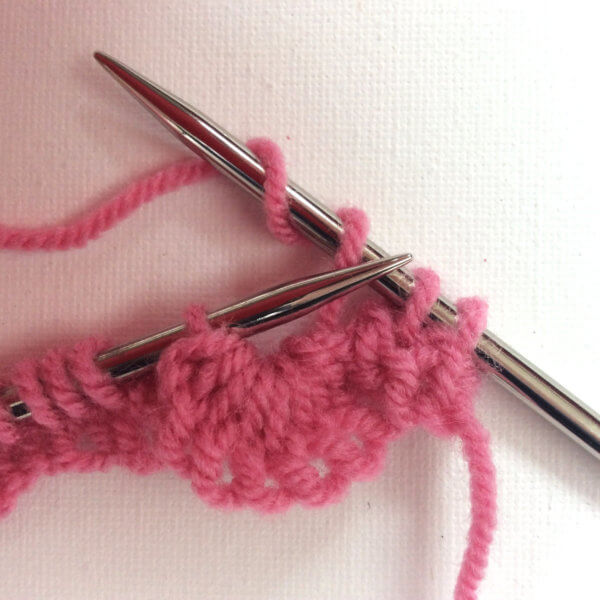
After 2 rows in stockinette stitch, the whole thing looks as follows:
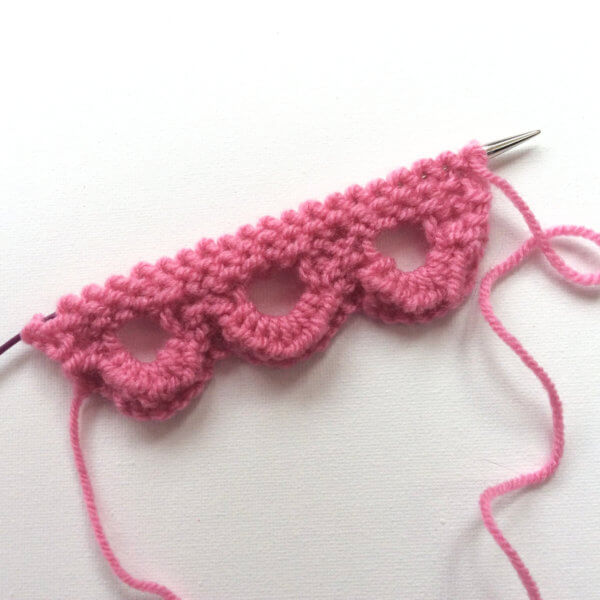
The wrong side of the work is also pretty!
And there you have it: a nice scalloped start of a lovely project!

Thanks to my Patreon supporters for bringing you this freebie! Creating quality patterns and tutorials is a lot of work and resource-intensive. However, I find it important to give you free content like this tutorial. Thanks to the generous support of my Patreon supporters, I can make it happen. Thank you, patrons! Click here to join, or click here to read more about La Visch Designs on Patreon.


