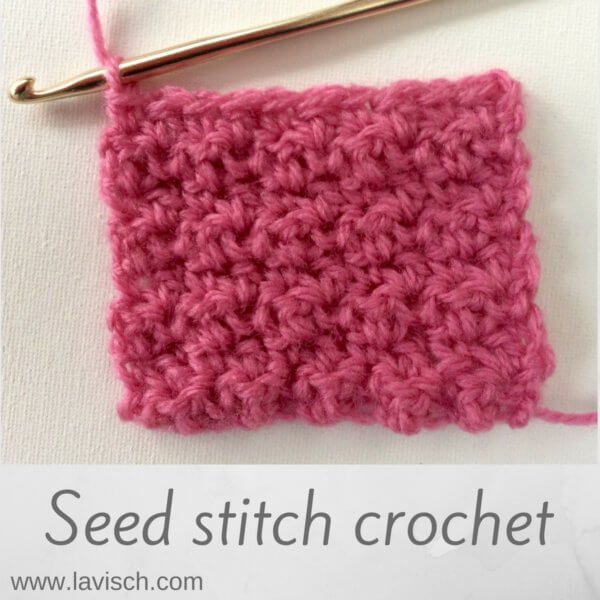
 In this post I will show you how to crochet the “seed stitch”. In this stitch single crochet stitches are alternated with double crochet stitches (US crochet terminology!). This gives a really lovely and dense fabric, very suitable for projects like scarves, blankets and bags. Let me show you step by step how it is done.
Seed stitch step by step
1. Start with a loose chain, when working flat back and forth it doesn’t really matter if you start with an even or odd number of chain stitches. If you will however be working in the round, start with a multiple of 2 + 1 turning chain. In this example, I started with a chain of 12.
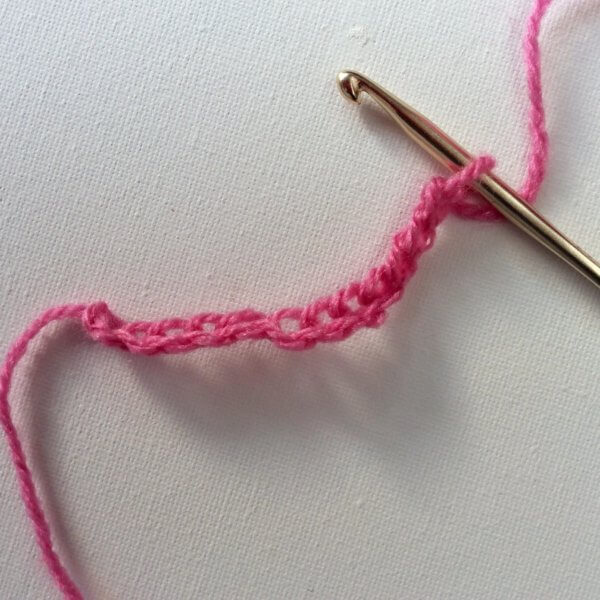
2. Turn and make 1 single crochet in the second stitch from the hook. In this example, I made my stitch in the back of the chain, instead it can of course also be made in one of the other parts of the chain.
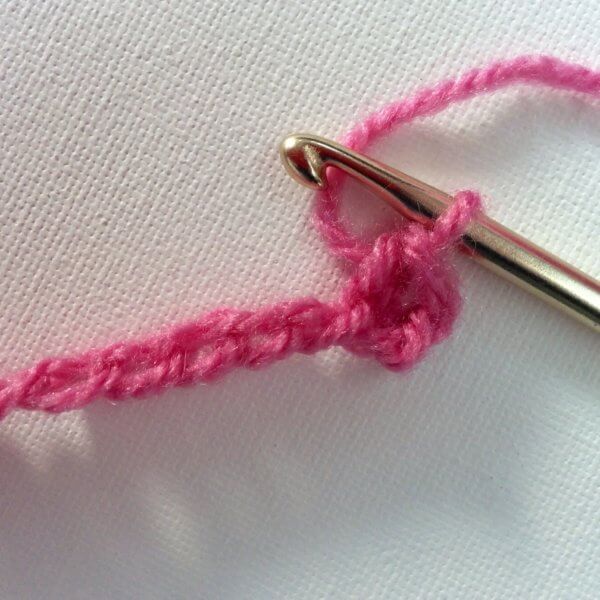
3. Make 1 double crochet in the next stitch.
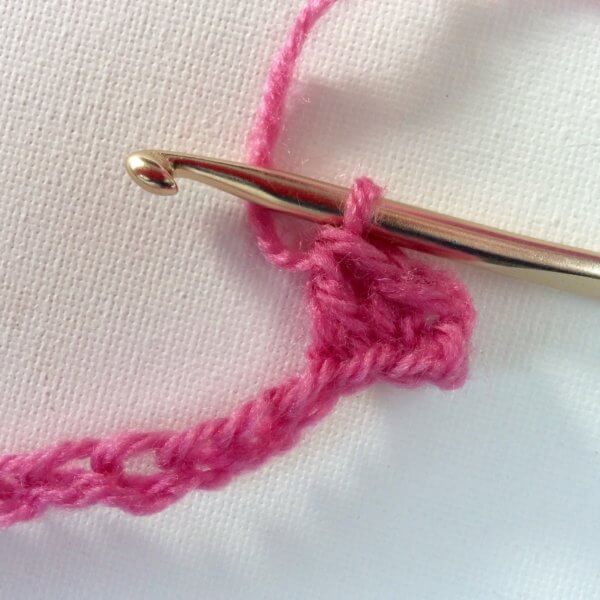
4. Make one single crochet in the next stitch.
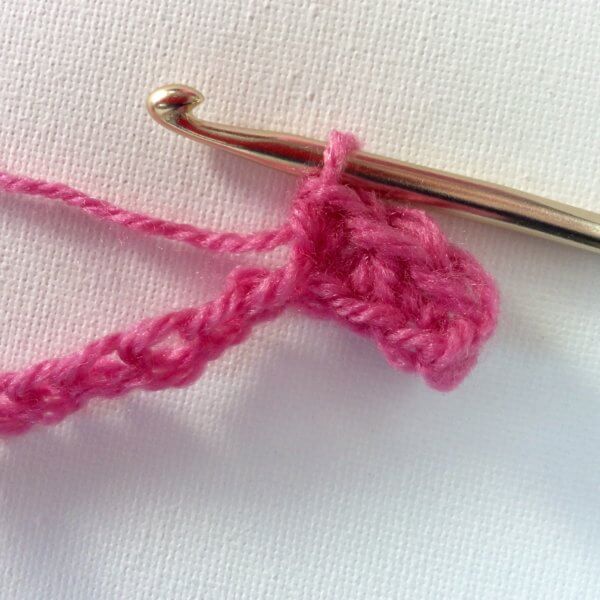
5. Repeat steps 3 and 4 until the end of the row.
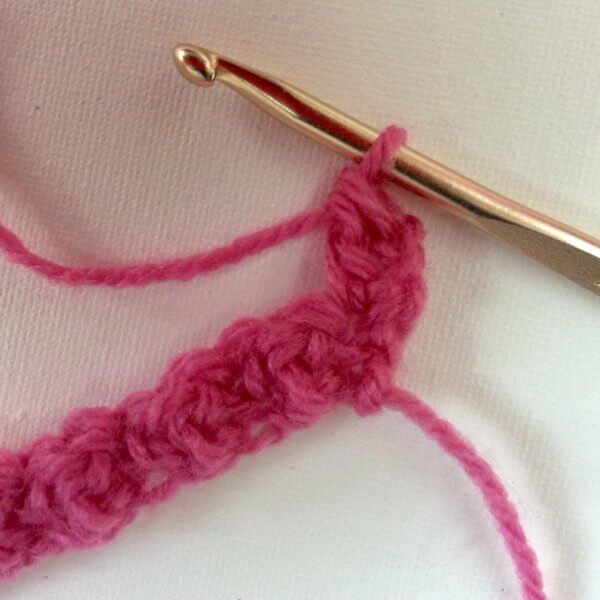
6. In this example, I ended the previous row with a single crochet. The new row will therefore start with 2 turning chains, followed by a double crochet in the first . If your previous row ended with a double crochet, the new row would begin with 1 turning chain, followed by a single crochet in the first stitch.
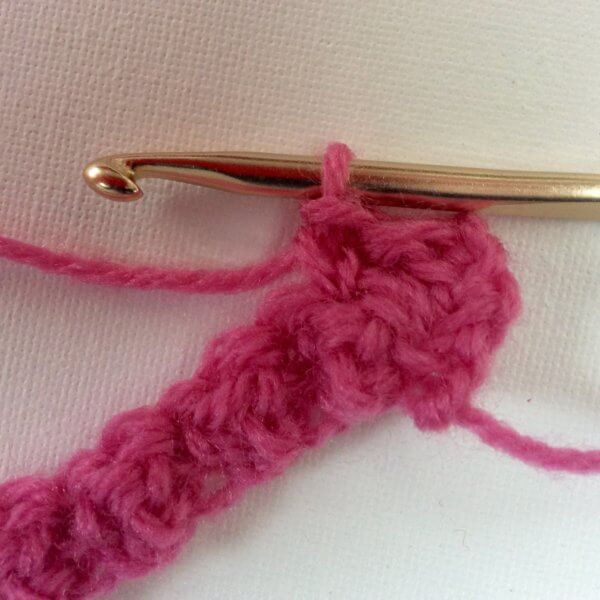
7. Work 1 single crochet in next stitch, or (if your previous stitch was a single crochet) 1 double crochet.
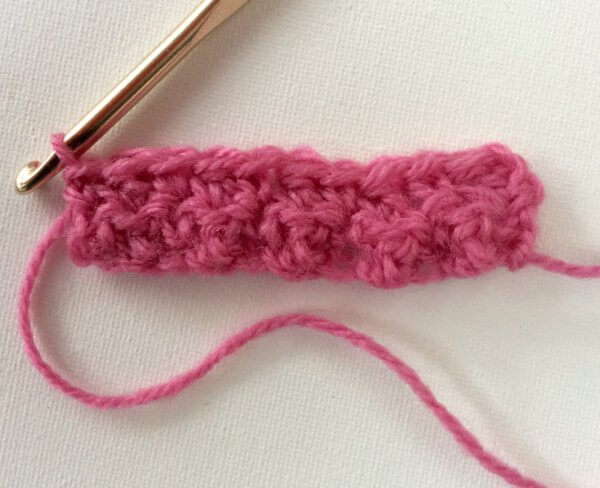
8. Continue the row by alternating double crochet stitches with single crochet stitches. Please note, that you always crochet a double crochet in the single crochet of the previous row. Similarly, if the stitch of the previous row was a double crochet, you are making a single crochet into it.
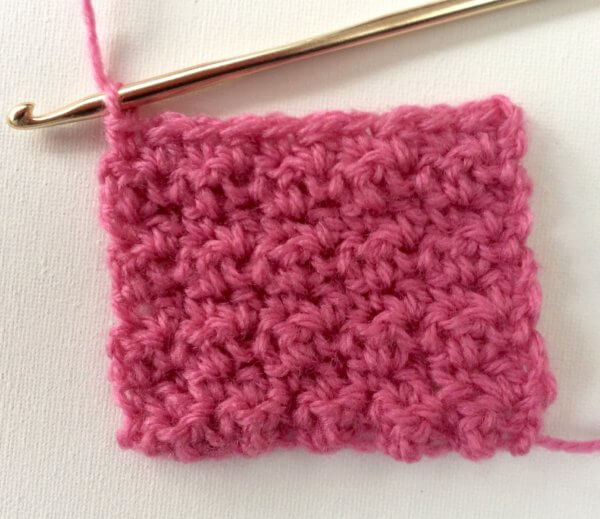
9. Repeat steps 6 to 8 until your piece has the desired size.


