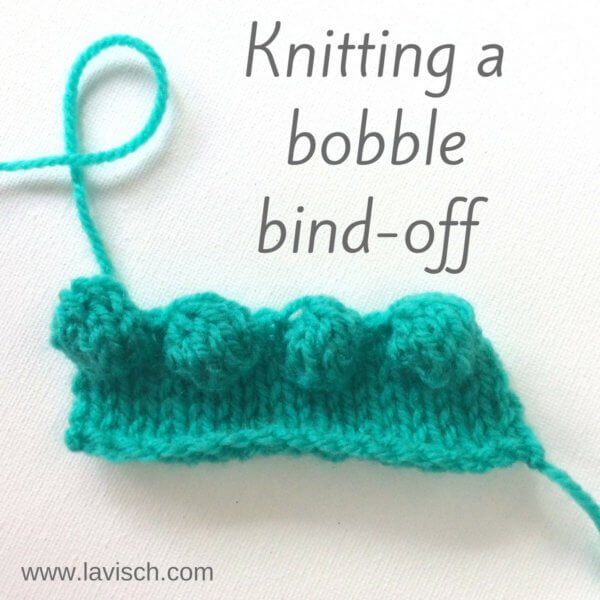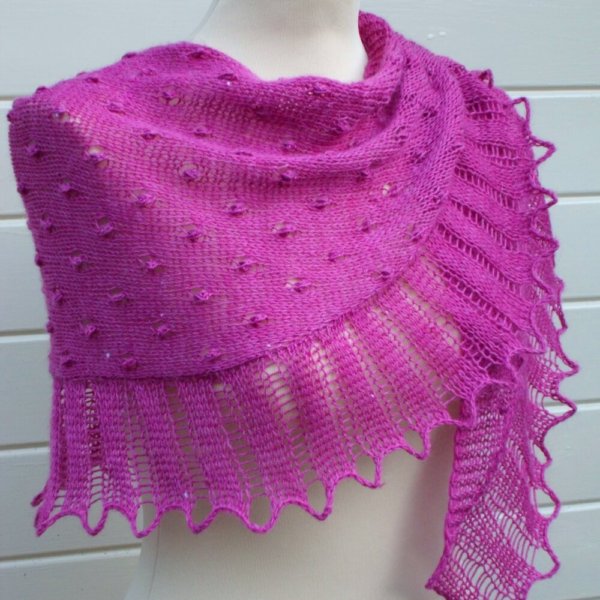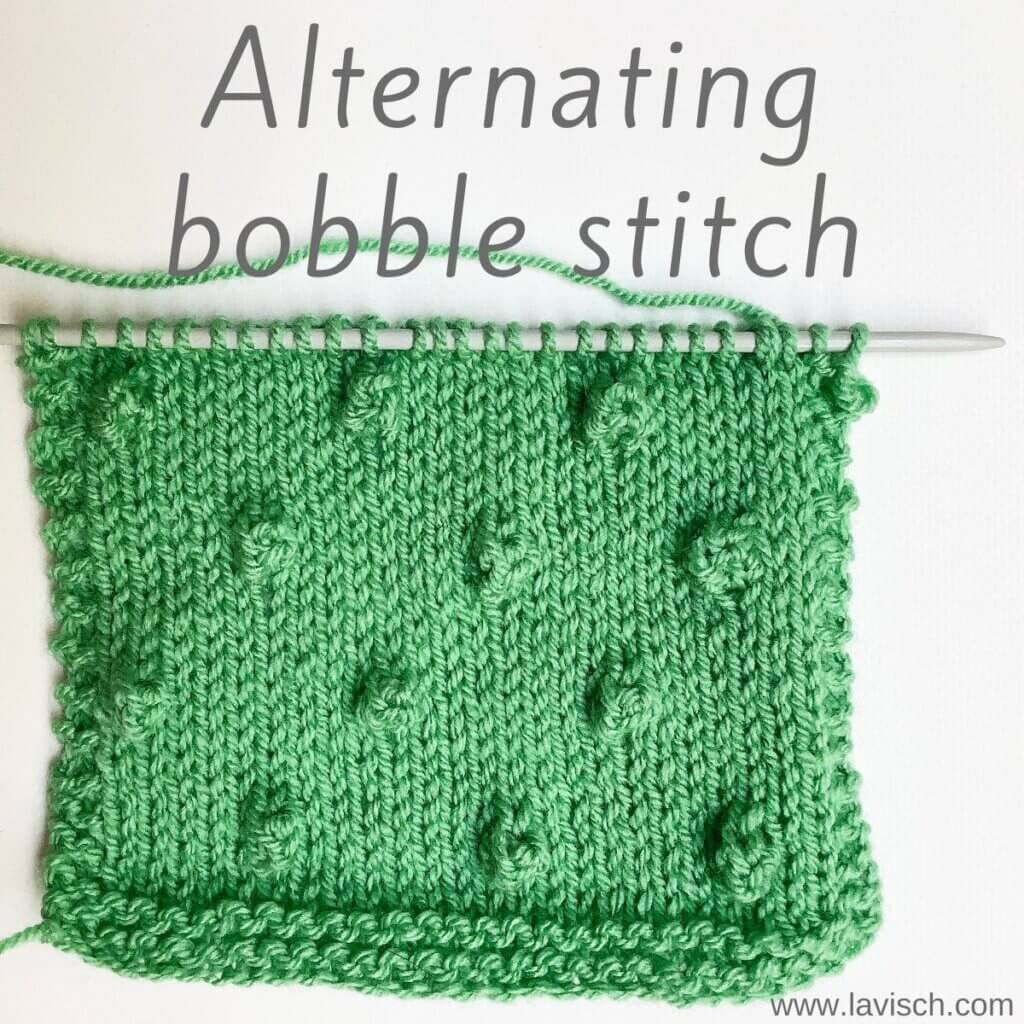
The bobble stitch is a nicely textured stitch pattern, suitable for allover application. Bobbles are a great way to make your knitting 3-dimensional instead of just flat. For that very reason, they are also often used in conjunction with lace patterning or with cables. The bobble pattern, described here, was used in my Moerbei shawl. The thing with bobbles is that there are so many ways to make them, there really is no right or wrong way. They can be made in 3, 4, 5 or even more stitches to make them less or more fat. To do so, stitches have to be increased and later decreased. There are, of course, many ways to do either things. Here, I will be showing a 5-stitch bobble.
As with most bobbles, it may be necessary to push the bulk of the bobble to the right side of the fabric to show it at its best. During knitting, it may be end up somewhere in between, or even pushed to the wrong side. Easily fixed, though!
This stitch pattern is worked as a multiple of 8 stitches, and in a twelve-row repeat. Please note that I’ve added 2 edge stitches in garter stitch on both sides of the swatch. These are not included in the stitch pattern description.
Materials used
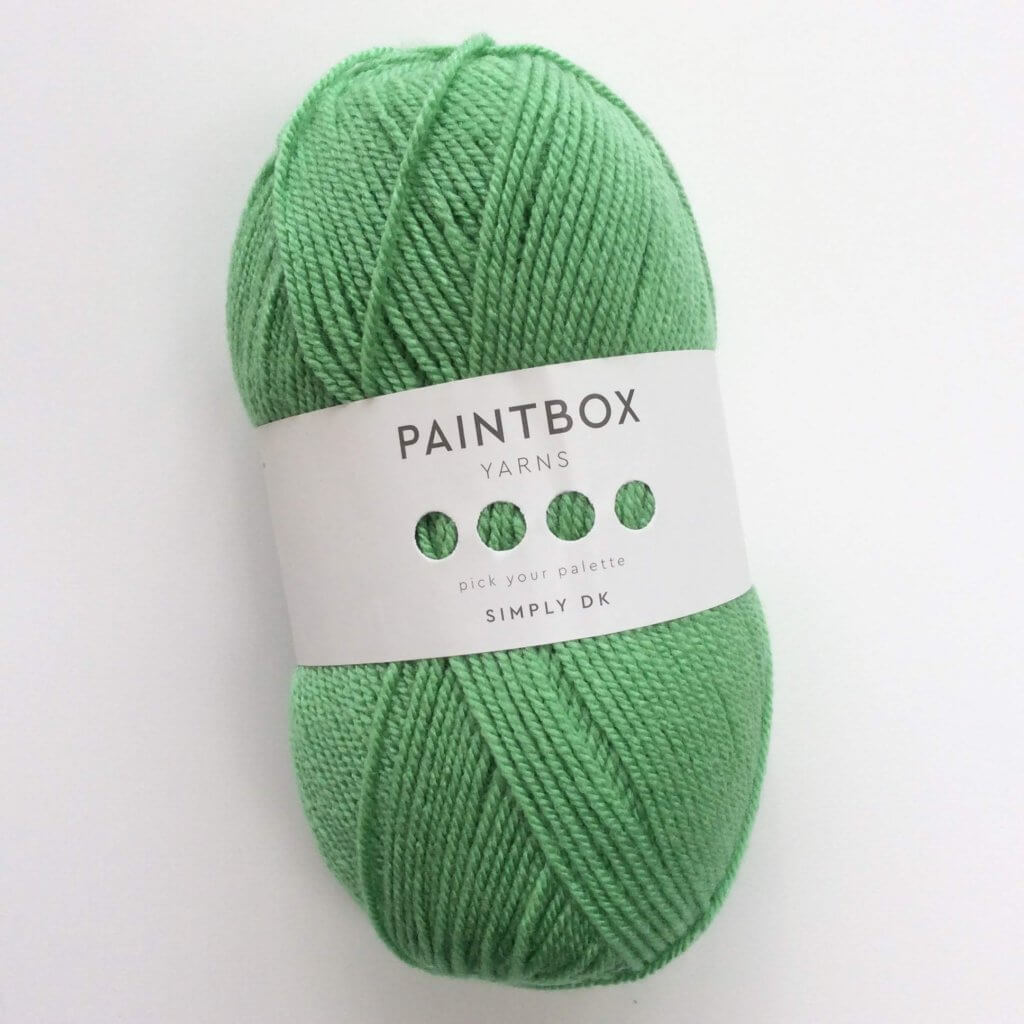

Yarn: Paintbox Yarns Simply DK, a good value, good quality 100% acrylic yarn, in the color Spearmint green.
Needles: This is a pair of straights that I picked up at the second-hand store when I started knitting, brand unknown.
Stitches used
- k – knit
- k2tog – knit 2 stitches together
- mb – make bobble: Work [k1, yo, k1, yo, k1] into the same st, turn, p5, turn, slip 3 stitches together as if to knit, k2tog, pass 3 slipped sts over; bobble made
- p – purl
- RS / WS – right side / wrong side
- yo – yarn over
- rep – repeat
- st(s) – stitch(es)
Alternating bobble stitch
Row 1 (RS): Knit.
Row 2 and all following WS rows: Purl.
Rows 3-4: Rep rows 1-2.
Row 5: *K2, mb, k5; rep from * to end.
Rows 7-10: Rep rows 1-4.
Row 11: *K6, mb, k1; rep from * to end.
Row 12: Purl.
Repeat rows 1-12 for pattern until desired length.
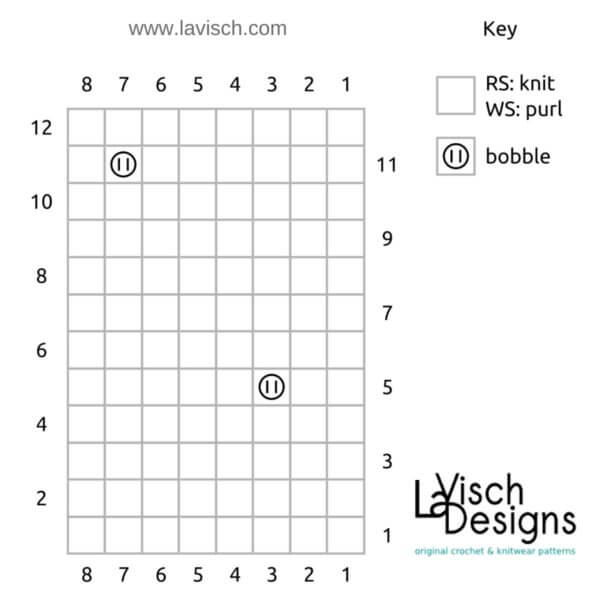
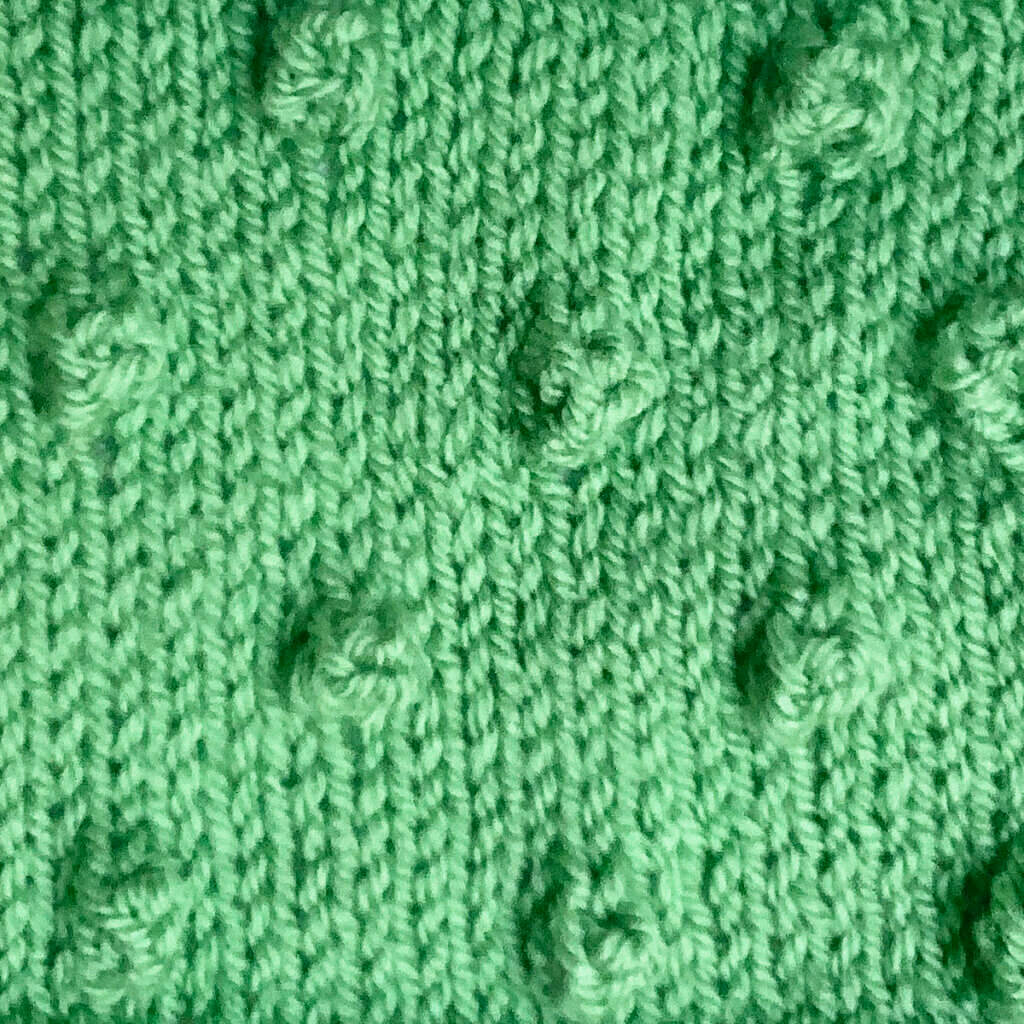
In the below pictures, you see the patterning first from the right, and then also from the wrong side of the fabric:
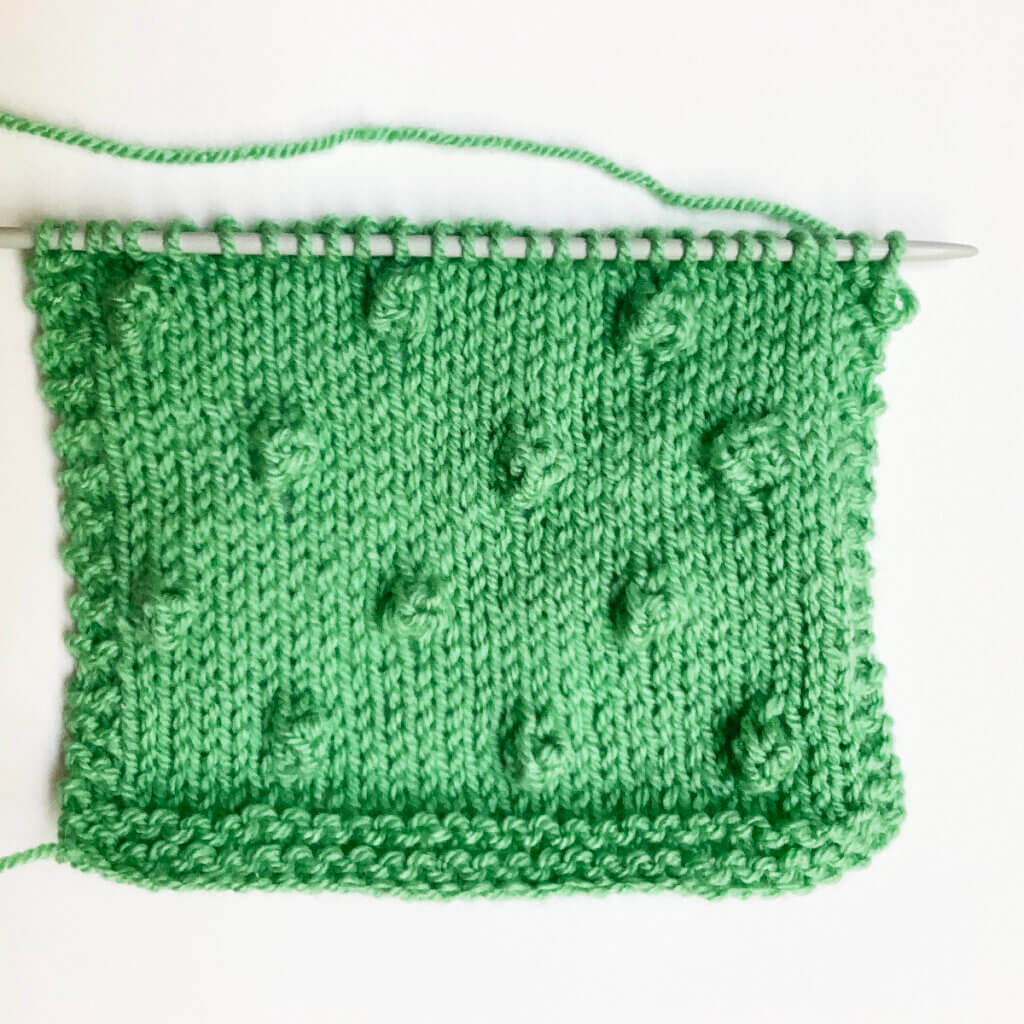
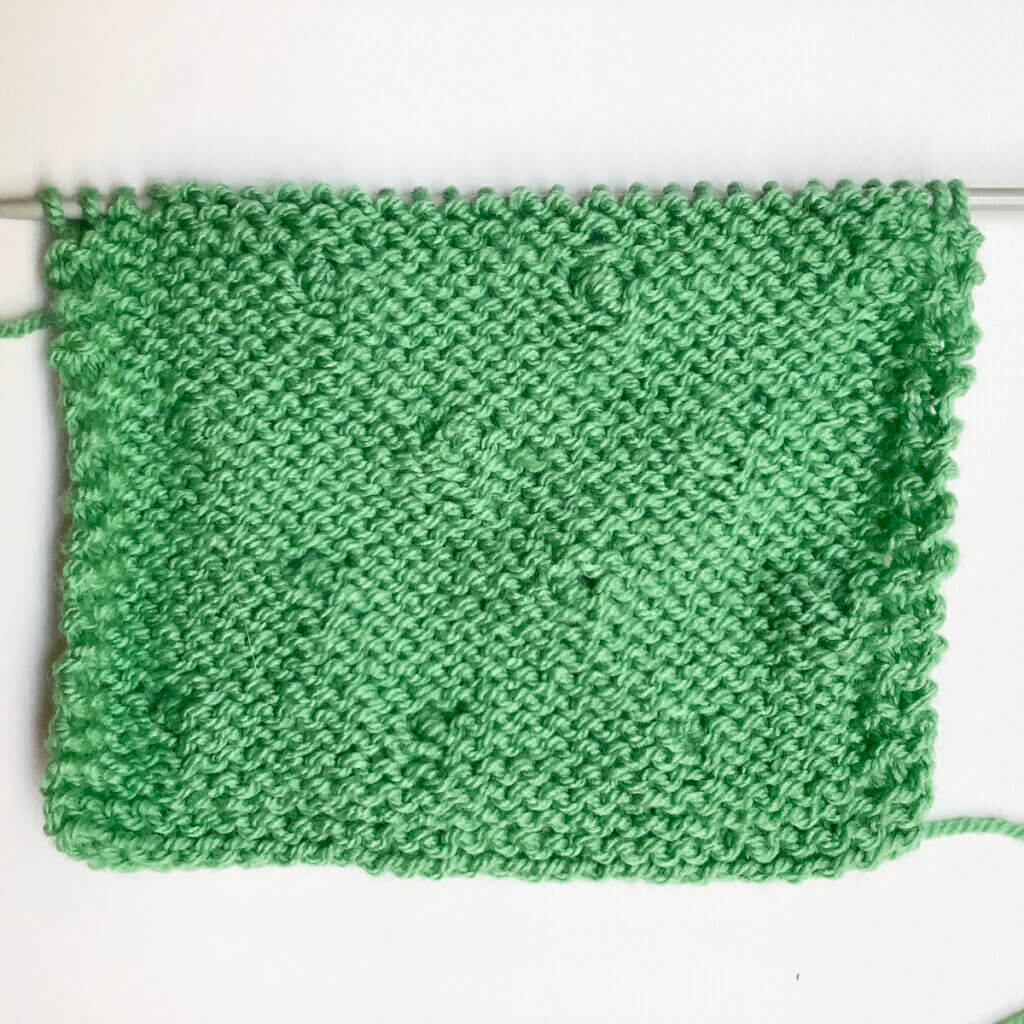
To get an impression of how this stitch looks as an all-over pattern:

Thanks to my Patreon supporters for bringing you this freebie! Creating quality patterns and tutorials is a lot of work and resource-intensive. However, I find it important to give you free content like this tutorial. Thanks to the generous support of my Patreon supporters, I can make it happen. Thank you, patrons! Click here to join, or click here to read more about La Visch Designs on Patreon.

