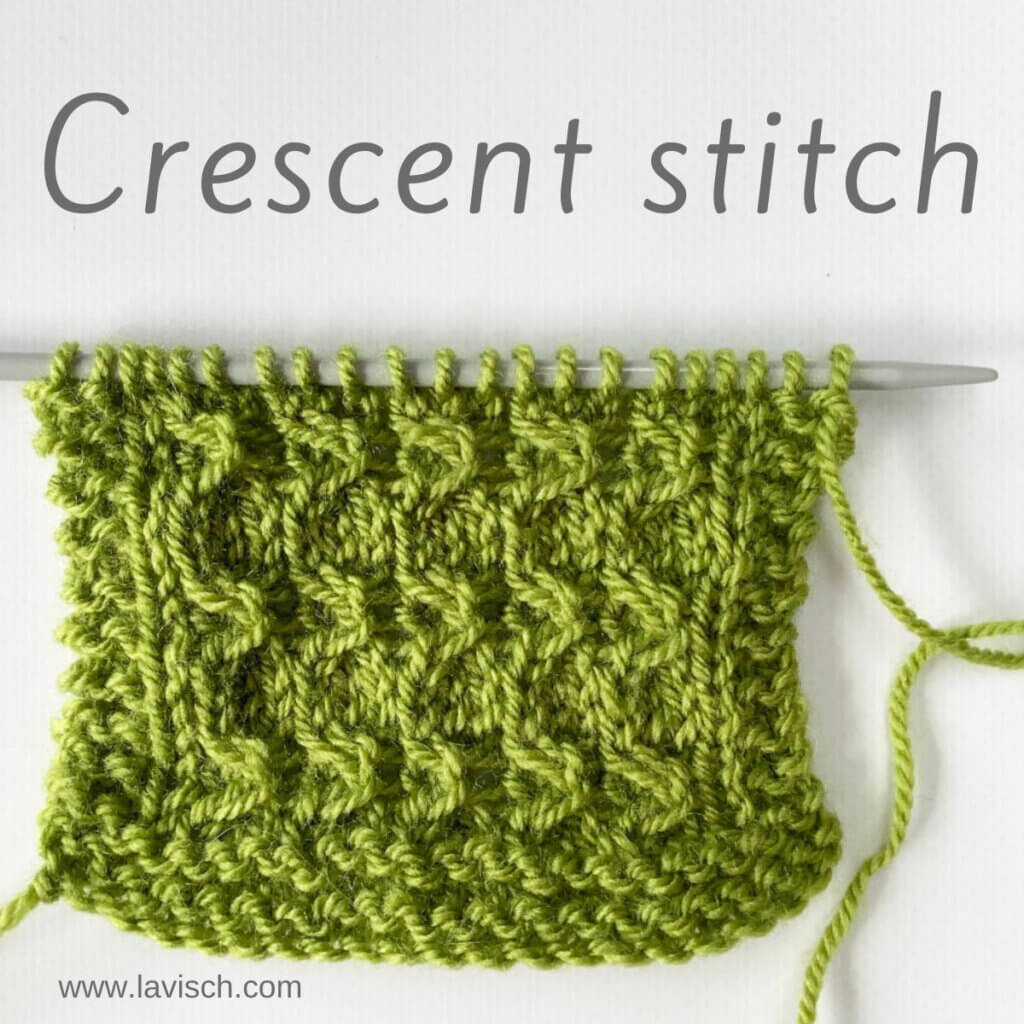
The crescent stitch uses both “Cable 3 Left (C3L)” as “Cable 3 Right (C3R)” stitches to create the wavy lines visible in the swatch pictured. Due to all the cabling, it’s not a very fast stitch pattern to work. This may, however, be improved if you can do these cable stitches without the use of a cable needle. I’m not a good enough cable knitter to manage it with any time savings. But perhaps you can!
This stitch pattern is worked as a multiple of 3 stitches + 2, and in a six-row repeat. Please note that I’ve added 2 edge stitches in garter stitch on both sides of the swatch.
Materials used


Yarn: Paintbox Yarns Simply DK, a good value, good quality 100% acrylic yarn, in the color 128 Lime Green.
Needles: This is a pair of straights that I picked up at the second-hand store when I started knitting, brand unknown. You will also need a cable needle.
Stitches used
- C3L (Cable 3 left) – Slip next st onto cable needle and hold at front of work, knit next 2 sts from left-hand needle, then knit st from cable needle
- C3R (Cable 3 right) – Slip next 2 sts onto cable needle and hold at back of work, knit next st from left-hand needle, then knit 2 sts from cable needle
- k – knit
- p – purl
- rep – repeat
- st(s) – stitch(es)
Crescent stitch
Row 1 (right side): Knit.
Row 2 (and all following wrong side rows): Purl.
Row 3: K1, *C3R; rep from * to 1 st before end, k1.
Row 5: K1, *C3L; rep from * to 1 st before end, k1.
Row 6: Purl.
Repeat rows 1-6 for pattern until desired length.
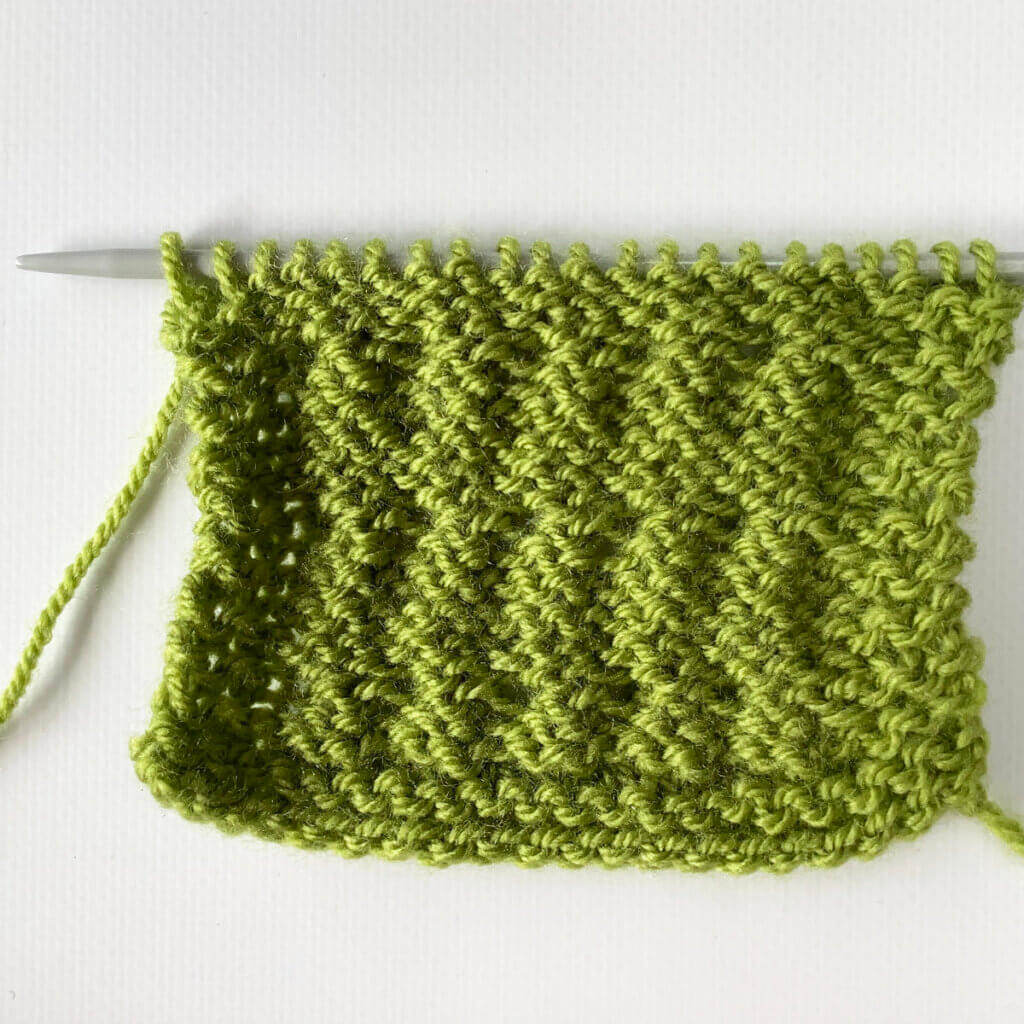
In the below pictures, you see the patterning first from the right, and then also from the wrong side of the fabric:


Thanks to my Patreon supporters for bringing you this freebie! Creating quality patterns and tutorials is a lot of work and resource-intensive. However, I find it important to give you free content like this tutorial. Thanks to the generous support of my Patreon supporters, I can make it happen. Thank you, patrons! Click here to join, or click here to read more about La Visch Designs on Patreon.


