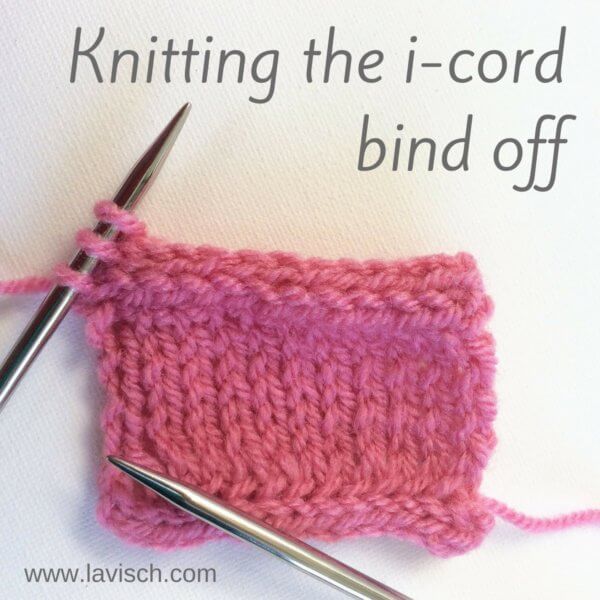
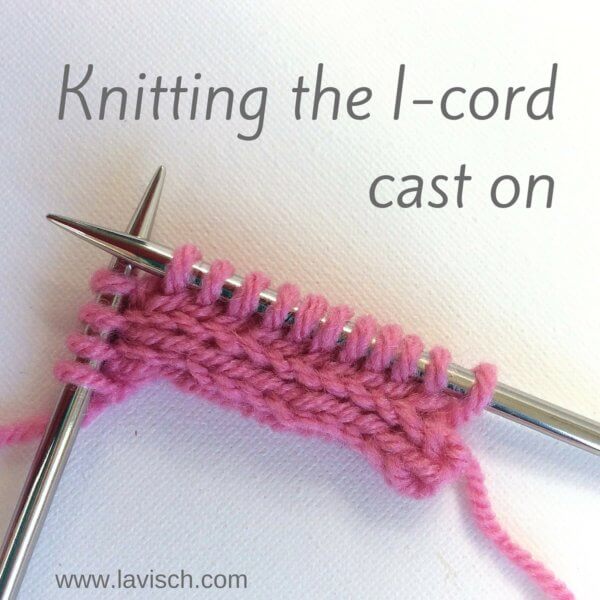
tutorial – working a cabled bind-off
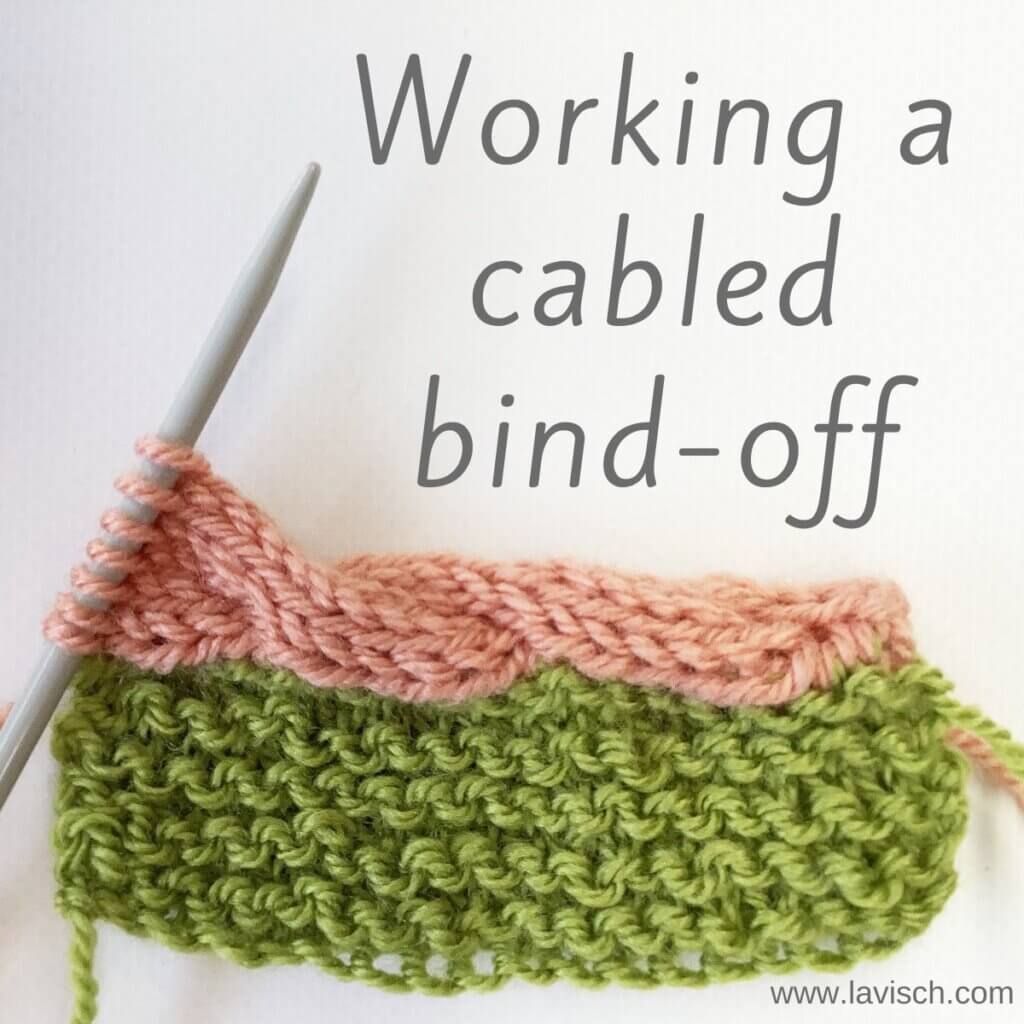
The cabled bind-off may look complex, but it’s really nothing more than a twist of a fat i-cord bind-off. Usually, an i-cord bind-off is made with 3 to 4 stitches. However, to make it a cabled bind-off, once every few rows the order of the stitches on your knitting needle is changed. These crossings are what gives cables their characteristic look. To give each half of the cable a bit of heft, they need to have enough stitches. Also, with cable knitting, you usually work stitches in stockinette. So, to make the cables pop against the body of the piece you’re binding off, a contrasting stitch in reverse stockinette is used.
In this example, I’ll be showing you a cabled bind-off with a 3/3 RC (3/3 right-cross cable). For this we will need 6 stitches, plus 1 purl stitch to make them pop. This bind-off is worked over a multiple of 6 stitches in the piece to bind-off, plus 1 extra stitches to bind-off the cable itself.
Materials used


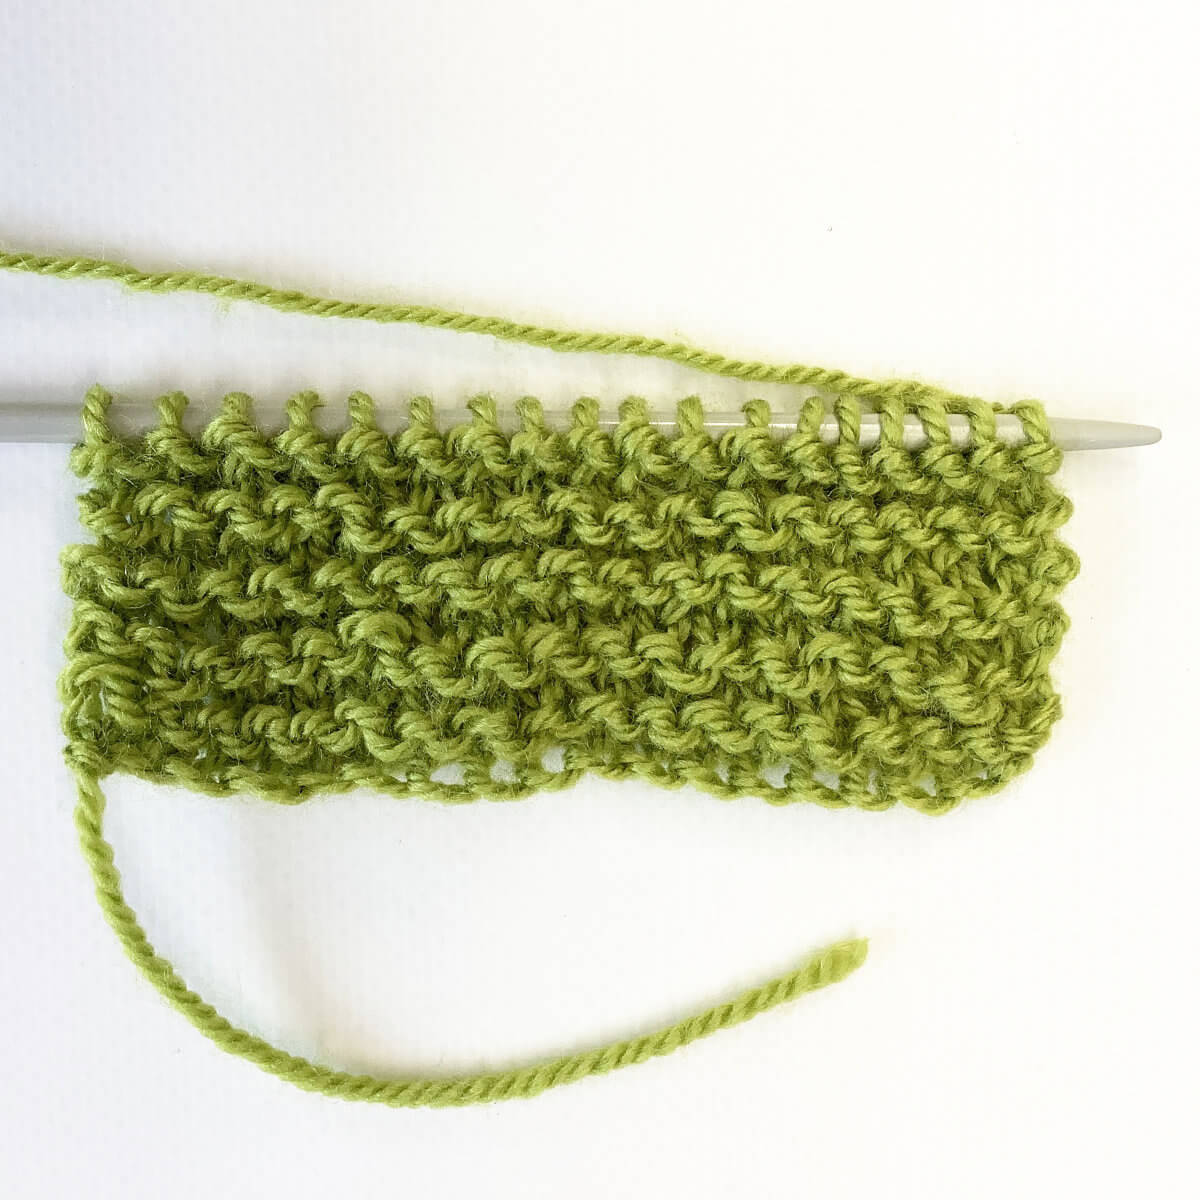
Yarn: Paintbox Yarns Simply DK, a good value, good quality 100% acrylic yarn, in the colors Vintage Pink, and Lime Green.
Needles: This is a pair of straights that I picked up at the second-hand store when I started knitting, brand unknown. You will also need a cable needle in a similar or slightly smaller size as your knitting needles.
The cabled bind-off step by step
In short, the instructions for this bind-off would look something like this:
Cabled bind off: Cast-on 7 sts, *k6, p2tog, sl 7 sts just worked back to left-hand needle, pull yarn tight across back of sts; rep from * until 1 st remains.
Next: Bind-off 6 sts by knitting 1 st, *then knitting the next st and passing the one already on the right-hand needle over the newly worked stitch*, work *-* 5 times, p2tog, and fasten off.
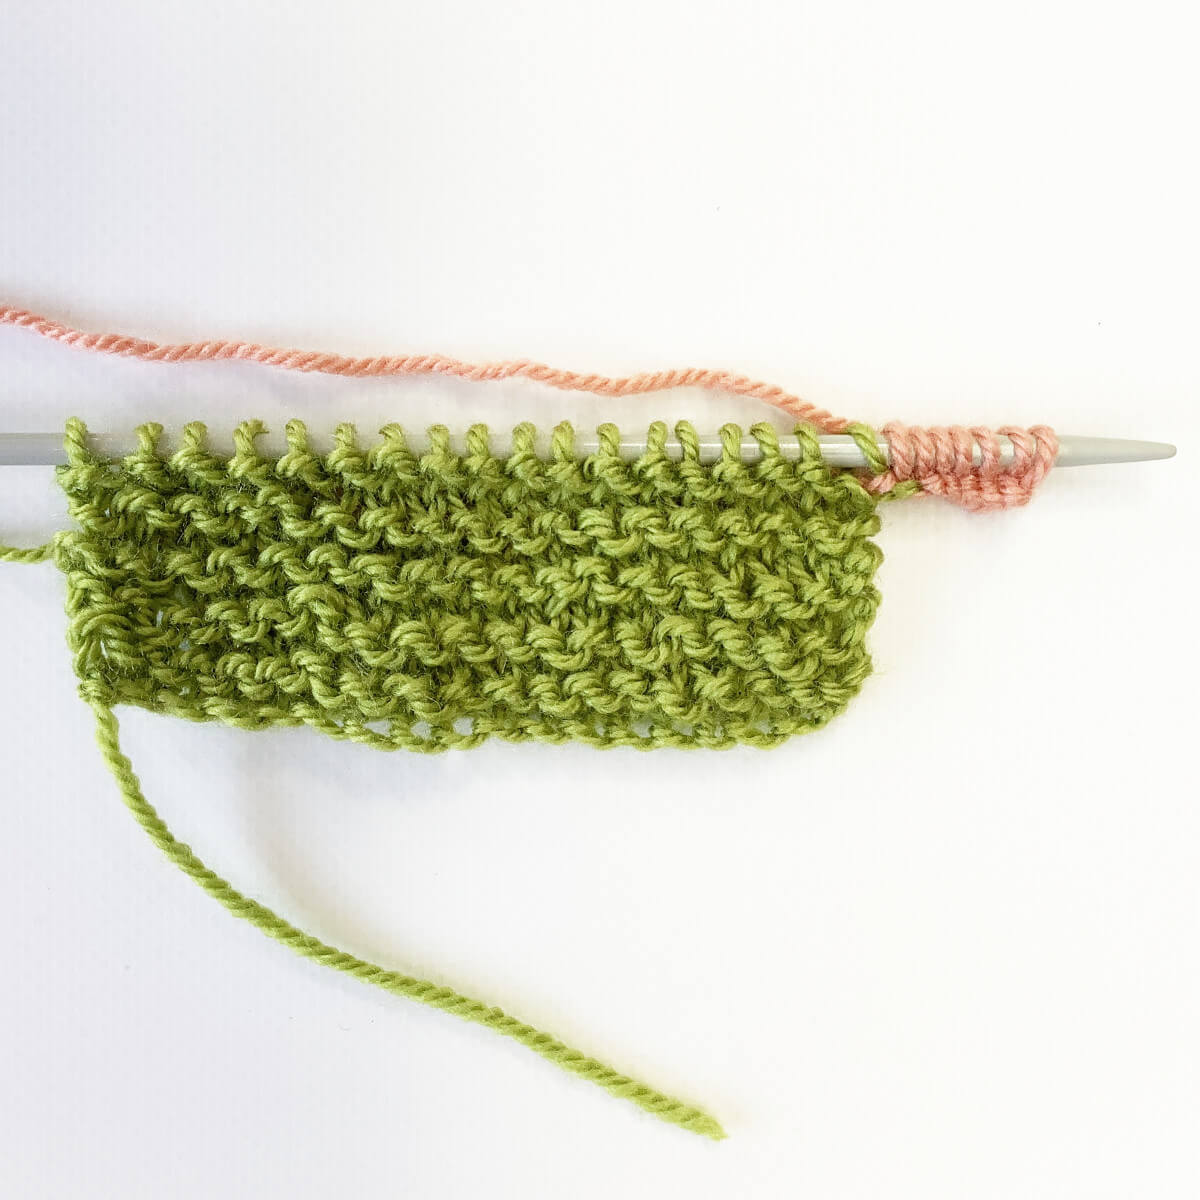
- You can start casting off as soon as the last row or round of your work has been knit, and after your work has been turned when working flat back and forth.
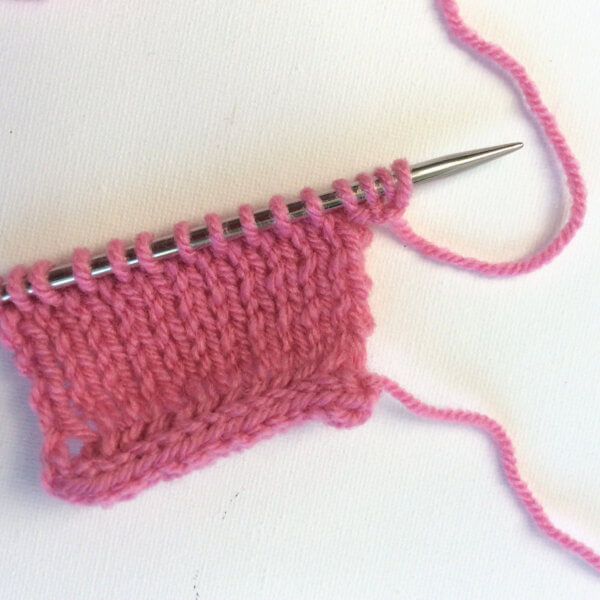
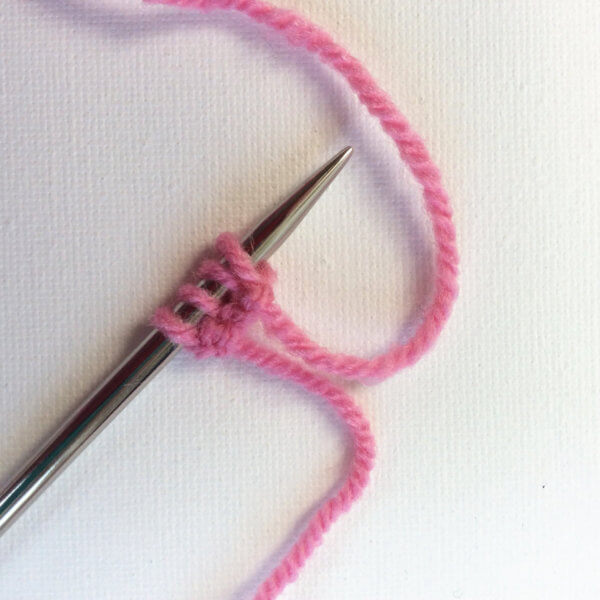
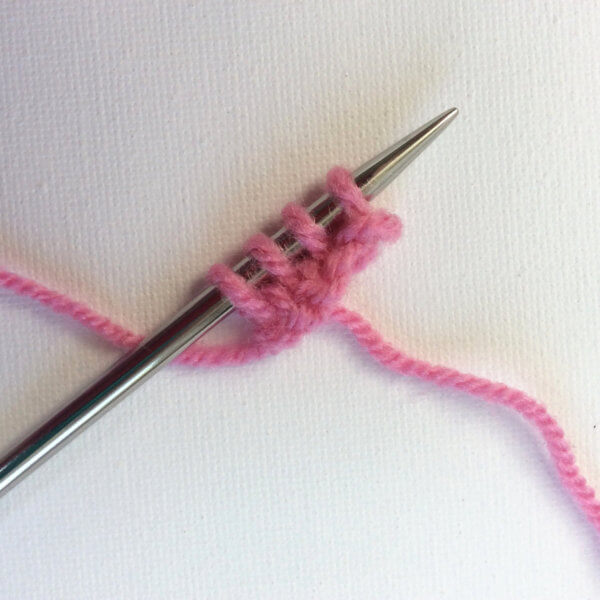
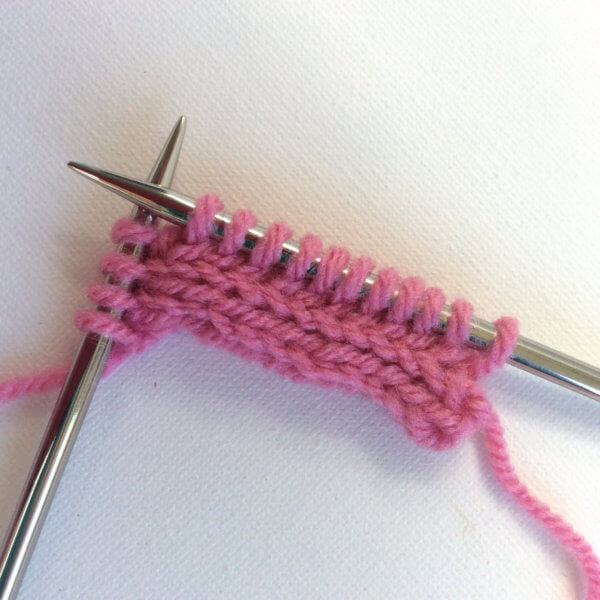
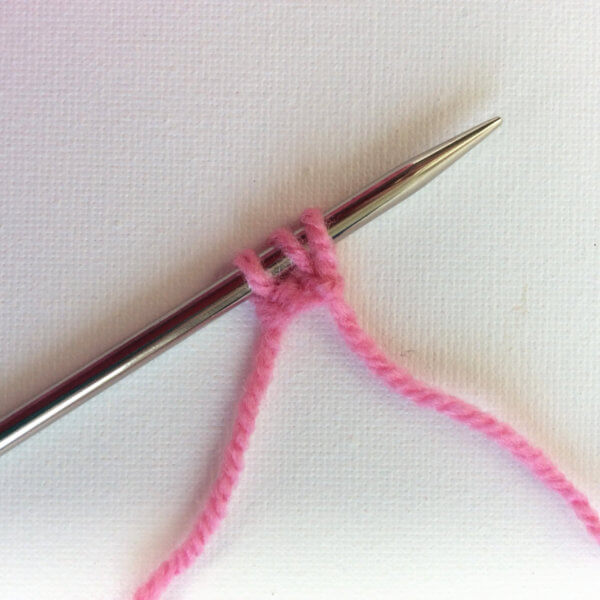
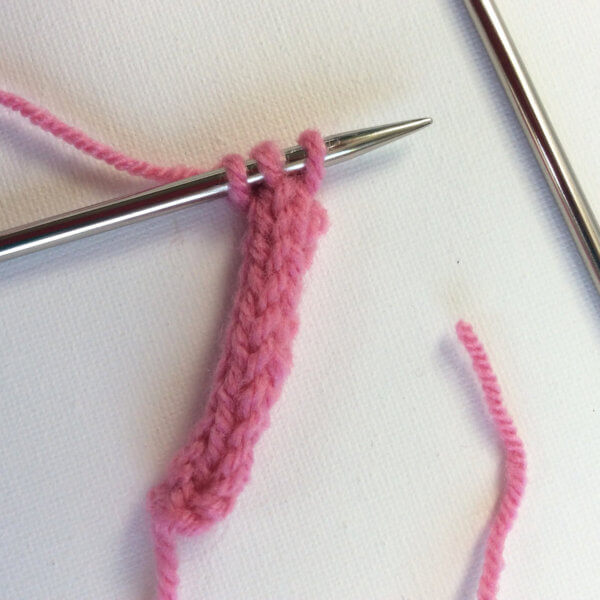
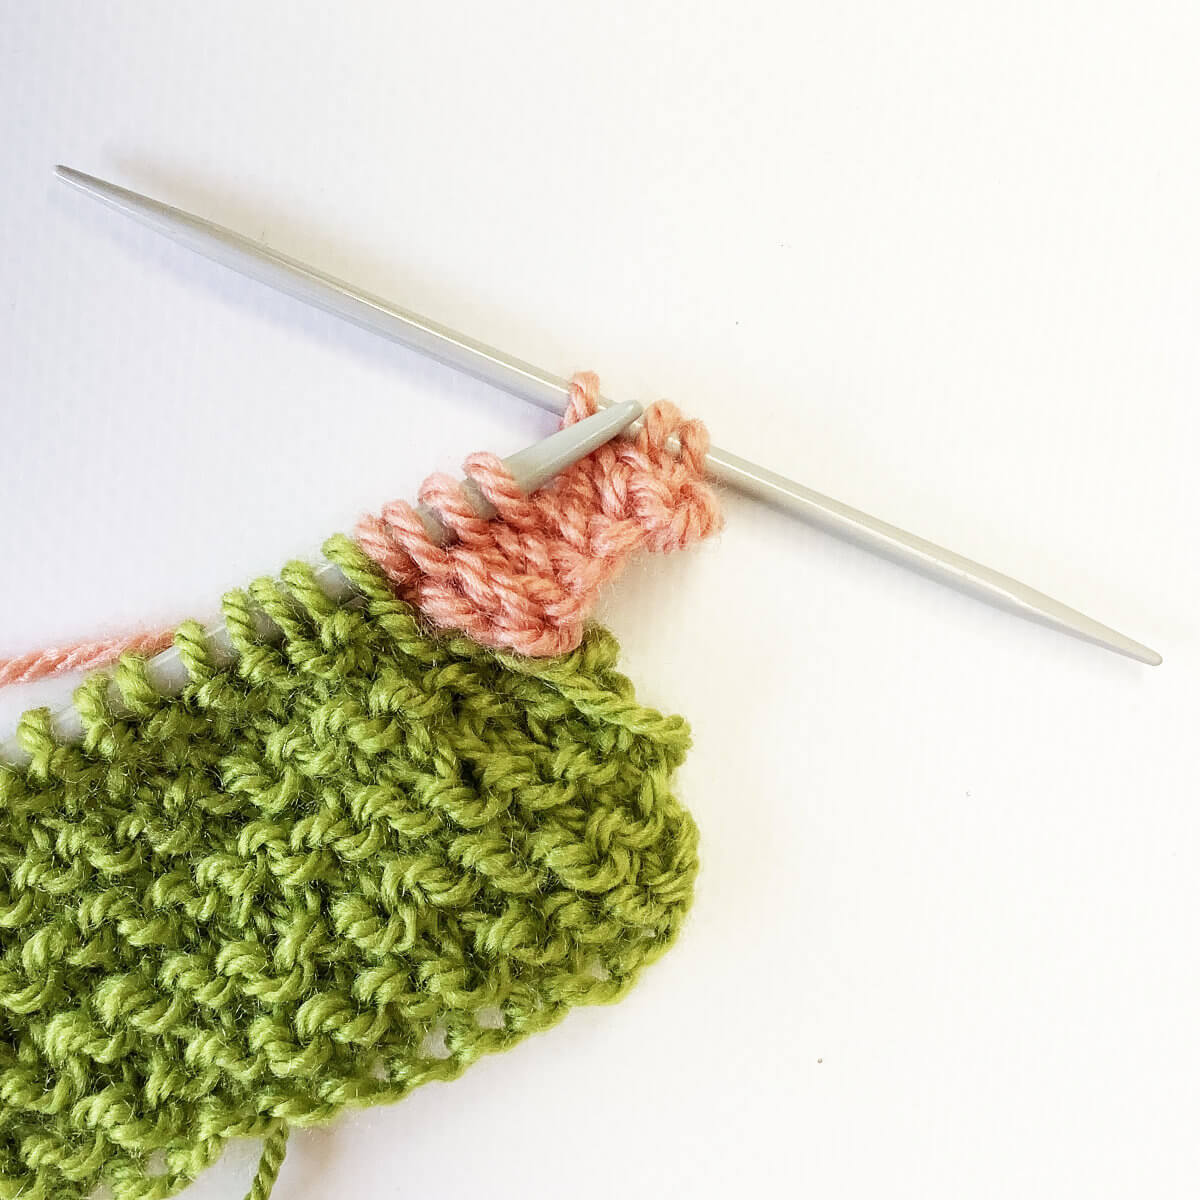
- With the right side facing, cast-on 7 stitches. I used the knitted-on method.
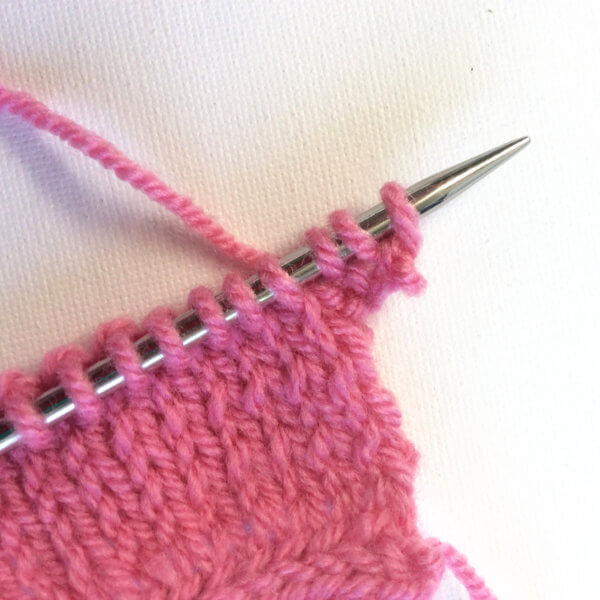
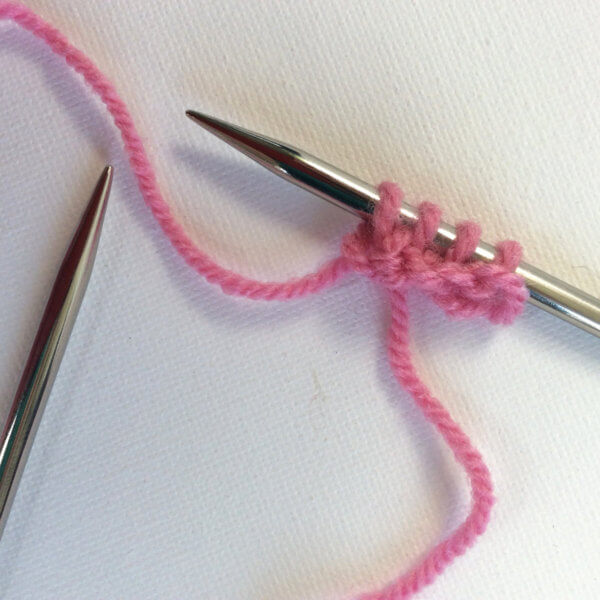
- Knit 6 stitches.
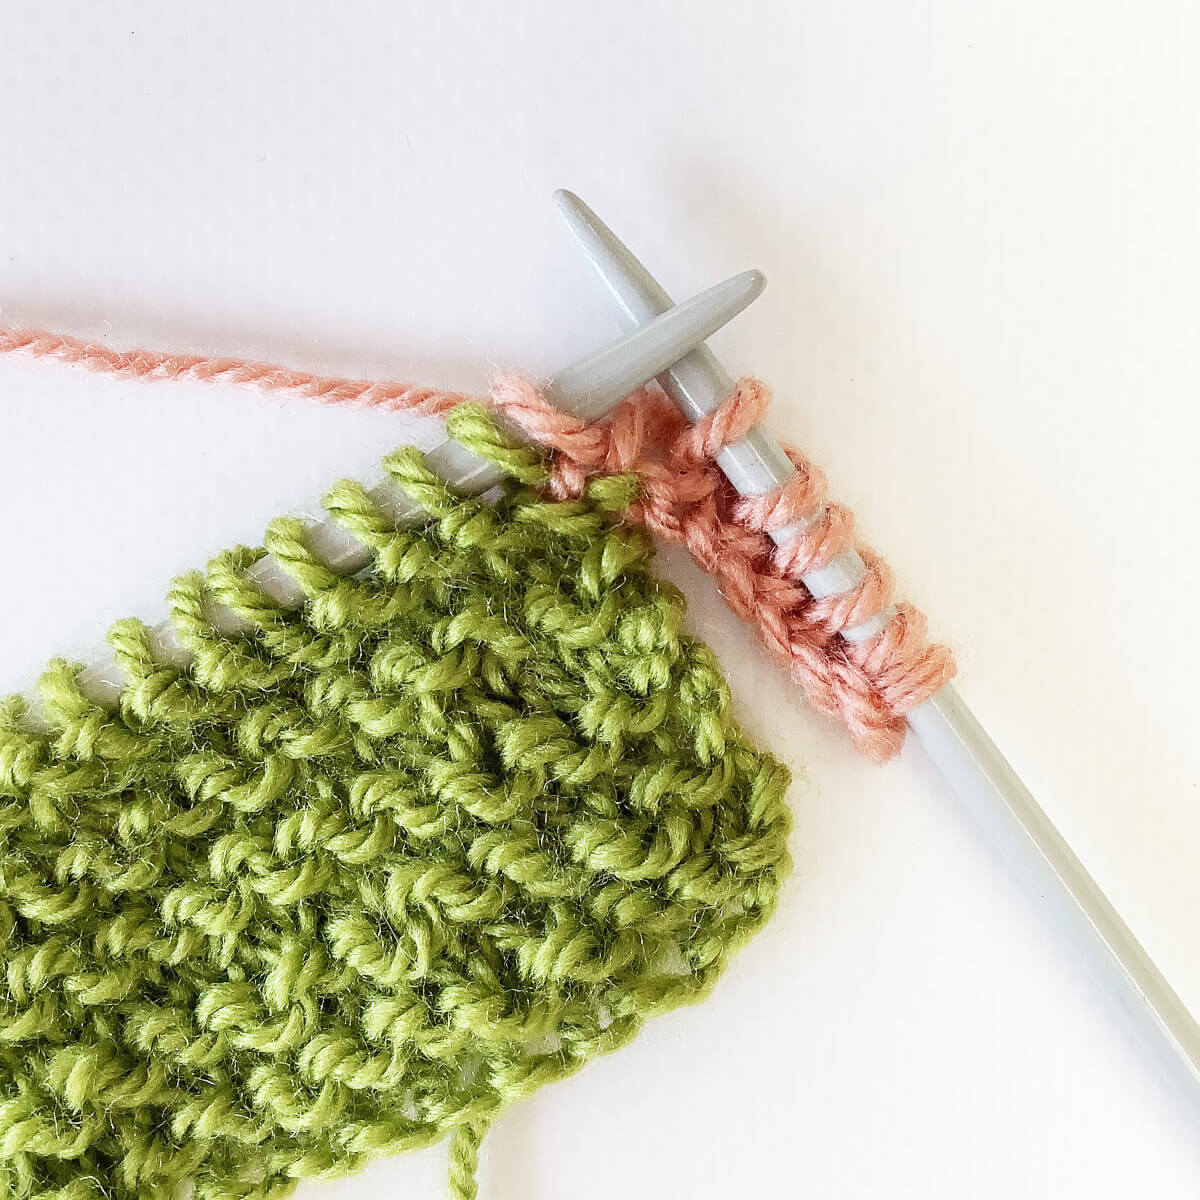
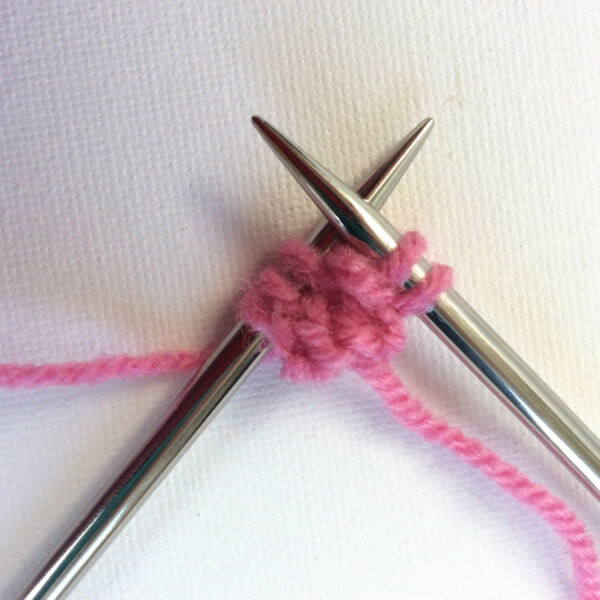
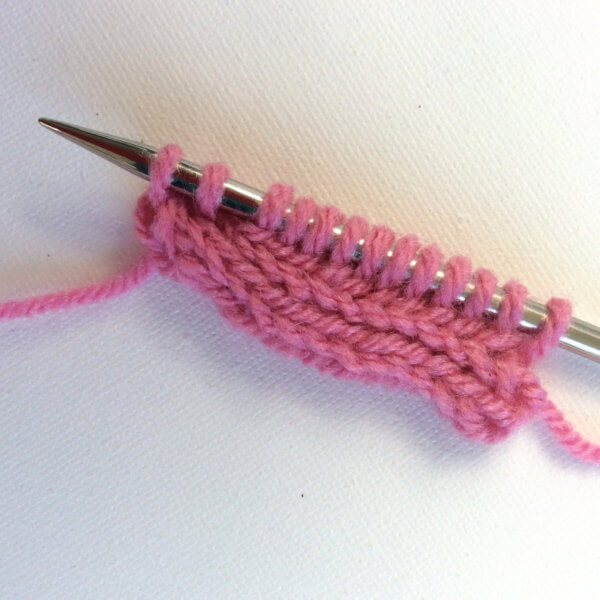
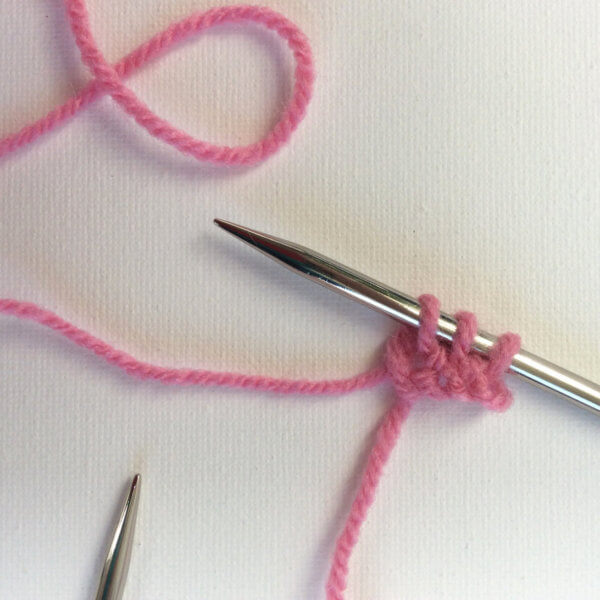
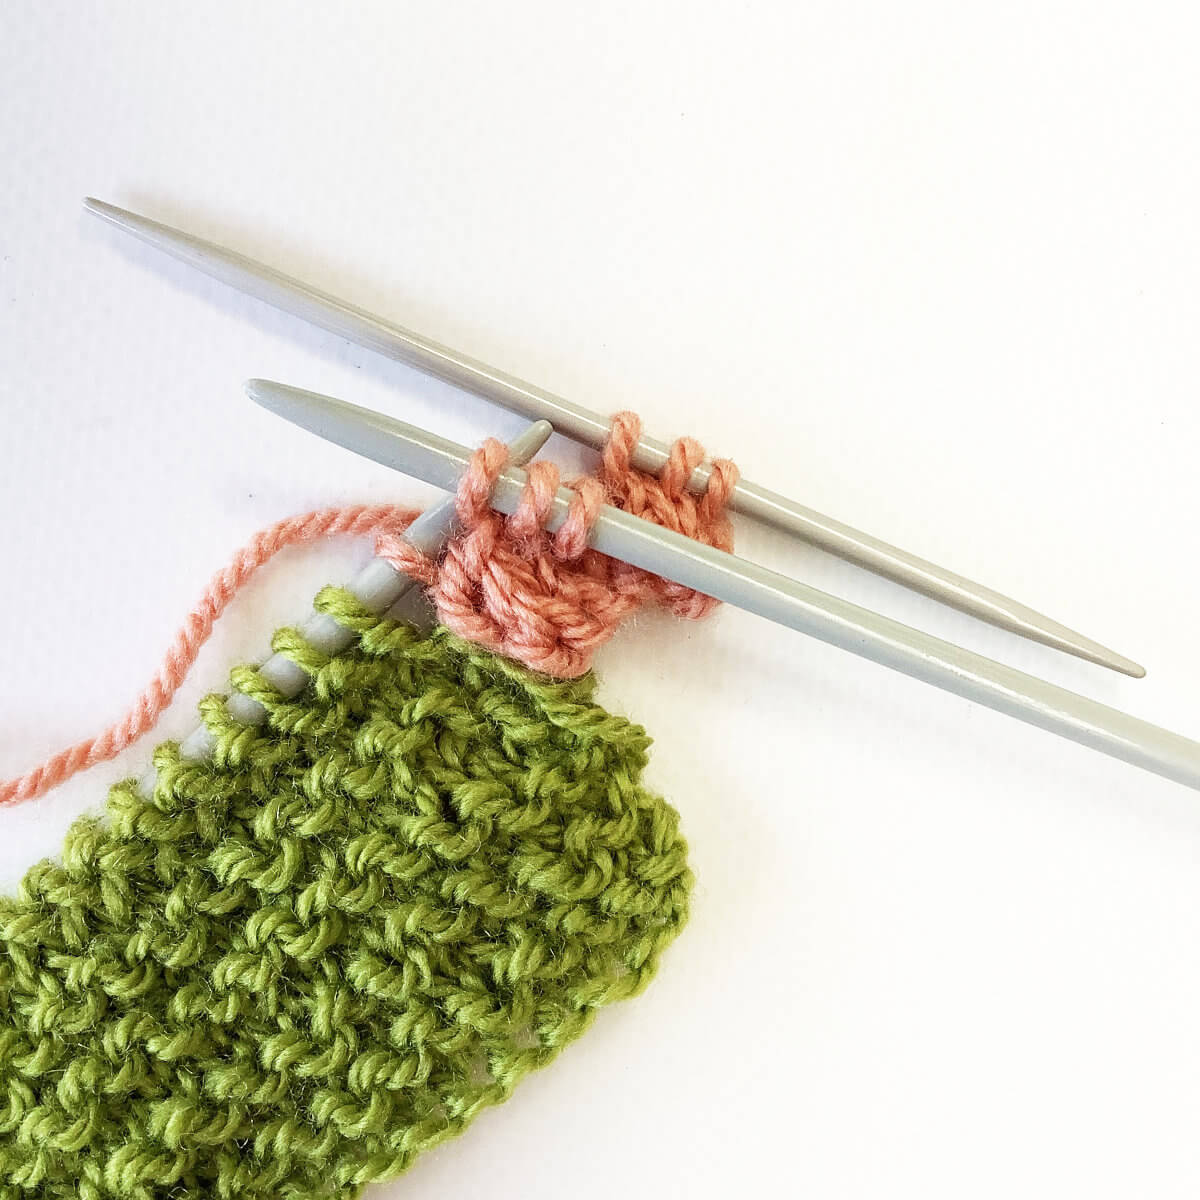
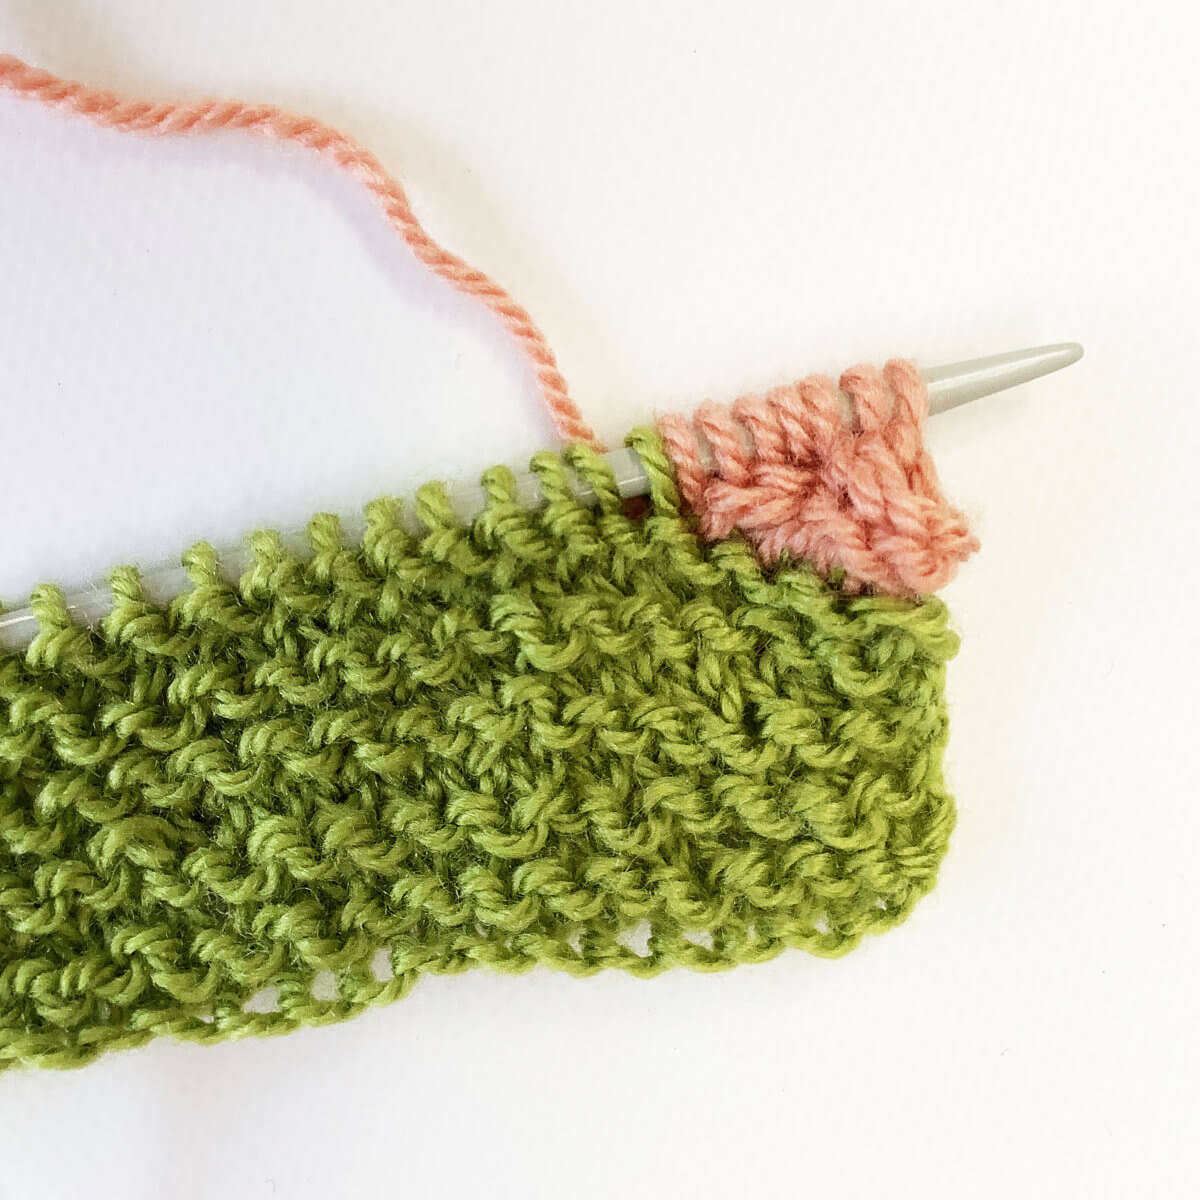
- Purl 2 stitches together, 1 from the bind-off, and the other one from the body of the work.
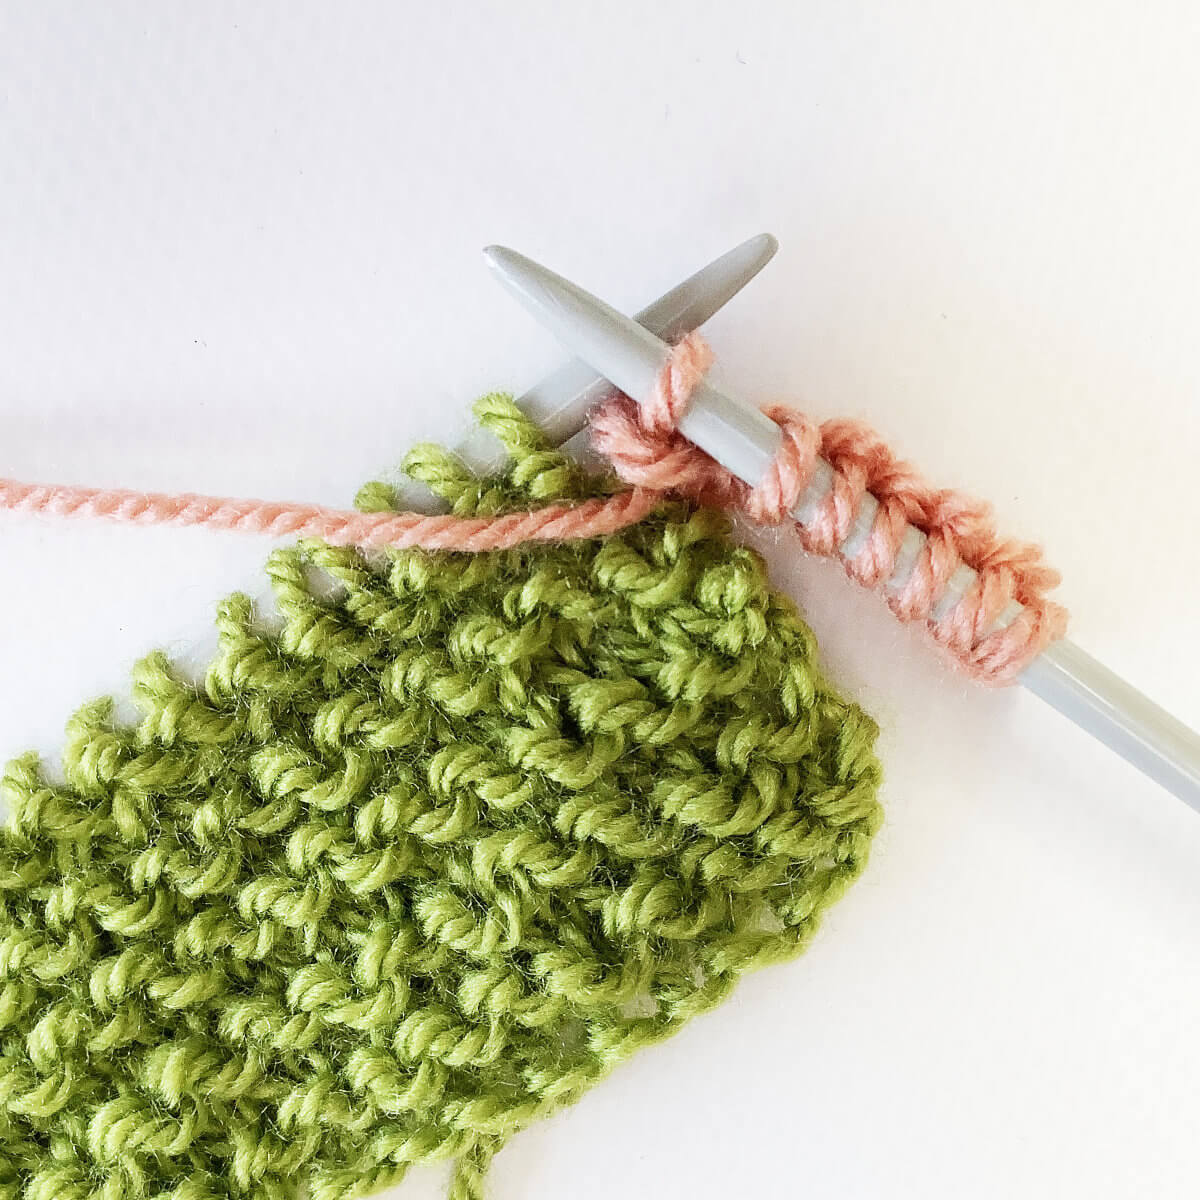
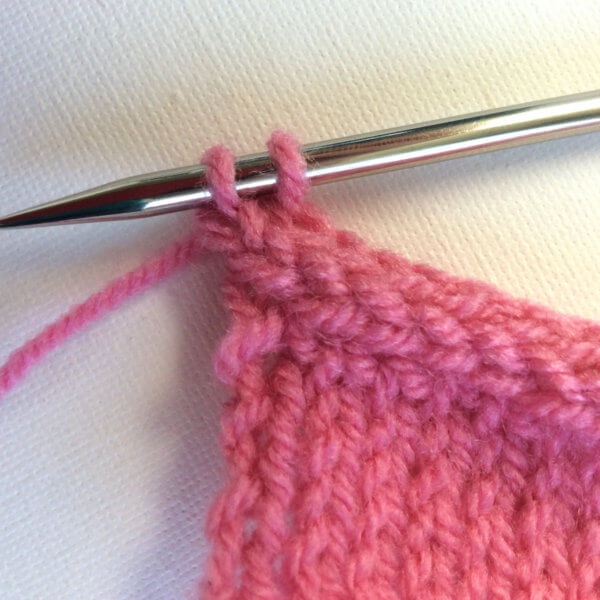
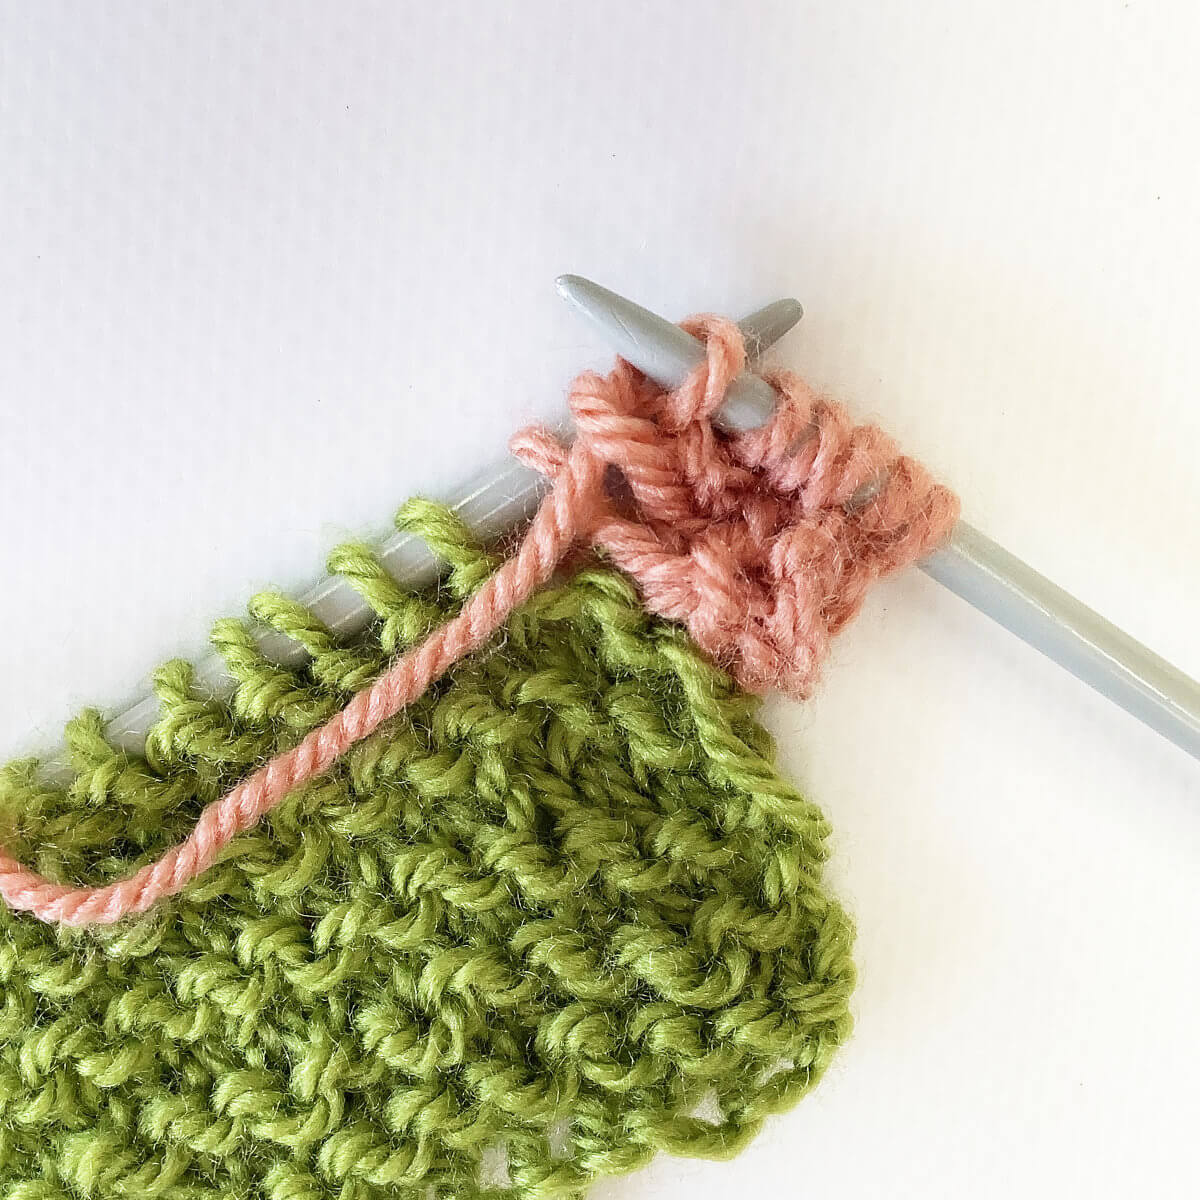
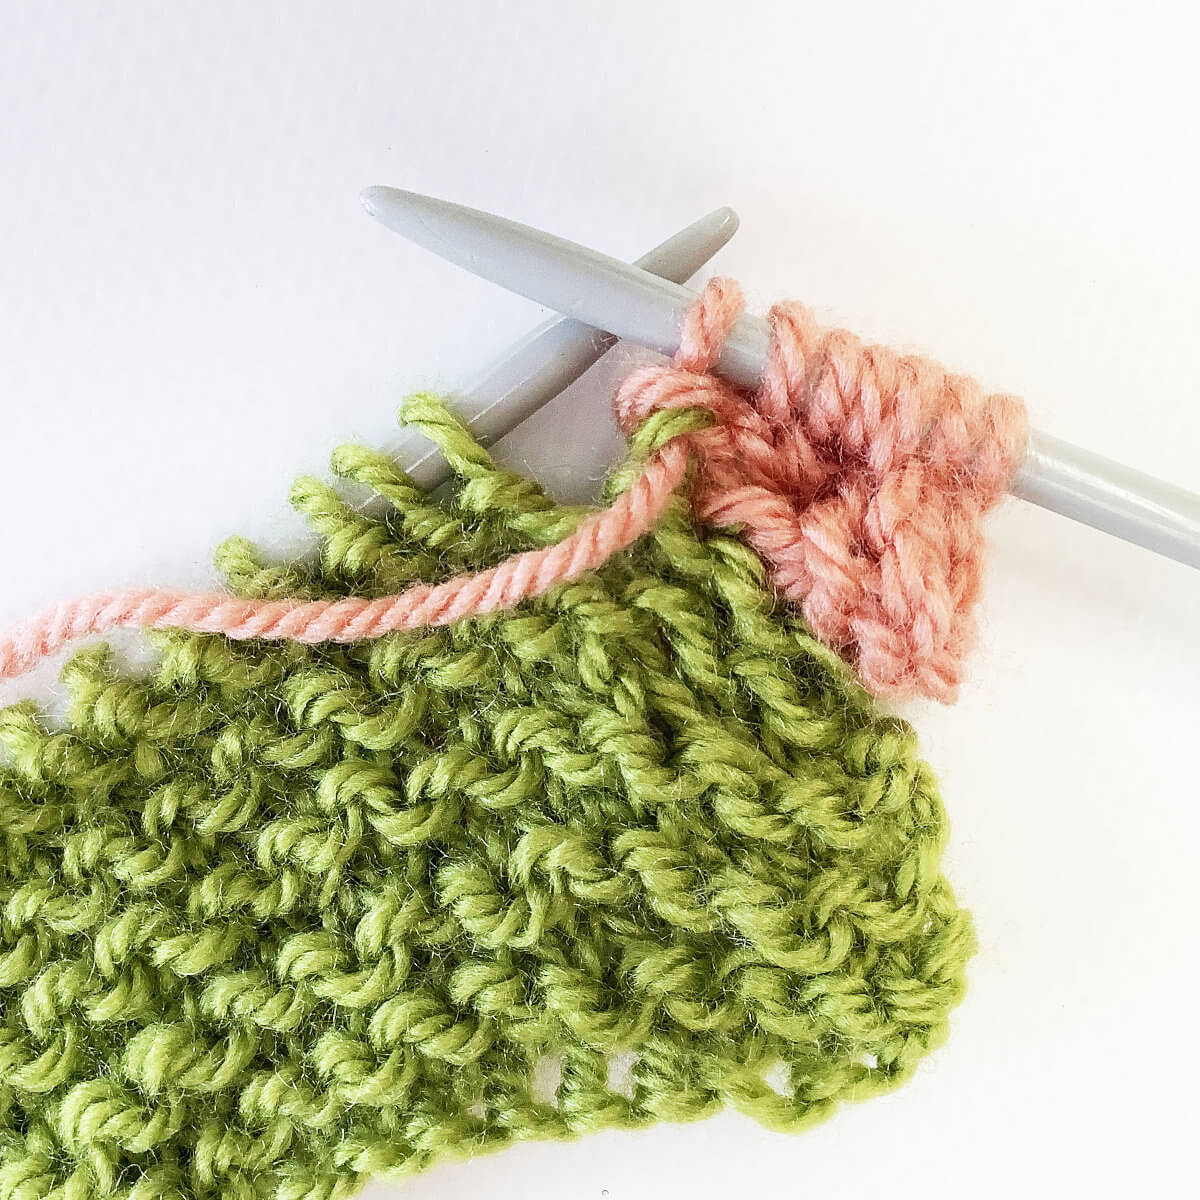
- Move yarn to the back of the work, then slip the 7 stitches on the right-needle back to the left hand-needle one by one.
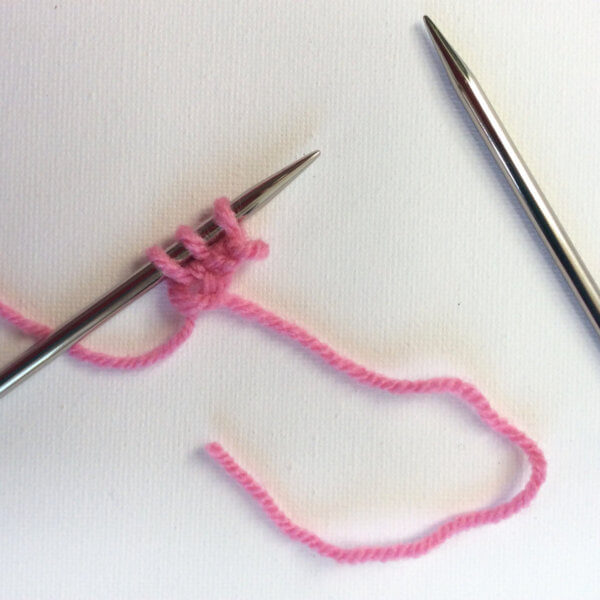
- Repeat steps 3 to 5 once.
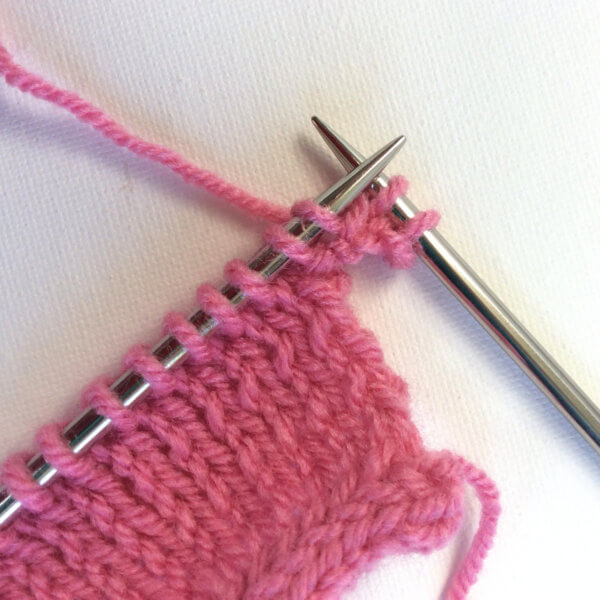
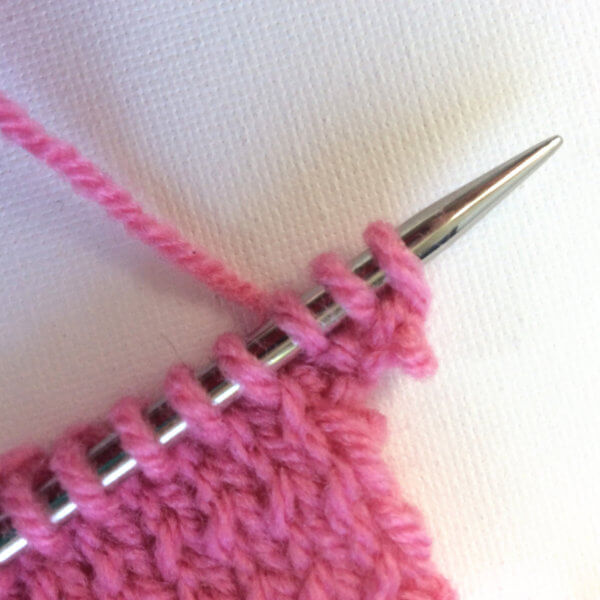
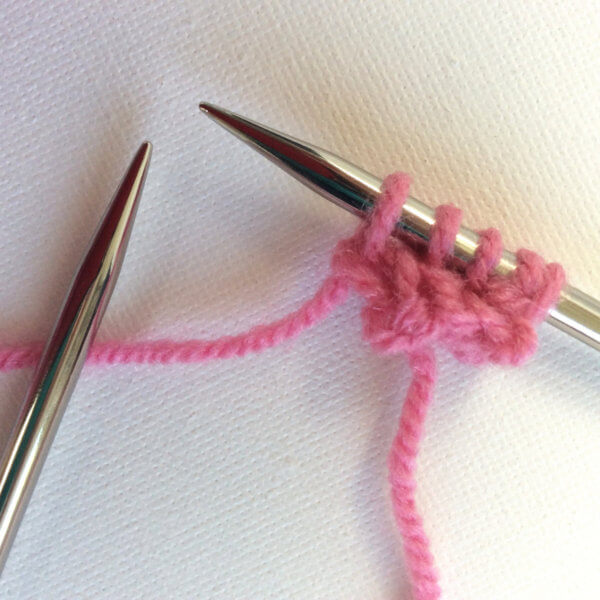
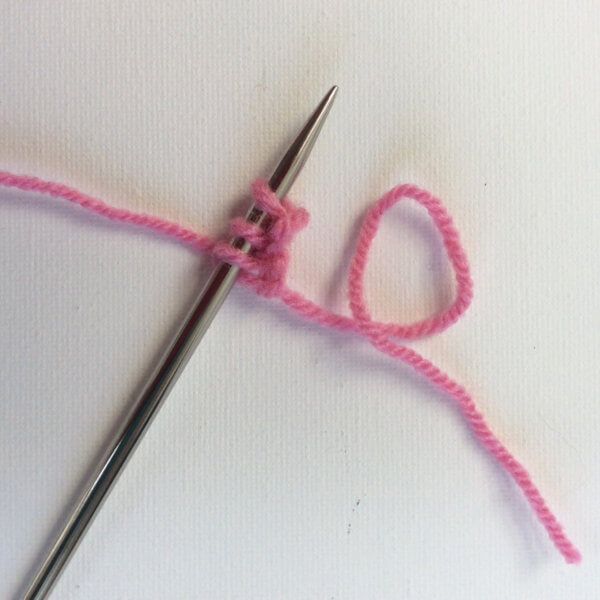
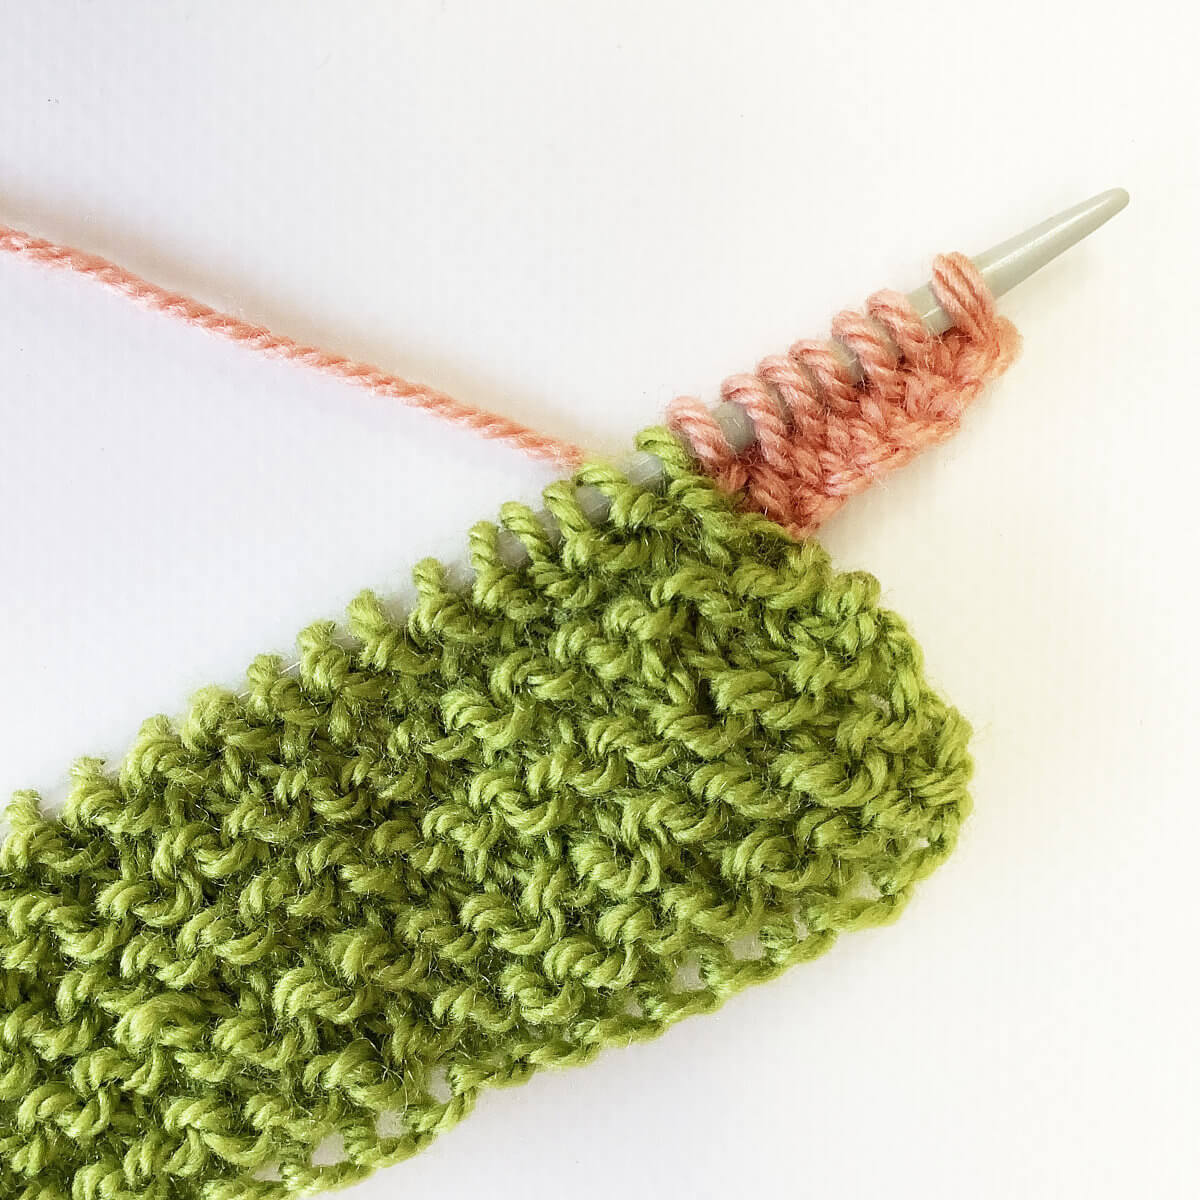
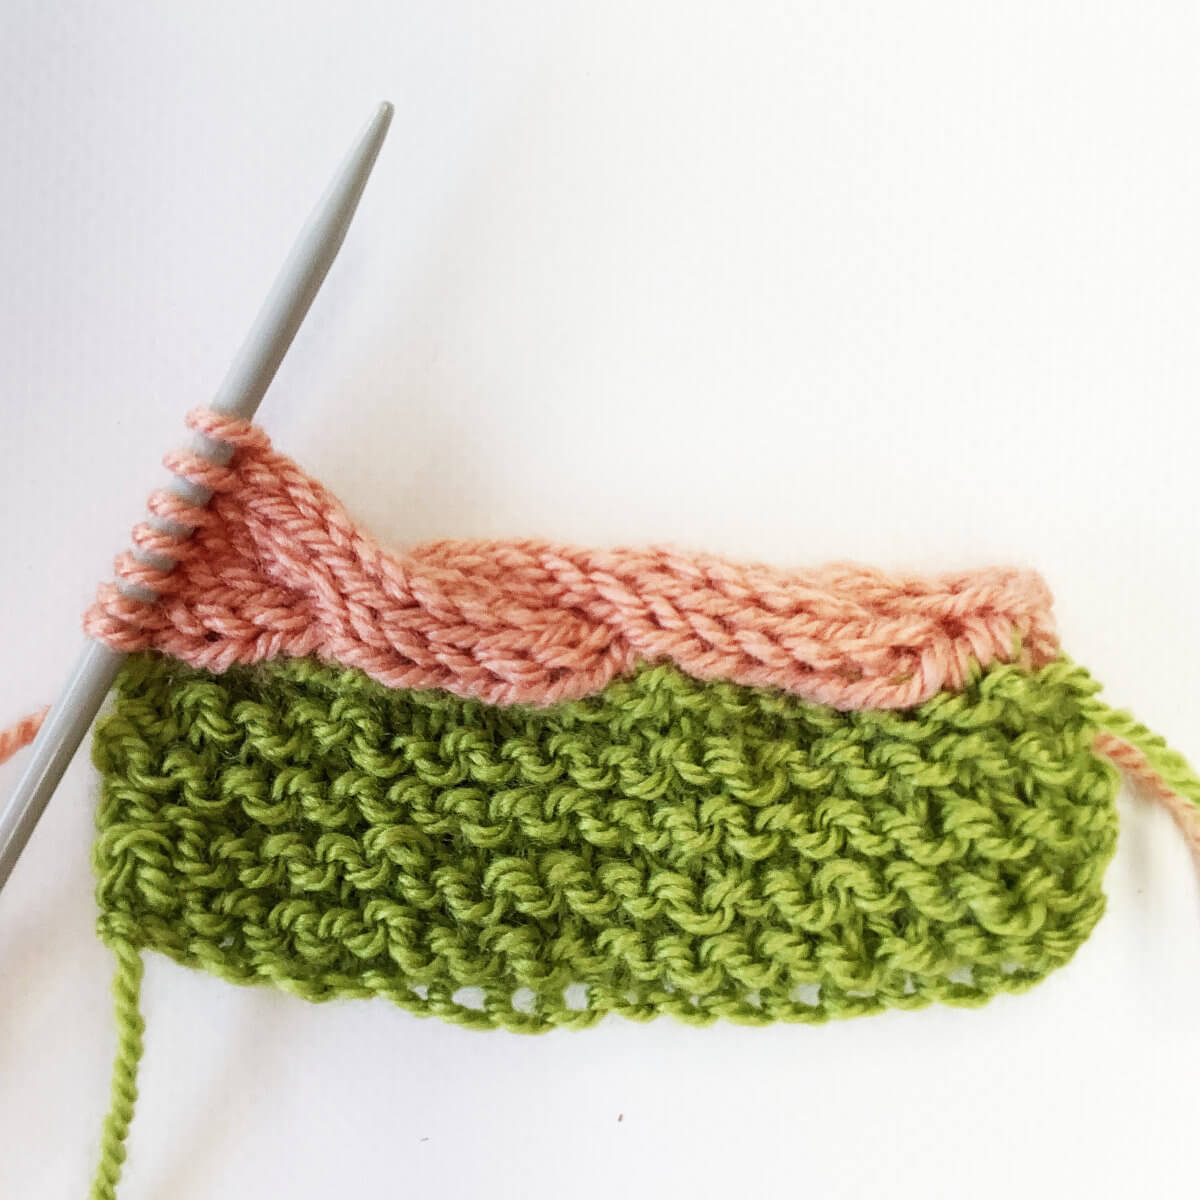
- Next, we’re going tot work the cable twist row with a 3/3 RC (3/3 right-cross cable). First, slip the next 3 stitches to the cable needle, and place at the back of the work.
- Knit 3 stitches….
- …. finish the cable by knitting 3 stitches from the cable needle.
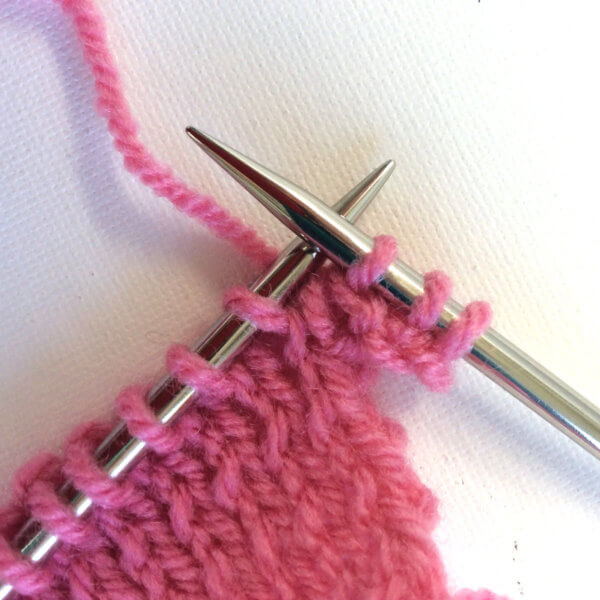
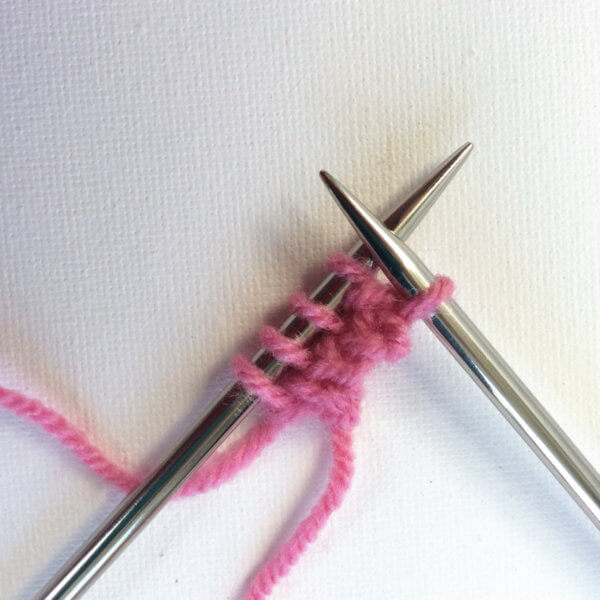
- Next, purl 2 stitches together. Again, one from the bind-off, and the other one from the body of the work.
- Move yarn to the back of the work, then slip the 7 stitches on the right-needle back to the left hand-needle one by one.
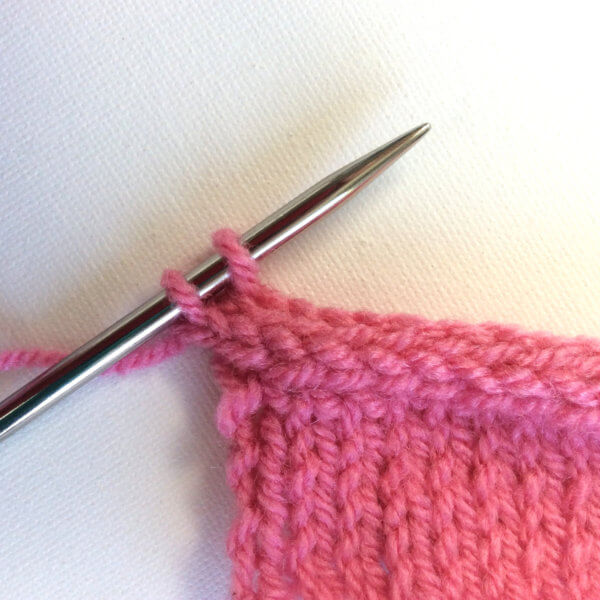
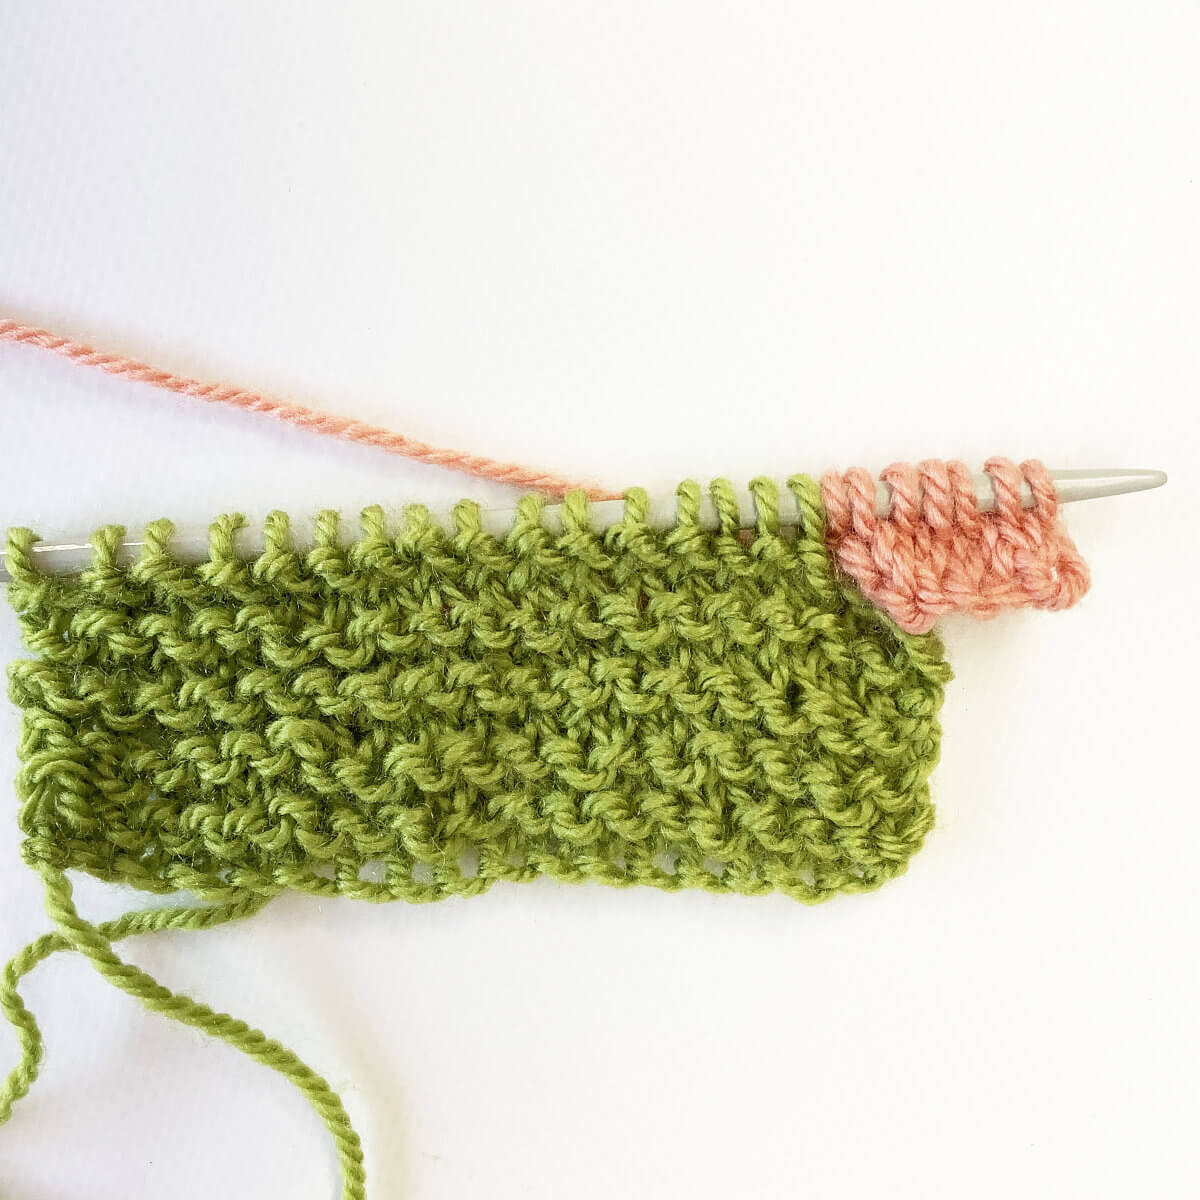
- Repeat steps 3 to 5 another 3 times. You have now bound-off 6 stitches.
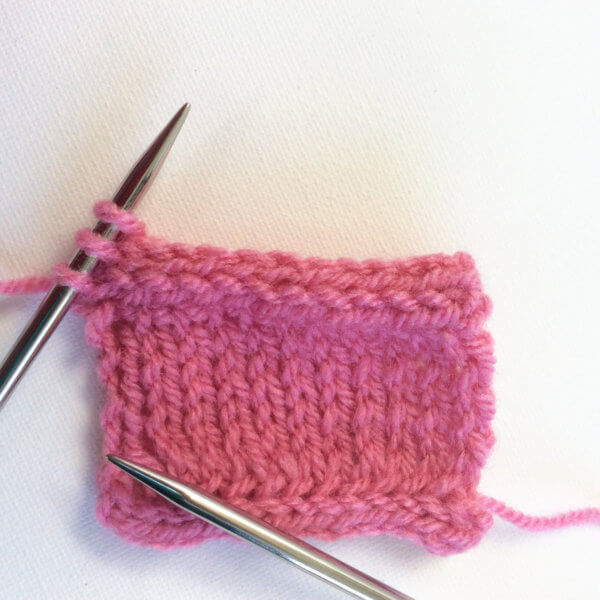
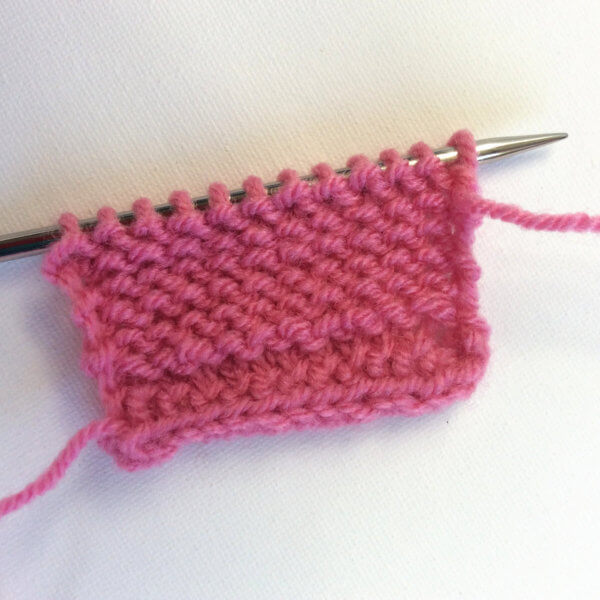
- Repeat steps 3 to 12 until only 1 stitch is left over.
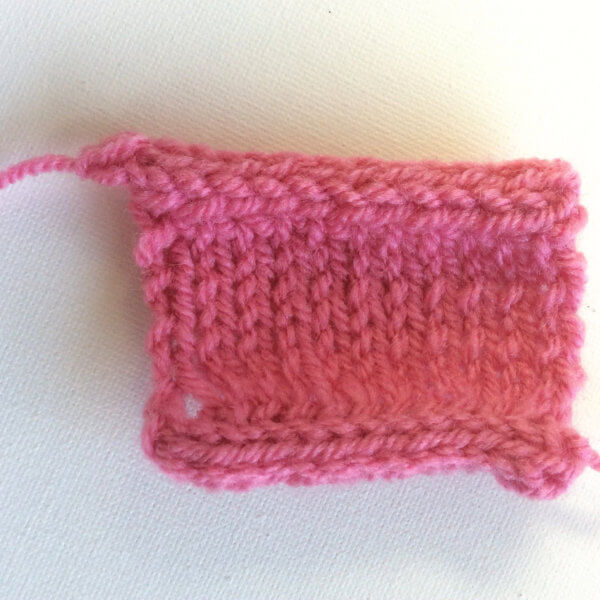
Please note that in my swatch, I hadn’t accounted for this last stitch. So in this example, I had no stitches left over at this point.
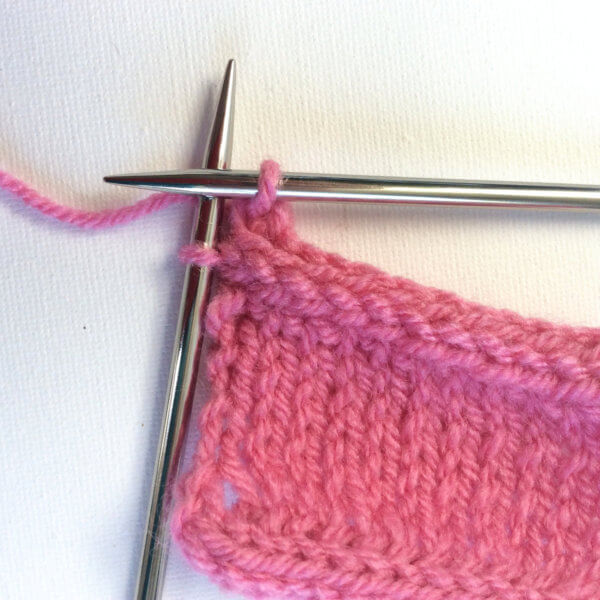
- To finish, bind-off 6 stitches by knitting 1 stitch, *then knitting the next stitch and passing the one already on the right-hand needle over the newly worked stitch*, work *-* 5 times, purl the last 2 stitches together, and fasten off.
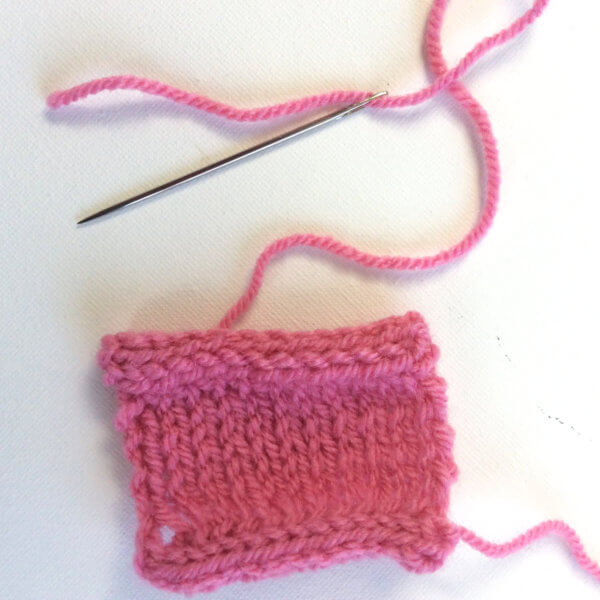
In my example, I did not have any stitch left to do the p2tog with, so I just fastened off.
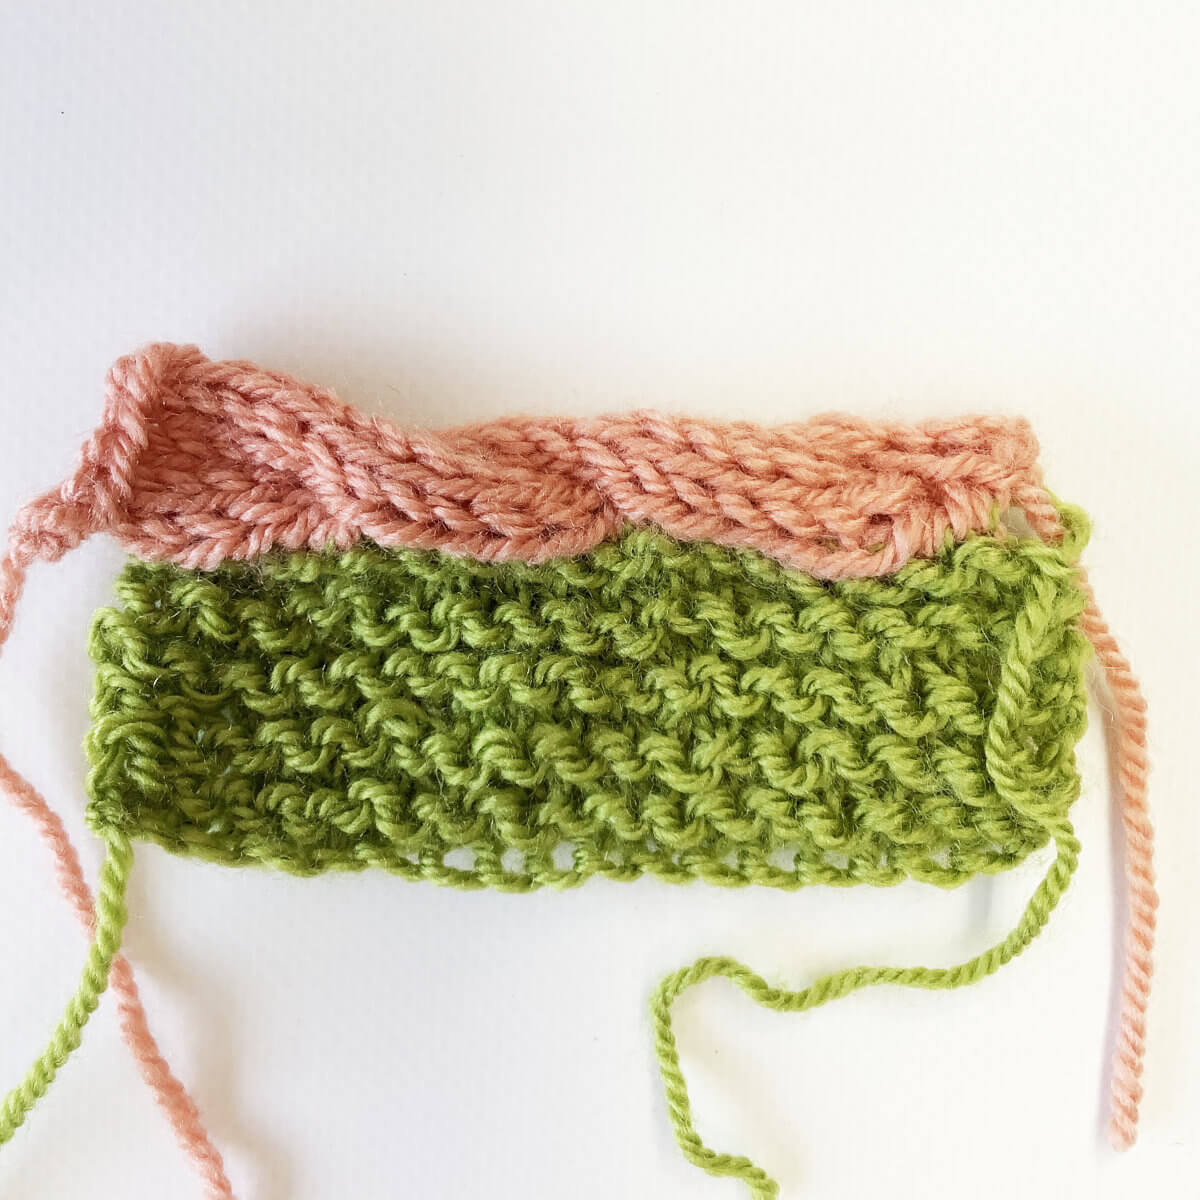
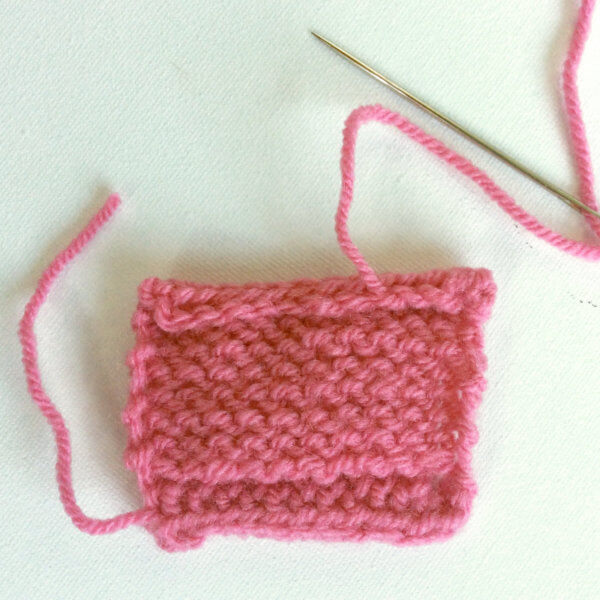
Pretty, right?!
A few notes
- In this example, I worked the cabled bind-off in a contrasting color. You can, of course, also work the bind-off in the same color as the project itself.
- All i-cord based bind-off edge on pieces worked in stockinette stitch are very pretty. As you know, however, stockinette tends to curl…. A lot. An i-cord bind-off is usually not sufficient to prevent curling. For this, you will have to look at other methods, such as garter stitch or rib.
- Depending on the difference between your stitch, and row gauge, the bind-off may be tighter than the body of the work. If this is not desired in your piece, you could consider going up a needle size. Working an extra row, without connecting it to the body once every few repeats, may also be sufficient to get enough length at the edge.

Thanks to my Patreon supporters for bringing you this freebie! Creating quality patterns and tutorials is a lot of work and resource-intensive. However, I find it important to give you free content like this tutorial. Thanks to the generous support of my Patreon supporters, I can make it happen. Thank you, patrons! Click here to join, or click here to read more about La Visch Designs on Patreon.
tutorial – working a cabled bind-off Read More »