knitting

green madeira

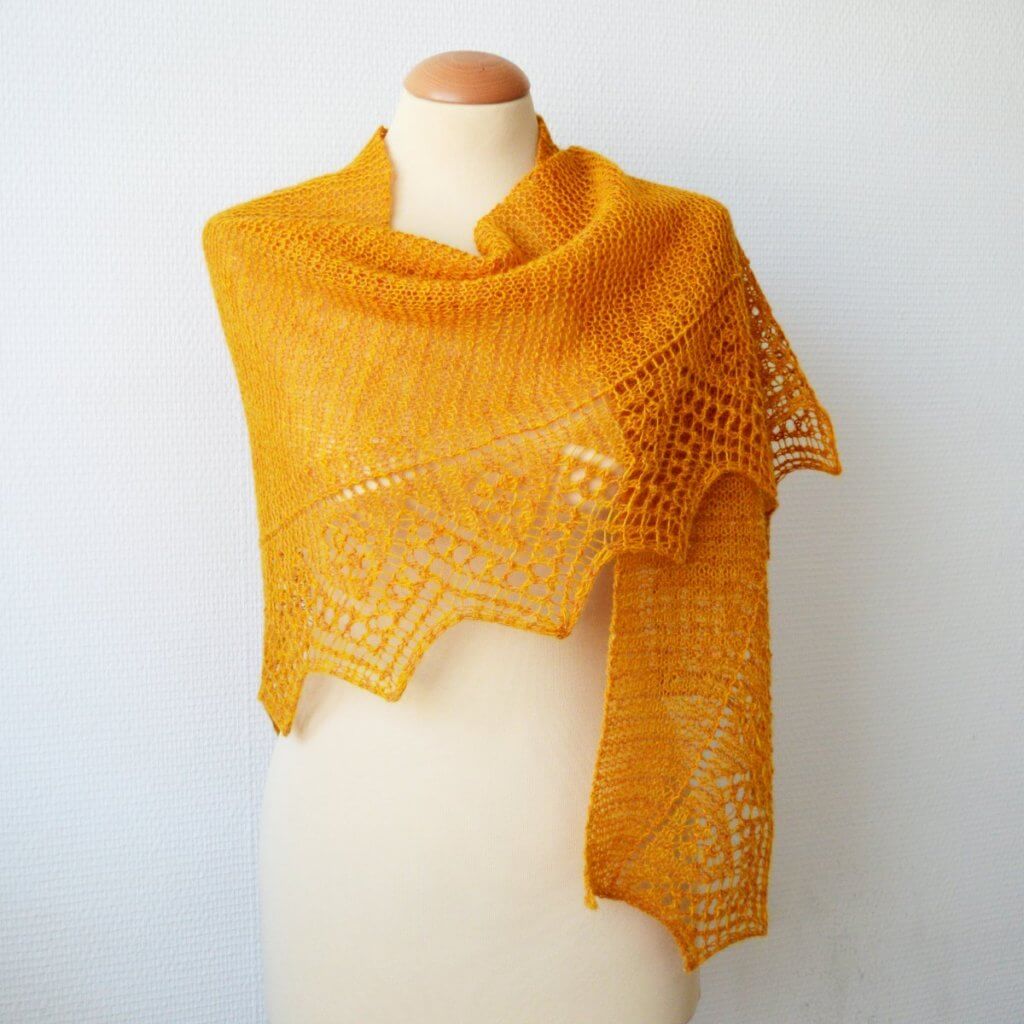
Green Madeira shawl

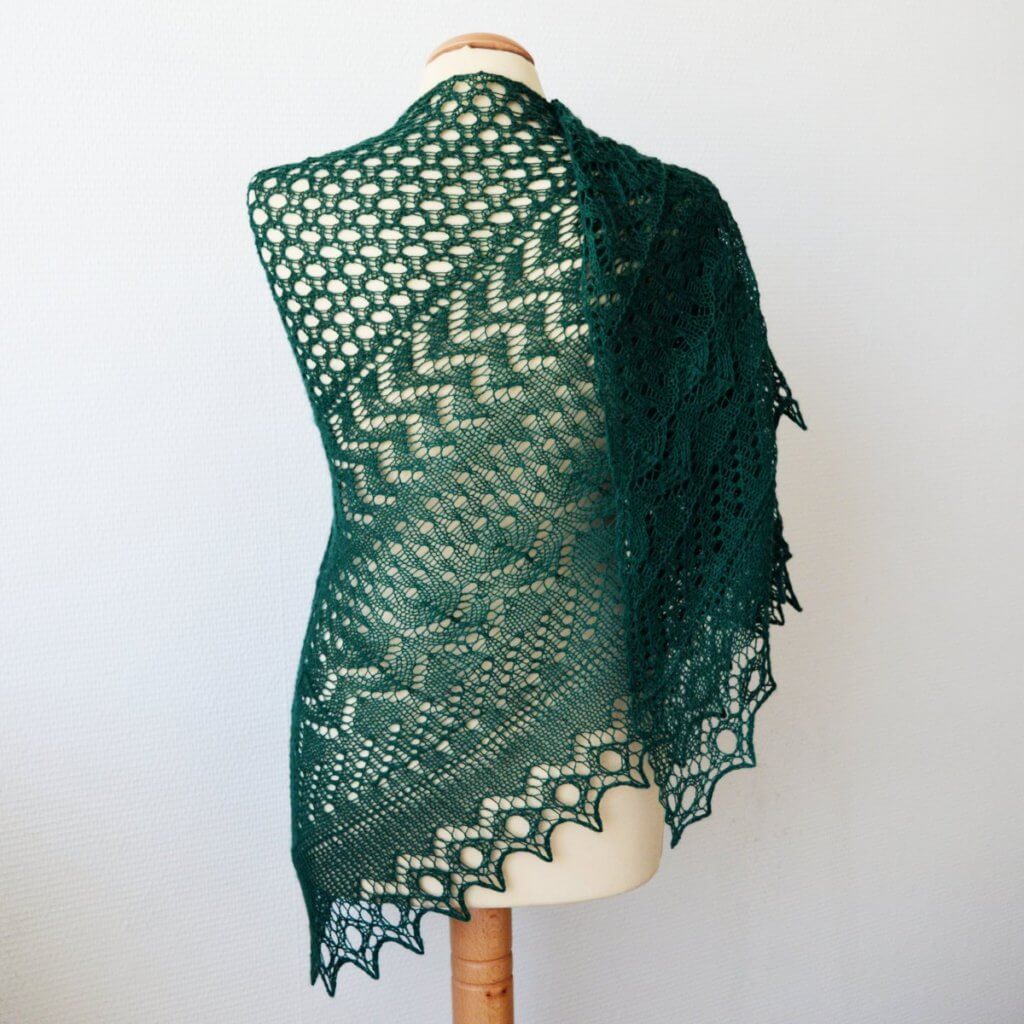
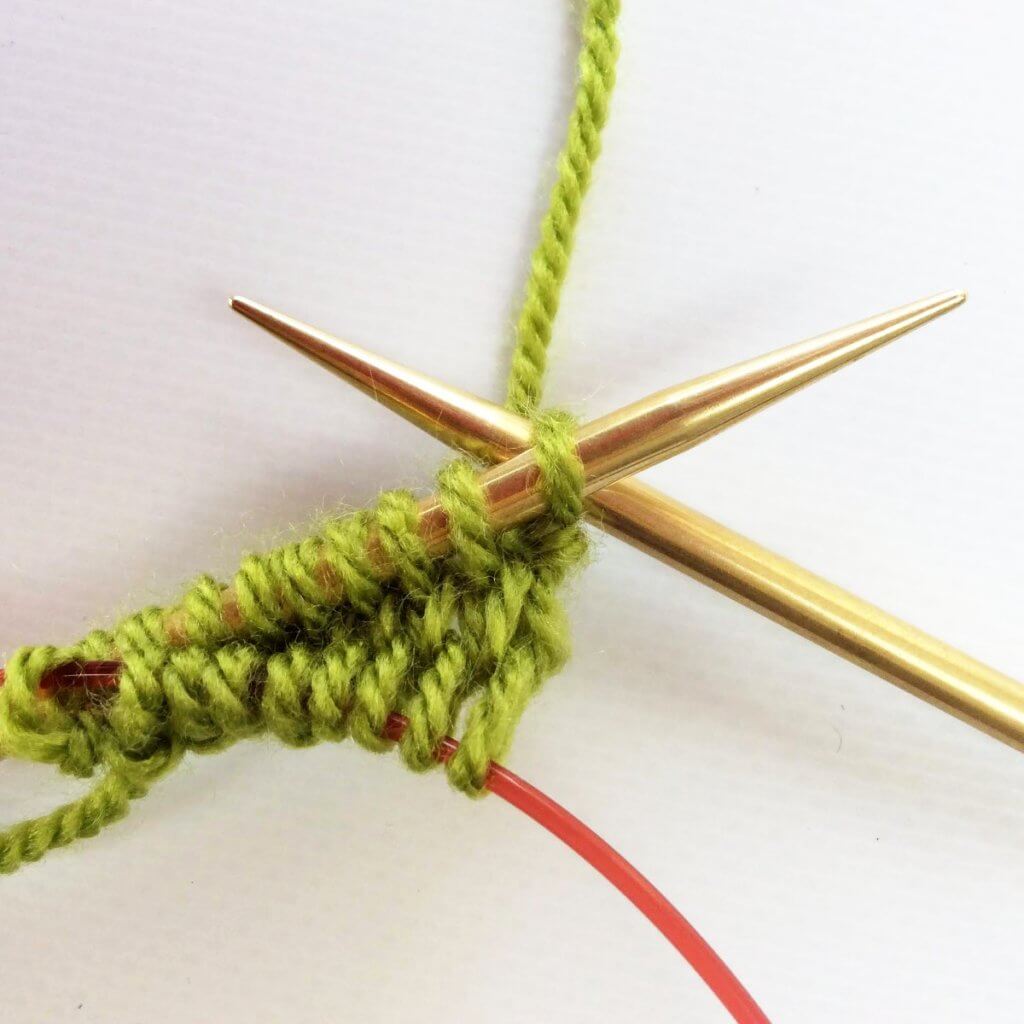
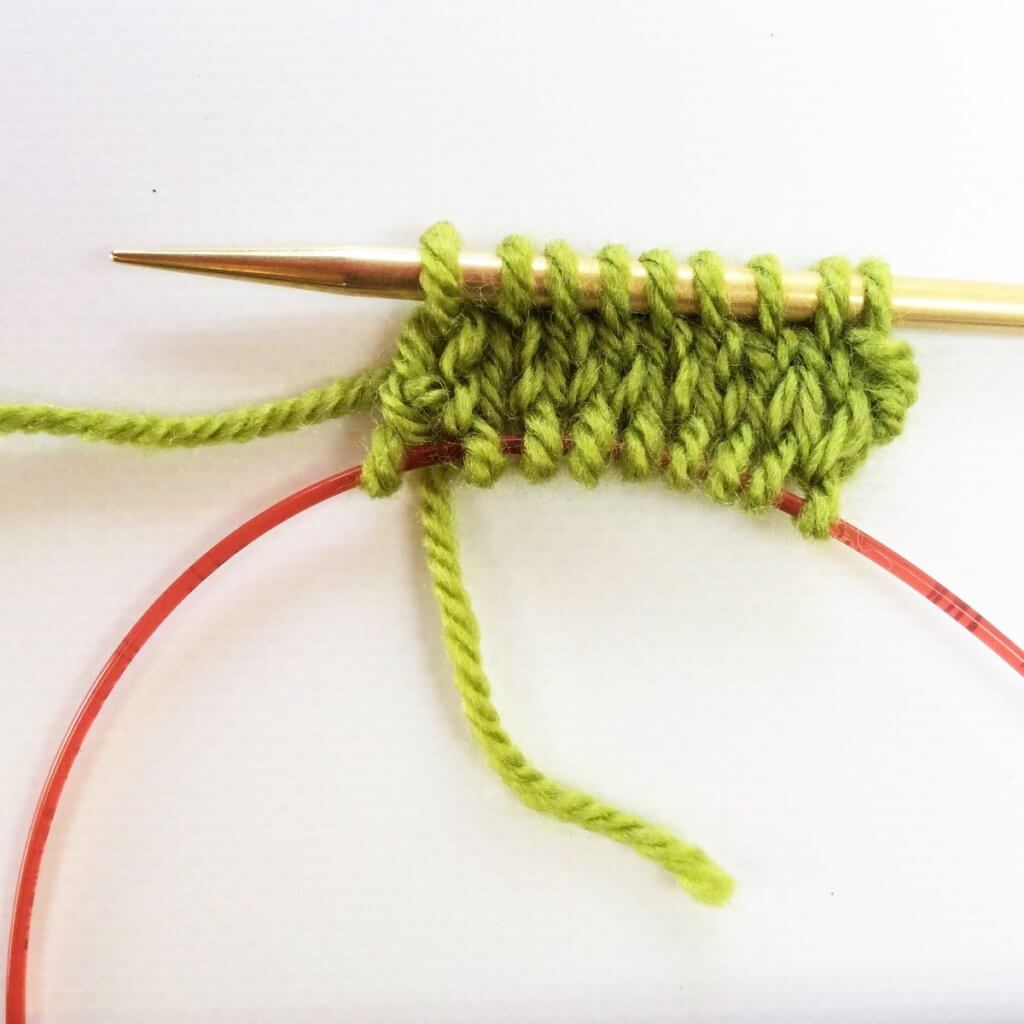
Green Madeira is a semi-circle Pi shawl, designed for the gorgeous gradient yarn used. While I made my version in a mohair type yarn, any worsted weight gradient yarn would make a lovely shawl with this design!

Work this shawl from the top-down, starting with a garter stitch tab. The instructions for the lace are, of course, both charted and fully written out.


Pay what you want: (minimum €6.50)

Add to cart


Difficulty level

The half-circle Green Madeira shawl is knit from the top down and is started with a garter tab cast-on. Lace patterning is worked on both RS and WS rows. Stitches used include knit, purl, yo, m1, skp, k2tog, and p2tog. This pattern is suitable for the intermediate knitter.

Size and finished measurements

Finished dimensions of the sample shawl: span width of 172 cm (67 ¾ inches) and a depth of 63 cm (24 ¾ inches), measured after blocking.

Pattern details

  • Gauge: Gauge is not critical in this design. For the sample shawl: 11 sts / 24 rows = 10 cm (4 inches) over stockinette, knitted on smaller needles and measured after blocking.
  • Pattern languages included: English and Dutch (Dit patroon omvat zowel een Nederlandse als een Engelse versie)
  • Digital PDF has 4 pages (letter size)

Materials

  • Yarn: 420 m (459 yds)/ 150 g Pro Lana Woolly Hugs Bobbel Mohair (45% Acrylic, 40% Nylon, 15% Mohair; 420 m (459 yds)/ 150 g) in “203 Green”. Substitute any worsted weight mohair-type yarn with long color changes for a similar result.
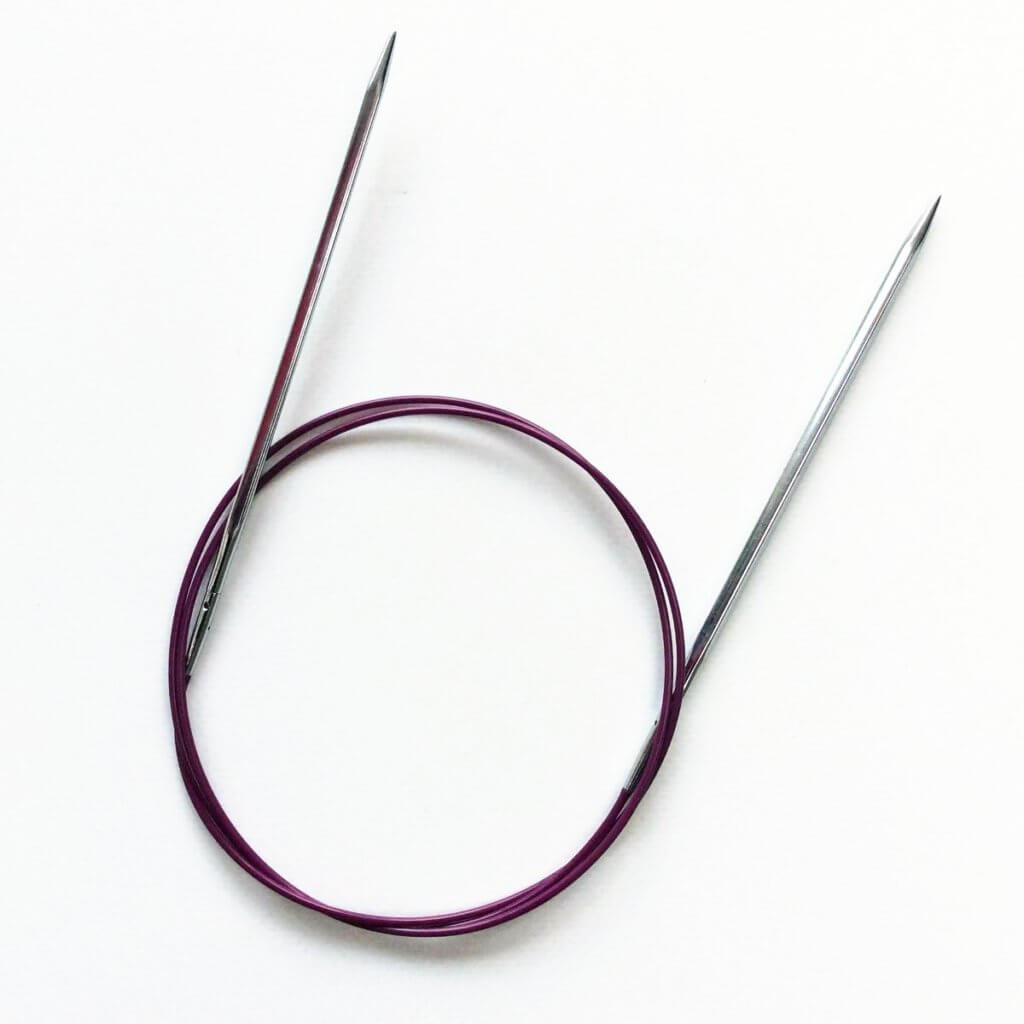
  • Size 5 mm (US 8) / 80 cm (32 inches) circular needles
  • Size 5.5 mm (US 9) knitting needle (for bind-off only).
  • Yarn needle
  • Stitch markers to use in between lace repeats (optional)

green madeira Read More »

tutorial – knitting colorwork tips

Colorwork tips - a tutorial by La Visch Designs

Knitting color work besides giving a gorgeous result is also a lot of fun. I must admit I haven’t gone beyond knitting color work with 2 colors yet, at this point in time. Doing that though, I have come across some things that make it easier to do and get a lovely result. And, of course, I love to share these color work tips with you!

1. Picking your colors

Perhaps you’ve already noticed it with previous projects: sometimes when colors seem to go perfectly with each other, the result is just disappointing when combined. One possible reason for this is that the colors don’t have enough contrast between them. But how to make sure there is enough contrast? Read on this tutorial!

Contrast in color work - a tutorial by La Visch Designs

2. Start with a small project

Handling multiple strands of yarn at the same time while following a chart can be pretty daunting if you’ve never done so before. My advice would, therefore, be to start with a smallish project and limit yourself to only 2 colors. Think for example of a hat, like the Pijl hat pictured below.  This way you can find out how to hold your yarn etc. without adding an extreme tangle to the mix that even more colors of yarn could potentially bring.

Pijl hat

3. Managing floats

The pieces of yarn running at the inside of a color work project knitted in the round are called “floats”: the lengths of yarn not being knitted and simply carried along the back.  Because they run at the inside circumference of the project, there is a risk of them getting too short and tight. This, in turn, will lead to puckering in the finished item. The solution is luckily a very easy one: just turn your knitting inside-out so the floats are on the outside circumference while knitting! This will usually give enough slack in the floats to avoid puckering. This is, by the way, a pic of my Bloem hat while in progress.

Color work tips - by La Visch Designs

4. Gauge

Most knitters find that when knitting color work their gauge ends up much tighter (more stitches per 10 cm / 4 inches) than when knitting in a single color with that particular yarn/needle combination. This is because the floats lack the elasticity of regular knitting stitches. This may mean that a color work hat, sweater or sock turns out much smaller than expected.  It’s therefor a good idea to either start with a smallish part of the project like a sleeve (for a big project like a sweater) or swatch. Don’t forget to swatch in the round though, because this is usually different from the gauge when worked flat.

5. Fixing mistakes

Let’s face it: mistakes will probably be made. I know I do! With some, you can just tink back (= knitting backward, in other words: stitch for stitch un-knitting what you did). In that case, make sure to wind back your yarn on the separate balls to avoid it all tangling up. It’s also possible to find a bit in your color work that didn’t quite go according to the chart, way back or even after binding off. In that case, there are several options. You can, of course, consider it a design element. If it bothers you too much, don’t be hesitant to fix it for the eye by embroidering over it using the duplicate stitch technique. And I’ve got a tutorial for that!

duplicate stitch_4

There you have it: several color work tips to help you with working lovely color work projects!

Patreon logo

Thanks to my Patreon supporters for bringing you this freebie! Creating quality patterns and tutorials is a lot of work and resource-intensive. However, I find it important to give you free content like this tutorial. Thanks to the generous support of my Patreon supporters, I can make it happen. Thank you, patrons! Click here to join, or click here to read more about La Visch Designs on Patreon.

tutorial – knitting colorwork tips Read More »

tutorial – circular cast-on

Circular cast-on - a tutorial by La Visch Designs

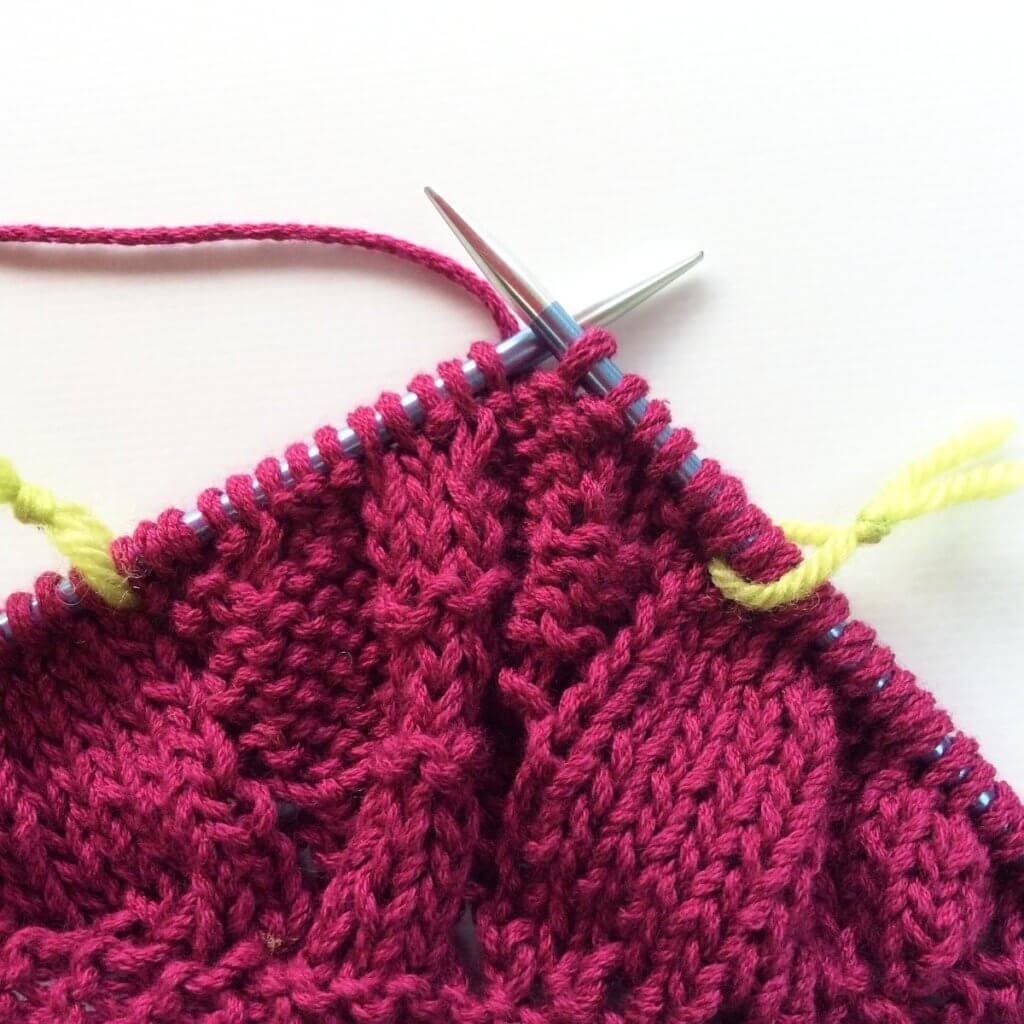
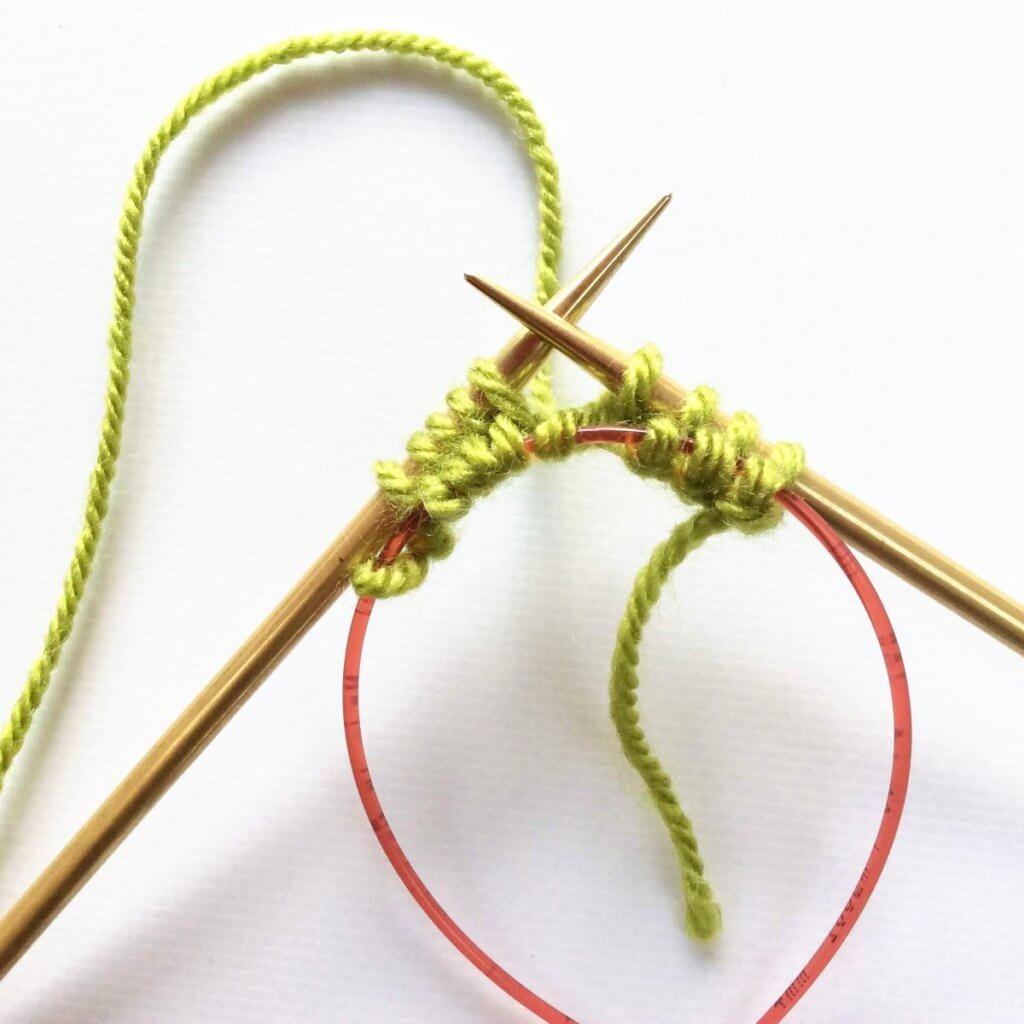
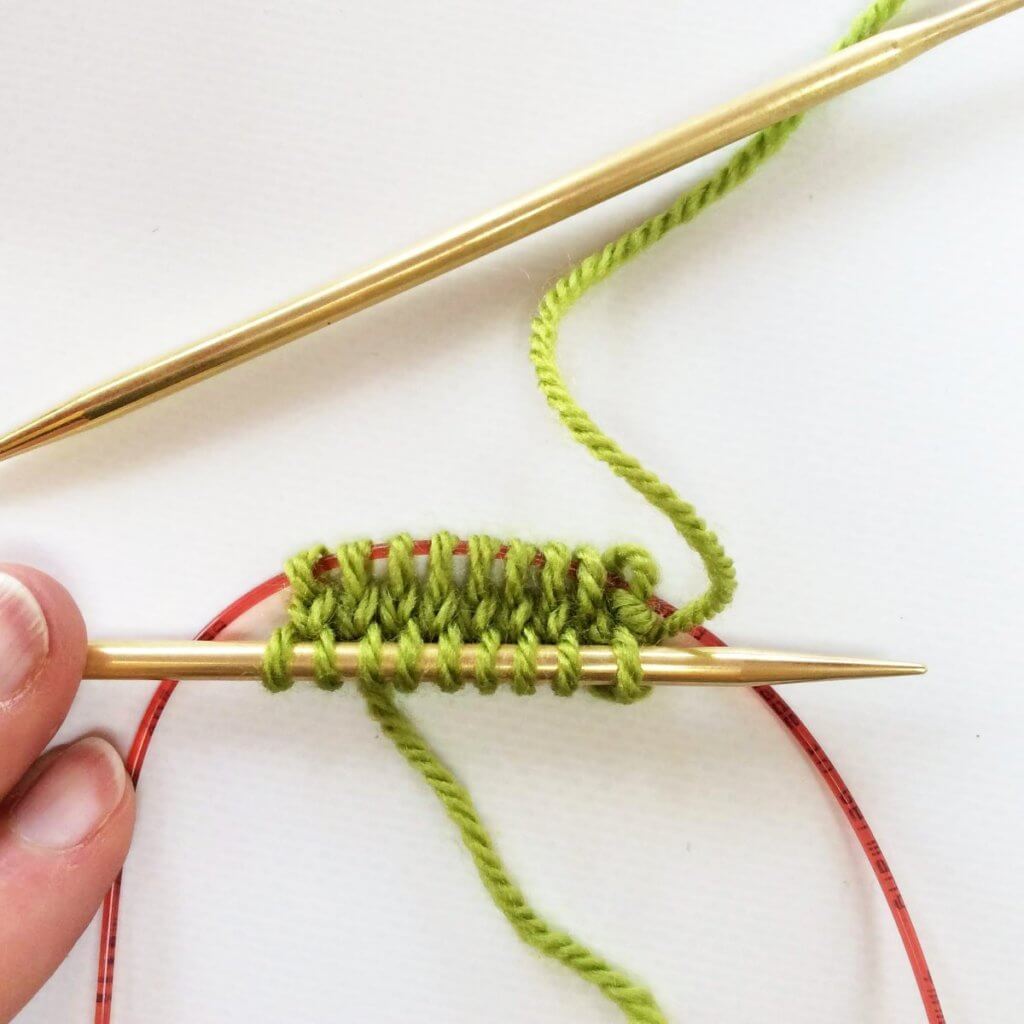
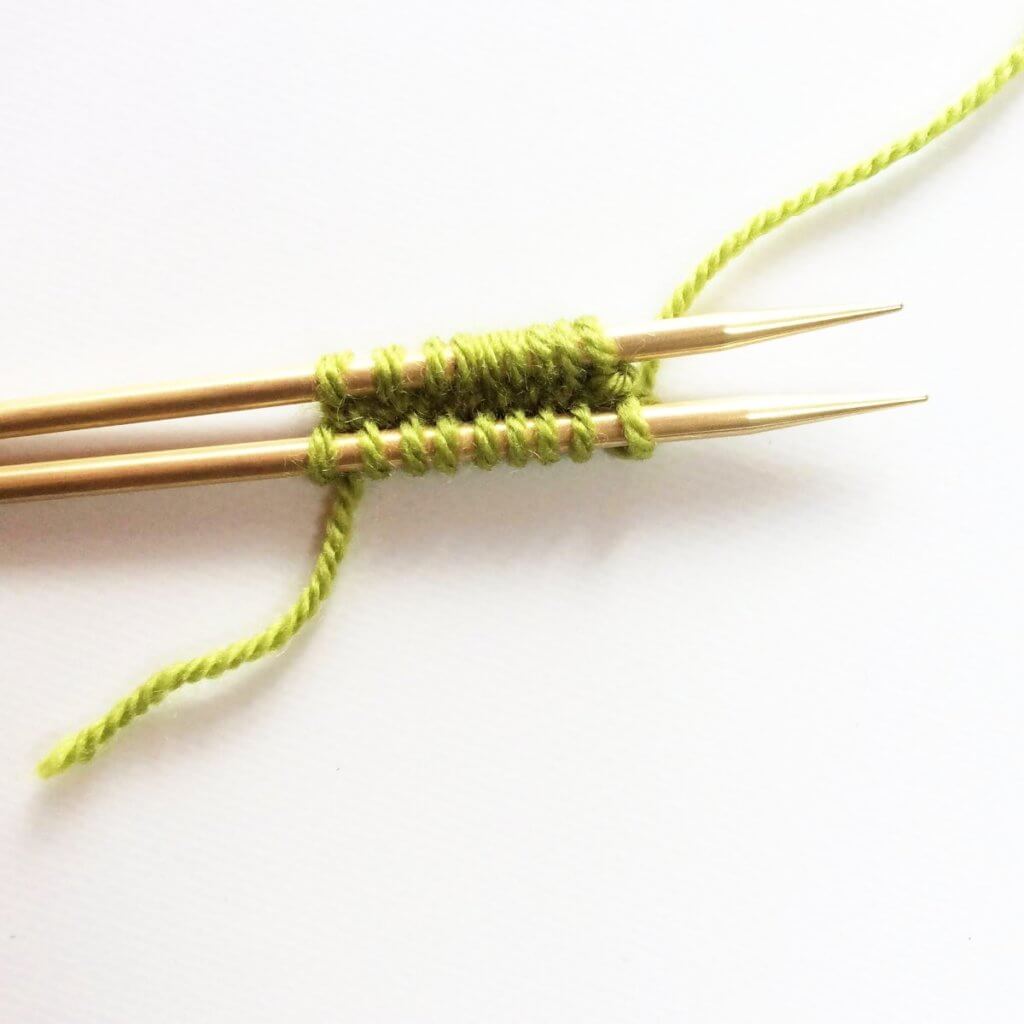
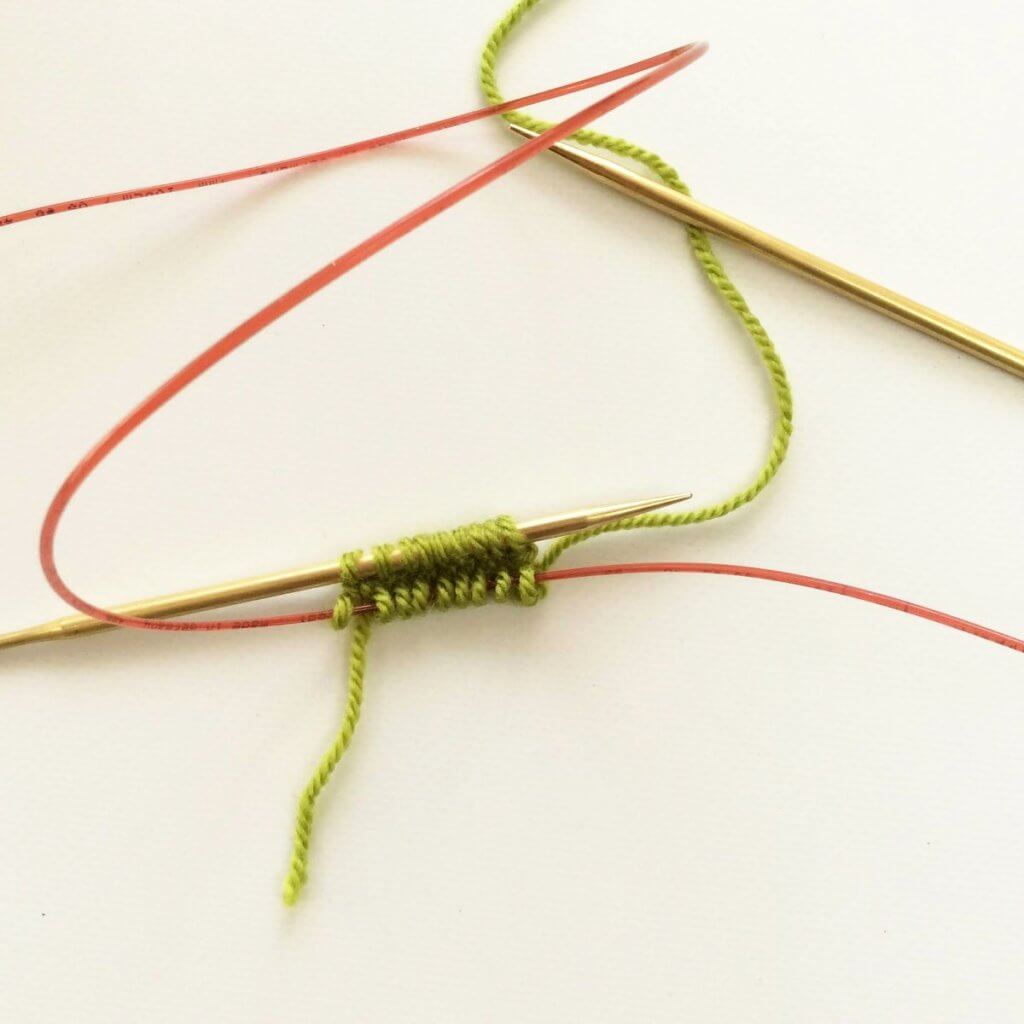
Casting-on for knitting in the round is usually a rather fiddly business. The circular cast-on method in this tutorial, unfortunately, isn’t any different in that respect. Still, when wanting the cast-on for a project knitted flat and in the round, this method gives a very nice and invisible start.

I think it’s ideal for things like top-down hats, center-out blankets or shawls, and the like. It’s pretty similar to the idea of starting a project with a magic ring in crochet. A big plus is that the ring can be tightened to close up the starting hole, once you’re well underway and past that fiddly starting stage.

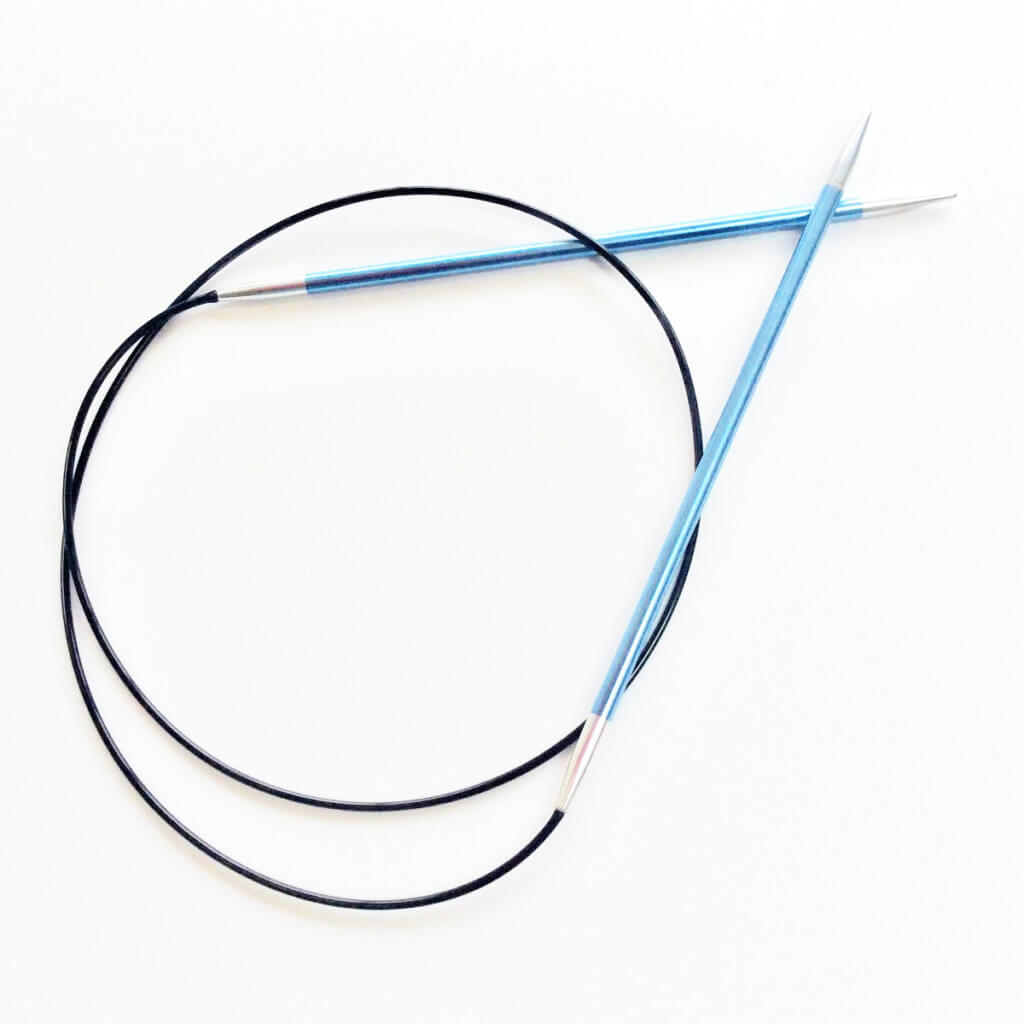
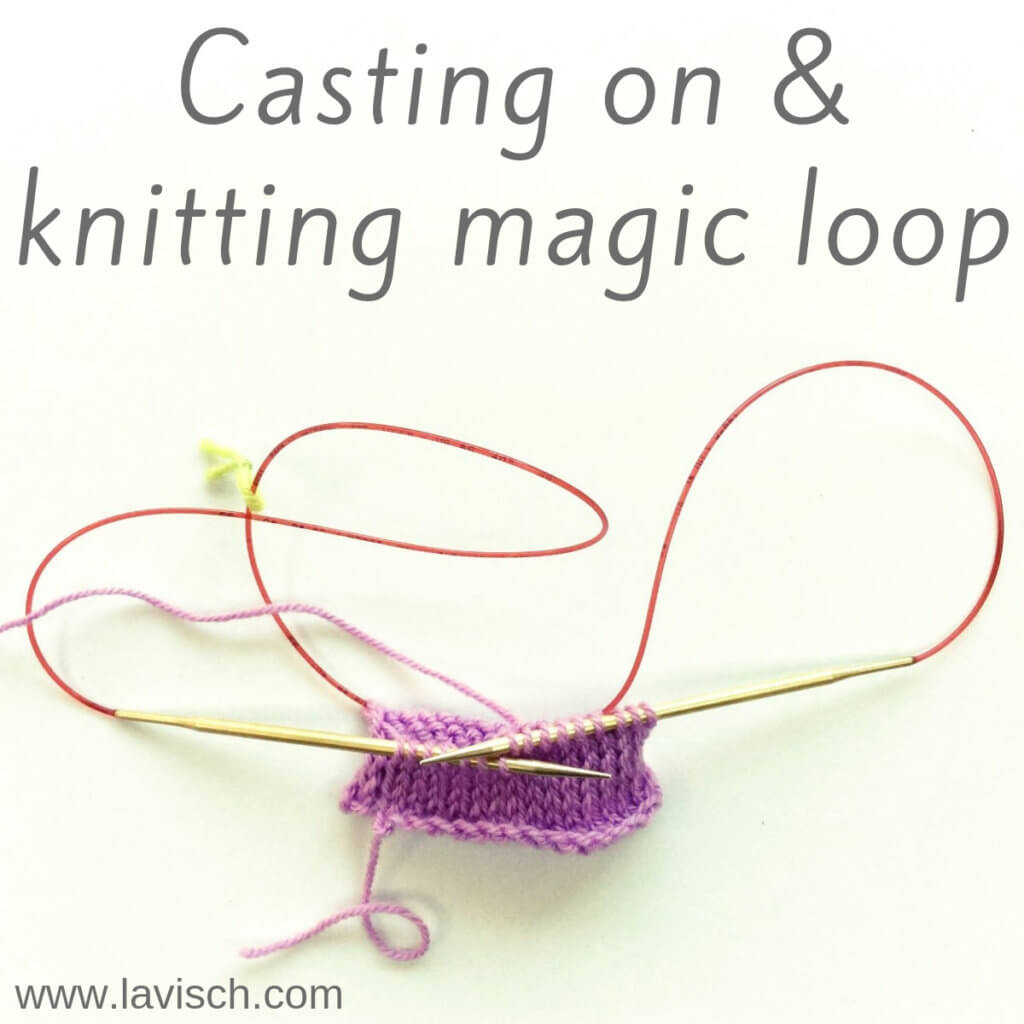
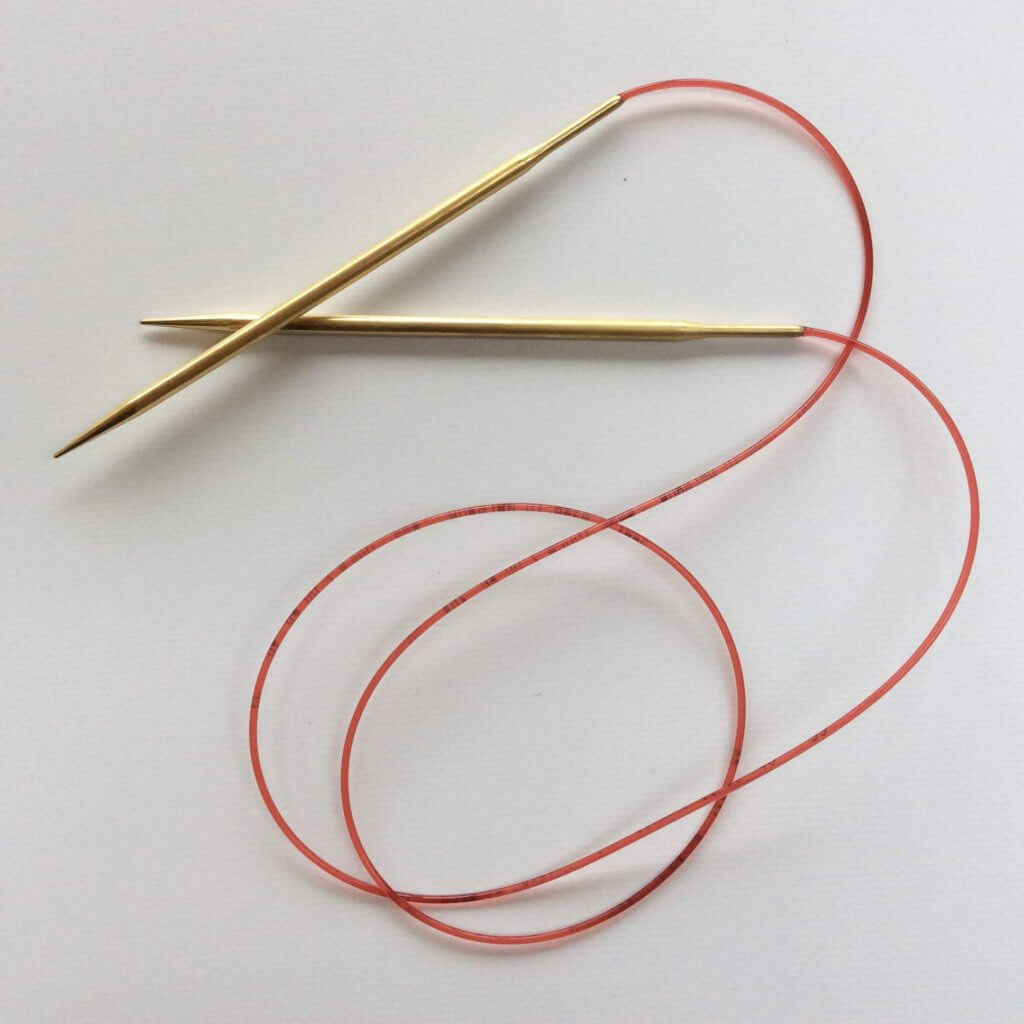
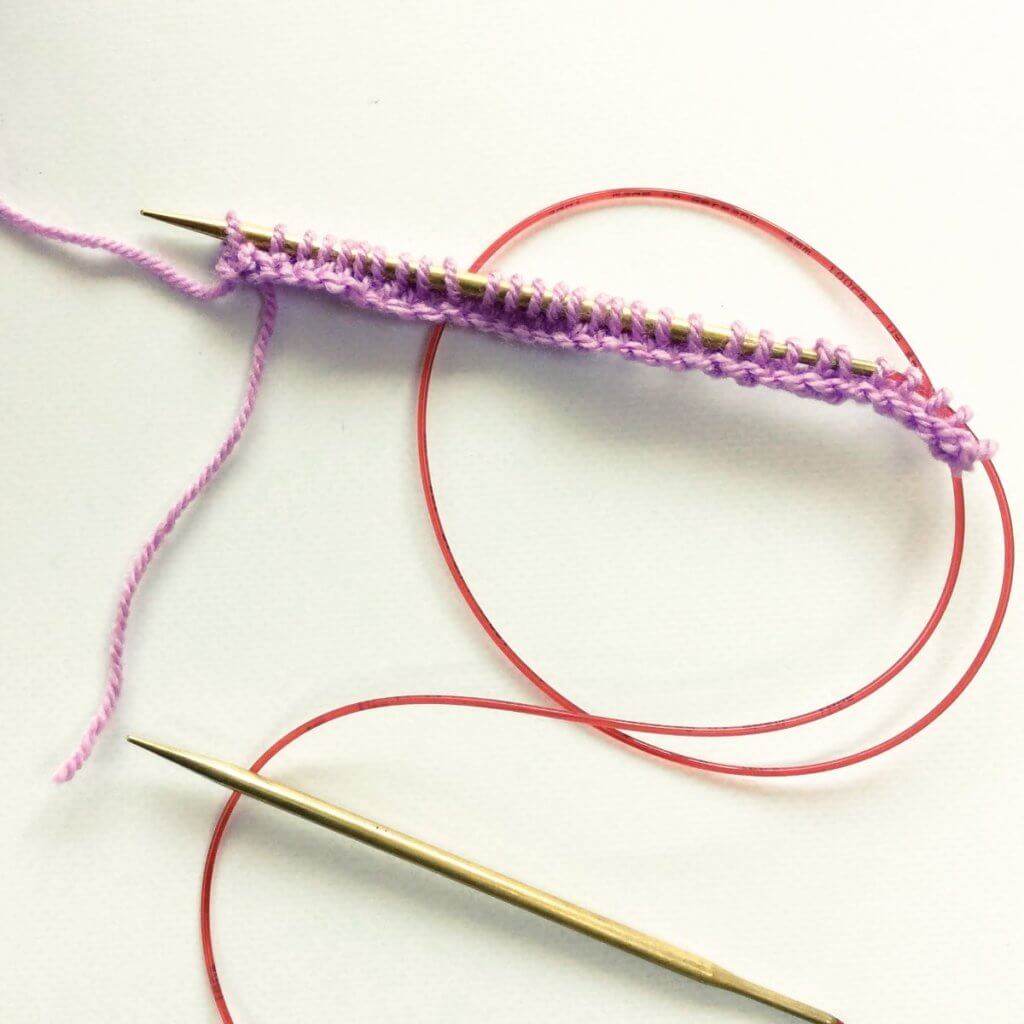
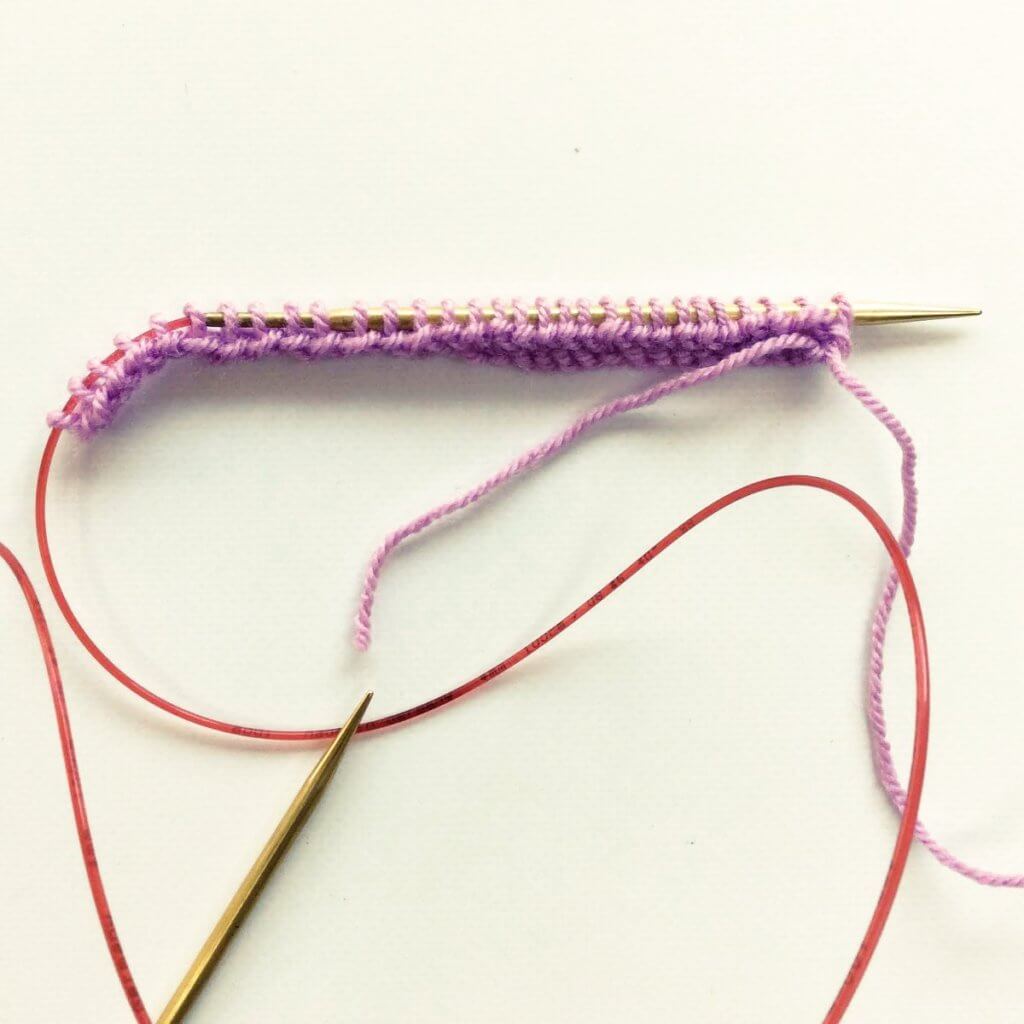
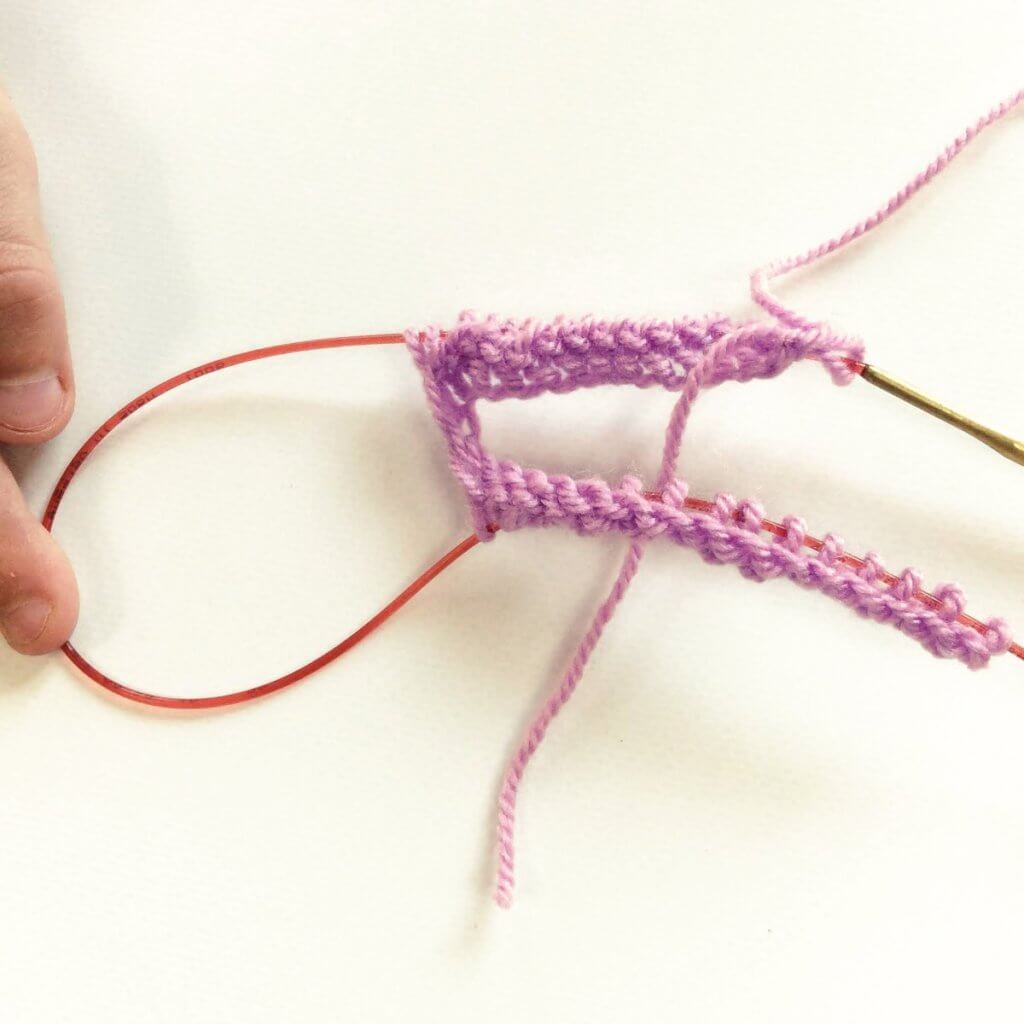
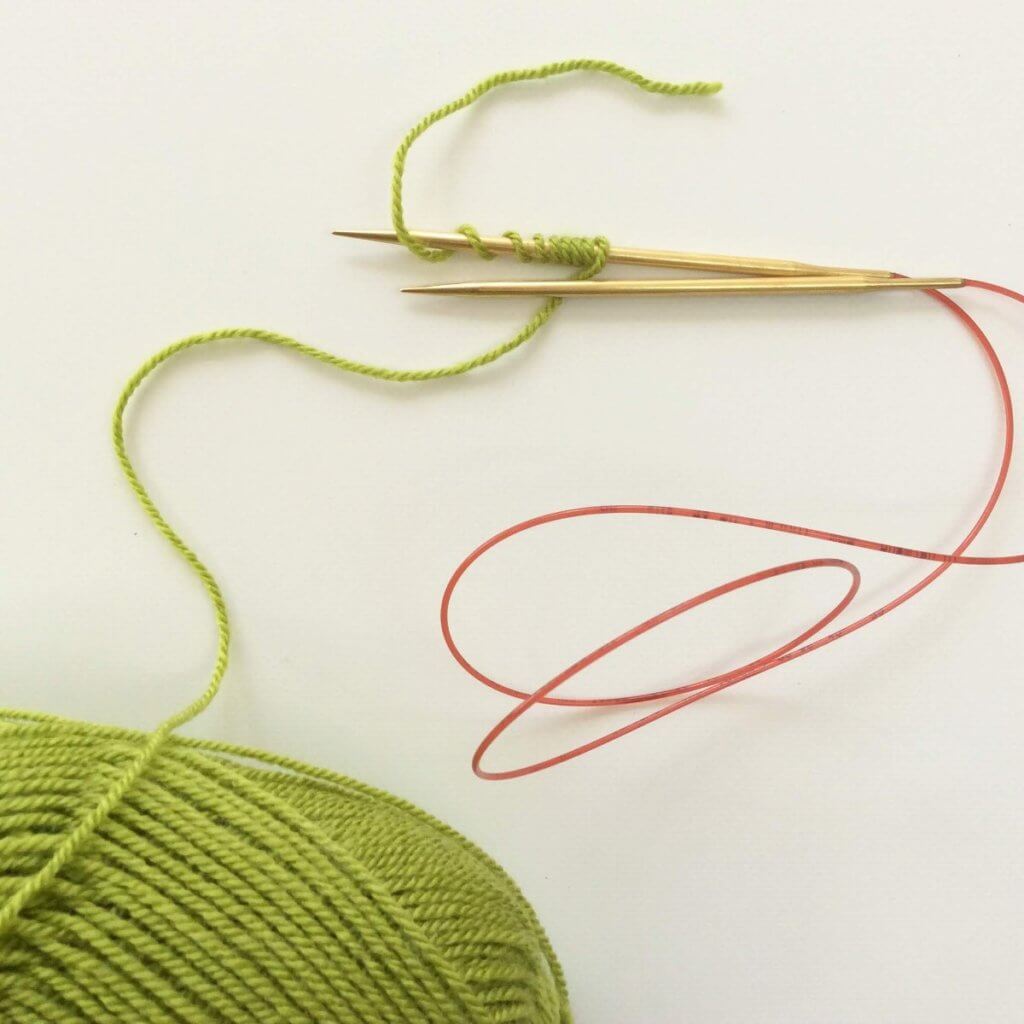
In this tutorial I used a circular needle in the magic loop way, but (of course) double pointed needles (dpn’s) can also be used for the small-circumference start.

Materials

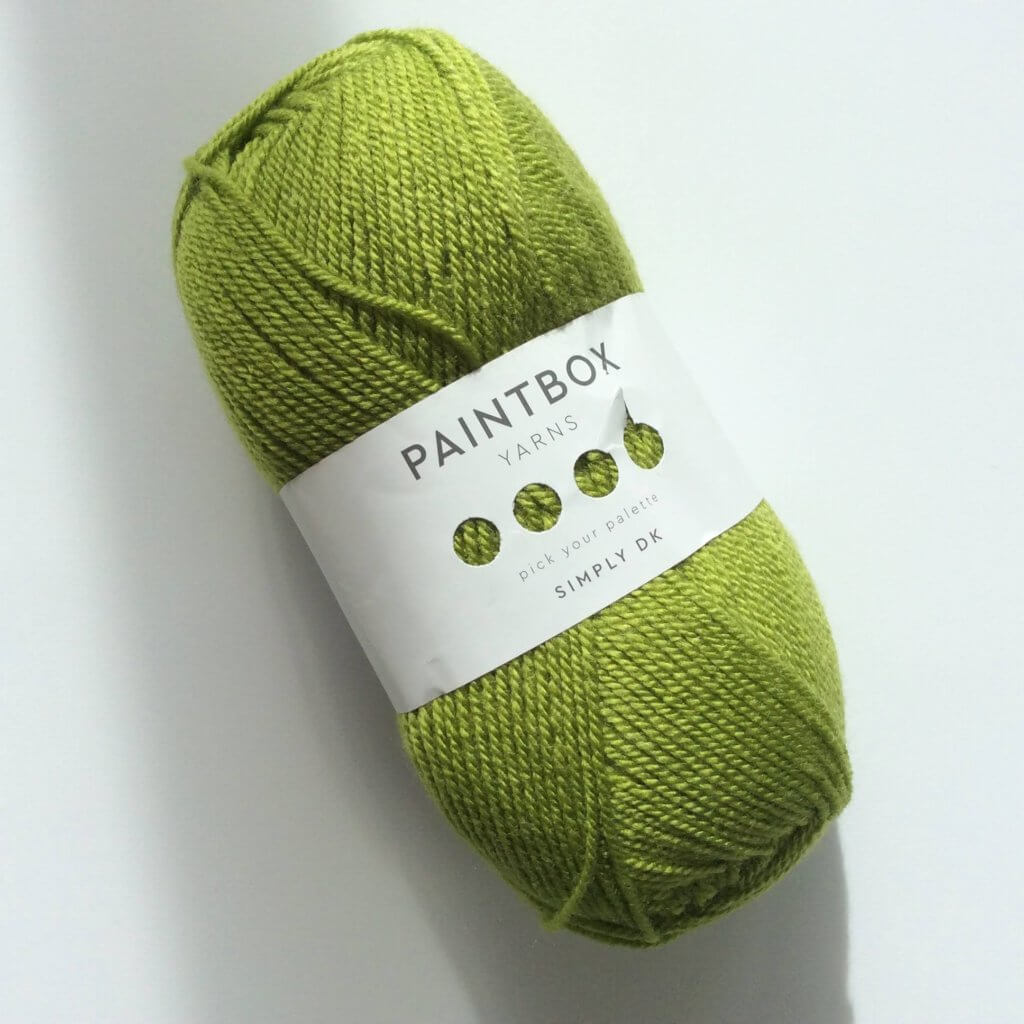
Besides yarn and circular knitting needles (or dpn’s), it’s also a good idea to use stitch markers to denote the corner stitches. I didn’t use them in this tutorial and it shows in the end result! If using circular needles, make sure the cable is long enough to do magic loop. In my experience, 80 cm / 32 inches or longer is needed for that.

Circular cast-on - a tutorial by La Visch Designs

The circular cast-on step-by-step

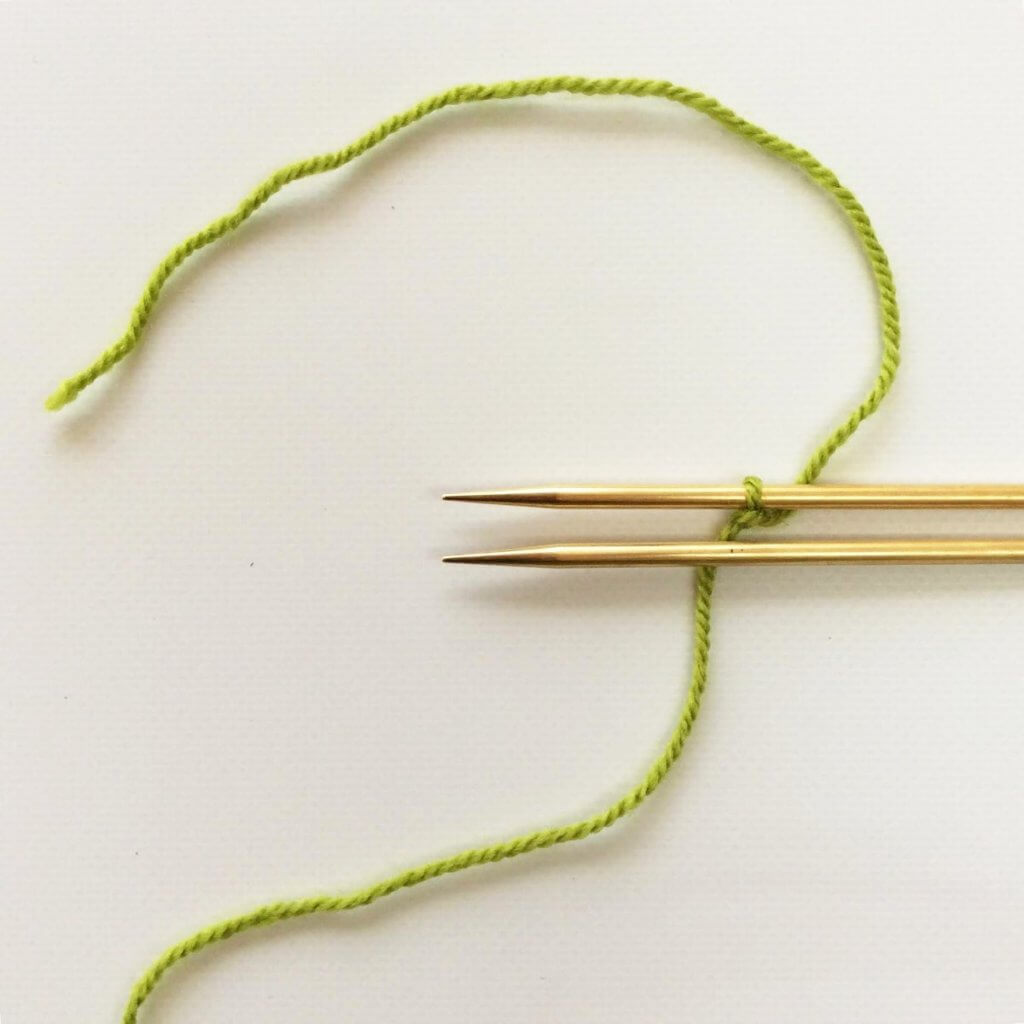
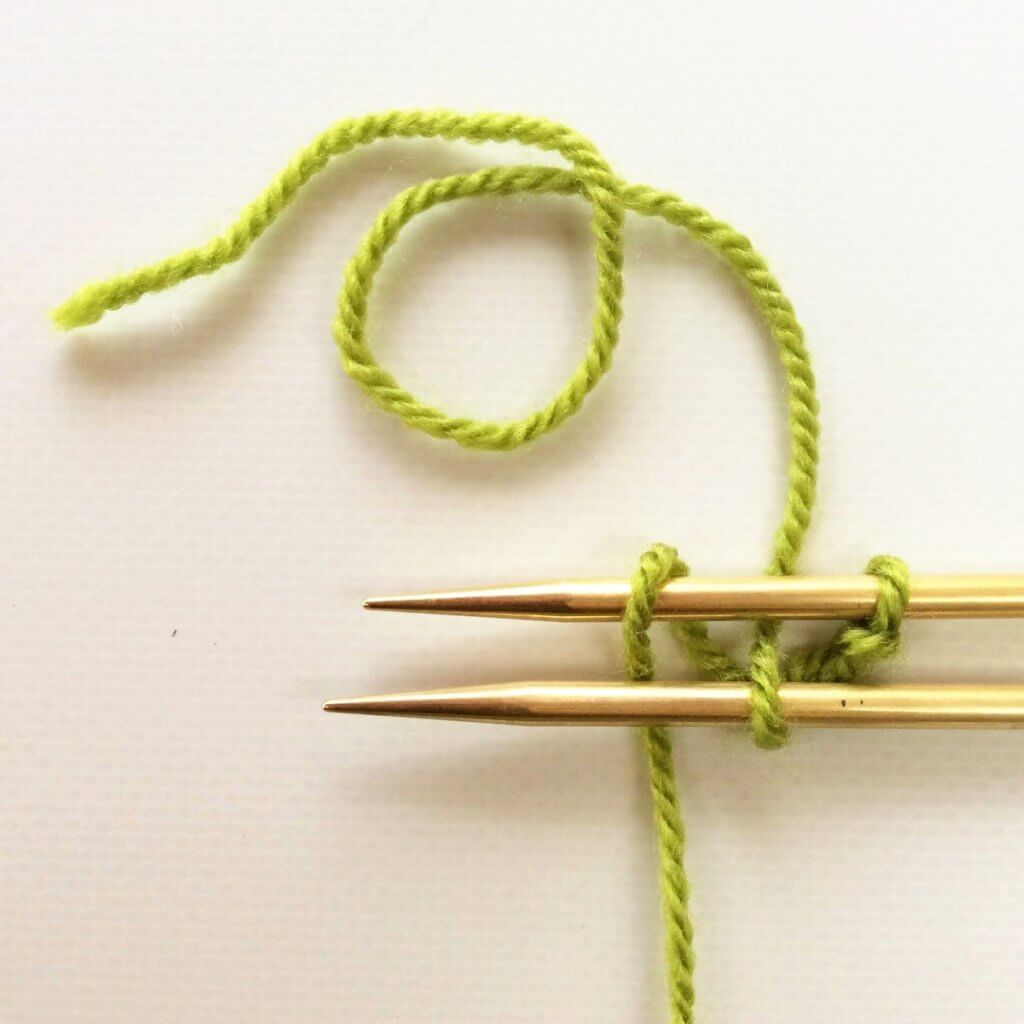
1. Make an overhand knot in your yarn as shown below in the picture.

Circular cast-on - a tutorial by La Visch Designs

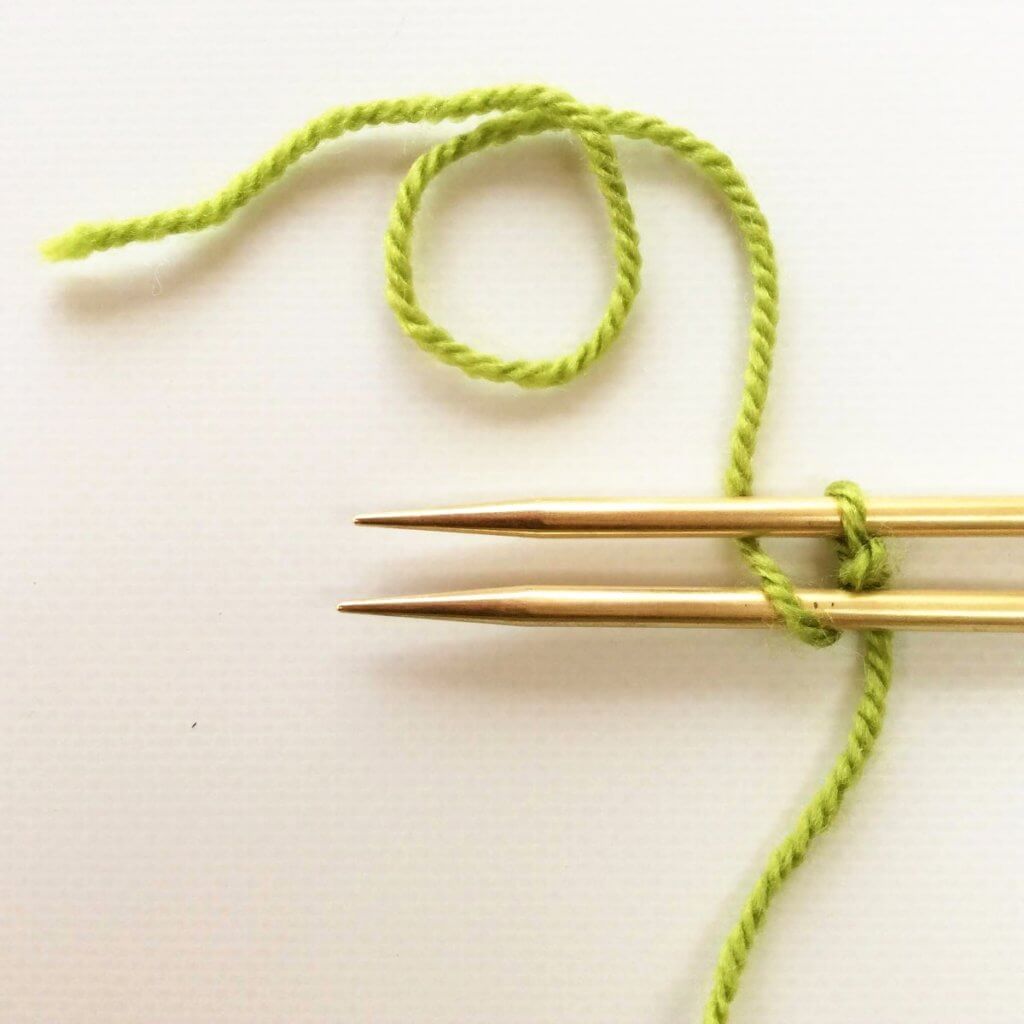
2. Next, position your knitting needle as shown underneath the strand of your that goes to the ball of yarn.

Circular cast-on - a tutorial by La Visch Designs

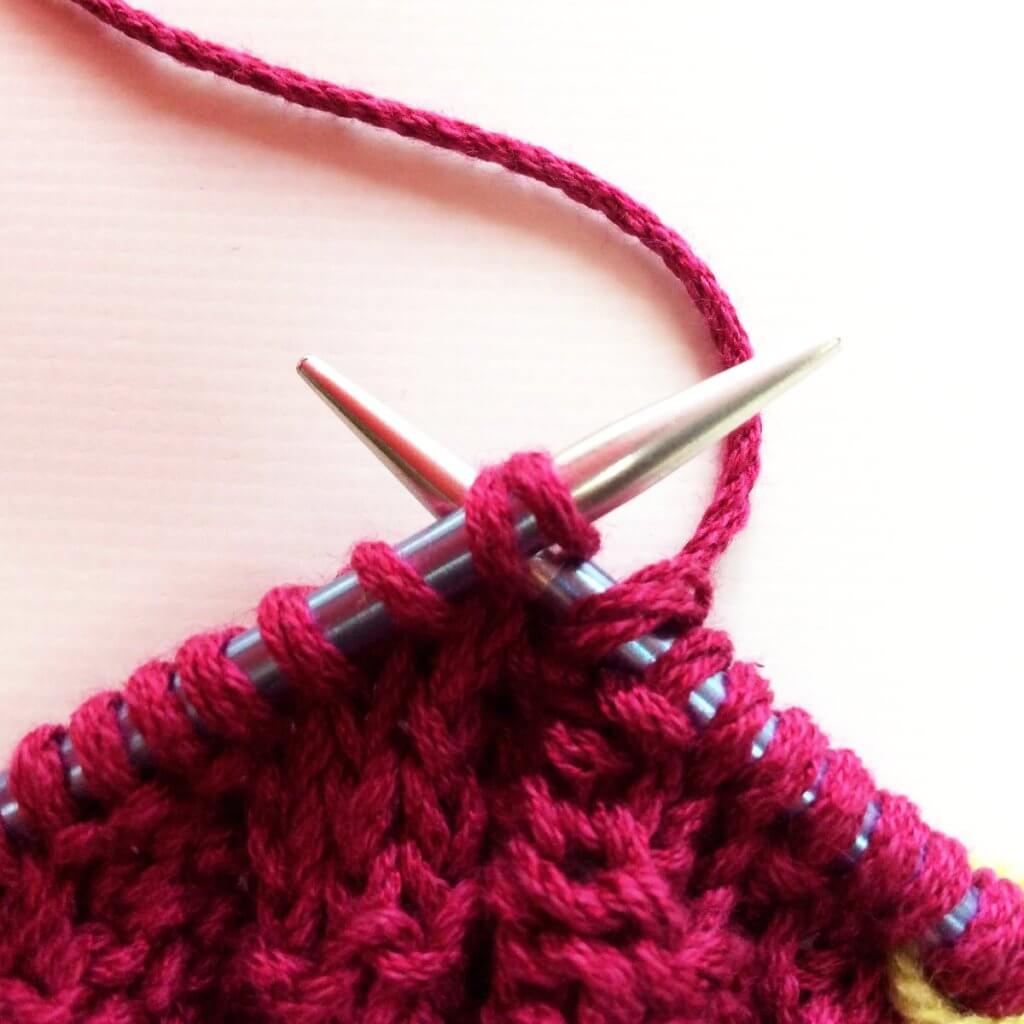
3. Now insert the needle in the circle of yarn, yarn over and pull the loop through the circle. This makes a new stitch as shown below.

Circular cast-on - a tutorial by La Visch Designs

4. Now, yarn over again…

Circular cast-on - a tutorial by La Visch Designs

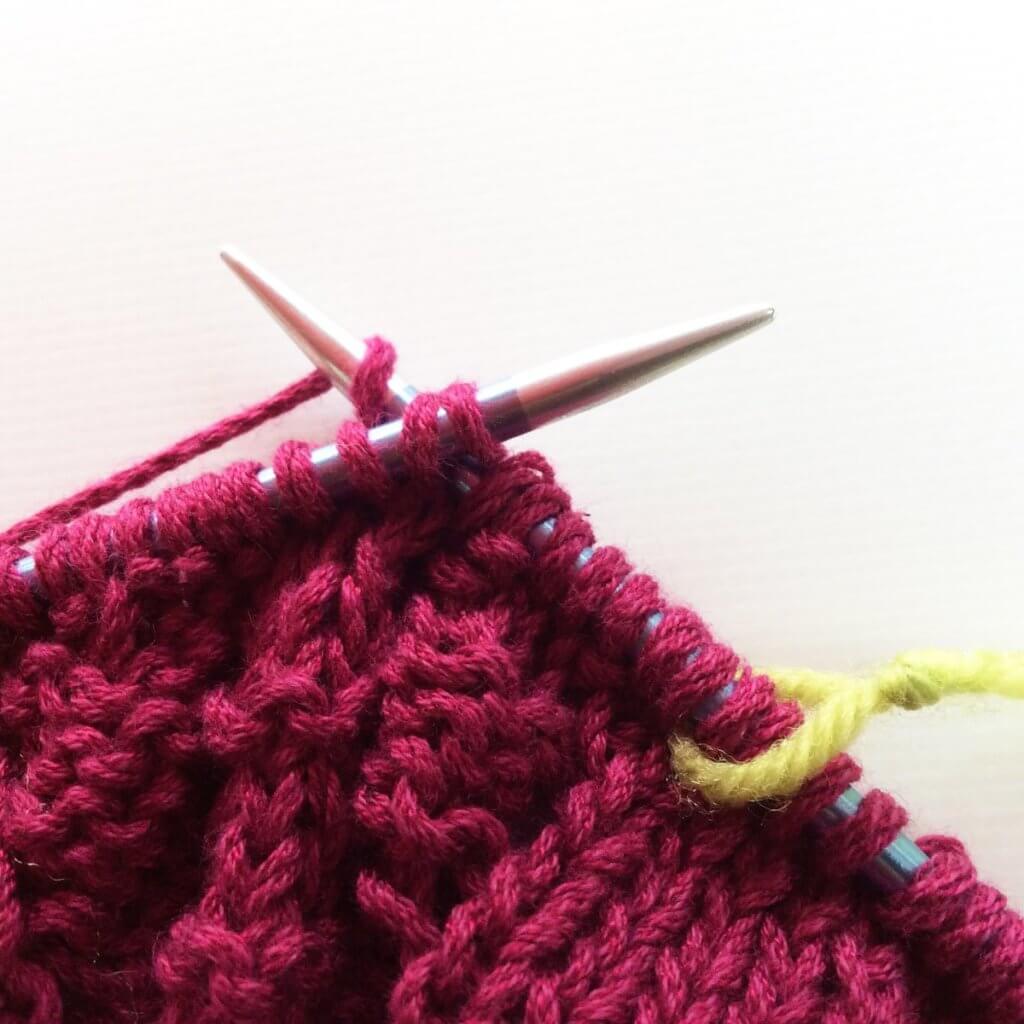
5. …. and (as in step 3) again insert the needle in the circle of yarn, yarn over and pull the loop through the circle. This makes a new stitch as shown below.

Circular cast-on - a tutorial by La Visch Designs

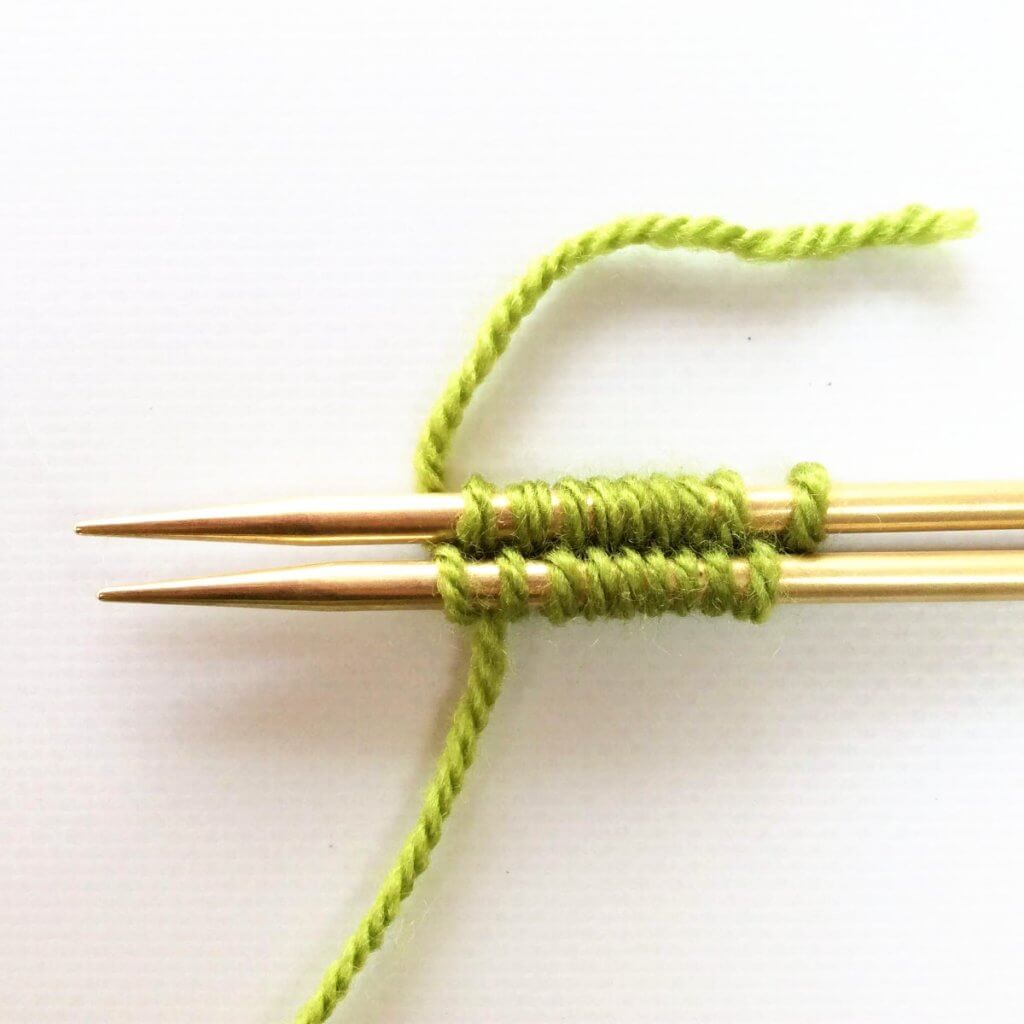
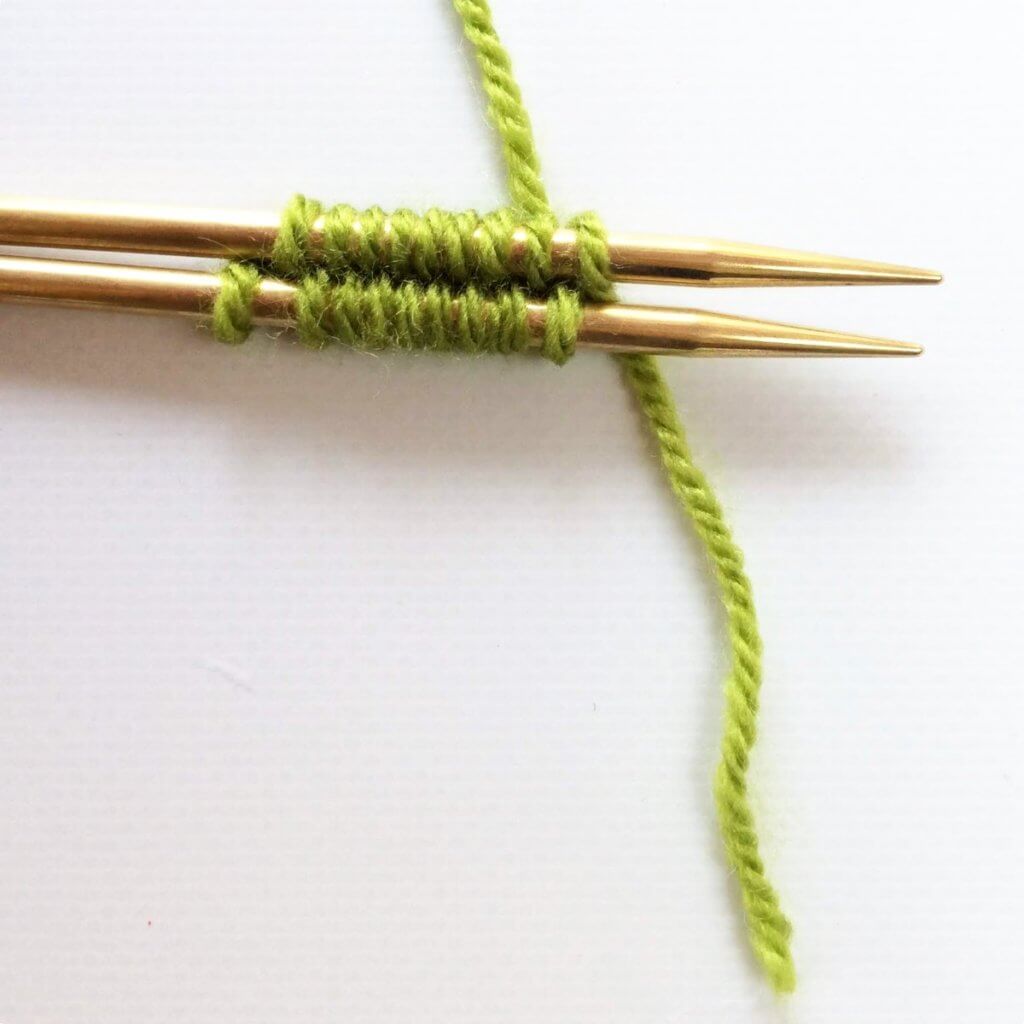
6. Repeat steps 3 and 4 as often as needed. In this example, I repeated another 2 times to get to a total of 8 stitches on my needle.

Circular cast-on - a tutorial by La Visch Designs

7. Now you can pull on the yarn tail to tighten up the cast-on circle. Don’t worry if it loosens up, later on, you can always tighten it again.

Circular cast-on - a tutorial by La Visch Designs

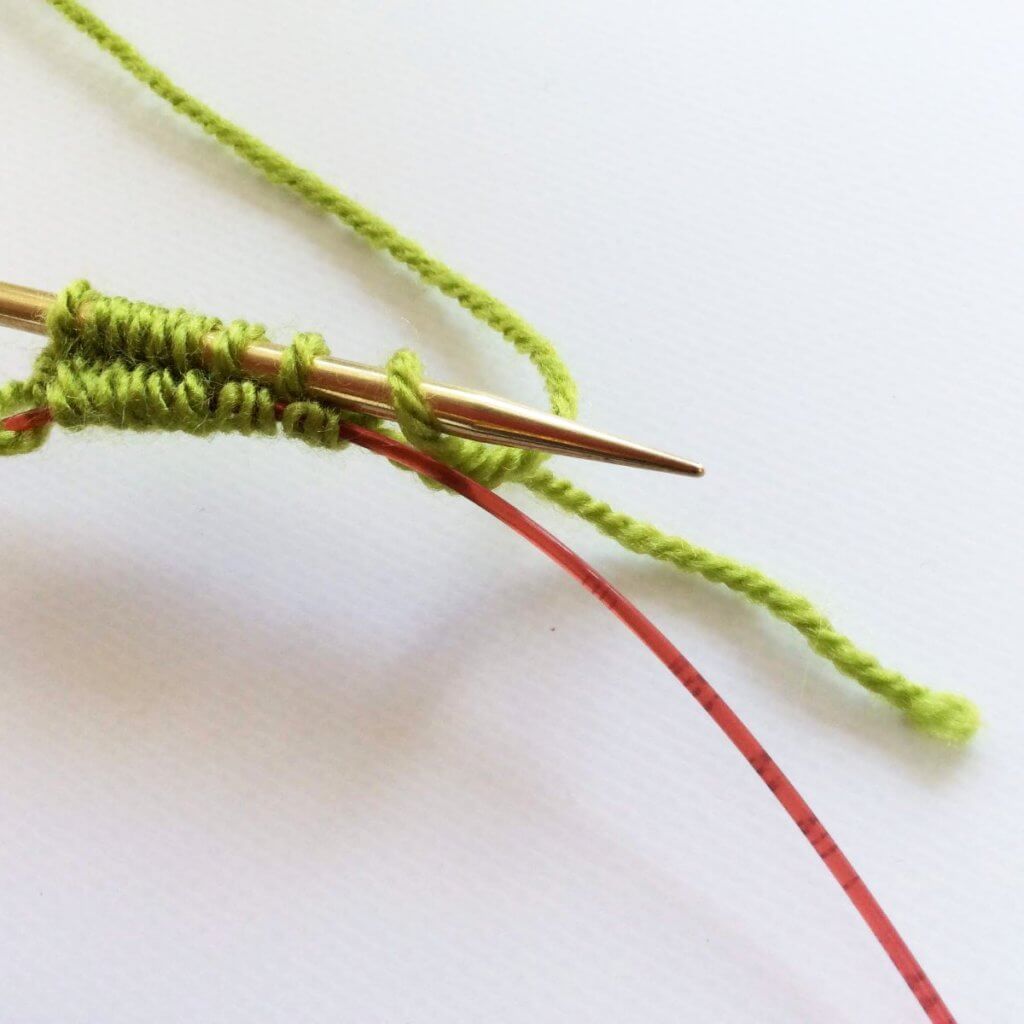
8. And now you can start knitting according to your pattern! This may also be a good time to insert any stitch markers needed, for the correct placement of the increases. In this example, I didn’t, which shows in the wonky placement of the yarn overs in the picture below. Still, the cast-on itself in the center can be seen pretty well, so there it is!

Circular cast-on - a tutorial by La Visch Designs
Patreon logo

Thanks to my Patreon supporters for bringing you this freebie! Creating quality patterns and tutorials is a lot of work and resource-intensive. However, I find it important to give you free content like this tutorial. Thanks to the generous support of my Patreon supporters, I can make it happen. Thank you, patrons! Click here to join, or click here to read more about La Visch Designs on Patreon.

tutorial – circular cast-on Read More »

beat the fug

Beat the Fug by La Visch Designs

Beat the Fug is a crescent-shaped shawl worked from the top-down. Inspired by the “Free-Wrench” novel by Joseph R. Lallo and the yarn dyed to match by Third Vault Yarns, it perfectly catches the steampunk vibe so wonderfully described in the story.

The shawl starts with a garter stitch tab. The body contains special shaping, which helps to avoid the “bump” in the upper edge of the shawl, so often present in crescent shawl designs. The lace in the border is knit on both right side and wrong side rows. The instructions for the border of the shawl are provided both fully charted and written out.


Pay what you want: (minimum €6.50)

Add to cart


Difficulty level

The Beat the Fug shawl starts with a modified garter stitch tab. Stitches used include knit, purl, k2tog, p2tog, skp, a centered double decrease, yo and m1L and m1R increases. This pattern is suitable for the intermediate knitter.

Sizes and finished measurements

Size S (L) finished dimensions: Wingspan of 152 (175) cm (60 (69) inches) and a depth of 40 (50) cm (15 ¾ (19 ¾) inches), measured after blocking. The shawl shown is in size L.

Pattern details

  • Gauge: For the sample shawl measured after blocking: 19 sts / 23 rows = 10 cm (4 inches) in stockinette stitch. Gauge is not critical for this design, but a loose gauge is strongly advised.
  • Pattern languages included: English and Dutch (Dit patroon omvat zowel een Nederlandse als een Engelse versie)
  • Digital PDF has 6 pages (letter size)

Materials

  • Yarn: Third Vault Yarns Companion 4-ply (100% Sw Merino; 400 m (437 yds) / 100 g) in the following colors and amounts: C1: 140 (200) m (153 (219) yds) / 35 (50) g in The Windbreaker, and C2: 260 (400) m (284 (437) yds) / 65 (100) g in Well Fug!
  • Size 4 mm (US 6) / 80 cm (32 inches) circular needles
  • Yarn needle
  • 2 stitch markers to mark the center of the shawl
  • Stitch markers for the lace section (optional)

beat the fug Read More »

crops of harvest

crops of harvest

Crops of Harvest is a stylish triangular shawl knit sideways. There is just something about the combination of striped garter stitch and lace that appeals to me. Lazy mindless knitting, together with lovely lace, makes it a perfect choice to combine a solid/tonal fingering weight yarn with a variegated one. What’s not to love?!

The pattern contains both fully written out as well as charted instructions for the lace. The lace section in the middle of the shawl is true lace knitting, worked on both wrong and right side rows.


Pay what you want: (minimum €6.50)

Add to cart


Difficulty level

The lace in the Crops of Harvest shawl pattern is worked on both RS and WS rows. Stitches used include knit, purl, yo, kfb, and both left- and right-leaning single and double decreases. This pattern is suitable for the intermediate knitter.

Sizes and finished measurements

One size (easily adjustable): Finished dimensions of the sample shawl: Span width of 210 cm (82 ¾ inches) along the upper edge and a depth of 81 cm (32 inches), measured after blocking.

Pattern details

  • Gauge: Gauge is not critical in this design. For the sample shawl measured after blocking: 16.5 sts / 27 rows = 10 cm (4 inches) over garter stitch stripes.
  • Pattern languages included: English and Dutch (Dit patroon omvat zowel een Nederlandse als een Engelse versie)
  • Digital PDF has 4 pages (letter size)

Materials

  • Yarn: A Guy With Two Needles Yarn Softy Squishy Fingering 2 (100% Merino; 399 m (436 yds) / 100 g) in the following colors and amounts: MC: 399 m (436 yds) / 100 g in “Overheated” and CC: 399 m (436 yds) / 100 g in “Bountiful wreath”. Substitute wool fingering weight yarn of comparable thickness, in a variegated (CC) and in a solid/tonal (MC) colorway for a similar result.
  • Size 4 mm (US 6) / 80 cm (32 inches) circular needles
  • Yarn needle
  • 1 stitch marker to indicate the edge stitches

crops of harvest Read More »

a design by La Visch Designs

lace for mom in knotions magazine

Lace for Mom

The moment I showed my mom the yarn I used in this shawl, she said: “You know this is soooo my color?!” No problem mom, this one is for you. The delicate lace in Lace for Mom is based on traditional Estonian stitch patterns, which, of course, include nupps. My mom wouldn’t have it any different! Often, people find nupps a tad daunting. Don’t stress though, the pattern contains instructions for both traditional and easy nupps.

And the best part? You can find this pattern for free in the March 2018 issue of Knotions Magazine!

Lace for Mom - a design by La Visch Designs
Logo Knotions Magazine

lace for mom in knotions magazine Read More »

tutorial – knitting the k2tog decrease

Knitting the k2tog decrease - a tutorial by La Visch Designs

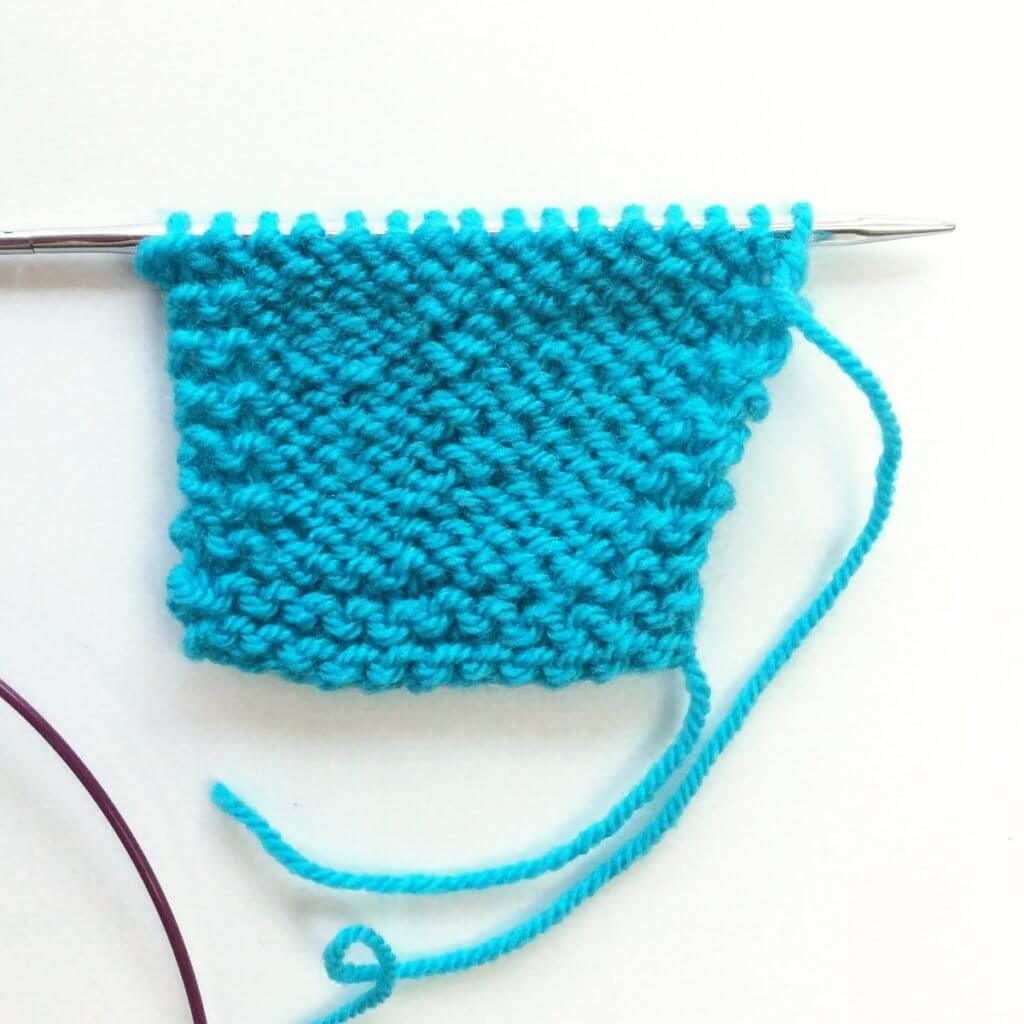
In my previous post, I showed you how to work the left-leaning skp decrease. In this one, I will tell you all about the matching right-leaning decrease, the one abbreviated with “k2tog”. This stands for “knit 2 stitches together”. It’s a very easy and very common way to reduce the number of stitches in your project and make it narrower.

Below you can find how to work this decrease, so get your materials and follow along! I’m starting with the same swatch I used in my previous tutorial on the m1bl increase.

Knitting the k2tog decrease - a tutorial by La Visch Designs

Knitting the right-leaning k2tog decrease step by step

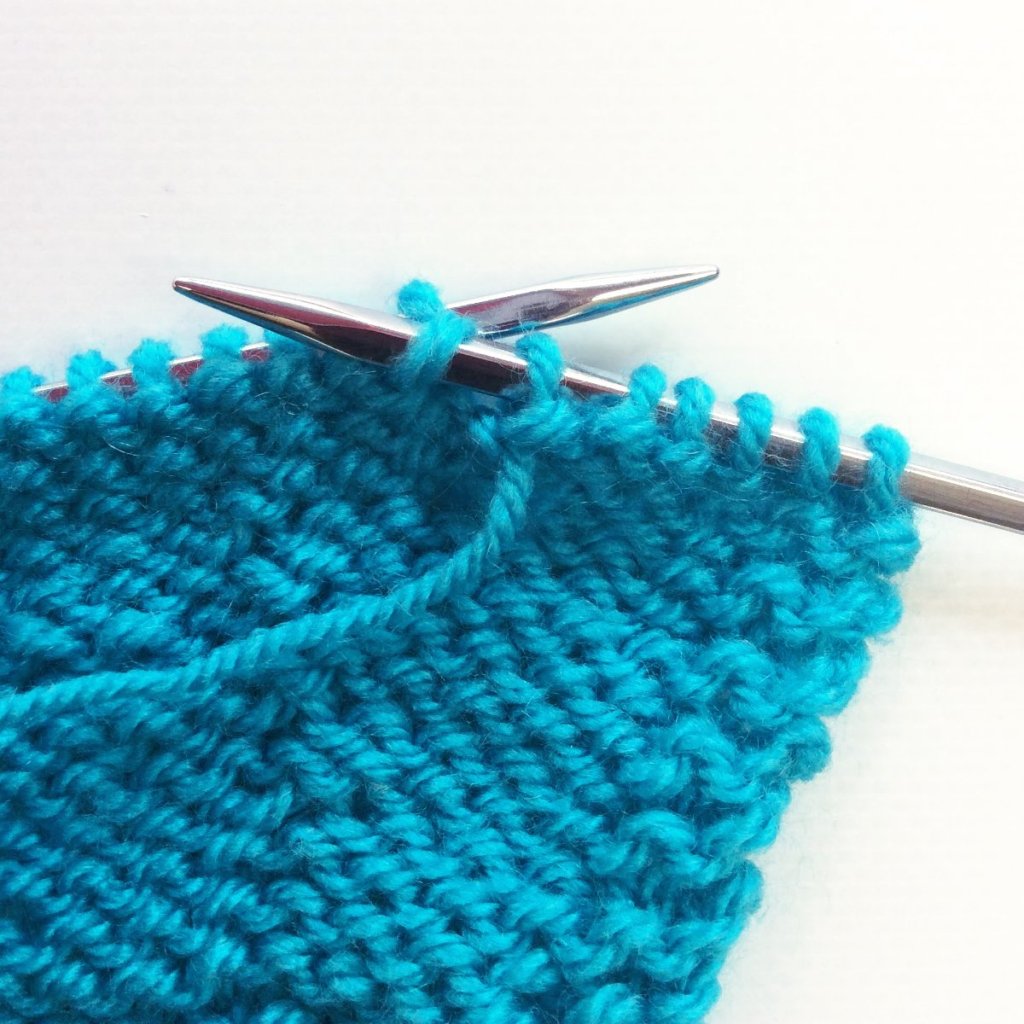
1. First, take your project and work to the spot indicated in your pattern, where the decrease is supposed to be made. I’m making the decrease 3 stitches in, counted from the garter stitch edging on the left side of the swatch. However, because the decrease itself uses 2 stitches I have to stop to do the decrease 5 stitches from the left-side edging.

Knitting the k2tog decrease - a tutorial by La Visch Designs

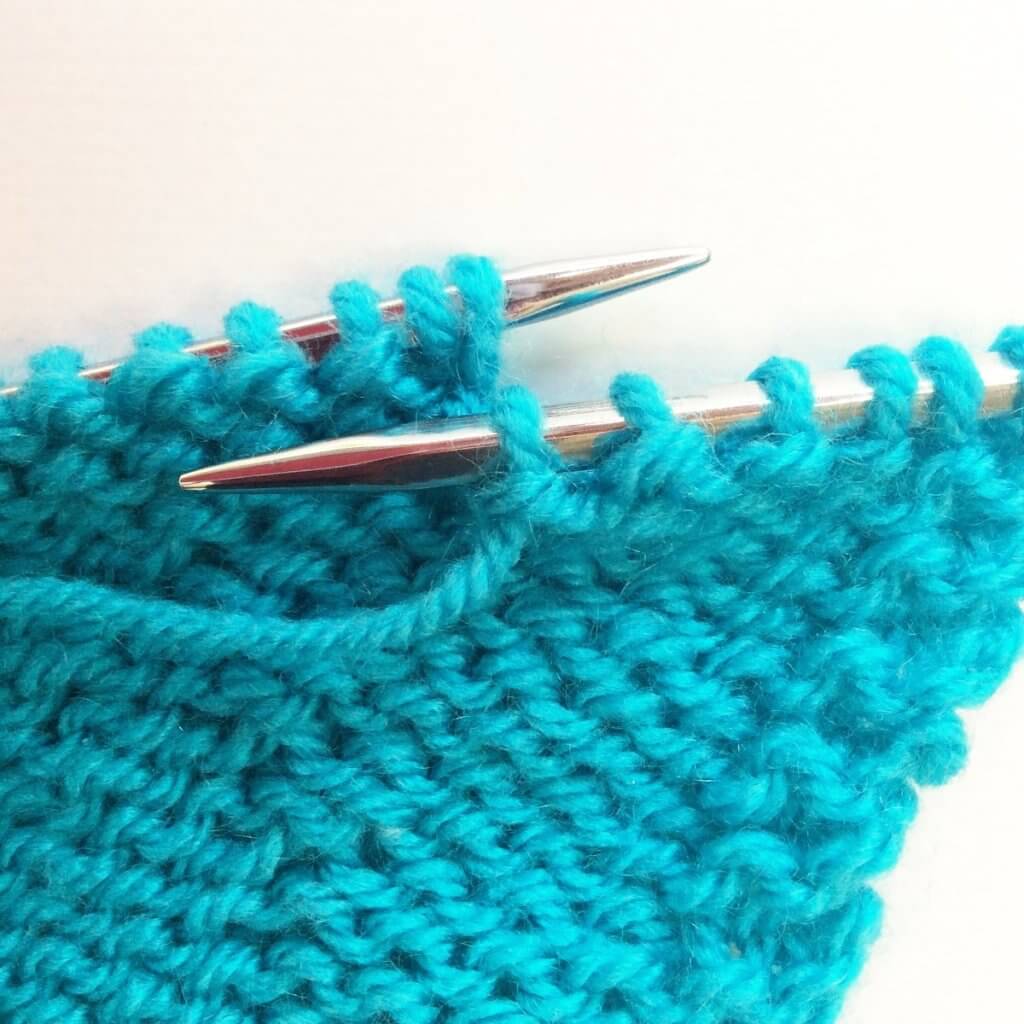
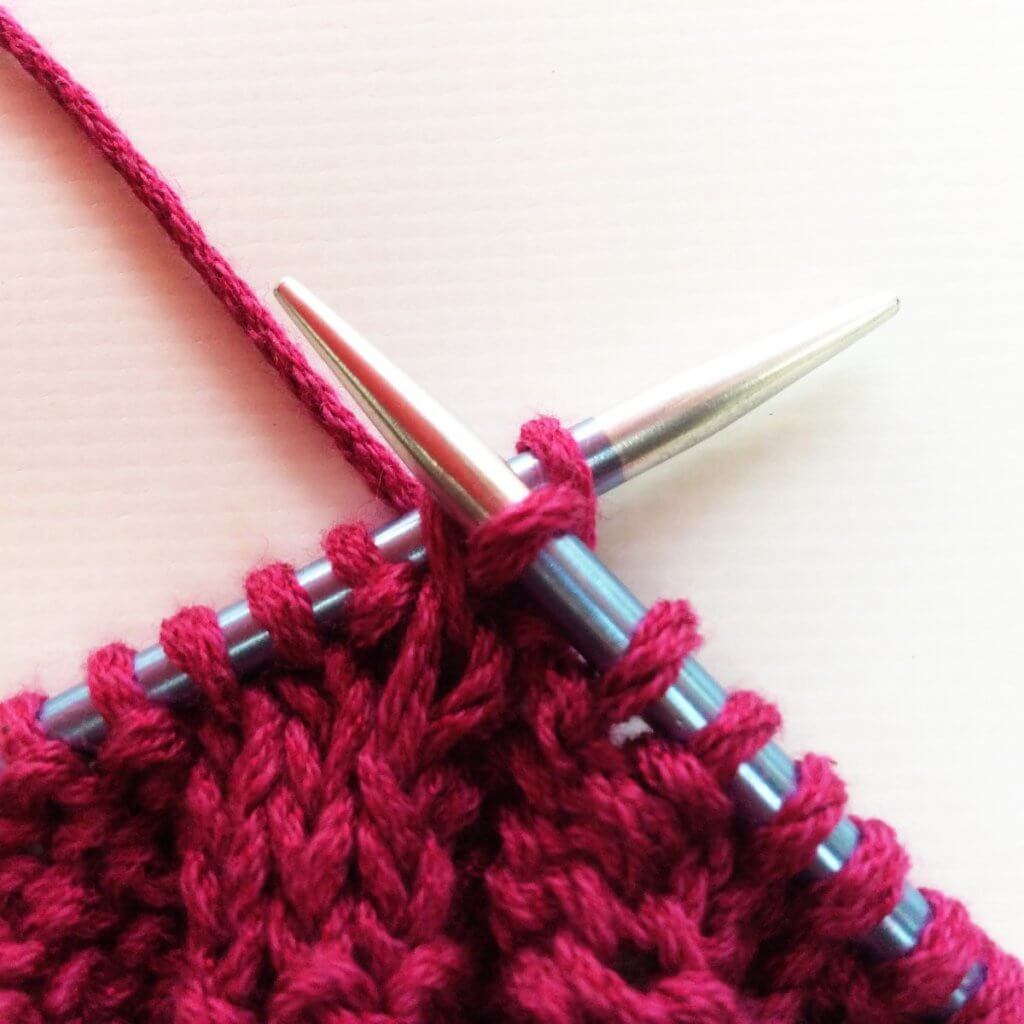
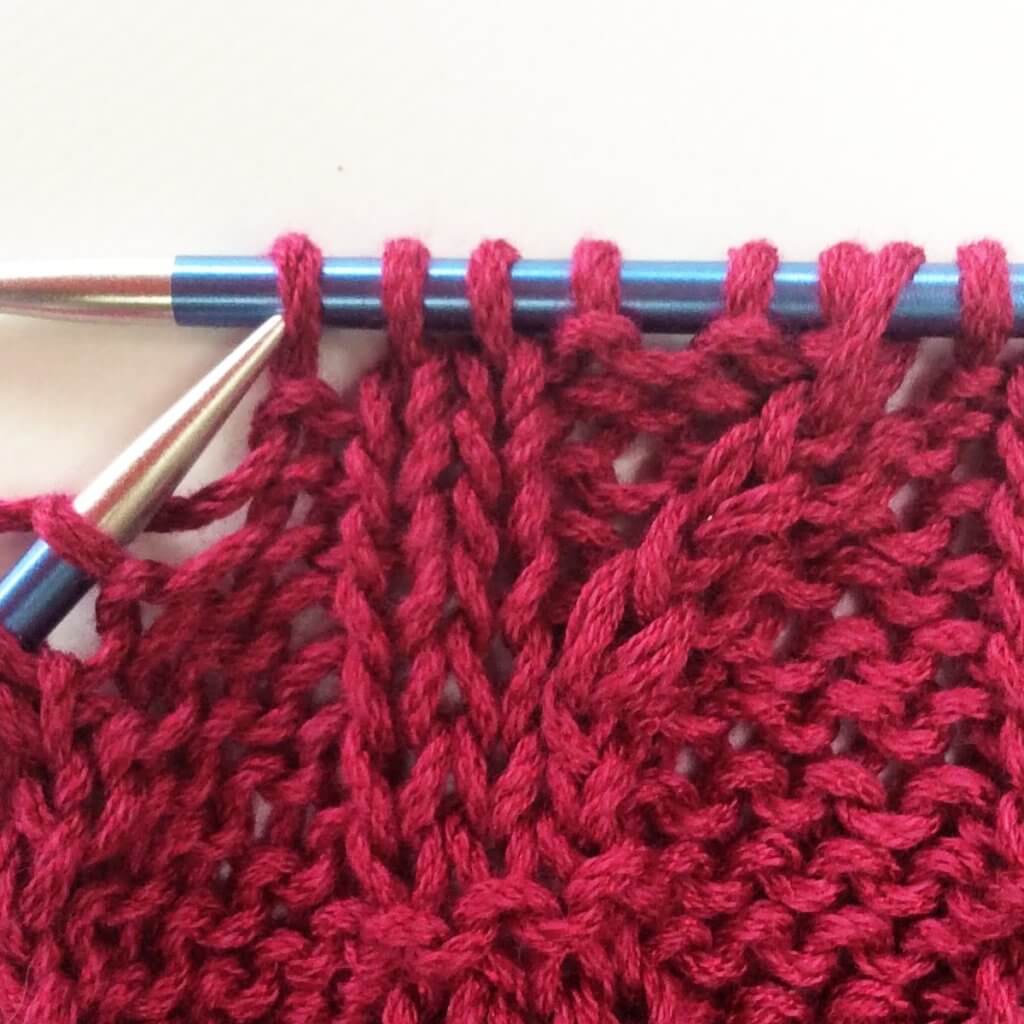
2. Next, insert the tip of the right-hand needle into the first 2 stitches at the same time as if to knit.

Knitting the k2tog decrease - a tutorial by La Visch Designs

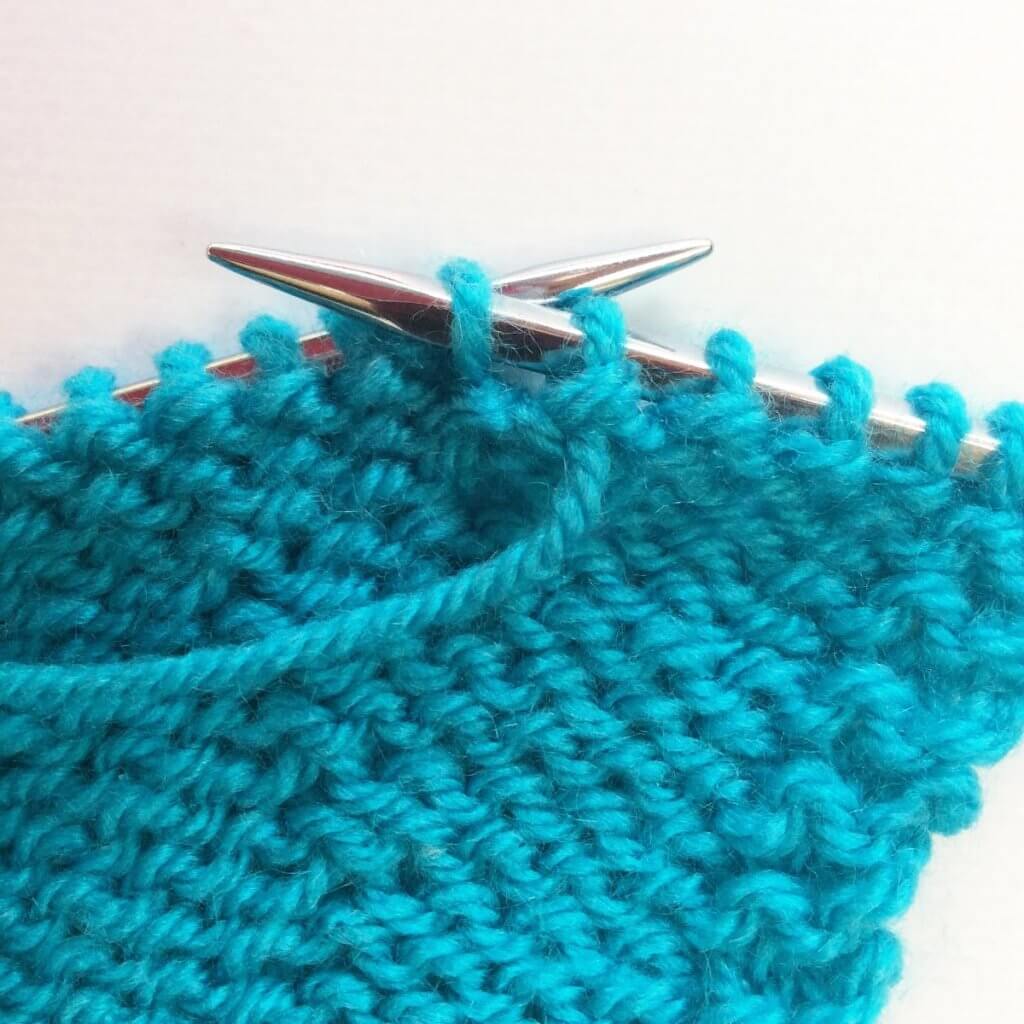
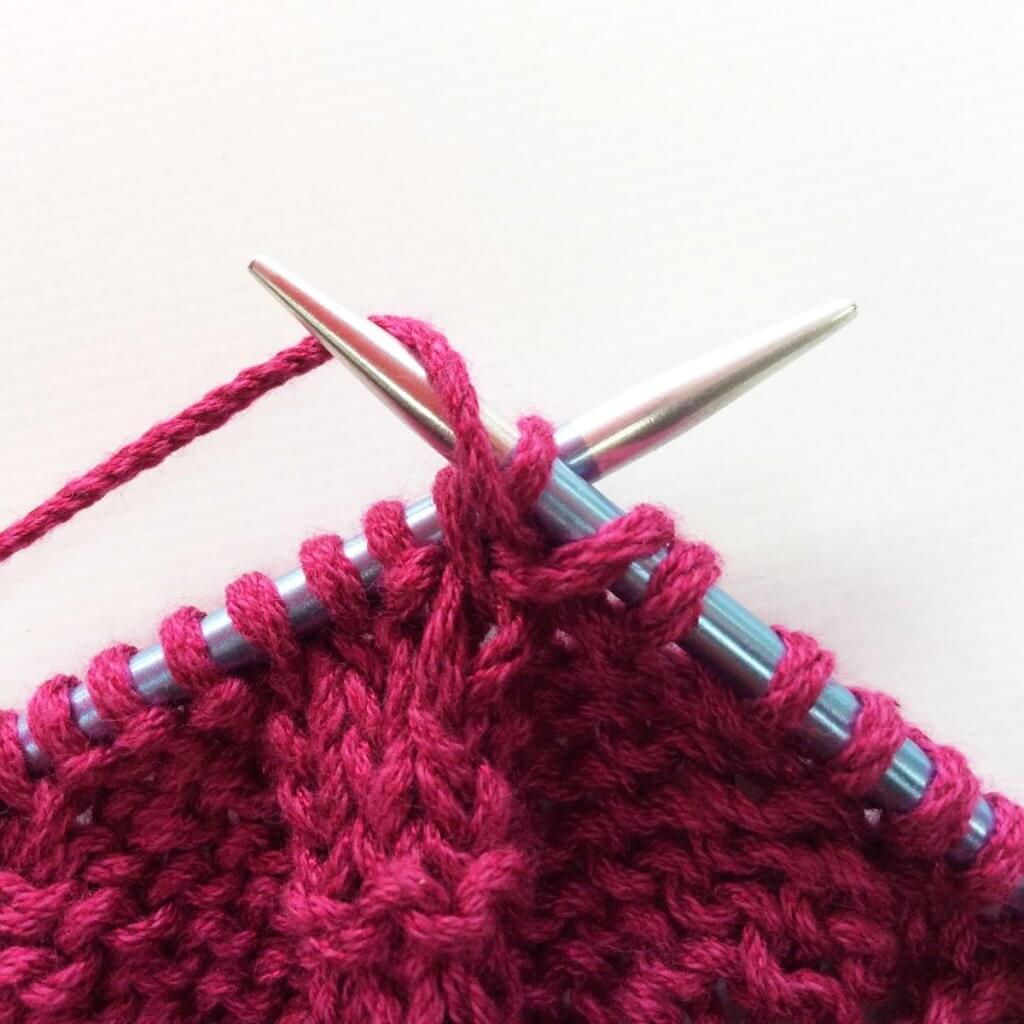
3. Wrap the yarn around the needle…

Knitting the k2tog decrease - a tutorial by La Visch Designs

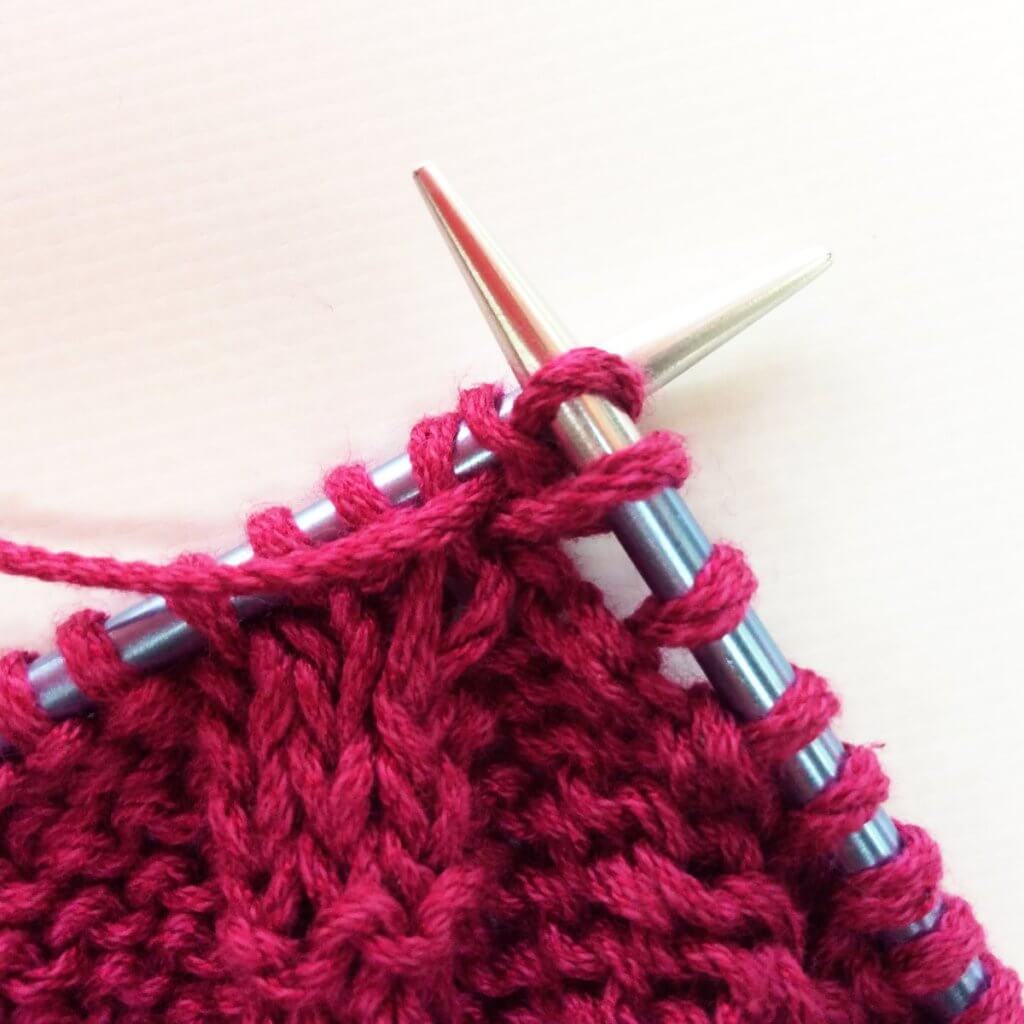
4. ..pull it through the stitches you inserted the right-hand needle in…

Knitting the k2tog decrease - a tutorial by La Visch Designs

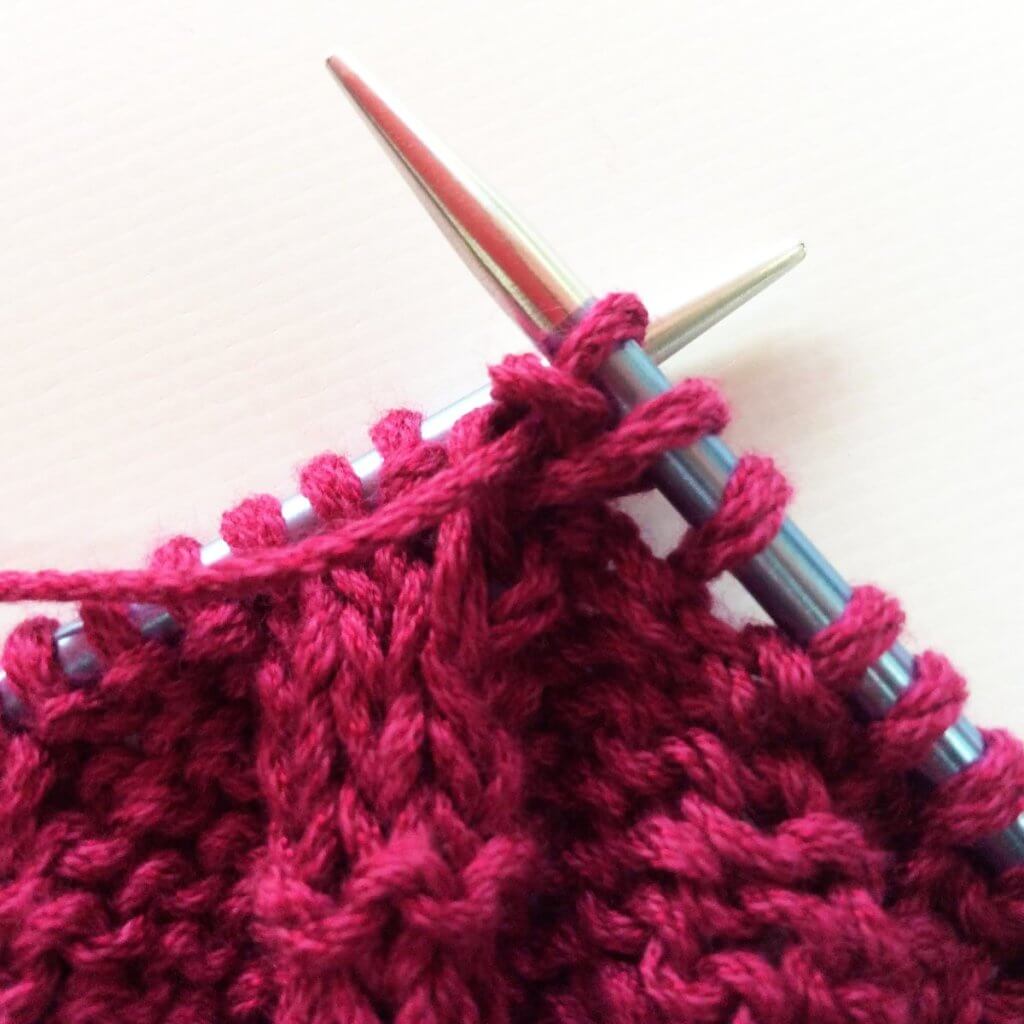
5. …and slip the original stitches of the left-hand needle.

Knitting the k2tog decrease - a tutorial by La Visch Designs

And this is how to work the k2tog decrease! The result in stockinette is shown below. In this small swatch, there are three decrease rows worked every other row, at a distance of 2 stitches from the garter stitch edge.

Knitting the k2tog decrease - a tutorial by La Visch Designs

tutorial – knitting the k2tog decrease Read More »
tutorial – knitting the skp decrease

Knitting the skp decrease - a tutorial by La Visch Designs

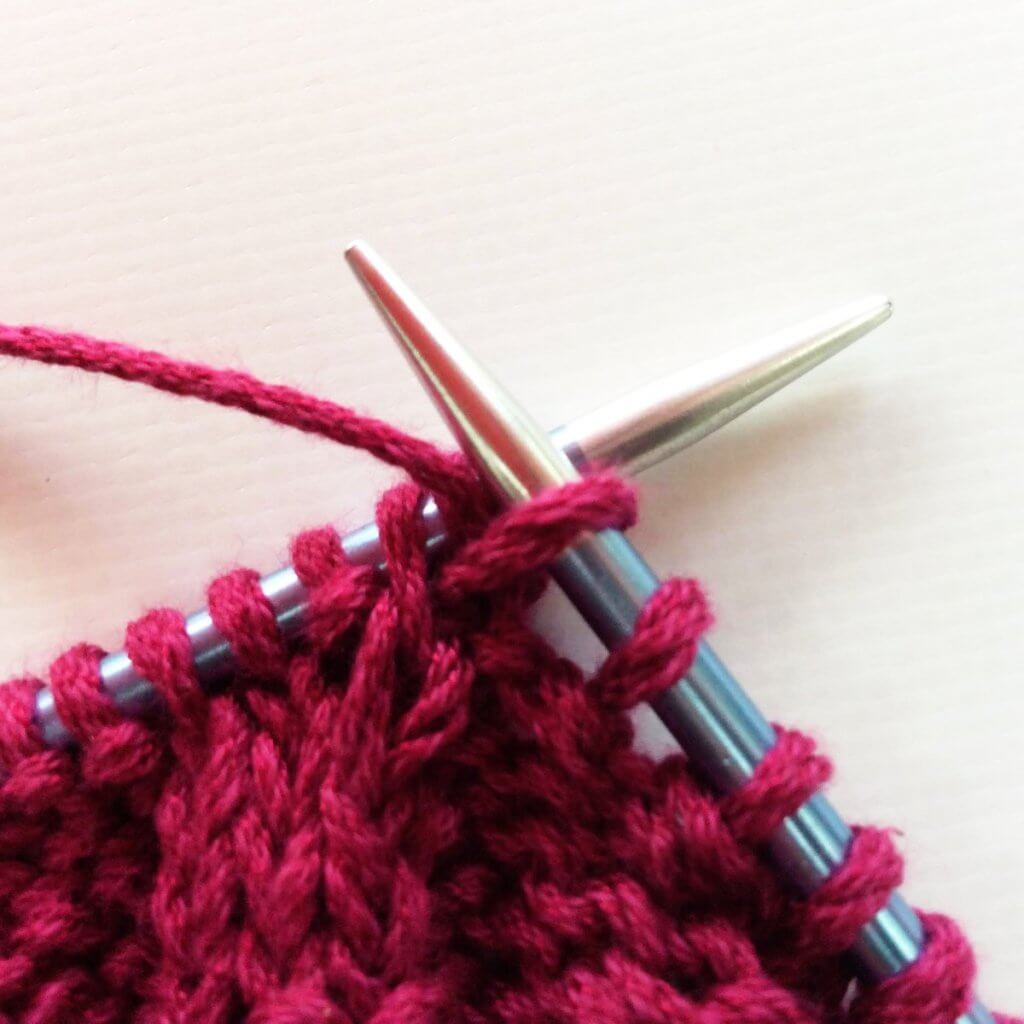
To make shaping in your knitting possible, knowing how to decrease the number of stitches on your needles is quite important. In this post, I’m going to show you how to work the left-leaning decrease that is abbreviated with “skp”. Skp stands for “slip 1, knit 1, pass the slipped stitch over the knitted stitch”.

There are, of course, also other left-leaning decreases. Take for example the “slip slip knit” (ssk) decrease. And yes, the result is quite similar to that of the skp, but I find the latter personally much easier to work. That’s the reason I usually include the skp decrease in my patterns and add a note that instead, an ssk can be used if desired.

Below you can find how this decrease is worked, so get your materials and follow along! I’m starting with the same swatch I used in my previous tutorial on the m1bl increase.

Knitting the skp decrease - a tutorial by La Visch Designs

Knitting the left-leaning skp decrease step by step

1. First, take your project and work to the spot indicated in your pattern, where you want to make the decrease. In my case, that’s 3 stitches in from the garter stitch edging on the right side of the swatch.

Knitting the skp decrease - a tutorial by La Visch Designs

2. Next, insert the tip of the right-hand needle into the first stitch as if to knit…. (It is, of course, possible to insert the needle as if to purl, but this will twist the stitch mount and will make the decrease look like a twisted stitch.).

Knitting the skp decrease - a tutorial by La Visch Designs

3. … and slip it onto the right-hand needle without actually knitting it.

Knitting the skp decrease - a tutorial by La Visch Designs

4. Next, we are going to knit the second stitch. To do so, we start with inserting the right-hand needle into the first stitch on the other needle as shown below.

Knitting the skp decrease - a tutorial by La Visch Designs

5. Wrap the yarn around the needle…

Knitting the skp decrease - a tutorial by La Visch Designs

6. ..pull it through the stitch you inserted the right-hand needle in…

Knitting the skp decrease - a tutorial by La Visch Designs

7. …and slip the original stitch off the left-hand needle.

Knitting the skp decrease - a tutorial by La Visch Designs

8. Next, insert the left-hand needle into the second stitch counted from the tip of the right-hand needle…

Knitting the skp decrease - a tutorial by La Visch Designs

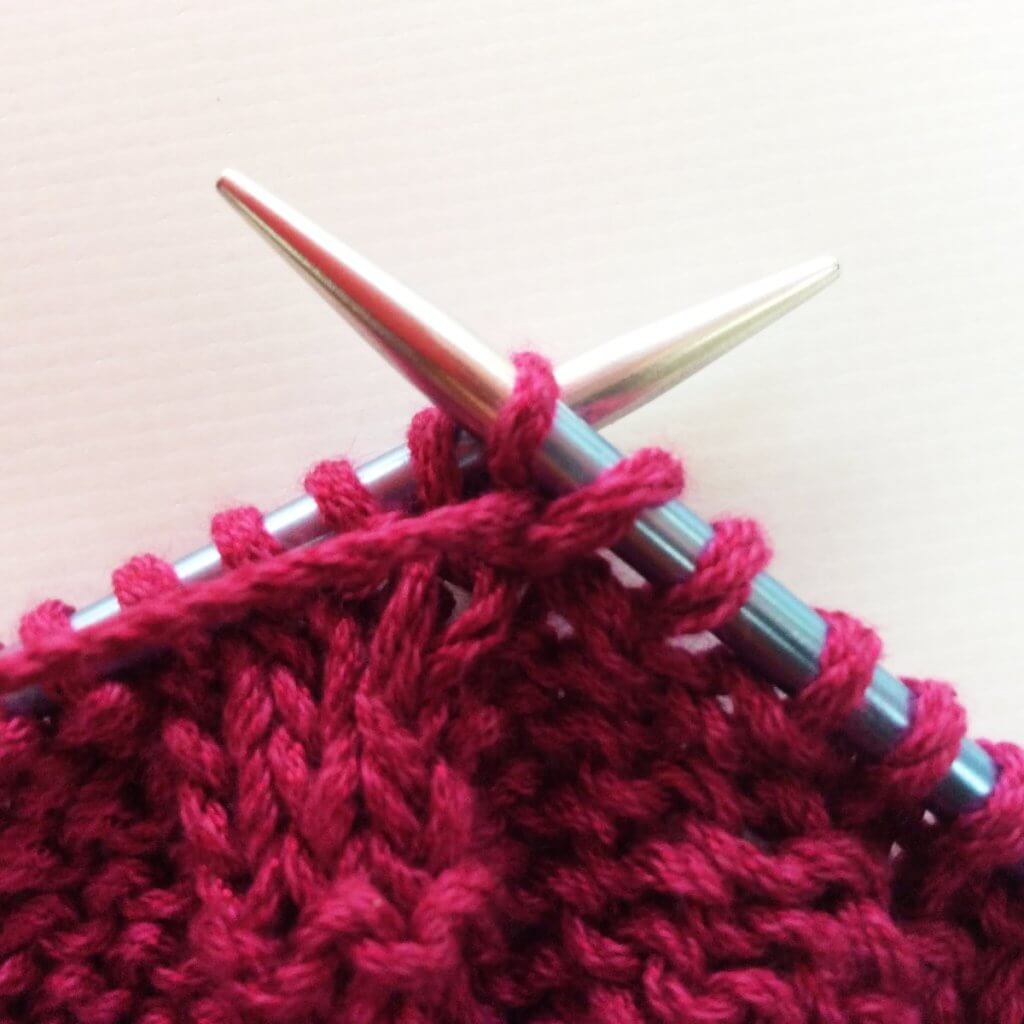
9. And pull it over the first stitch from the tip on the right-hand needle to complete the decrease. Do you see how it slants to the left?

Knitting the skp decrease - a tutorial by La Visch Designs

And this is how to work the skp decrease! The result in stockinette is shown below. In this example, there are three decrease rows worked every other row, at a distance of 2 stitches from the garter stitch edge.

Knitting the skp decrease - a tutorial by La Visch Designs

The decreases in this particular swatch look a bit wibbly/wobbly but in my experience that mostly disappears after blocking. In lace, however, I don’t notice it at all after blocking.

tutorial – knitting the skp decrease Read More »
olijf

Olijf by La Visch Designs

Snuggle up in cozy woolens when it’s cold! This super bulky weight shawl makes you feel like you’re enveloped in a nice warm big hug. It knits up quickly, with its stockinette edge sections and lace section in the center. What’s not to like?! Not a fan of super bulky? Make Olijf in lighter weight yarns, instructions included!

Written and charted instructions for the lace are included. Directions for the central lace section and plain stockinette / increase section are written separately and must be read together to work each row.


Pay what you want: (minimum €6.50)

Add to cart


Difficulty level

The Olijf shawl starts with a garter stitch tab. Stitches used include knit, purl, yo, k2tog, skp, make 1 with a backward loop as well as knitting tbl. This pattern is suitable for the intermediate knitter.

Sizes and finished measurements

One size: Wingspan of 187 cm (73 ½ inches) and a depth of 80 cm (31 ½ inches), measured after blocking. Adjust the sizing by using a different weight yarn and/or working a different number of repeats of the body pattern or the border. This will, of course, change the amount of yarn needed.

Pattern details

  • Gauge: Approx. 6 sts / 10 rows = 10 cm (4 inches) over stockinette, measured after blocking.
  • Pattern languages included: English and Dutch (Dit patroon omvat zowel een Nederlandse als een Engelse versie)
  • Digital PDF has 6 pages (letter size)

Materials

  • Yarn: 400 m (437 yds) Debbie Bliss Roma (70% Merino, 30% Alpaca; 80 m (87 yds) / 100 g). Get this yarn on LoveKnitting (affiliate link). Substitute any super bulky weight wool yarn for a similar result. Can’t find super bulky weight yarn? Try triple stranding DK or worsted weight wool yarn.
  • Size 10 mm (US 15) / 100 cm (40 inches) circular needles
  • Yarn needle
  • 2 stitch markers to indicate the center section

olijf Read More »
tutorial – knitting the m1bl increase

Knitting the m1bl increase - by La Visch Designs

As you know, there are many options to work increases in knitting. Take for example the various m1 increases. A disadvantage of the regular m1 increase is, however, that it’s worked into the horizontal strand between two stitches in the row below. This causes the knitting to become tighter when they’re stacked over multiples rows. Especially when working in stripes or garter stitch, this can cause the lines to become distorted.

And that is where the m1bl increase comes in. The m1bl increase is also known as “Make 1 with Backward Loop” or the “Backward loop increase”. And when worked correctly it’s almost invisible! This is due to the fact that it doesn’t use yarn from the row below, but is given its own amount to be formed. Also, the m1bl increase can be used to either increase mid-row or cast-on stitches at the end of the row. The m1bl is basically the same as the thumb method of casting on, also known as the “single cast-on”, “e-wrap cast-on” or the “backward loop cast-on”.

Directional increase

The m1bl increase is a directional increase. This means there is both a left-leaning and a right-leaning version, which mirror each other when used together. This can be very useful in projects where paired increased are needed and it may be visually pleasing to be symmetrical. Think for example of both sides of a top-down triangle shawls spine, or bust shaping in a garment.

Sometimes there is no indication of a direction given in the pattern, usually denoted by plain “m1bl”. If that is the case, you can choose which version you like best, or easiest to make. Often I don’t bother using both versions of the m1bl increase. I mean, it’s so invisible on its own!

In my patterns you can find the following description for the m1bl increase:
Make 1 with a backward loop (m1bl): With your thumb, make a backward loop with the working yarn over the right-hand needle and pull to tighten.

Below you can find how this increase is worked.

Knitting the left-leaning m1bl increase step by step

1. Take your working yarn and loop it as shown in the picture below, with the yarn going to the project in front.

Knitting the m1bl increase - by La Visch Designs

2. Next, insert the tip of the right needle from back to front through the loop.

Knitting the m1bl increase - by La Visch Designs

3. Pull the yarn snugly around the needle.

Knitting the m1bl increase - by La Visch Designs

4. On next row when you come to the loop added, purl (as shown here for stockinette) or knit (for garter stitch) as usual.

Knitting the m1bl increase - by La Visch Designs

Knitting the right-leaning m1bl increase step by step

1. Take your working yarn and loop it as shown in the picture below, with the yarn going to the project in the back.

Knitting the m1bl increase - by La Visch Designs

2. Next, insert the tip of the right needle from front to back through the loop.

Knitting the m1bl increase - by La Visch Designs

3. Pull the yarn snugly around the needle.

Knitting the m1bl increase - by La Visch Designs

4. On next row when you come to the loop added, purl (as shown here for stockinette) or knit (for garter stitch) as usual.

Knitting the m1bl increase - by La Visch Designs

The results

And this is how knitting both right- and left-leaning versions of the m1bl increase are worked! The result in stockinette is shown below, with the right-leaning version on the right of the swatch and the left-leaning one on the left. In this small swatch, there are three increase rows worked every other row, at a distance of 3 stitches from the garter stitch edge.

Knitting the m1bl increase - by La Visch Designs

As you can see in the below picture, the increases are fairly invisible in reverse stockinette. The same holds true in garter stitch!

Knitting the m1bl increase - by La Visch Designs

tutorial – knitting the m1bl increase Read More »