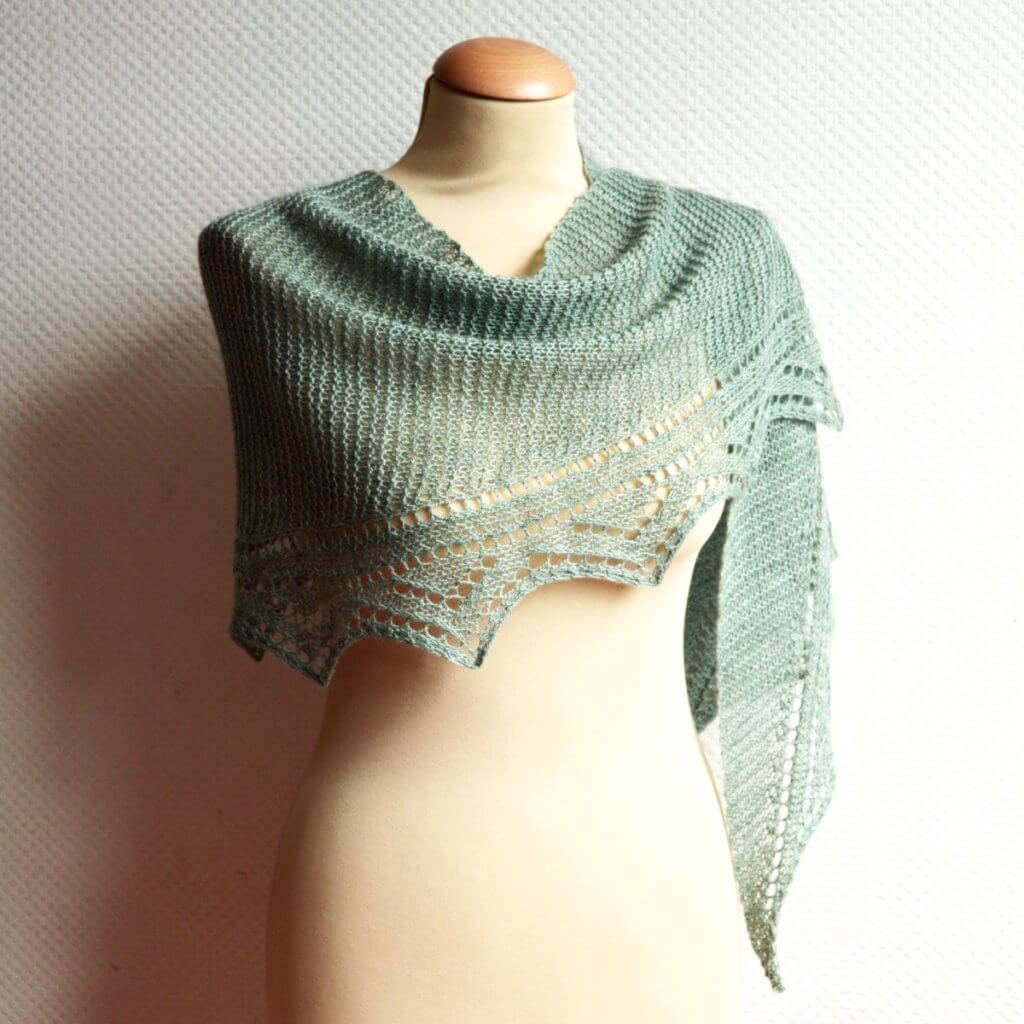
tangerine tango
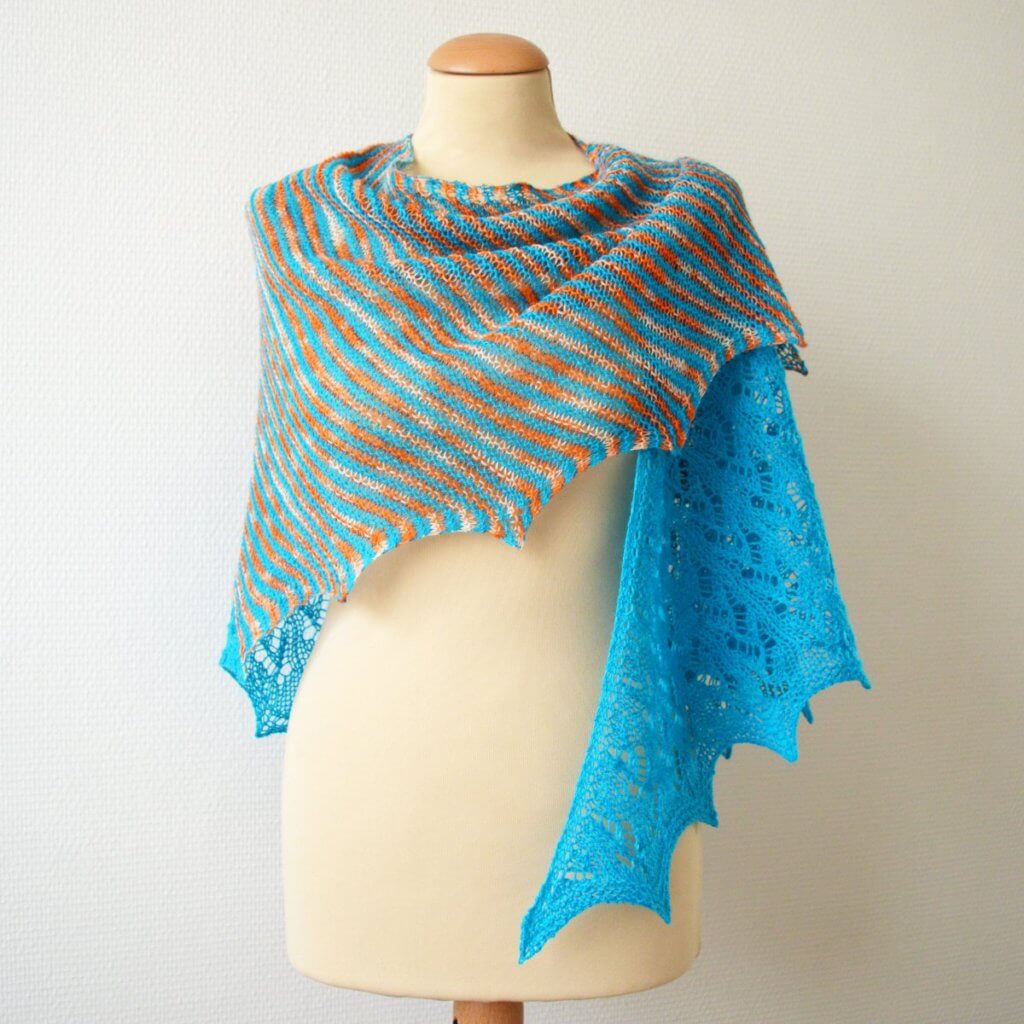
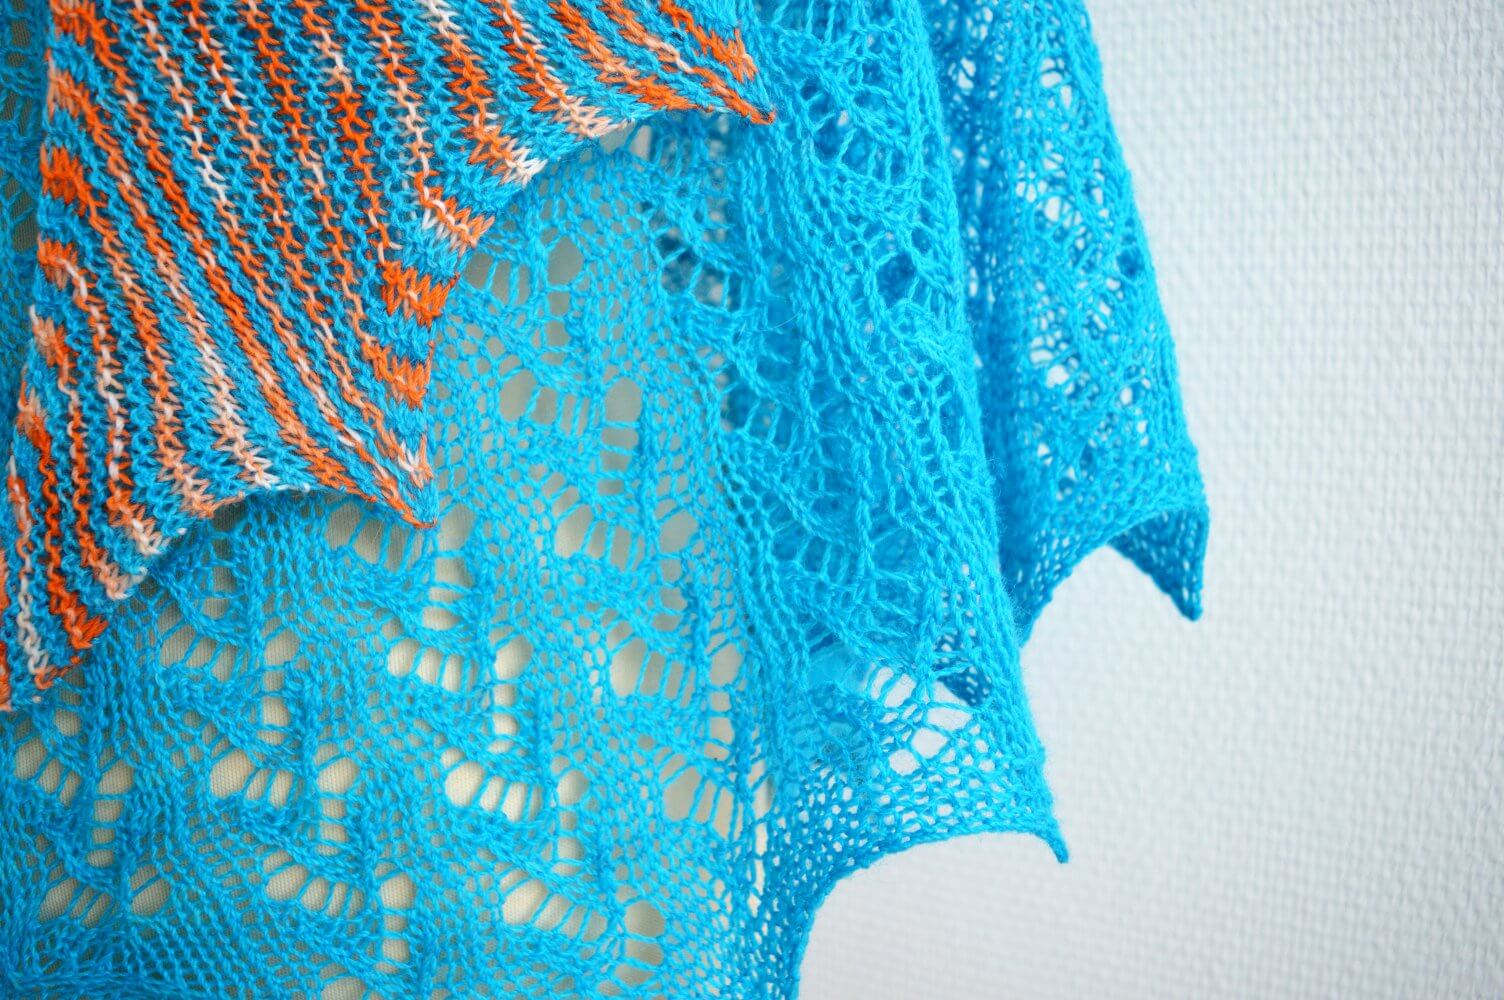
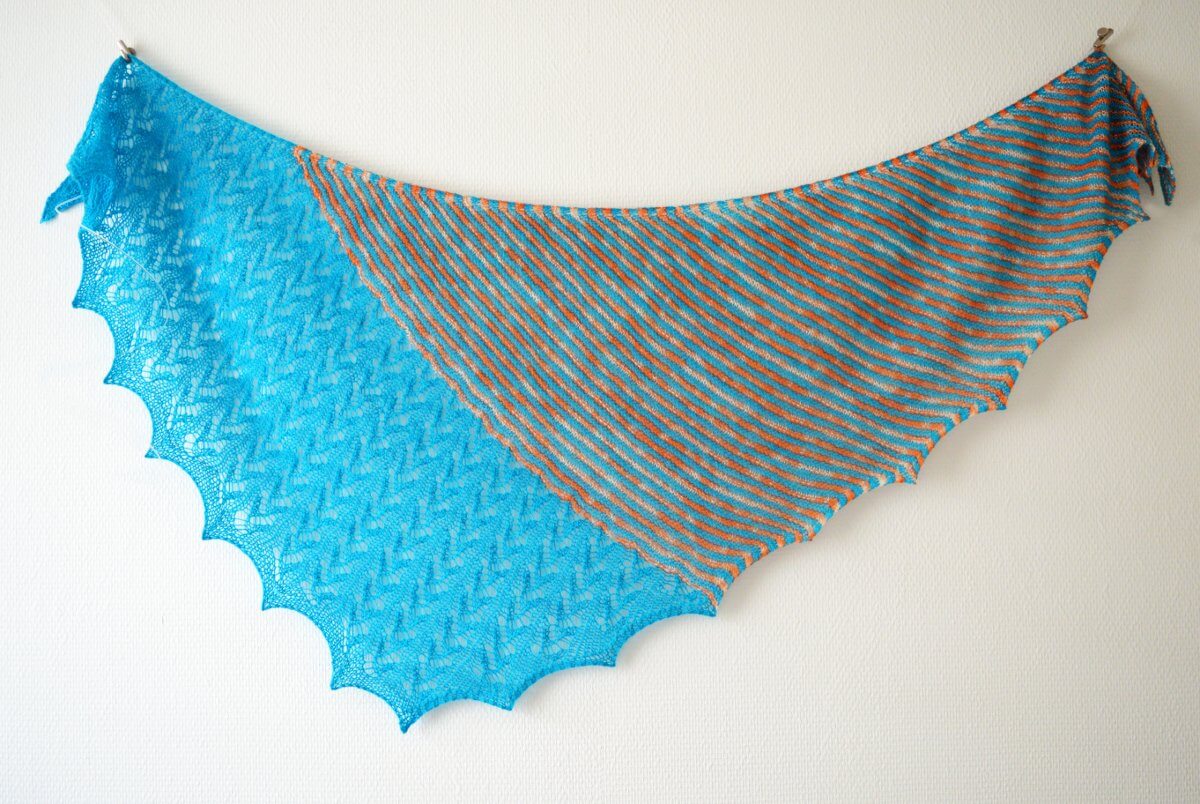
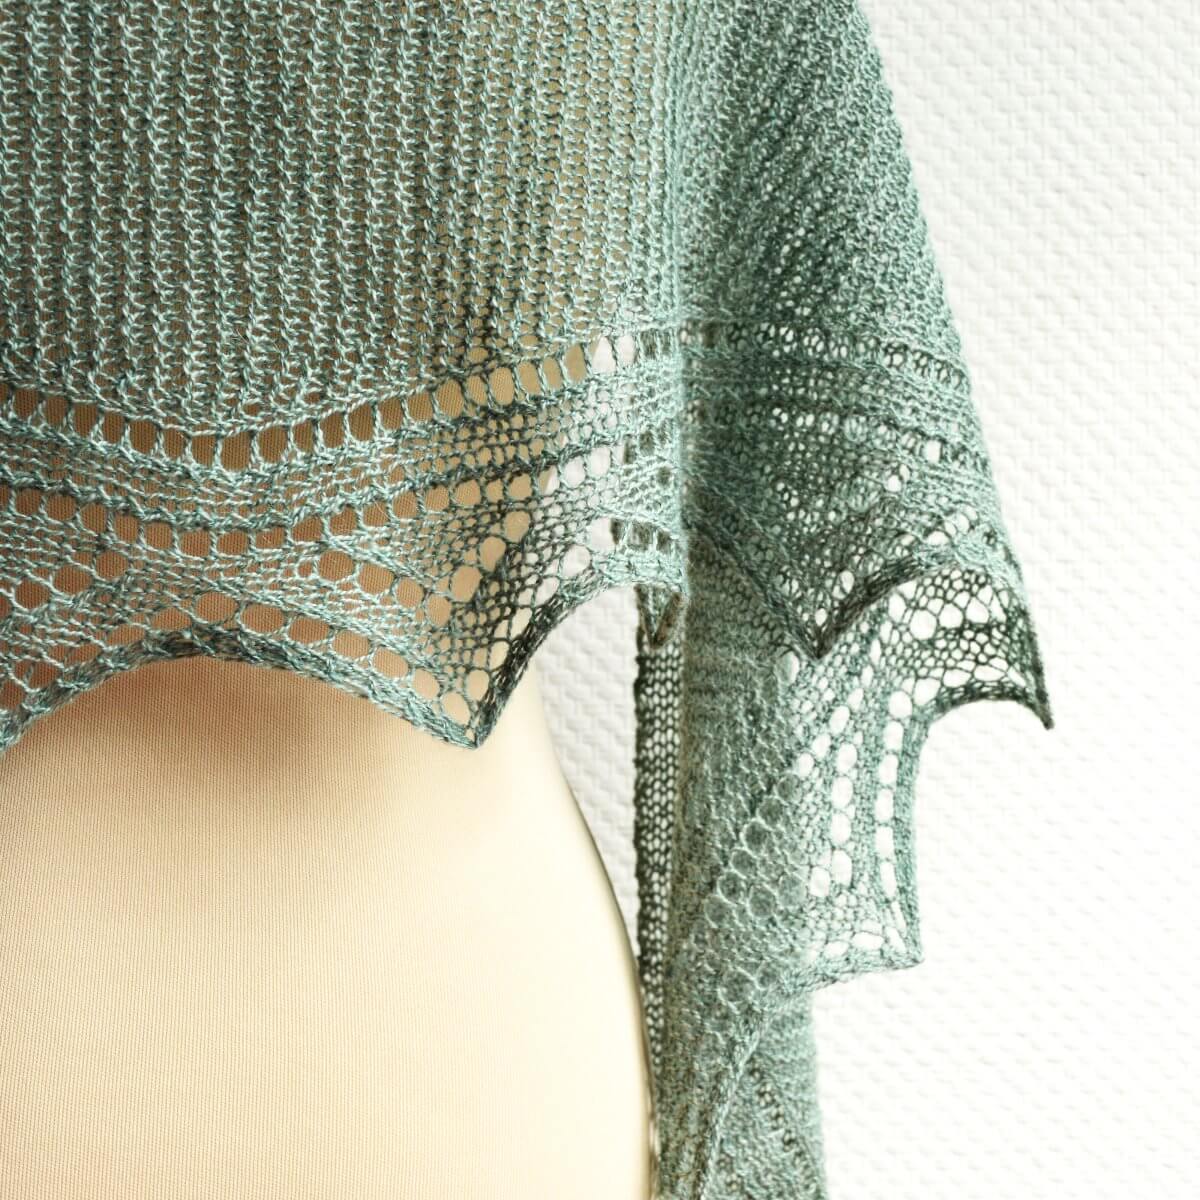
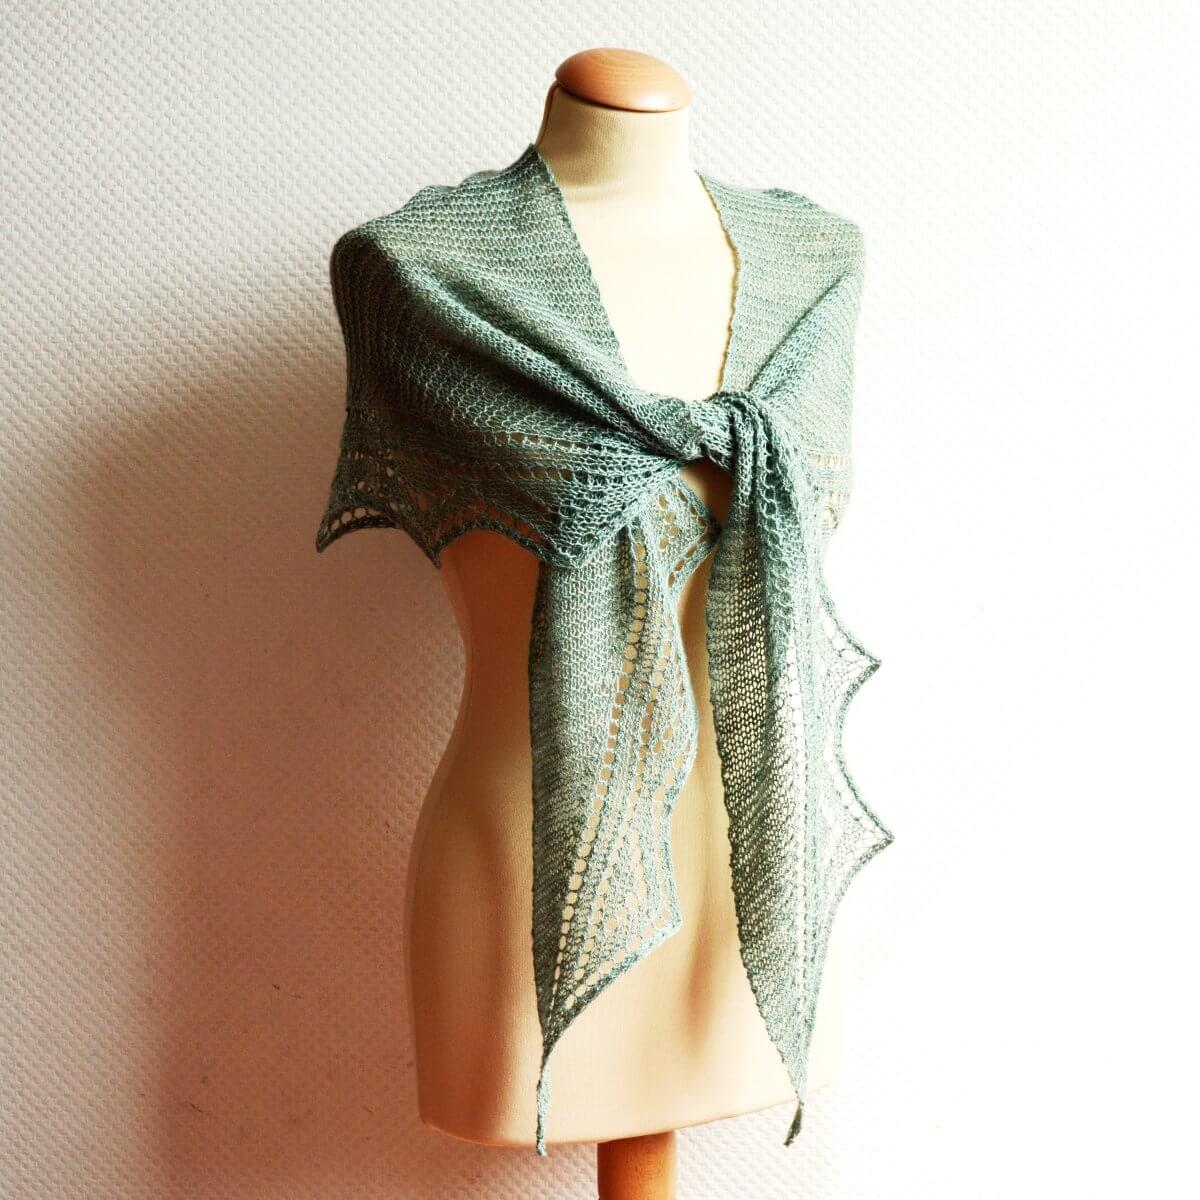
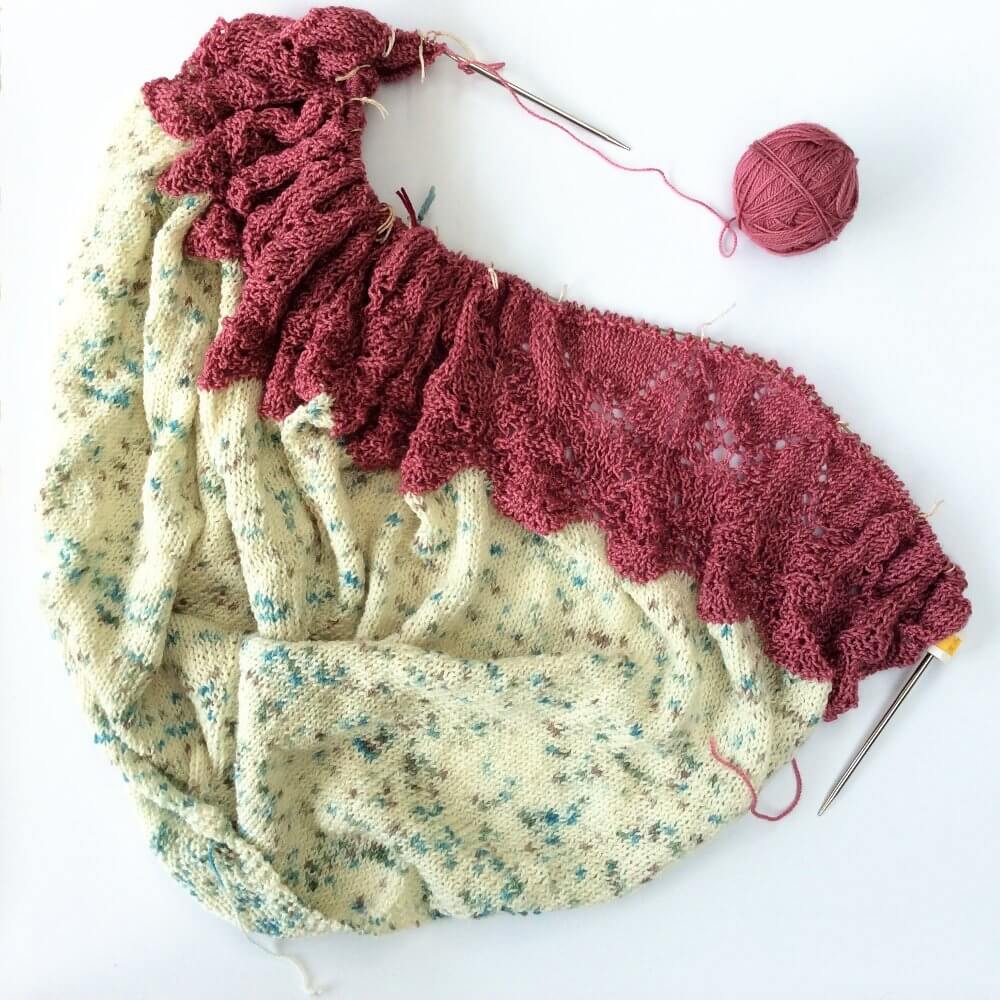
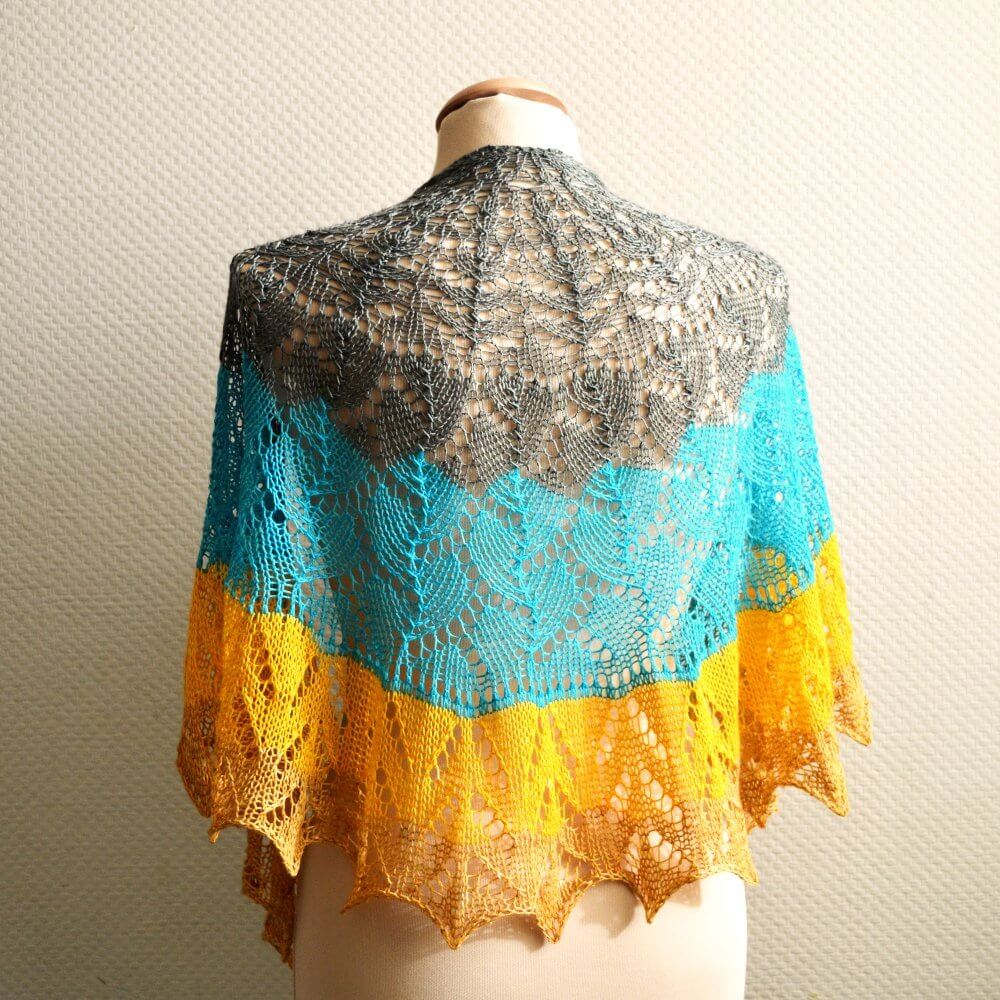
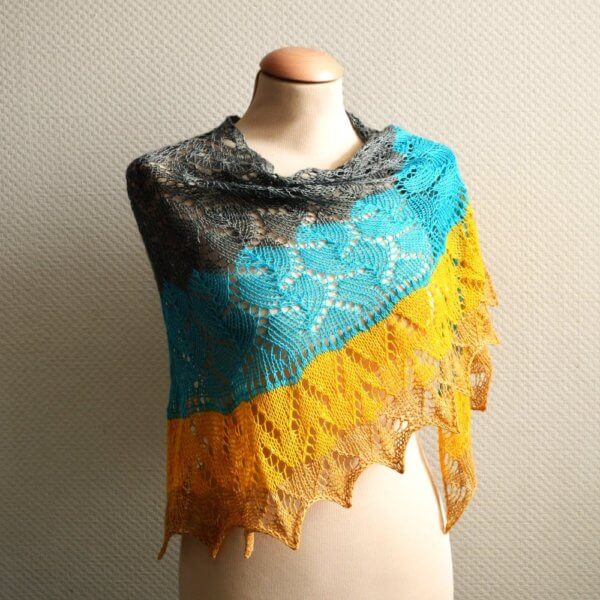
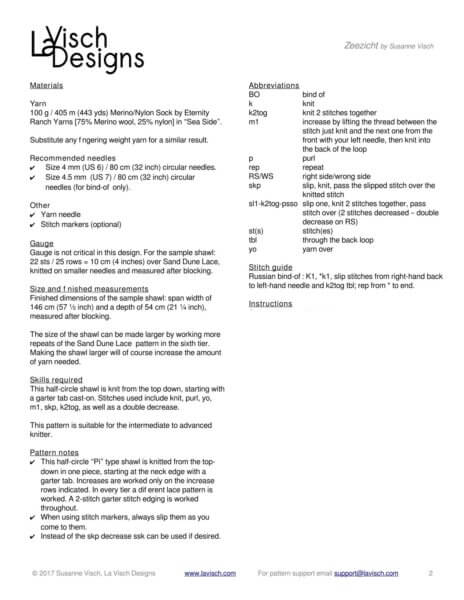
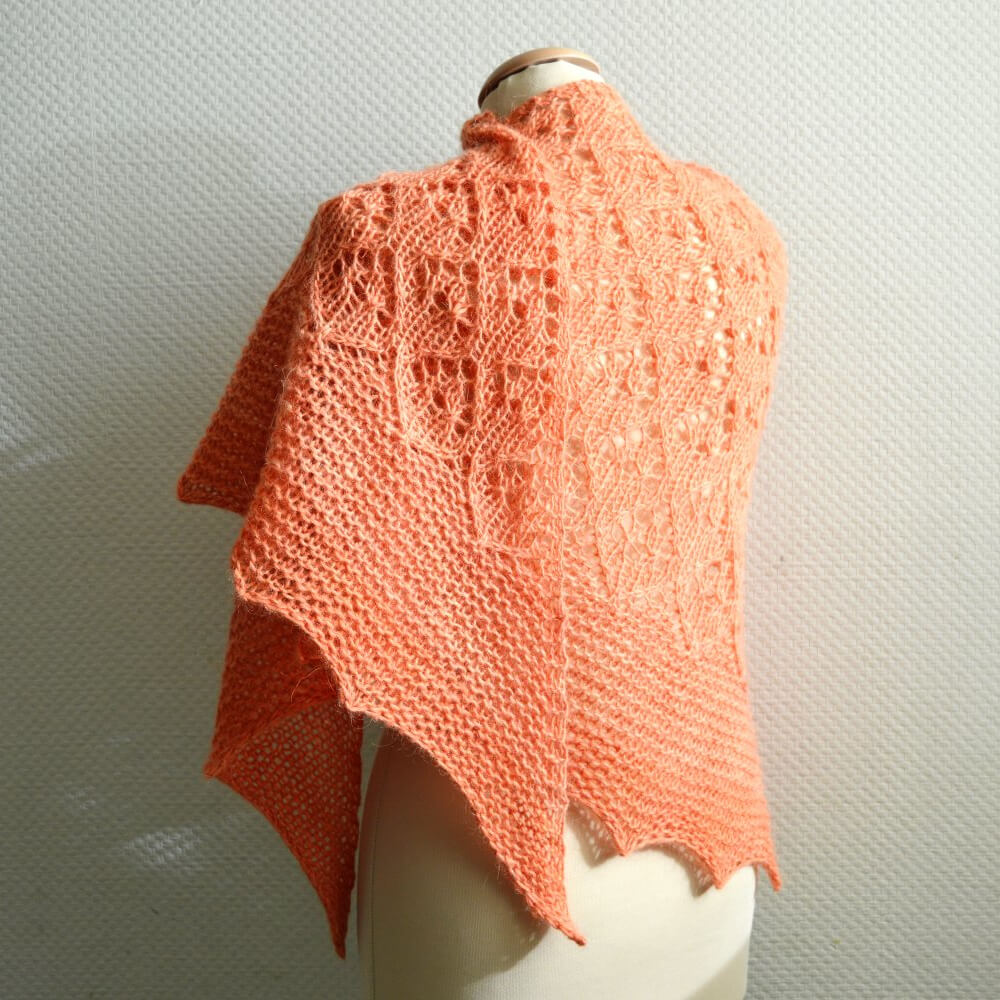
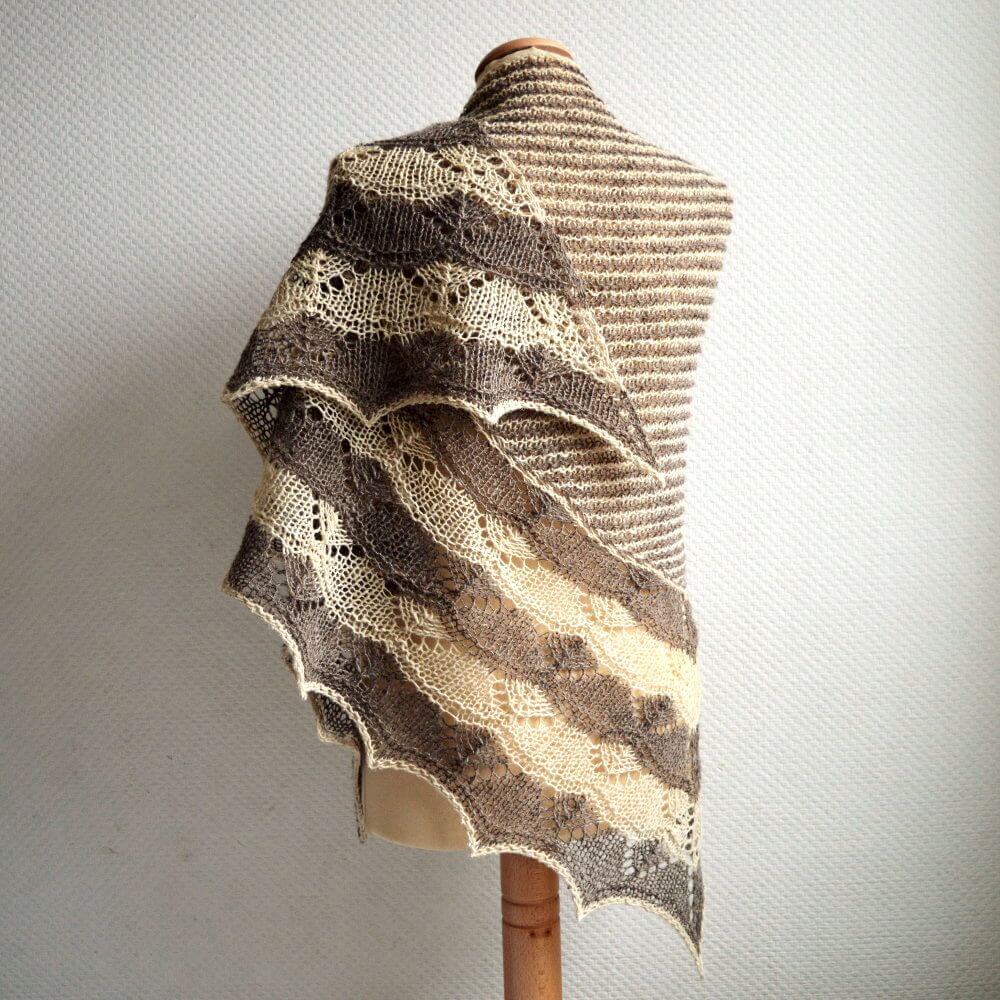
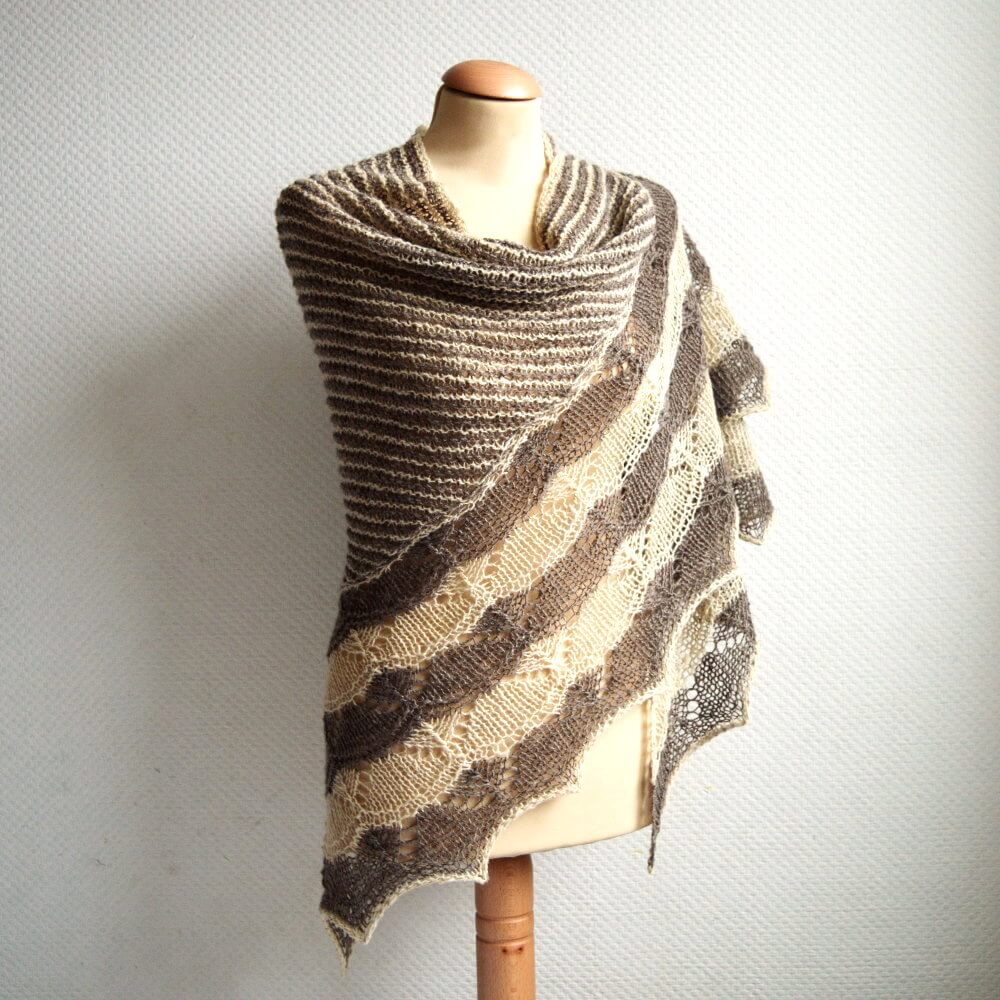
Tangerine Tango is a stylish triangular shawl knit sideways on the bias. The combination of striped garter stitch and lace makes it a perfect choice for those colors of fingering weight yarn that combine so well. With its generous size of 177 cm (69 ¾ inches) along the upper edge and a depth of 63 cm (24 ¾ inches), it is perfect to wear as an elegant scarf.
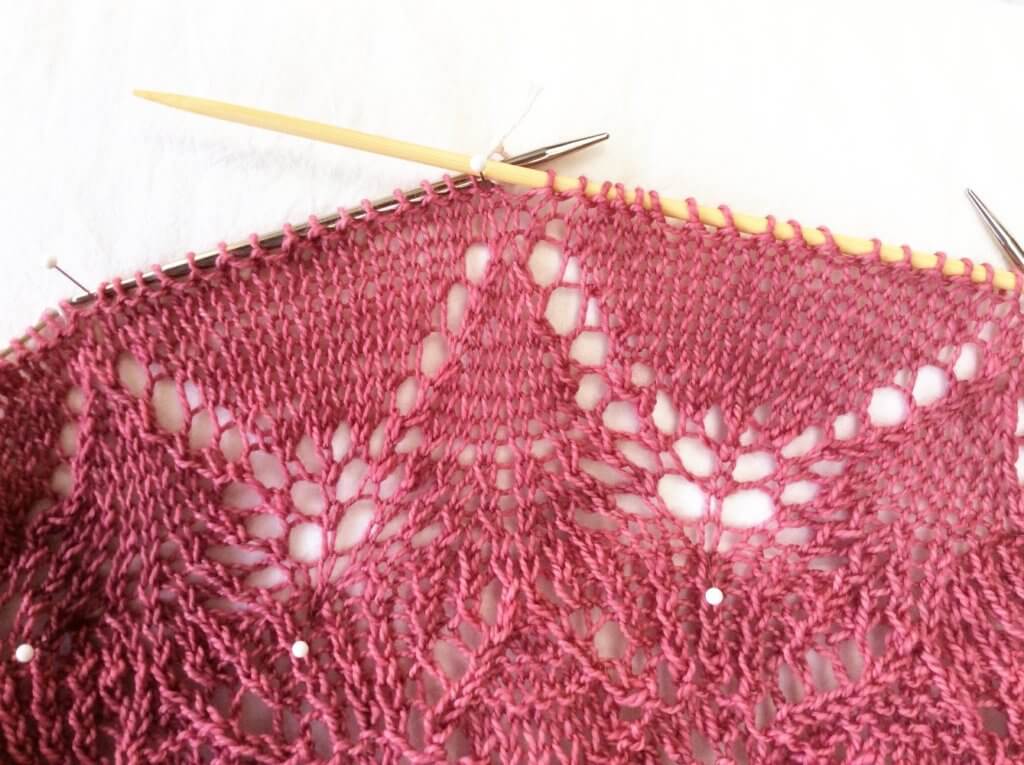
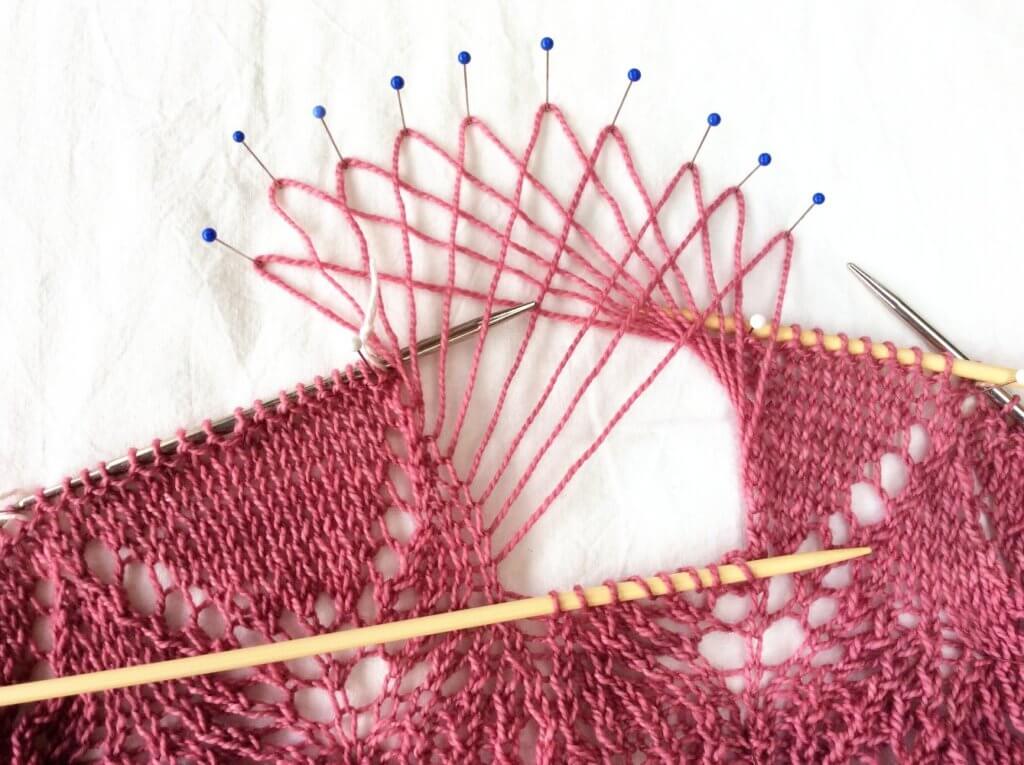
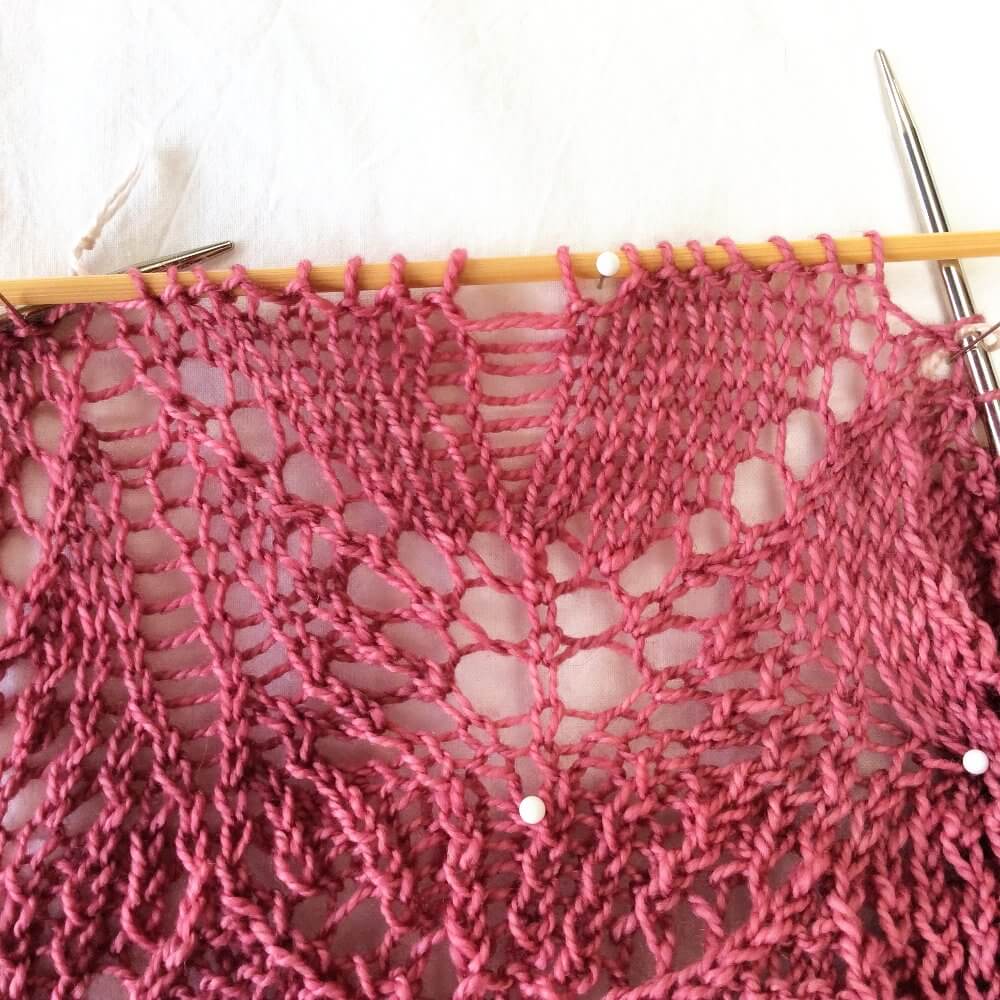
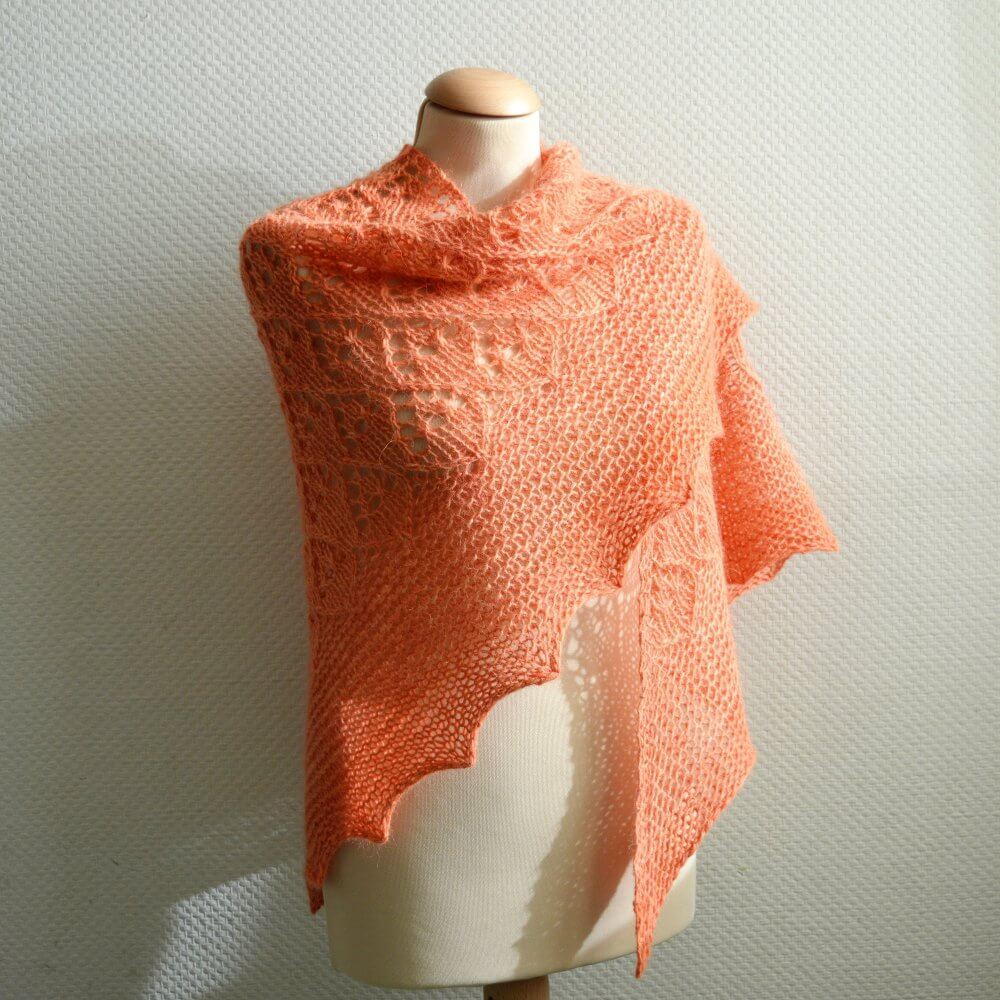
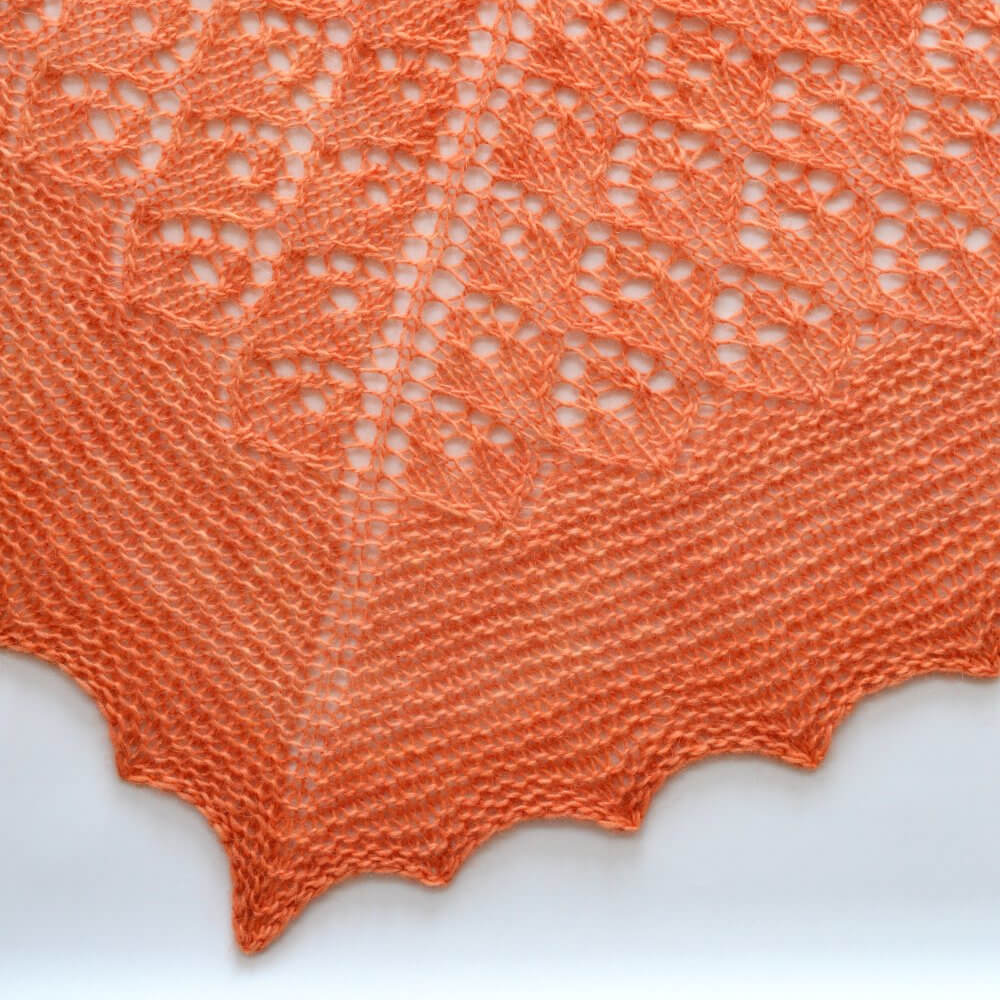
This pattern contains both fully written out as well as charted instructions for the lace section. The lace in the border is worked on both right side and wrong side rows. The shawl can be made larger by adding more repeats of the striped garter stitch section and/or by working more repeats of the lace section.
Pay what you want: (minimum €6.50)

Difficulty level
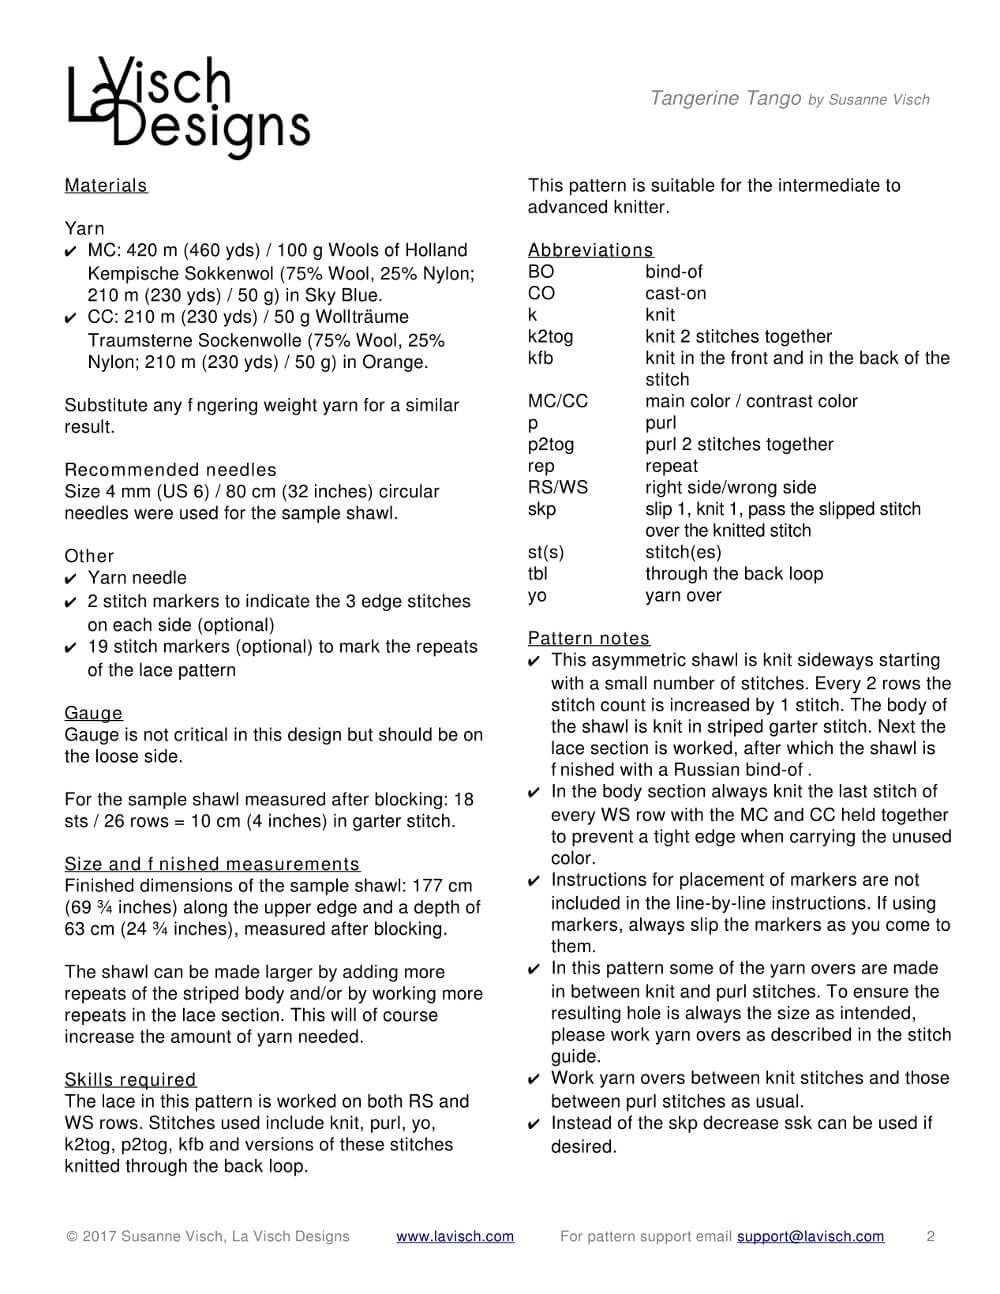
The lace in this pattern is worked on both RS and WS rows. Stitches used include knit, purl, yo, k2tog, p2tog, kfb and versions of these stitches knitted through the back loop. This pattern is suitable for the intermediate to advanced knitter.
Sizes and finished measurements
Finished dimensions of the sample shawl: 177 cm (69 ¾ inches) along the upper edge and a depth of 63 cm (24 ¾ inches), measured after blocking.
Pattern details
- Tangerine Tango is written for a gauge of approx. 18 sts / 26 rows = 10 cm (4 inches) over garter stitch, measured after blocking. Gauge is however not critical in this design.
- Pattern languages included: English and Dutch (Dit patroon omvat zowel een Nederlandse als een Engelse versie)
- Digital PDF has 4 pages (letter size)
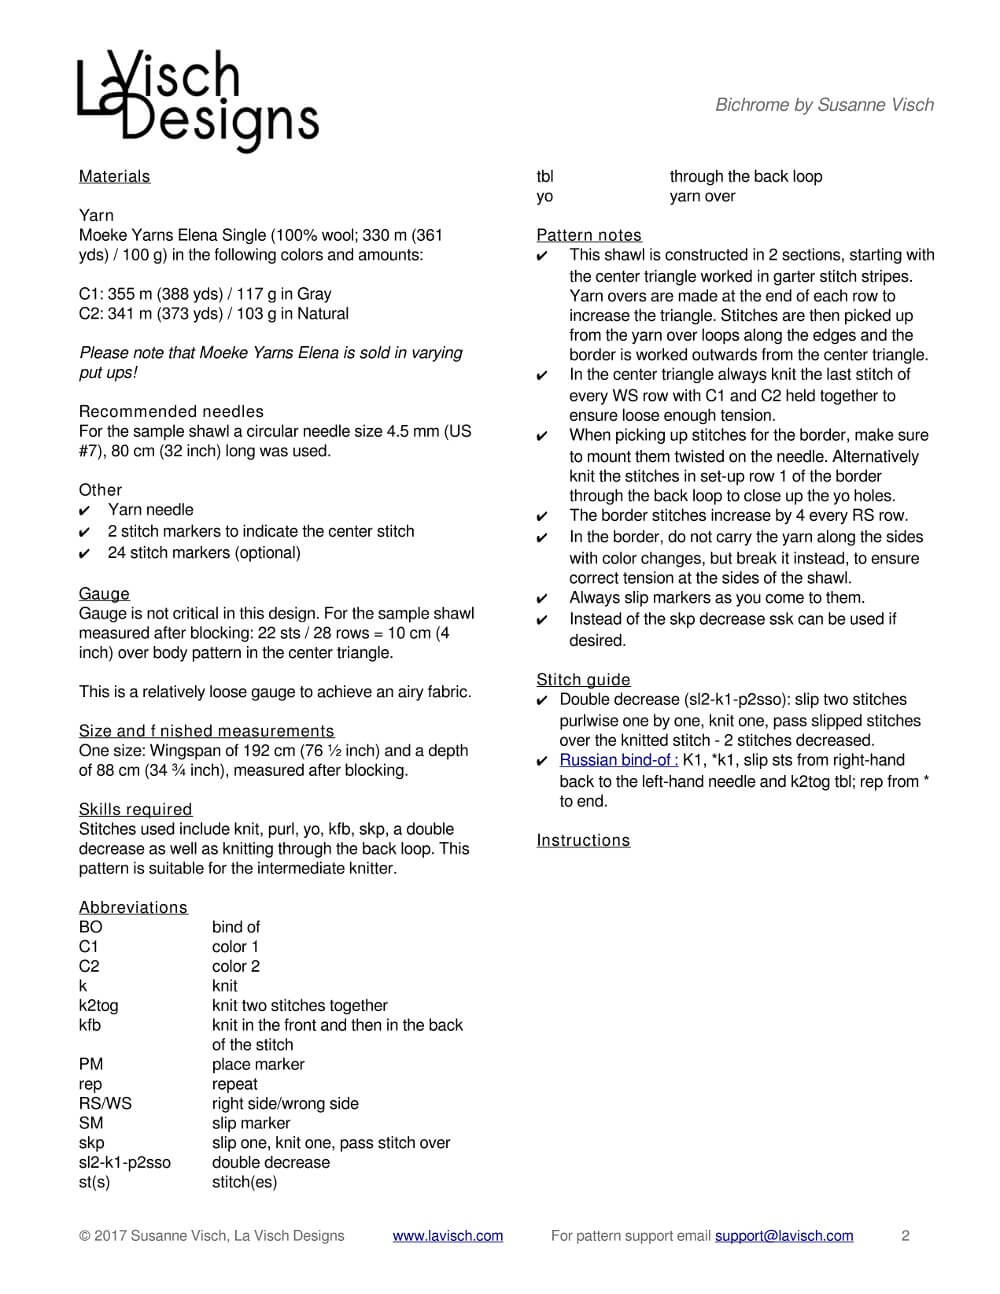
Materials
- Yarn: MC: 420 m (460 yds) / 100 g Wools of Holland Kempische Sokkenwol (75% Wool, 25% Nylon; 210 m (230 yds) / 50 g) in Sky Blue.
CC: 210 m (230 yds) / 50 g Wollträume Traumsterne Sockenwolle (75% Wool, 25% Nylon; 210 m (230 yds) / 50 g) in Orange.
Substitute any fingering weight yarn for a similar result. - Size 4 mm (US 6) / 80 cm (32 inches) circular needles
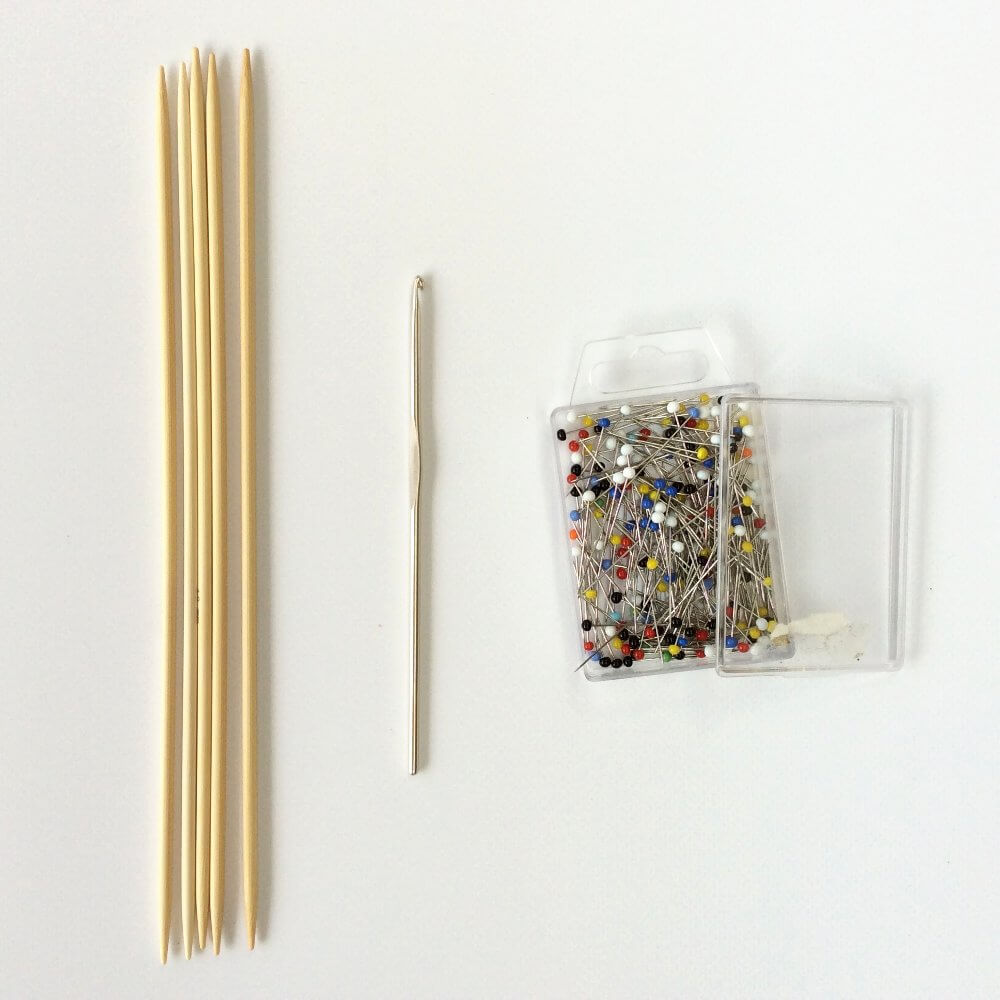
- Yarn needle
- 2 stitch markers to indicate the 3 edge stitches on each side (optional)
- 19 stitch markers (optional) to mark the repeats of the lace pattern