knitting

gymir – free pattern

Gymir


Let’s knit extreme! In earlier posts I already showed you how to make yourself huge broom stick knitting needles and also how I prepared my roving to be able to knit with it. And now it’s finally time to make the next step: I’m ready to go make a project with it!

Considerations when extreme knitting
When knitting a pattern on such a large scale, there are several things that have to be taken into account. For example, it is often not possible to use a large stitch pattern where one repetition requires a large number of stitches and rows: unless you are making a blanket your piece is very likely just not big enough to knit one of multiple repeats of the pattern.

extreme knitting materials

In addition, the impact of extremely large stitches is on its own already very big. Adding a complex stitch pattern to that can be just too much for the eye. A simple stitch pattern with a limited number of stitches and rows is therefore my motto.

Extreme knitting and lace
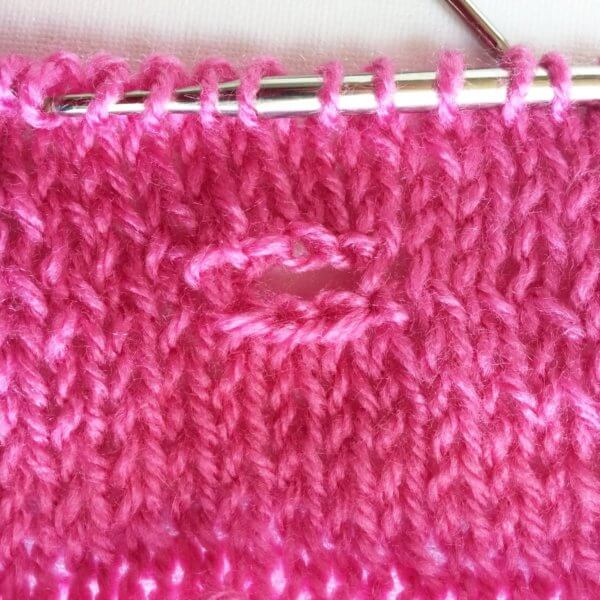
Lace patterns are indeed very beautiful, but you have to remember you that if you knit with very thick yarn and big needles, the holes in your work will also be very large. This of course does not have be a problem, depending on the type of work you want to do.

However, it is something you do need to take into account, because the effect with a tension of 20 stitches over 10 cm / 4 inch is very different from that with a tension of 2 stitches per 10 cm / 4 inch.

Reversibility
Depending on the type of project, it can be desirable for the stitch pattern to be reversible. In other words, that your project will be pretty on both sides. For a long scarf or cowl I think that’s really nice to have, because both sides are often visible. That is why I have chosen a simple straight-purl stitch pattern for this cowl: A two by two rib pattern.

Gymir Cowl pattern

This simply huge cowl has been named after the giant Gymir, who was in Norse mythology the giant whose daughter, Gerðr, ultimately married the god Freyr.

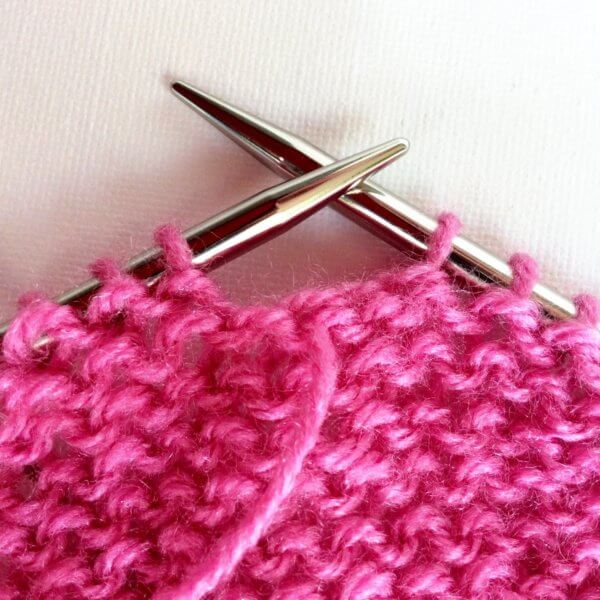
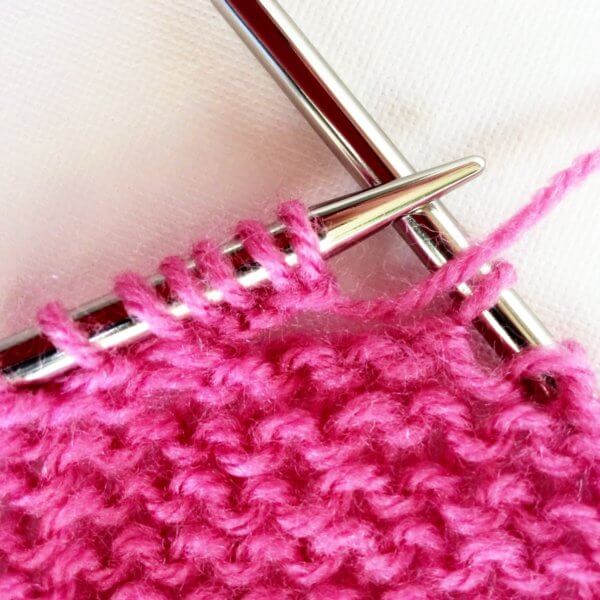
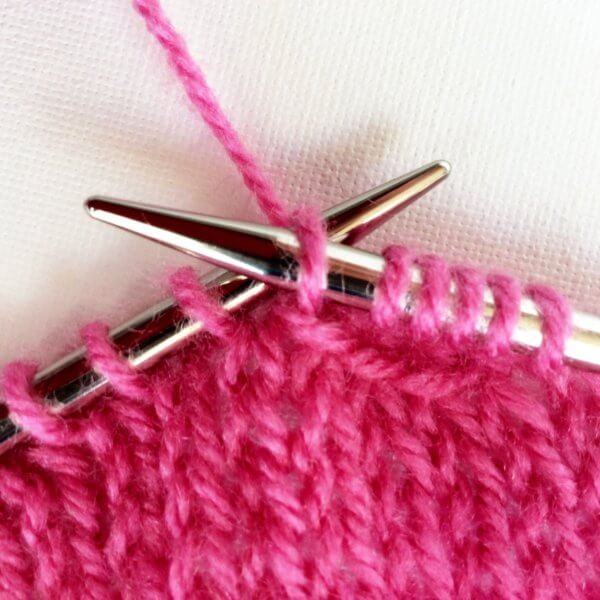
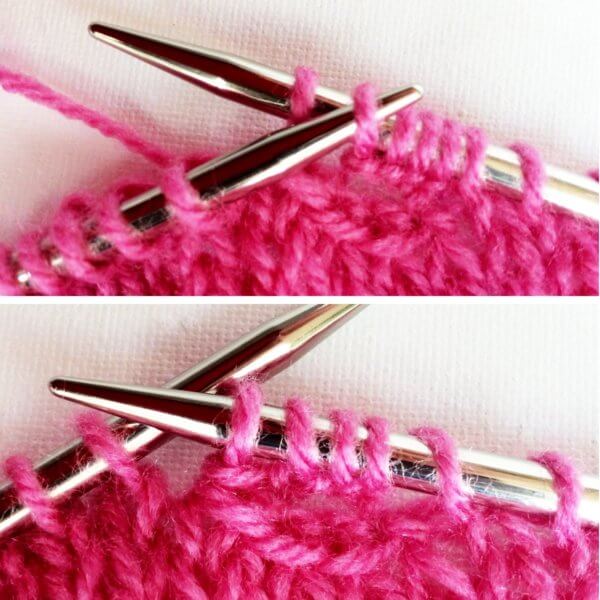
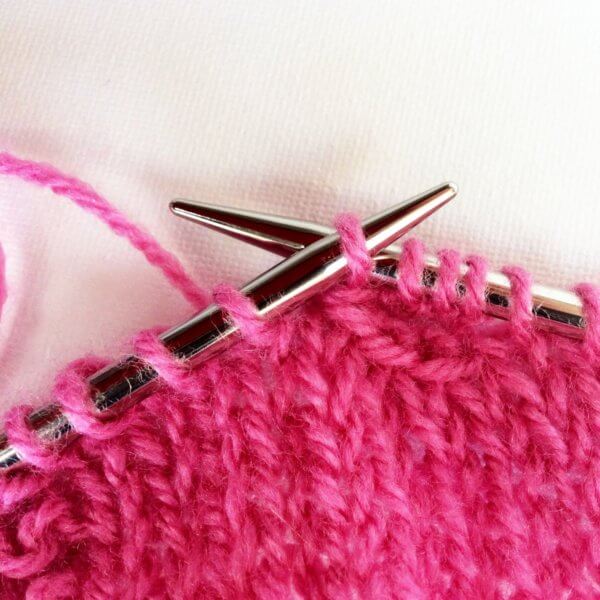
casting on with giant knitting needles

Instructions
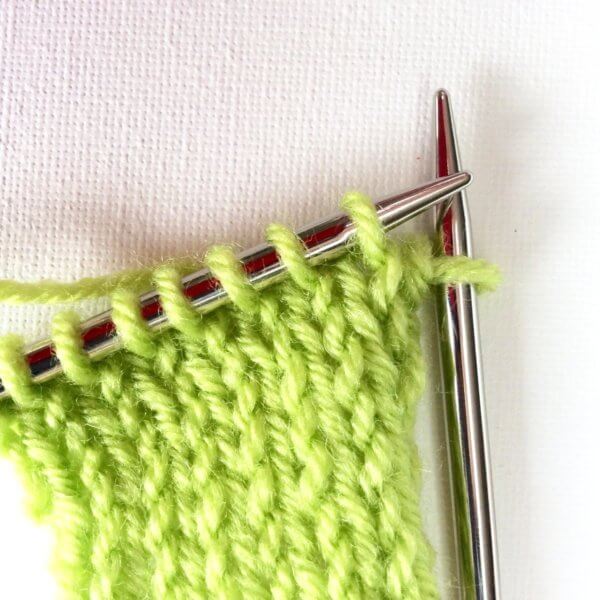
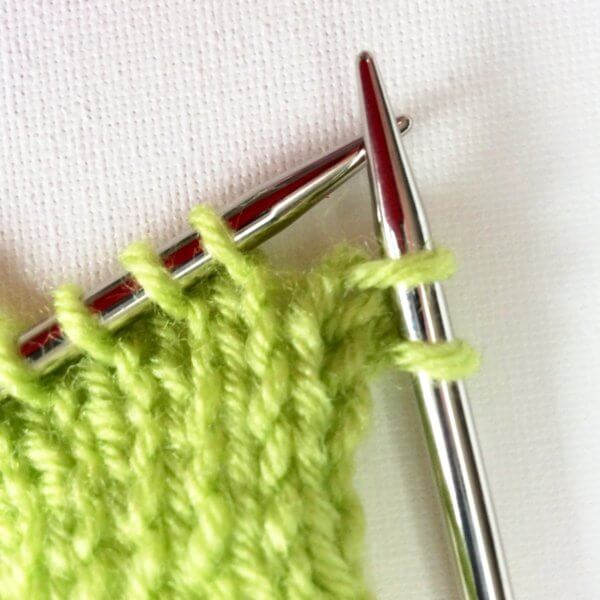
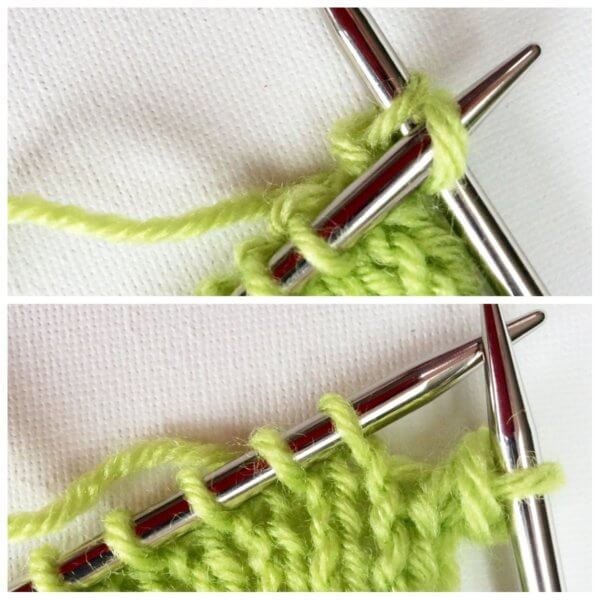
Cast on 8 stitches, I used the “knitting on” method.

Row 1: *K2, p2; rep from * to the end of the row.

Repeat row 1 until your yarn almost runs out, making sure to leave enough to bind off and connect both ends of the piece.
Bind off.

Finishing
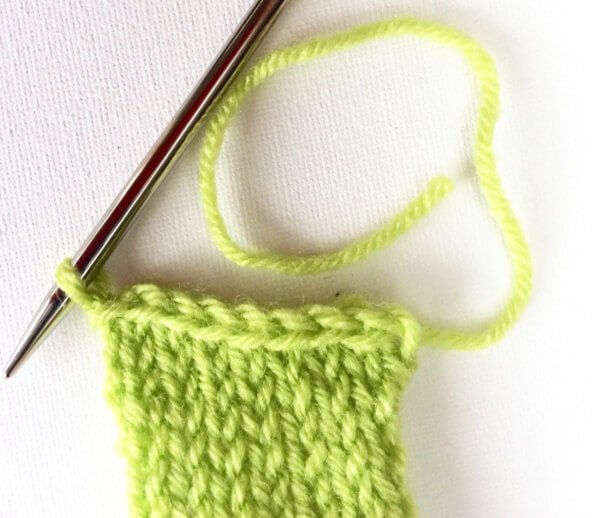
“Sew” both edges of the piece together to form a loop by pulling the remaining yarn through the fabric of both edges by hand. Enjoy your GIANT result!

And for comparisons sake, below my Gymir cowl in progress as well as another project on 5 mm needles.

Comparison of extreme knitting with regular knitting

gymir – free pattern Read More »
tutorial: knitting in the round – travelling loop method

Travelling loop - a tutorial by La Visch Designs

In earlier posts I already told you about choosing circular needles that fit your style. “Regular” knitting in the round has also been discussed in this post. In this post, I want to talk about knitting in the round using the travelling loop method.

Why is this actually called travelling loop?

That is because with this method you use a circular knitting needle with a cable that is way too long for the project. During knitting, the excess length of the cable forming a loop will move along from the right-hand needle all the way around to the left-hand needle. The loop “travels” as it were!

Knitting with the travelling loop method works very well if two prerequisites are met:

Firstly, it is of importance that you use a circular needle with a cable too large for your project. If your project has a circumference of 50 cm / 20 inches, then circs with a length of 80 cm / 32 inches or longer would work fine with this method. For this same project circs with a length of 60 cm / 16 inches would not work, because the excess length of cable is too small to form the loop.

Secondly, make sure that the diameter of your project is not too small! Socks and sleeves will usually be too small to use this method because the length of the needle itself will be a problem. A knitted in the round cowl or (children) sweater will be fine though most of the time.

Travelling loop - a tutorial by La Visch Designs

Knitting travelling loop step by step

In this example, I’m using 4 mm / 80 cm circular needles as well as a stitch marker to indicate the start and end of rounds.

1. Cast on the number of stitches as required for your project. In this example I have cast on stitches by knitting them on, you can, of course, use your preferred method or the one specified in your pattern.

Travelling loop - a tutorial by La Visch Designs

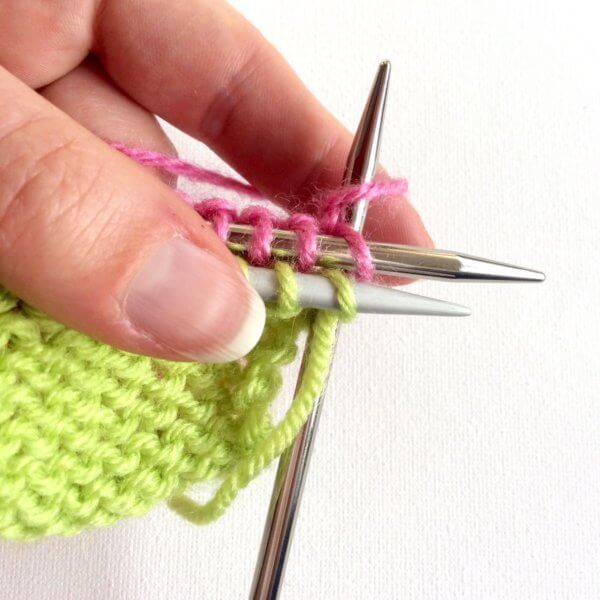
2. Move the cast on stitches over your needle in such a way that the first CO stitch is on your left-hand needle. You can recognize this stitch by the loose tail. Make sure not to twist your work, if that is what is desired for your pattern.

Travelling loop - a tutorial by La Visch Designs

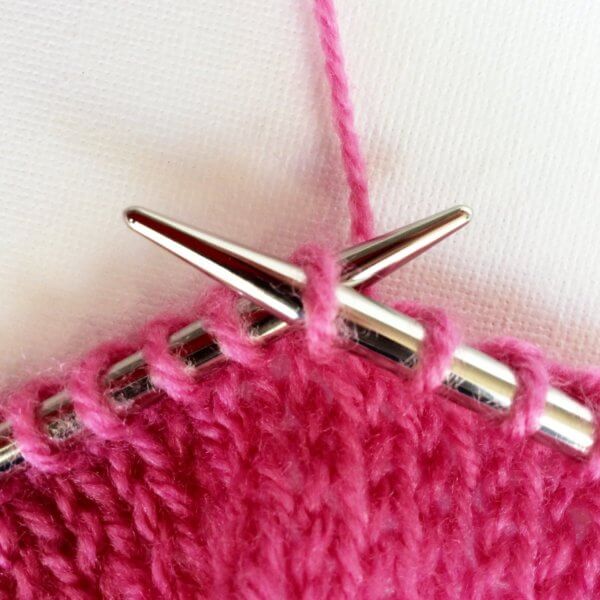
3. When you are about to close the work in the round, this is how everything looks: The needle with the beginning of your CO (with the yarn tail) at the side of the left-hand needle, the thread leading to your ball of wool coming from the last CO stitch at the back. The right-hand needle has a long length of the unused cable. Now it is also time to place your “end of round” stitch marker on the right-hand needle.

Travelling loop - a tutorial by La Visch Designs

4. Insert your right-hand needle into the first stitch on the left-hand needle and knit it. There will be tension on the yarn that connects the first and last stitch of the CO. Because of this, it can help to hold the cable close to the needle with your hand.

Travelling loop - a tutorial by La Visch Designs

5. Once you have knitted part of the round, you will see the loop of excess cable travelling along.

Travelling loop - a tutorial by La Visch Designs

6. At a certain point when knitting with a travelling loop, it will become possible to move all remaining stitches of the round up to the left-hand needle. Do this, to lessen the tension on the yarn that connects the first and last stitch of the CO.

Travelling loop - a tutorial by La Visch Designs

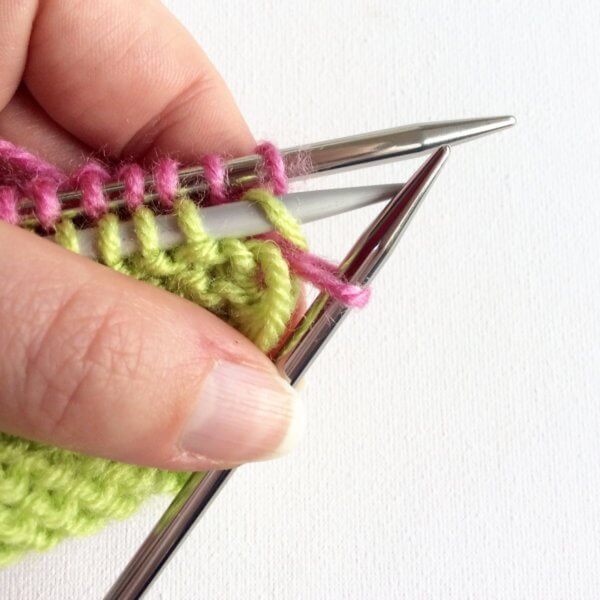
7. At the end of the round, you will have a large piece of unused cable near the left-hand needle. Pull the circular needle through your work in such a way, that all stitches are ready to knit on the left-hand needle. The right-hand needle has the excess cable. Put the stitch marker over to the other needle and knit. You can tighten up the somewhat loose connection between the end and start of each round. To do so, pull the yarn tight with the second stitch of each new round. Don’t worry about the sloppy looking join, this will fix itself.

Travelling loop - a tutorial by La Visch Designs

8. With each round making sure to pull the yarn tight with every second stitch of the round only. After knitting several rounds, it will look like this. As you can see everything has redistributed nicely and it does not look sloppy anymore!

Travelling loop - a tutorial by La Visch Designs

Stay tuned for the next blog in the series of knitting in the round using circular needles!

tutorial: knitting in the round – travelling loop method Read More »
tutorial: knitting in the round with circular needles

Knitting in the round with circular needles - a tutorial by La Visch Designs

Personally, I find knitting in the round with circular needles to be very relaxing. It goes round and round and round; very zen! This is what also made it so nice to work on my Zeeglas Cowl, pictured below. In this post I will tell and show you how knitting in the round works best, using circular needles (or circs for short).

Knitting in the round with circular needles - a tutorial by La Visch Designs

How does knitting in the round using circs work?

Knitting in the round this way works best when using a needle with a cable length that matches the circumference of your project. It is better to use a needle that is a tad too short, than one too large. Knitting is easy to compress a bit, but stretching it out can get ugly. Also, this makes for a less than optimal knitting experience: it is hard to move along stitches that are stretched tight over your needle and cable.

For a cowl regular circular needles with a cable length of 60 cm (24 inches) is usually fine. For knitting socks this way there are even special tiny circs with extra short needles and a cable of a mere 10 cm (4 inches).

Knitting in the round with circular needles - a tutorial by La Visch Designs

In this example, I will use a size 3 mm (US 2) circular needle with a cable length of 30 cm (12 inches). This specific needle has tips that are a tad shorter than regular circs. This needle by Addi is my favorite to knit baby hats from sock wool.

Knitting in the round with circular needles step by step

1. Cast on the number of stitches as required for your project plus 1. I will explain this extra stitch later on in this how-to. In this example I have cast on stitches by knitting them on. You can, of course, use your preferred method or the one specified in your pattern. In the picture below the strand of yarn at the bottom of the picture is where the CO was started. The strand at the top is the one that goes to the ball of yarn.

Knitting in the round with circular needles - a tutorial by La Visch Designs

2. In patterns where the work has to be closed in the round, there often is a note to be careful not the twist the work. An exception to this is when you actually want a twist in the work. Take for example as with a Moebius type cowl. In the picture above in the spot indicated with the arrow, you can see there is a twist. I have to untwist it before proceeding!

Knitting in the round with circular needles - a tutorial by La Visch Designs

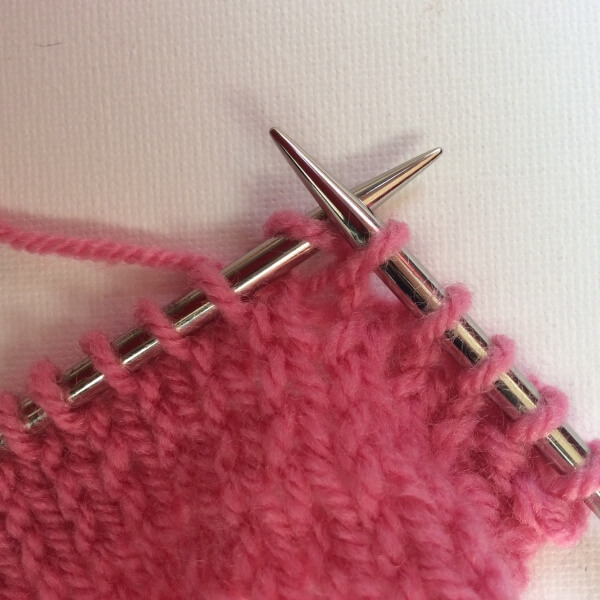
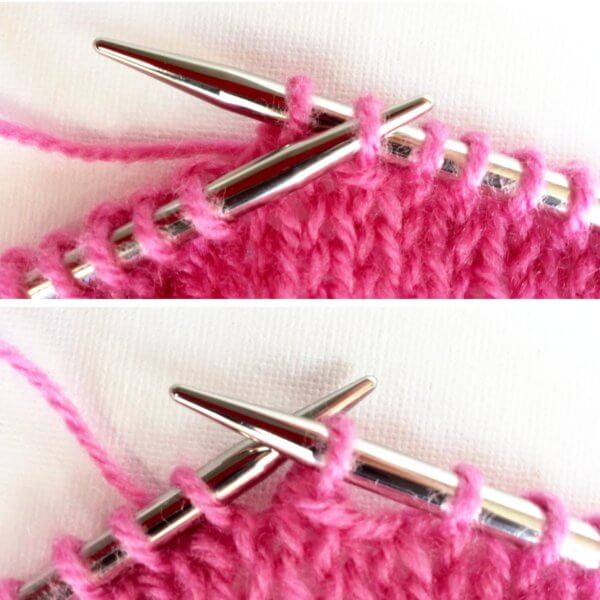
3. Hold the needles in such a way that the last CO stitch is on your right-hand needle. You can recognize this stitch by the attached ball of yarn.

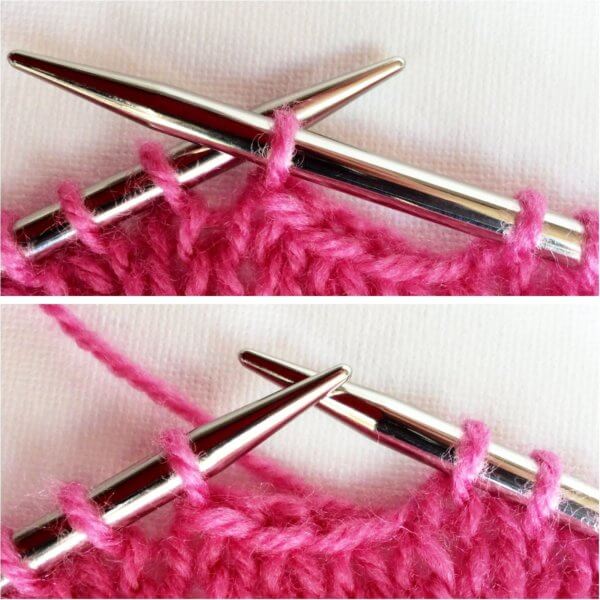
4. Slip this last CO stitch from your right-hand needle to the left-hand needle, then knit the first 2 stitches together. With this, you close the work in the round and at the same time, prevent a “gap” at the join. Also, the extra stitch cast on has been decreased away.

Knitting in the round with circular needles - a tutorial by La Visch Designs

5. Place a stitch marker to indicate the start and end of the round and enjoy the knitting!

Knitting in the round with circular needles - a tutorial by La Visch Designs

In another post on the topic of knitting in the round with circular needles, I also cover traveling loop. Posts on magic loop knitting and “two at a time” (“TAAT” for short) magic loop knitting will be done sometime in the future!

tutorial: knitting in the round with circular needles Read More »
choosing circular knitting needles

Choosing circular knitting needles - by La Visch DesignsThere are many types of projects where knitting in the round may be easier than knitting flat back and forth followed by sewing the pieces together. Think of socks, hats, sleeves of sweaters, round shawls etc. There are roughly two different ways to knit in the round: Double pointed needles (dpn’s) or circular needles (circs for short). Most people have a strict preference for one variant or the other.

My preference is for circulars; I once worked with dpn’s, but it felt like I was wrestling a hedgehog! For me using circs also saves the number of different knitting needles I need, because I use my circulars also to just knit back and forth.

Note that some knitting techniques are less suitable for knitting with circular needles. Think for example of those who are used to clamping the needle under the arm.

But how to go about choosing circular knitting needles?

In this post, I want to give you some background information about the different types of circulars. This because, as you can see in the picture above, there are really a lot of different types! Choosing circular knitting needles that are the right ones for you and your projects can, therefore, be a bit of a challenge.  I will of course also talk about what to look for when you are going to try knitting with circular needles. Indeed, there is nothing as personal as a circular needle: If your knitting needle is not the right one for you, the experience can be less pleasant than knitting should be.

What to pay attention to

  1. Material
  2. Point
  3. Connection to the cable
  4. Material of the cable
  5. Length of the cable

Below I will elaborate on each of these points as they are very much of importance when choosing circular knitting needles.

Choosing circular knitting needles - by La Visch Designs

1. Material

Circular needles can be made from various materials. Commonly found are needles made from wood, bamboo, nickel plated, copper finish, plastic, and aluminum. Wood and bamboo have more drag when knitting than the other materials. Because of this, it is not my preference: For me personally, the smoother the better! The picture above shows two favorites from my personal collection: The silver with gold cable is a regular Addi circular needle, the copper-colored circular needle with the red cable is an Addi Lace needle. The latter has a special coating to make it a tad less smooth than regular Addi’s to make it easier to work with very thin yarn.

2. Point

In the picture above you can see the difference in points between the two types of circular needles very well. The lace needle is significantly sharper than the other. Which variant is preferred is again very personal and depends both on the type of project you want to knit, and your knitting style.

Choosing circular knitting needles - by La Visch Designs

3. Connection to the cable

In the picture above you can see the difference between the connection of the more expensive Addi needles compared to the much cheaper Wibra circular needle: the connection on the Wibra needle is clearly less smooth. Moreover, I have no problem with Wibra needles: They are nice and pointy, have a good flexible cable and are excellent value for money.

However, depending on the type of project and your personal knitting style, the connection of the needle to the cable can be a problem. With very thin yarn, or if you knit very tight, the yarn can snag behind the edge, which can be very annoying when knitting.

4. Material of the cable

The various cables that you see in these photos are all made of different materials. As a result, there are also differences in how supple and flexible the cables are. This, in turn, has an effect on how easy and enjoyable different types of circular knitting can be done with them. I myself have not yet come across a cable too flexible for my tastes. More the opposite, with the cable being too stiff. This of course again depends on your own preferences.

Update December 13th, 2017: I have found circular needles with a (to my taste) too flexible cable, my 3.75 mm Kollage square needles.  I like the needles themselves, but the cable is the limpest noodle I have ever encountered!

5. Length of the cable

Circular knitting needles come with different cable lengths: From very short 10 cm (4 inches) with extra short needles to knit socks, to cables with a length of 150 cm 60 inches) for very large projects. Most commonly, however, are cable lengths of 60, 80 and 100 cm (24, 32 and 40 inches). In my experience, the 80 cm (32 inches) length is sufficient for most needs.

When you have the need for multiple cable lengths, an interchangeable needle set with loose points and cables like the one below could be just the thing for you. I know this Addi Click set was for me the best investment in knitting tools in years!

Choosing circular knitting needles - by La Visch Designs

In summary

If you have no experience with knitting in the round with circular needles and don’t know yet what you prefer: If possible, go and visit a friend who already has several and try them out before you invest yourself. Choosing circular knitting needles this way is a lot more budget friendly than buying them all!

choosing circular knitting needles Read More »
inspiration: workshop Stephen West

Once in a while I very much enjoy following a workshop. To learn new techniques or to find out how other people do certain things. Recently I followed the “Colorplay the Westknits way!” workshop with Stephen West at Ja, Wol in Rotterdam. This is by the way a really lovely yarn store with a great assortment of natural fibers, handmade or hand-dyed yarns and fair trade yarns. Absolutely worth a visit!

If you are familiar with Stephens work, you know that he is a true master in combining color and texture into eccentric but wearable pieces. Gorgeous examples include Exploration Station, Color Craving, Esjan and the Askews Me Sweater. During this 4 hours workshop he explained us his philosophy and guided us in experimentation involving lots of color, lots of texture and combining yarns.

Stephen remarked very accurately that everybody has his own color preferences, colors that are often reached for first when planning or starting a project. In the same vein there are also lots of colors, textures etc. we often don’t even consider using and walk past quickly: “Not my color”, “to busy” etcetera. It is his goal to no longer say “no”, but to become a “yes” knitter.
A too bright color? Use it as an accent. Too wild texture? Use it sparingly for that something extra in your project. Something not “your” color? Double it up with another yarn to give a whole new effect!

Various techniques like knitting an i-cord / slipped stitch edge (striped!) and short rows were also reviewed.

What I personally find so interesting, is that this working from color and material is so much different from how I usually work. I get the idea about a design, work it out on paper and then knit my sample from this pattern. Stephen Wests approach is start with a whole selection of varying yarns, a general idea for a shape and then he starts knitting. Only during the project he decides what the item wants to be.

Not only subject makes this workshop so interesting. Stephen west is a very charismatic person, easily engrossing his public with the stories of his knitting adventures. Add the pleasant surroundings of Ja, wol, the lovely tea and brownies the owner of the yarn shop Saskia served and you have a wonderful recipe for a well spend Sunday morning.

One thing is sure: I now have plenty inspiration for many new designs!

inspiration: workshop Stephen West Read More »
zeeglas cowl

Zeeglas cowl by La Visch Designs

Reminiscent of the soft colors of sea glass on a sunny beach, the Zeeglas Cowl warms the neck and shoulders like a soft cloud. The simple to work lace pattern is provided both charted and written out.

The various colors from the Adele’s Mohair Brushed Self Stripe Yarn used in the sample give this design added visual interest. When substituting yarns, choose either a sport weight brushed mohair type yarn or lace weight kid-silk type yarn held double for a similar result. This design is very well suited for stash busting odds and ends of mohair type yarn.


Pay what you want: (minimum €5.50)

Add to cart


Difficulty level

The Zeeglas cowl is knit in the round. Stitches used include knit, purl, sl1, k2tog, psso and yo. The pattern is suitable for the intermediate knitter.

Sizes and finished measurements

S (L), shown in the larger size. Finished dimensions: 37 cm (14 ½ inches) wide and 55 (110) cm (21 ½ (43) inches) circumference, measured after blocking.

Pattern details

  • Written for a gauge of approx. 13.3 sts / 17.7 rows = 10 cm (4 inches) over lace pattern, measured after blocking. Gauge is however not critical in this design.
  • Pattern languages included: English and Dutch (Dit patroon omvat zowel een Nederlandse als een Engelse versie)
  • Digital PDF has 2 pages (A4 size)

Materials

  • 112 (223) m (122 (244) yds) / 28 (55) g Adele’s Mohair Brushed Self Stripe Yarn [78% mohair, 13% wool, 9% nylon; 203 m (222 yds) / 50 g ball]. Substitute any sport weight brushed mohair type yarn, or lace weight kid-silk type yarn held double for a similar result.
  • 5 mm (US 8) 60 cm (16 inches) circular needle. Use needles appropriate for the yarn chosen.
  •  Yarn needle
  • 1 “end-of-round” stitch marker
  • 8 (17) regular stitch markers (optional)

zeeglas cowl Read More »
schelp shawl

Schelp Shawl

The Schelp Shawl is a crescent shaped shawl design, inspired by the lovely shell shaped lace (“schelp” in Dutch) featured in the scalloped edge. Combined with the soft texture of the garter stitch body, the shawl will certainly keep you nice and warm in the winter and on other chilly days.

Work Schelp from the bottom up, starting with the border. Easy short row shaping creates the crescent shape. The lace pattern for the border is, of course, provided in both chart and written instructions.


Pay what you want: (minimum €6.50)

Add to cart


Difficulty level

This pattern features short rows. Stitches used include knit, purl, skp and yo as well as slipping and wrapping stitches. Therefore, this pattern is suitable for the intermediate knitter.

Sizes and Finished Measurements

168 cm (66 inches) measured along the upper edge and a depth of 39 cm (15 1⁄4 inches).
Make this shawl larger or smaller by casting on more (or fewer) stitches. This will, of course, change the yarn requirements.

Pattern details

  • Written for a gauge of approx. 15.5 sts / 36 rows = 10 cm (4 inches) measured over garter stitch, gauge is however not critical in this design.
  • Pattern languages included: English and Dutch (Dit patroon omvat zowel een Nederlandse als een Engelse versie)
  • Digital PDF has 3 pages (A4 size)

Materials

  • The sample shawl was knit using 6 skeins of Katia Merino 100% in color 42 [100% wool; 102 m (111 yds) per 50 g skein]. Substitute any DK or worsted weight yarn for a similar result, or substitute sport weight yarn for a smaller shawl.
  • Circular needle size 5 mm (US 8), 80 cm (32 inches). Use needles appropriate for the yarn chosen.
  • Yarn needle
  • Cable needle
  • 14 stitch markers (optional)

schelp shawl Read More »
ijskristal convertible cowl/scarf

IJskristal convertible cowl/scarf by La Visch Designs

A lovely scarf in a simple and elegant lace repeat pattern, easily transformed into a cowl. Worked flat, the IJskristal Convertible Cowl/Scarf is available in one size, that can easily be made wider or longer, or both. With both written and charted directions for the lace, this convertible scarf knits up like a dream. Pair it with the IJskristal Slouchy Hat for a lovely coordinating set.


Pay what you want: (minimum €5.50)

Add to cart


Difficulty level

The IJskristal Convertible Cowl/Scarf is worked flat. Stitches used include knit, purl, skp, k2tog, yo and the centered double decrease sl2-k1-p2sso. The pattern is suitable for the intermediate knitter.

Sizes and Finished Measurements

One size – finished dimensions: 23 cm (9 inches) wide and 130 cm (51 inches) long, measured after blocking.

Pattern details

  • Worked flat
  • Written for a gauge of approx. 19 sts / 21 rows = 10 cm (4 inches) over lace pattern, after blocking.
  • Pattern languages included: English and Dutch (Dit patroon omvat zowel een Nederlandse als een Engelse versie)
  • Digital PDF has 3 pages (A4 size)

Materials

  • 100 g / 320 m (350 yds) of DK weight alpaca yarn. The sample cowl/scarf features Ice Yarns Pure Alpaca (100% Alpaca; 160 m (175 yds) / 50 g). Substitute for an alpaca yarn of comparable weight for a similar result.
  • Needles in your preferred style in the following sizes (or to match gauge): Size 3.5 mm (US 4) and size 4.5 mm (US 7).
  • Yarn needle.
  • 8 stitch markers.
  • 6 size 21 mm (0.83 inch) buttons.

ijskristal convertible cowl/scarf Read More »
zoel scarf

Zoel scarf

The Zoel Scarf is a very soft and delicate scarf knit using laceweight mohair yarn. It is a great pattern to learn some basics of lace knitting or to get familiar with using this type of yarn. Because of the simple two-row lace, this pattern not only lets the yarn shine but also makes for a wonderful portable project.

Pair it with the Zoel Hat to warm up a cold day in autumn or winter.


Pay what you want: (minimum €5.50)

Add to cart


Skills required

Stitches used include knit, purl, yo, k2tog and the double decrease sl1-k2tog-psso. The pattern is suitable for the beginning lace knitter.

Sizes and Finished Measurements

As written, the finished measurements of this scarf are 20 cm (7 ¾ inches) wide and 130 cm (51 ¼ inches) long.

The Zoel scarf can easily be made larger by using heavier yarn and/or working more repeats of the lace pattern. This will, of course, increase the amount of yarn needed.

Pattern details

  • Worked flat
  • Written for gauge of approx. 16 sts / 20 rows = 10 cm (4 inches) over lace pattern
  • Pattern languages included: English and Dutch (Dit patroon omvat zowel een Nederlandse als een Engelse versie)
  • Digital PDF has 2 pages (A4 size)

Materials

  • Yarn: 35 g / 192 m (209) yards) of Lana Grossa Lace Pearls [40% wool, 26% polyamide, 18% alpaca, 18% mohair, 8% glass; 137 m (149 yds) per 25 g skein]. Substitute any lace weight kid mohair/silk type yarn for a similar result.
  • Needles in your preferred style in size 4.5 mm (US 7)
  • Yarn needle
  • 6 stitch markers

zoel scarf Read More »
zoel hat

Zoel hat

The Zoel Hat is a very soft and delicate hat knit using lace weight mohair yarn. It is a great pattern to get familiar with using this type of yarn. Because of the simple two-row lace, this pattern not only lets the yarn shine but also makes for a wonderful portable project.

Pair it with the Zoel Scarf to warm up a cold day in autumn or winter.


Pay what you want: (minimum €4.90)

Add to cart


Skills required

This hat is knit in the round. Stitches used include knit, purl, yo, k2tog and the double decrease sl1-k2tog-psso. The pattern is suitable for the intermediate knitter.

Sizes and Finished Measurements

The Zoel hat is available in 3 sizes: S (M, L). In the pictures, the M sized hat is worn with 7.5 cm (3 inches) of positive ease.
Finished size at brim: 55 (60, 65) cm, 21 1⁄2 (23 1⁄2, 25 1⁄2) inches.
Length from brim to crown: 20 cm, 7 3⁄4 inches.

Pattern details

  • Bottom-up
  • Written for gauge of approx. 14 sts / 24 rounds = 10 cm (4 inches) over lace pattern
  • Pattern languages included: English and Dutch (Dit patroon omvat zowel een Nederlandse als een Engelse versie)
  • Digital PDF has 2 pages (A4 size)

Materials

  • 15 (16,17) g / 83 (89, 95) m (91 (98, 105) yards) of Lana Grossa Lace Pearls [40% wool, 26% polyamide, 18% alpaca, 18% mohair, 8% glass; 137 m (149 yds) per 25 g skein].
    Substitute any lace weight kid mohair/silk type yarn for a similar result.
  • Needles in your preferred style for small circumference knitting in the round in the following sizes (or to match gauge): Size 4 mm (US #6) and size 4.5 mm (US #7)
  • Yarn needle
  • 12 (13, 14) plain stitch markers
  • 1 differently colored end-of-round stitch marker

zoel hat Read More »