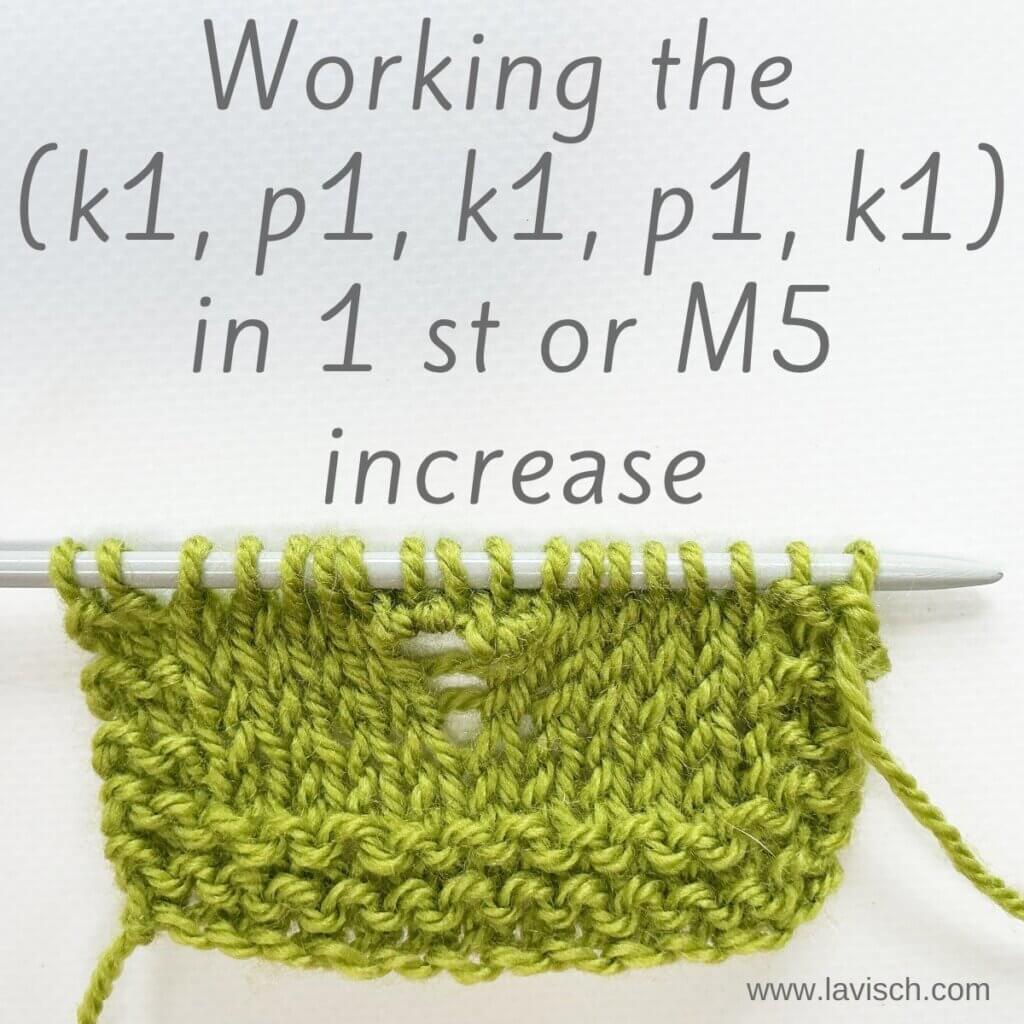
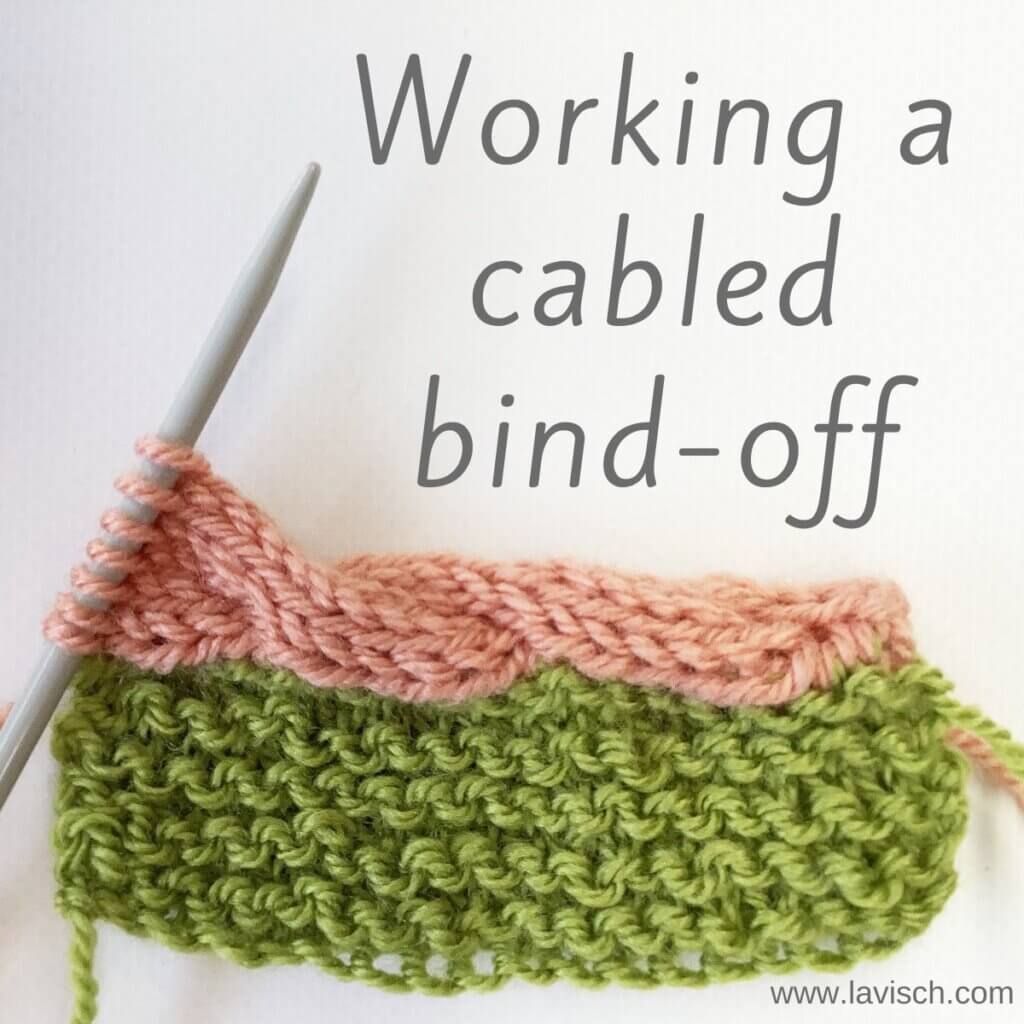
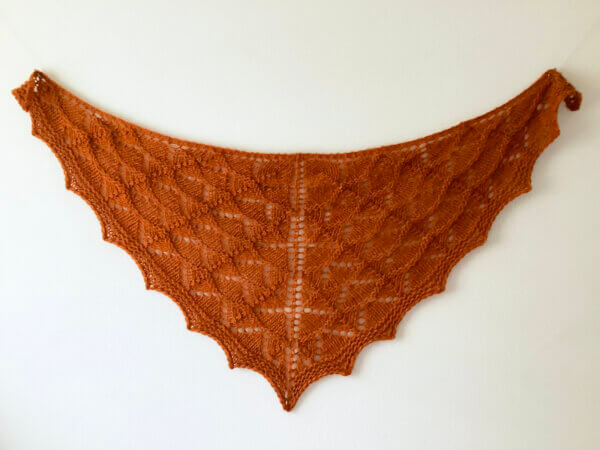
stitch pattern – working the (k tbl, p2, k tbl) wrapped twice stitch
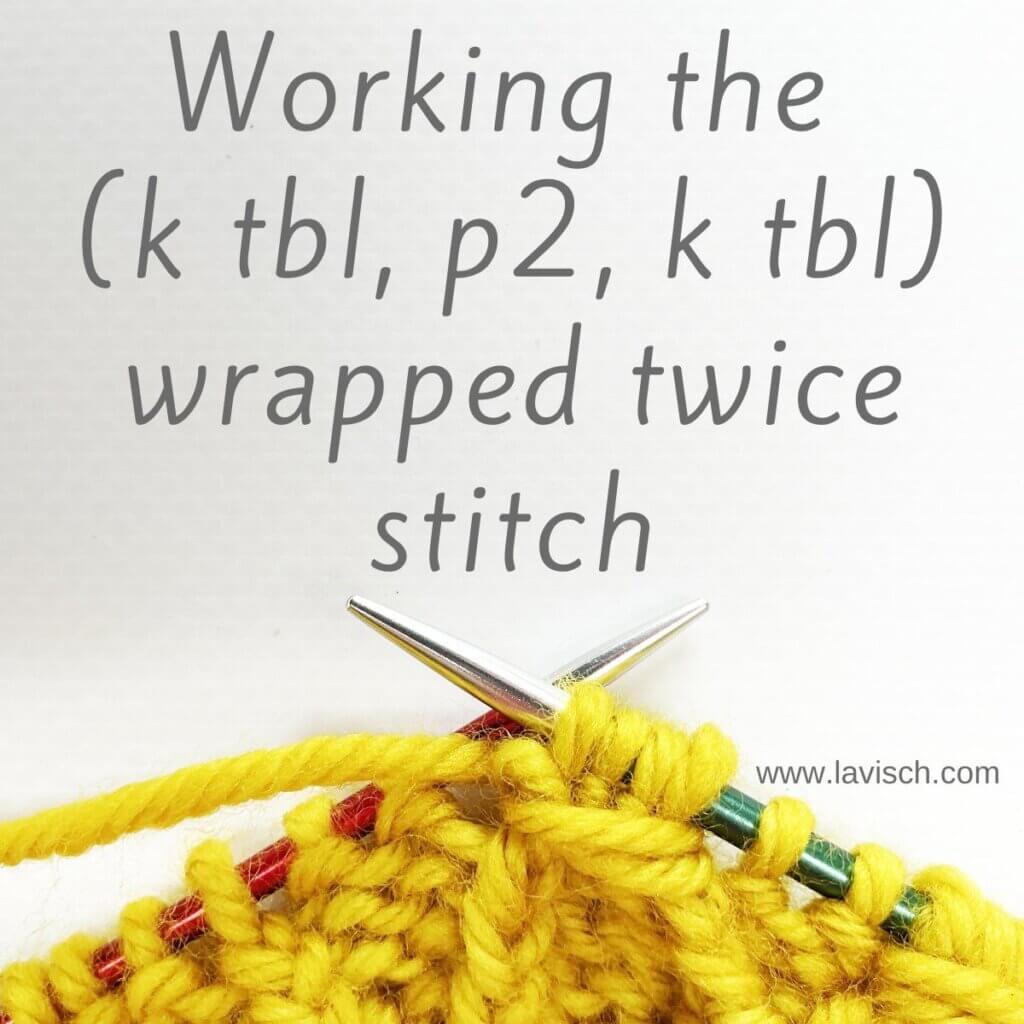
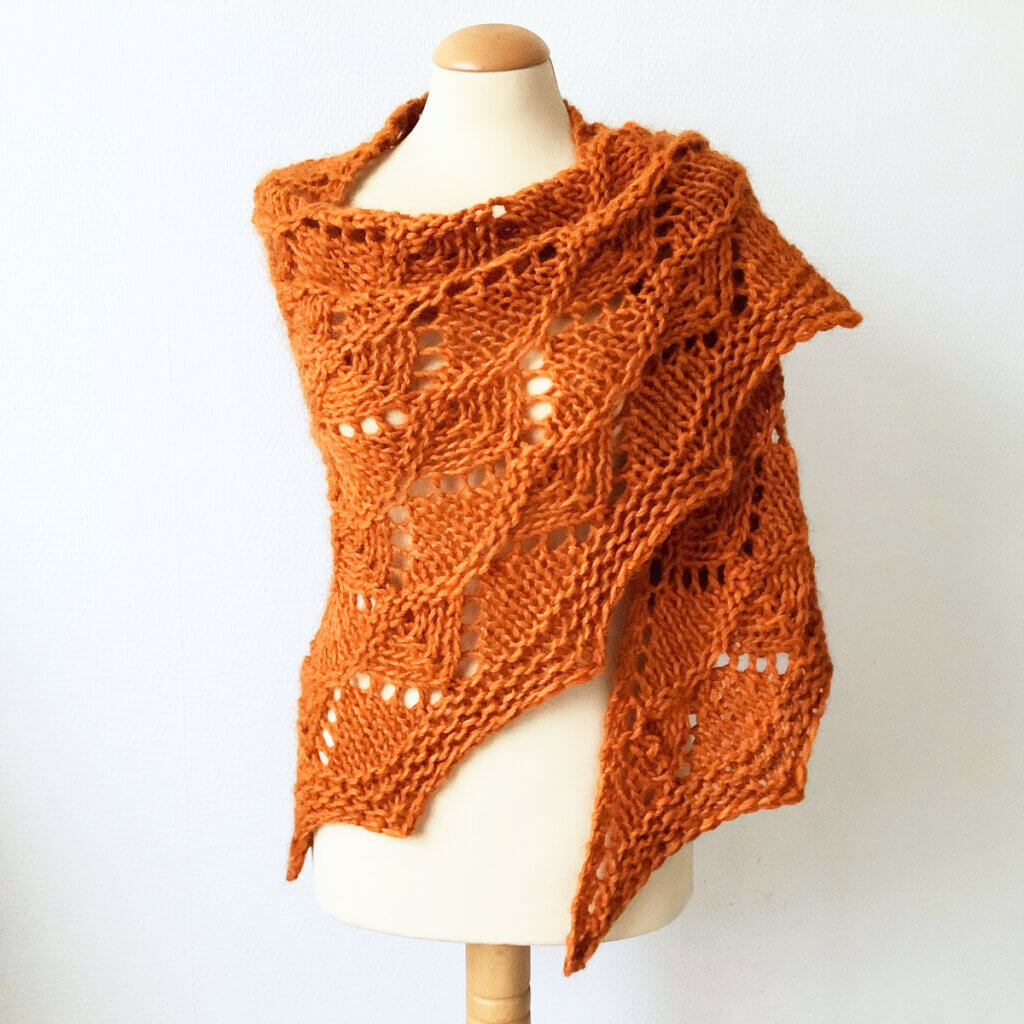
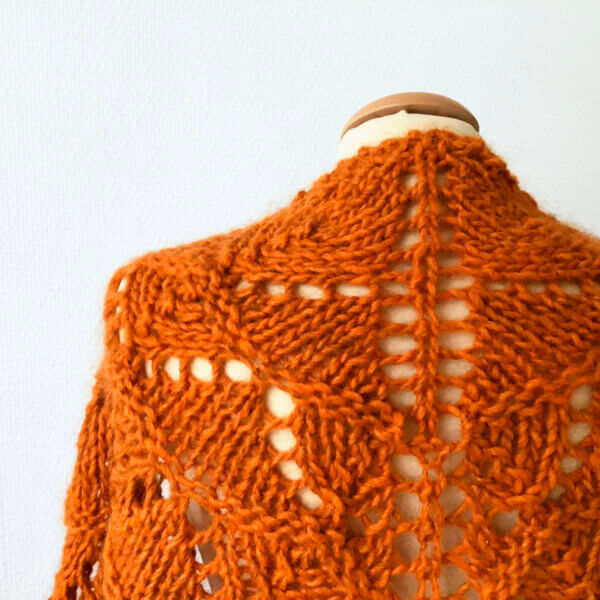
In one of my new patterns, I used this stitch pattern from the Japanese knitting stitch bible. It consists of (k tbl, p2) rib, with strategically place wrapped stitches to create a lovely smocking effect, It was a bit of a struggle to determine exactly how to execute this stitch. So, I thought to make it into a step-by-step post. As the description says, you basically wrap your working yarn around the group of stitches described. Below, I’ll show you how to work the (k tbl, p2, k tbl) wrapped twice stitch.
Let’s get started!
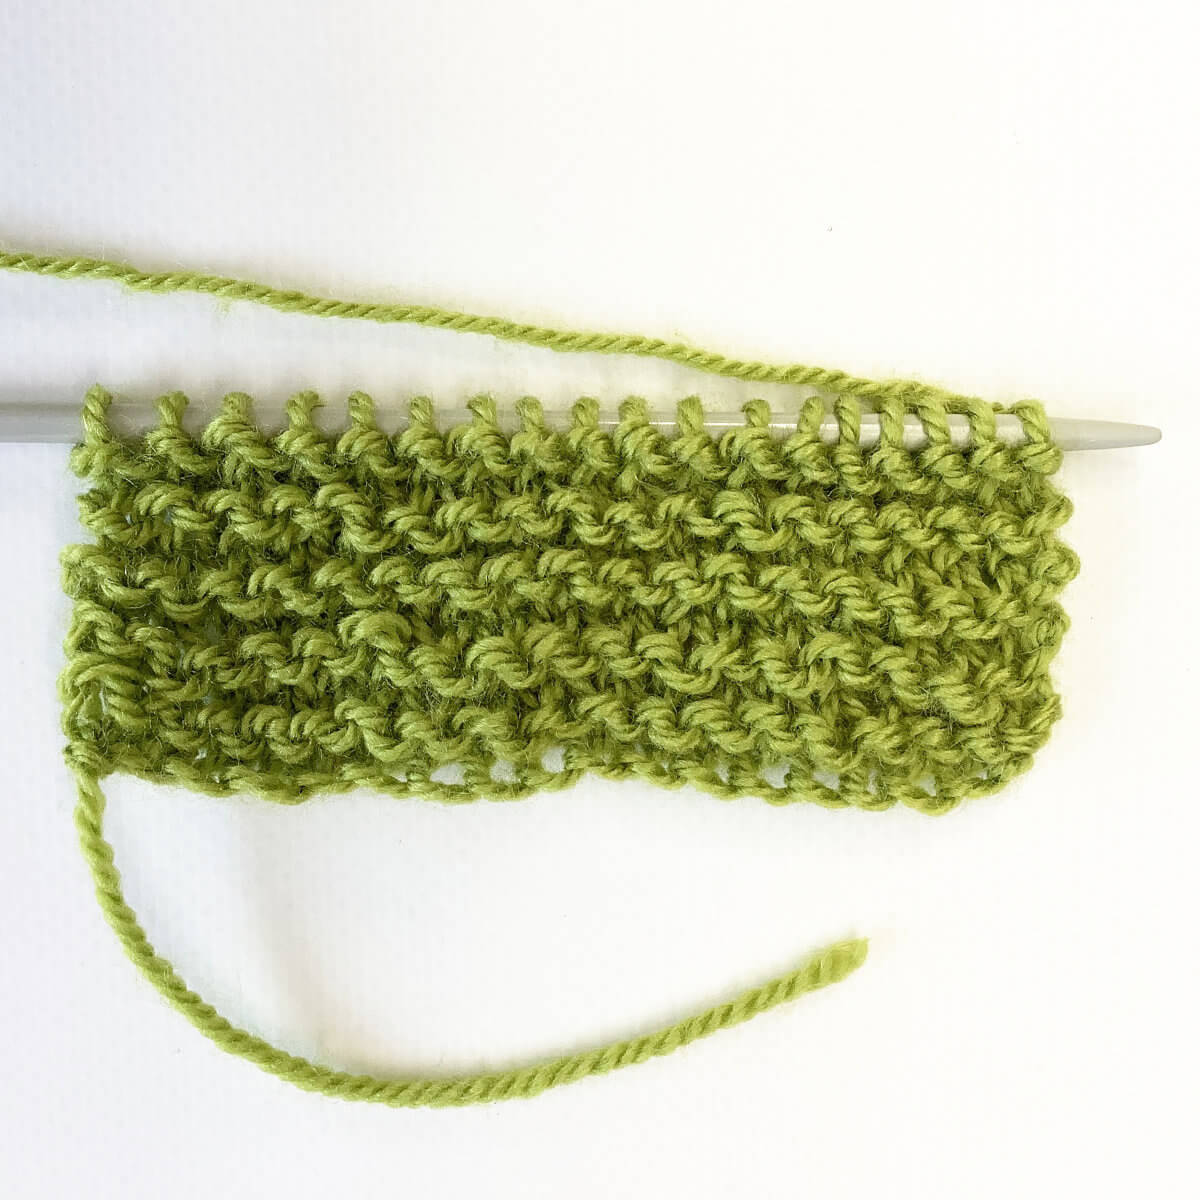
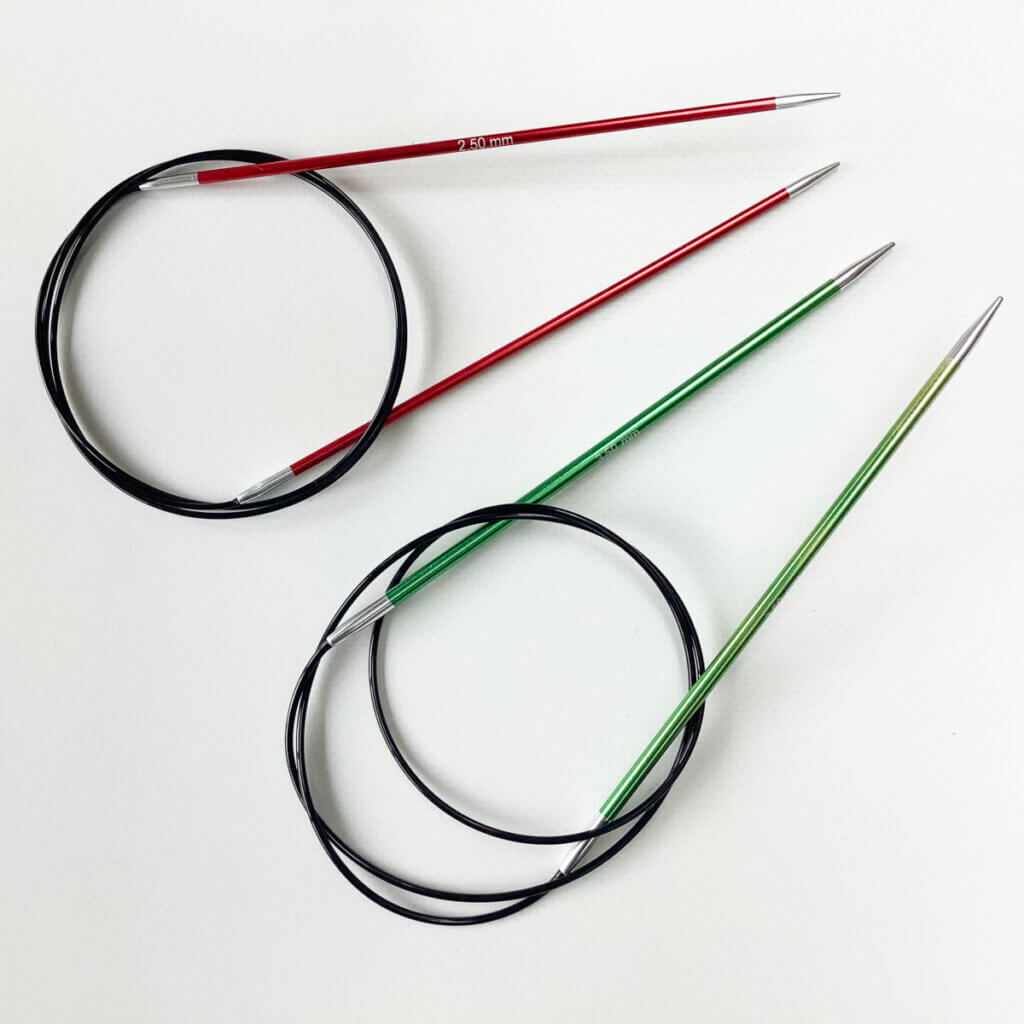
Materials used
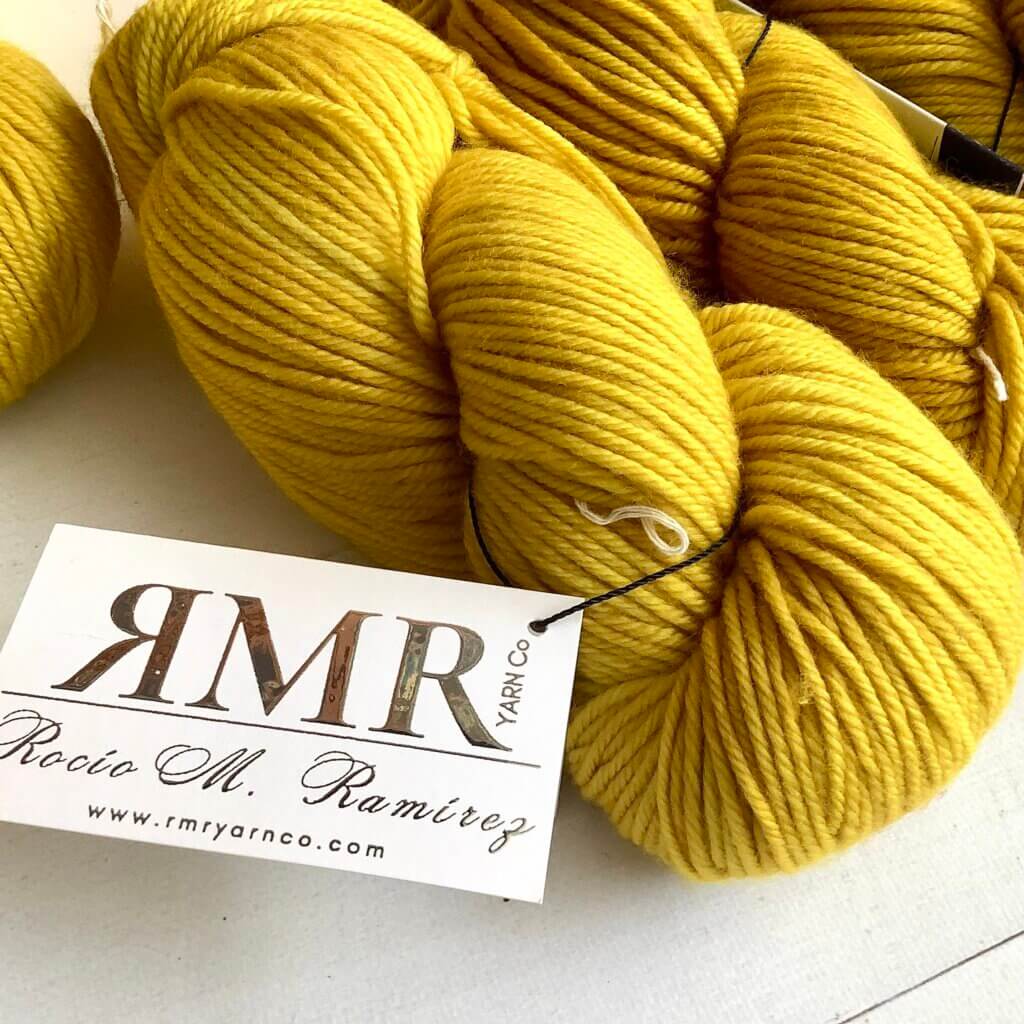
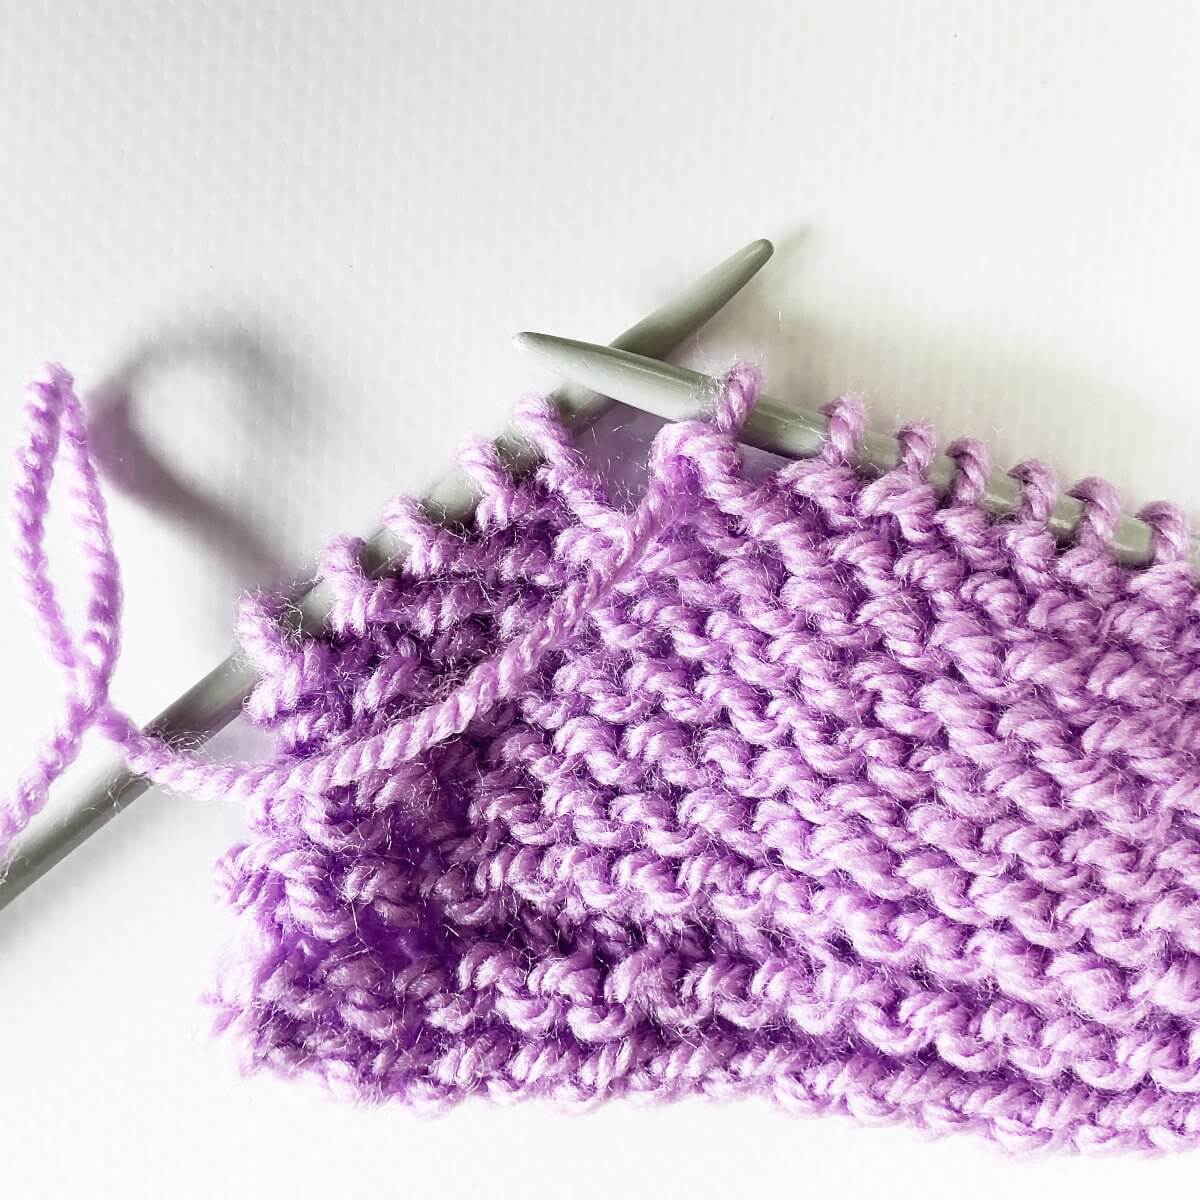
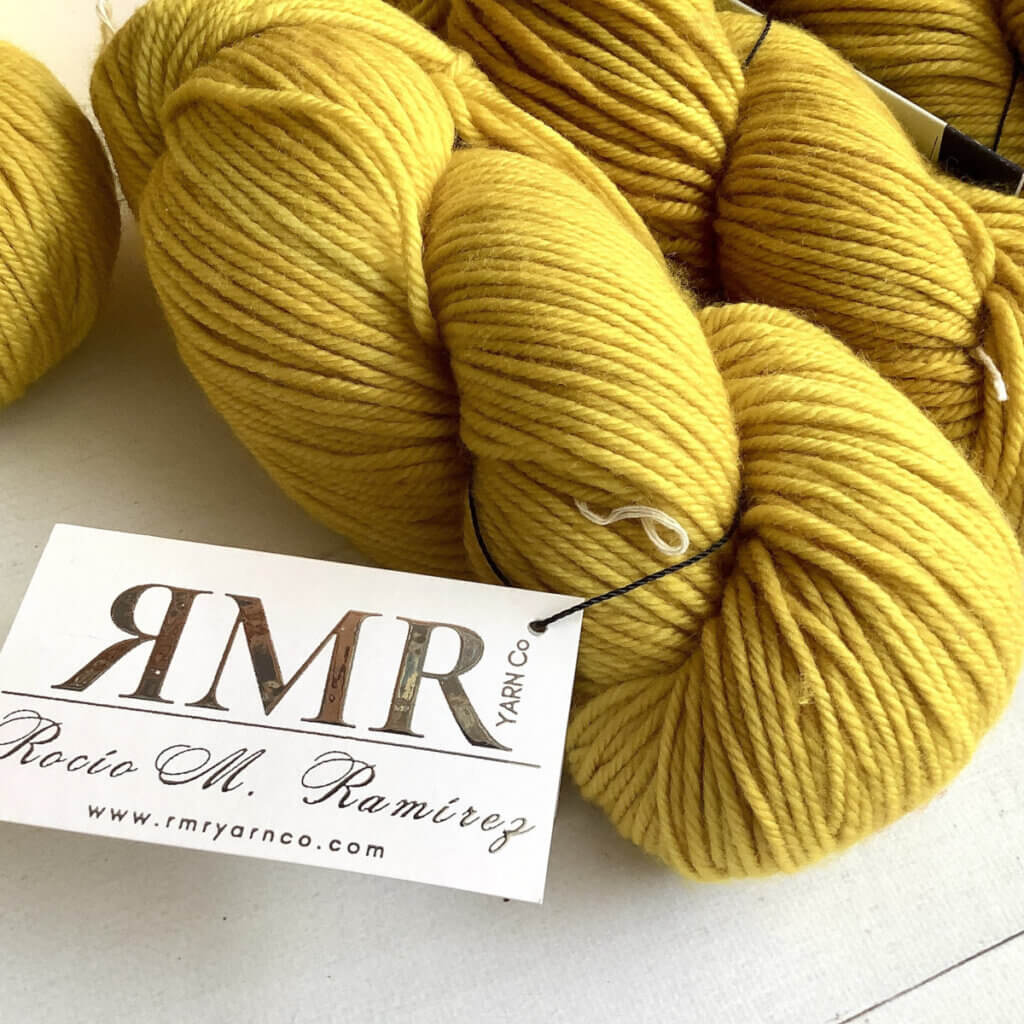
Yarn: RMR Yarn Co. Zihuatanejo DK, a wonderful vibrant 100% Merino yarn, here in the color Casi Casi.
Knitting needles: Some Zing knitting needles, and yes I know I’m using a ridiculously small size for a DK weight yarn; I’m a VERY loose knitter…
I’m also using a cable needle in the same size as my main needles.
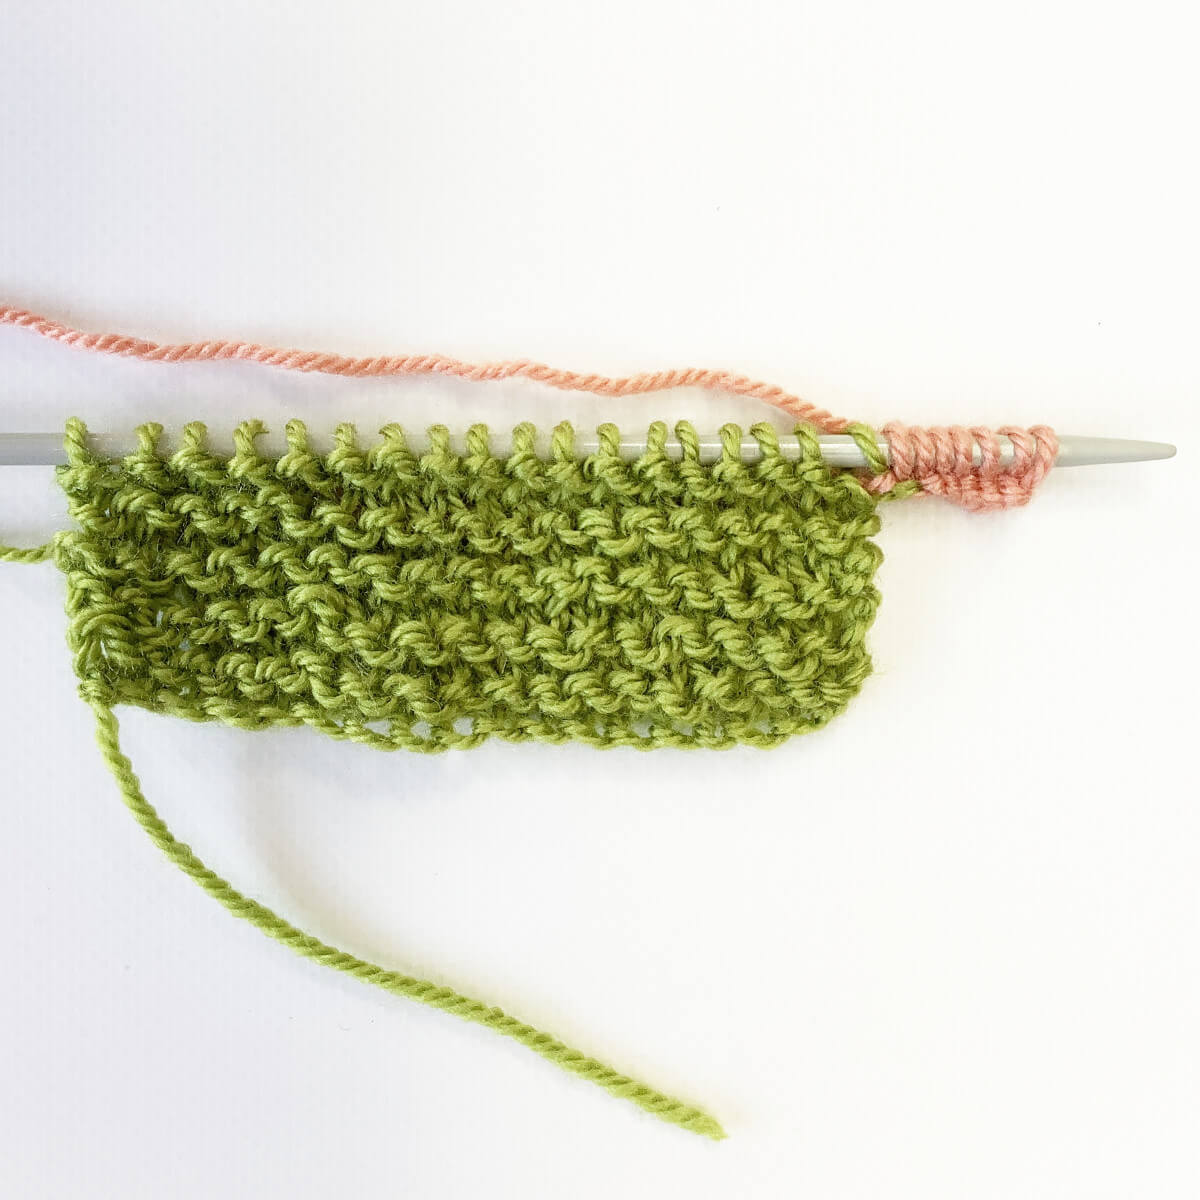
Working the (k tbl, p2, k tbl) wrapped twice stitch step by step
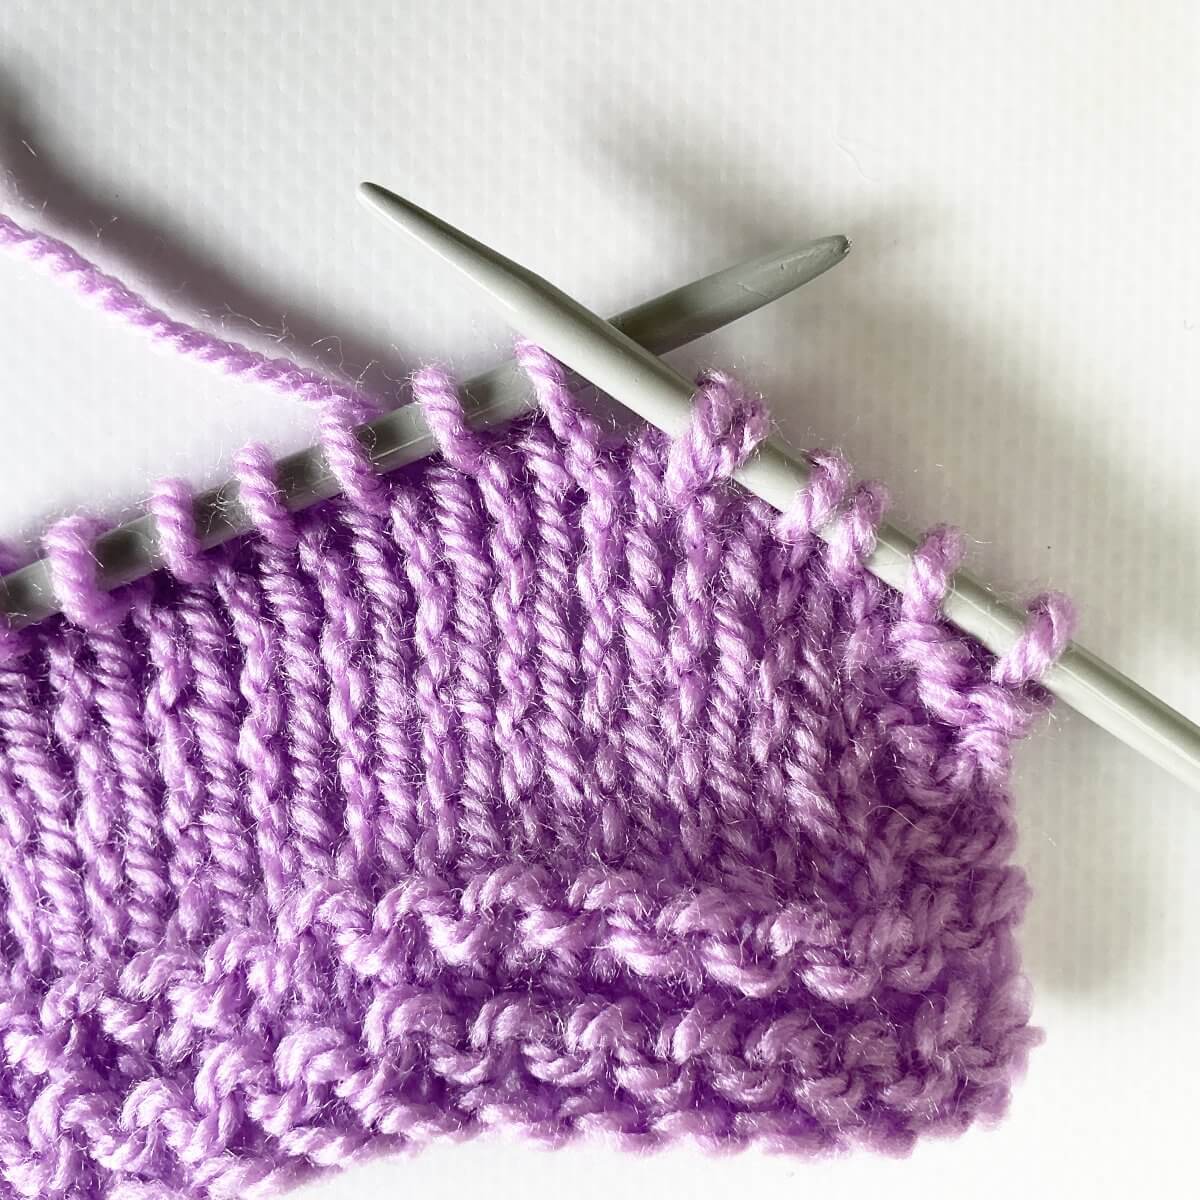
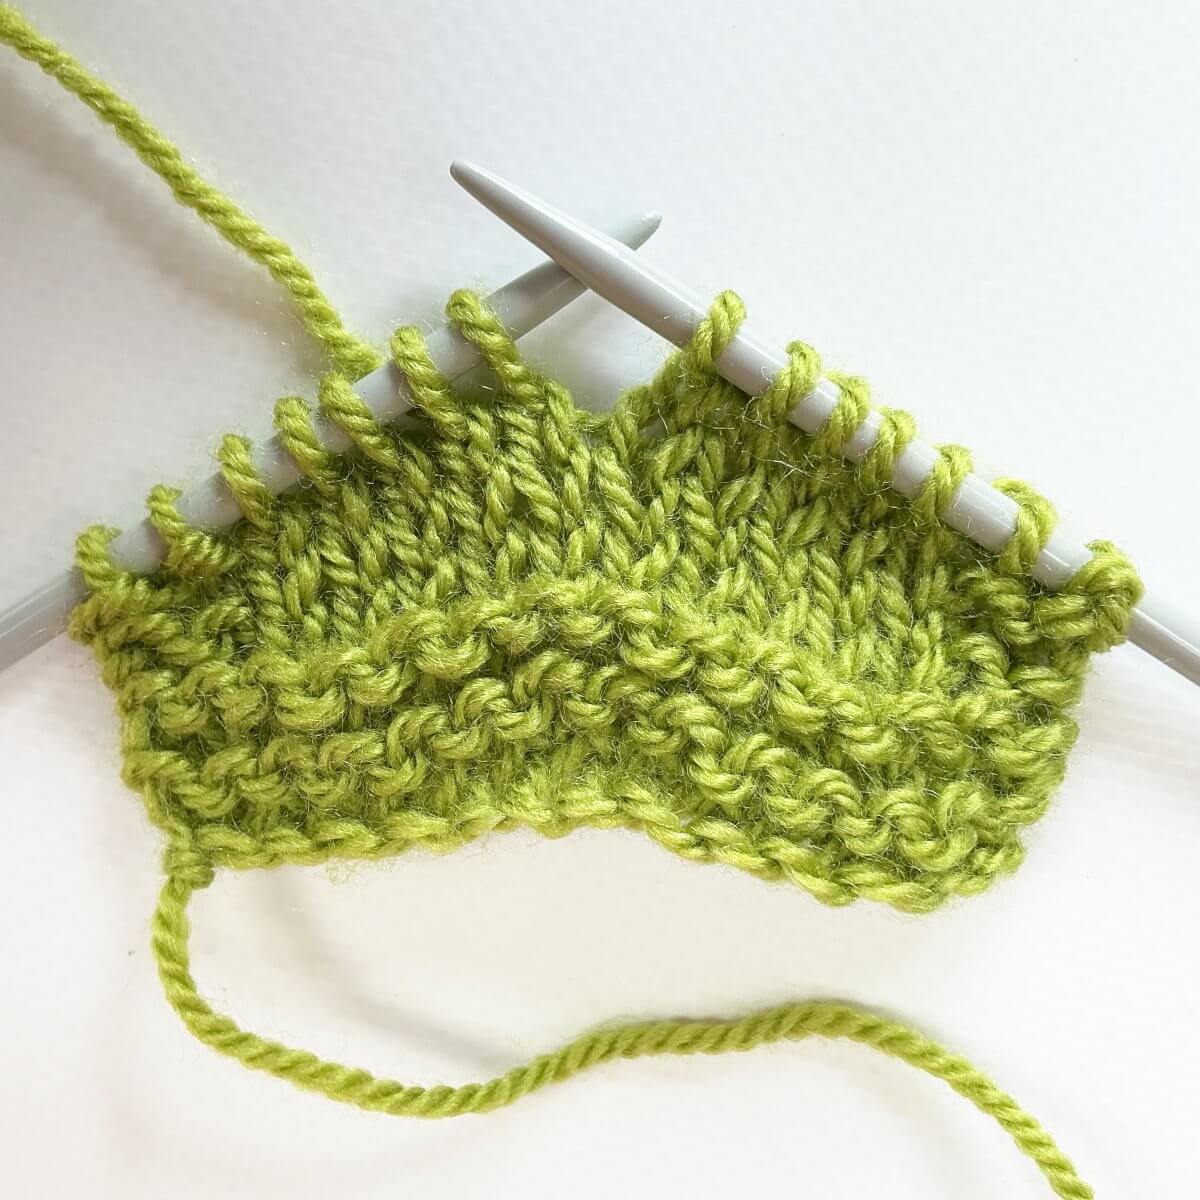
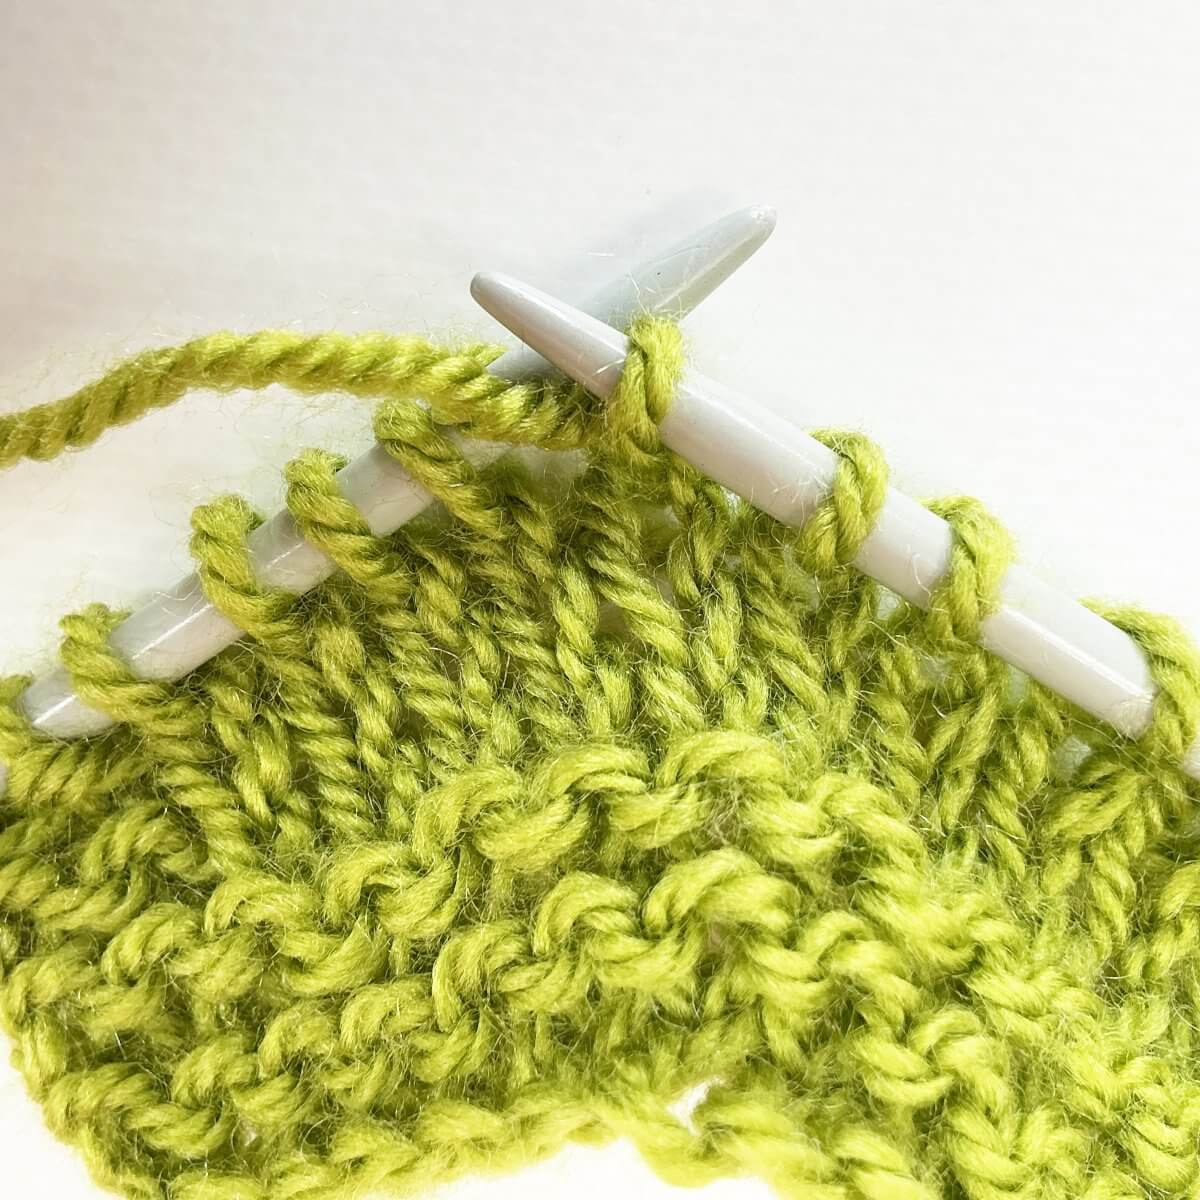
- To start, work as instructed by your pattern until the point where you want to make the wrapped stitch.
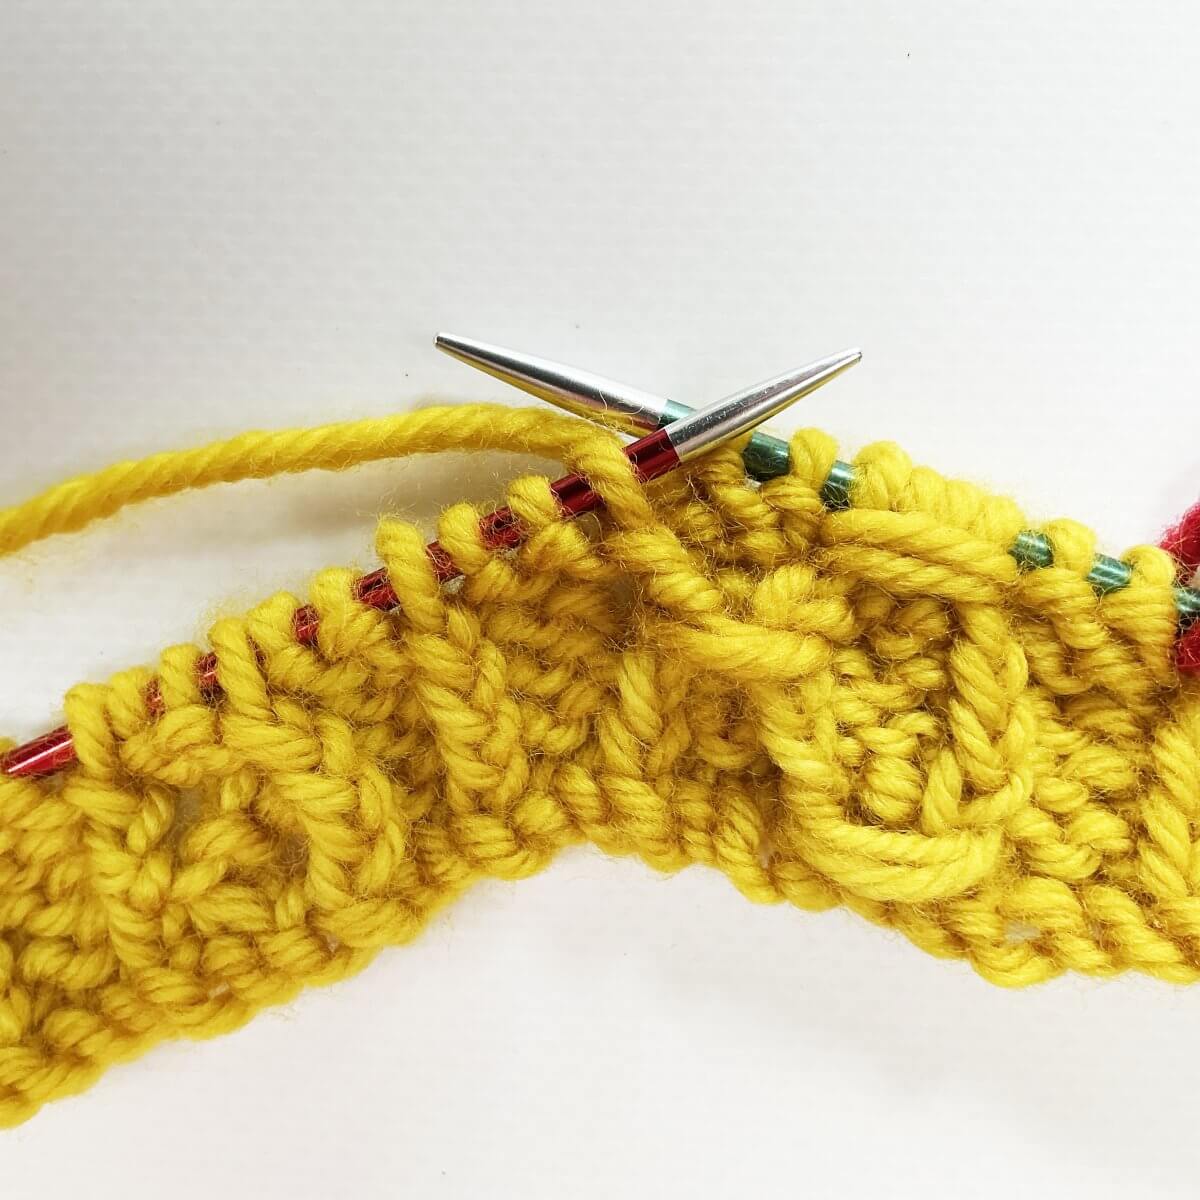
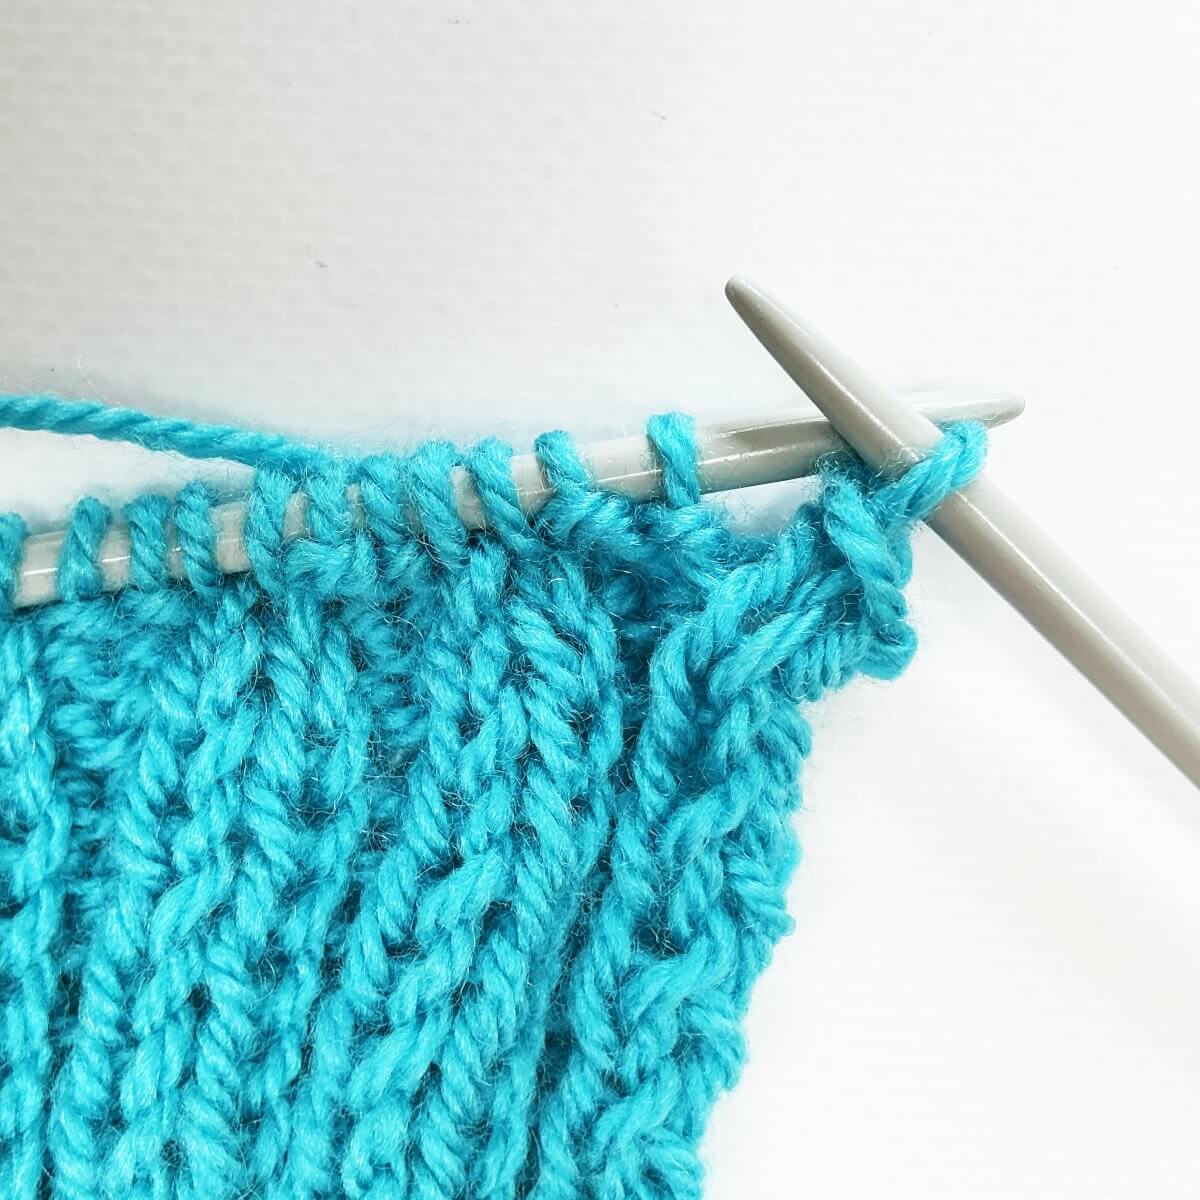
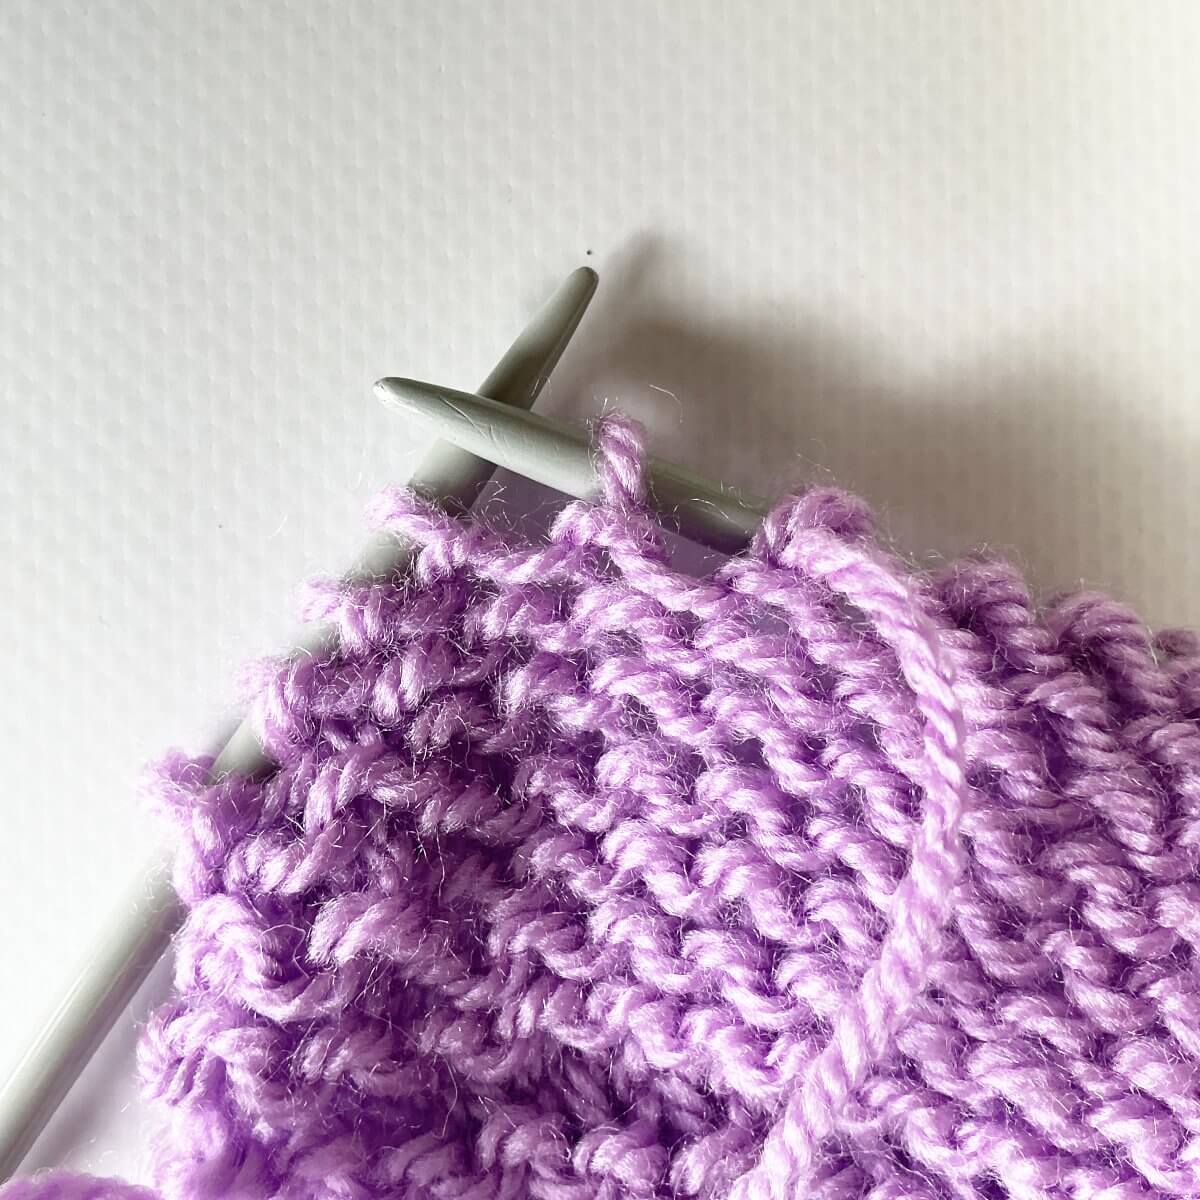
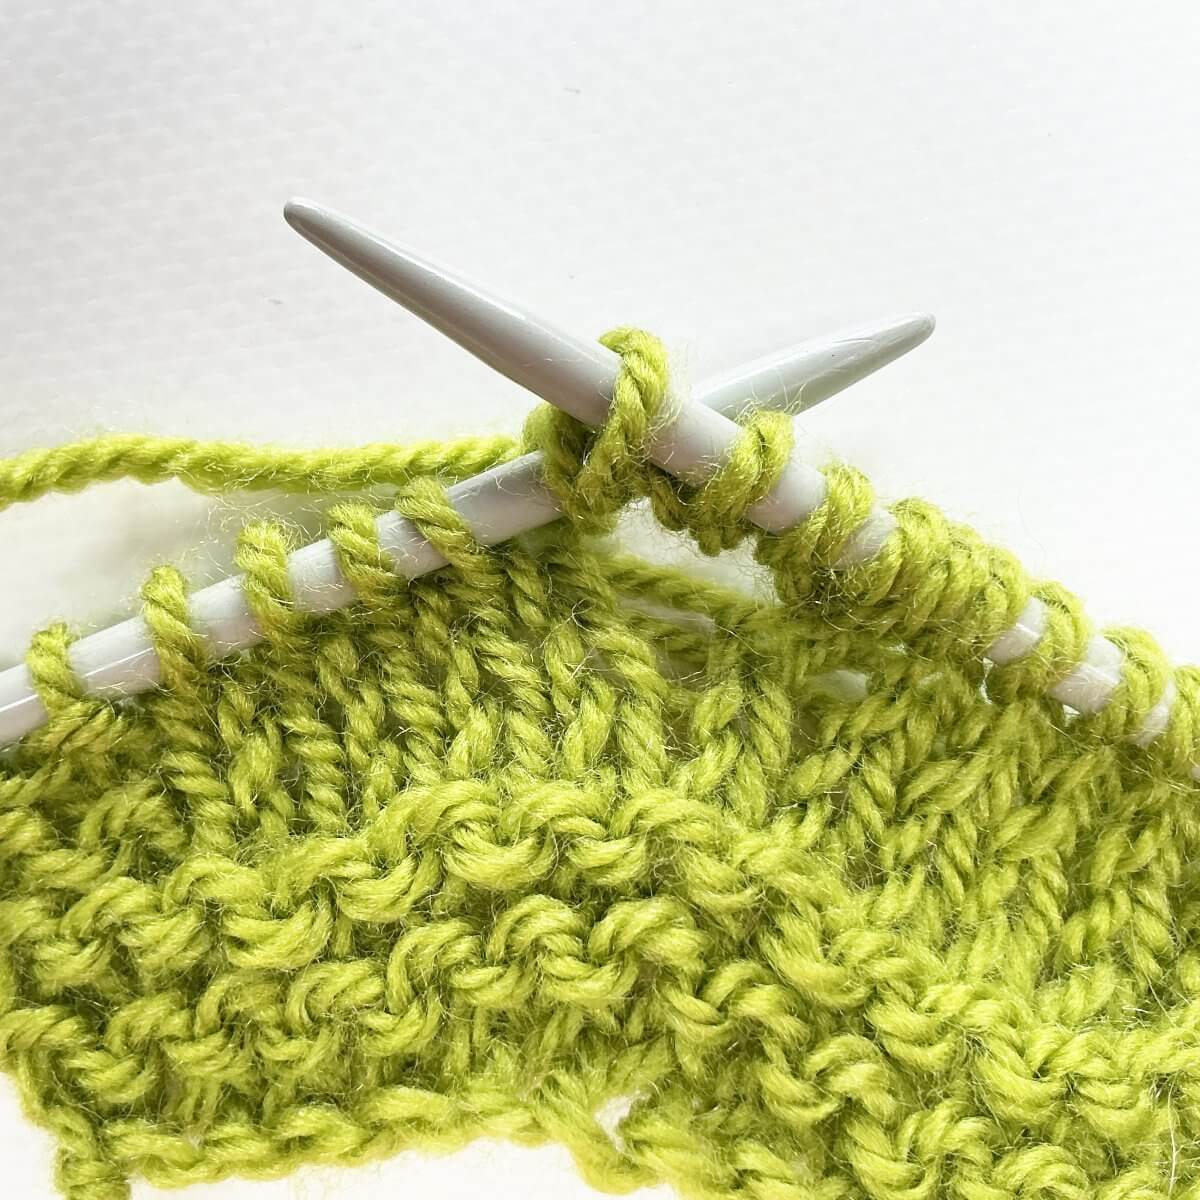
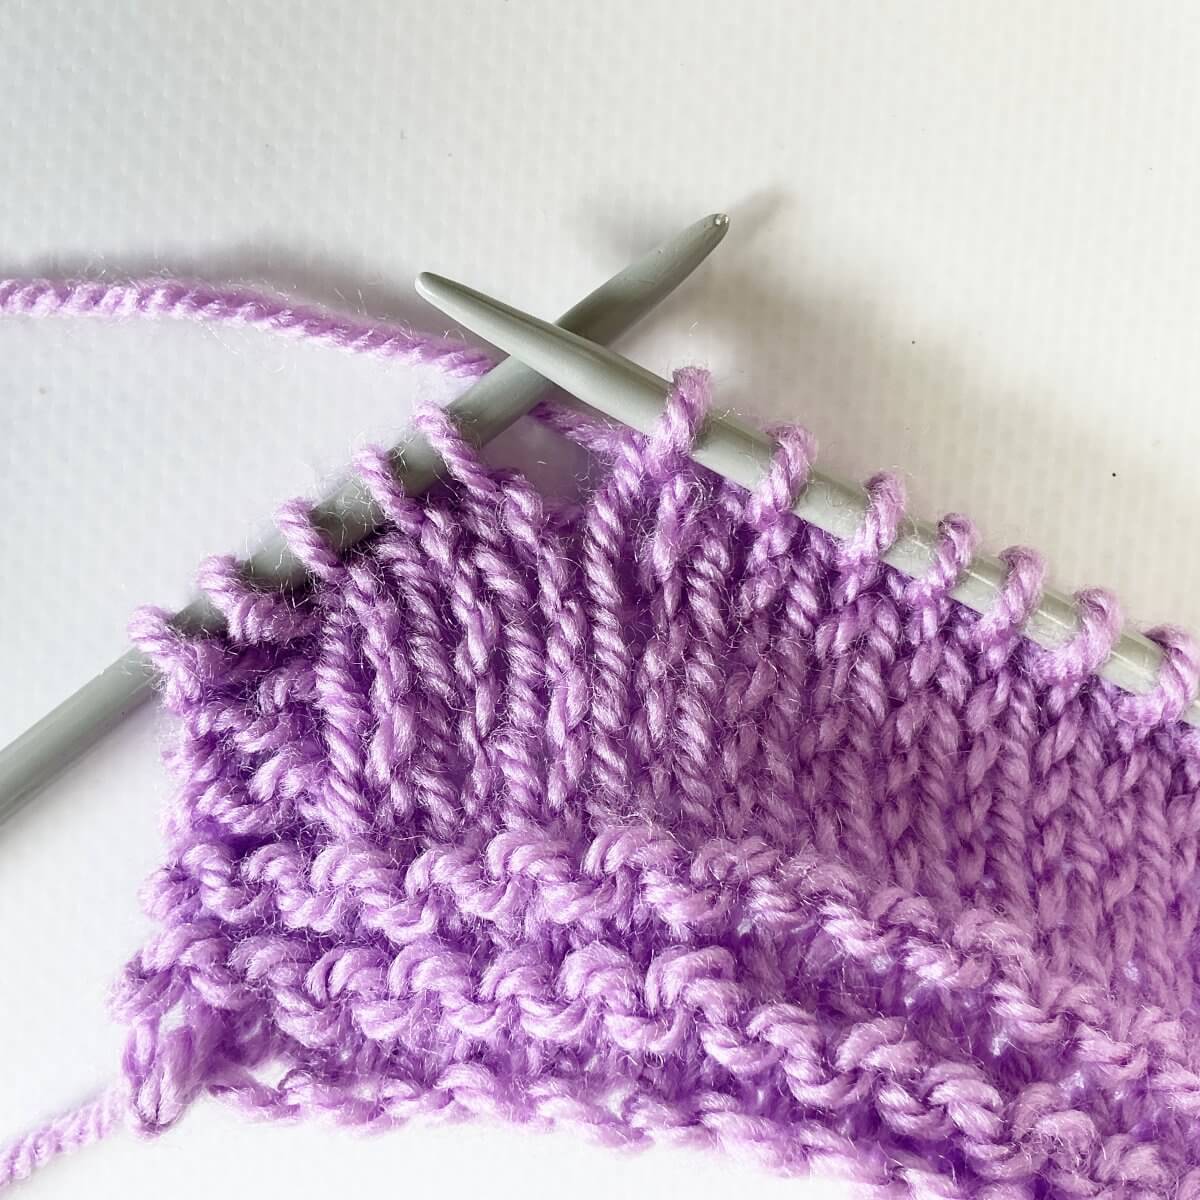
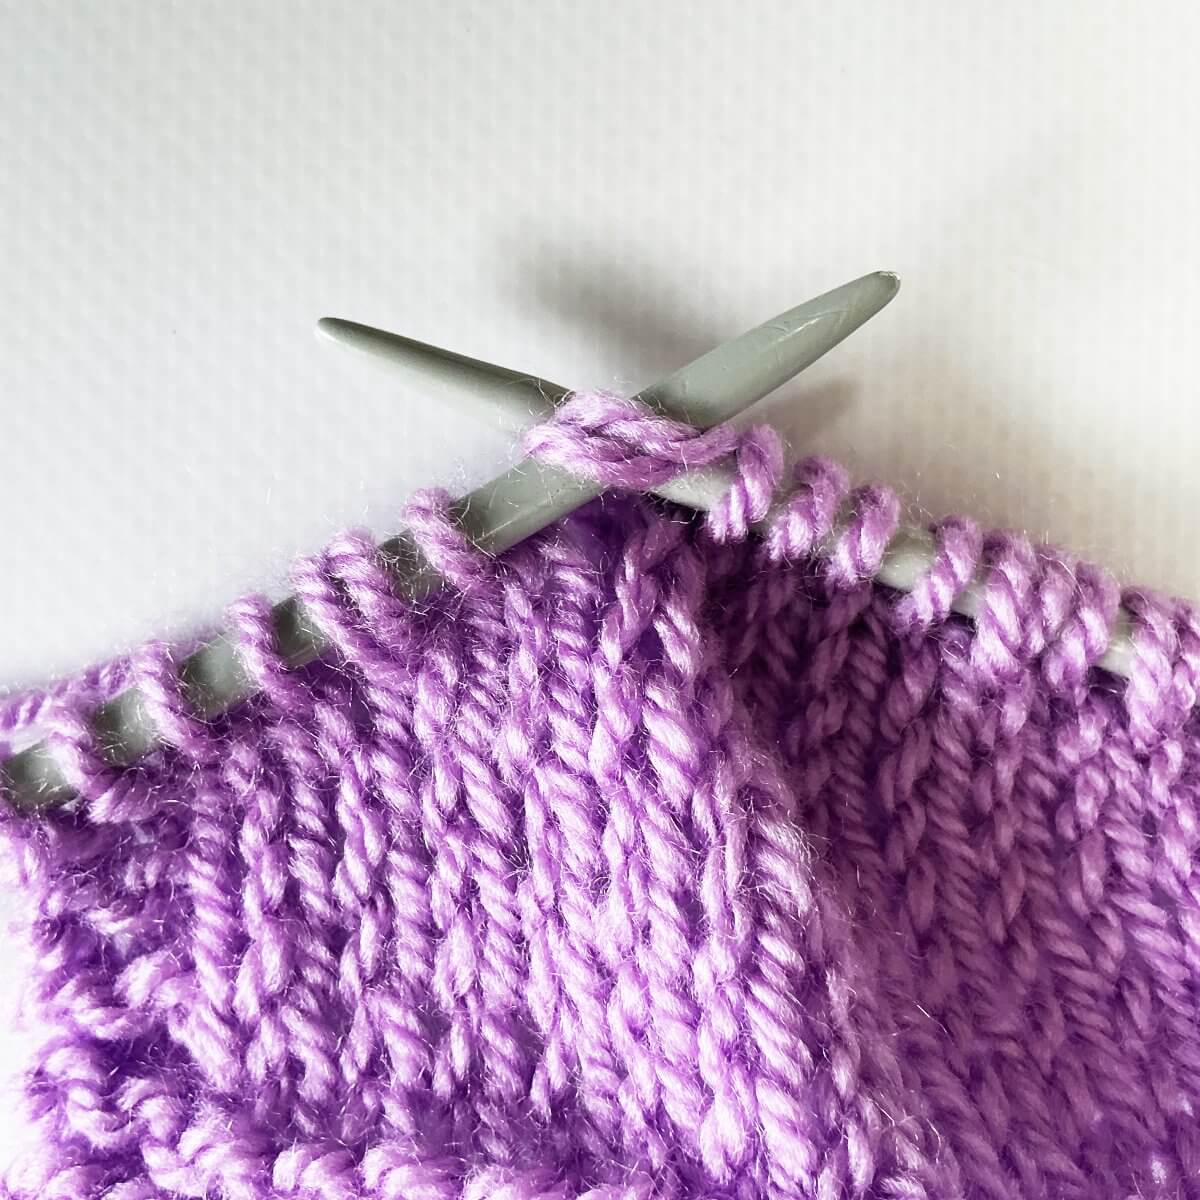
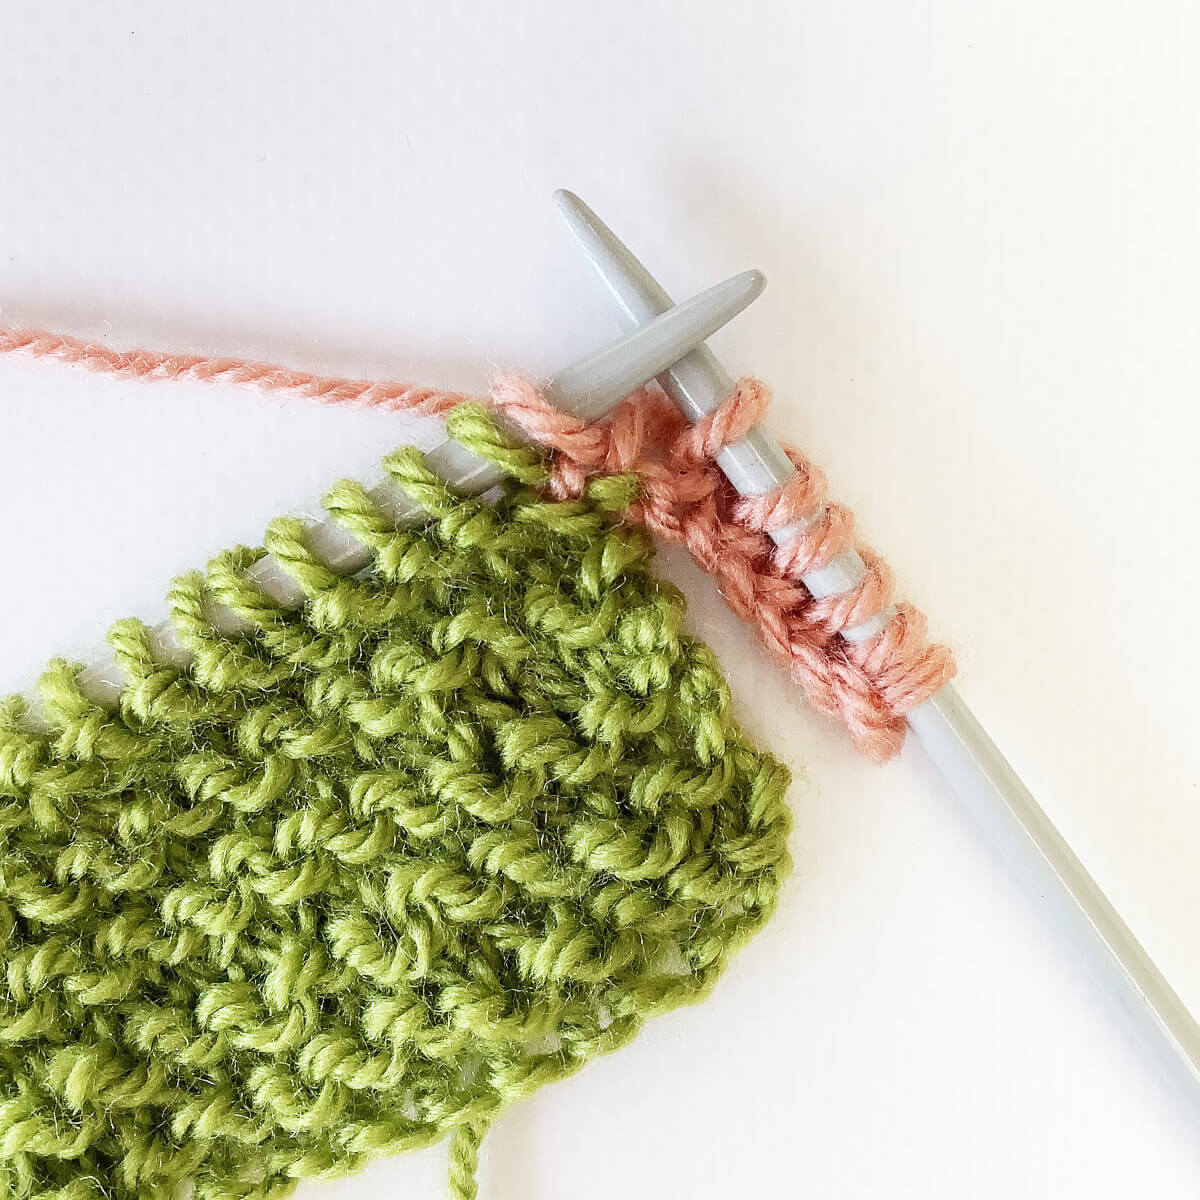
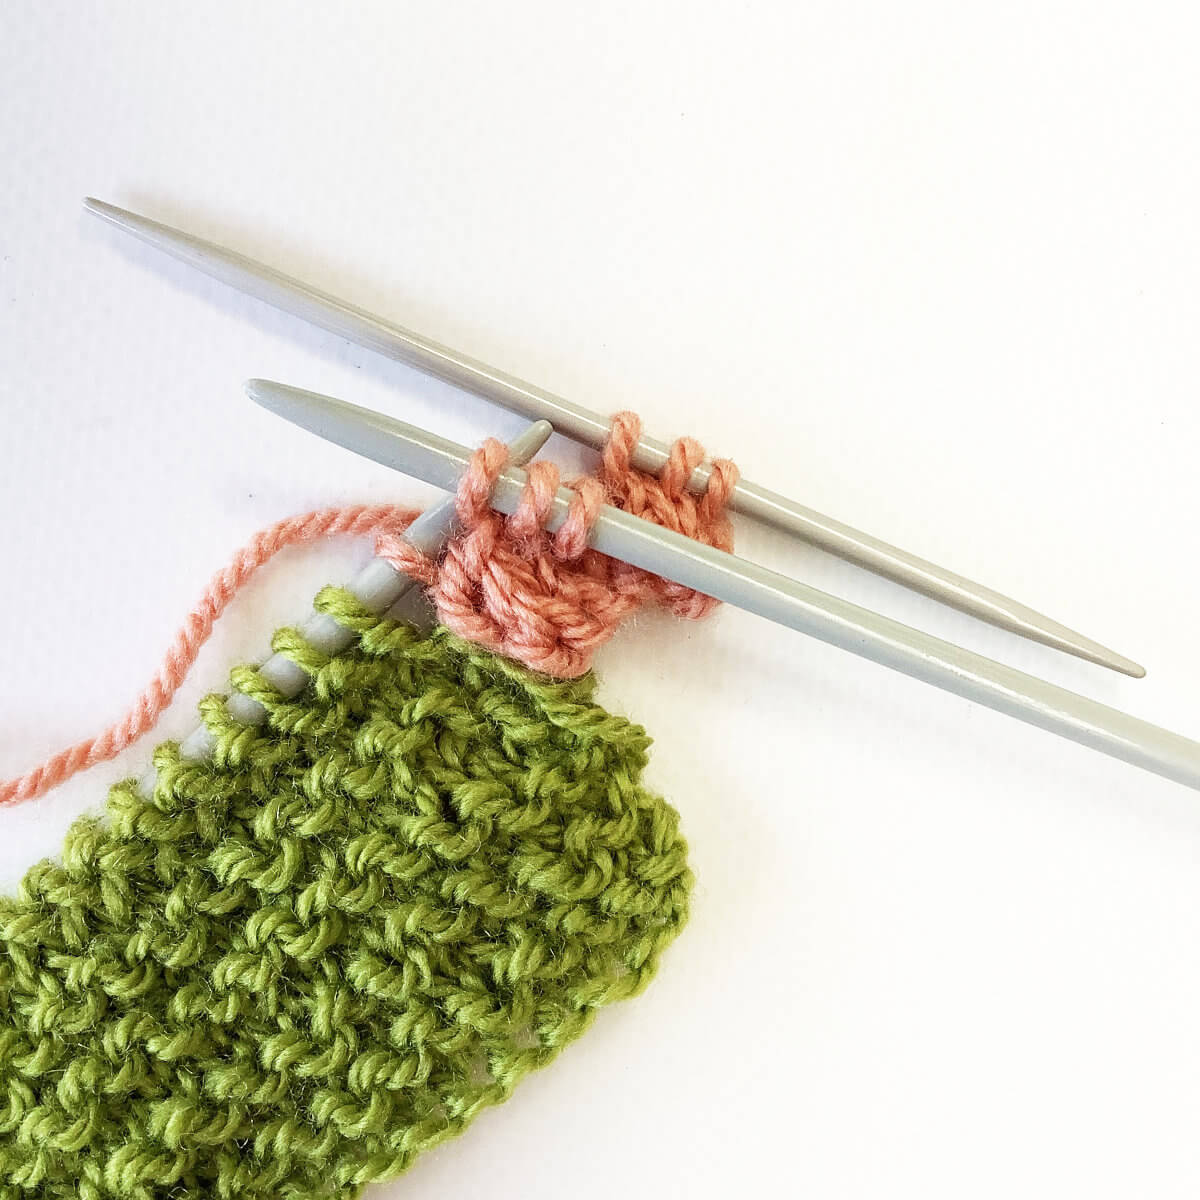
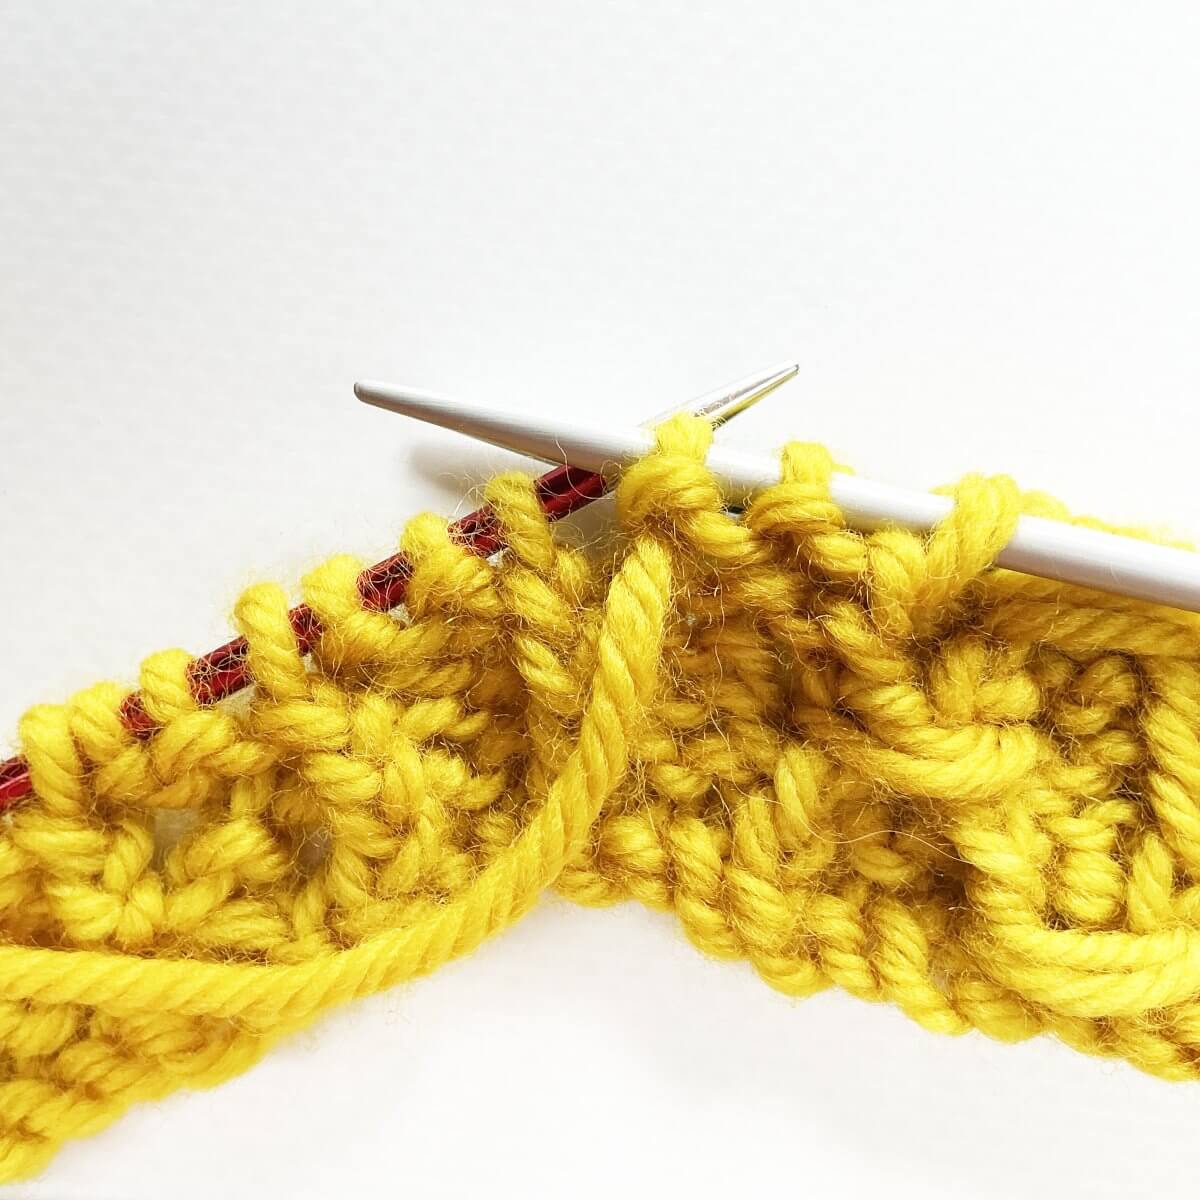
- First, insert the cable needle into the first stitch on the left-hand needle, and knit it through the back loop. In the below picture, I have not yet slipped the stitch worked off the left-hand knitting needle.
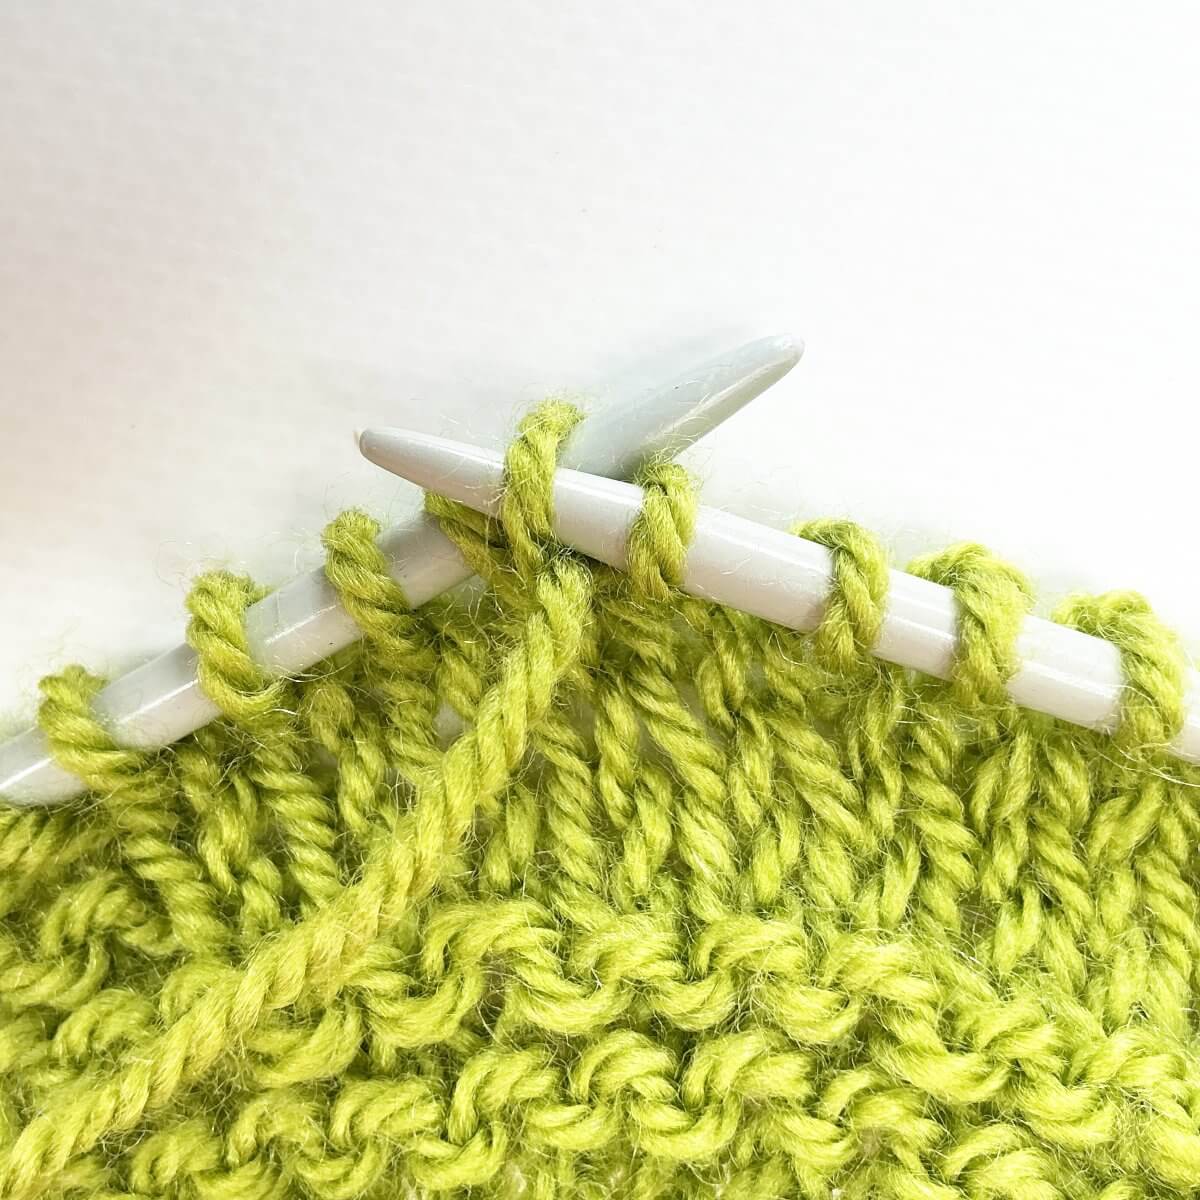
- Next, p1 stitch onto the cable needle.
- Purl another stitch onto the cable needle.
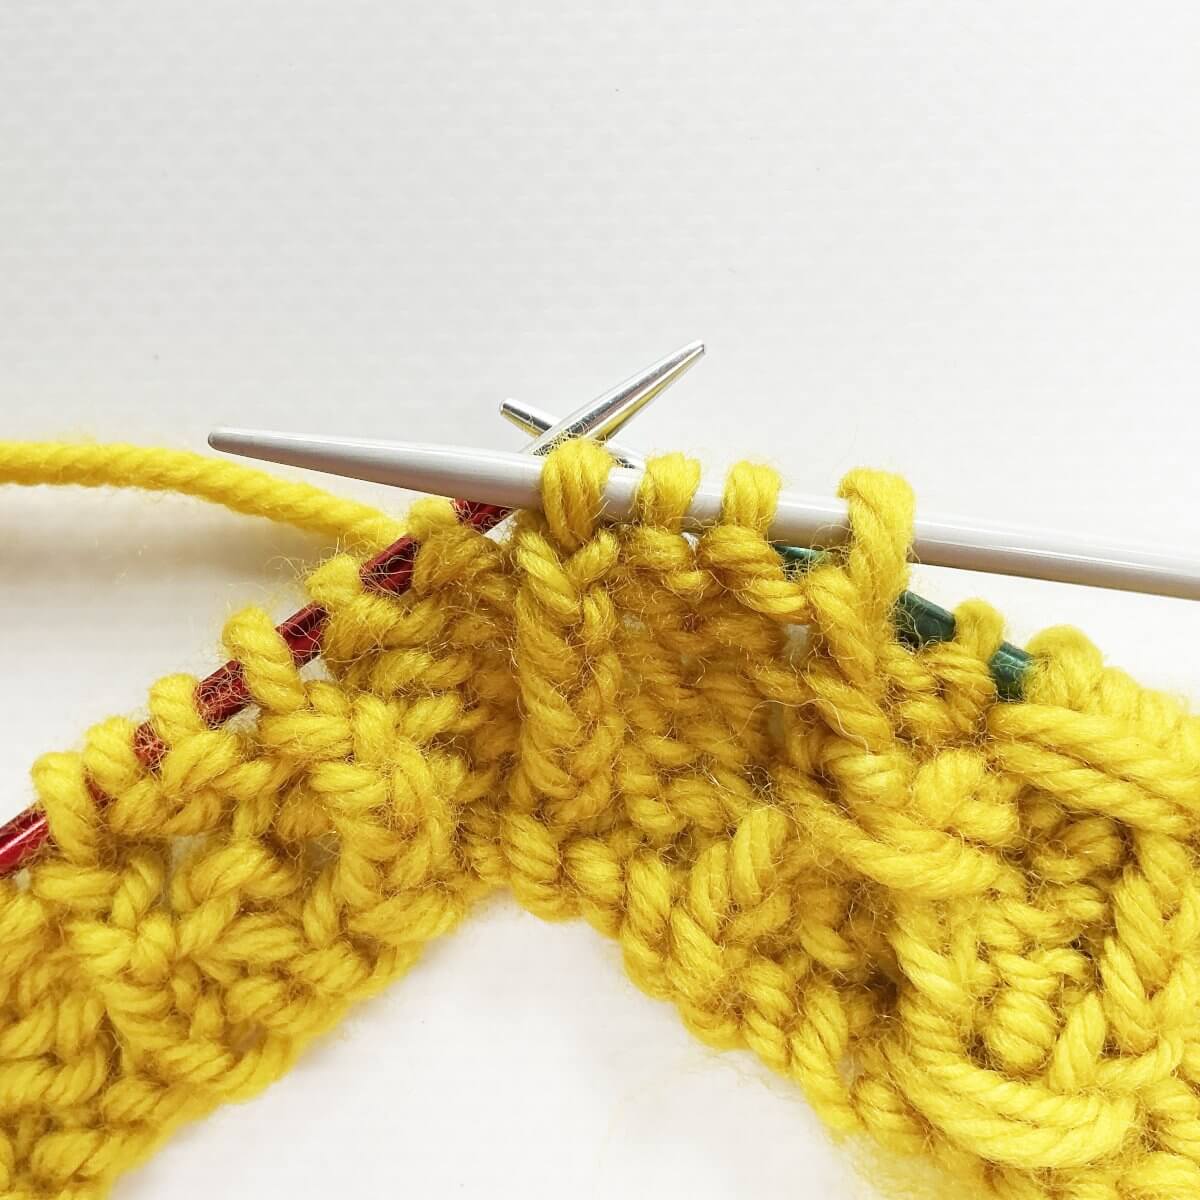
- Next, insert the cable needle into the stitch on the left-hand needle, and knit it through the back loop.
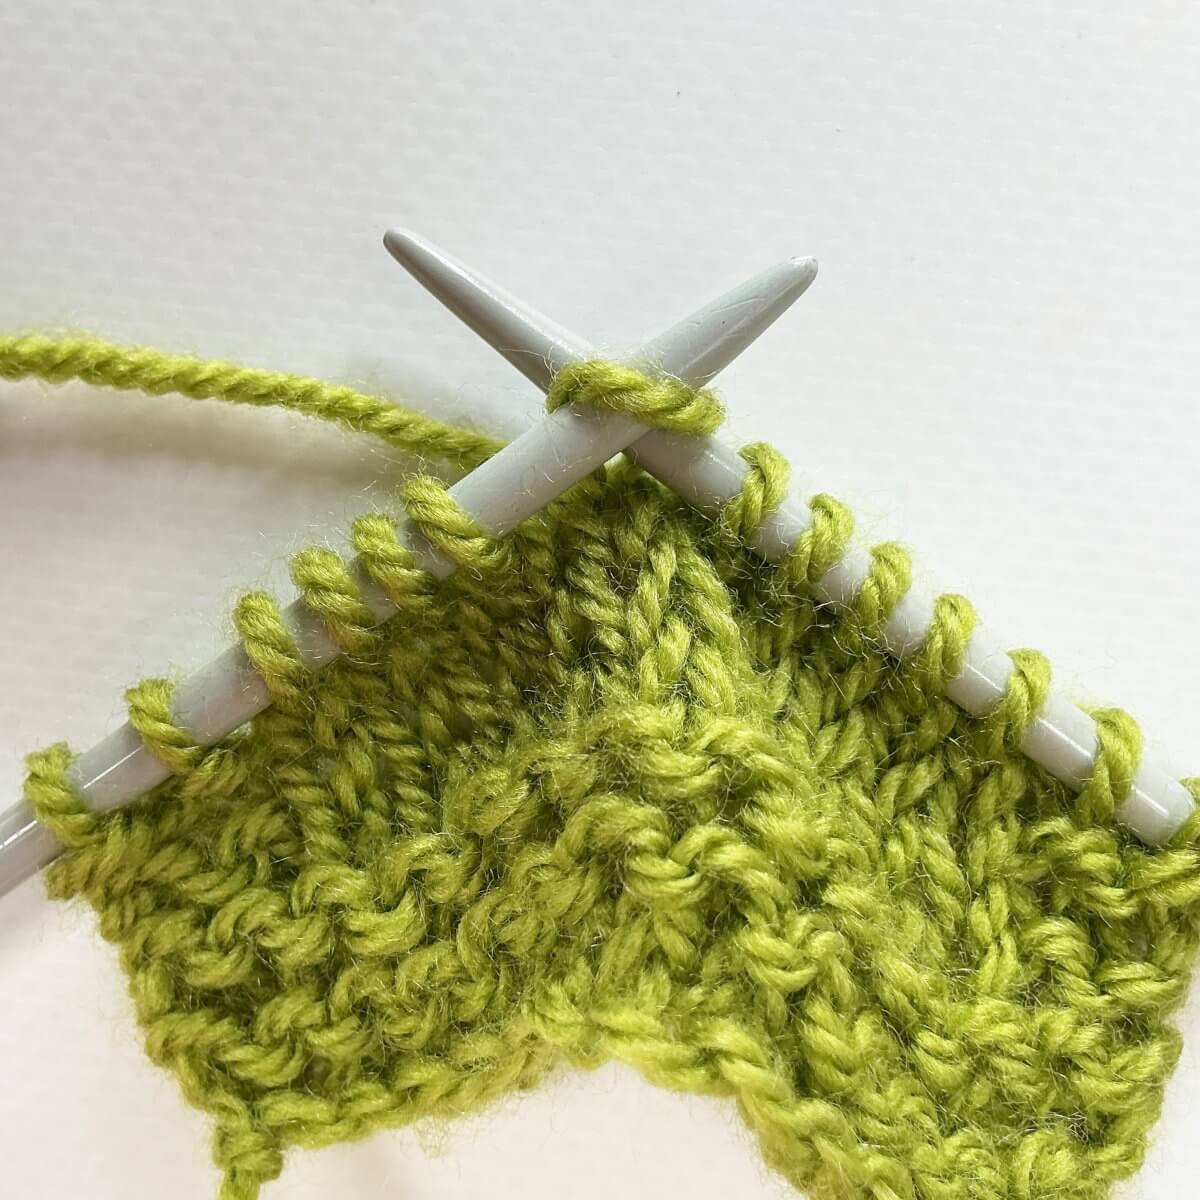
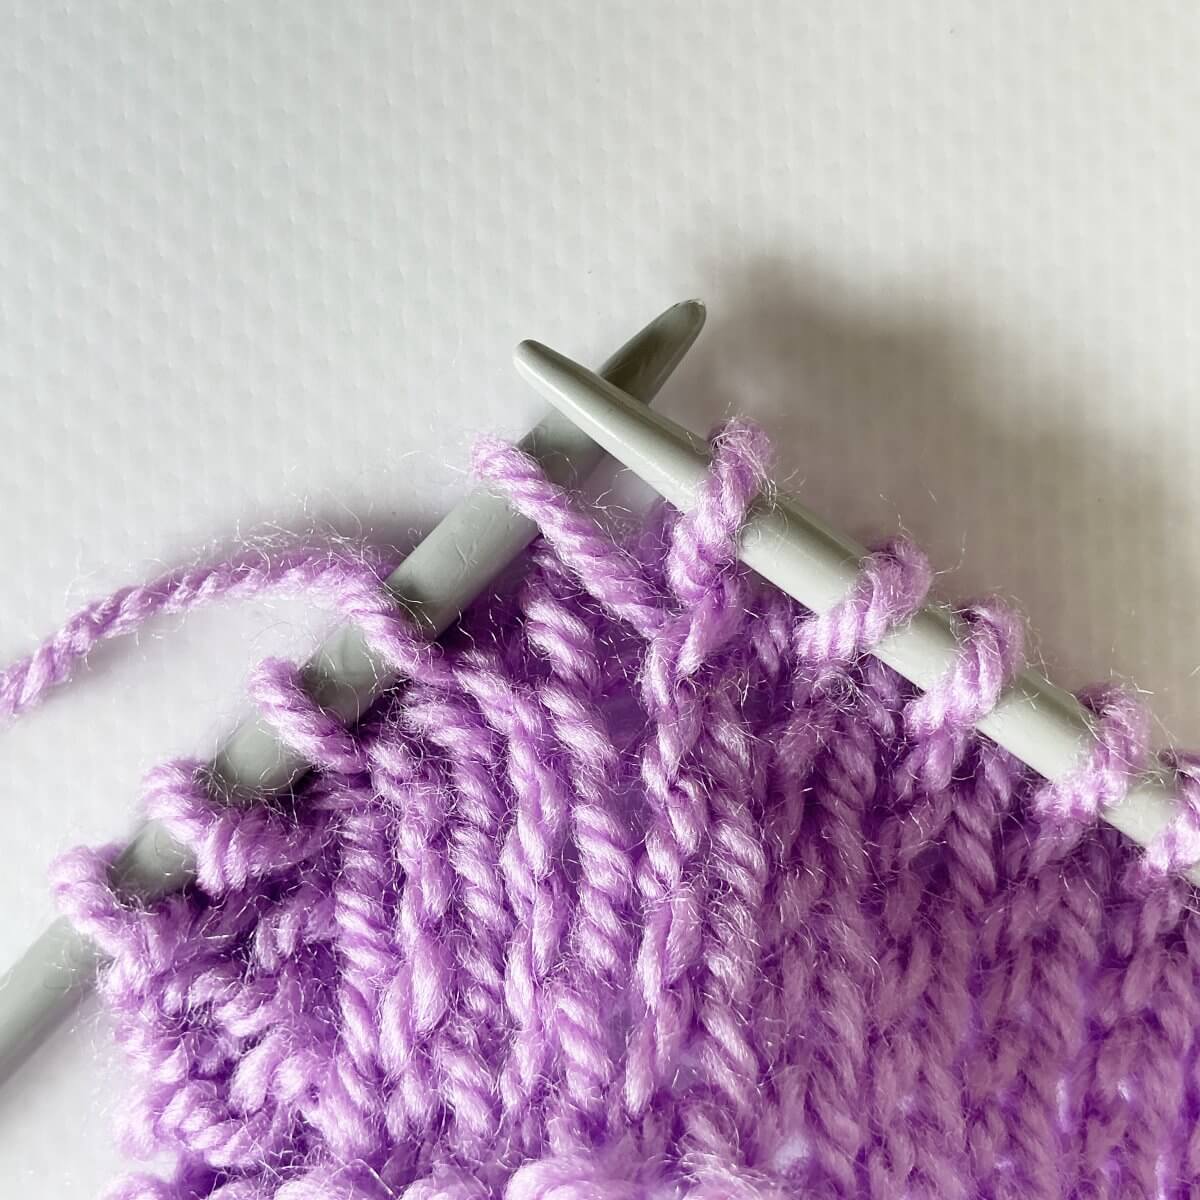
With this, we have worked the group of stitches to be wrapped.
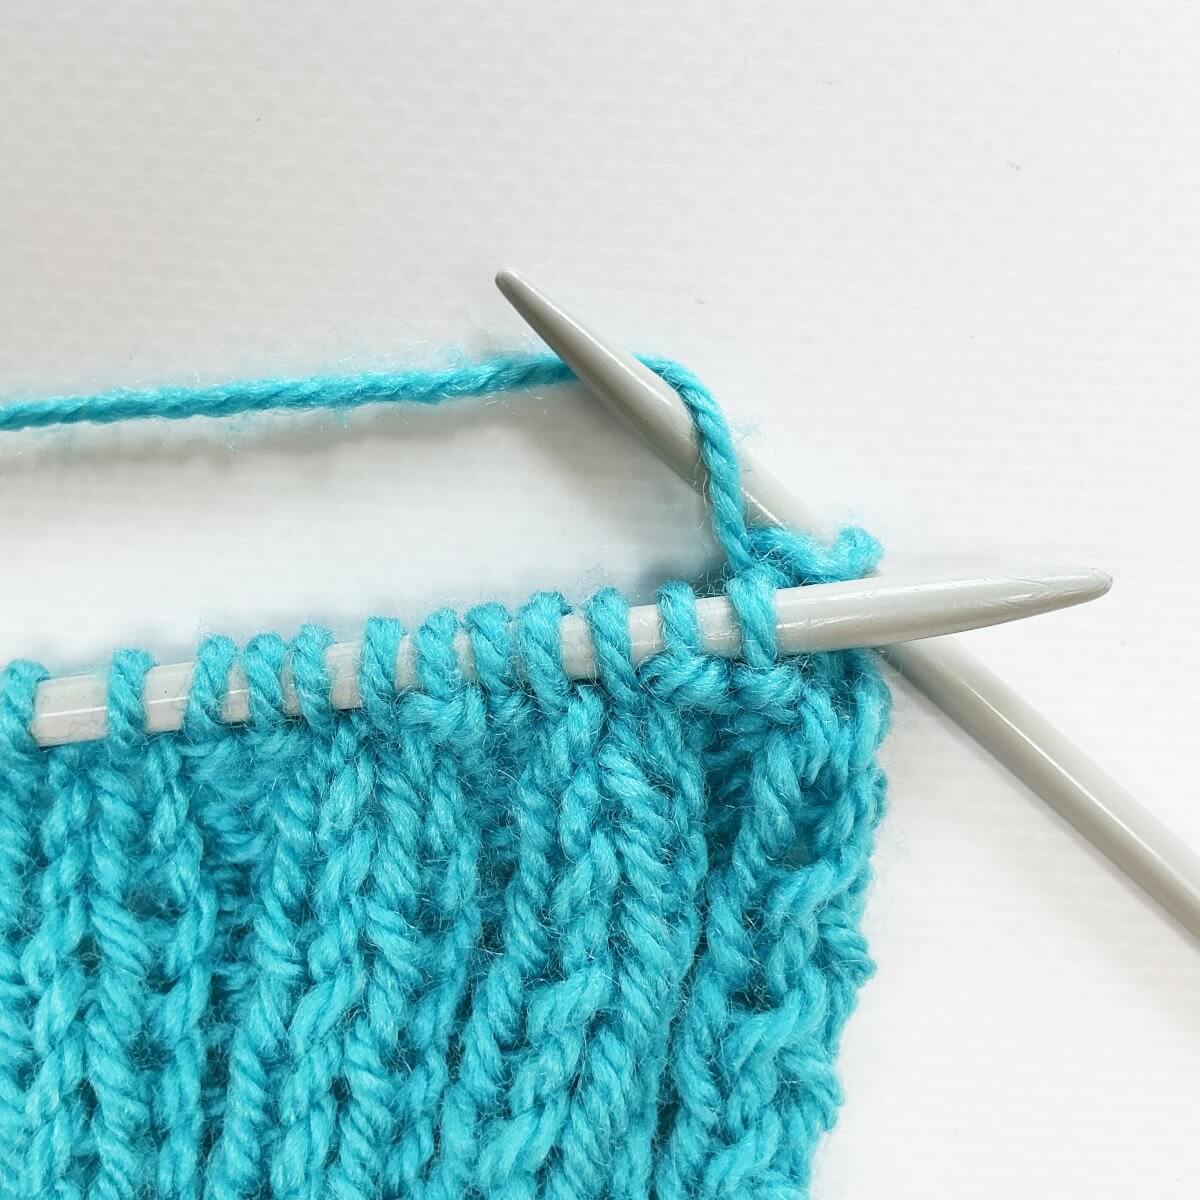
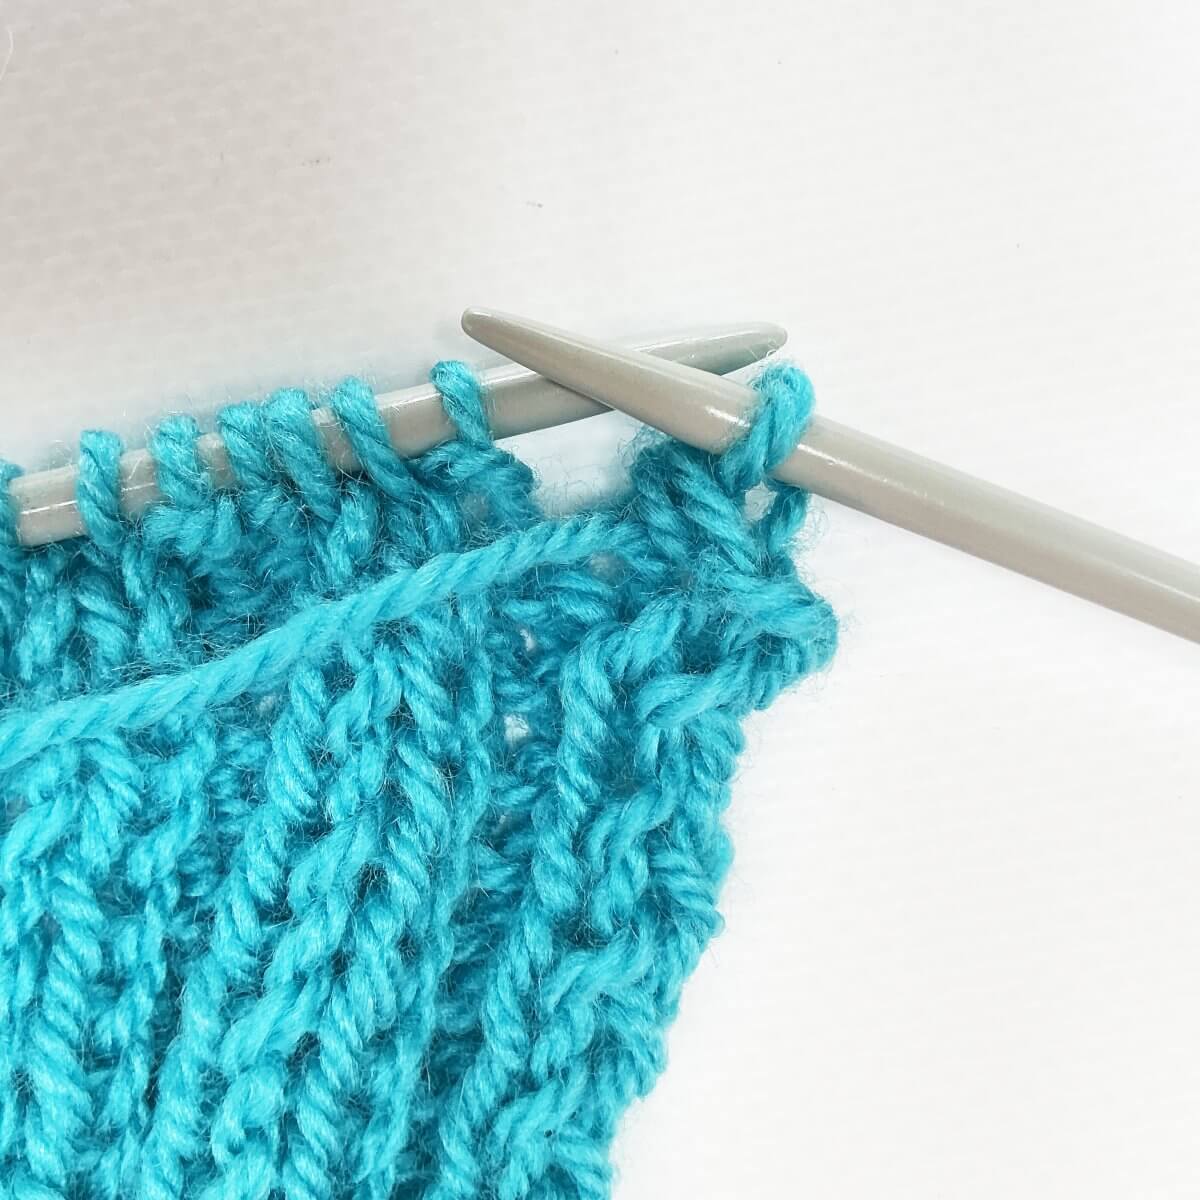
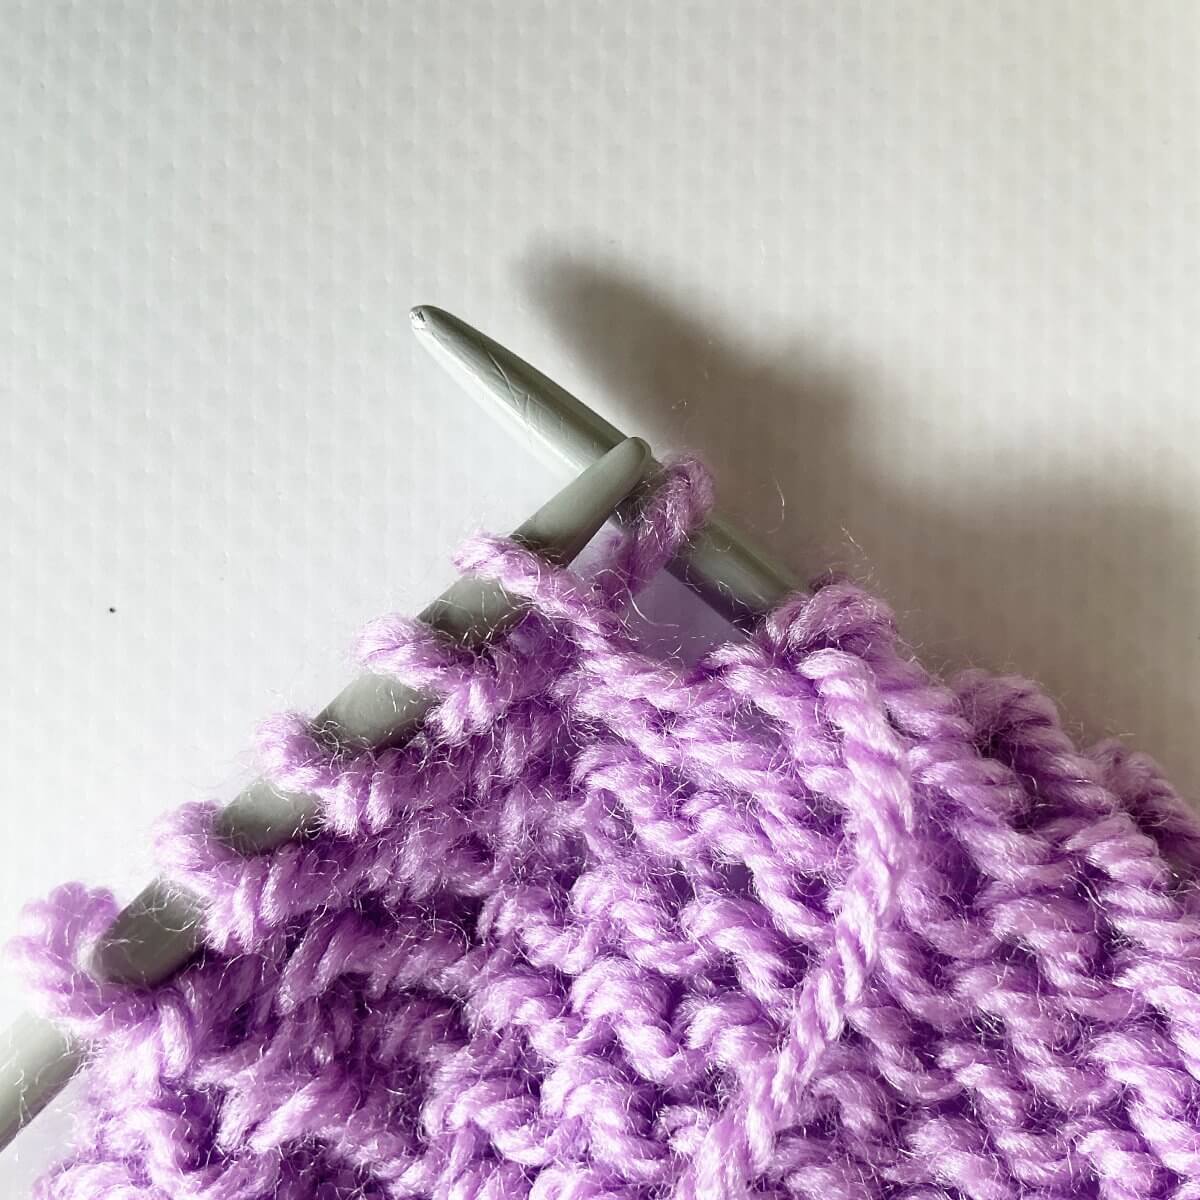
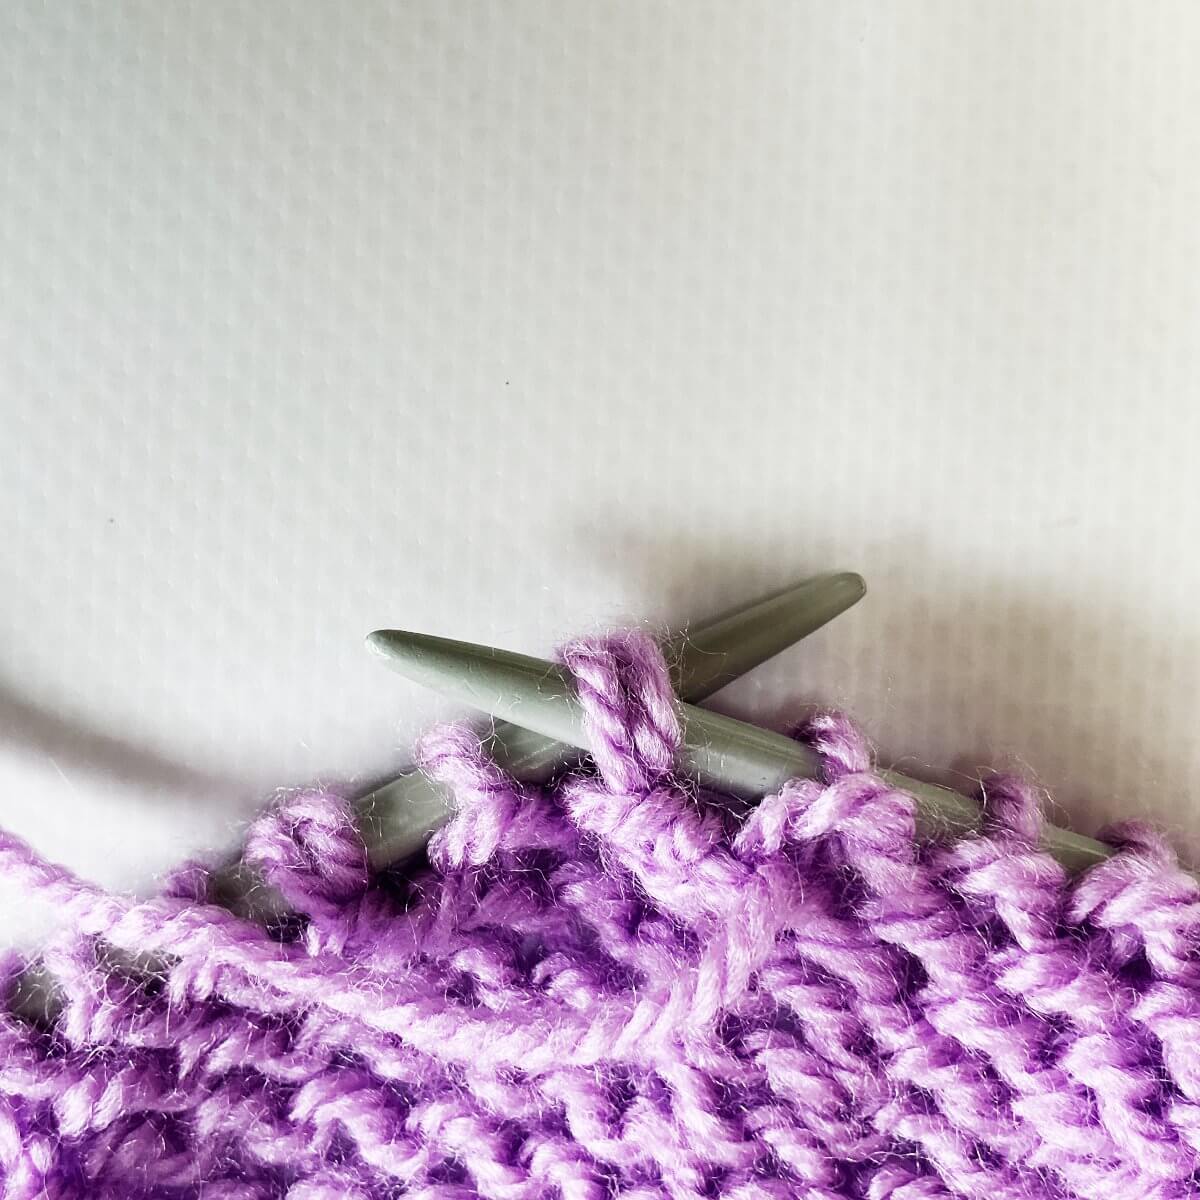
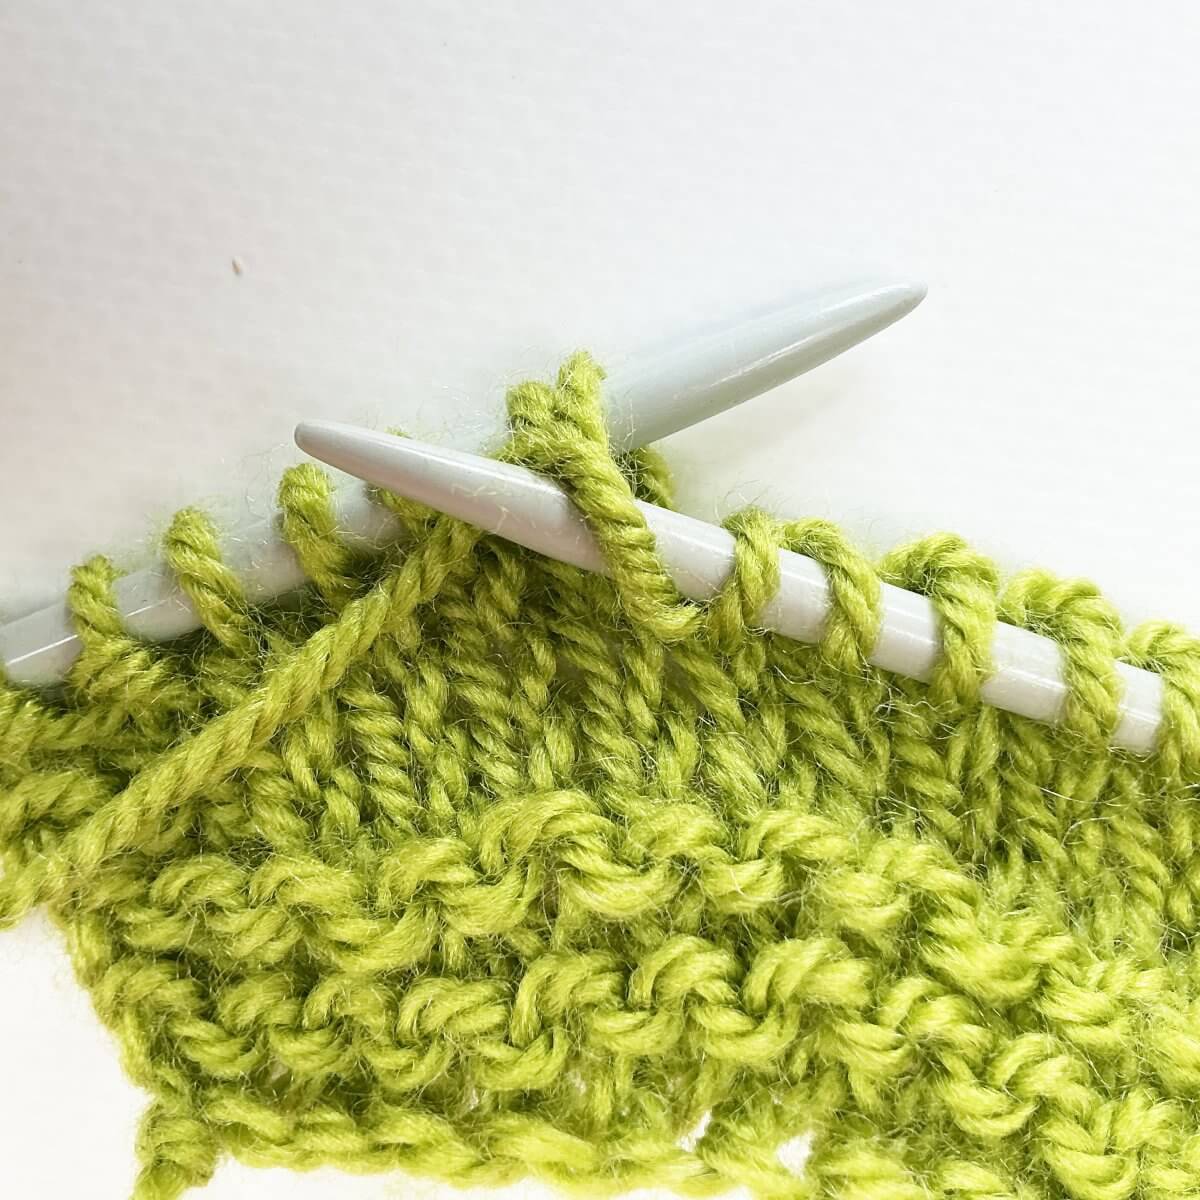
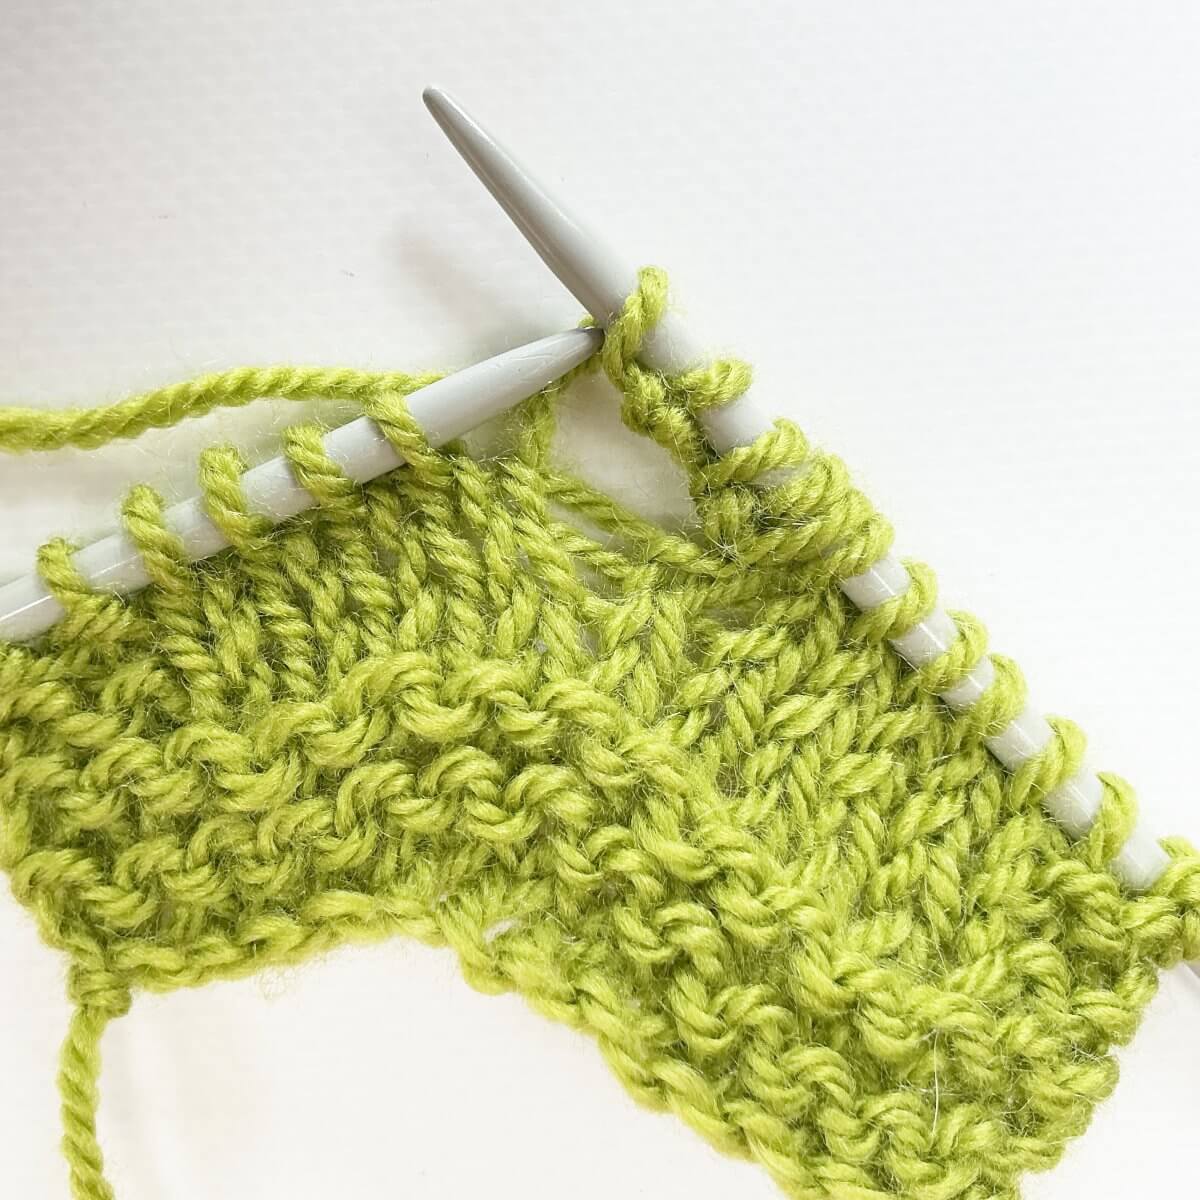
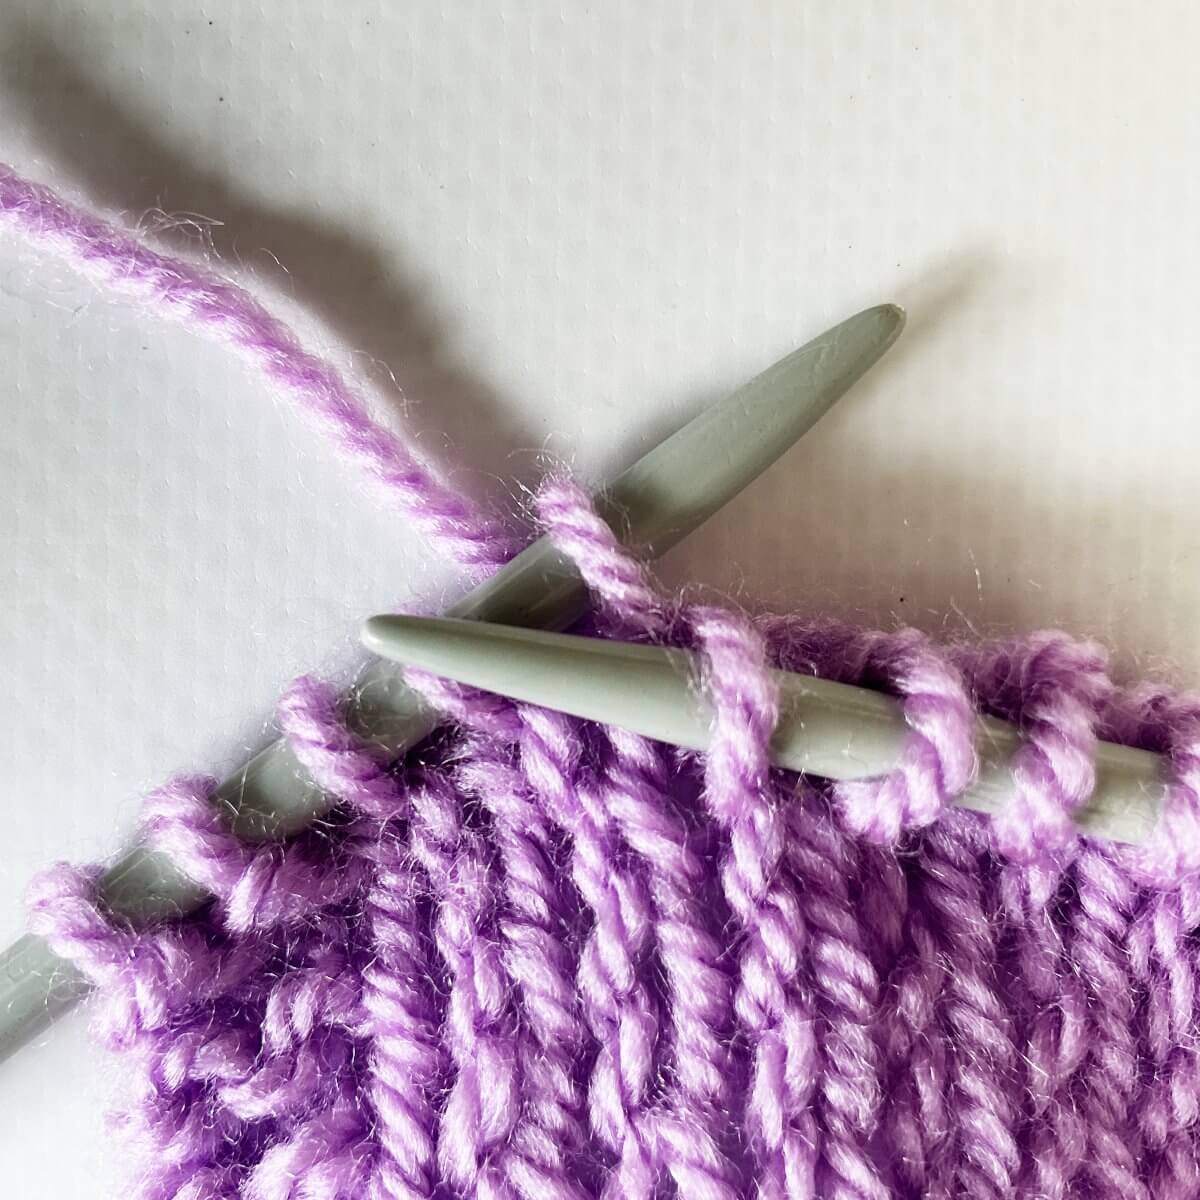
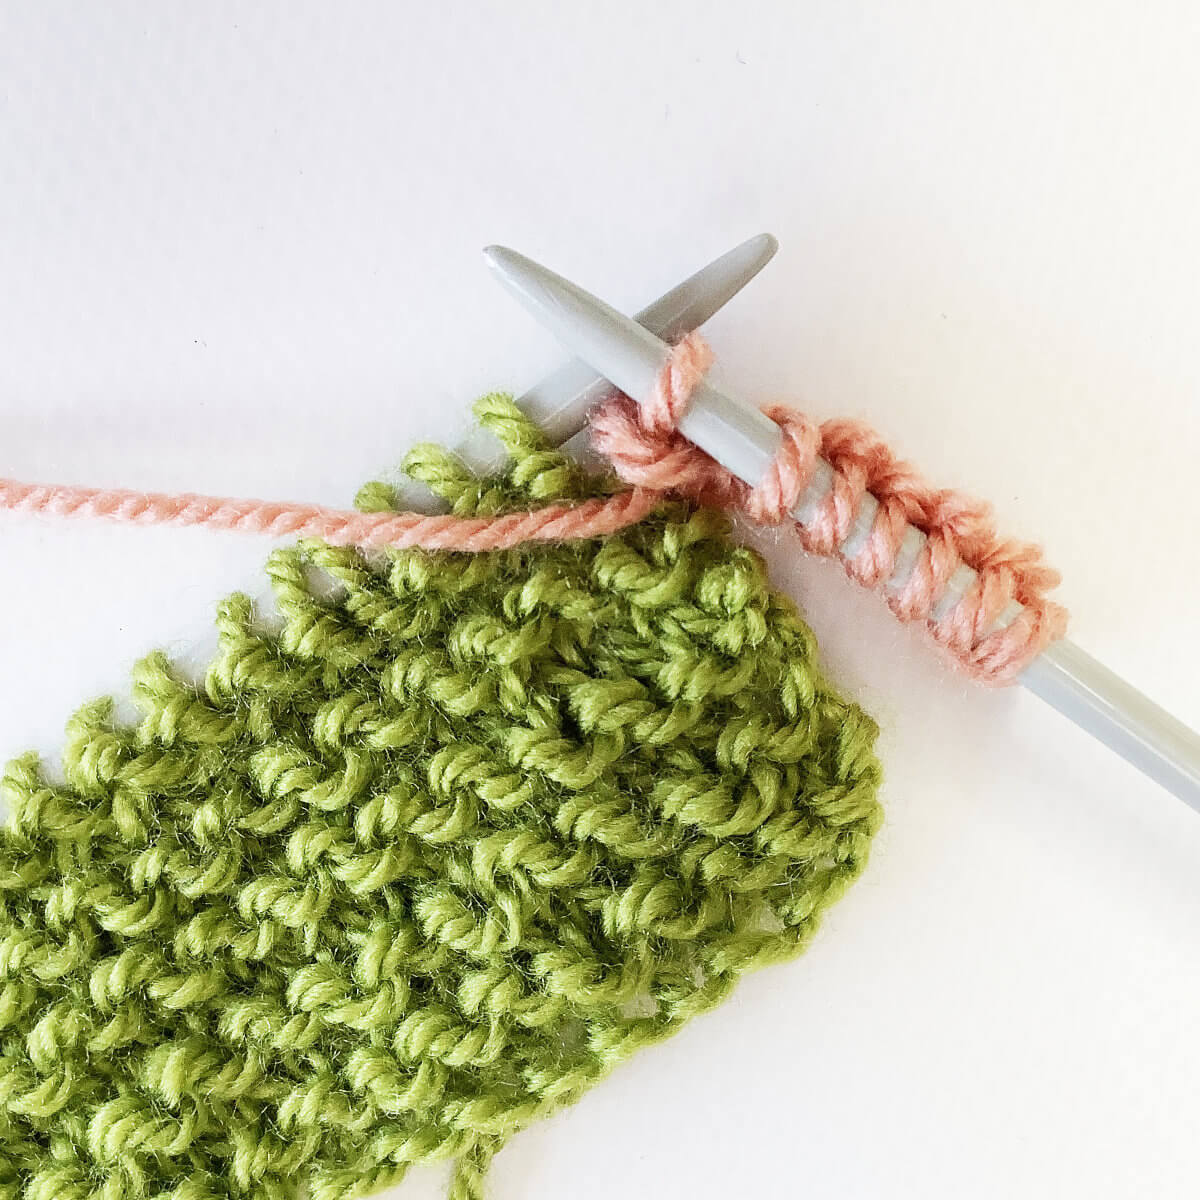
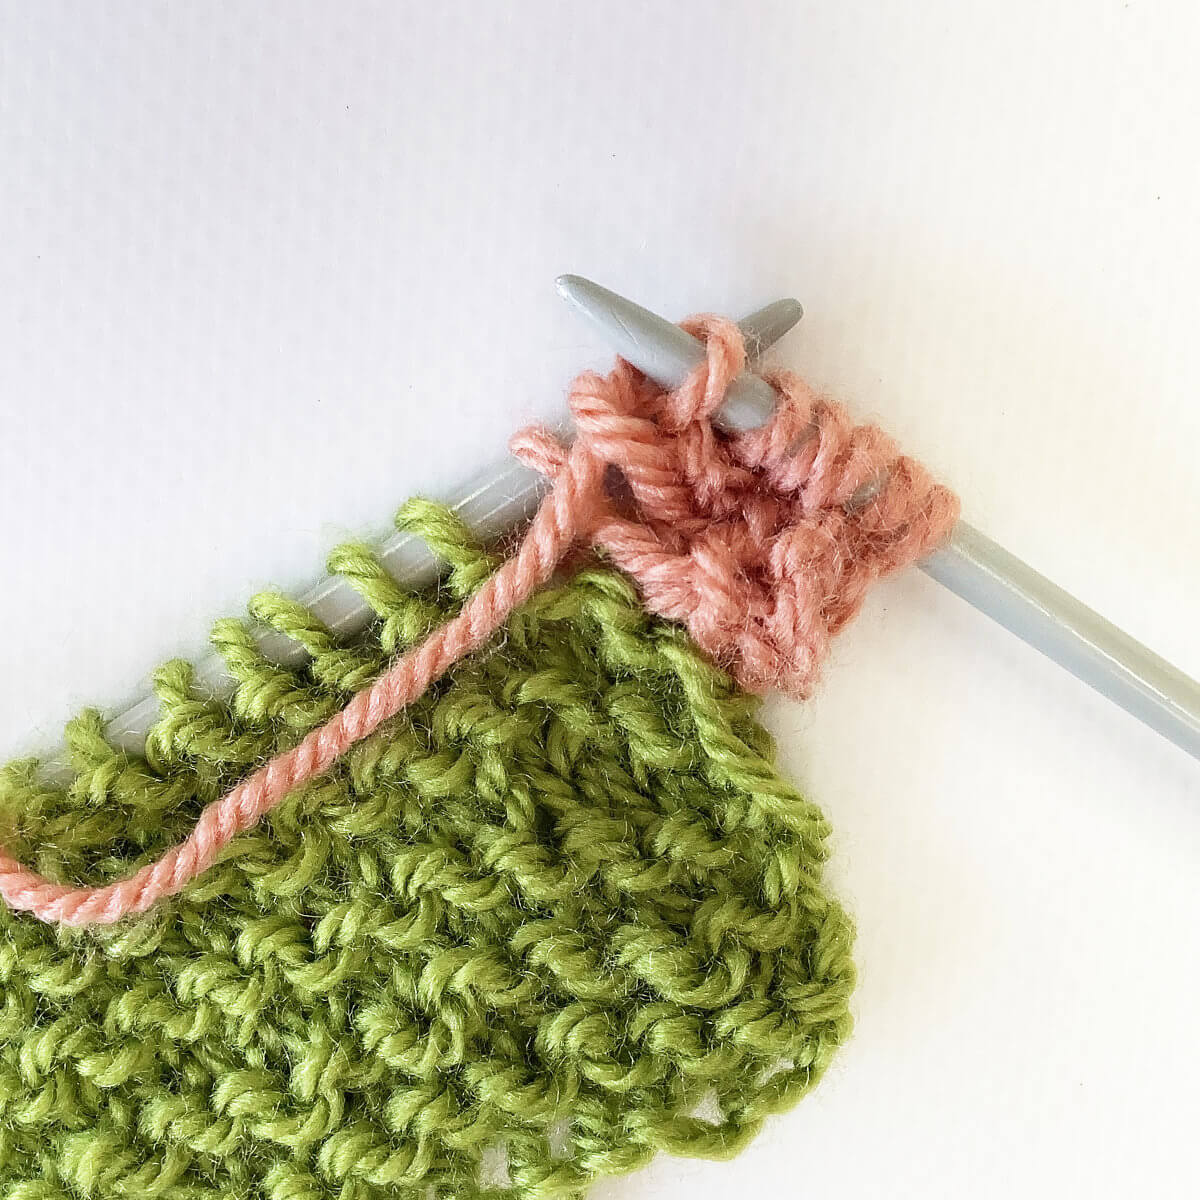
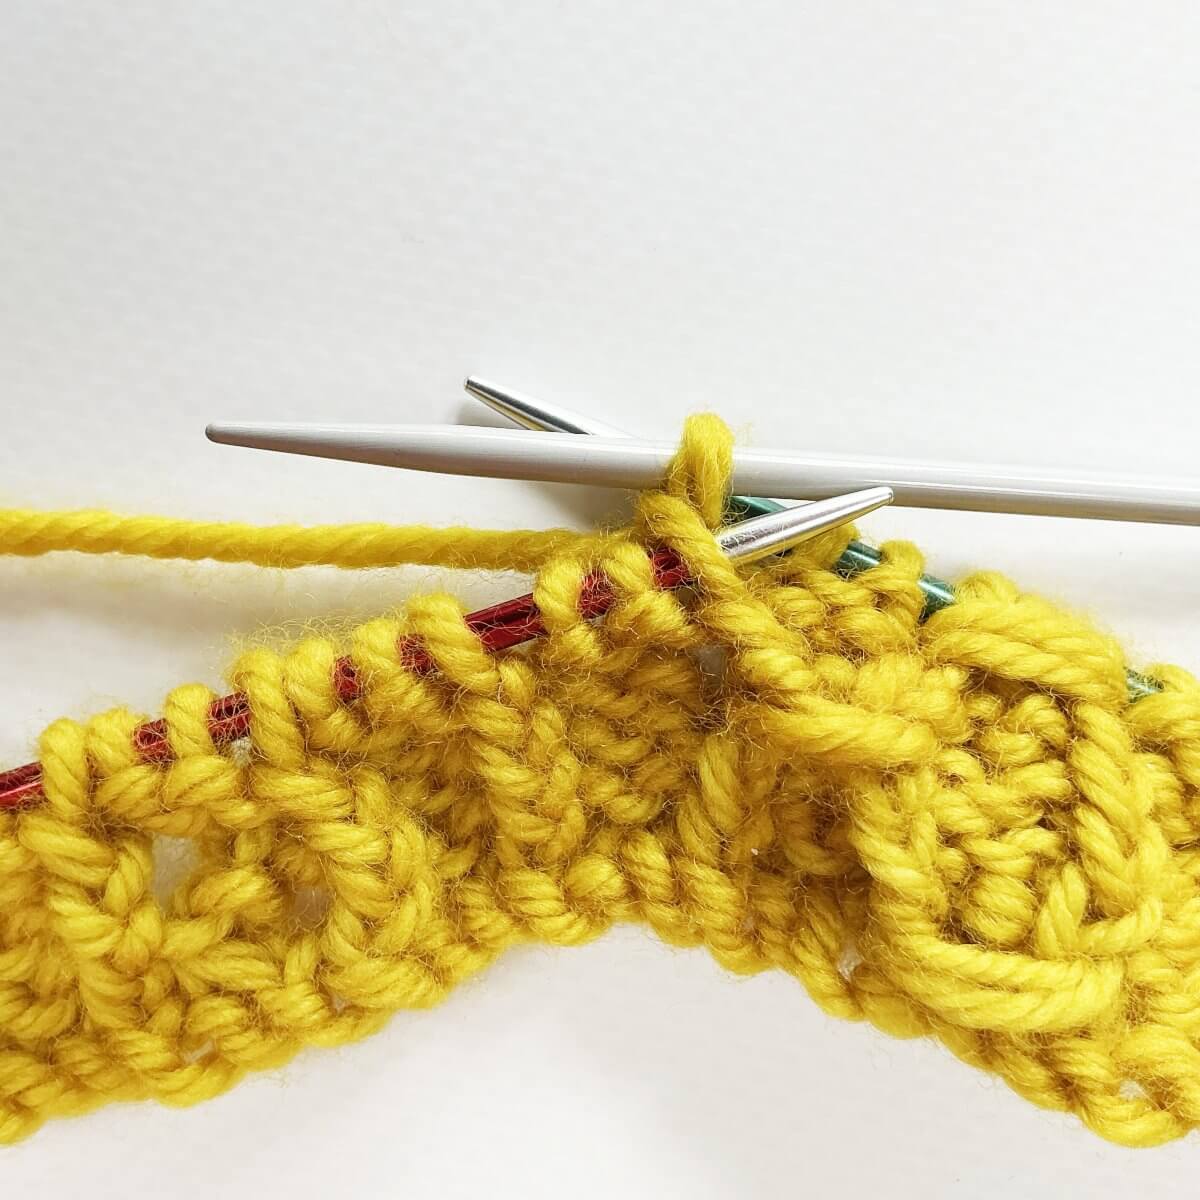
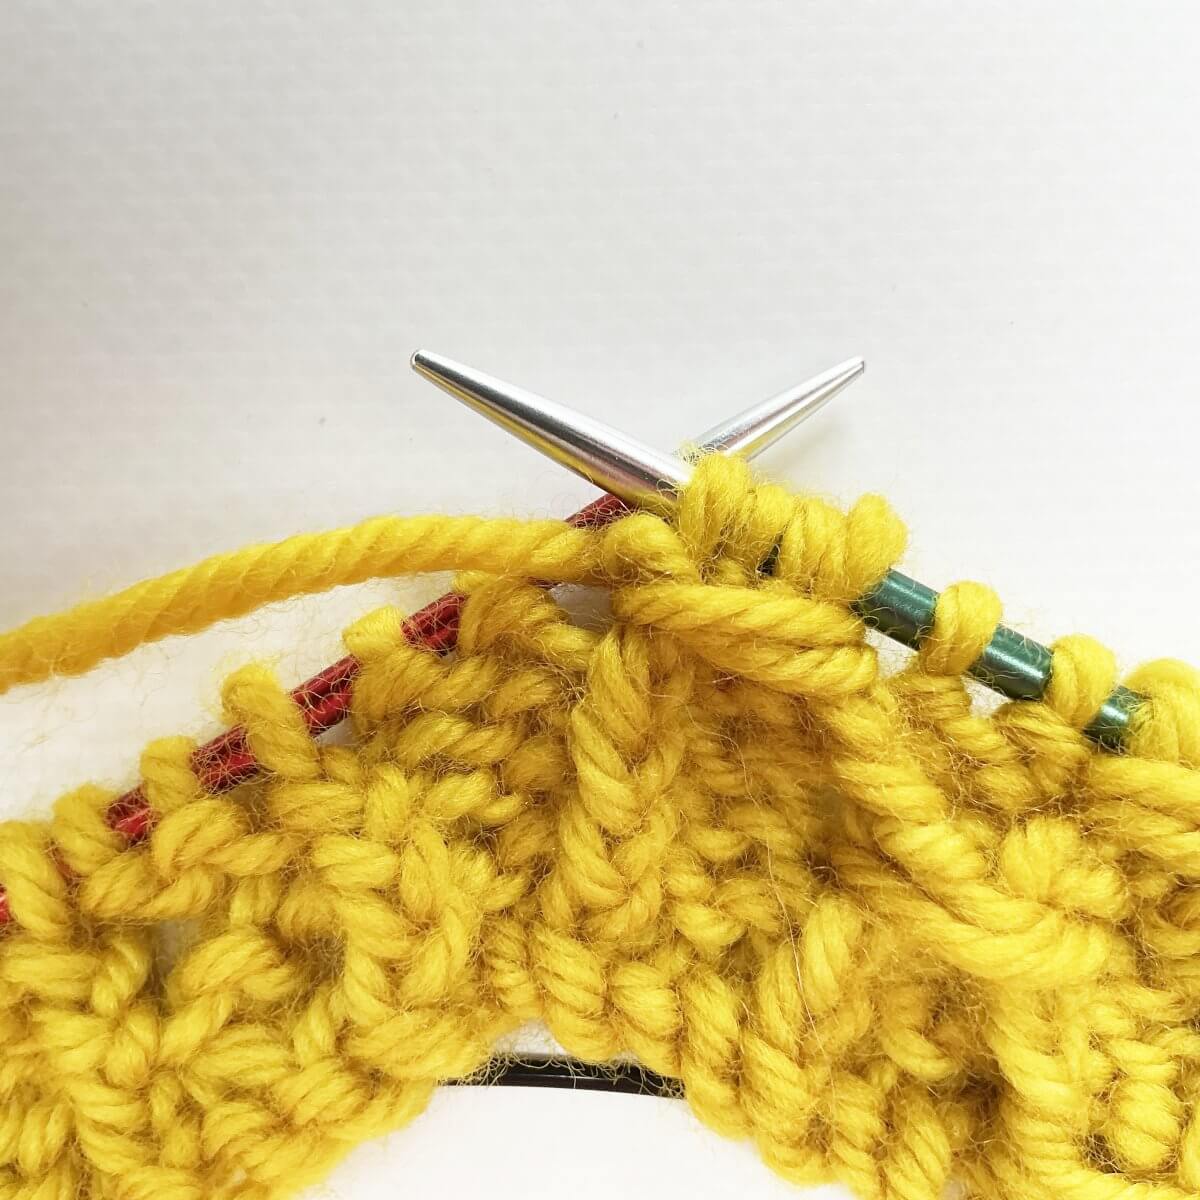
- Now take your working yarn, and wrap it around the group of stitches on the cable needle in a counter-clockwise motion.
In other words, move the yarn to the front, from left to right, and then onwards around the back from right to left until it’s in its starting position.
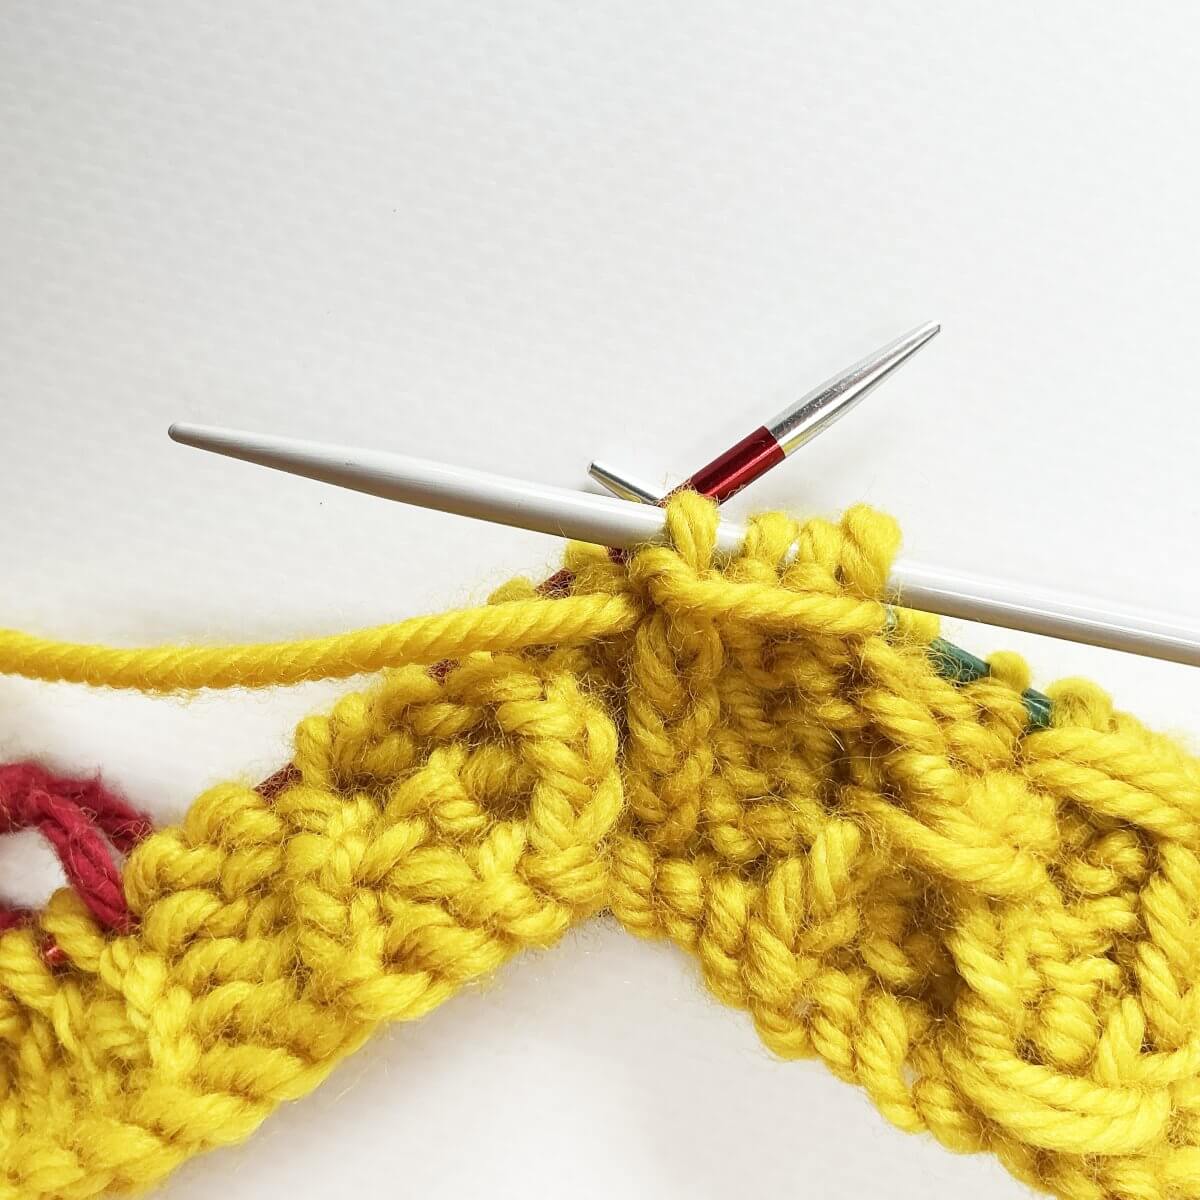
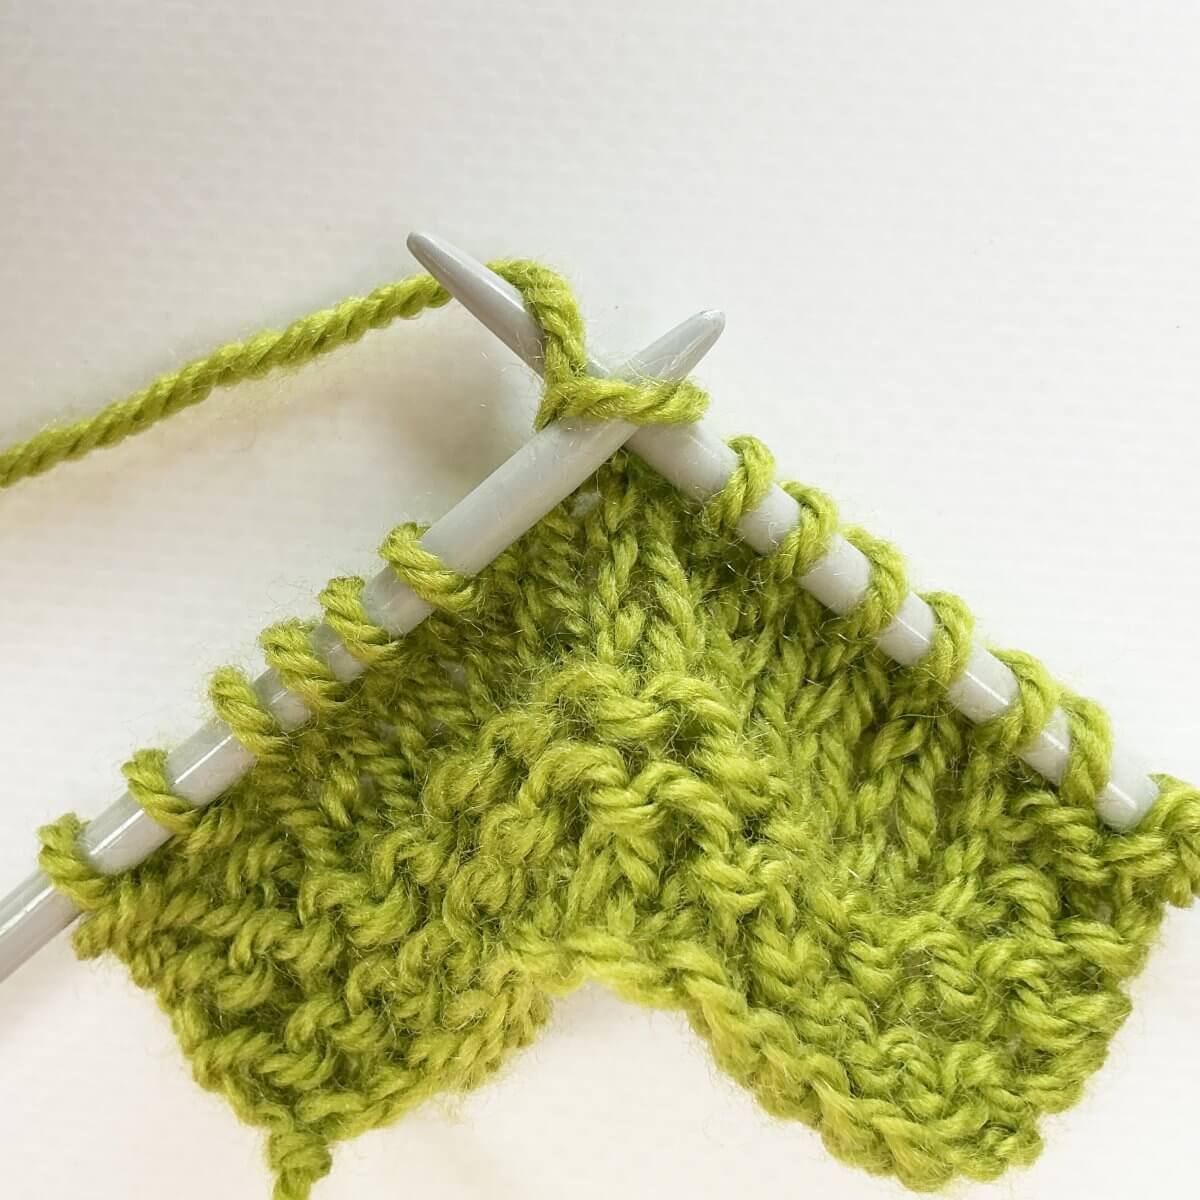
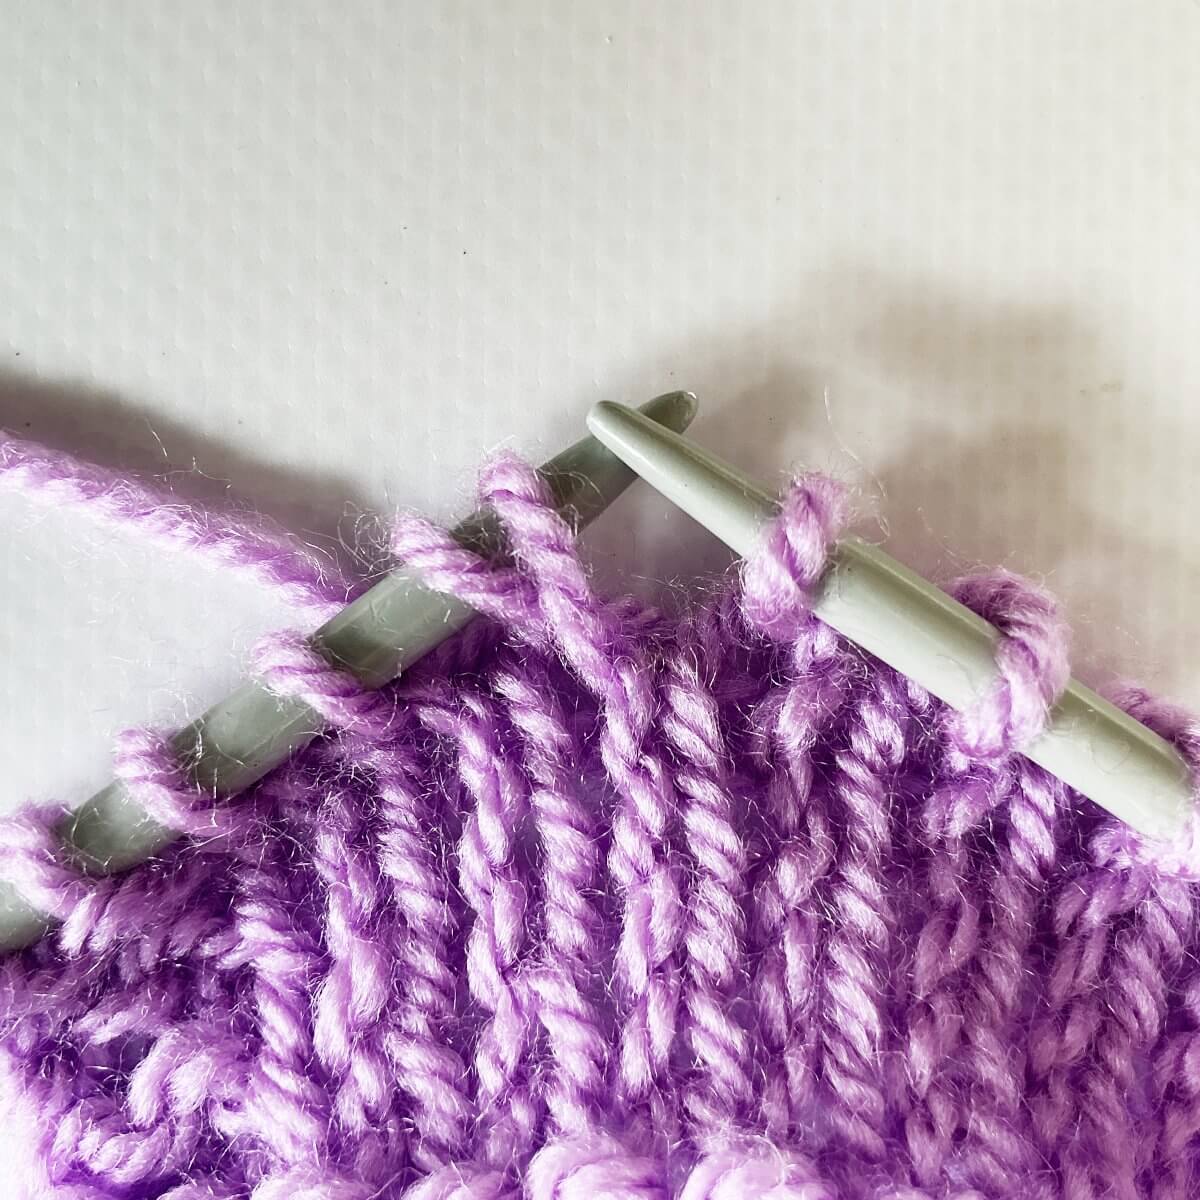
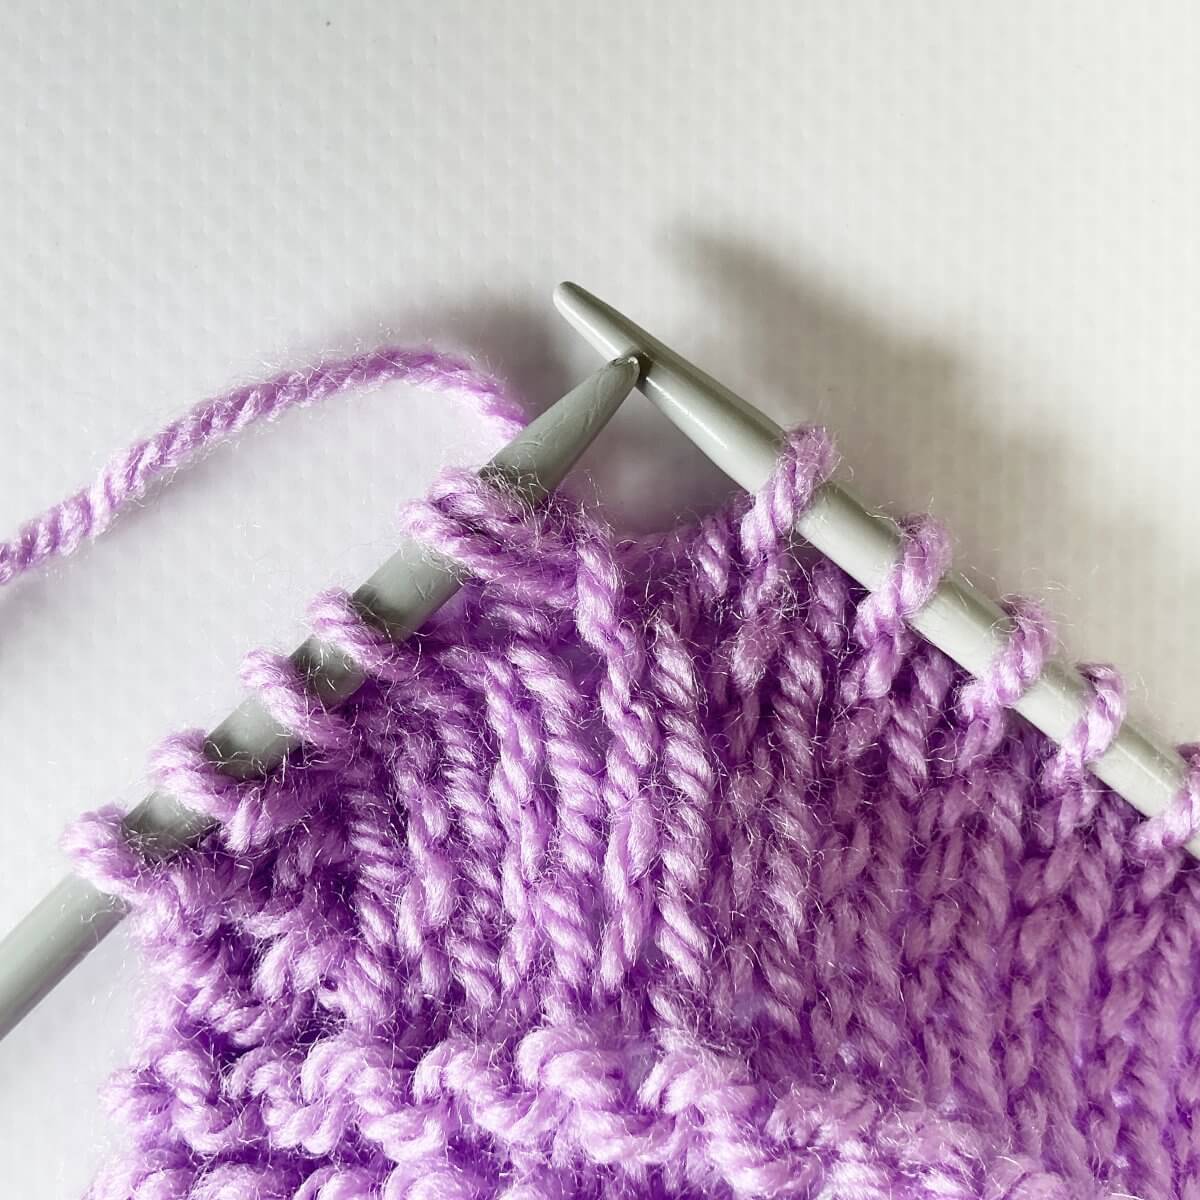
- Repeat step 6 once again for the second wrap.
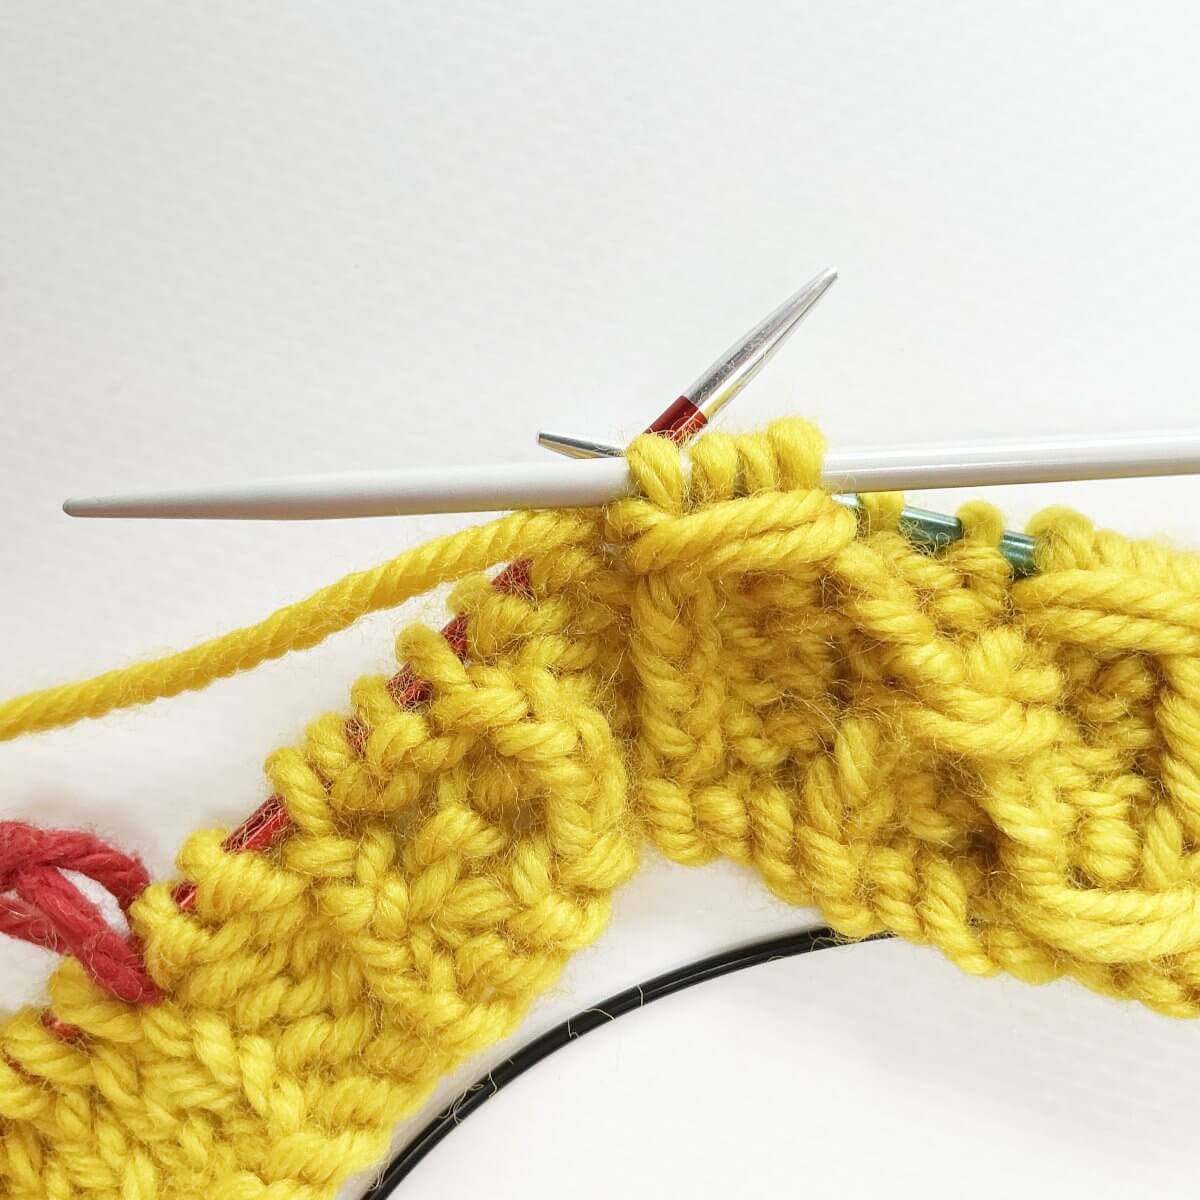
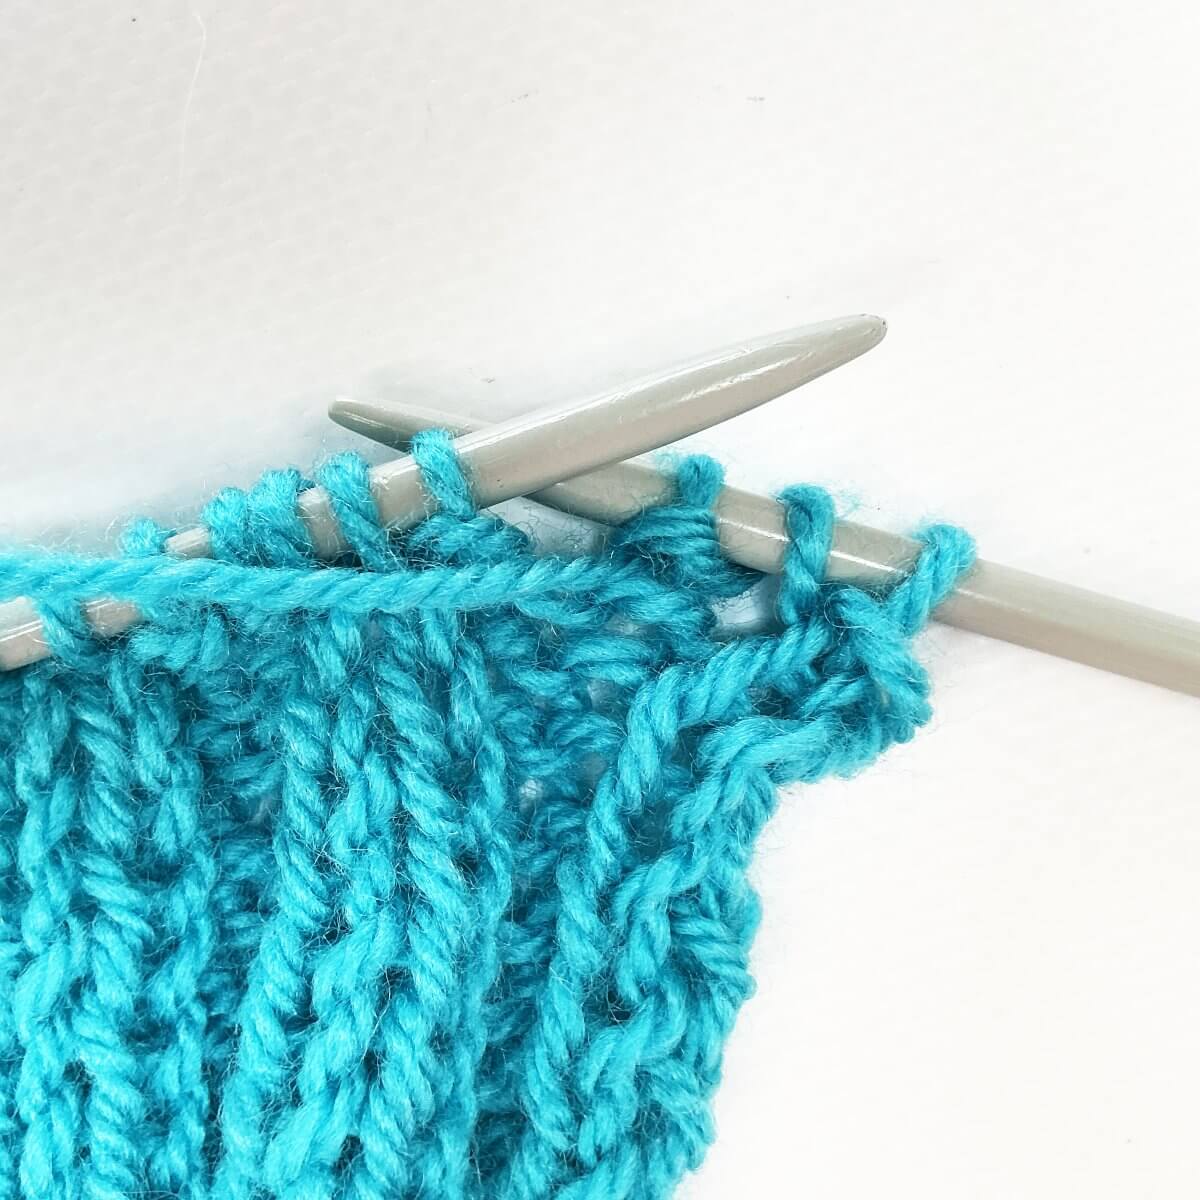
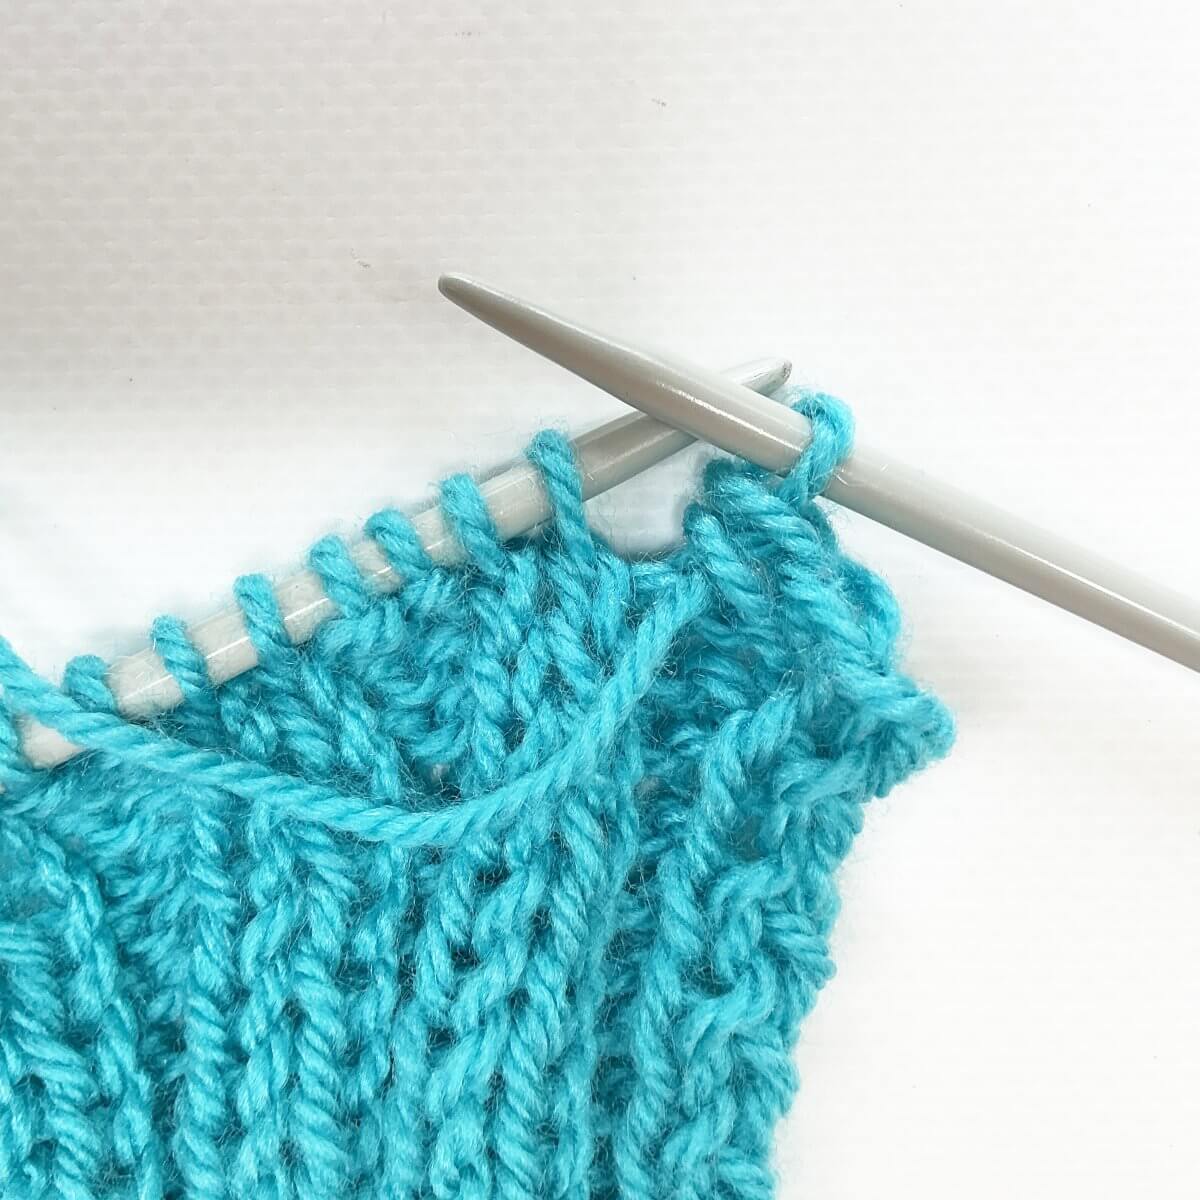
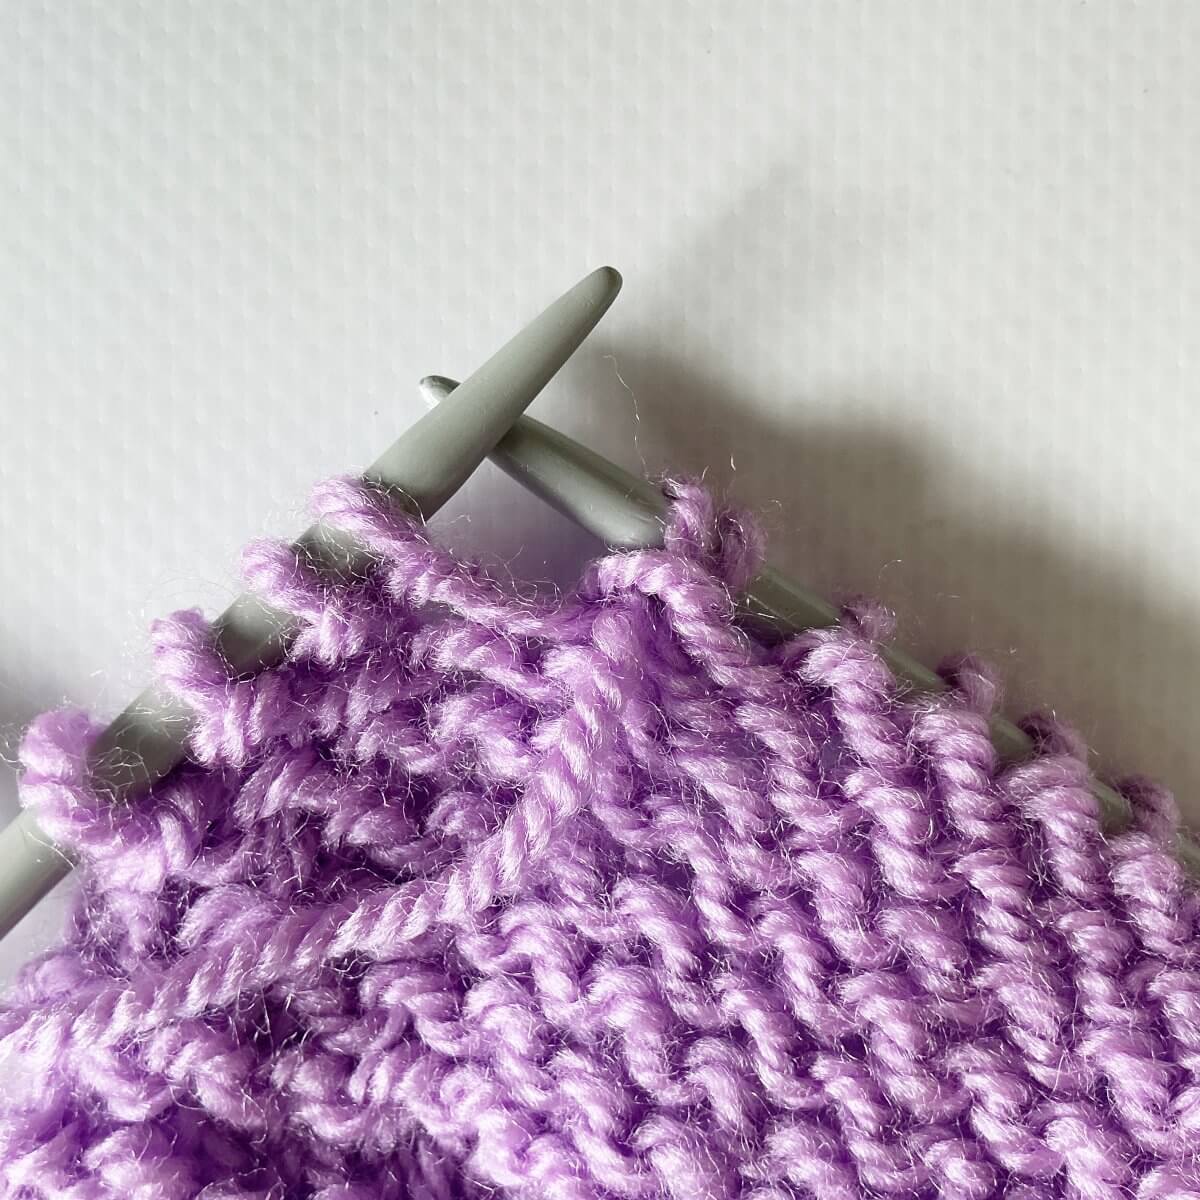
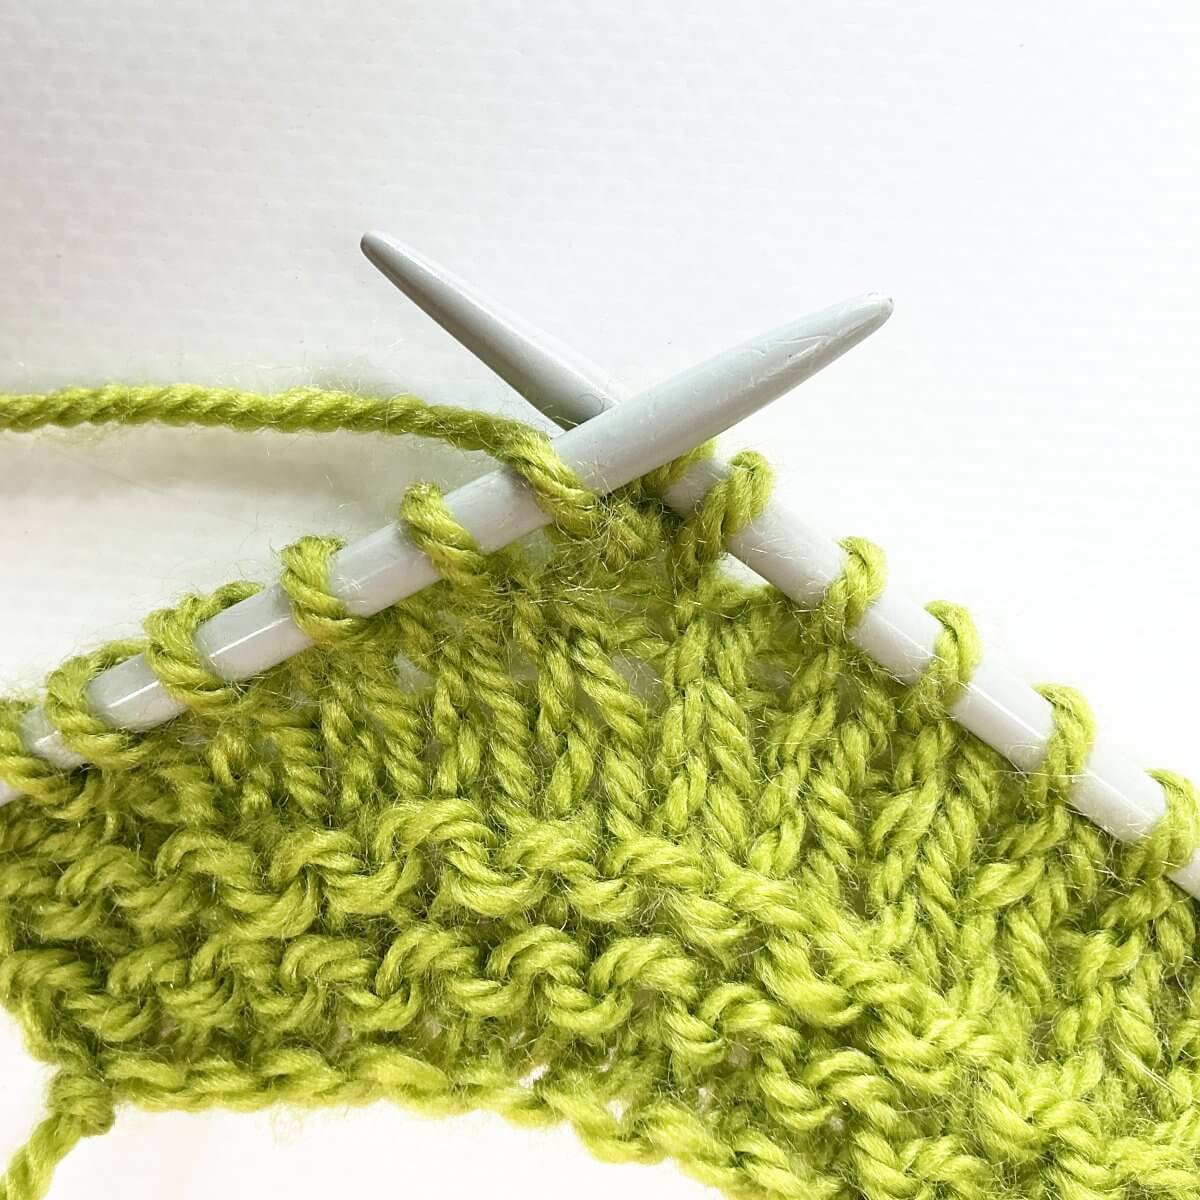
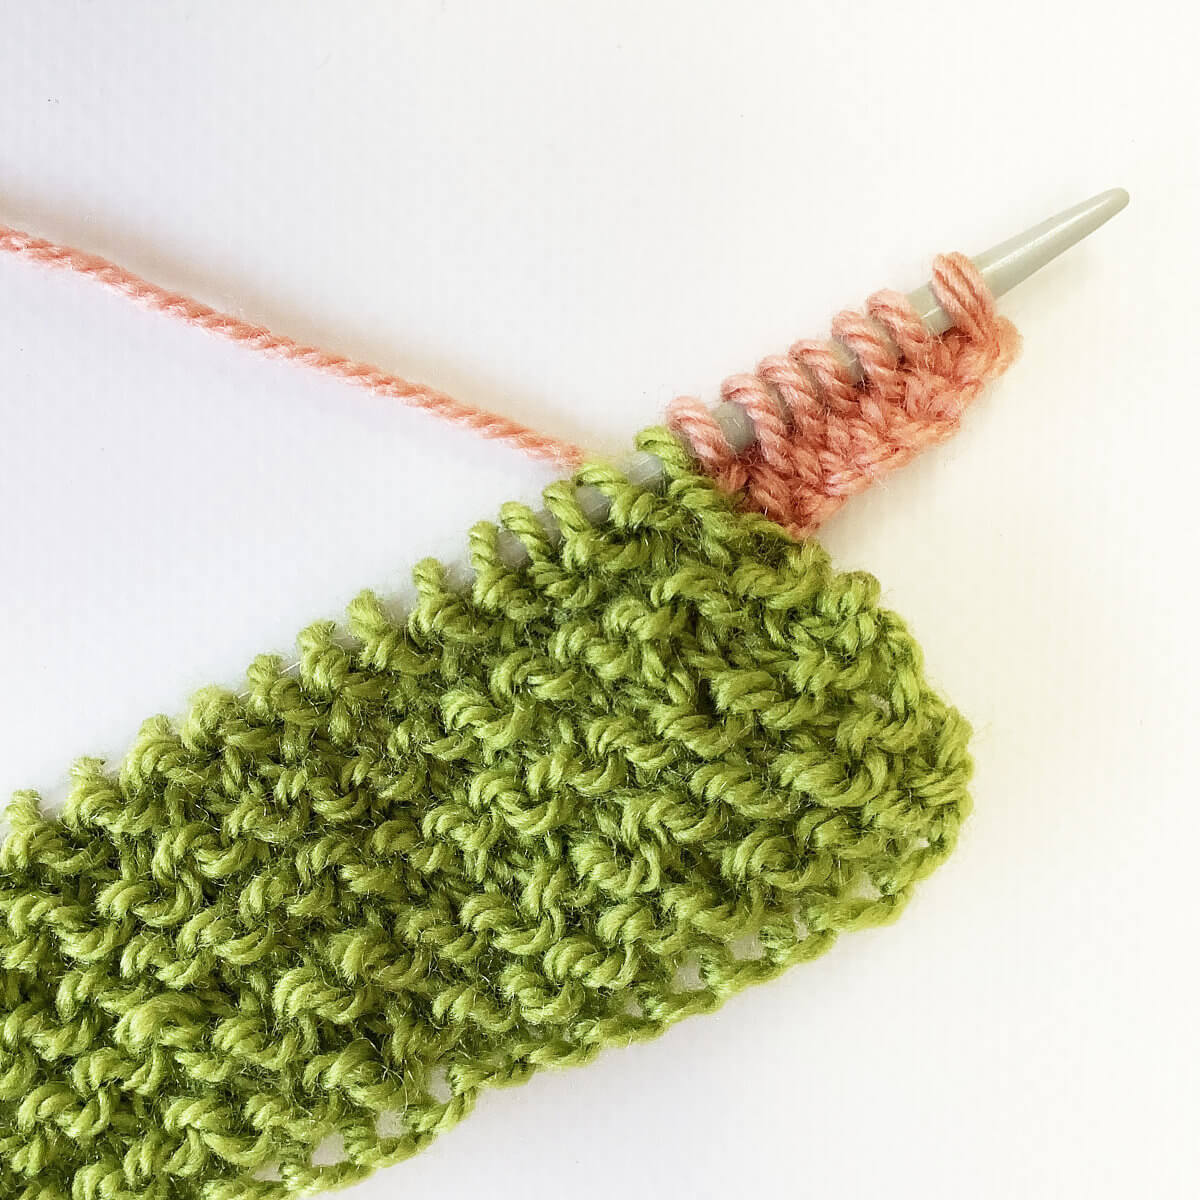
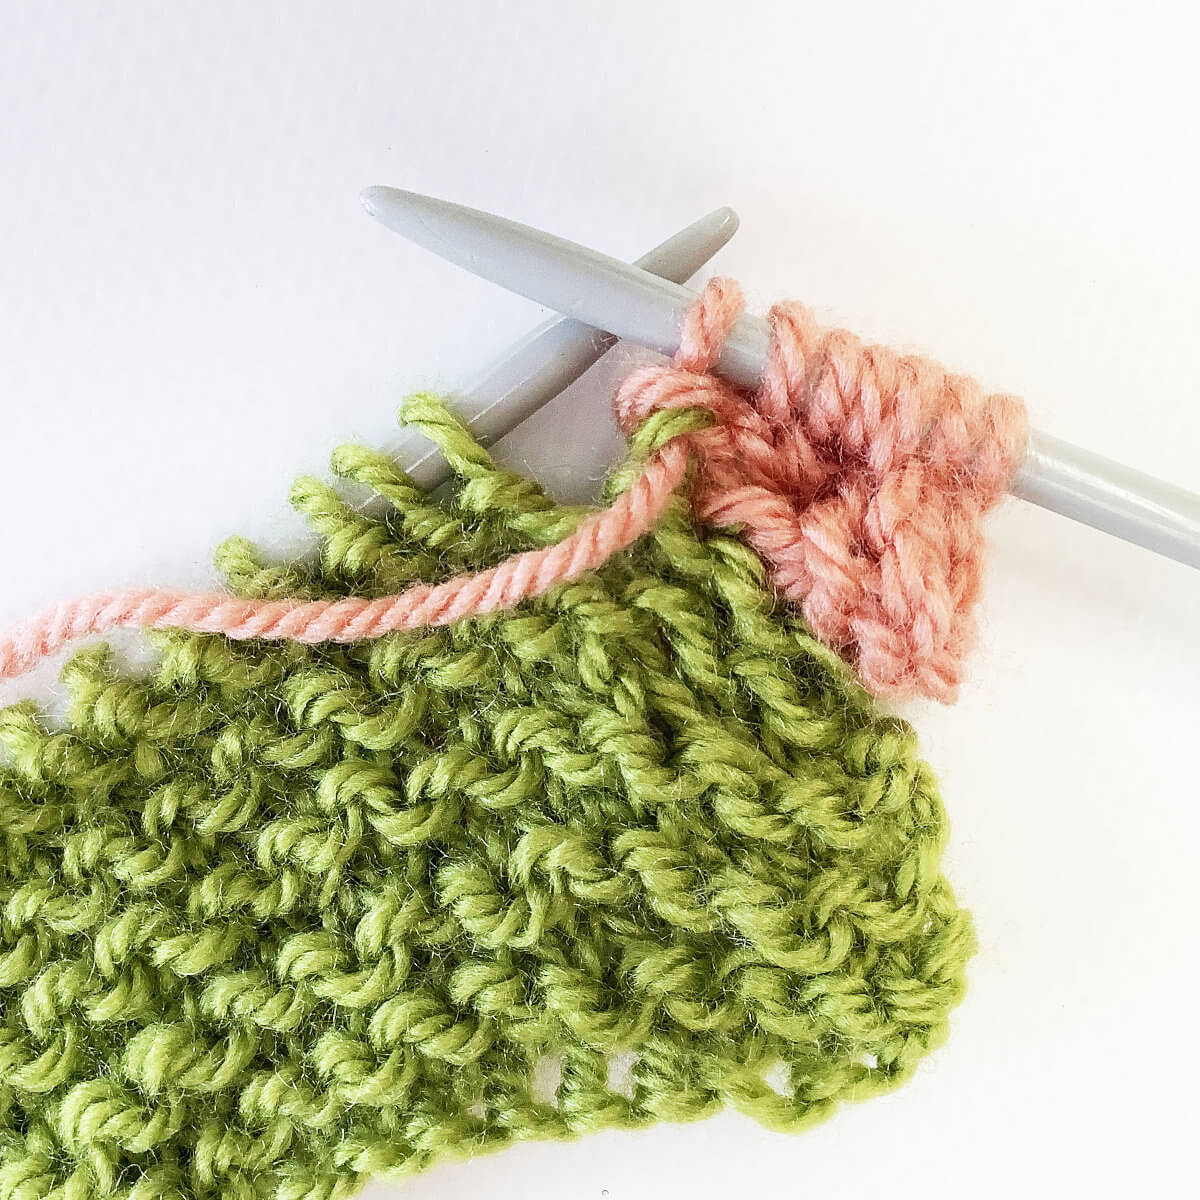
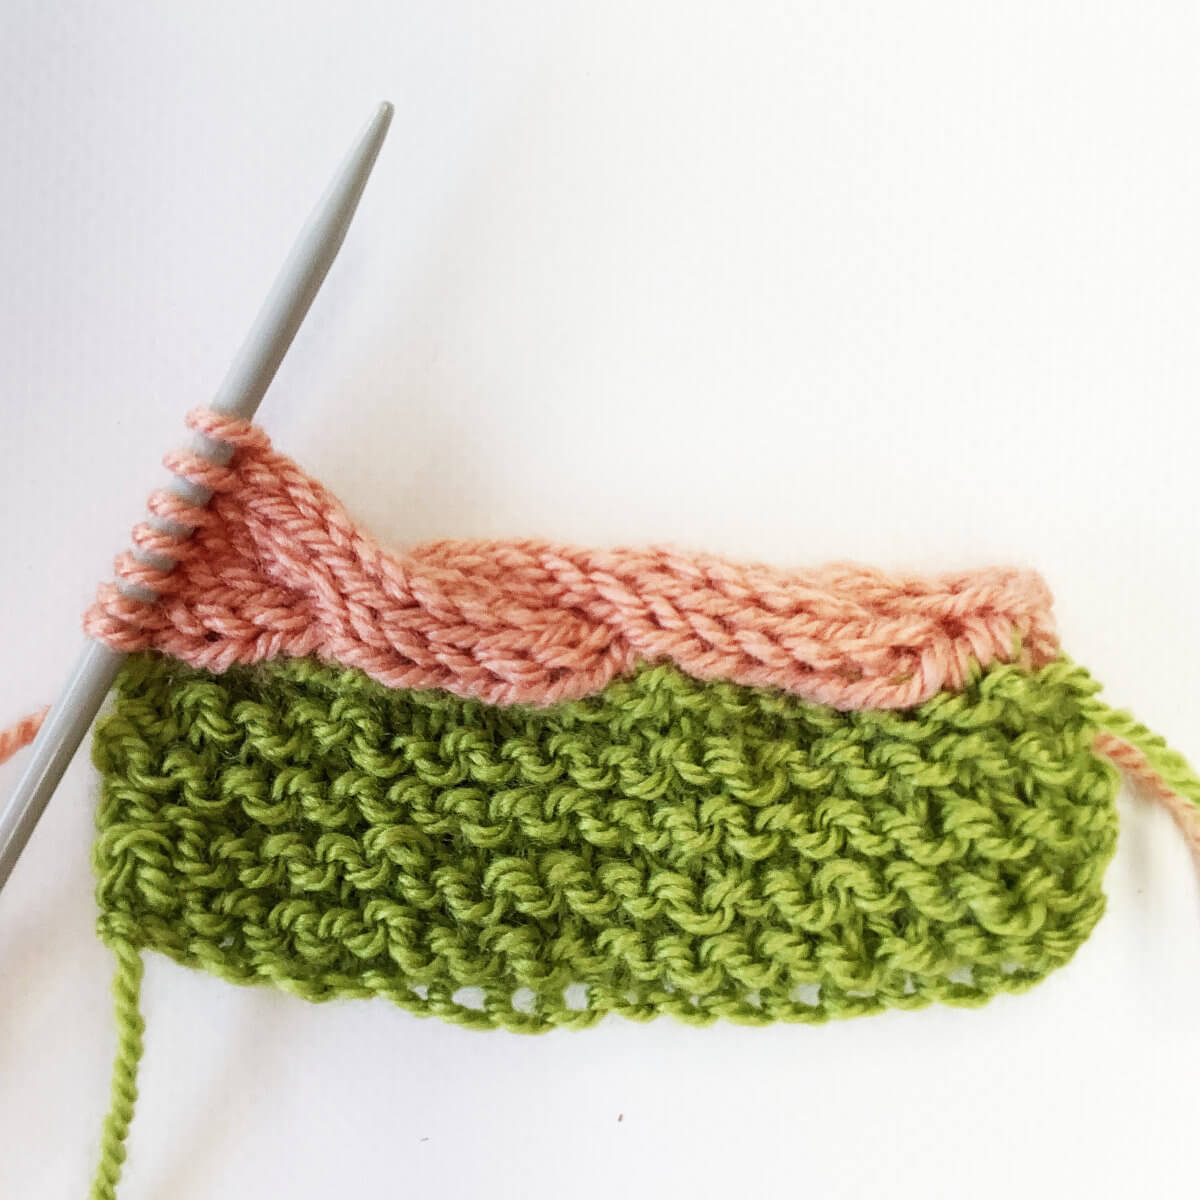
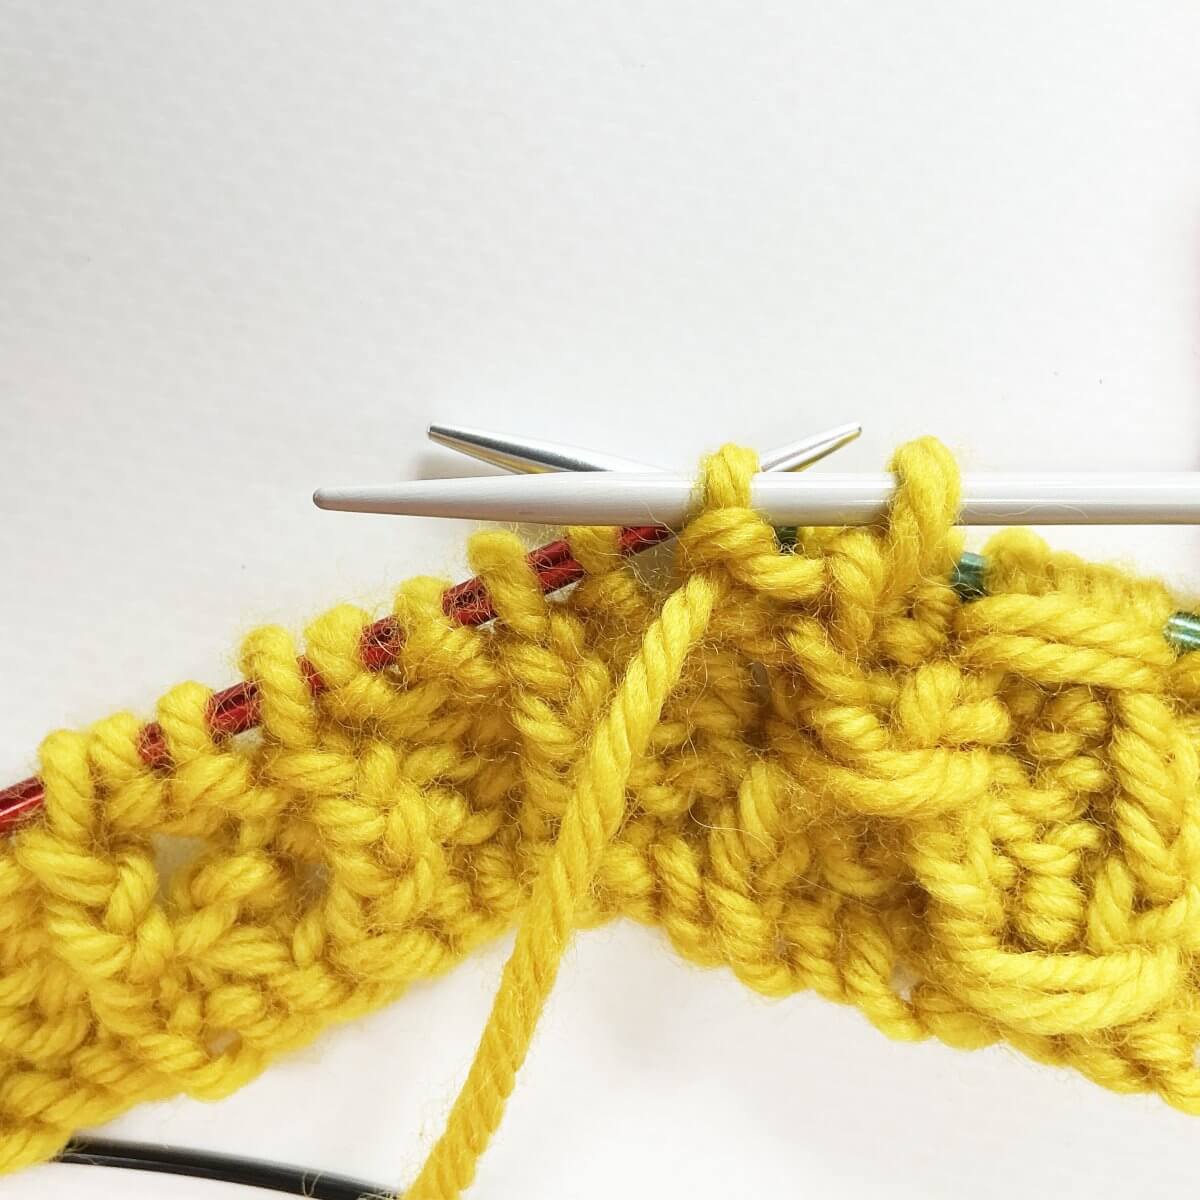
- To finish the stitch, slip each of the 4 stitches on the cable needle purl-wise to the right-hand knitting needle. At this point, you can tighten the wrapped yarn a bit if the wrap is a bit loose.
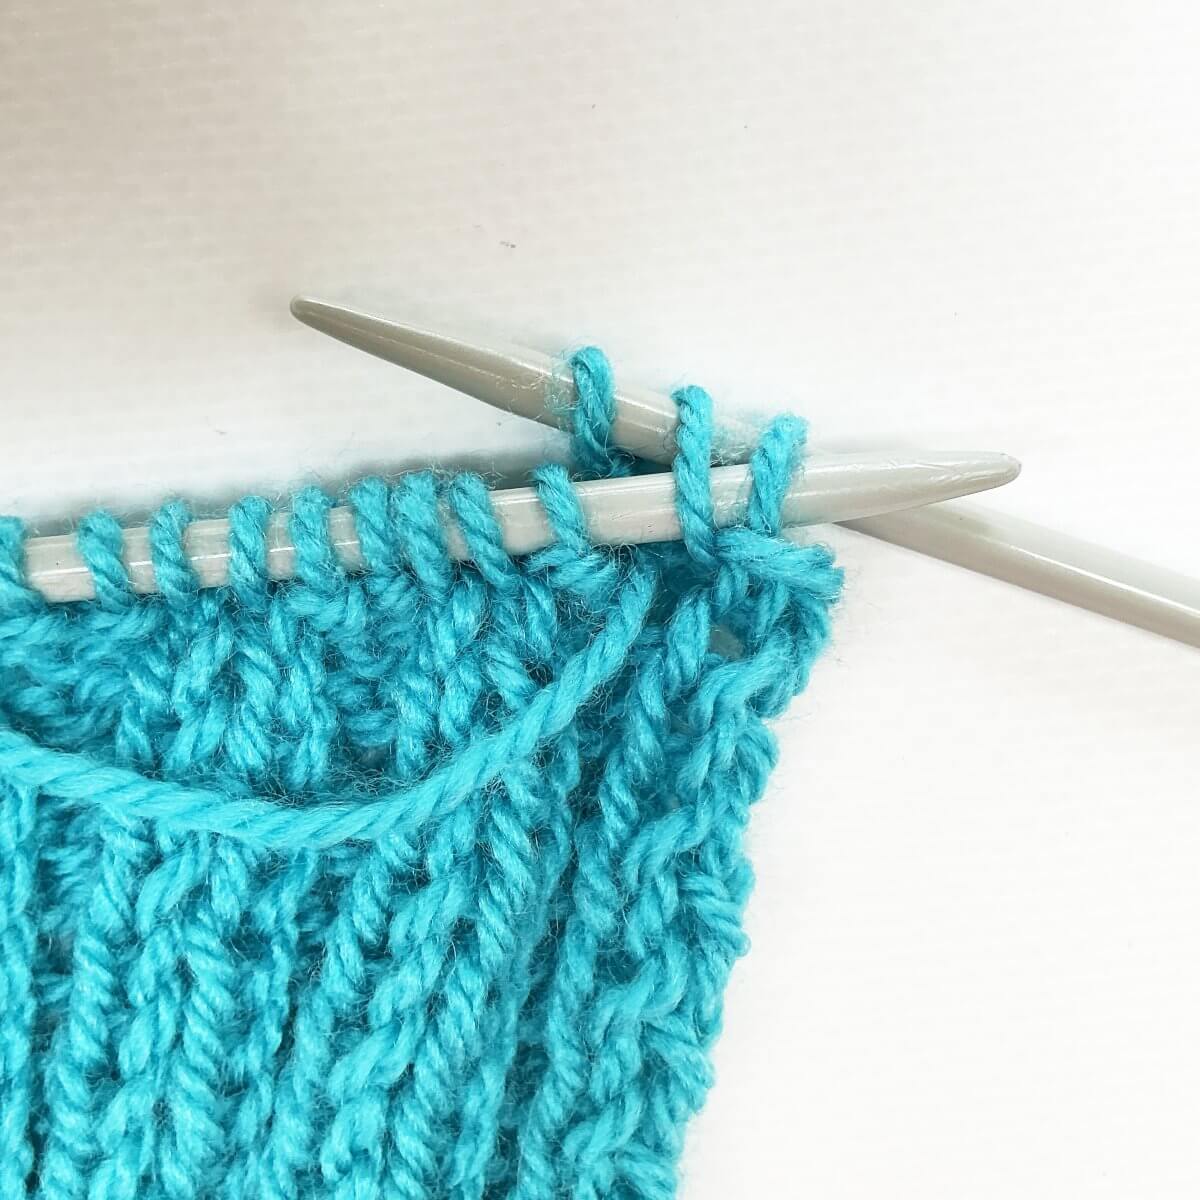
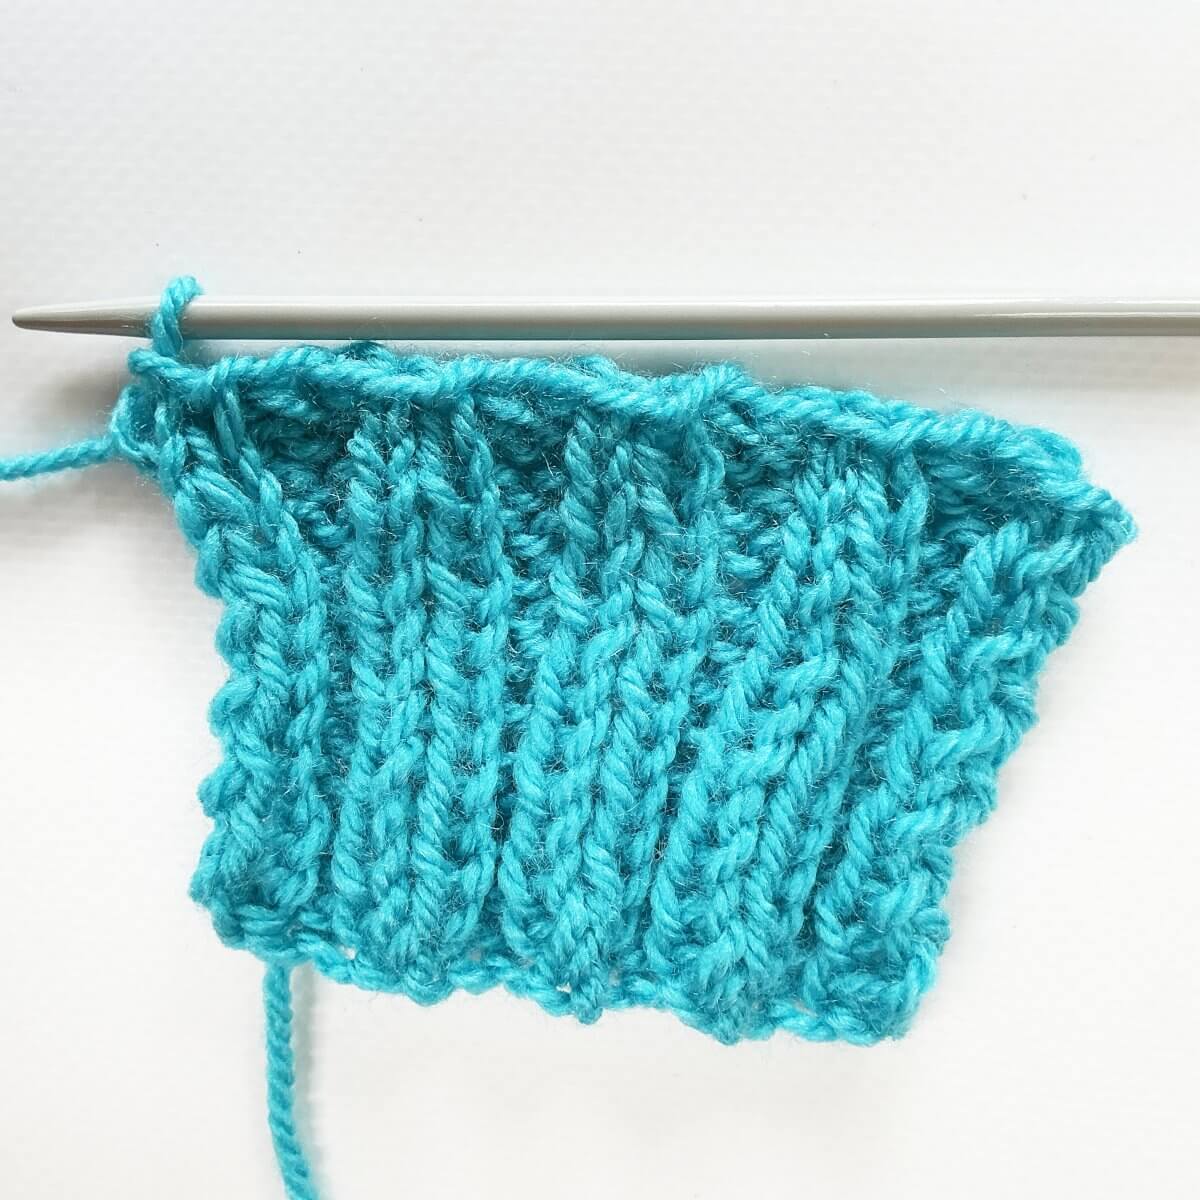
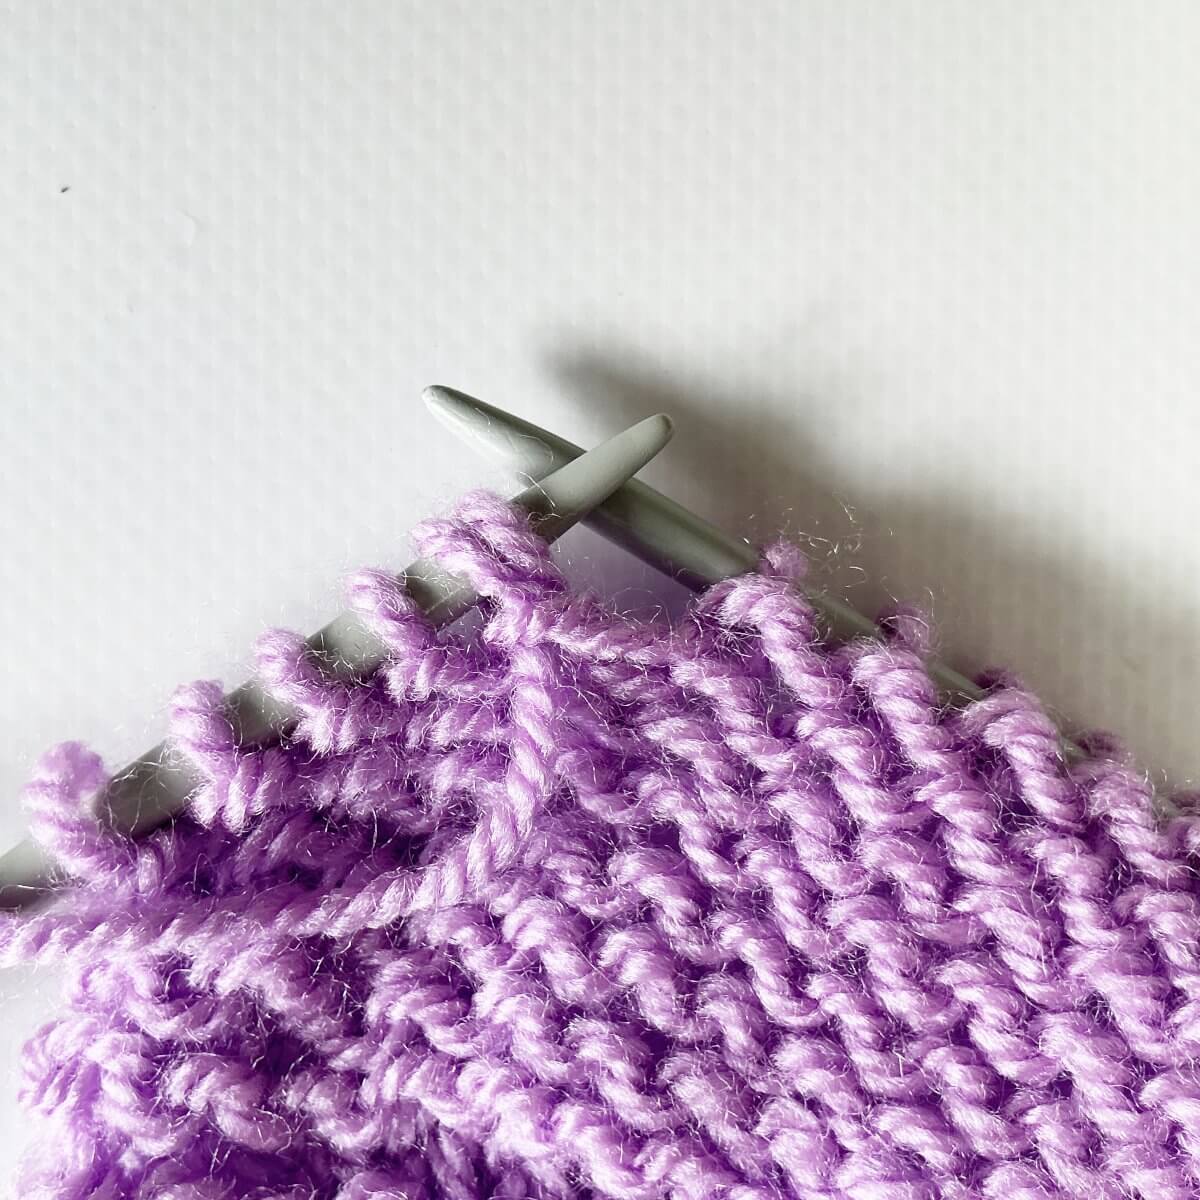
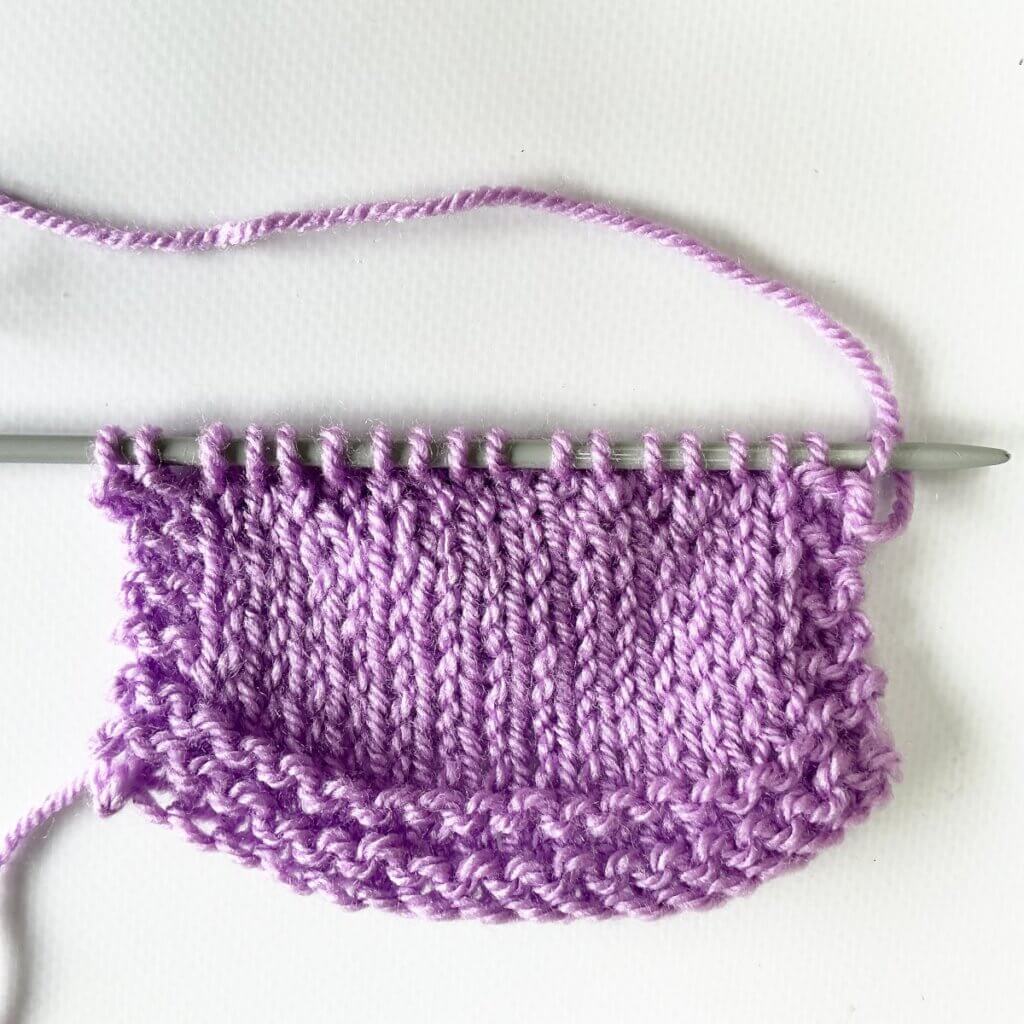
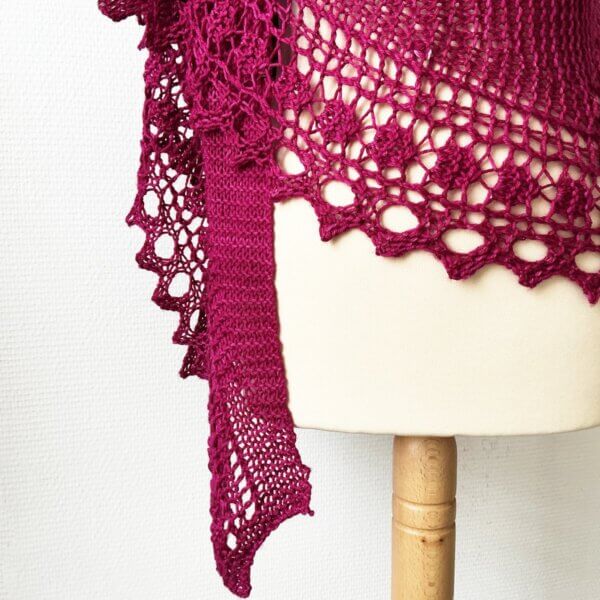
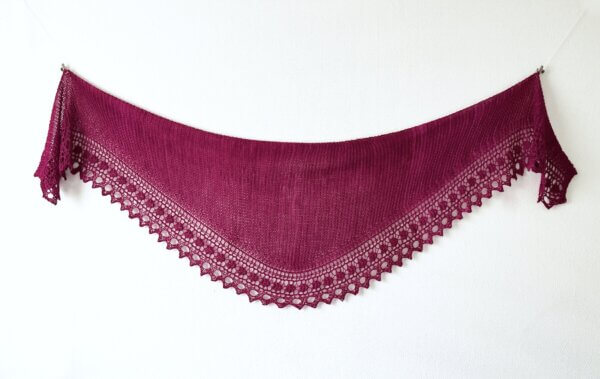
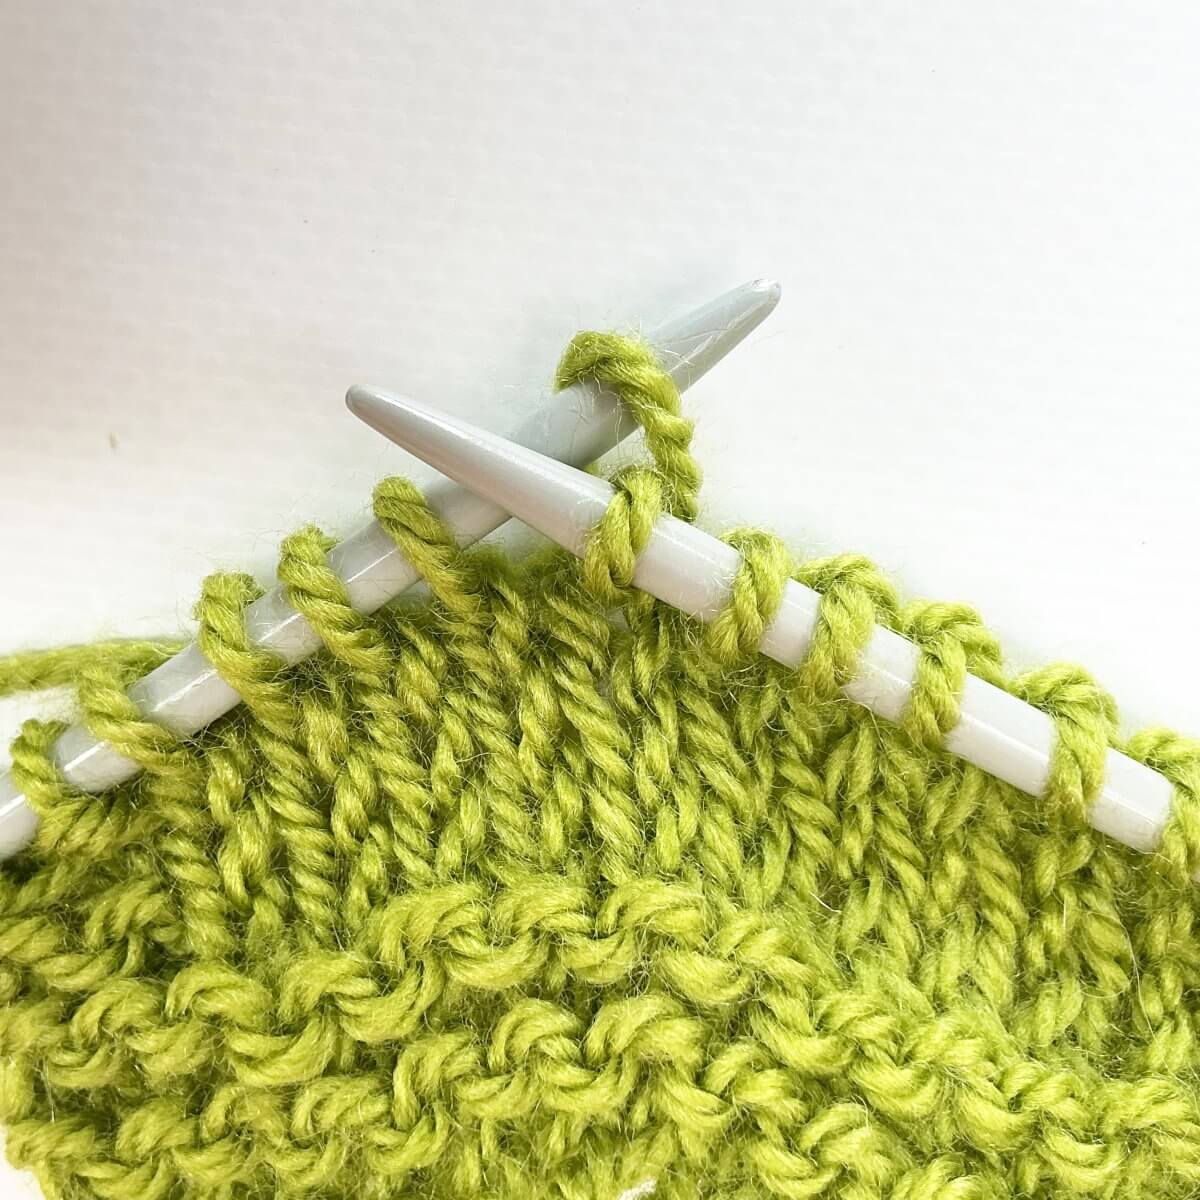
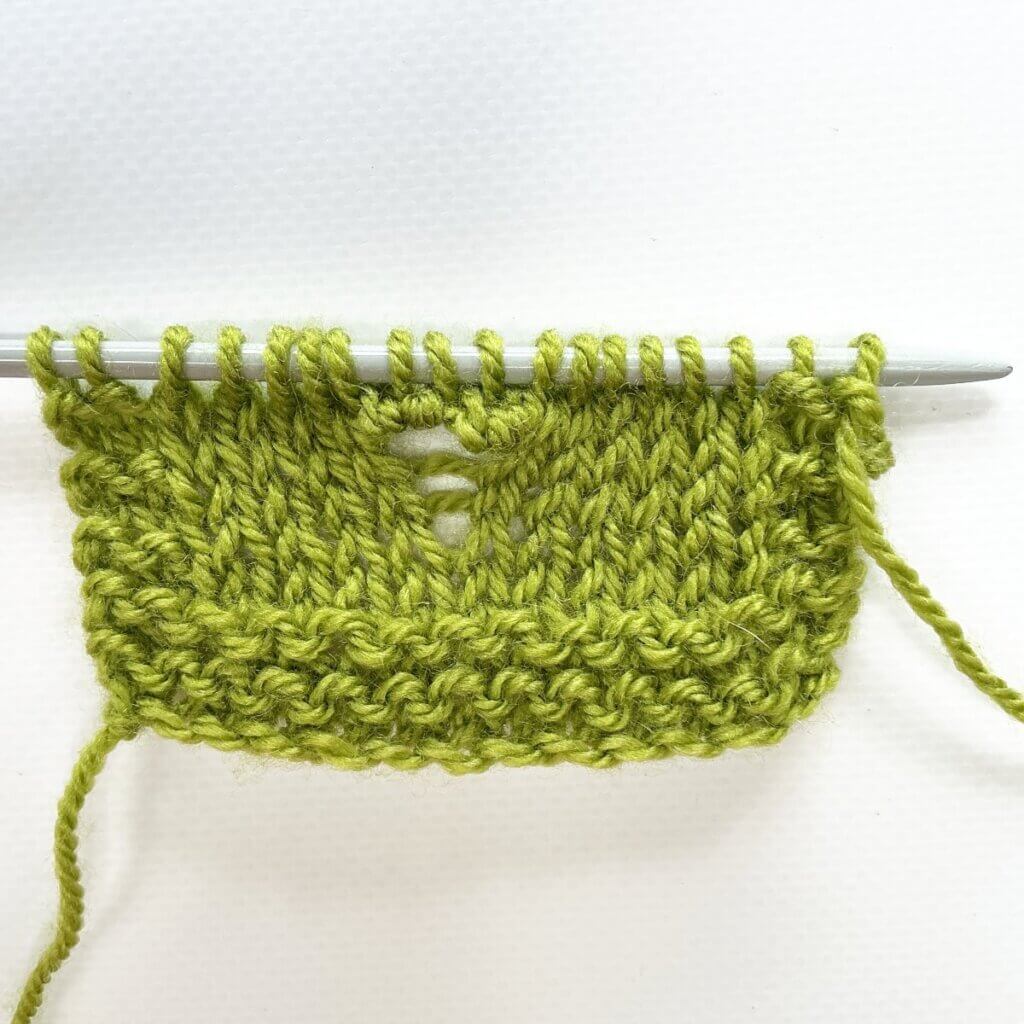
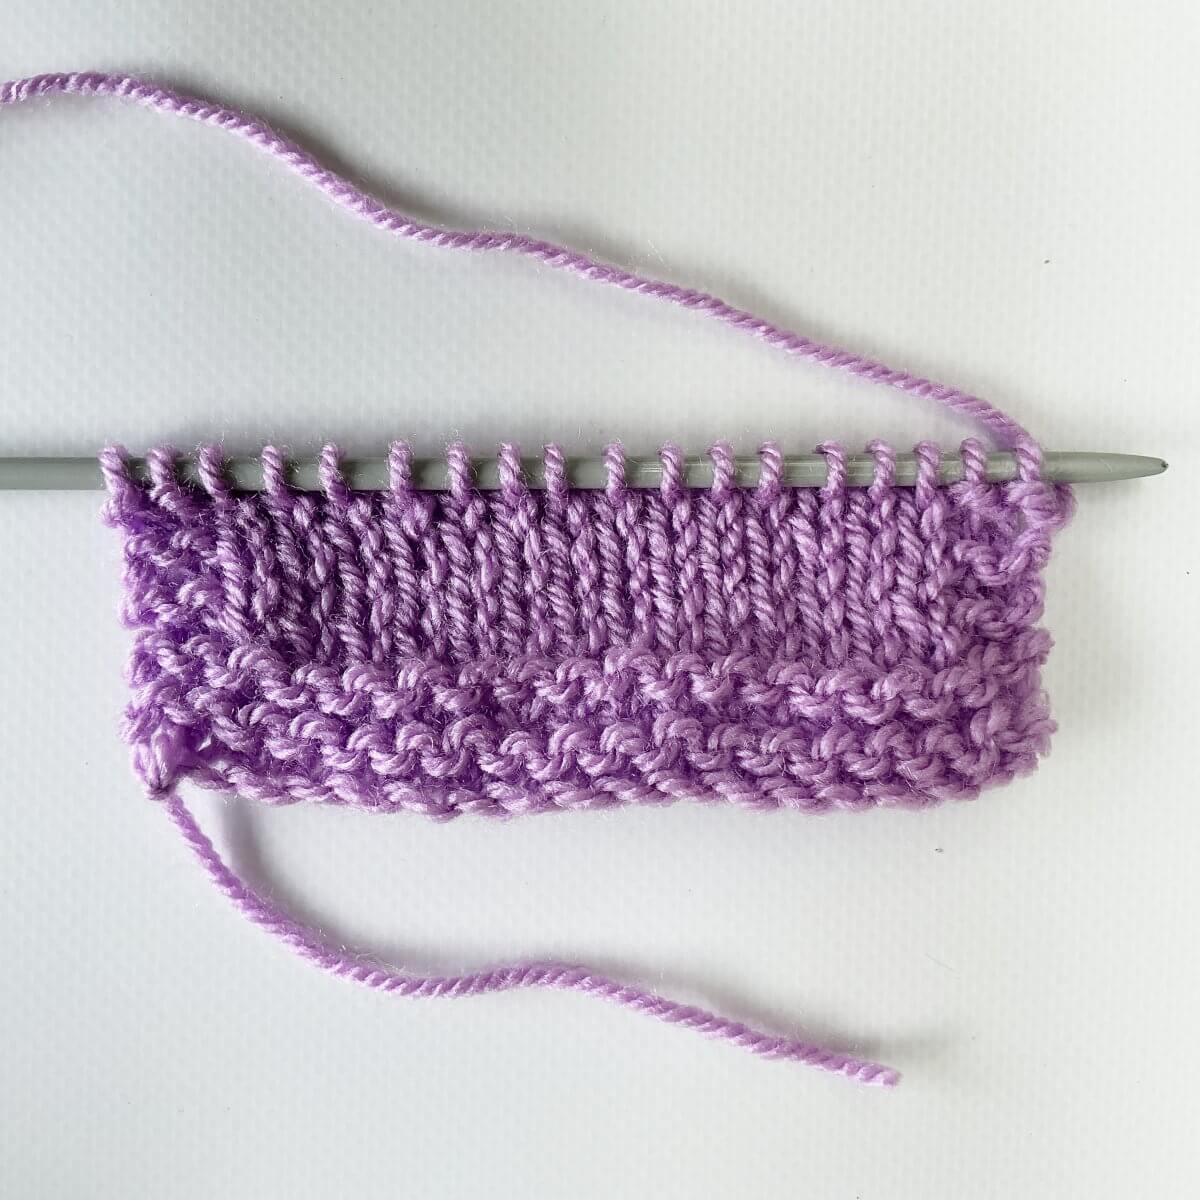
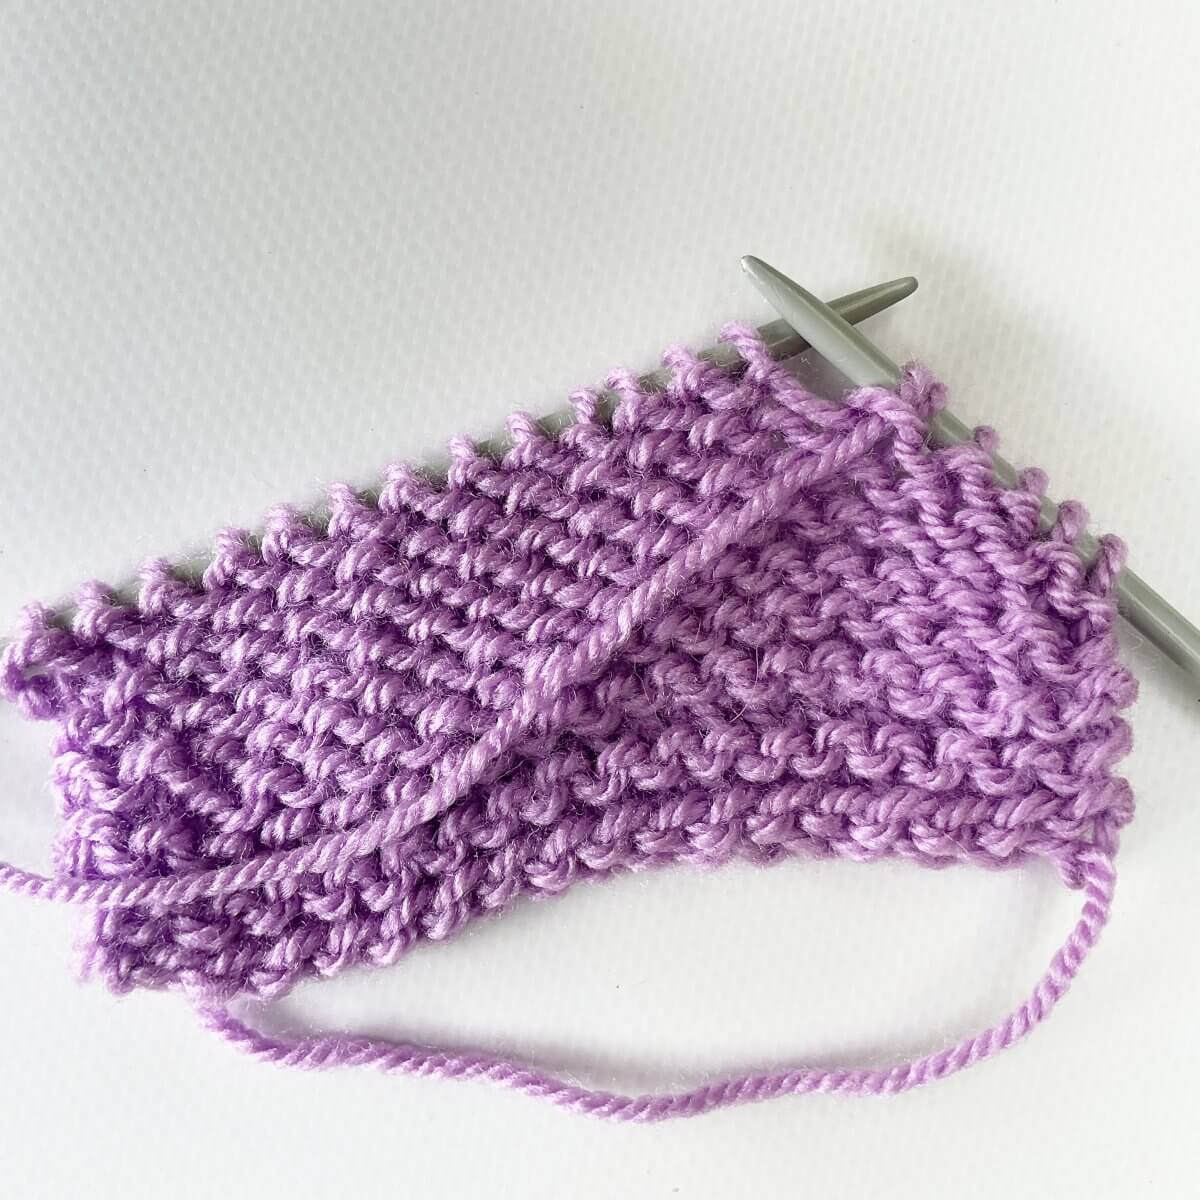
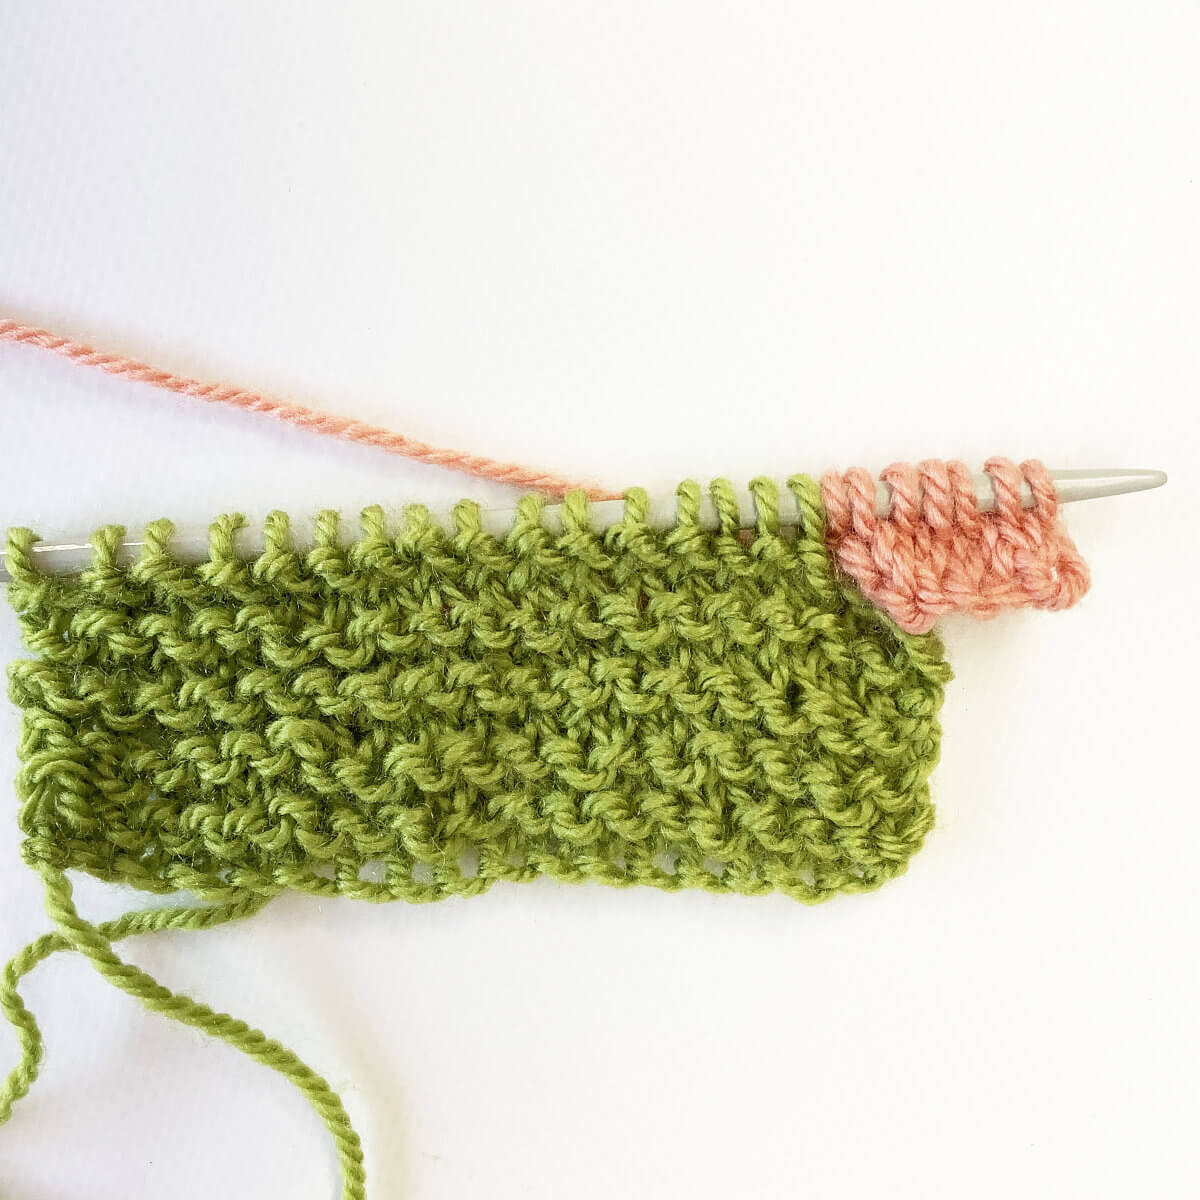
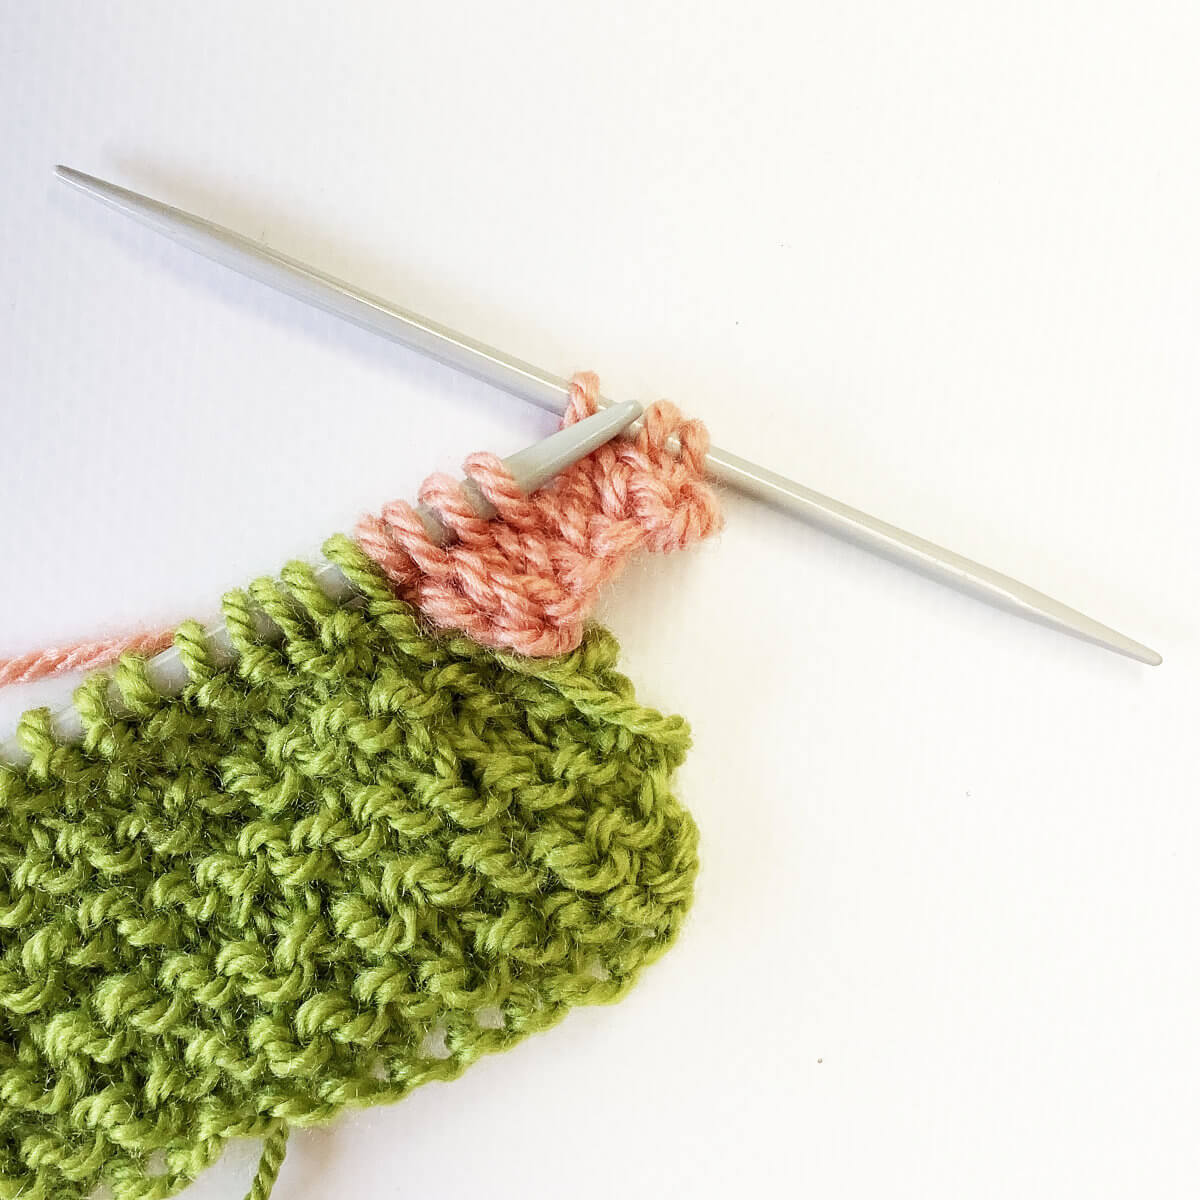
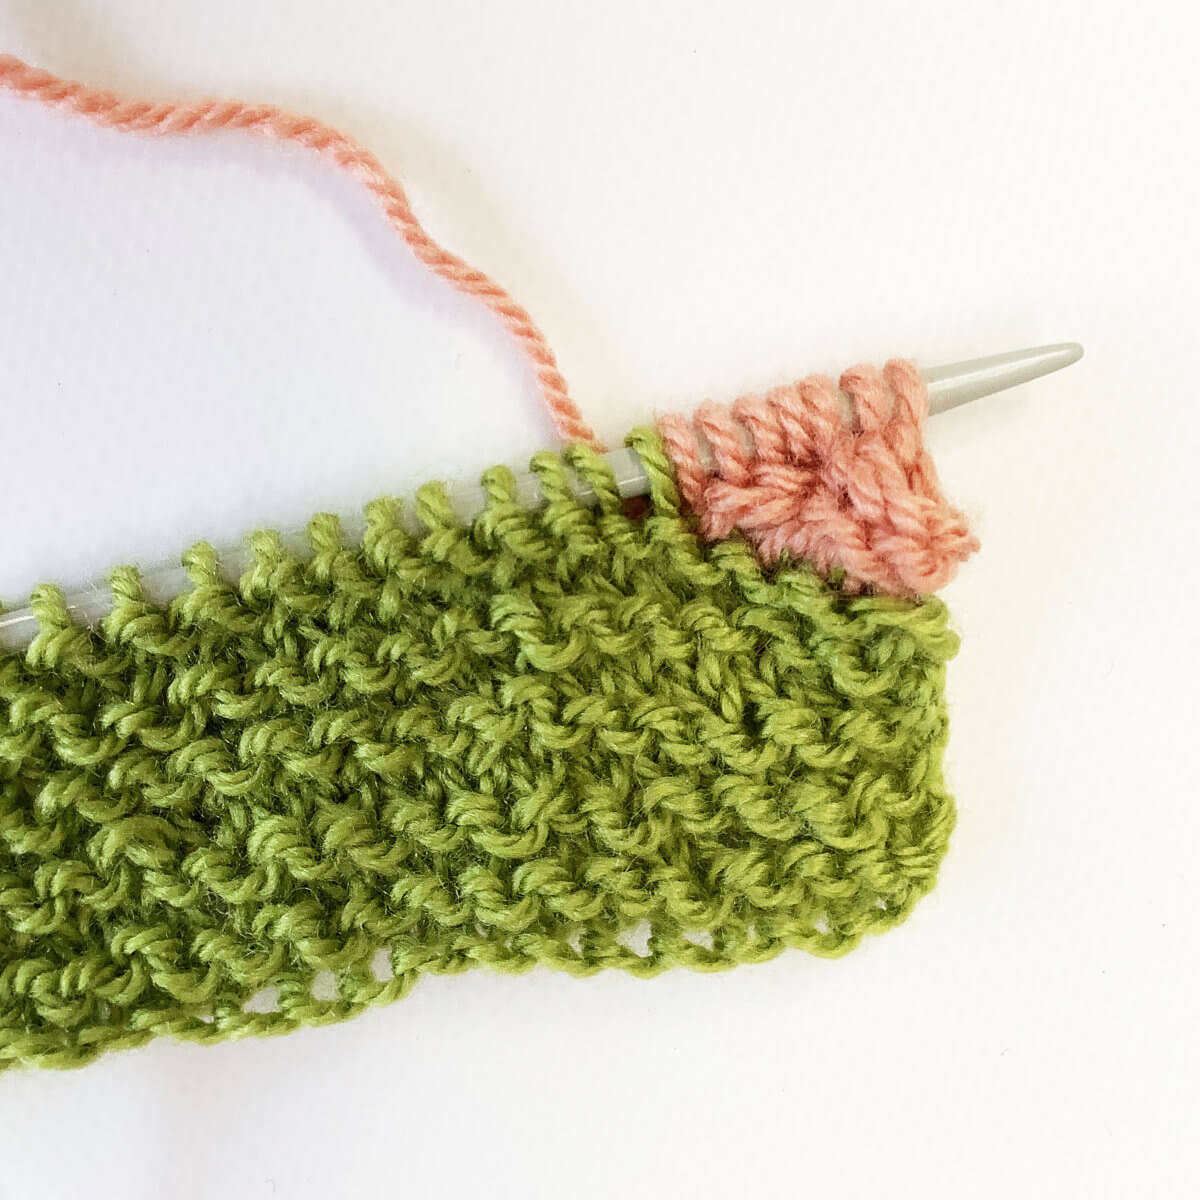
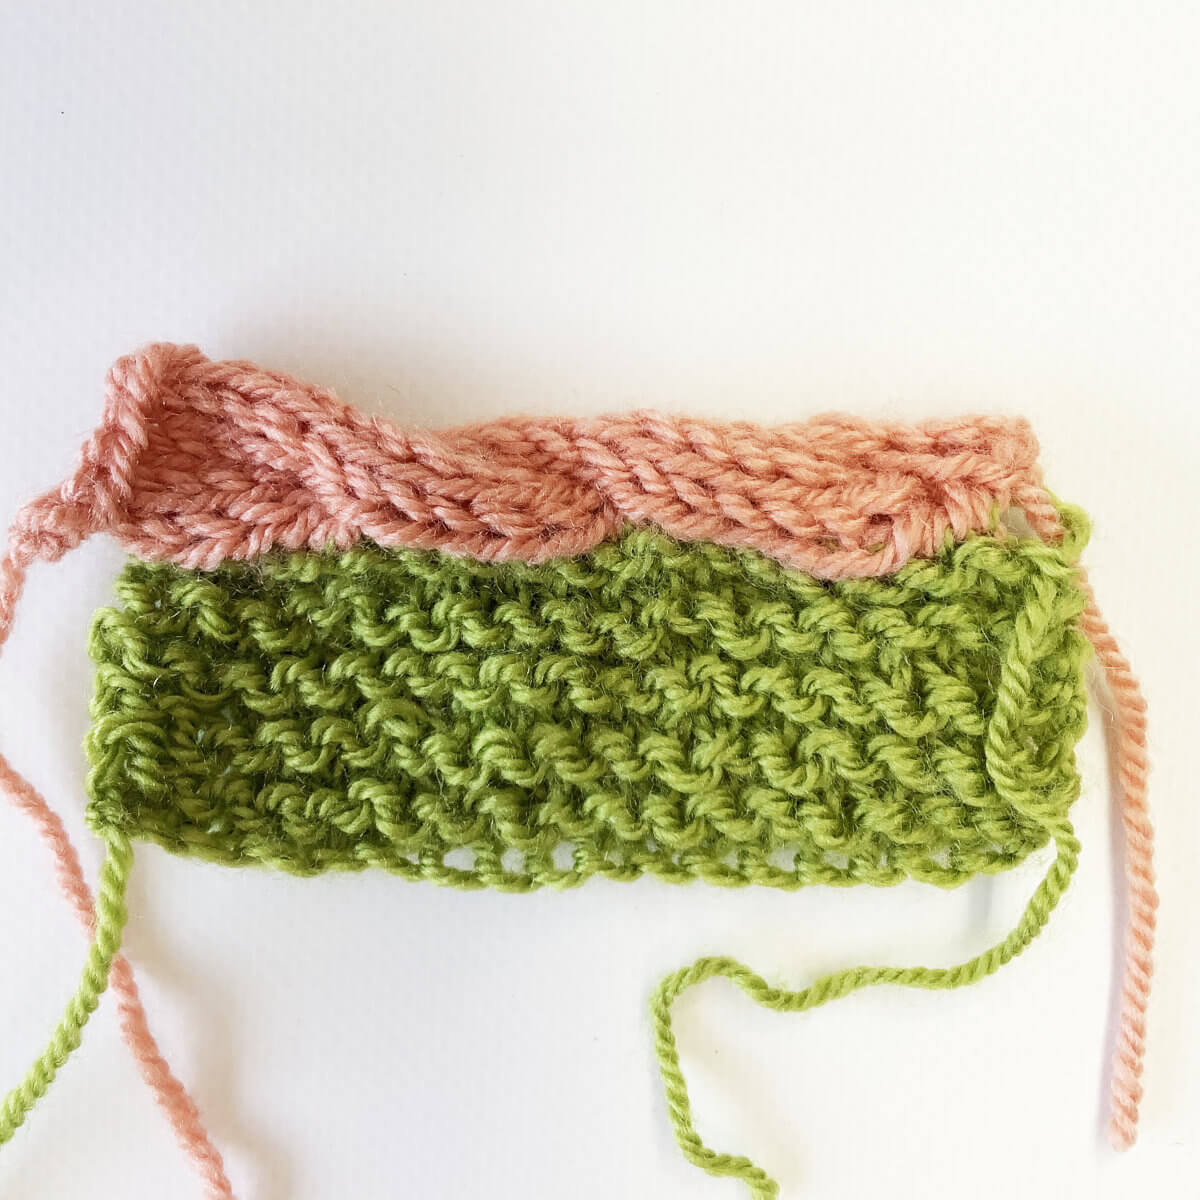
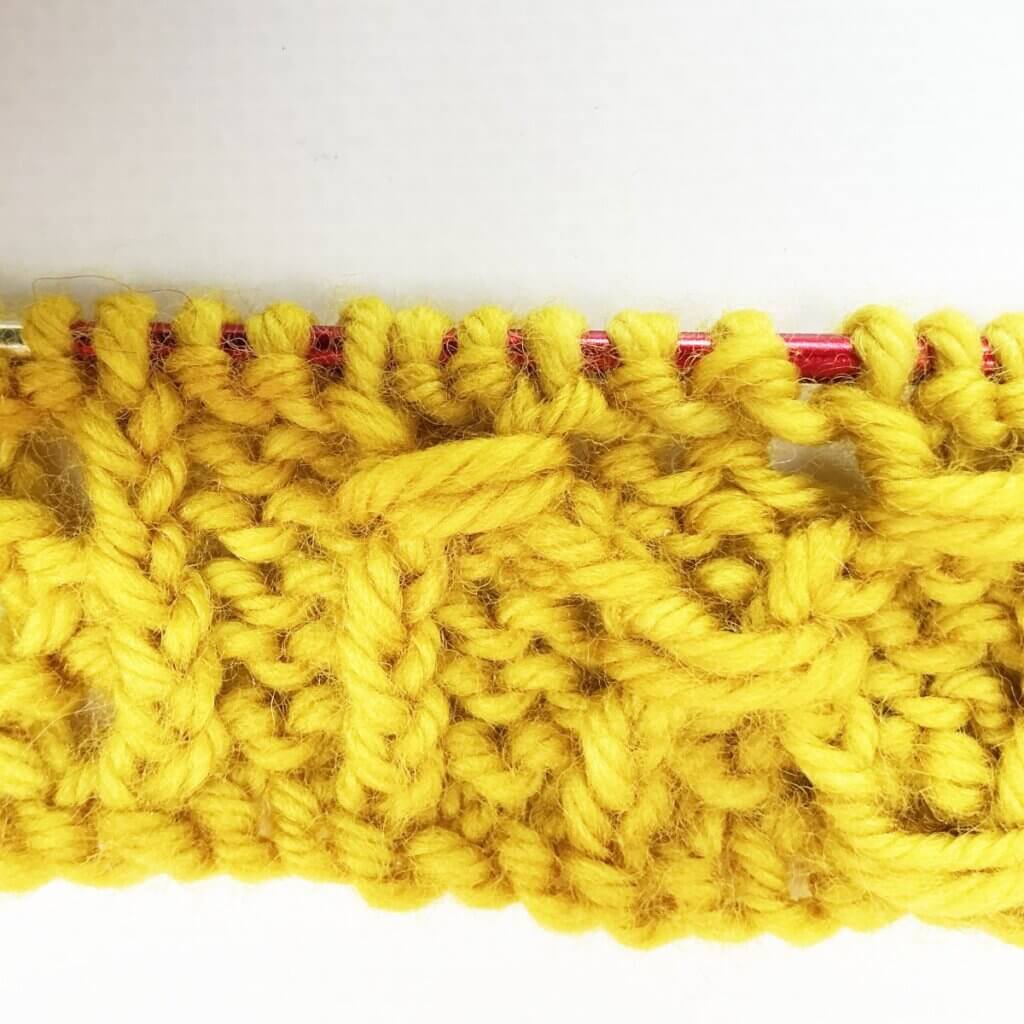
The result
In the picture below, I’ve also worked a wrong-side row after the row with the (k tbl, p2, k tbl) wrapped twice stitch. You can also see some of the other wrapped stitches I’ve already worked in this piece of knitting.

Thanks to my Patreon supporters for bringing you this freebie! Creating quality patterns and tutorials is a lot of work and resource-intensive. However, I find it important to give you free content like this tutorial. Thanks to the generous support of my Patreon supporters, I can make it happen. Thank you, patrons! Click here to join, or click here to read more about La Visch Designs on Patreon.
stitch pattern – working the (k tbl, p2, k tbl) wrapped twice stitch Read More »