knitting

tutorial – knitwear examined: a Missoni tee

A closeup of the top of a mannequin, it's wearing a Missoni tee in yellows.

When talking about knitwear, at a certain point Missoni is bound to be named. Missoni is an Italian brand and fashion house, famous for its colorful zigzag patterns and vibrant floral prints. Due to this, many of their pieces have a very exuberant seventies aesthetic. According to Wikipedia, the company was founded in 1953, when Ottavio and Rosita Missoni set up a small knitwear workshop in Gallarate, Italy. They presented their first collection under the Missoni label in Milan in 1958. According to this website, Missoni revolutionized knitwear by introducing slinky sweaters and crochet tracksuits. Originally using lines, the Missoni family discovered a way to make the emblematic chevron pattern by using Raschel knitting machines. The new technique allowed the fashion house to use knits to create any shape of garment, allowing them to cut and sew material without loosening the threads.

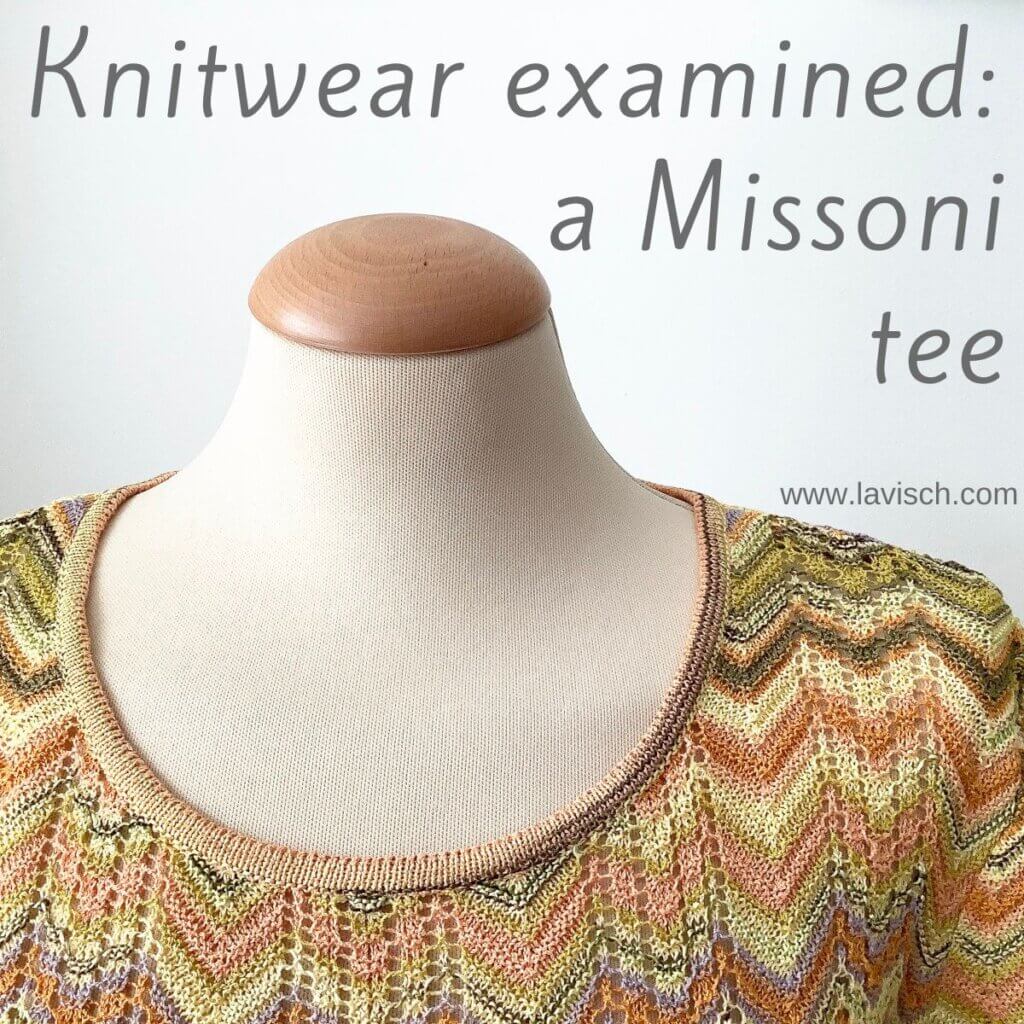
As luck would have it, I have a Missoni knitwear tee. It’s a vintage one that my mother used to have, and at a certain point gifted to me. I have been wearing it a lot the last couple of years. So let’s take a look at it!

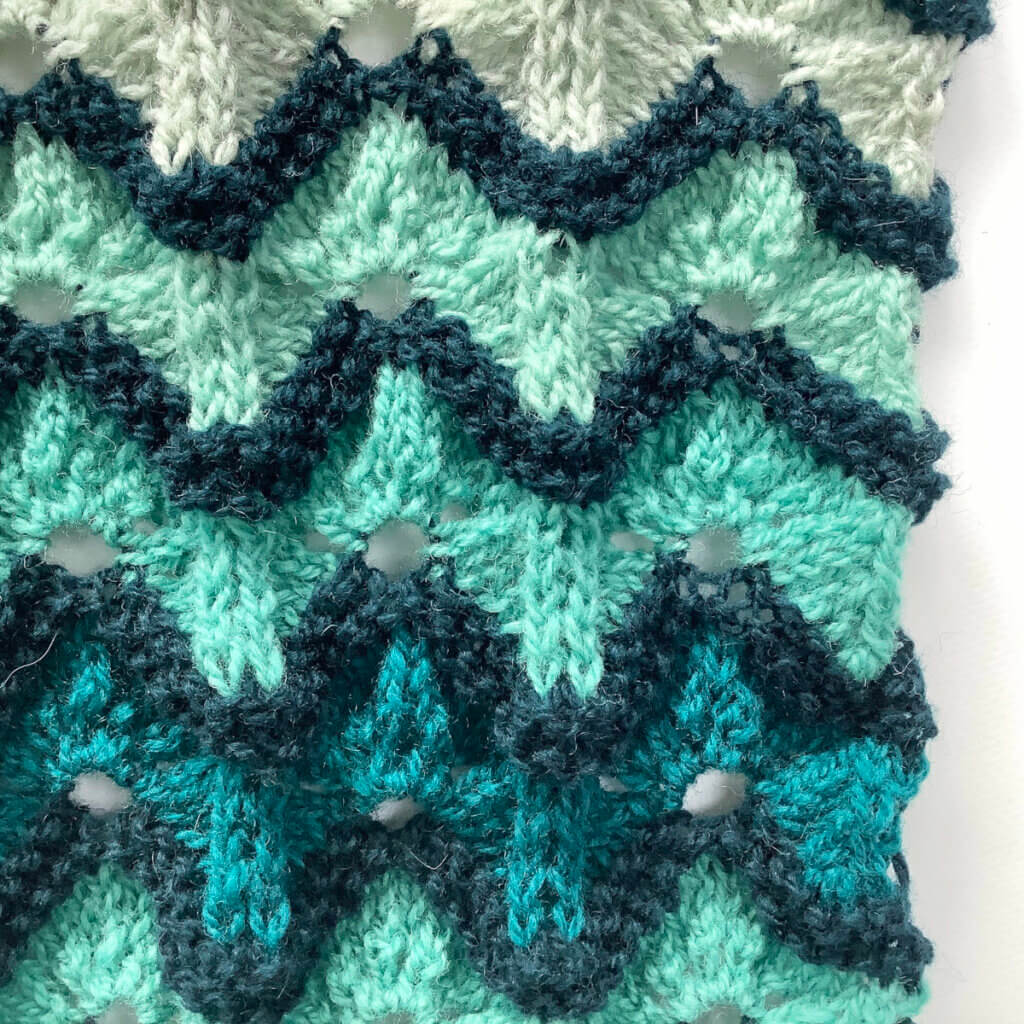
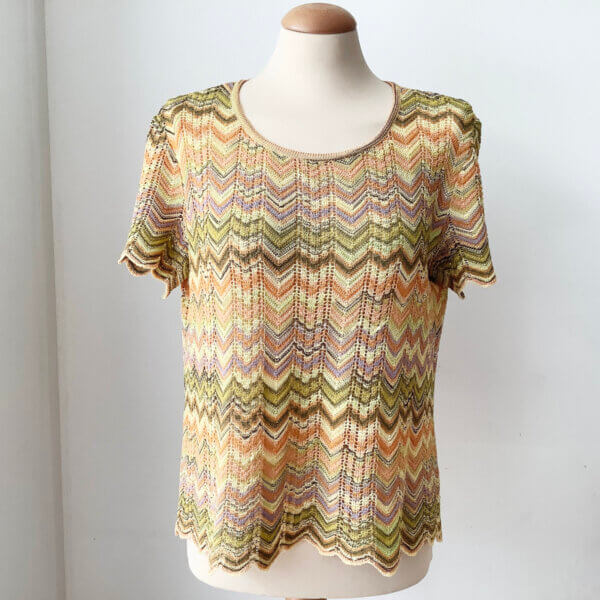
In the below pictures, I have put the tee on my mannequin. It has a simple round neck as well as the famous chevron pattern in multiple colors of yellow, green and lilac. A design aspect that jumps out to me, is that the fabric of the sleeves is positioned in such a way that the larger chevron is centered on the top of both sleeves.

A closer look

the neck of the tee

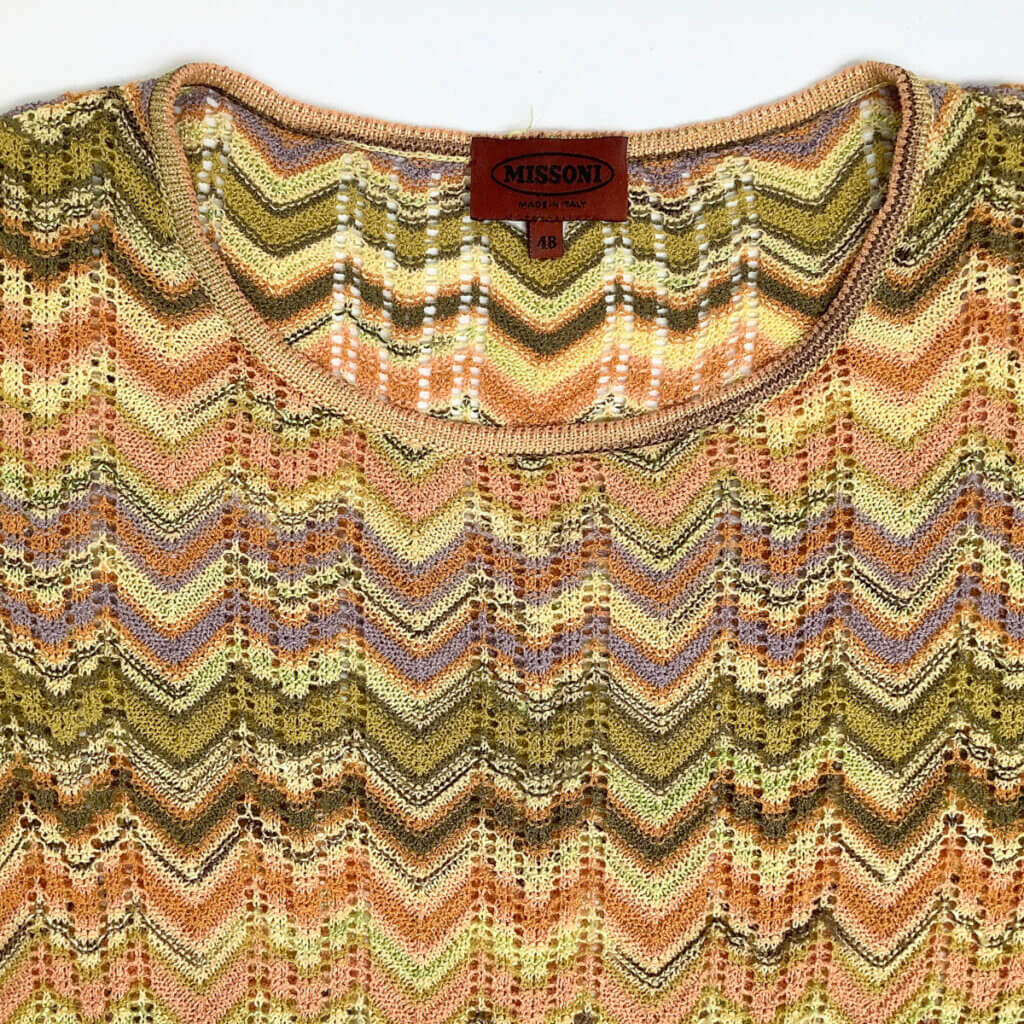
This tee is an Italian size 48, this is similar to an EU 40-42 and US 12.

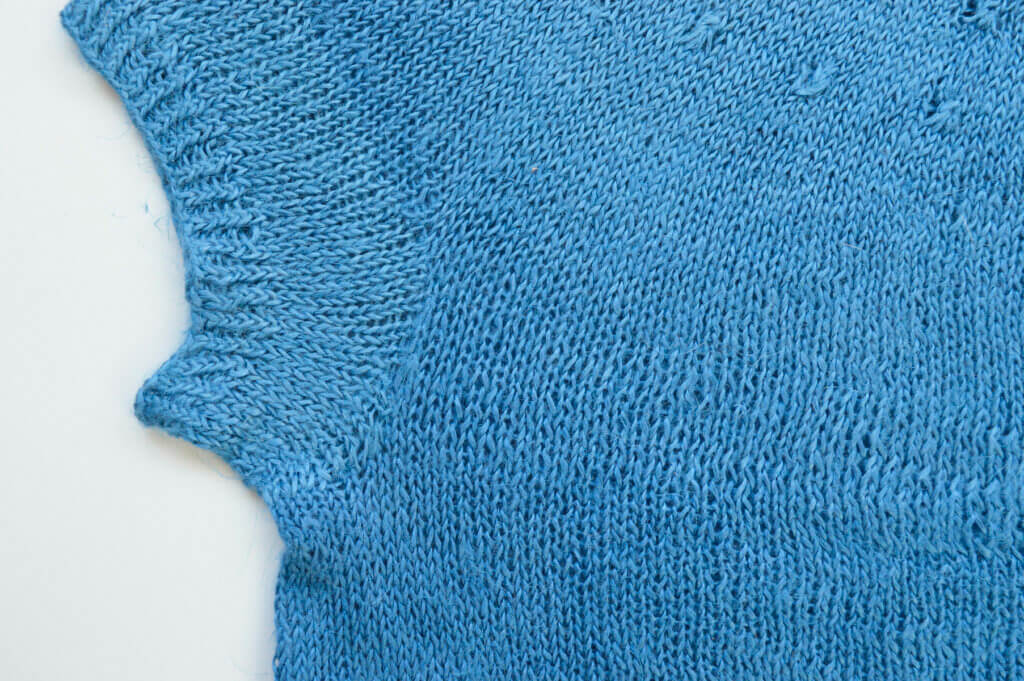
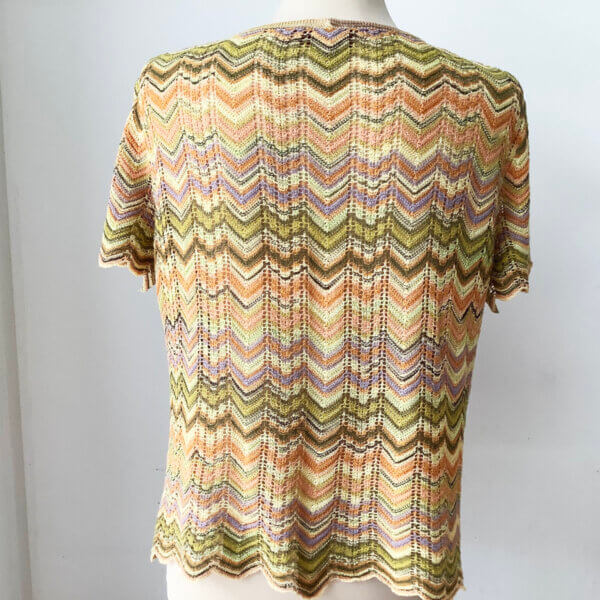
The neckband looks like a folded hem, covering the edge where the fabric appears to be cut. On the inside of the garment, the fabric of the side seams is serged. So, it’s reasonable to assume that underneath the folded hem, there is also a serged edge to prevent the fabric from unraveling.

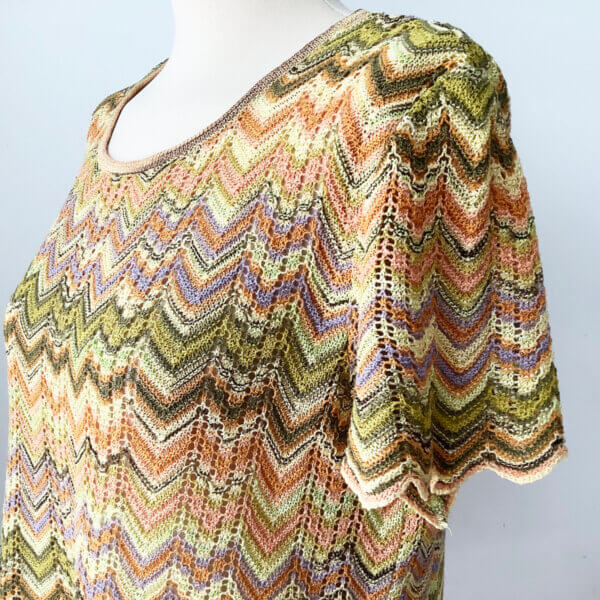
Again, the patterning is centered relative to the neck opening and body of the tee.

label of the tee

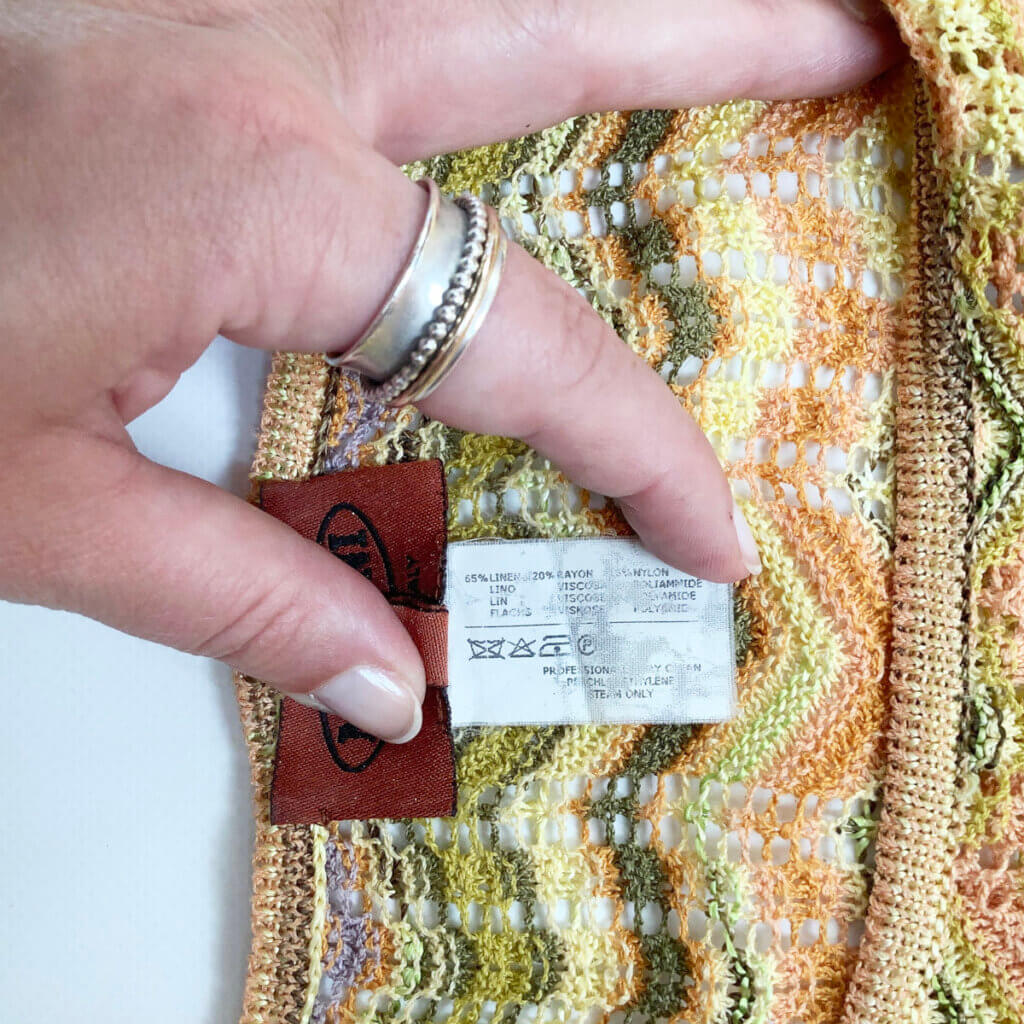
The yarn used in this garment is very thin. As a hand knitter, I would classify this as lace weight. That said, commercial knitwear is often in much thinner yarn than hand knit ones. The yarn composition consists of 65% linen, 20% rayon, and 15% nylon.

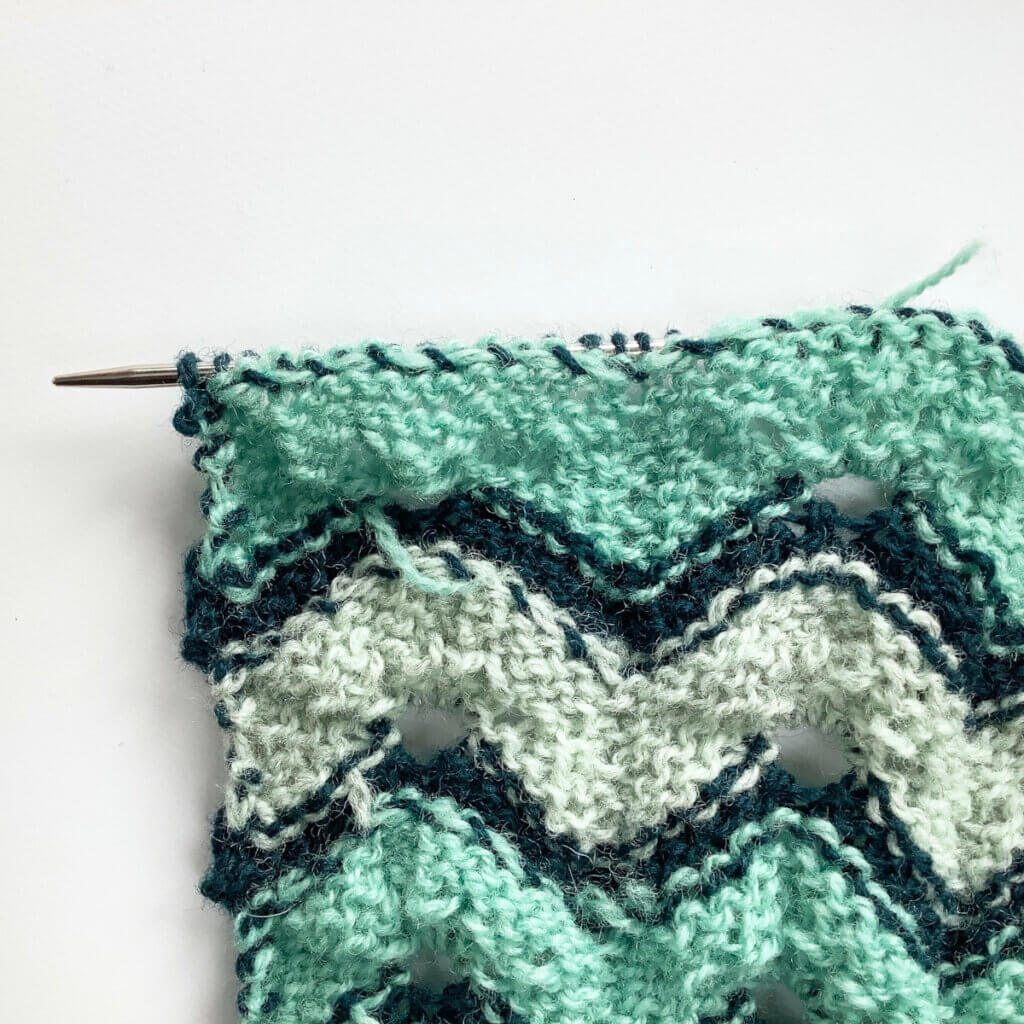
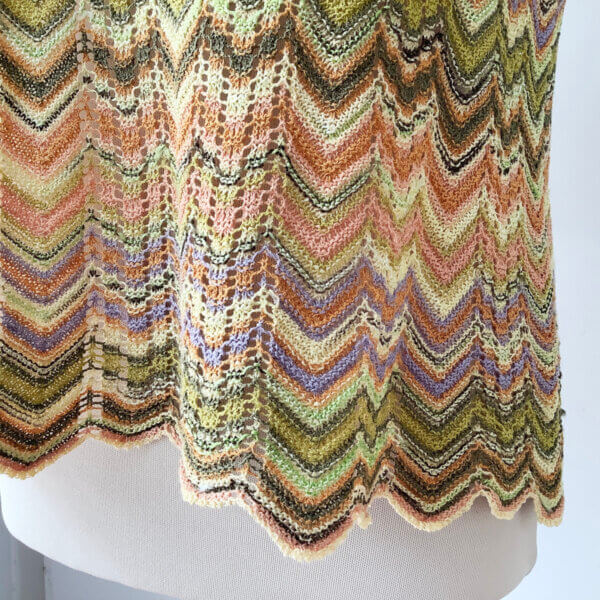
The color runs in the yarn are of medium length, and change abruptly from one color to the next.

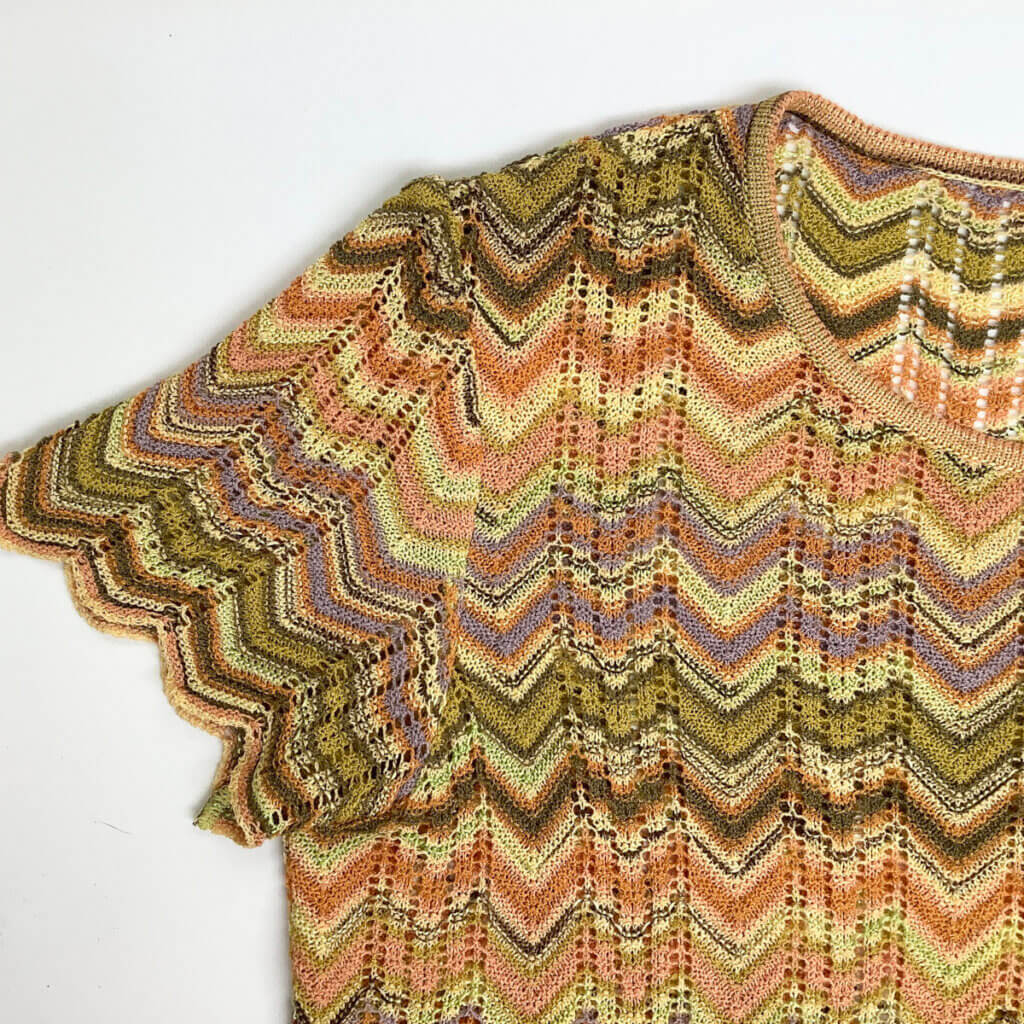
The sleeves are set-in, again with serged edges on the inside. In this picture, you can see very well how the centering of the pattern on the top of the sleeve results in a larger “point”.

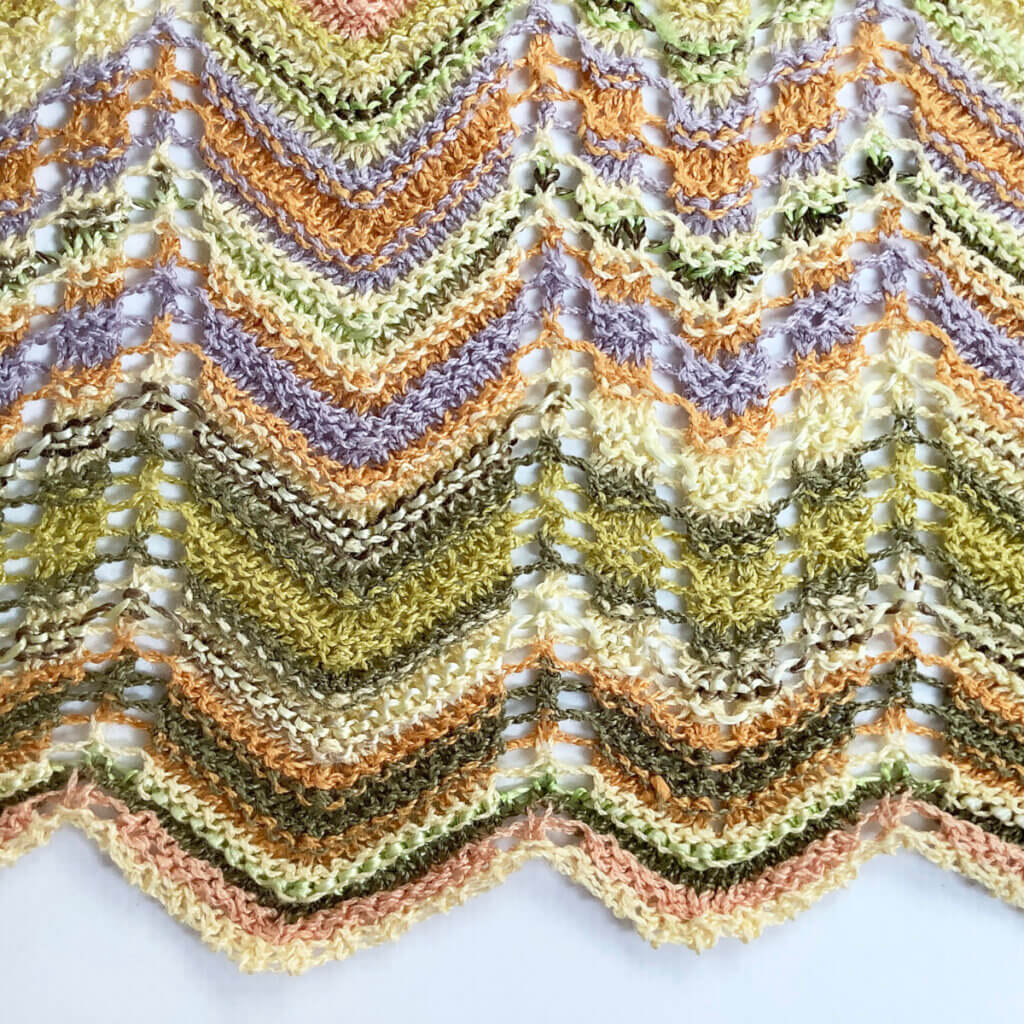
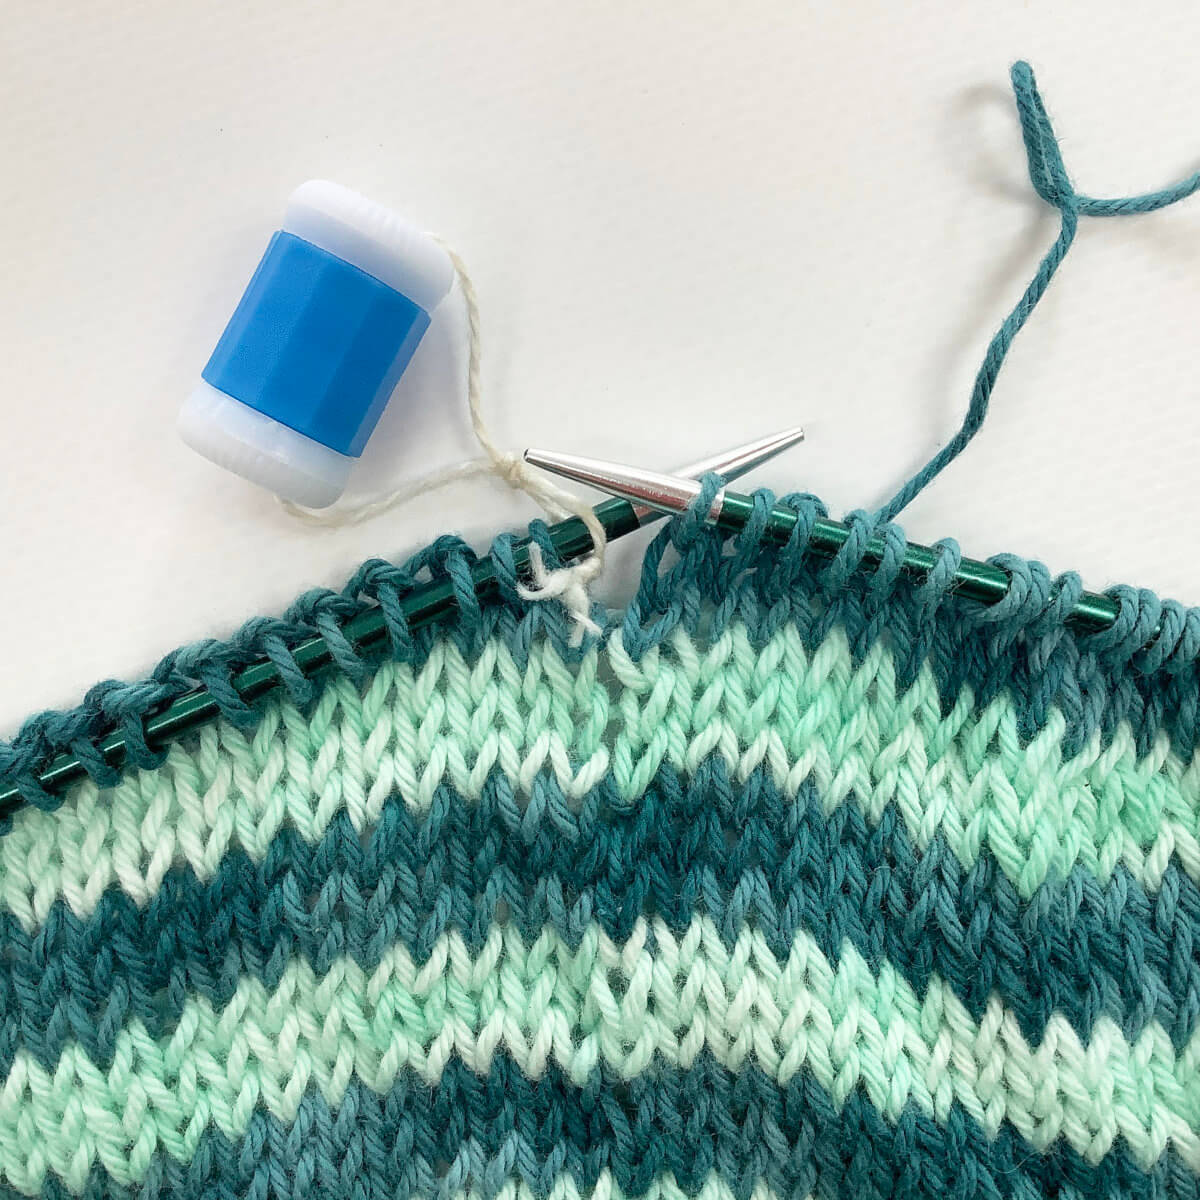
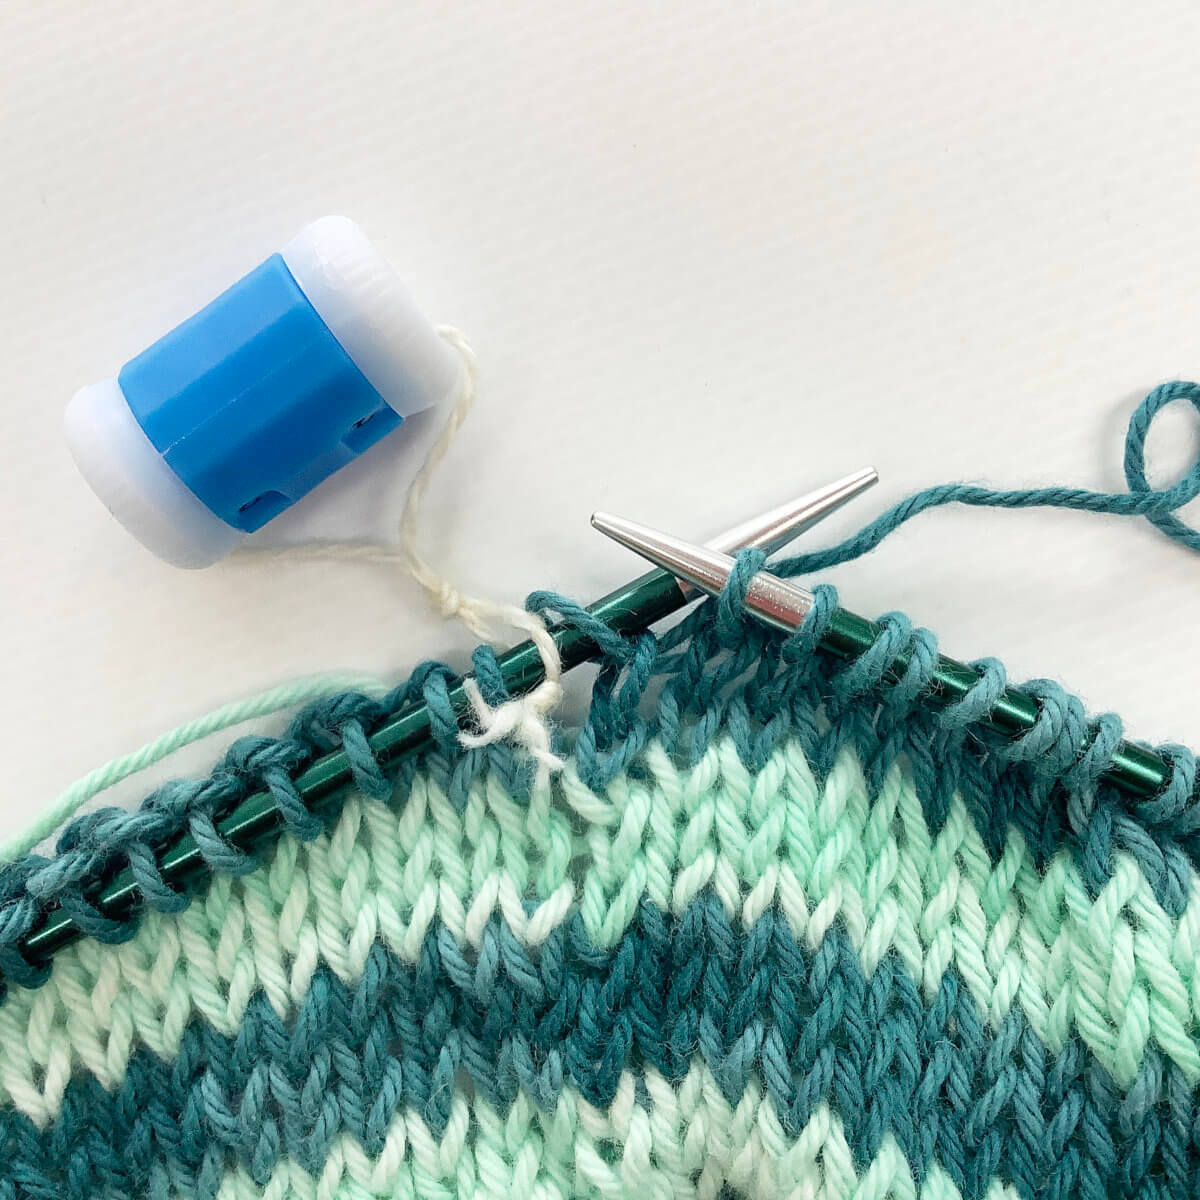
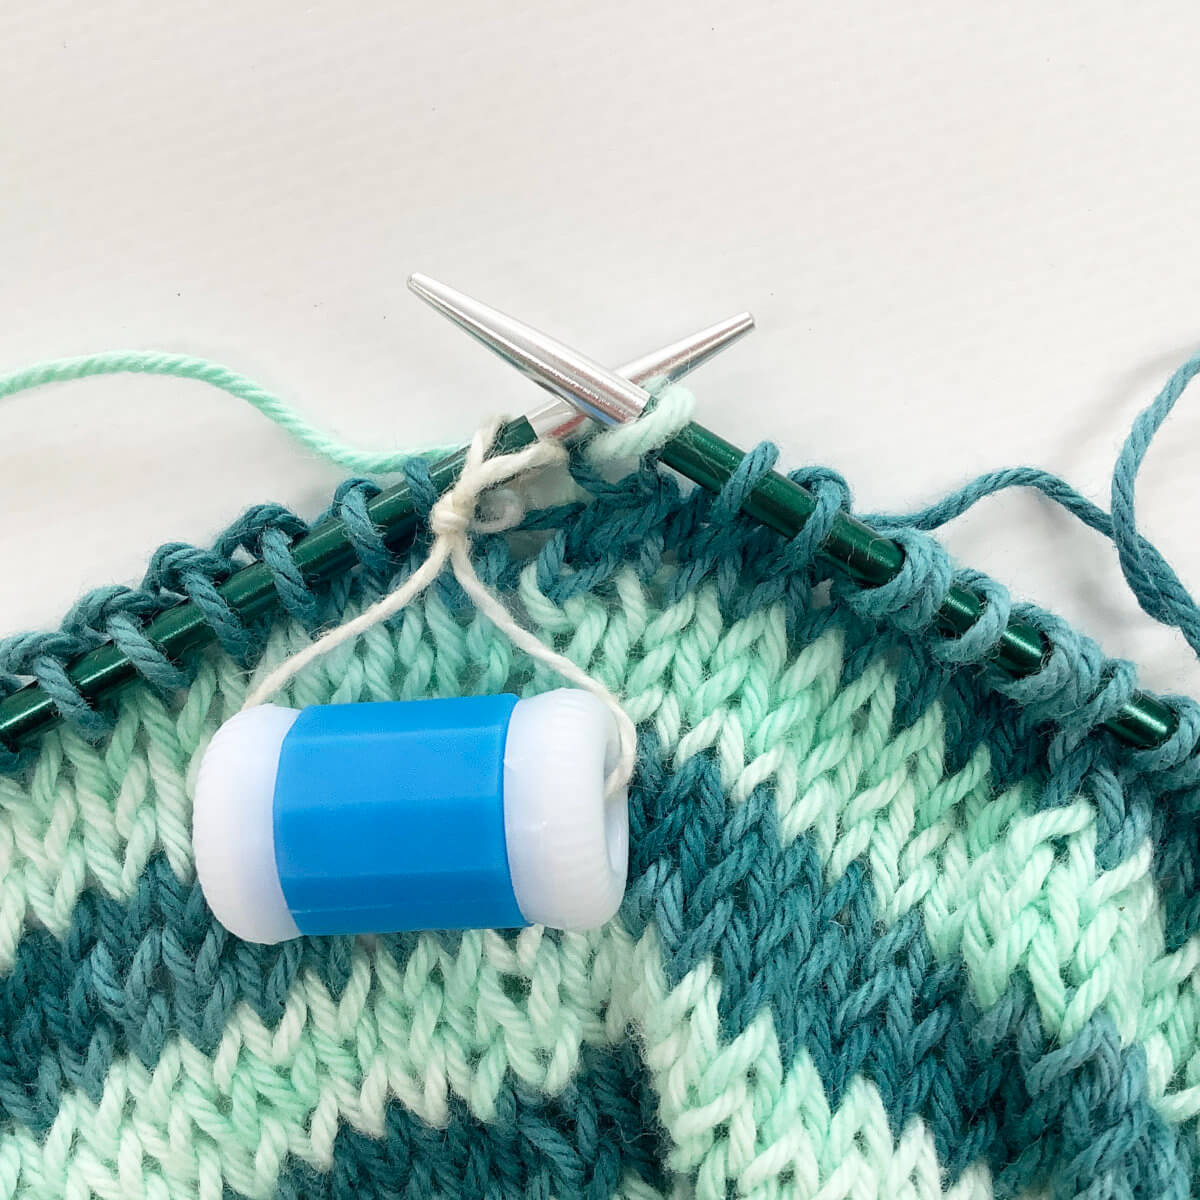
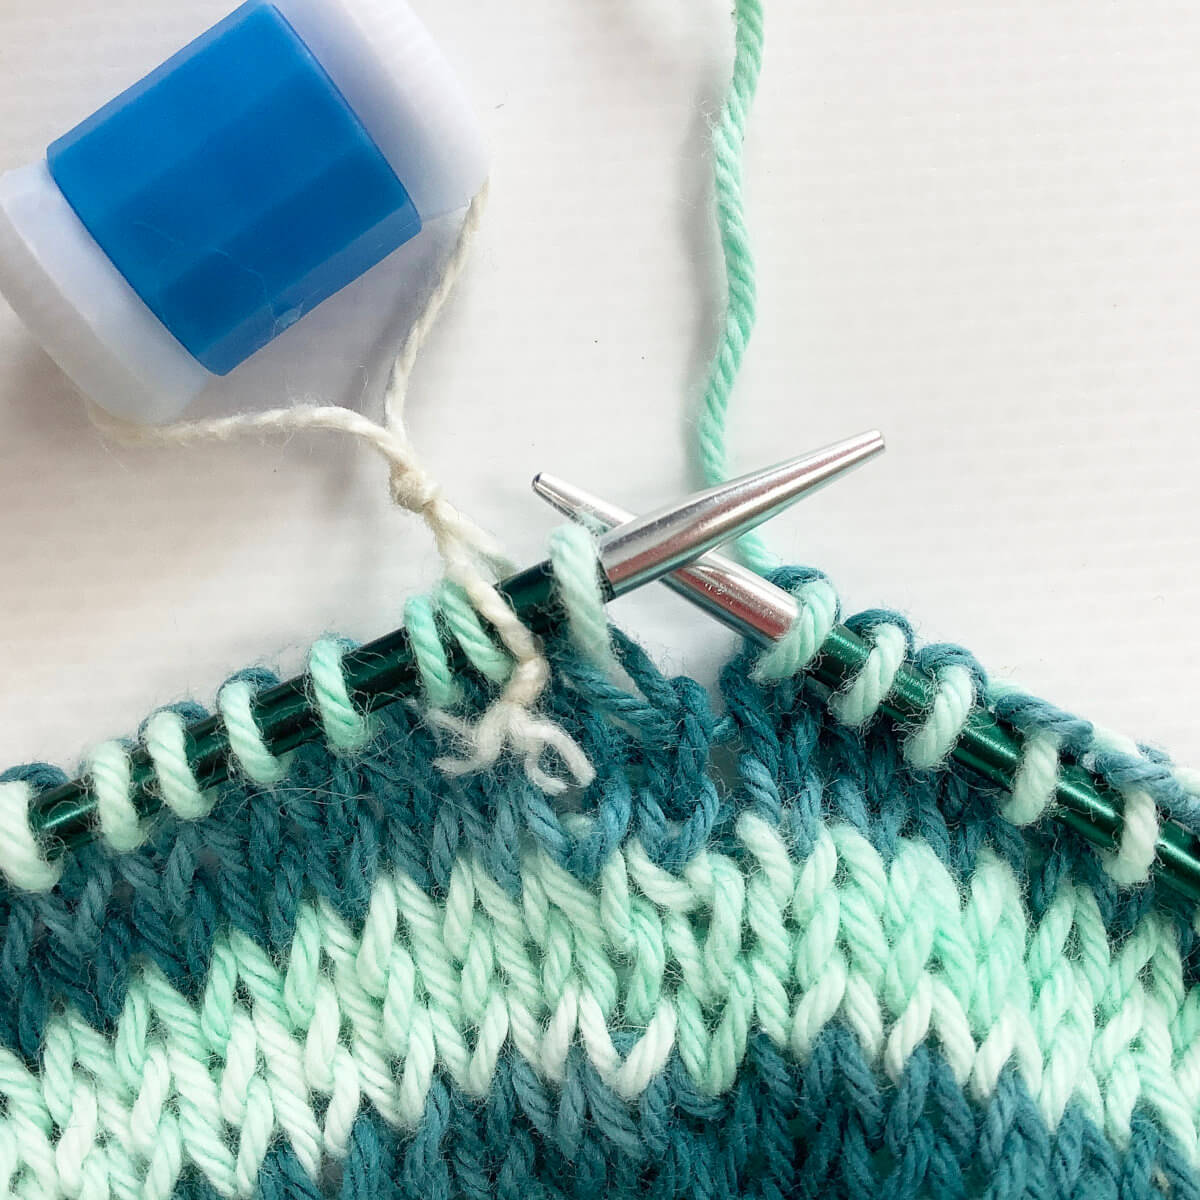
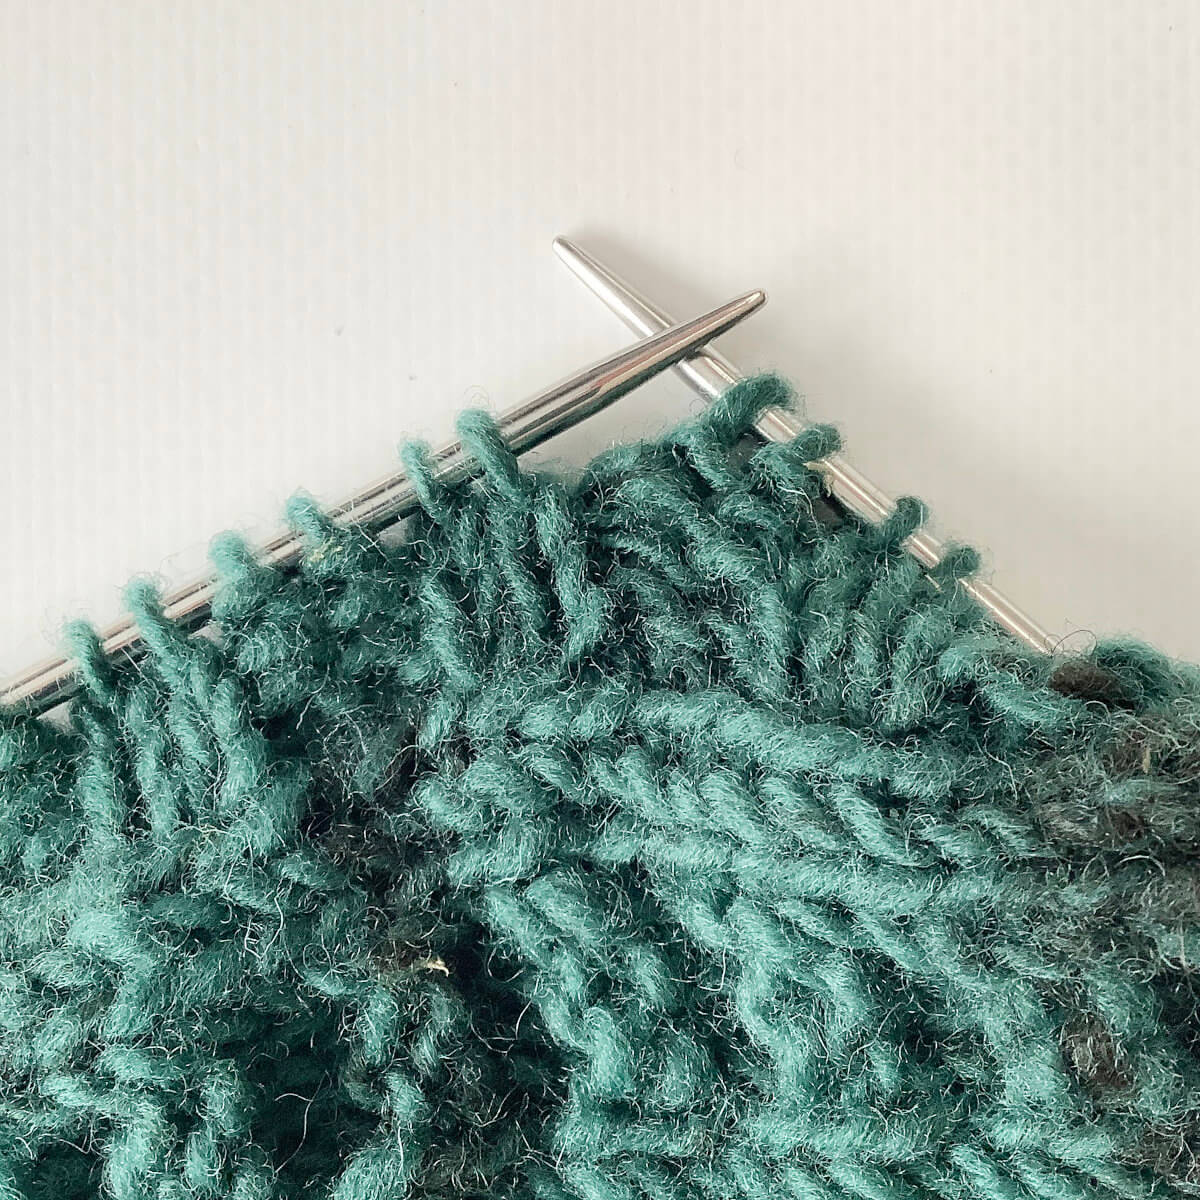
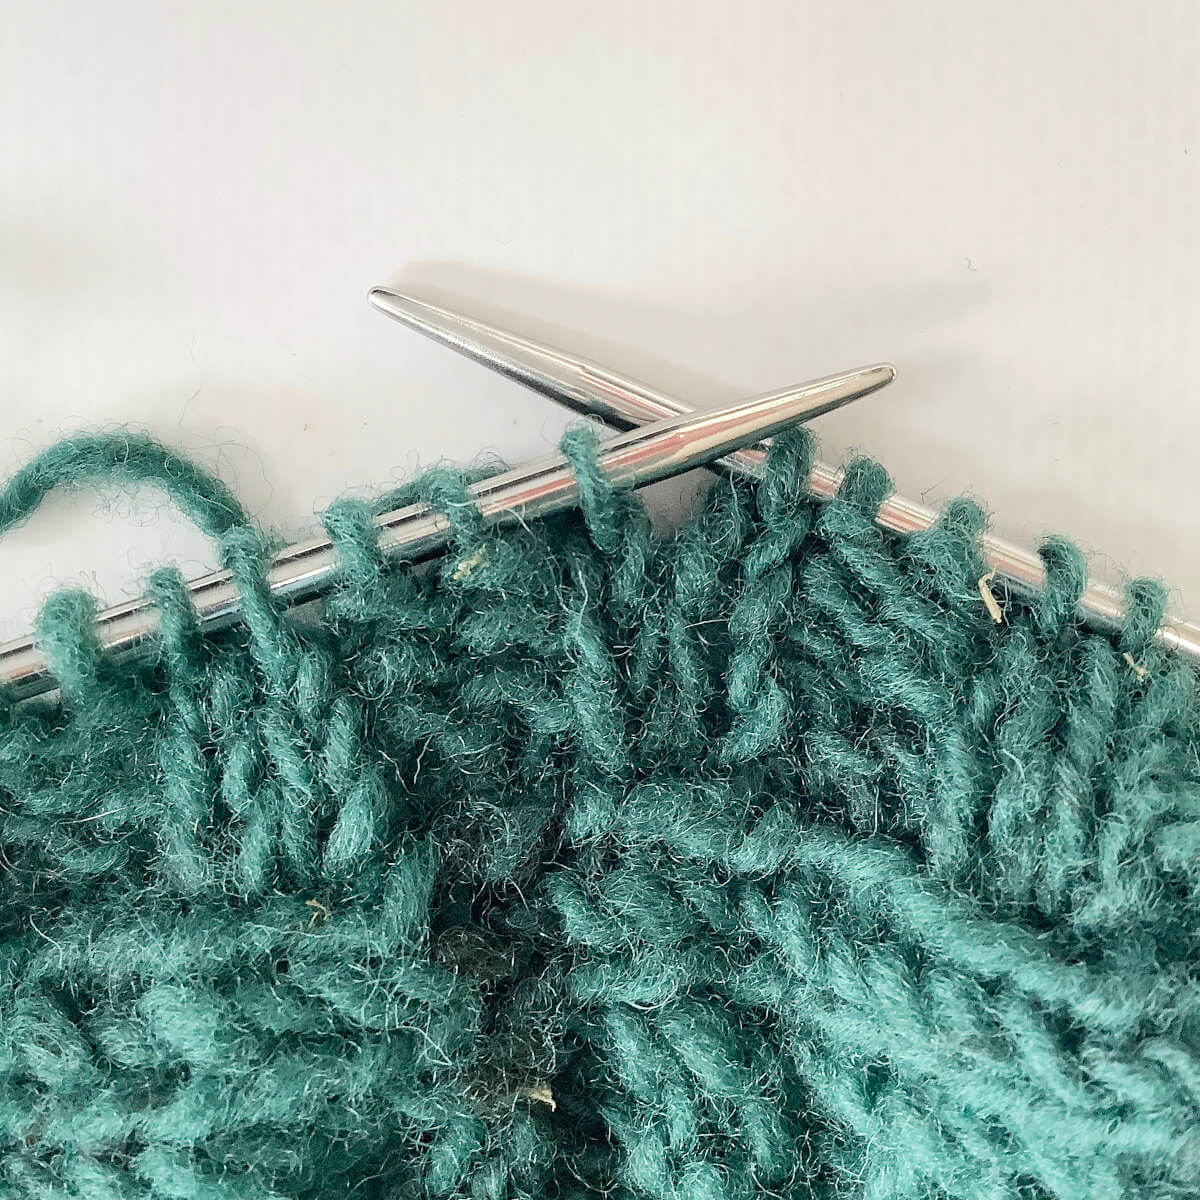
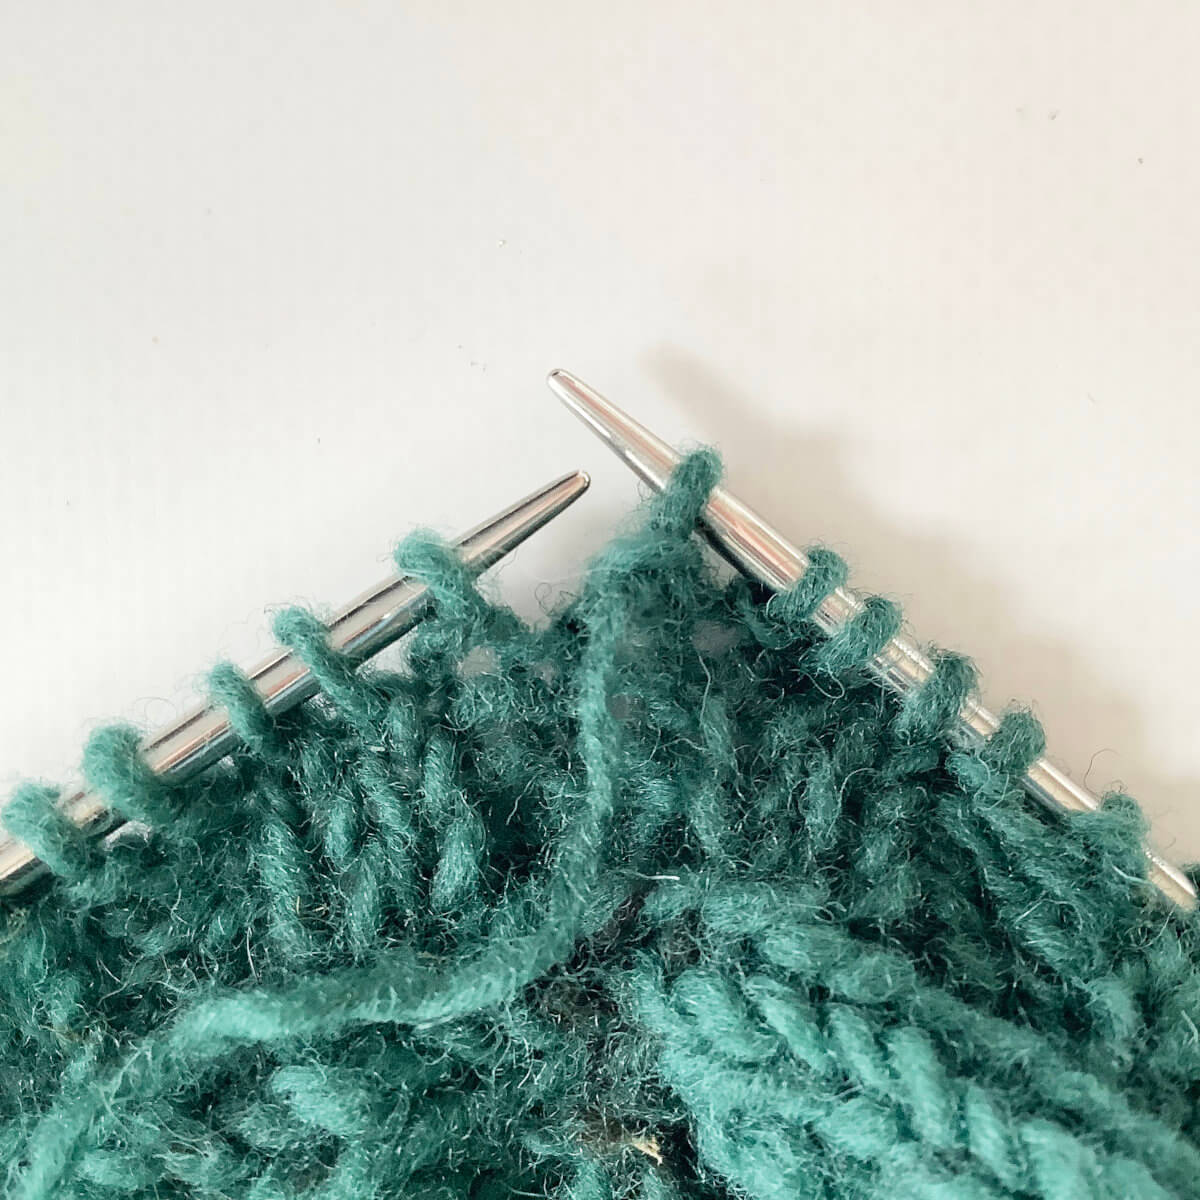
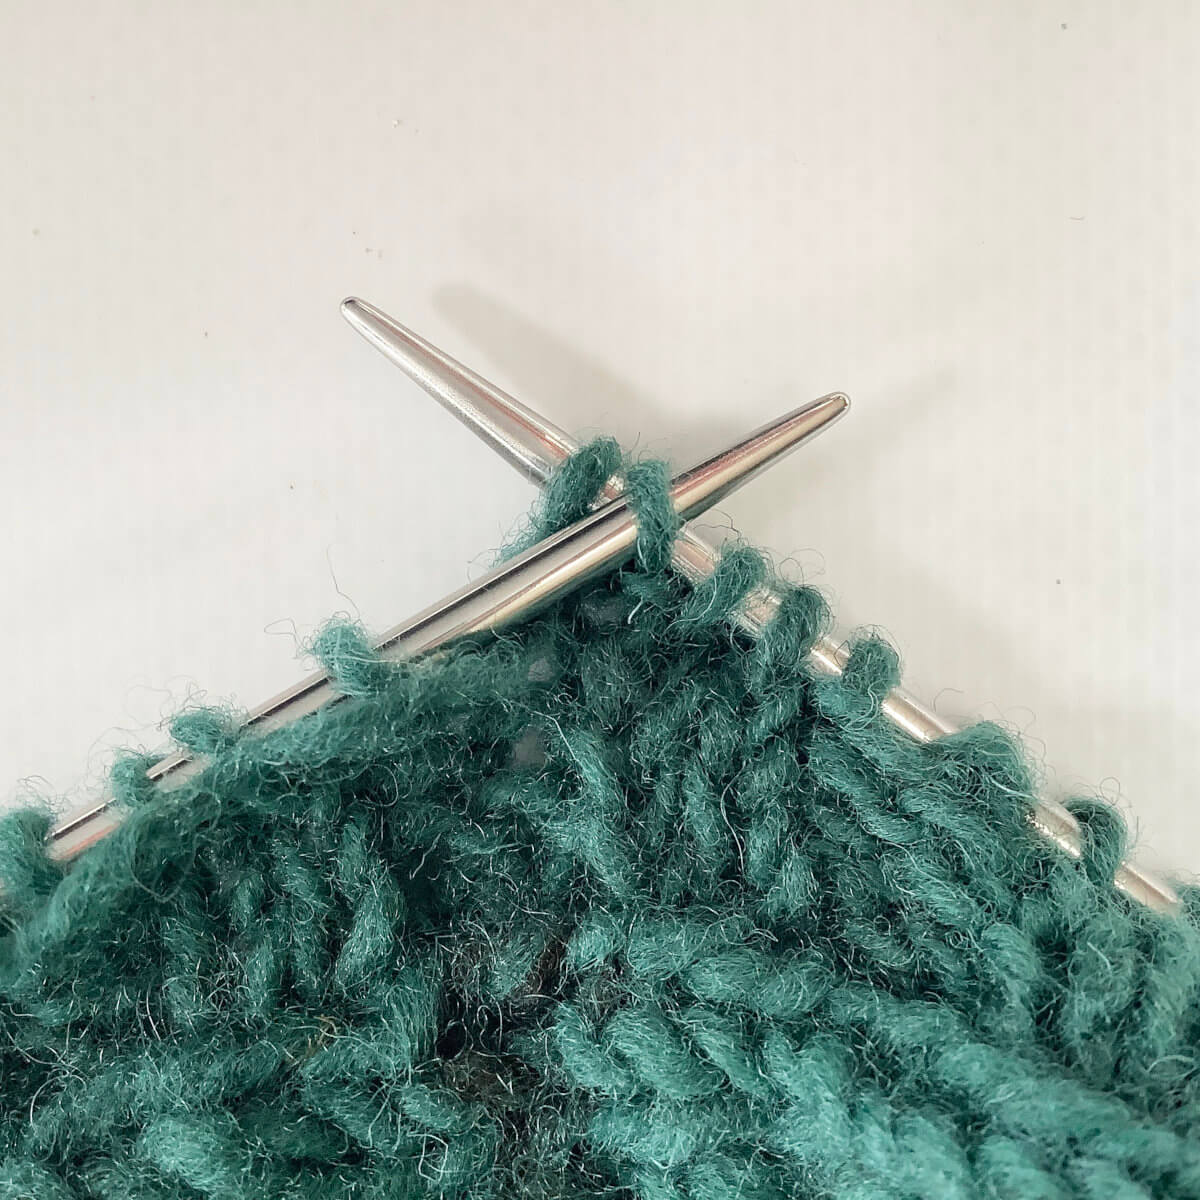
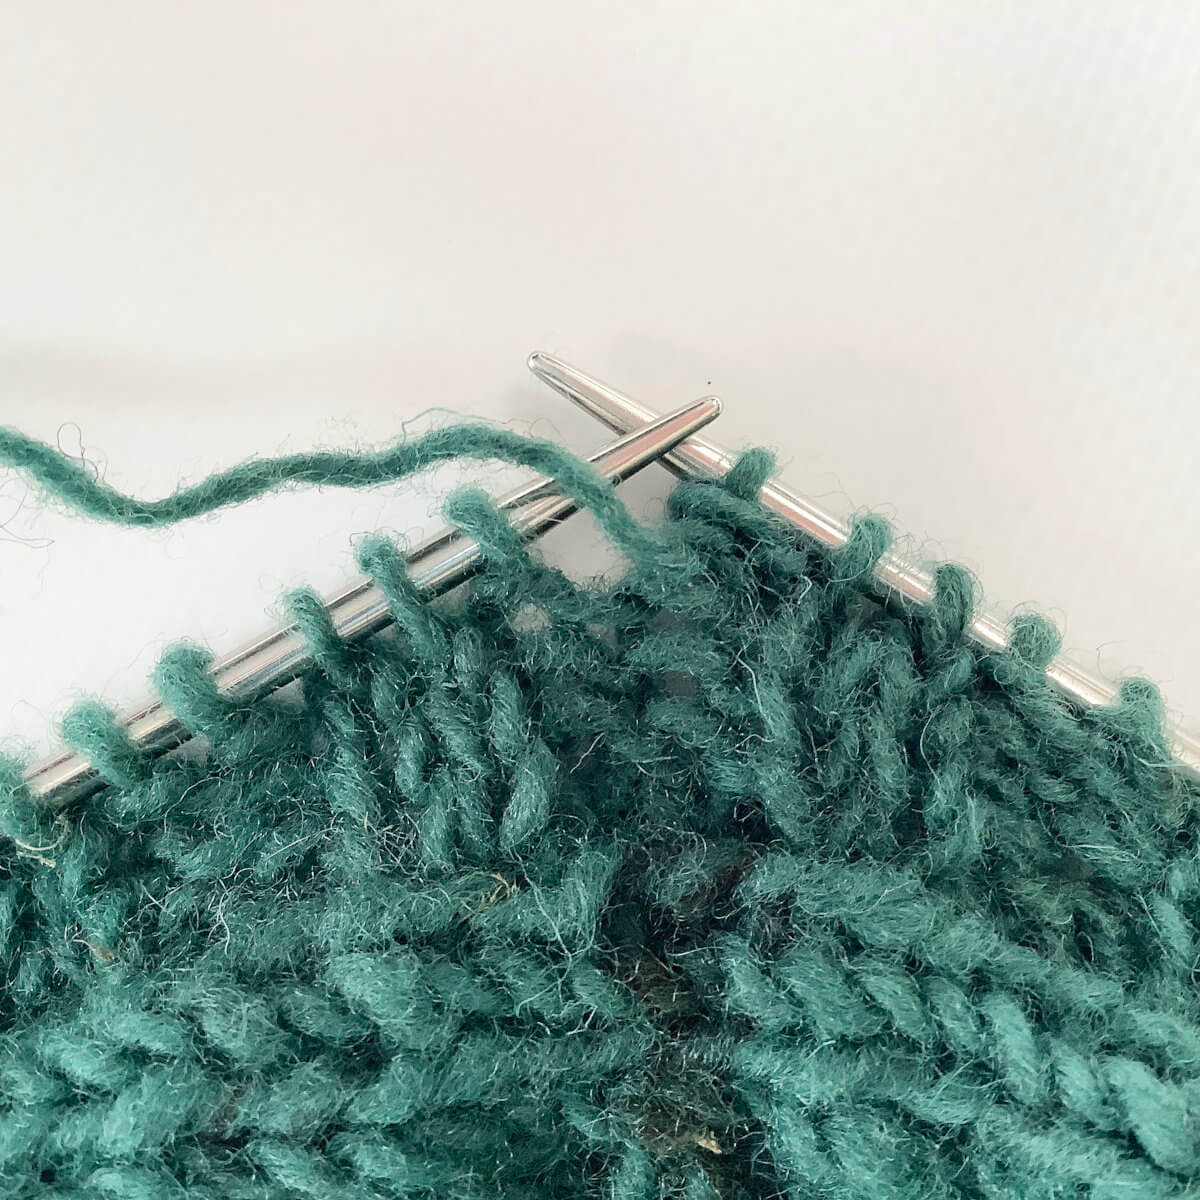
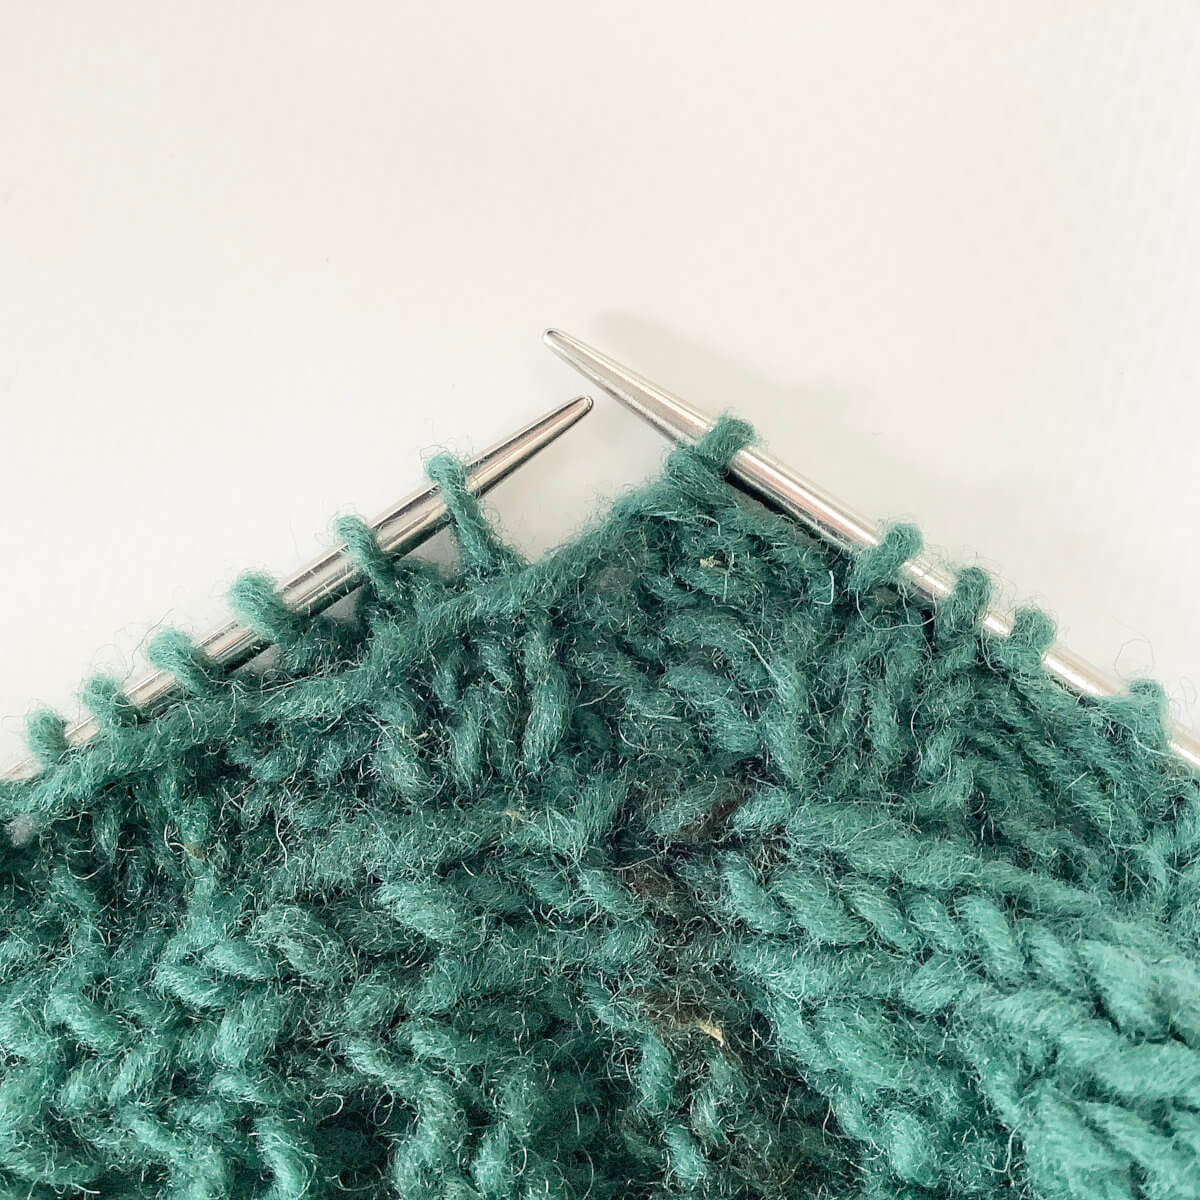
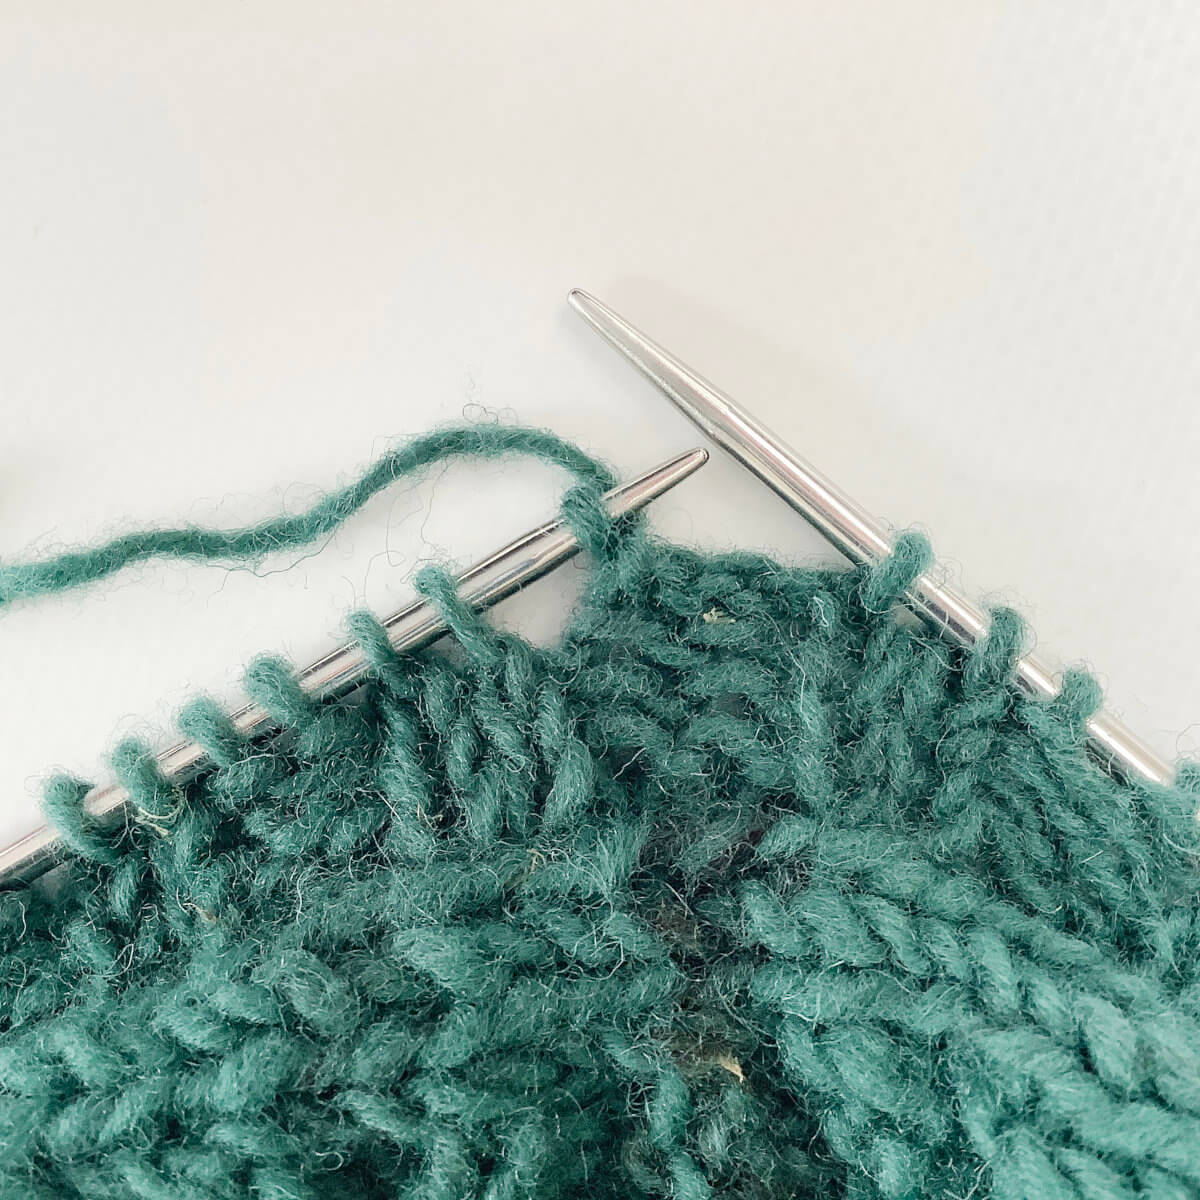
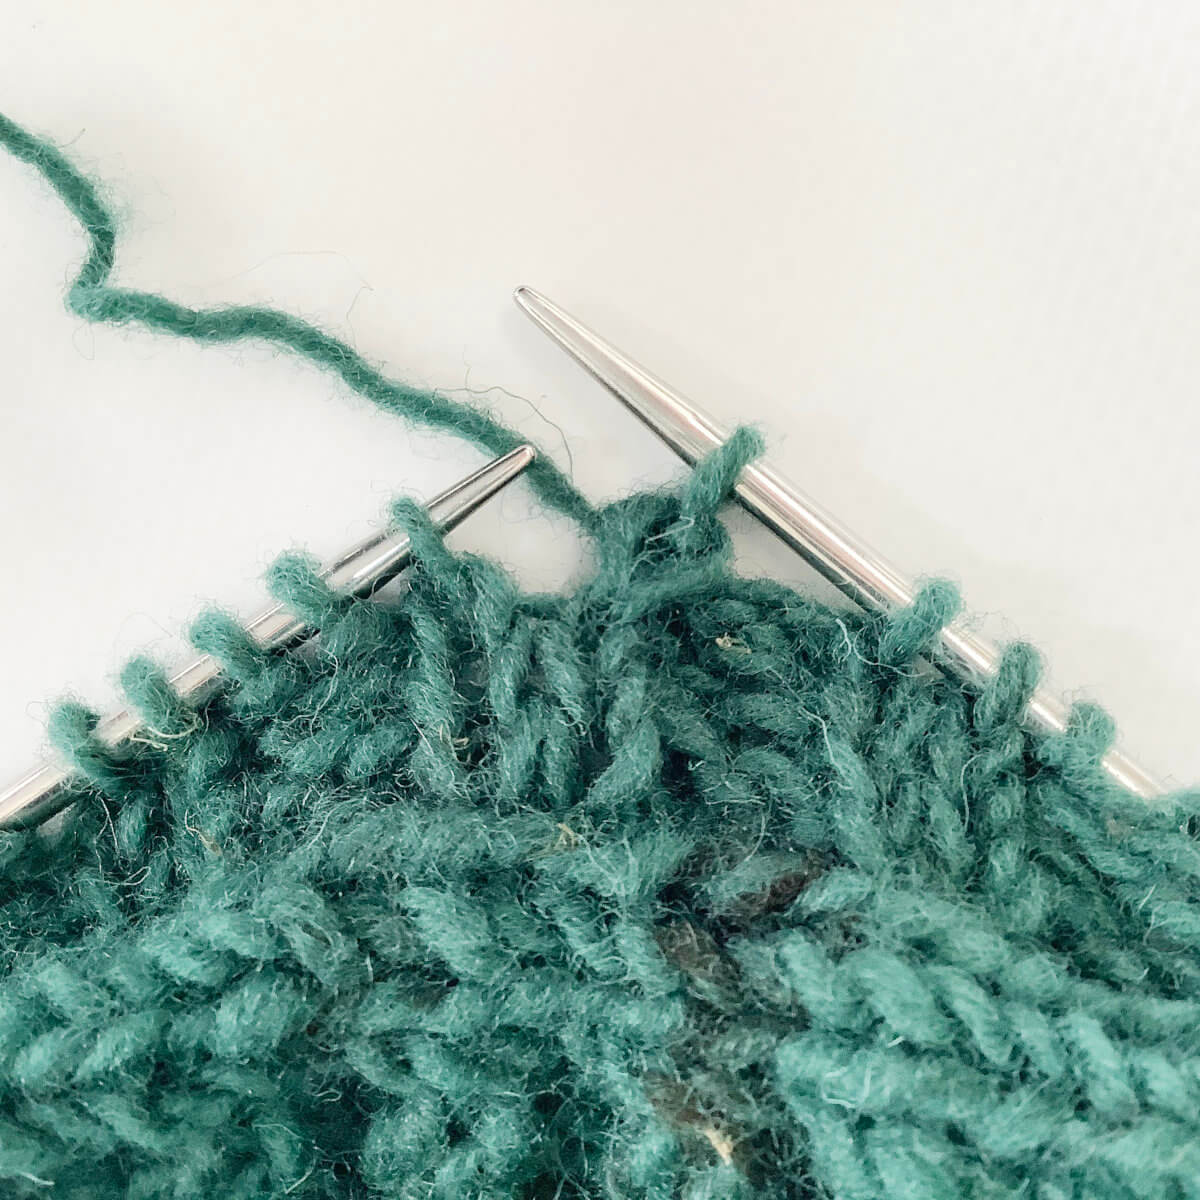
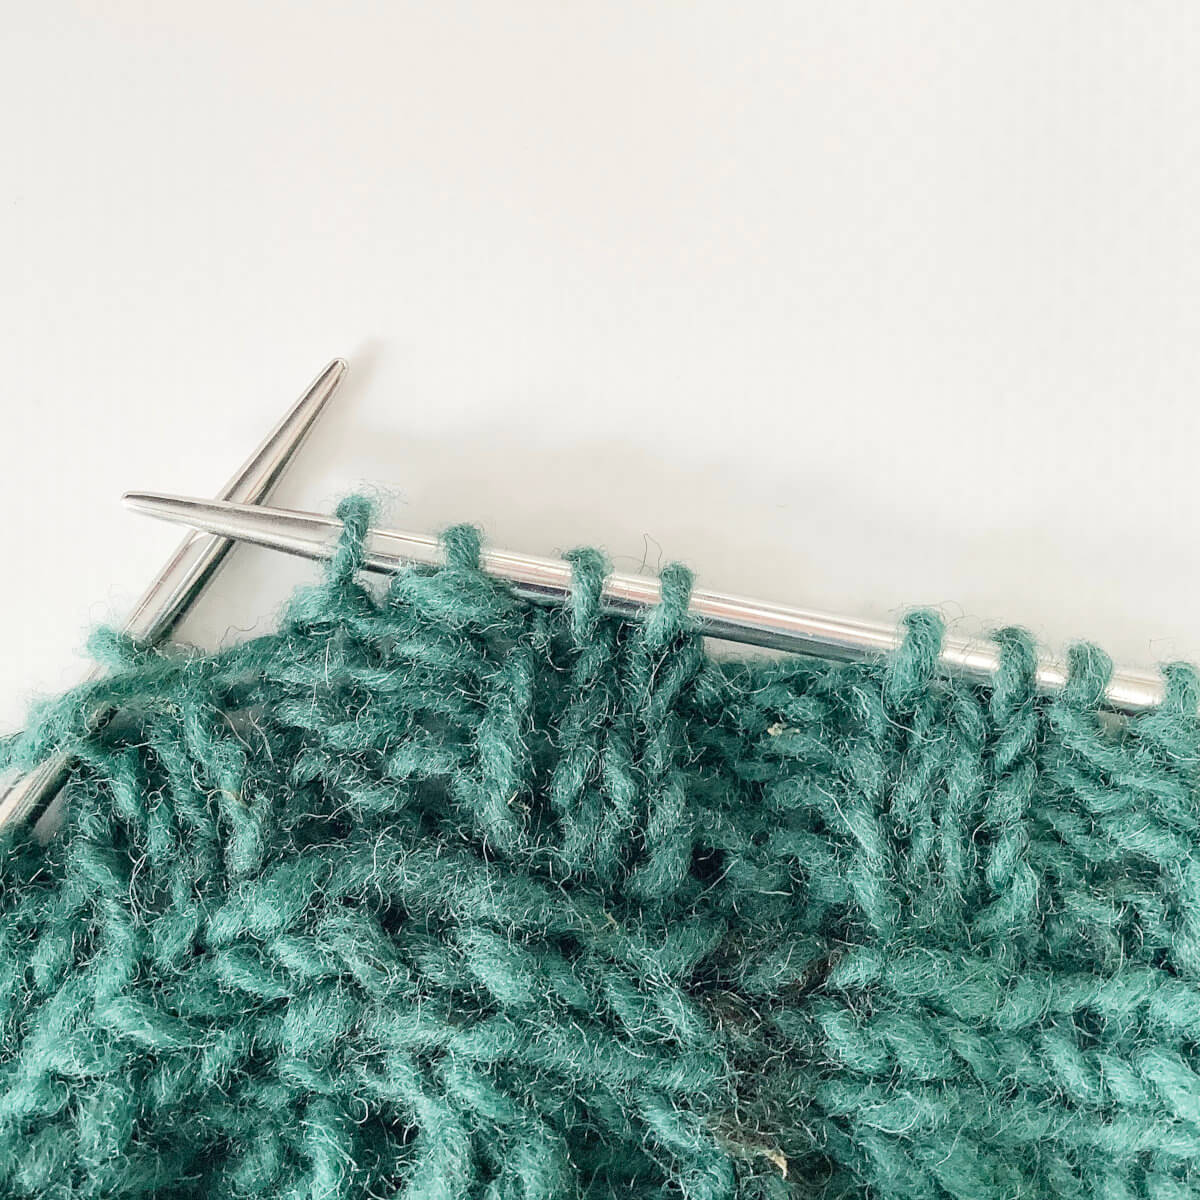
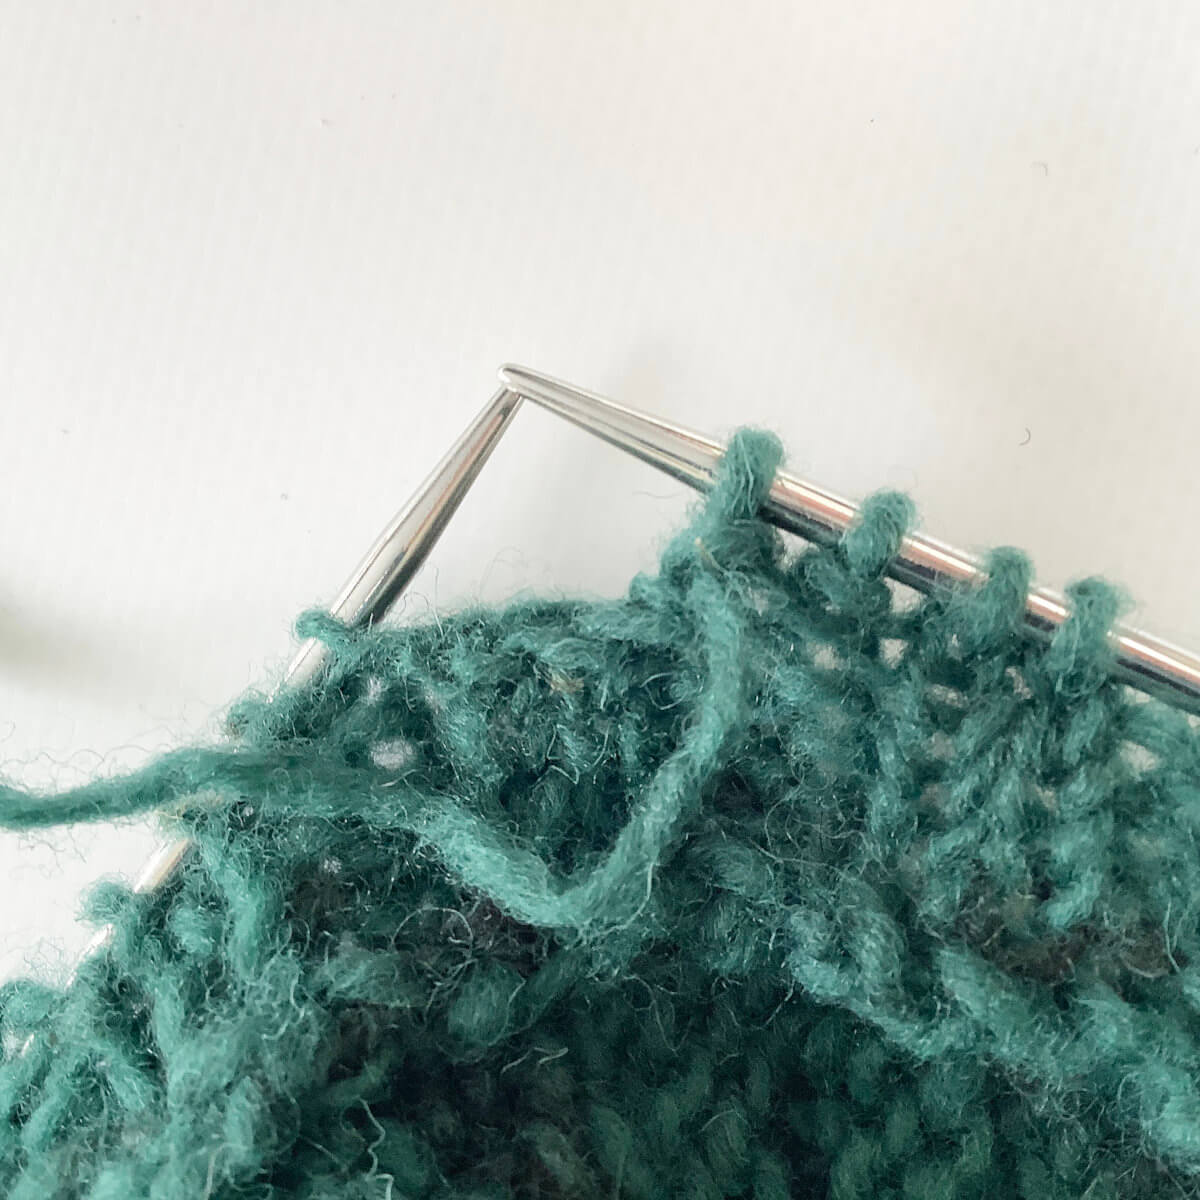
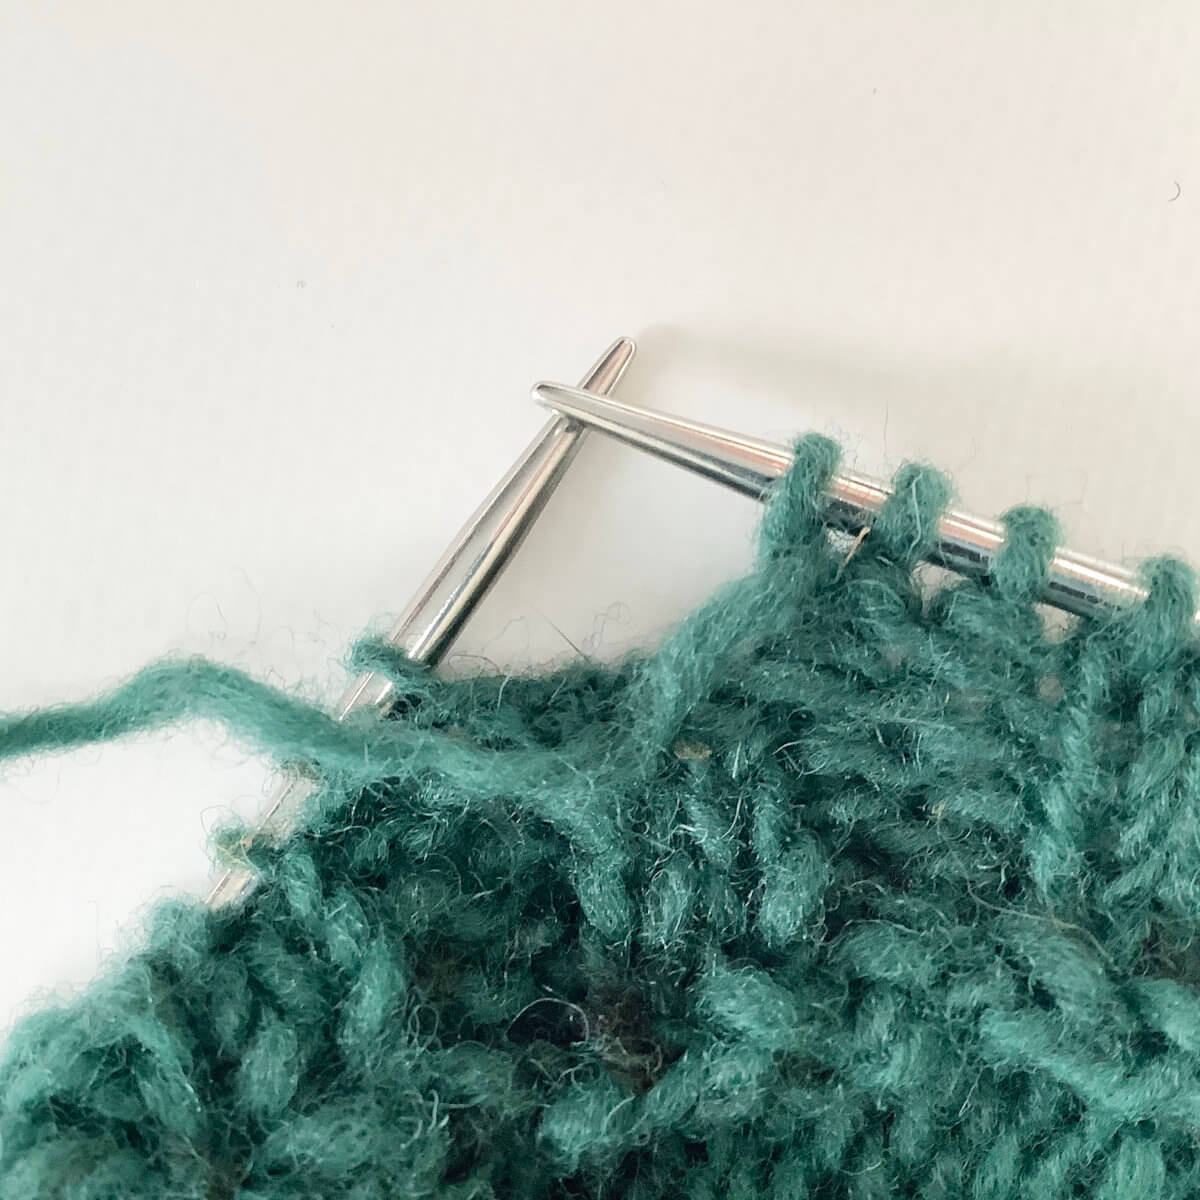
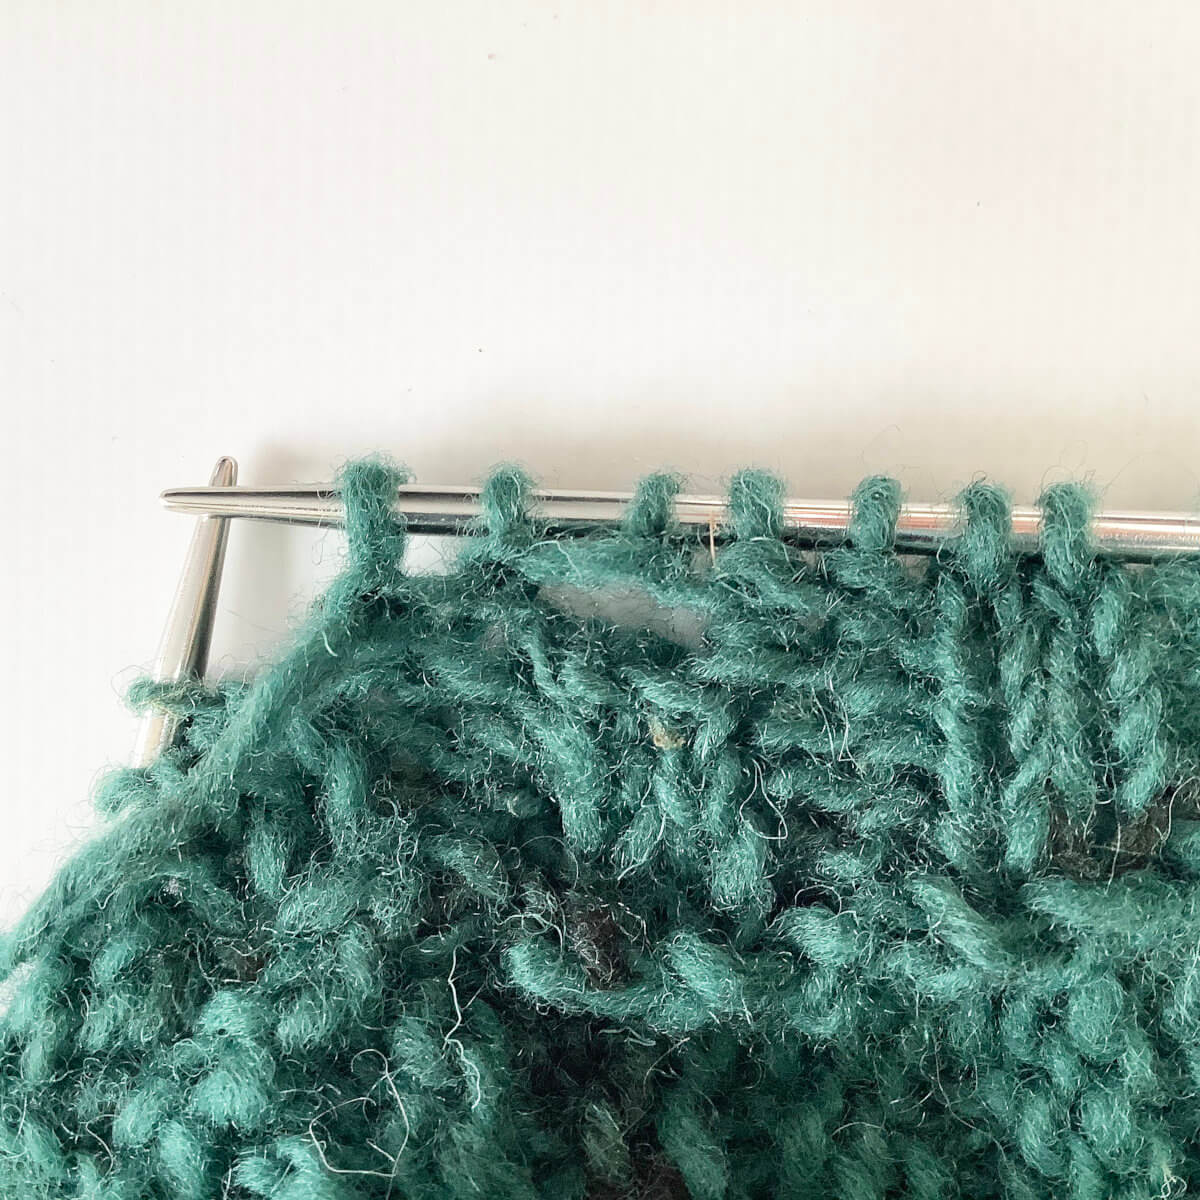
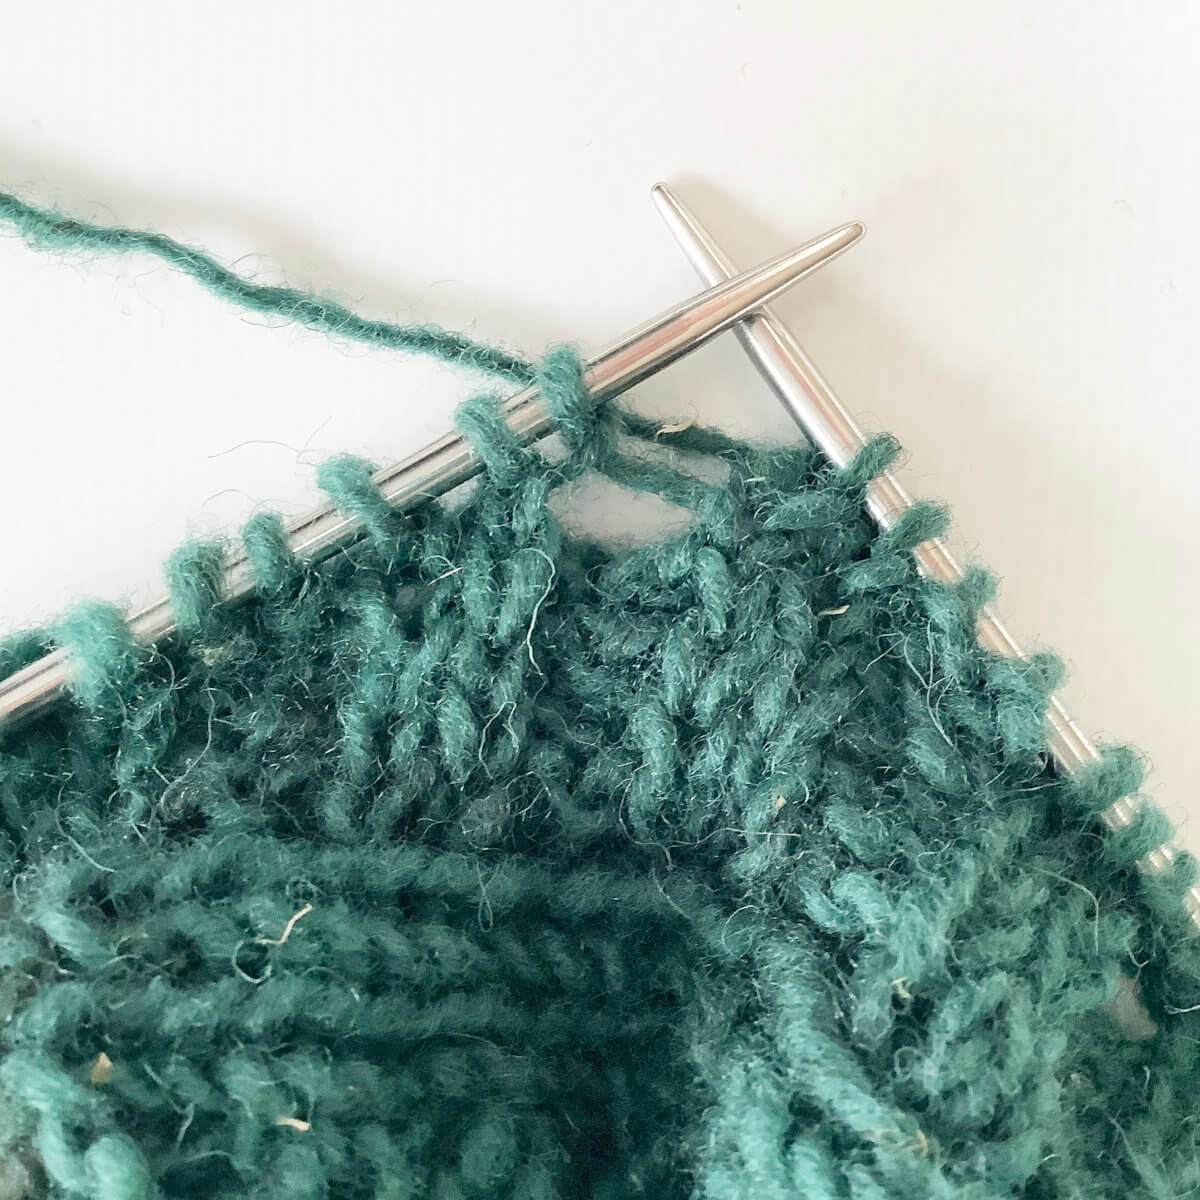
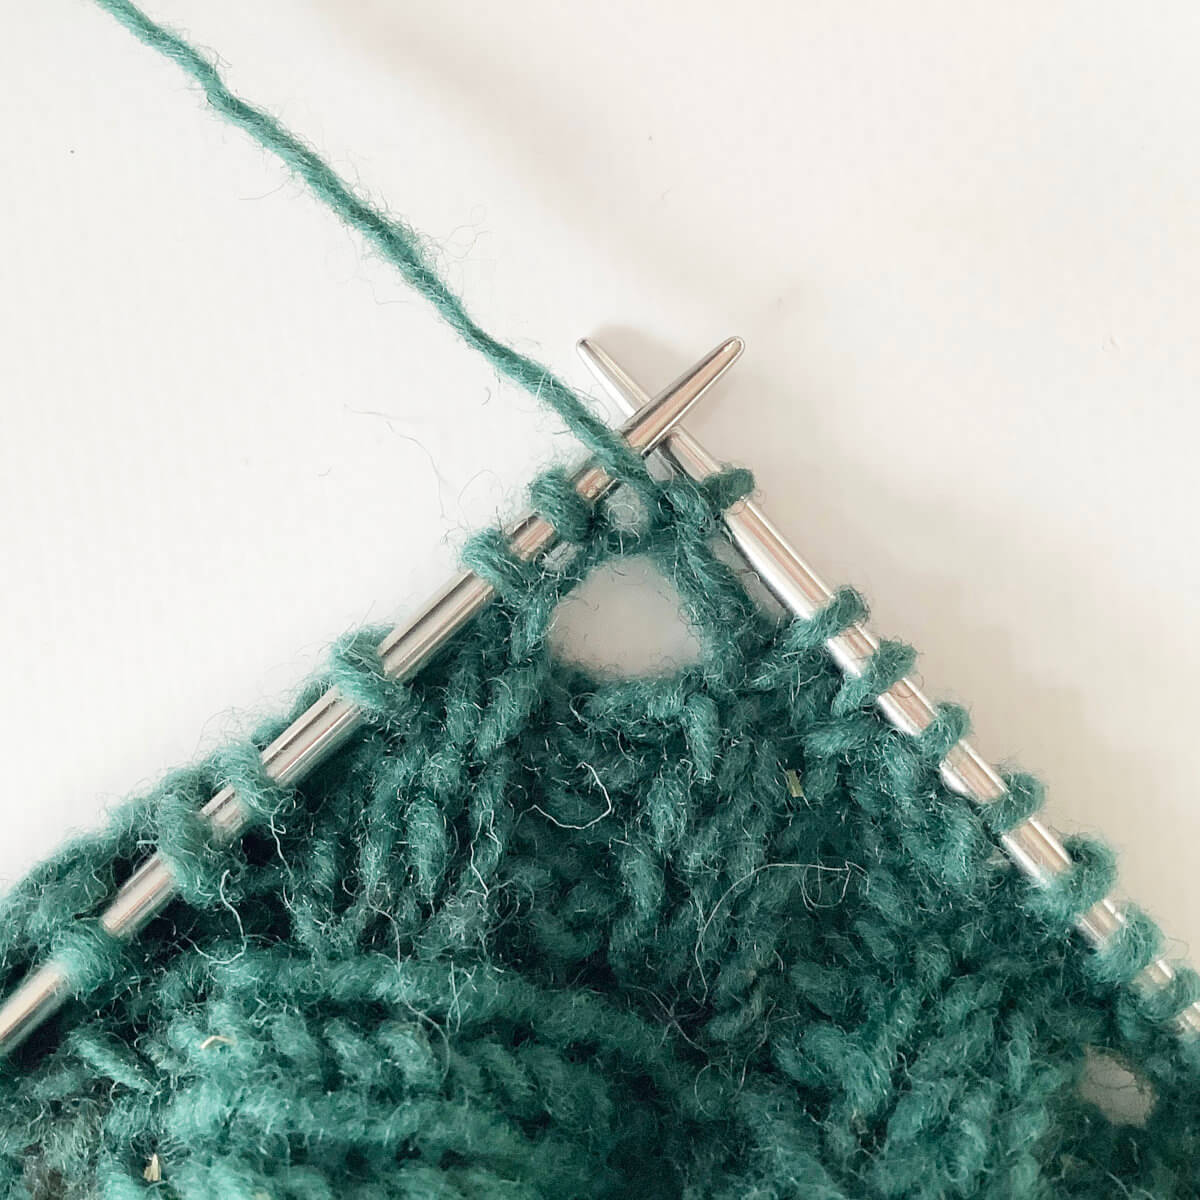
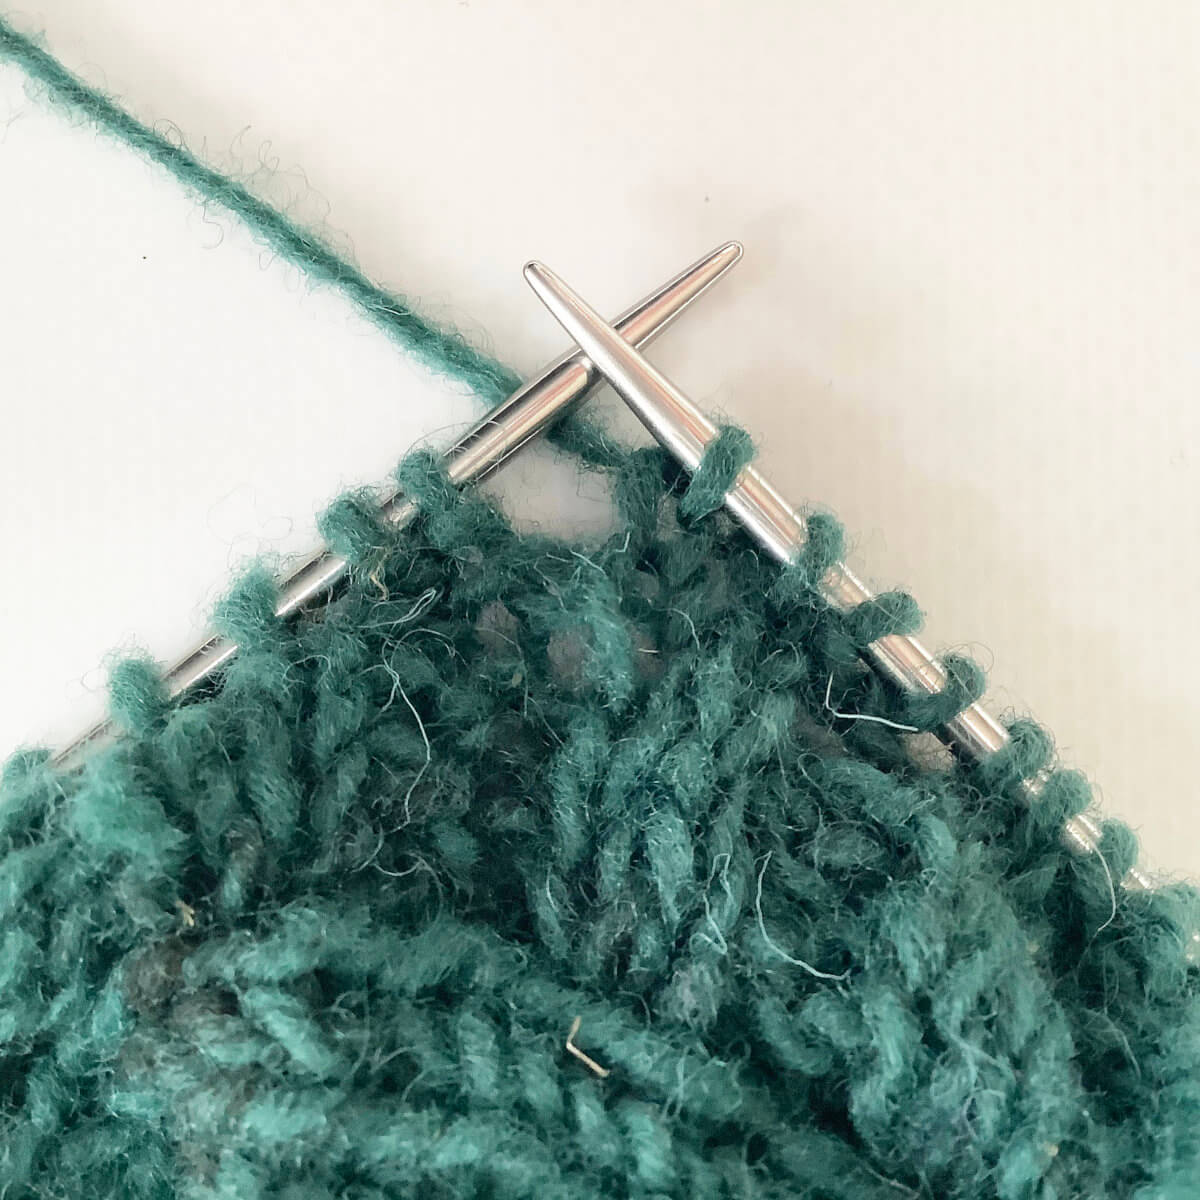
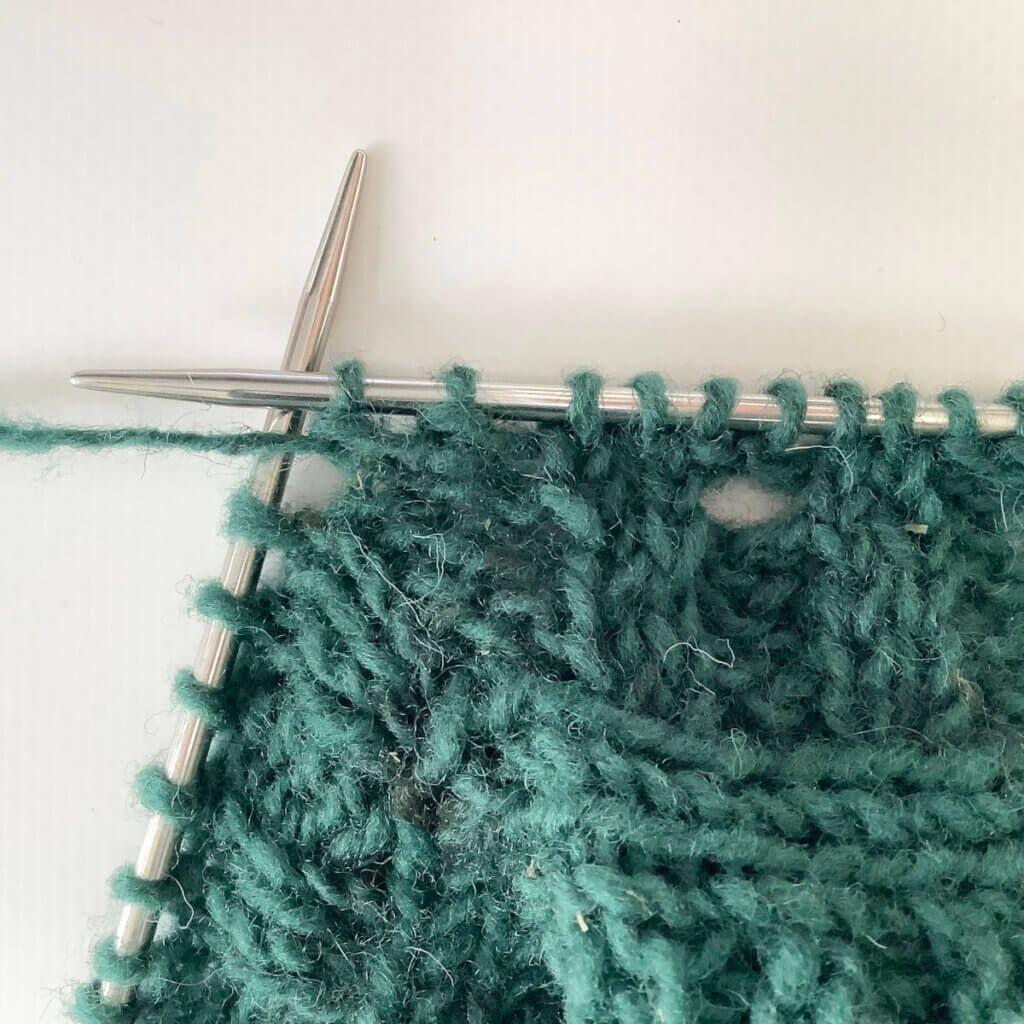
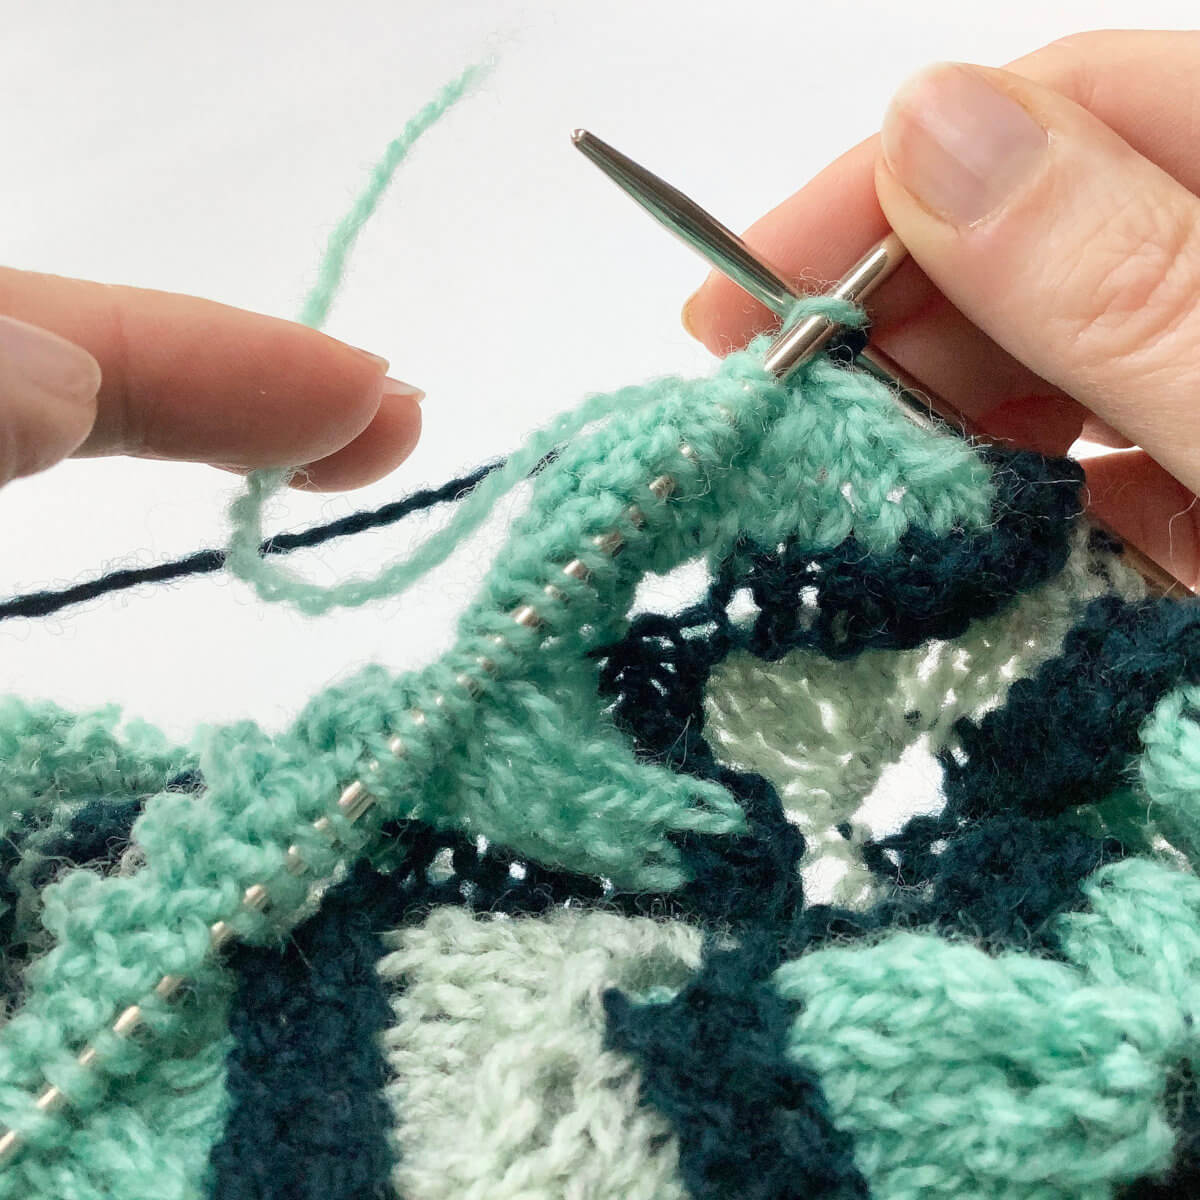
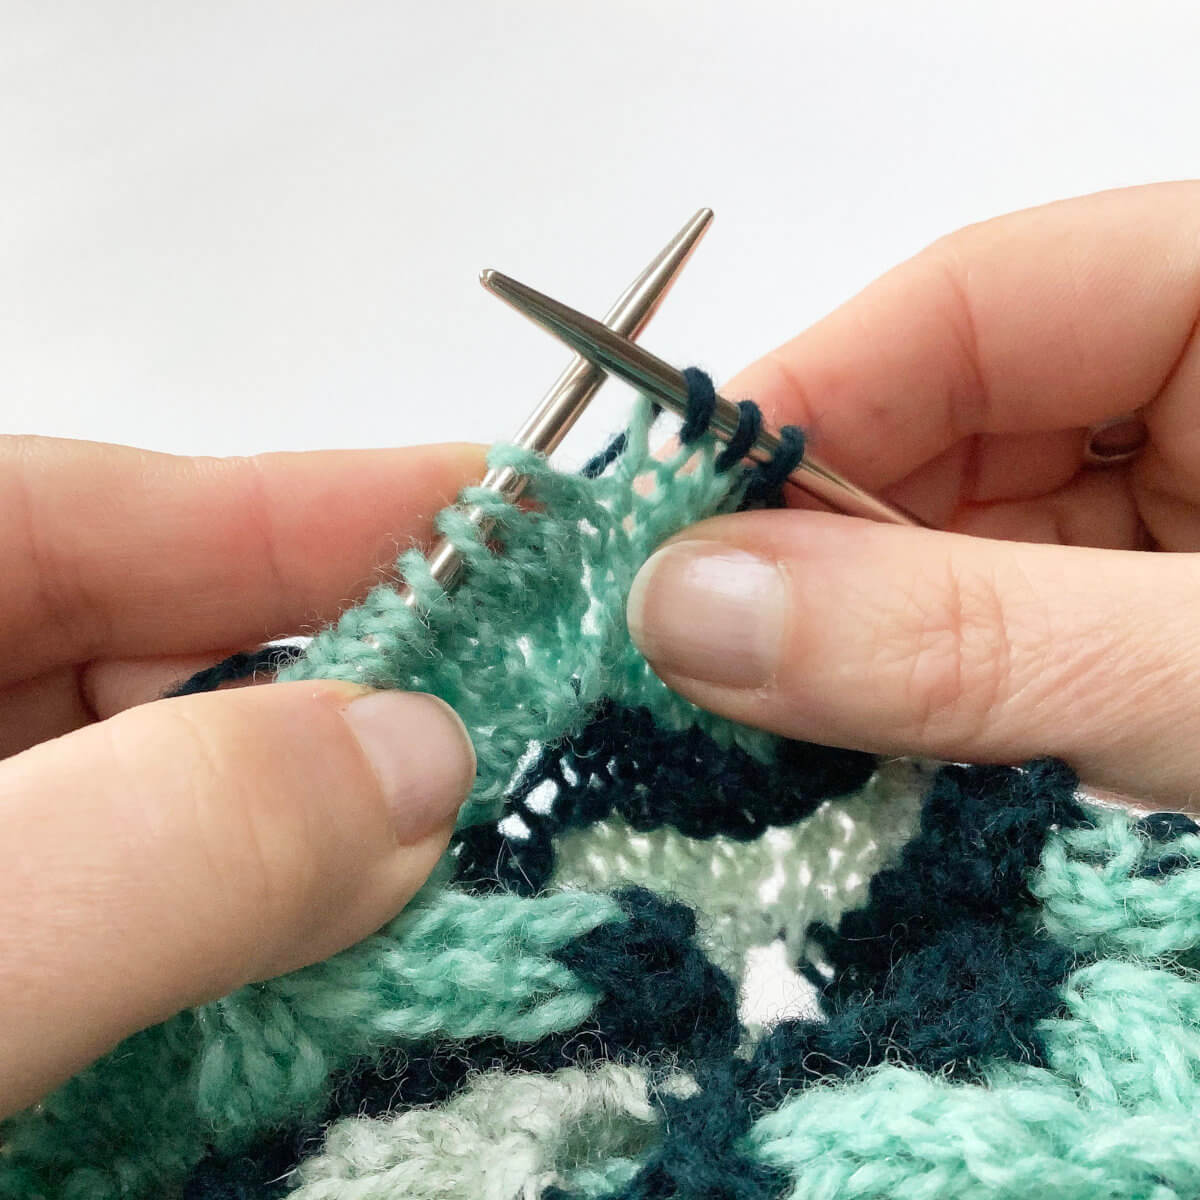
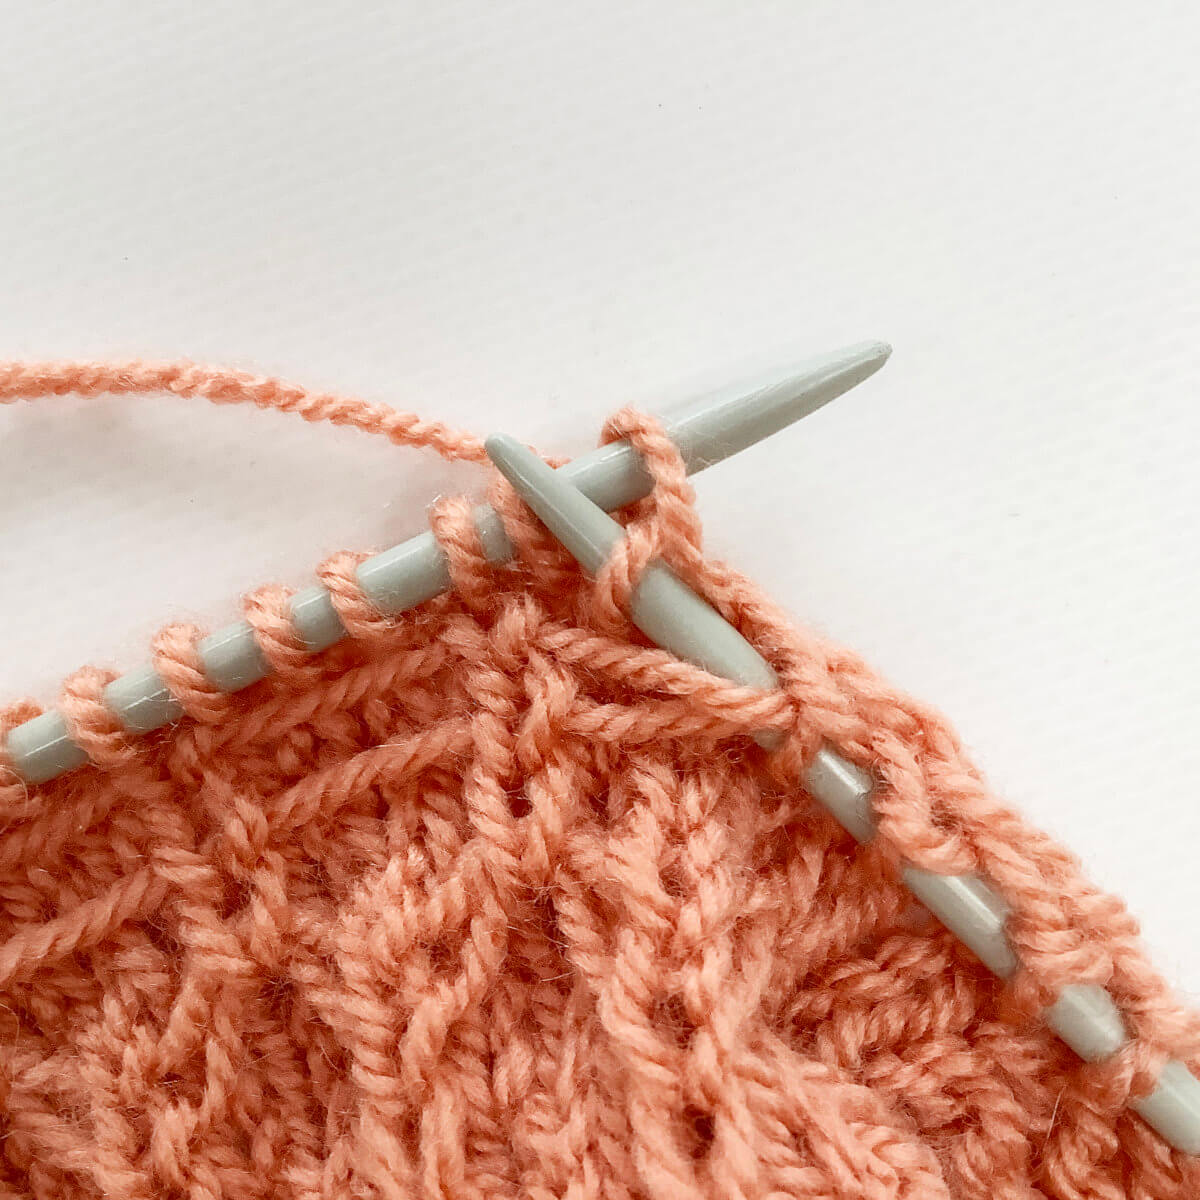
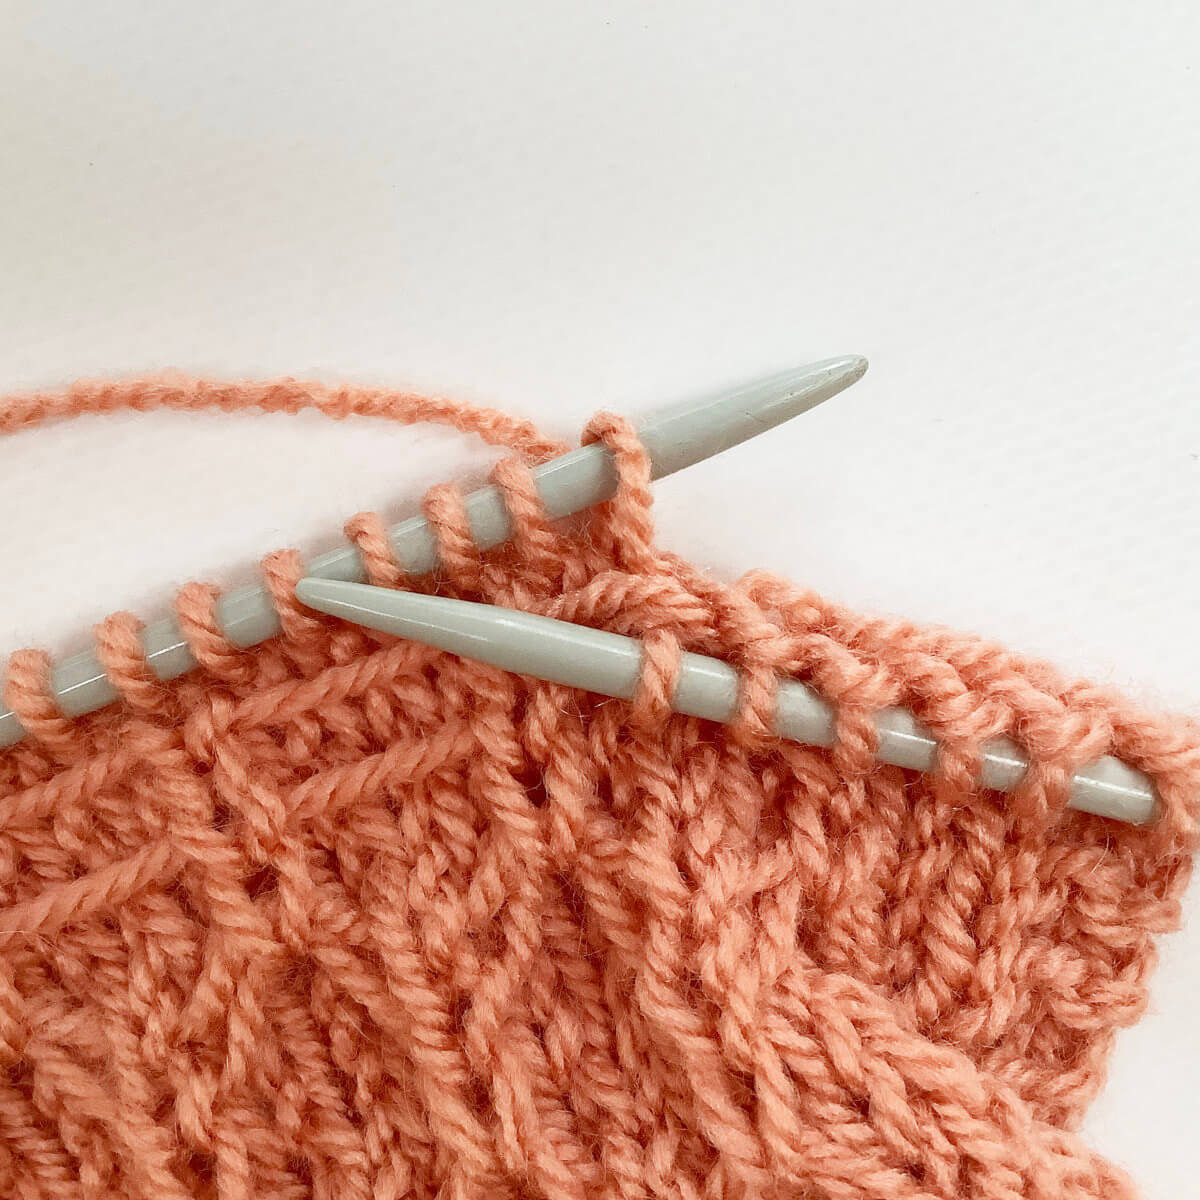
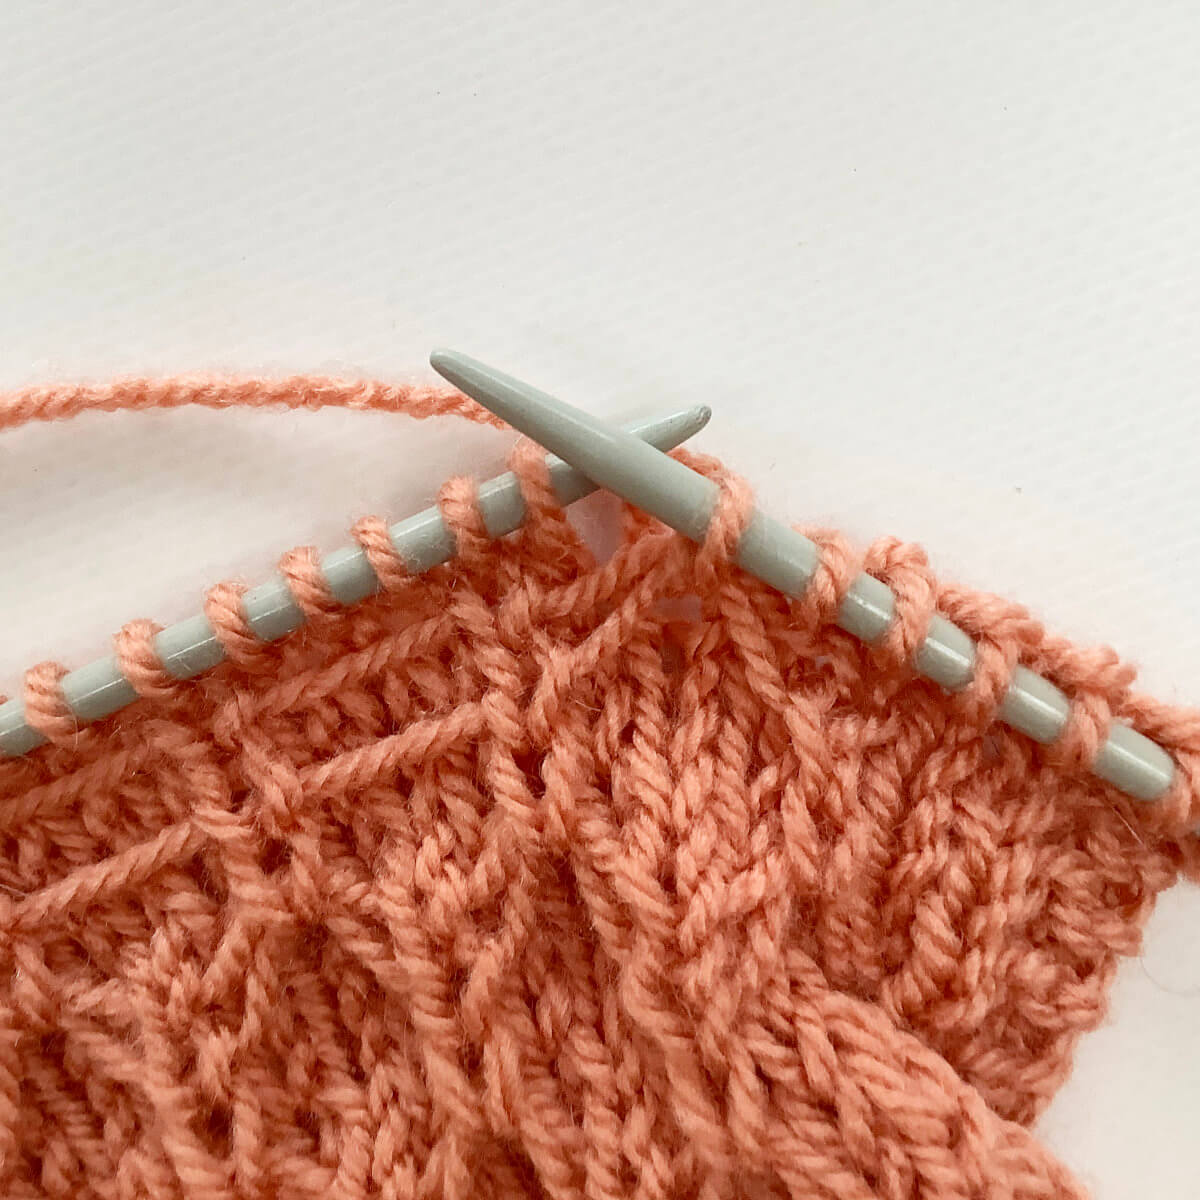
And last, but not least: the patterning itself. I have not charted it out, but the repeat seems to consist of something like:

K7, CDD, k7, yo, k1, yo, k2tog, k1, yo, k2tog, skp, yo, k1, skp, yo, k1, yo.

The WS rows are alternating in knit and purl. So, I think we’re looking at a 4-row repeat.

If you test this out, I’m looking forward to hearing whether the above indeed matches the patterning in my tee.

Patreon logo

Thanks to my Patreon supporters for bringing you this freebie! Creating quality patterns and tutorials is a lot of work and resource-intensive. However, I find it important to give you free content like this tutorial. Thanks to the generous support of my Patreon supporters, I can make it happen. Thank you, patrons! Click here to join, or click here to read more about La Visch Designs on Patreon.

tutorial – knitwear examined: a Missoni tee Read More »

tutorial – replacing the toe of a hand-knit sock

Replacing the worn-down toe of a hand-knit sock

My youngest is a big fan of wearing hand knit socks. To make sure he gets enough wear out of a pair before growing out of them, I make him tube socks. The pattern I use is usually the No-Heel Spiral Socks by La Maison Rililie. Anyway, he wears these socks a lot, and that means they also get a lot of wear. With the sock pictured, a hole developed in the lilac toe section. On further inspection, it became clear that the whole lilac toe was thin all over, but that the rest of the sock was still good for a lot of wearing. So, time to learn how to go about replacing the worn-down toe of a hand-knit sock!

In this post, I show you how I go about it. There are probably many more ways to tackle this, this is just the one that I used here.

Materials used

Yarn: New sock yarn to work the new toe.

Tools: A pair of circular needles in size 2 mm (US 00) and a small circular in the same size.

Replacing the toe, step by step

I determined that all the lilac was bad, but that the pink variegated yarn was still good.

  1. To start, I snipped some of the lilac yarn to free up the stitches in the pink and to put those on a circular needle.

    This sock was originally knit toe-up, but the replacement toe will be knit the other way around. Because of this difference in knitting direction, I can’t unravel the lilac yarn easily. Instead, I have to tease it loose stitch by stitch with the smaller needle. This is not a problem, because it greatly reduces the risk of dropped stitches and running down stitches.Picking up stitches

  2. Tease all the pink stitches loose and put them on the needle.

    When this is done, you have a loose, worn-out toe and a project ready for knitting.A loose toe

  3. Attach your new yarn and work the new toe.

    In this picture, I’m ready to join the new yarn.ready to attach new yarn

The result

The result of replacing the worn-down toe of a hand-knit sock: A sock with a new toe, ready for some more wearing!

The result of replacing a worn-out toe
Patreon logo

Thanks to my Patreon supporters for bringing you this freebie! Creating quality patterns and tutorials is a lot of work and resource-intensive. However, I find it important to give you free content like this tutorial. Thanks to the generous support of my Patreon supporters, I can make it happen. Thank you, patrons! Click here to join, or click here to read more about La Visch Designs on Patreon.

tutorial – replacing the toe of a hand-knit sock Read More »

psychedelica

Psychedelica shawl

Sometimes, you just want a knit that quickly gives results. This design uses aran weight yarn, which definitely delivers on that! The patterning in the Psychedelica shawl may look challenging, but if you’ve ever knit lace, you can absolutely work this too.

This shawl is knit from the top-down in one piece, starting at the neck edge with a garter tab. The instructions for the psychedelic patterning are both charted and written out.


Pay what you want: (minimum €6.95)

€

Add to cart


Difficulty level

The Psychedelica shawl is worked from the top-down, starting with a garter tab cast-on. The psychedelic patterning is worked on both the RS and the WS of the work. Stitches used include knit, knit tbl, purl, purl tbl, m1bl, k2tog, k2tog tbl, skp, p2tog, and p2tog tbl.

This pattern is therefor suitable for the intermediate to advanced knitter.

Sizes and finished measurements

One size: Span width of 215 cm (84 ¾ inches) measured along the upper edge, and a depth of 99 cm (39 inches), measured after blocking.

Adjust the size of this shawl by using lighter or heavier yarn and/or working fewer (or more) repeats of the various sections of the shawl. This will, of course, change the amount of yarn needed.

Pattern details

  • Gauge: Approx. 10 sts / 19 rows = 10 cm (4 inches) over striped stockinette, measured after blocking. Gauge is not critical in this design, but should give you a fabric that you like with the yarn used.
  • Pattern languages included: English.
  • Digital PDF has 5 pages (letter size)

Yarn

Garnstudio Drops Big Fabel (75% wool, 25% nylon; 150 m (164 yds) / 100 g) in the following colors and quantities:

  • C1: 450 m (492 yds) / 300 g) in 105 – turquoise
  • C2: 300 m (328 yds) / 200 g) in 102 – green

This particular yarn is discontinued, but could be substituted with Garnstudio Drops Big Merino (100% wool; 75 m (82 yds) / 50 g). Substitute a plied aran weight yarn in solid or tonal colors for a similar result.

Materials

  • Size 4.5 mm (US 7) / 100 cm (40 inches) circular needles were used for the sample shawl. Use needles appropriate for the yarn chosen.
  • Yarn needle.
  • 4 stitch markers to indicate the center stitch and the edge stitches.
  • Stitch markers to use in between patterning repeats (optional).

psychedelica Read More »

tutorial – knitting jogless stripes in the round

Knitting jogless stripes in the round

When working knitting in the round, you’re actually working in a spiral. This means, that when knitting stripes, you get a little “jog” when switching from the one to the other color. Of course, there are also many ways to help counteract this effect. Some methods only work well with very wide stripes. However, the one I’ll be showing here, also works well with narrow stripes.

Materials used

Yarn: Scheepjes Sunkissed, a fingering weight 100% cotton yarn (170 meters / 50 grams). Pictured here in the colors 7 Pistachio Ice and 6 Oceanside.

Needles: * KnitPro Zing Fixed Circular Needles. In this tutorial, I used the 3 mm (US 2 1/2) size with a cable length of 60 cm (24 inches).

Knitting jogless stripes in the round step by step

  1. To start, finish your round with the old color, but do not yet move the end-of-round stitch marker to the other needle.

    Step 1 of knitting jogless stripes

  2. Next, place the last worked stitch back on to the left-hand needle.

    Step 2

  3. Now take the other color yarn and knit the stitch you just placed back onto the left-hand needle.

  4. With the new color, continue working the round until you’re one stitch before the end-of-round.

  5. Insert the right-hand needle in the stitch below the one near the tip of the left-hand needle and place it back on the needle.

    Step 5 of knitting jogless stripes

  6. Make sure to place the stitch in the “old color” in front of the one in the “new color”

    This is what covers the jog!step 6

  7. Finally, knit both loops together.

    And that’s it!The last and final step of working jogless stripes

Considering that I’m knitting this tee with a 100% cotton yarn at a relatively loose gauge, I find the end result to be amazingly jogless indeed. I mean, it’s not absolutely invisible, but still pretty hard to detect!

Patreon logo

Thanks to my Patreon supporters for bringing you this freebie! Creating quality patterns and tutorials is a lot of work and resource-intensive. However, I find it important to give you free content like this tutorial. Thanks to the generous support of my Patreon supporters, I can make it happen. Thank you, patrons! Click here to join, or click here to read more about La Visch Designs on Patreon.

tutorial – knitting jogless stripes in the round Read More »

tutorial – raising the back neck of circular yoke sweaters

tutorial - raising the back neck of circular yoke sweaters

Circular yoke sweaters and tees are pretty popular. No wonder, because they are a great canvas for colorwork or lace. However, some shaping for raising the back neck is really necessary to make it sit right. Without any shaping, chances are that when it sits right at the back, it sits too high in the front, giving that undesired choking feeling. Likewise, if it sits well in the front, it will probably sit too low in the back. And no, this isn’t something that some rigorous blocking will fix.

In this tutorial, I’ll show you first what exactly the problem is. And, of course, also how to fix it.

The problem

As you can see in the below picture, the main issue is that the human torso is not symmetrical back to front. The neckline is angled, which means that to arrive at the same level, there is more fabric length needed in the back than at the front. And completely circular yokes (as well as raglan sweaters) without any added back neck shaping are symmetrical and don’t have this extra length built in.

As visualized in the below picture, you may start out with the situation on the right. However, as the day goes by, the sweater will want to return to its base shape and the neckline in the front will creep up as pictured on the left.

The solution, of course, is to add shaping to give the yoke the extra fabric it needs in the back. In ready-made garments, you also see a difference in the depth of the yoke in the back vs the front of the garment. That difference is called the “front neck drop”, which is in essence the same as raising the back neck by a certain distance. They both refer to a difference in vertical distance to create a better fit in your garment at the neck.

Raising the back neck: How?

The usual solution is to use short rows to add extra length over a certain number of the back stitches. These can be added close to the neckline, above any yoke patterning, below the yoke patterning to lengthen the back or a combination of these two. The short rows themselves can be of the wrap & turn kind, German short rows, or any other type of short row you prefer.

But this is not my preferred way….

Instead, I prefer to work back and forth over the back stitches only to lengthen that part. I do this directly before dividing the stitches for the body and sleeves. Let me you show what I mean:

This is my Jade Clover design when it was still in progress. This is a really easy way to raise the back neck, because no short row calculations are needed. Just look up in the pattern how many stitches you have for the back of your garment. Next, work those back and forth for a bit. This is a very easy way to include back neck shaping in patterns that don’t have it. Or, to raise it a bit further than the pattern describes. I know I have done so occasionally. For example, when only a few short rows were included, and the sweater still looked a bit choky on the models.

Below is my Shoreham-by-Sea tee pictured. You can see how that bit of knitting looks after the stitches are divided and a bit of the body has been worked.

What about the sleeves?

As you can see, there is now a vertical section between the held stitches and the stitches that were cast on for the underarm. And yes, this does mean that along that edge, stitches will also have to be picked up and knit for the sleeves. In my patterns where this technique is used, I have taken this into account when calculating all stitches and decrease rows for the sleeves. Take a look at the picture below to see how it looks when the garment was all done:

Back of sleeve detail

In sweaters where you add this yourself, you will start out with more sleeve stitches than the pattern describes. It may mean that you have some welcome extra ease in the upper arm. In that case, just follow the pattern for a larger size that has the same approx. number of sleeve stitches. If you want narrower sleeves, you may need to take an extra look at the number of decrease rounds and the number of plain rounds between them.

On a final note, I have not yet tried this technique with raglan garments. However, I strongly suspect it will work just as nicely there as it does with circular yoke sweaters. When I do try it, I will report back!

Patreon logo

Thanks to my Patreon supporters for bringing you this freebie! Creating quality patterns and tutorials is a lot of work and resource-intensive. However, I find it important to give you free content like this tutorial. Thanks to the generous support of my Patreon supporters, I can make it happen. Thank you, patrons! Click here to join, or click here to read more about La Visch Designs on Patreon.

tutorial – raising the back neck of circular yoke sweaters Read More »

tutorial – two-stitch buttonhole in 2×2 rib

Two-stitch buttonhole in 2x2 rib

Knitting neat buttonholes can be a challenge, especially if you need the bigger sized ones. They often tend to sag or stretch at the edges. Fortunately, I recently came across this lovely technique to make a two-stitch buttonhole, right in the purl portion of (k2, p2) rib patterning. This method may seem a tad involved, but trust me, the result is really worth it!

In this tutorial, I’ll show you how to work buttonholes in an 8 st repeat, with a buttonhole over the 2 stitches in every other purl section of the rib patterning.

Materials used

Yarn: Beiroa, an aran weight yarn from Retrosaria Pomar; a 100% Portuguese wool yarn, manufactured in Portugal, exclusively from the wool of free grazing Bordaleira Serra da Estrela sheep.

Knitting needles: A pair of Addi circular needles in size 4.5 mm (US7).

Knitting two-stitch buttonholes in 2×2 rib, step by step

This technique is worked over various rows. In a pattern (like the one for the cardigan-in-progress used in this tutorial), you can expect instructions like these:

Buttonhole row 1 (RS): *K1, kfb, (p1, psso) twice, sl st back to left needle, k2tog, k1, p2; rep from *.
Buttonhole row 2 (WS): *K2, p2, you have then reached the first bound off st, m1bl, p2; rep from *.
Buttonhole row 3 (RS): *K2, m1rp, p1, k2, p2; rep from *.

Let’s get started!

  1. First, work to the 2 knit stitches just before the purl stitches where you want to place your buttonhole.

    Step 1

  2. Knit 1 stitch.

    Step 2 of knitting a two-stitch button hole

  3. In this step, work a kfb increase in the next stitch.

    Step 3

  4. Now purl the next stitch on the needle….

    step 4

  5. … insert the tip of your left-hand needle into the second stitch on the right-hand needle ….

    step 5

  6. … and pass it over the purl stitch.

    Step 6 of knitting a two-stitch buttonhole

  7. Repeat steps 4 to 6 once.

    Step 7

  8. Next, slide the first stitch that’s on the right-hand needle back to your left-hand needle.

    Step 8

  9. Next, knit the first 2 stitches on the left-hand needle together (k2tog), decrease the extra stitch away.

    Step 9

  10. To finish the last few stitches of the repeat, work k1, p2 over the 3 next stitches.

    Now you can repeat these steps until you have the correct number of buttonholes, and then continue with the button band until you’ve reached the end of the row. It can be useful to use stitch markers around the buttonhole repeats, to make it easier to find your place on the next row.Step 10

  11. Buttonhole row 2: Work the button band on the WS until you’ve reached your marker. Then work k2, p2 over the next 4 stitches.

    You have then reached the first bound off st.making a two-stitch buttonhole

  12. Now work a m1bl increase.

    Step 12

  13. Next, purl 2 stitches to finish the buttonhole repeat on the WS.

    Again, continue and repeat as needed to the end of the row.Step 13

  14. Buttonhole row 3: Work to the start of the buttonhole repeat and work k2 over the first 2 stitches.

    making a two-stitch buttonhole

  15. As you can see in the result of the last step, we’ve now reached the newly cast-on stitch. To make sure the buttonhole edge is nice and tight, we’ve not cast on 2. But, of course, we do need two stitches in theta purl section. So, to remedy that, we’ll be using the extra slack in the loose thread of yarn to make that extra stitch. To do so, work a m1pr: a right leaning m1 stitch, worked purl-wise.

    Next step

  16. To finish the buttonhole, work a p1 in next stitch, followed by k2.

    last step

The result

Below, you can see the result of working this two-stitch buttonhole. Really neat, right?!

The result of a two-stitch buttonhole in 2x2 rib
Patreon logo

Thanks to my Patreon supporters for bringing you this freebie! Creating quality patterns and tutorials is a lot of work and resource-intensive. However, I find it important to give you free content like this tutorial. Thanks to the generous support of my Patreon supporters, I can make it happen. Thank you, patrons! Click here to join, or click here to read more about La Visch Designs on Patreon.

tutorial – two-stitch buttonhole in 2×2 rib Read More »

stitch pattern – little V lace

Little V lace - a stitch pattern

Small V lace is a cute lace stitch pattern, consisting of 2 types of single decreases and yarn overs. It’s very suited for both all-over patterning, and use in an accent panel. This stitch pattern is worked in a multiple of 8 + 1 stitches. Please note that in the above picture, I’ve added 2 edge stitches in garter stitch on both sides of the swatch.

Materials used

Yarn: Paintbox Yarns Simply DK, a good value, good quality 100% acrylic yarn, here in the color Tea Rose

Knitting needles: This is a pair of straights that I picked up at the second-hand store when I started knitting, brand unknown.

Stitches used

Little V lace instructions

Row 1 (right side): K1, *k1, k2tog, yo, k1, yo, skp, k2; rep from * to end.

Row 2: (wrong side): Purl.

Row 3: K1, *k2tog, yo, k3, yo, skp, k1; rep from * to end.

Row 4: Knit.

Repeat rows 1-4 for pattern.

Little V lace - view from the RS
Little V lace - view from the WS
Patreon logo

Thanks to my Patreon supporters for bringing you this freebie! Creating quality patterns and tutorials is a lot of work and resource-intensive. However, I find it important to give you free content like this tutorial. Thanks to the generous support of my Patreon supporters, I can make it happen. Thank you, patrons! Click here to join, or click here to read more about La Visch Designs on Patreon.

stitch pattern – little V lace Read More »

tutorial – weaving in ends as you go (end of a color)

Weaving in ends as you go - end of a color

Weaving in ends is a thing that just happens in projects. I mean, every ball of yarn has a beginning and an end, and when it’s through when the project is not, a new one has to be attached. When working in a solid color, depending on the type of yarn, the Russian join, braided join or the felted join may be just what you’re looking for. However, if there are a lot of joins, because you’re, for example, working wide stripes in different colors, these usually are not the best option.

In this tutorial, I want to focus on how to deal with the yarn end of the old color, once a new yarn in a new color has been joined. For this method, you don’t need to tie knots, or even use a tapestry needle. And you can work it on the go, so that when you’re finished with the project, you’re also already finished with weaving in the ends. The downside is that this method is best to use in combination with feltable fibers. In other words: yarns that are somewhat “grabby” like wool and alpaca. Worked in ends with smoother yarns like silk and cotton may become undone.

Materials used

Yarn: Rauma Finull a sportweight wool yarn from Norway. It has a crisp hand and works well for stranded color designs. The yarn also softens up with washing.

Knitting needles: A pair of Addi circular needles in size 4 mm (US6).

Weaving in ends as you go, step by step

Let’s get started!

  1. In the below picture, the new yarn has been carried along from the previous section in that color, using the technique described here.

    Please note, that of the old color a yarn tail of approx. 10 cm (4 inches) has been left.step 1

  2. Next, insert your needle into the next stitch as if to knit.

    Step 2 of weaving in ends as you go

  3. In this step, take the bit of yarn tail and wrap it around the working yarn. It does not matter which way around you wrap, just do it consistently every time.

    After this, work the rest of the stitch as usual.step 3

  4. Now work a stitch as usual according to your pattern. In this case, that’s a knit stitch.

  5. Repeat steps 3 and 4 until no more length of yarn tail remains.

The result

Below, you can see the result of weaving in the ends as you go, when viewed from both the right, and the wrong side of the fabric. Really neat, right?!

The result of weaving in ends as you go
Result from the RS
Patreon logo

Thanks to my Patreon supporters for bringing you this freebie! Creating quality patterns and tutorials is a lot of work and resource-intensive. However, I find it important to give you free content like this tutorial. Thanks to the generous support of my Patreon supporters, I can make it happen. Thank you, patrons! Click here to join, or click here to read more about La Visch Designs on Patreon.

tutorial – weaving in ends as you go (end of a color) Read More »

stitch pattern – slip stitch diamond

Stitch pattern - slip stitch diamond

In the slip stitch diamond stitch pattern, little diamonds are formed by slipping stitches and keeping the working yarn at the front of the work. Then a stitch is worked from underneath the strands of yarn, creating the little “V” shape you see at the bottom corner of each diamond. Because of the slipped stitches, the tension of fabric with this patterning may be a tad tighter when compared with regular stockinette.

This stitch pattern is worked in a multiple of 4 + 1 stitches, and a repeat of 12 rows. Please note that I’ve added 2 edge stitches in garter stitch on both sides of the swatch.

Materials used

Yarn: Paintbox Yarns Simply DK, a good value, good quality 100% acrylic yarn, here in the color Vintage Pink.

Knitting needles: This is a pair of straights that I picked up at the second-hand store when I started knitting, brand unknown.

Stitches used

  • k – knit
  • p – purl
  • sl wyif – slip 1 stitch purl-wise with the yarn held in front
  • k1 uls – knit 1 stitch under loose strands
  • st(s) – stitch(es)

Slip stitch diamond instructions

Row 1 (right side): K1, *sl 3 wyif, k1; rep from * to end.

Row 2 and all following wrong side rows: Purl.

Row 3: K1, *sl 3 wyif, k1; rep from * to end.

Row 5: K2, *k1 uls, k3; rep from * to 3 sts before end, k1 uls, k2.

Row 7: K3, *sl 3 wyif, k1; rep from * to 2 sts before end, k2.

Row 9: K3, *sl 3 wyif, k1; rep from * to 2 sts before end, k2.

Row 11: K4, *k1 uls, k3; rep from * to 1 st before end, k1.

Row 12: Purl.

Repeat rows 1-12 for pattern.

In the below picture, I’ve worked 21 stitches in the slip stitch diamond patterning, over 36 rows.

Slip stitch diamond
Close up of slip stitch diamond
Patreon logo

Thanks to my Patreon supporters for bringing you this freebie! Creating quality patterns and tutorials is a lot of work and resource-intensive. However, I find it important to give you free content like this tutorial. Thanks to the generous support of my Patreon supporters, I can make it happen. Thank you, patrons! Click here to join, or click here to read more about La Visch Designs on Patreon.

stitch pattern – slip stitch diamond Read More »

tutorial – working the knit 1 under loose strands (k1 uls) stitch

Working the k1 uls stitch

In some cases, loose strands of yarn in front of the work are used to make details in patterning. Take, for example, my Kitties all around hat. In this hat pattern, I use these loose strands to create the whiskers of the little cats. At some point, you need to catch these loose strands behind another stitch. This way, you make sure they’re fixed in the correct point in the patterning. This is where the knit 1 under loose strands (k1 uls) stitch comes in! Read on to see how it’s done.

Materials used

Yarn: Paintbox Yarns Simply DK, a good value, good quality 100% acrylic yarn. The yarn shown here is in the colors 155 Vintage Pink and 125 Spearmint Green.

Knitting needles: This is a pair of straights that I picked up at the second-hand store when I started knitting, brand unknown.

Working a k1 uls stitch step by step

In patterns, you may encounter the following description of this stitch:
Knit 1 under loose strands (k1 uls): Insert right-hand needle under the loose strands to slip the next stitch purlwise, pulling it out from under the loose strands before replacing it on the left-hand needle, trapping the strands behind the stitch, next knit it.

Alternatively, the stitch may be described like this:
Knit 1 under loose strands (k1 uls): Insert right-hand needle under the loose strands then into the stitch, wrap the yarn around the needle and pull it through underneath the loose strands, trapping them behind the stitch. Slide the stitch off the left-hand needle to complete the k1 uls.

Both methods amount to exactly the same, but have a slightly different way to achieve the end result. In this tutorial, I’ll show the second version.

  1. Make sure you have your piece with knitting with loose strands to work, as instructed in your pattern.

    In this swatch I have 2 strands, achieved by slipping 3 stitches purlwise, with the yarn held in front of the work.step 1

  2. First, work your way across the row until you’ve reached the point where you want to make the k1 uls stitch

    In this case, I’m making it in the middle stitch of the 3 slipped ones.Working the k1 uls stitch step 2

  3. Insert your right-hand needle underneath the loose strands to capture.

    Step 3

  4. Now, insert the right-hand needle knit wise in the stitch to knit.

    Here I want to make a regular knit stitch, but if you’re instructed to work it through the back loop (k1 tbl), insert the needle in the back loop instead.Step 4

  5. To continue, wrap your working yarn around the needle

    Step 5 of working the k1 uls stitch

  6. …. and pull it through the stitch.

    Step 6

  7. Next, also pull it from underneath the loose strands.

    This is what captures the strands behind the newly made stitch.Step 7

  8. Finally, finish the stitch by slipping the loop off the left-hand needle.

    The end result: a k1 uls stitch

And that’s all there is to it!

Patreon logo

Thanks to my Patreon supporters for bringing you this freebie! Creating quality patterns and tutorials is a lot of work and resource-intensive. However, I find it important to give you free content like this tutorial. Thanks to the generous support of my Patreon supporters, I can make it happen. Thank you, patrons! Click here to join, or click here to read more about La Visch Designs on Patreon.

tutorial – working the knit 1 under loose strands (k1 uls) stitch Read More »