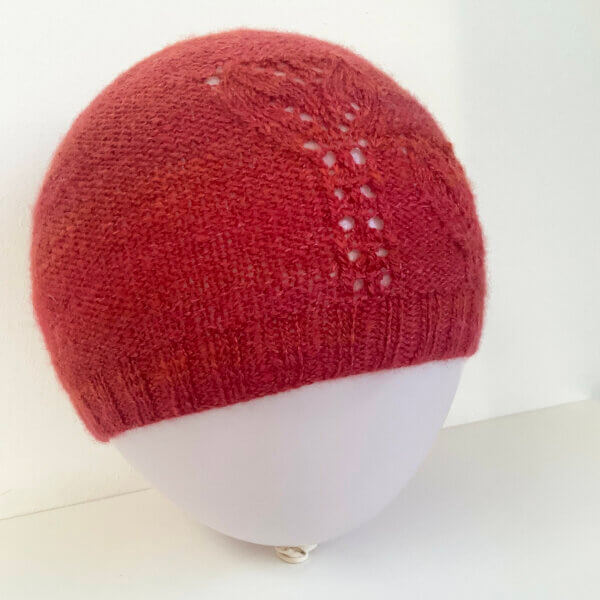
tulpa – the hat
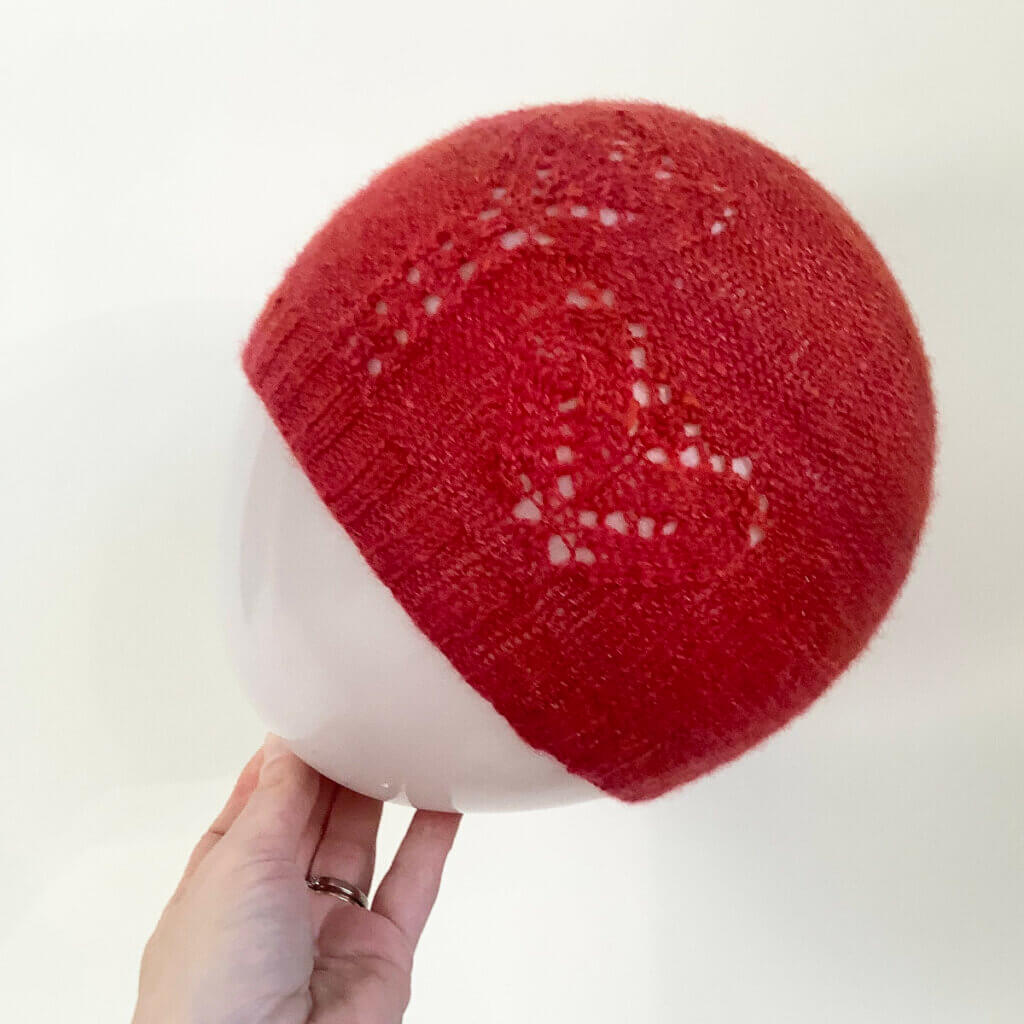
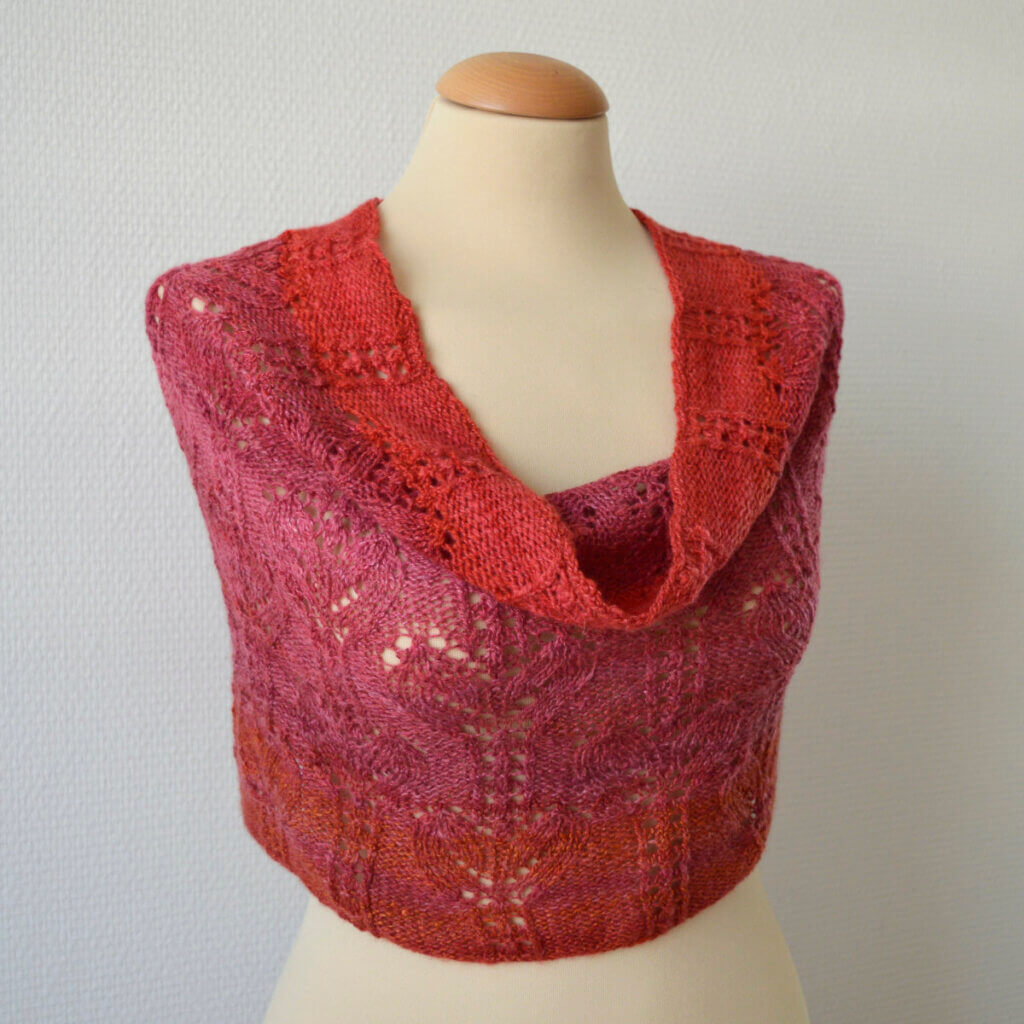
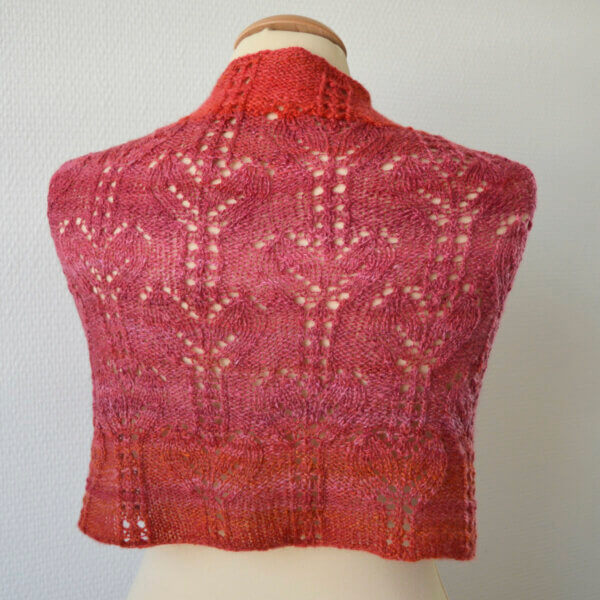
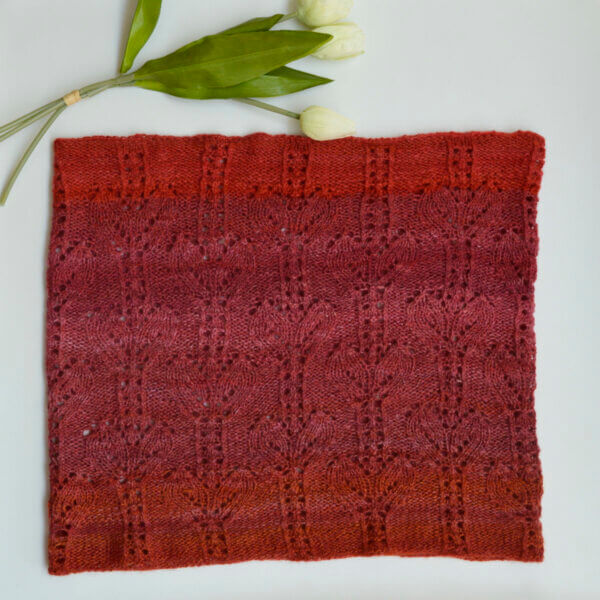
Having made a cowl to highlight this gorgeous red and pink hand spun yarn, I of course also had to make a matching hat! Make your version of Tulpa the hat in any gradient fingering or light fingering weight yarn. Whatever you choose: This is bound to be an entertaining knit with a stunning result!
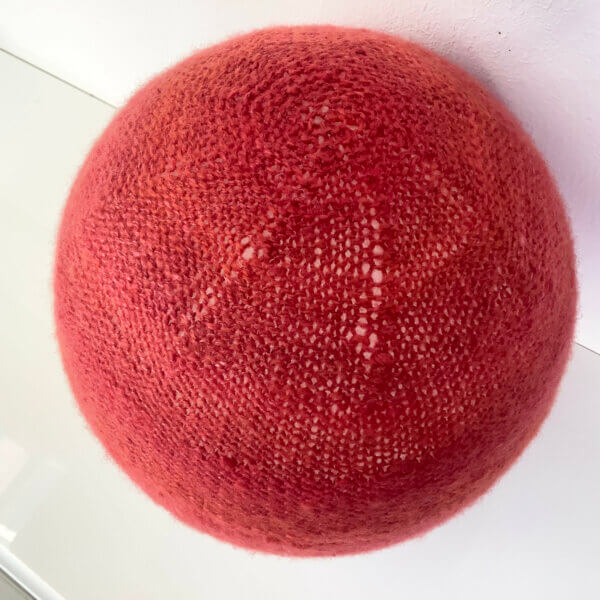
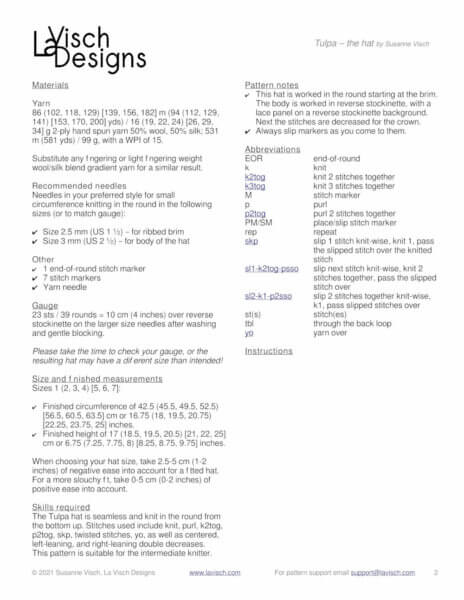
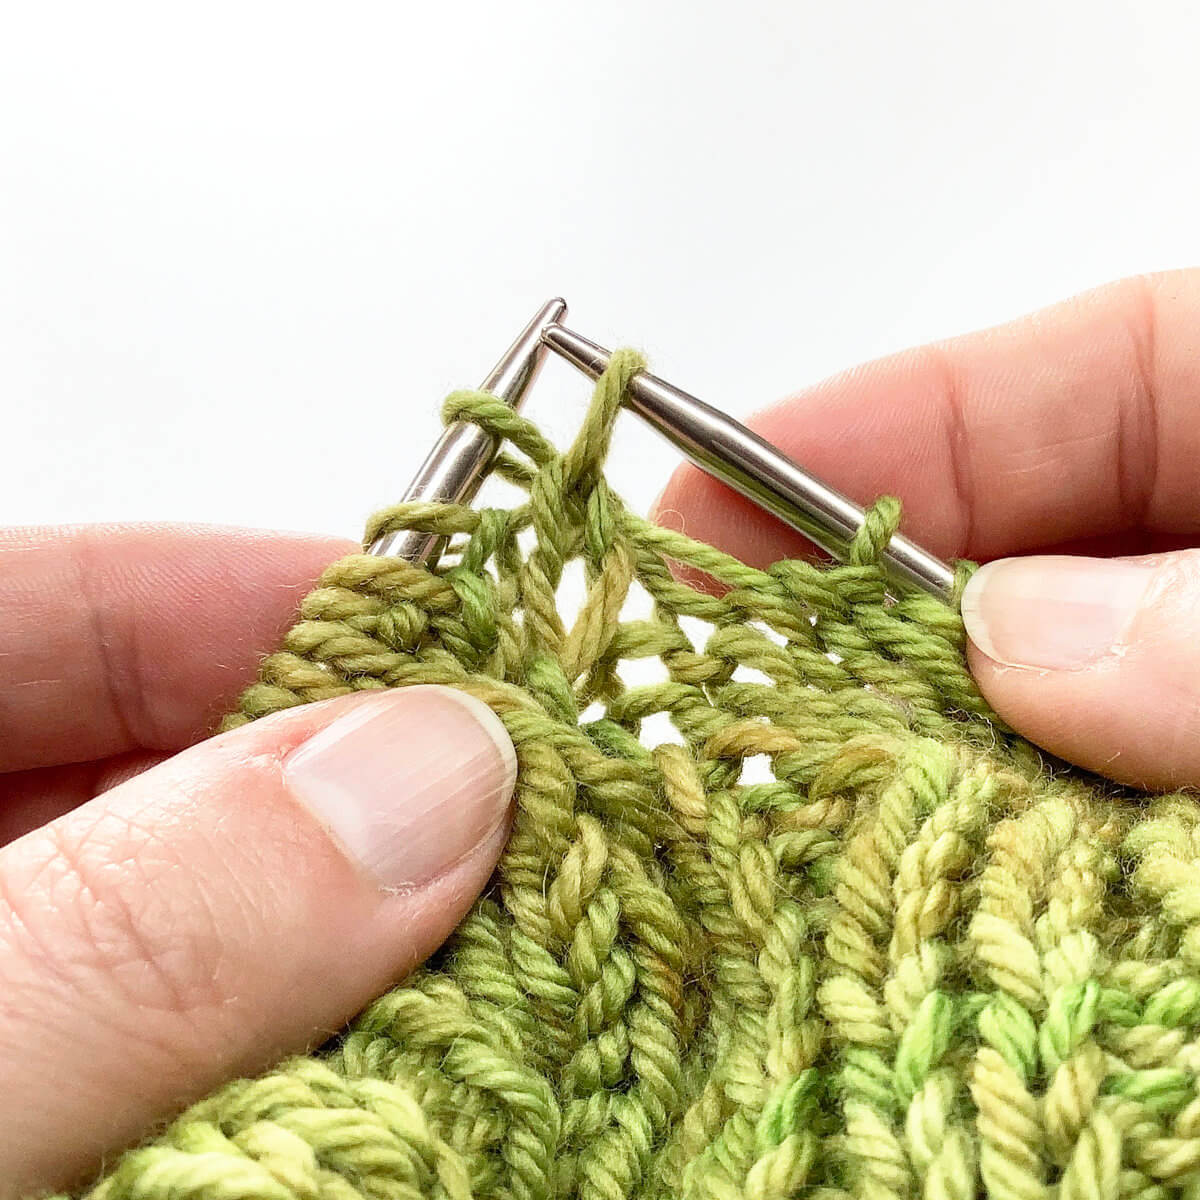
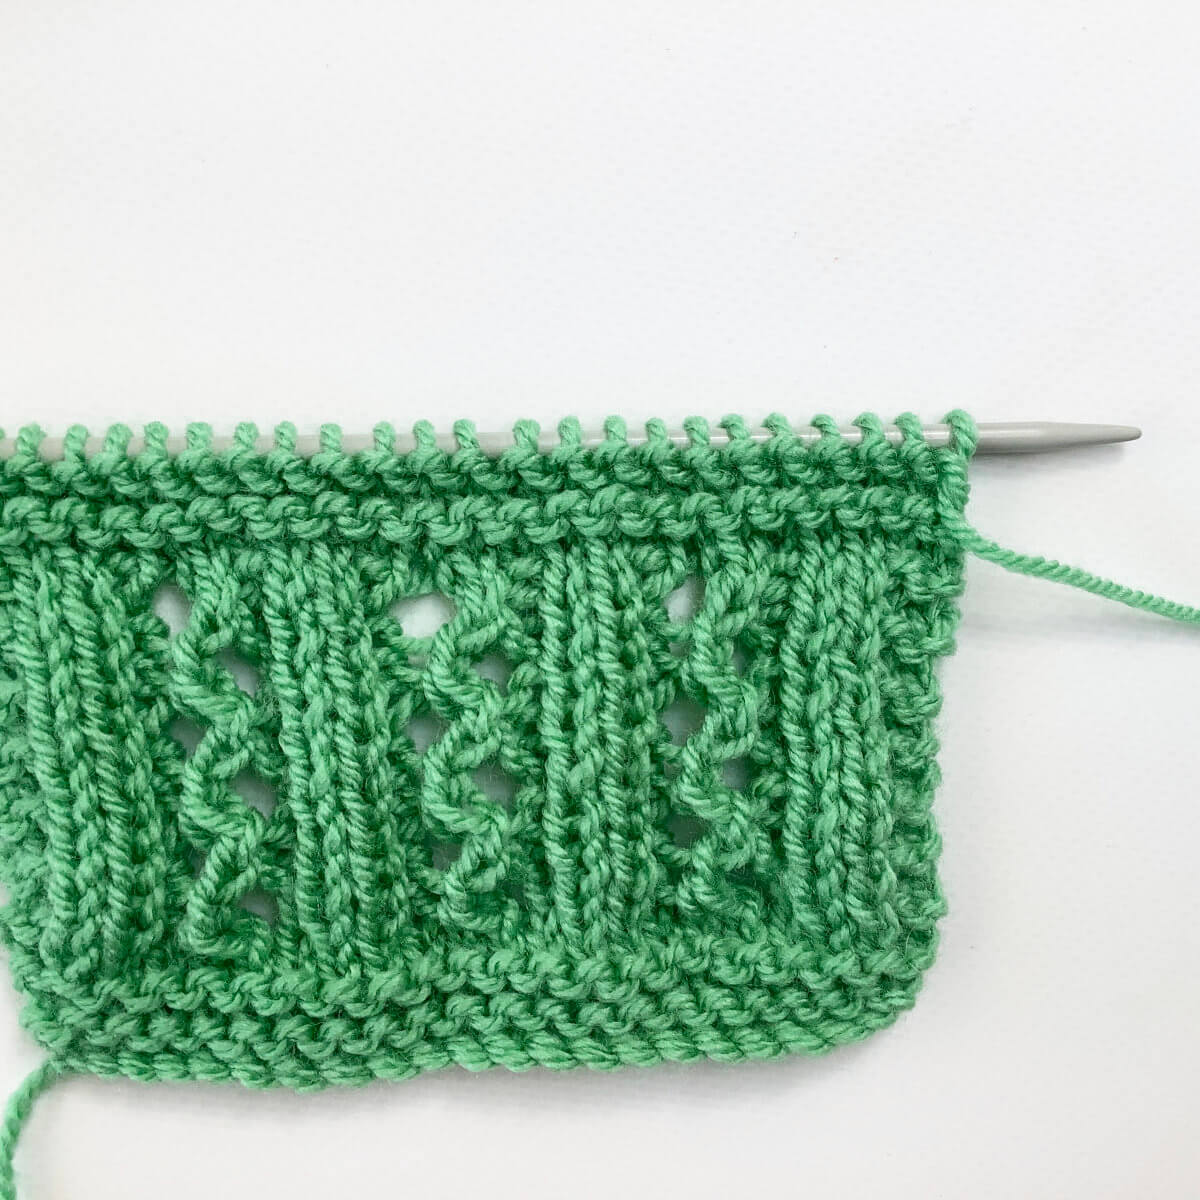
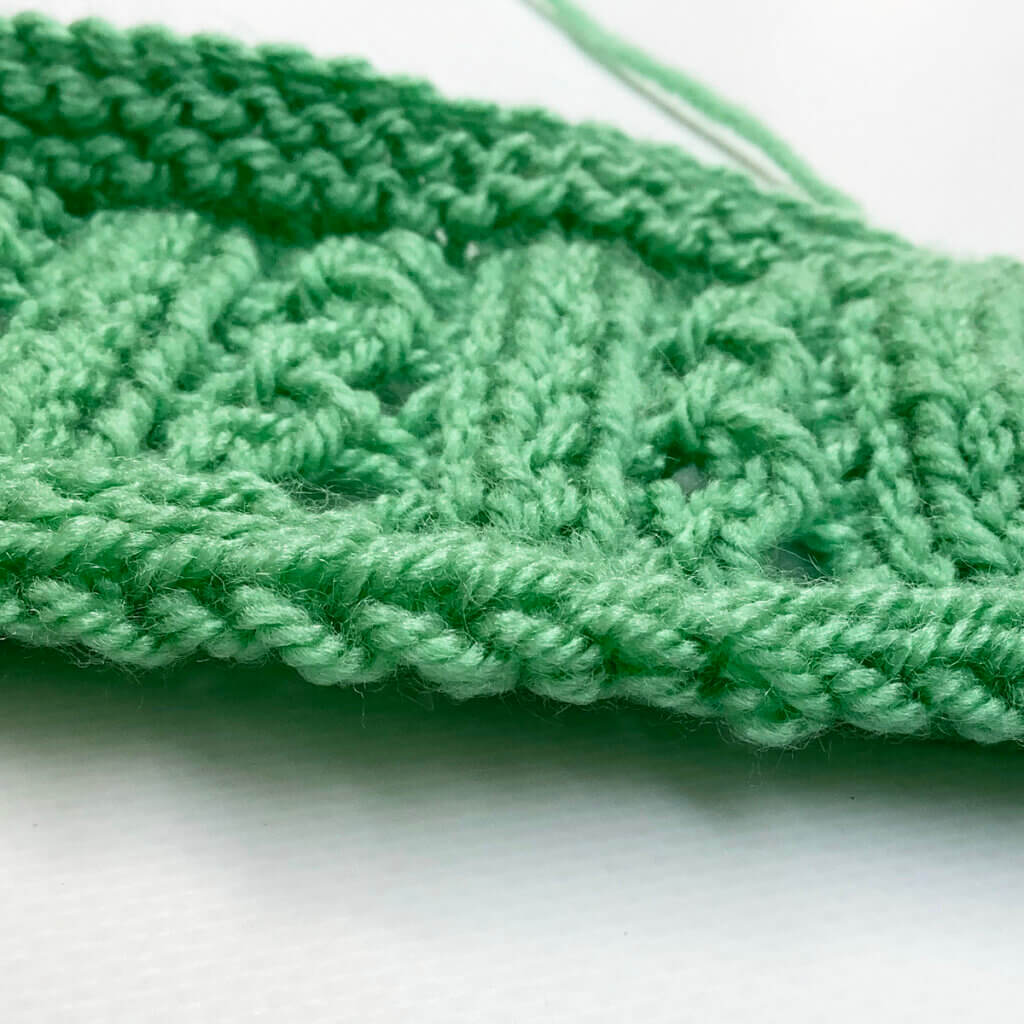
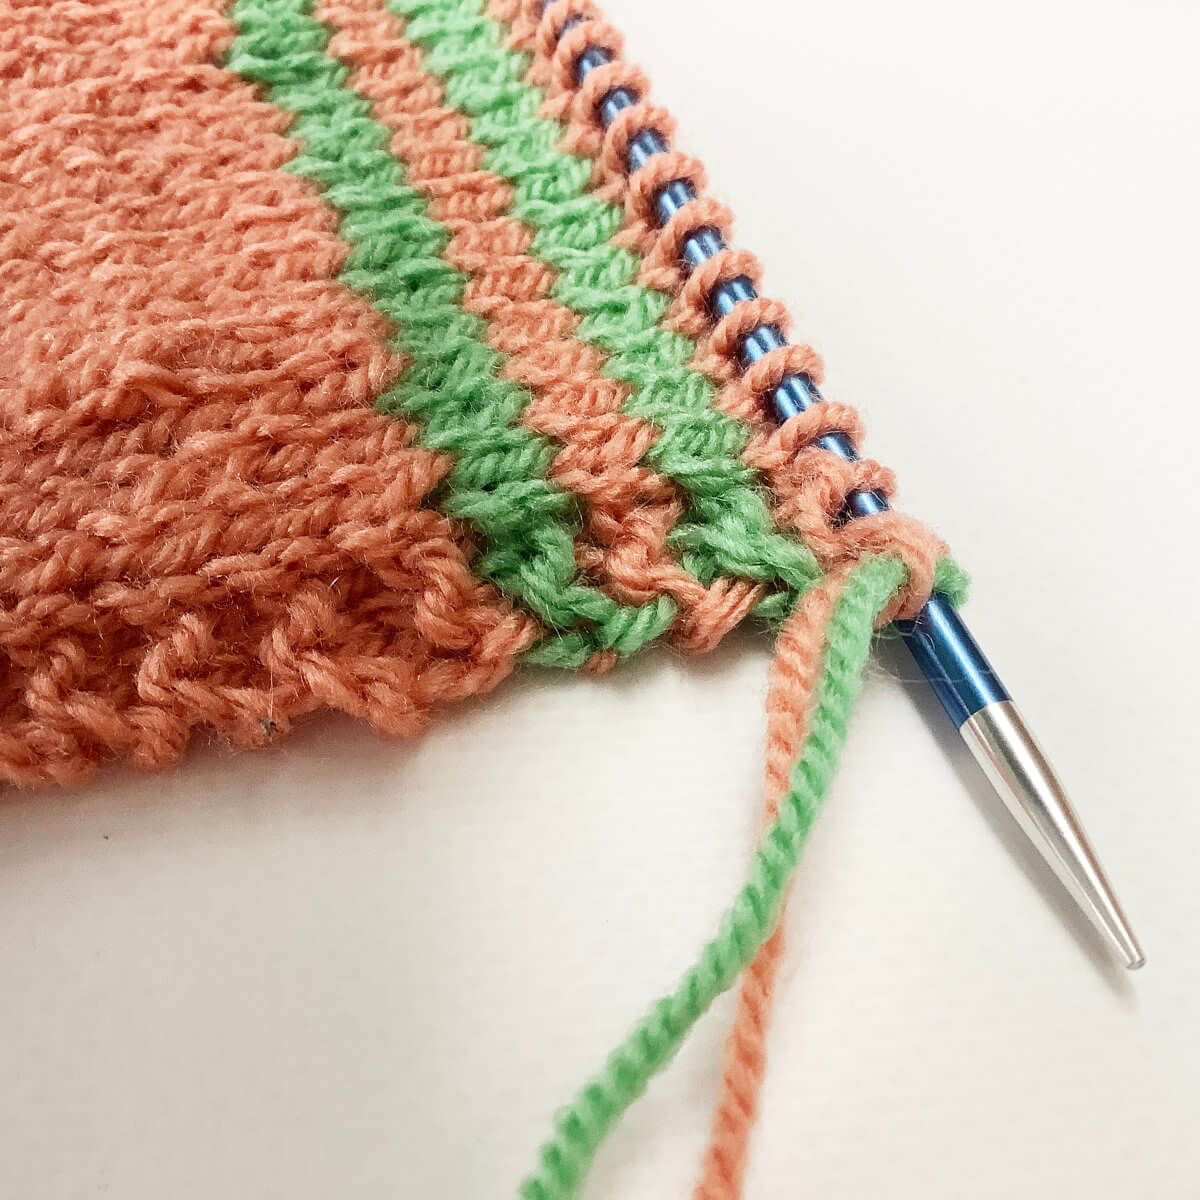
This pattern contains instructions for 7 sizes, ranging from a finished size of 42.5 cm up to 63.5 cm (16.75 to 25 inches). The Tulpa hat is seamless and knitted from the bottom up. The instructions for the lace panel are provided both charted and written out.
Pay what you want: (minimum €5.00)

Difficulty level
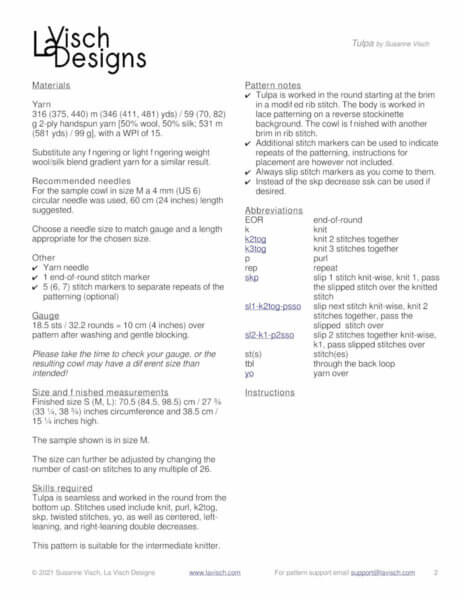
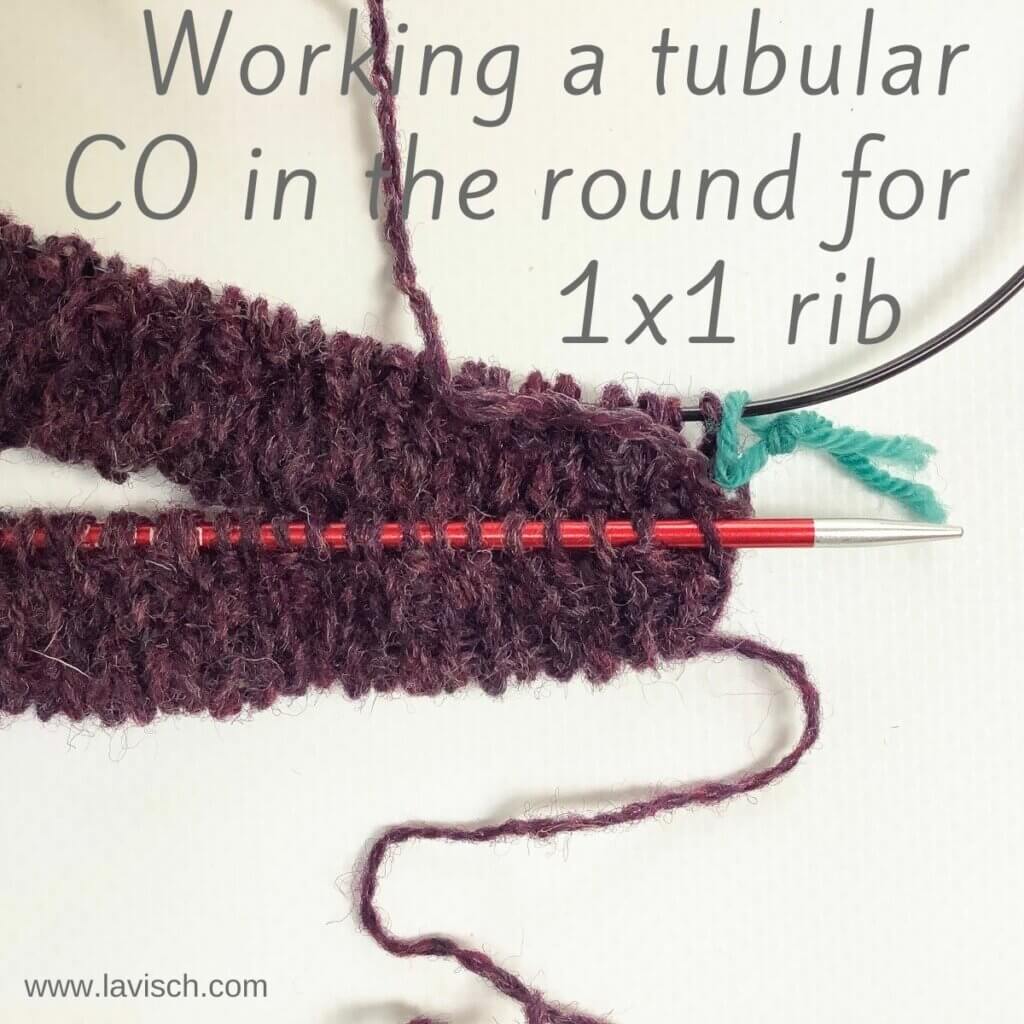
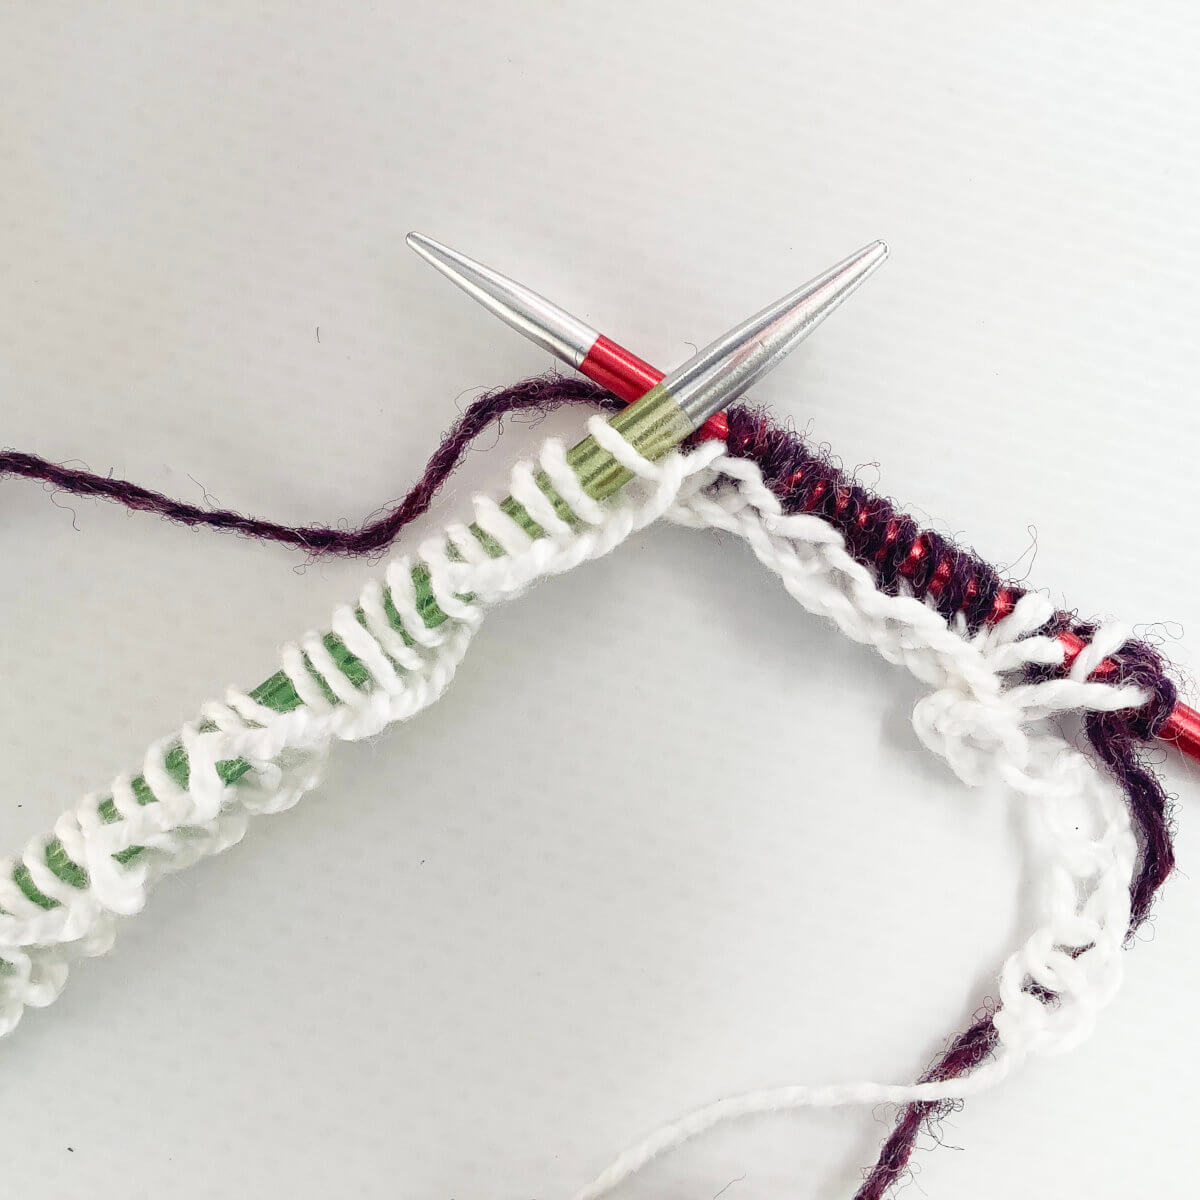
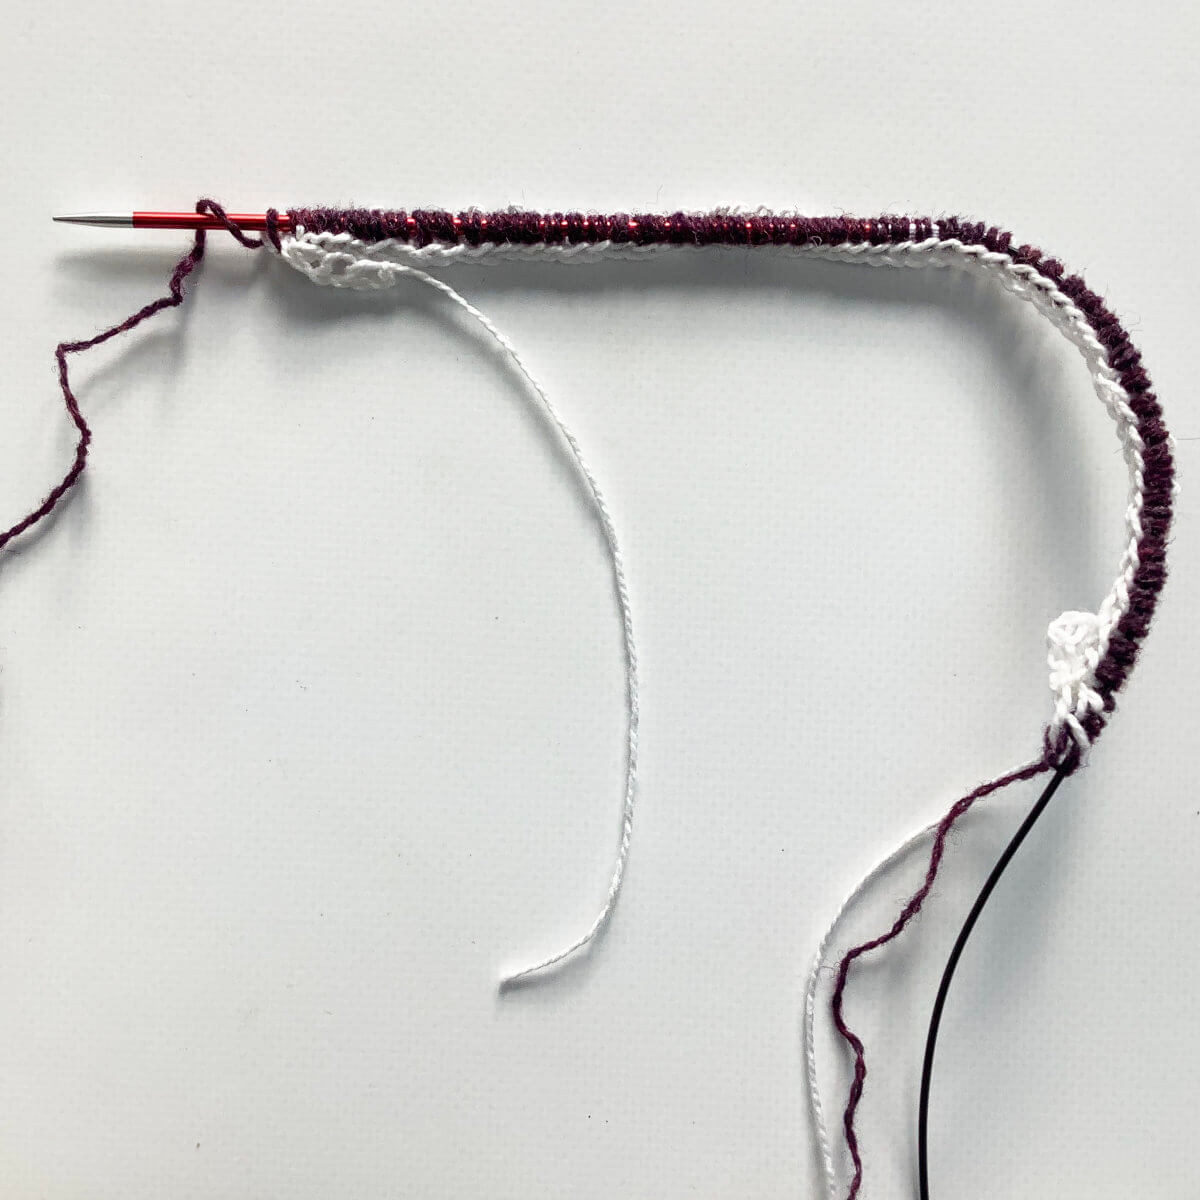
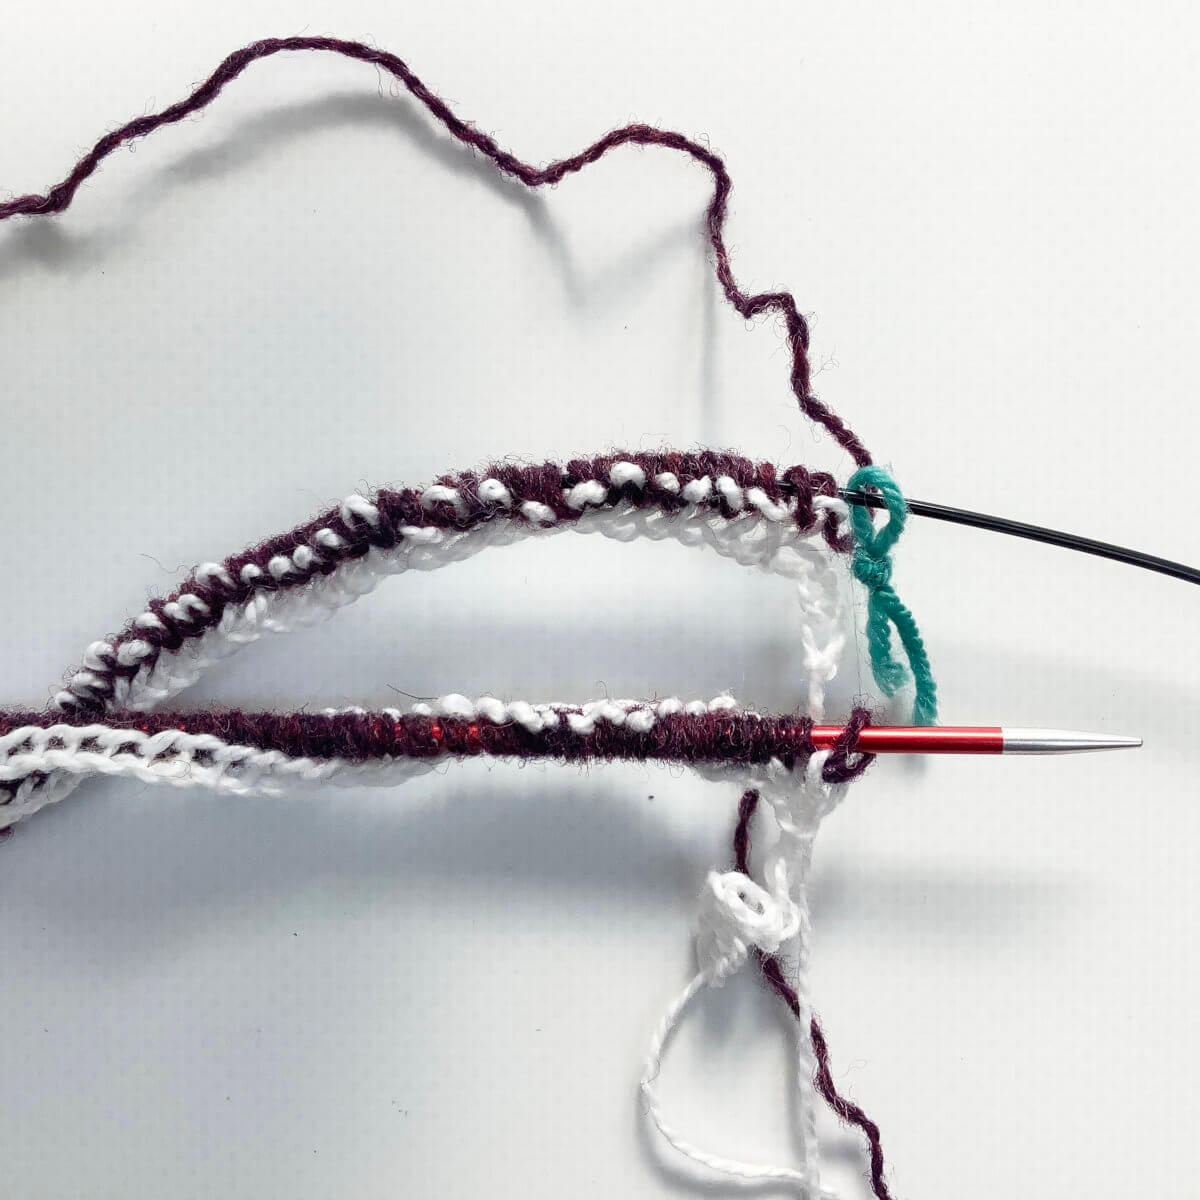
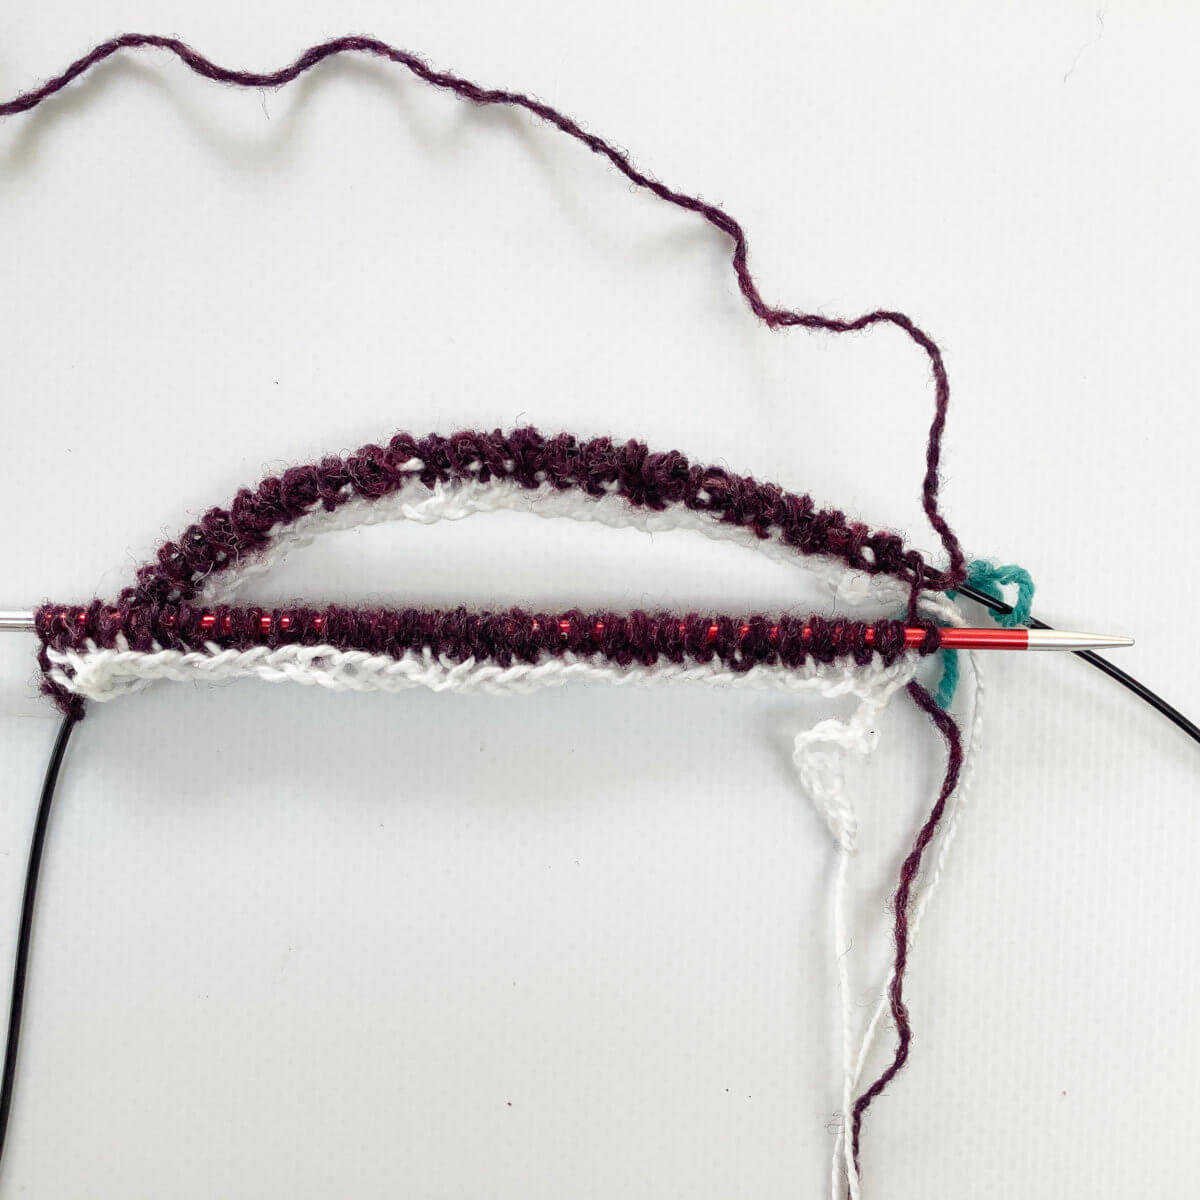
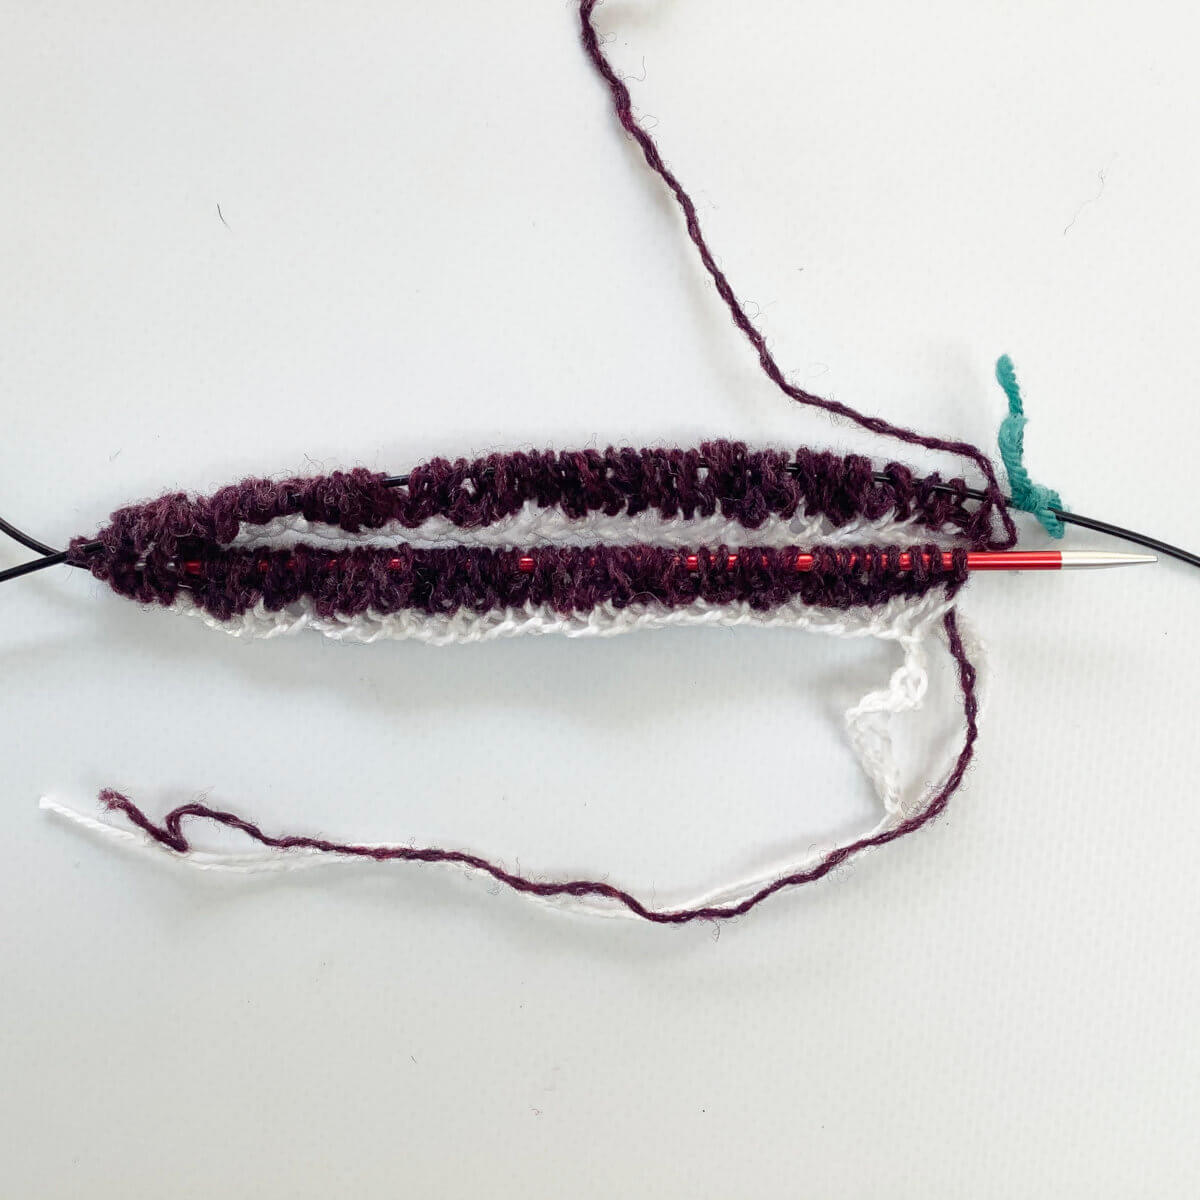
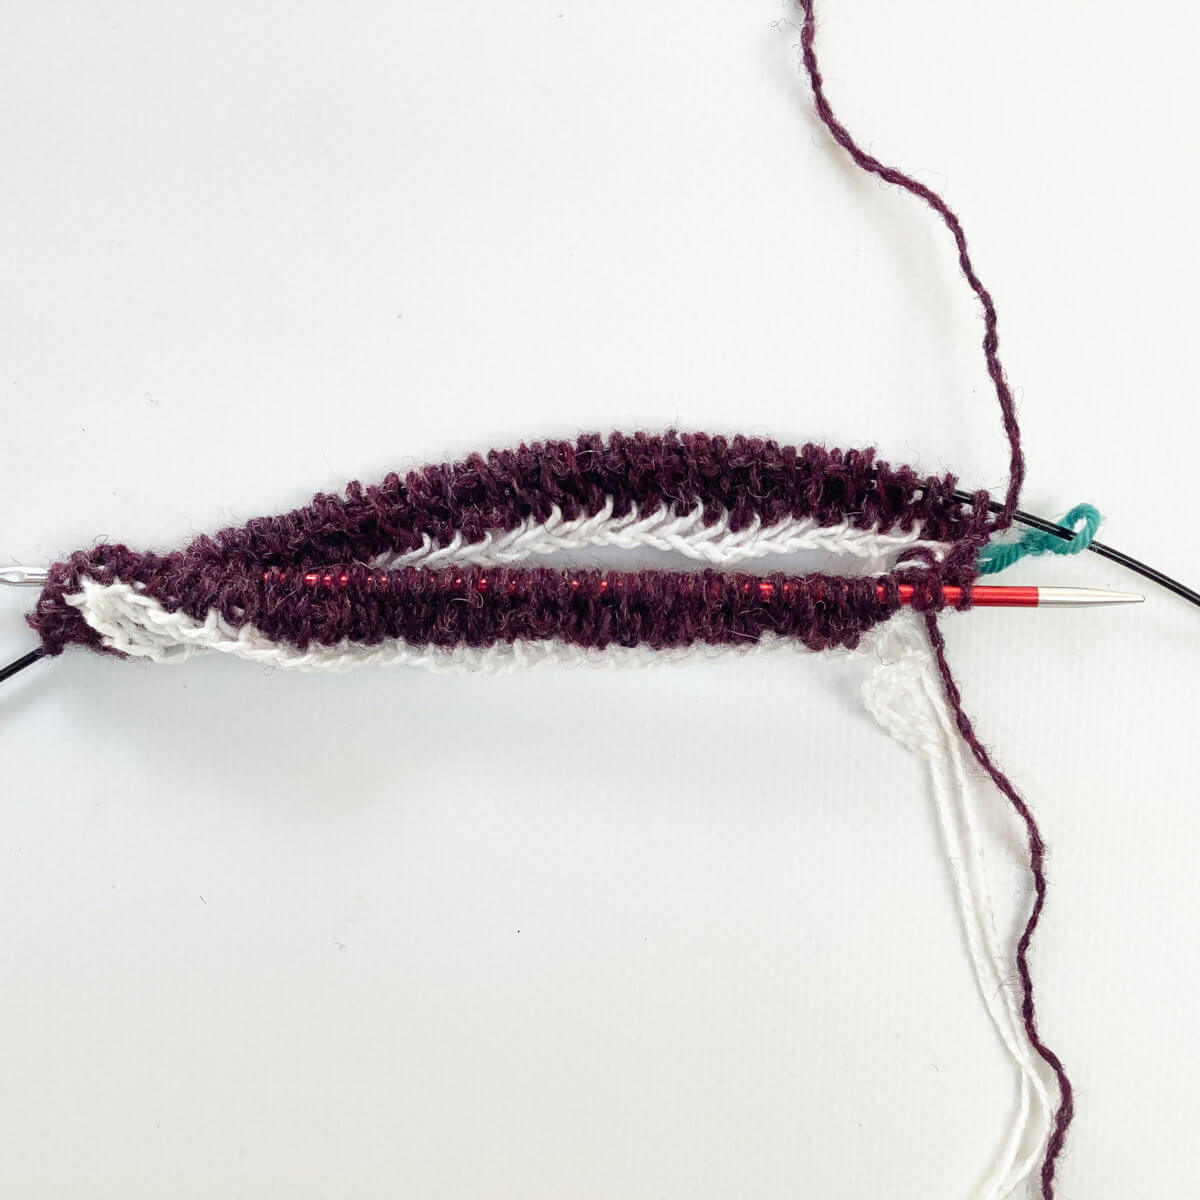
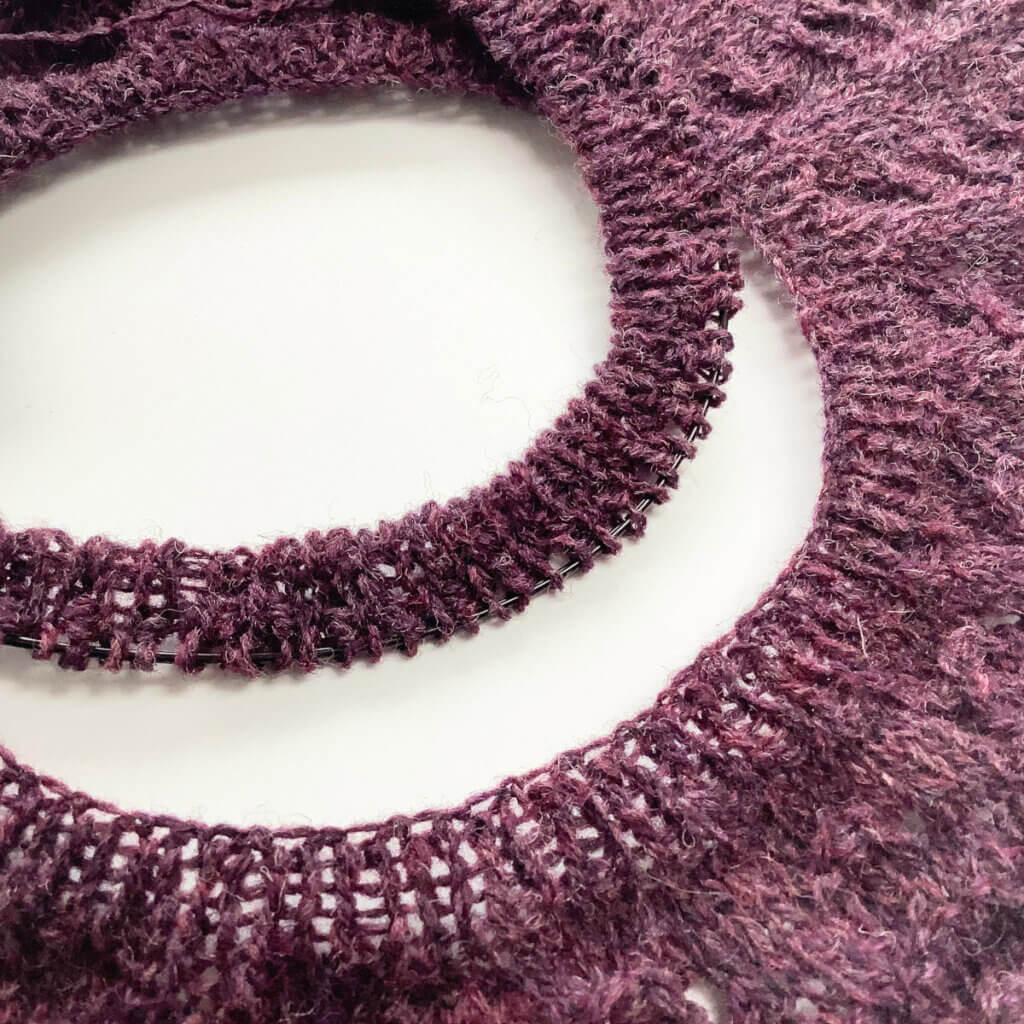
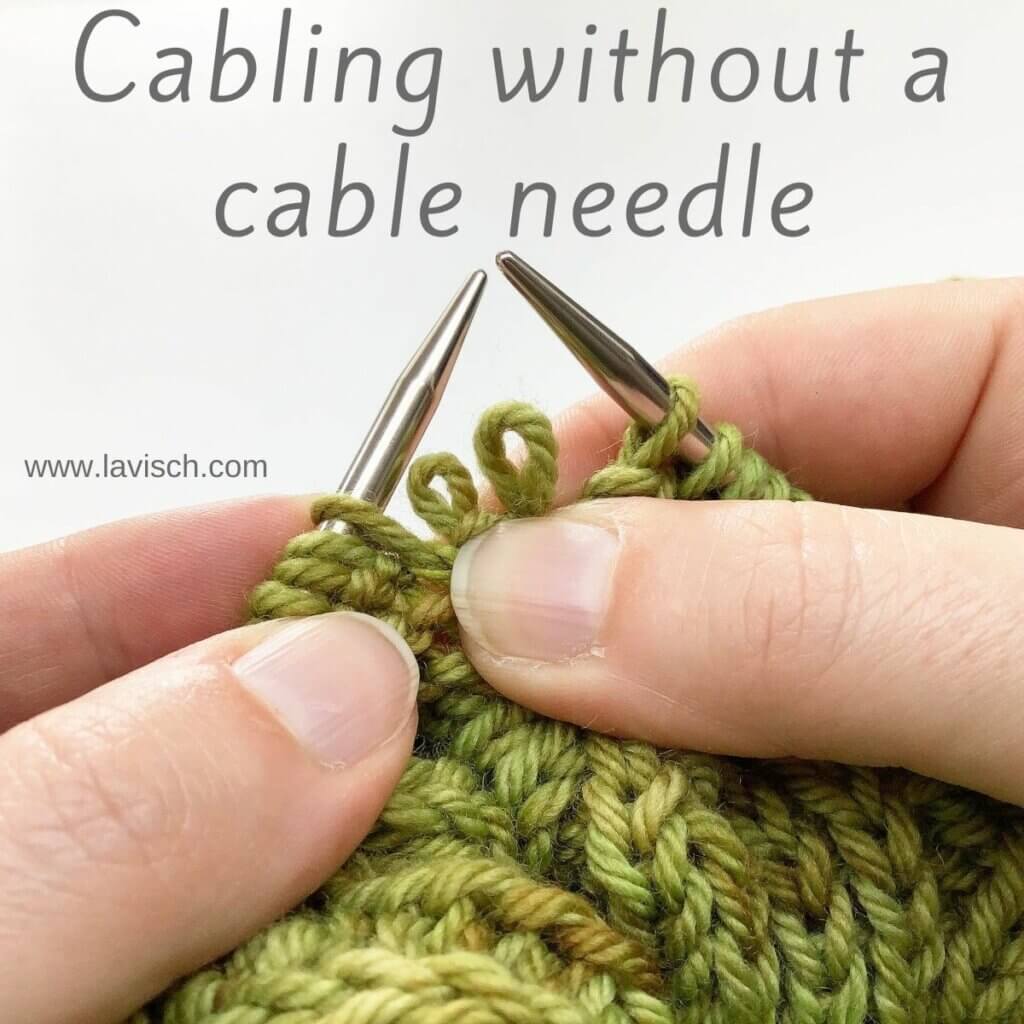
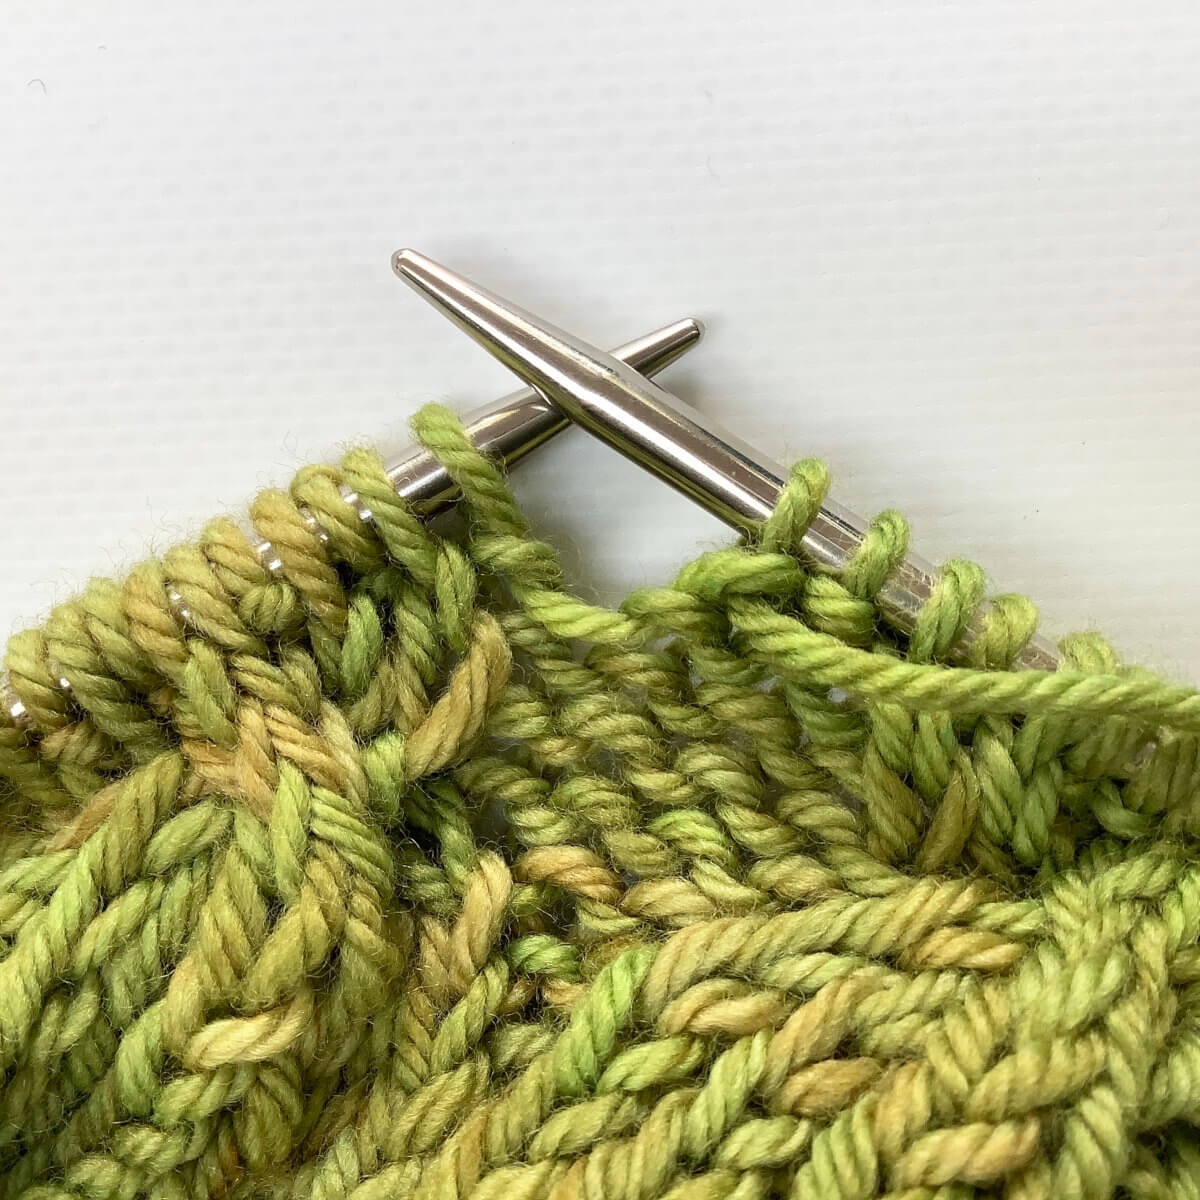
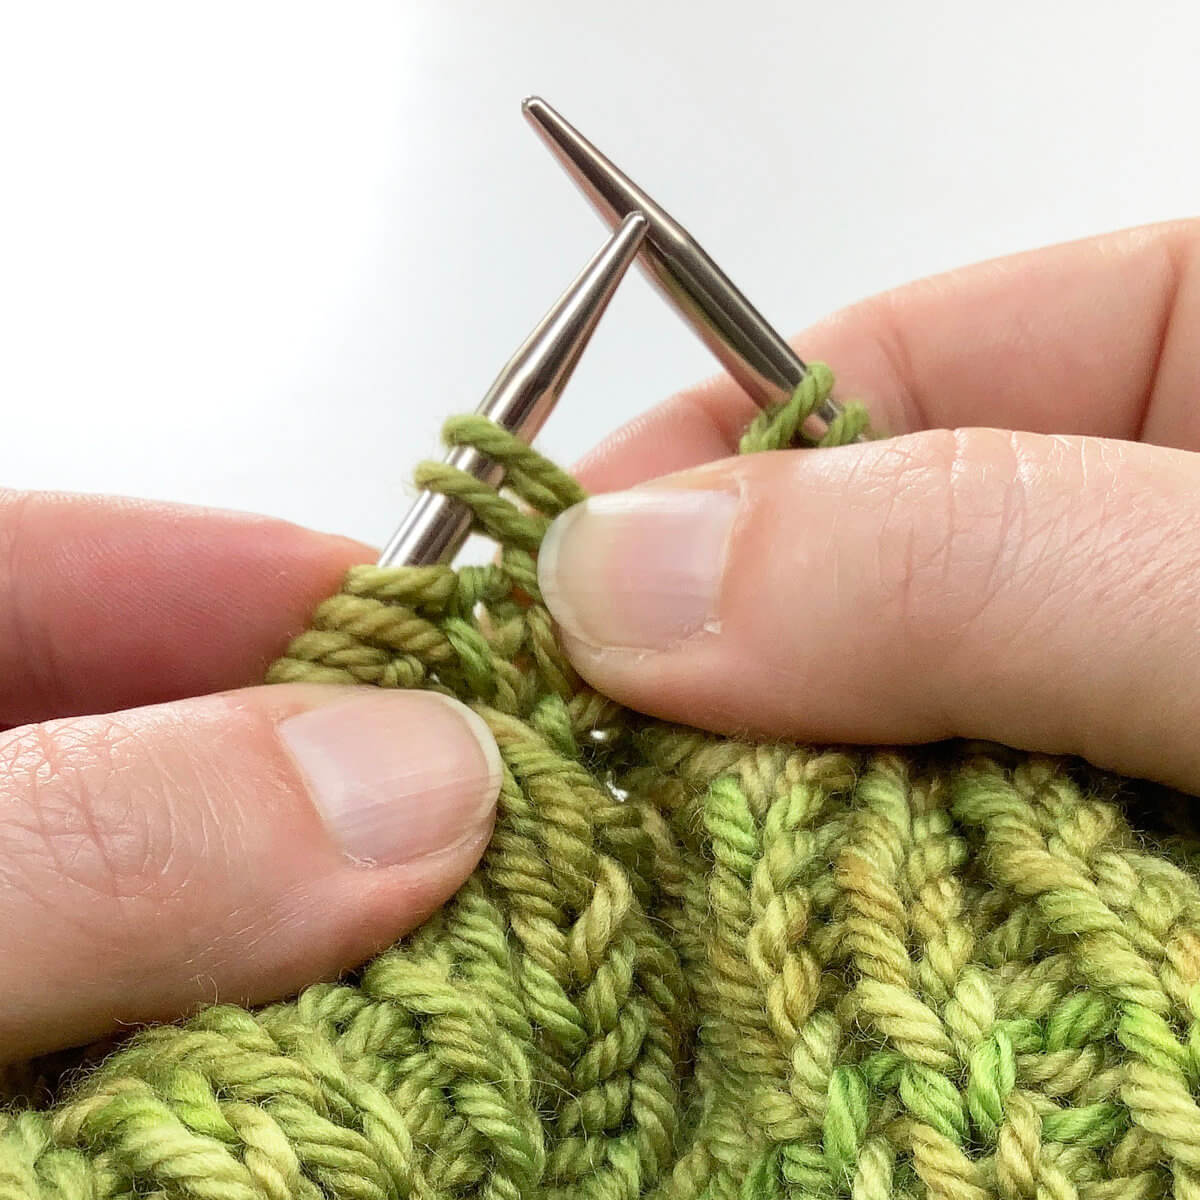
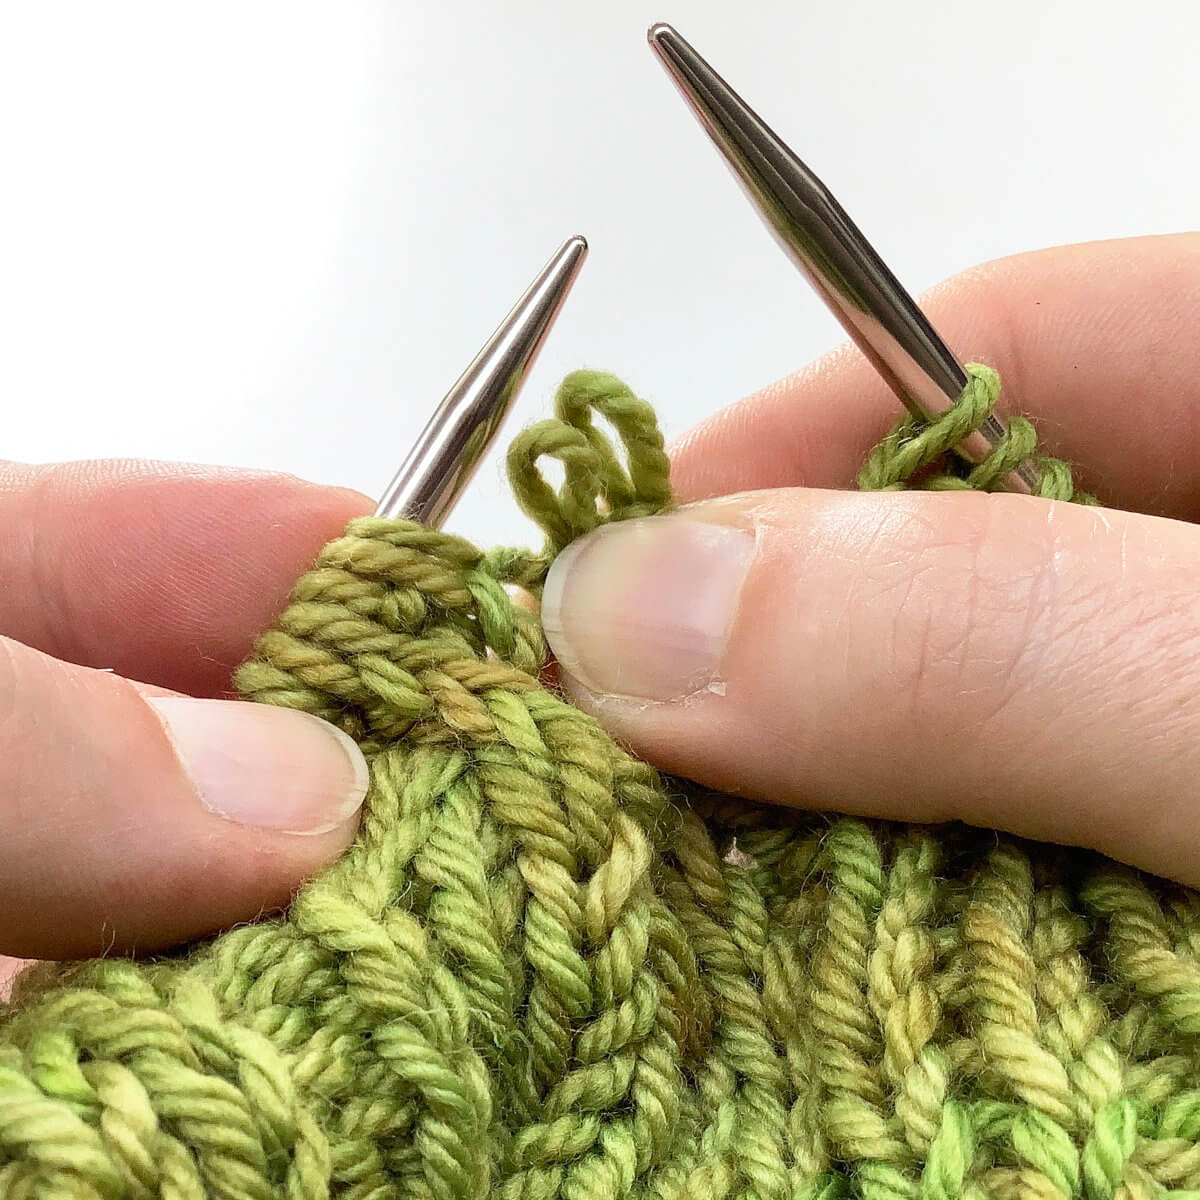
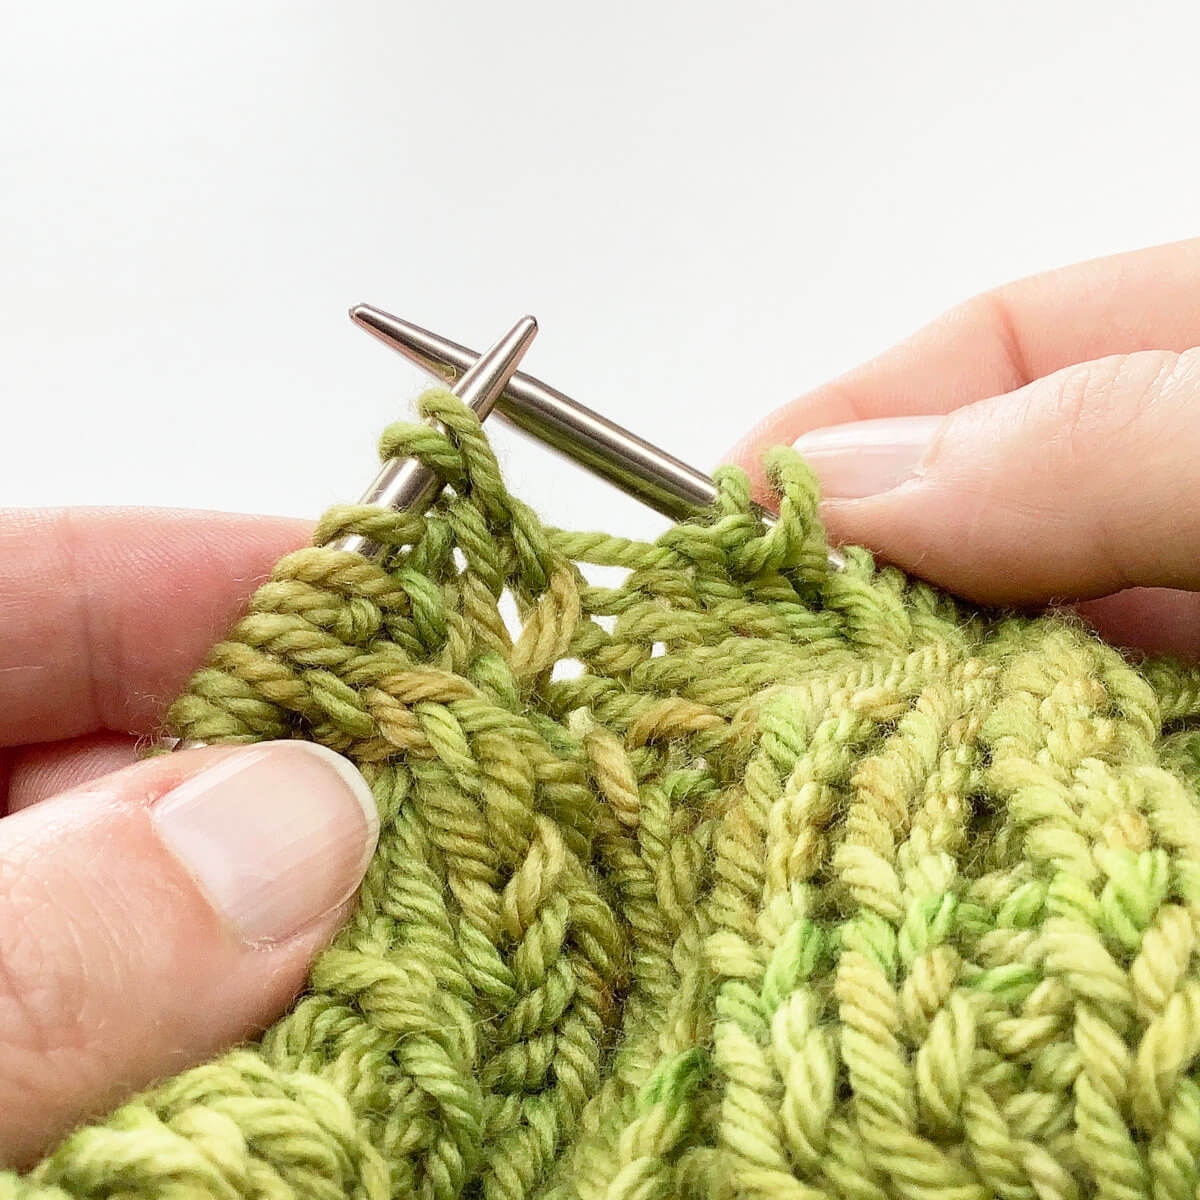
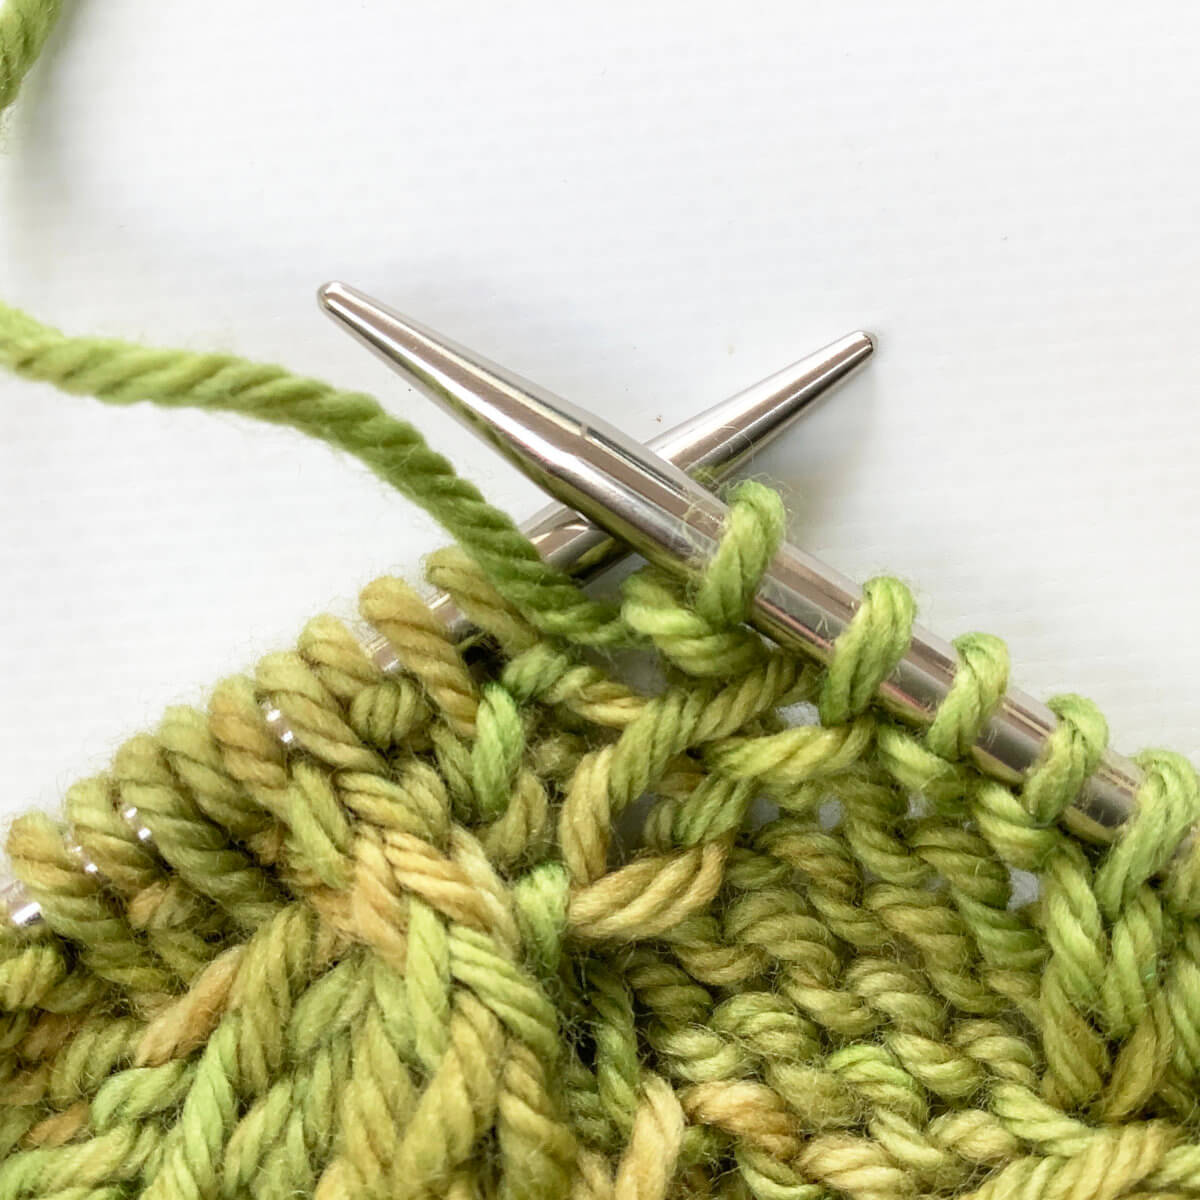
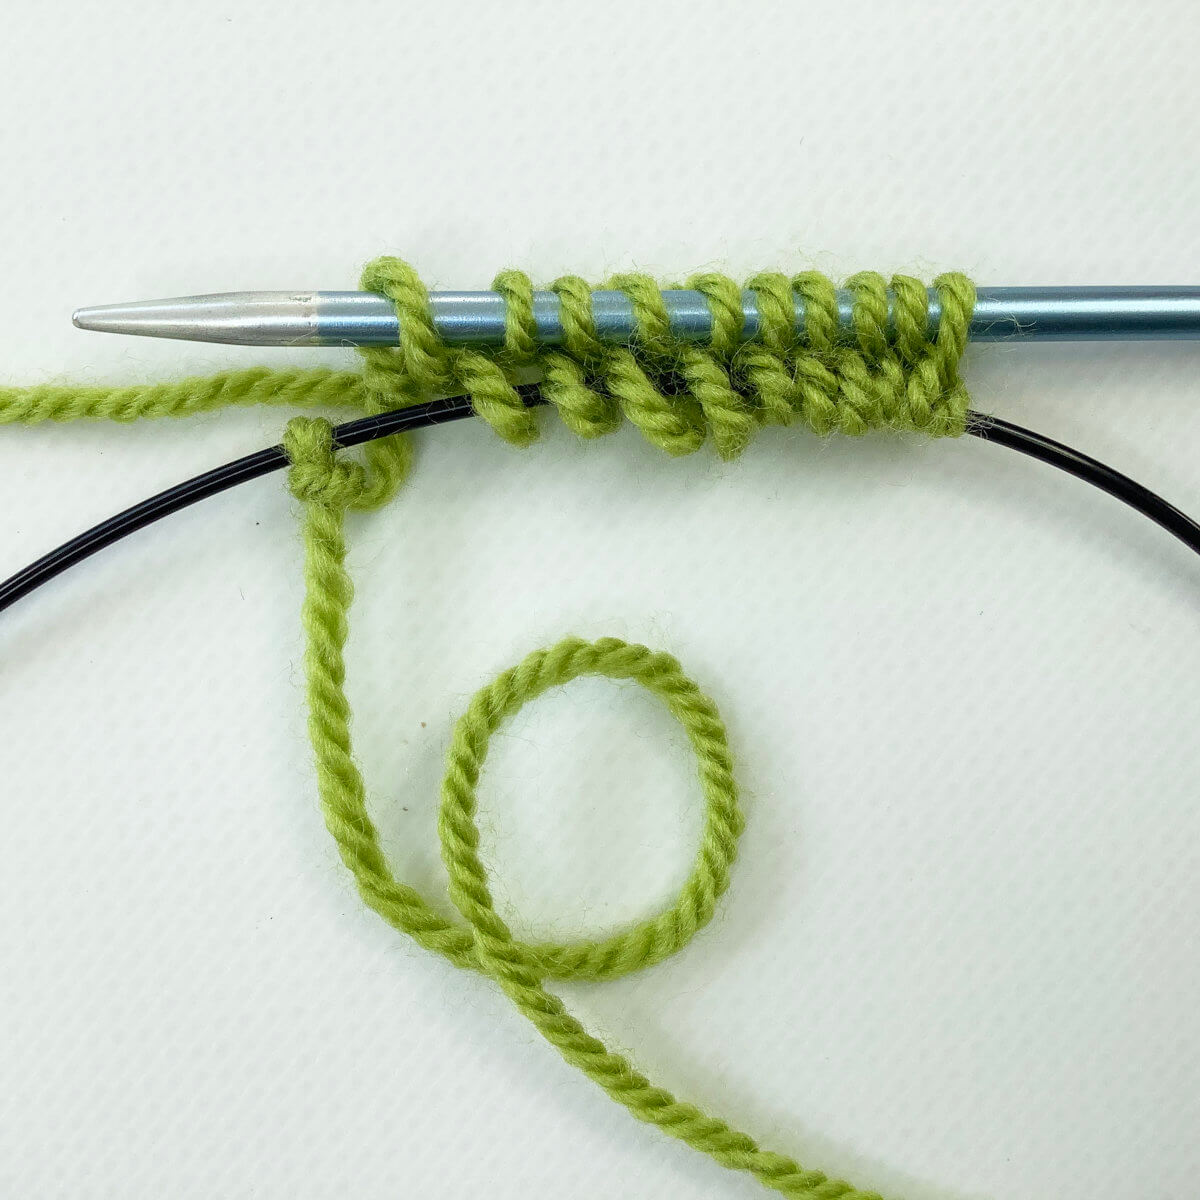
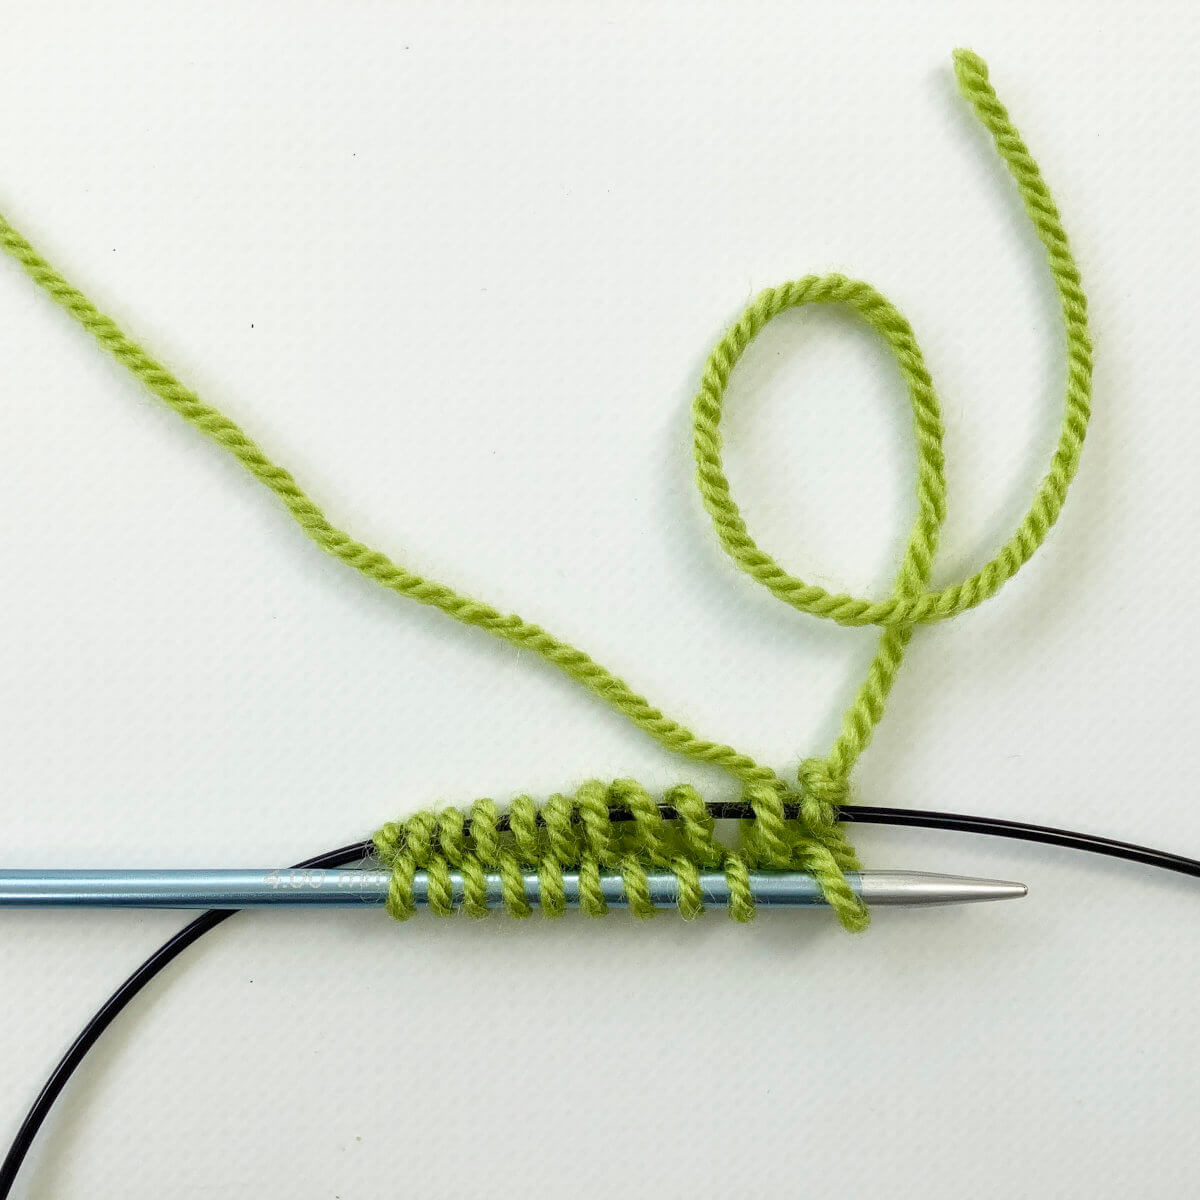
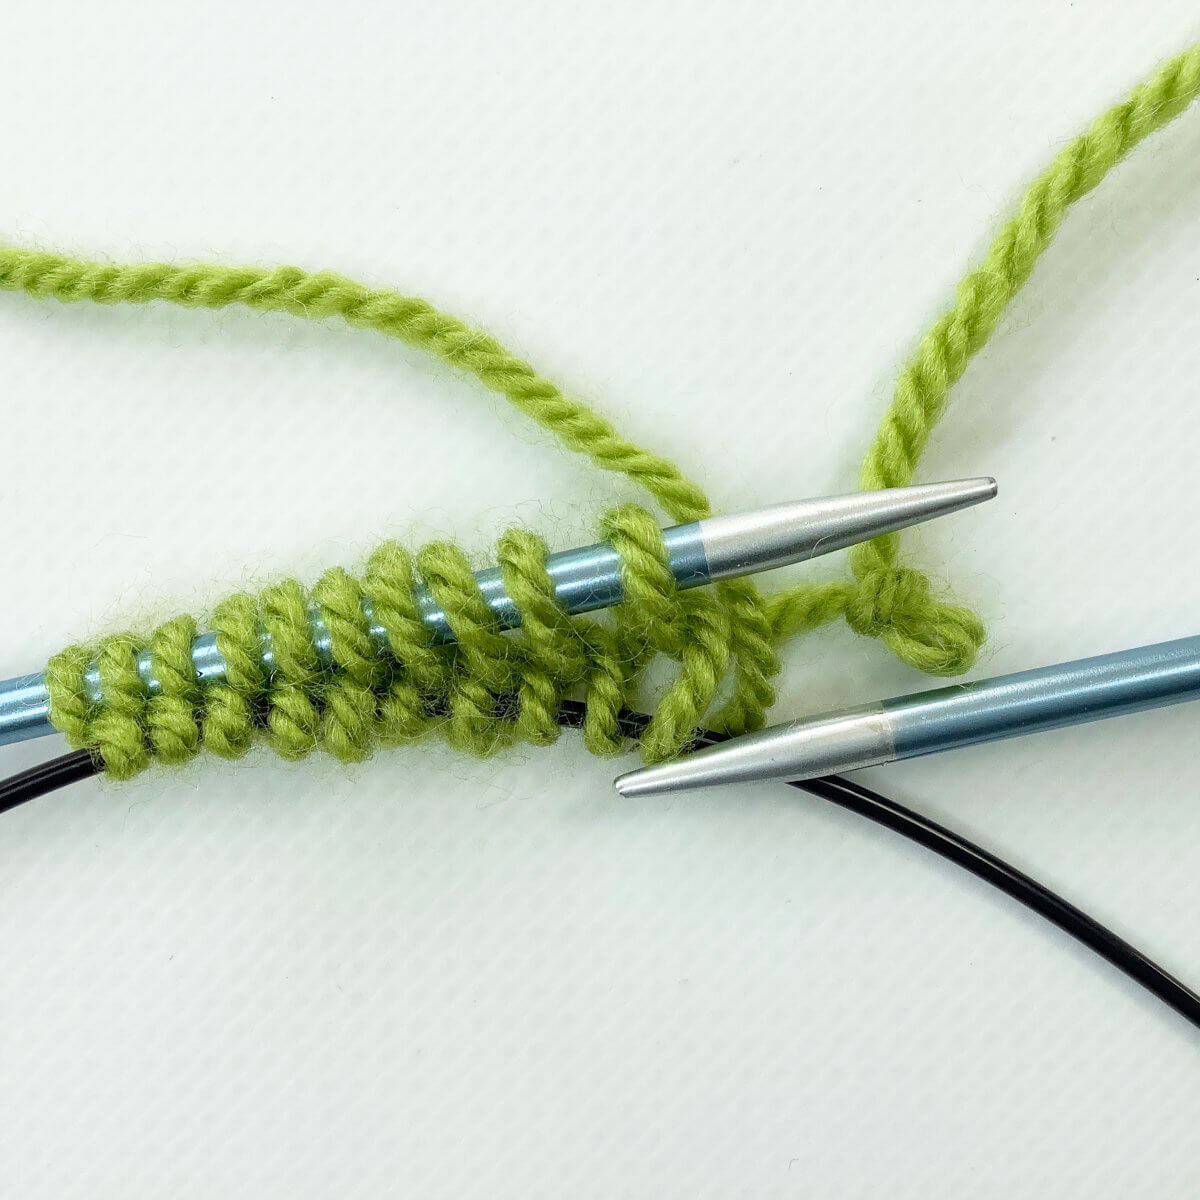
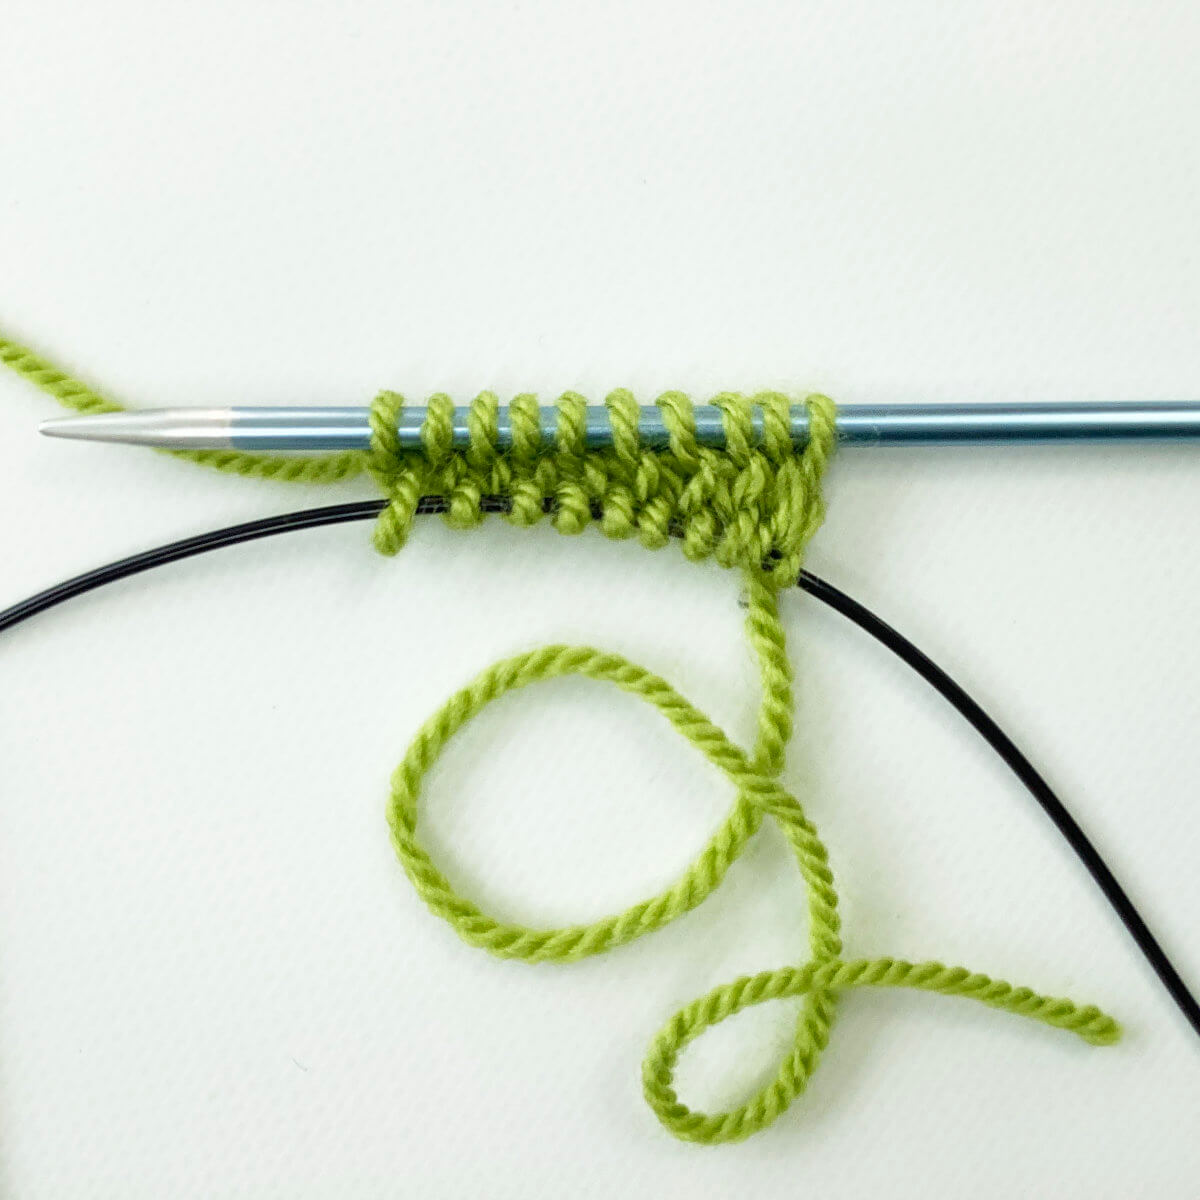
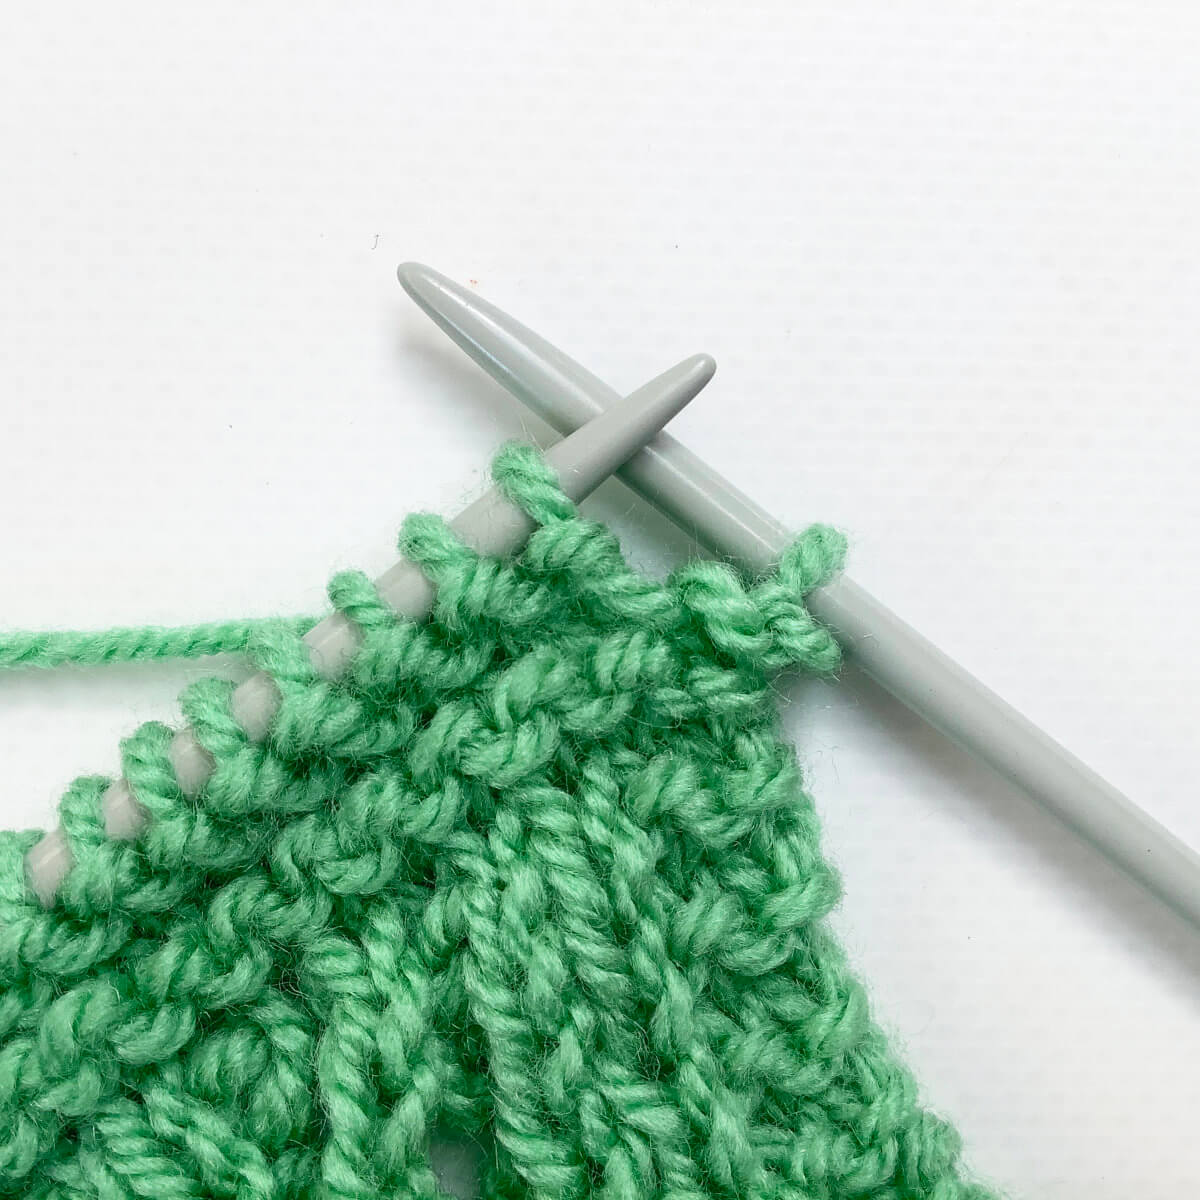
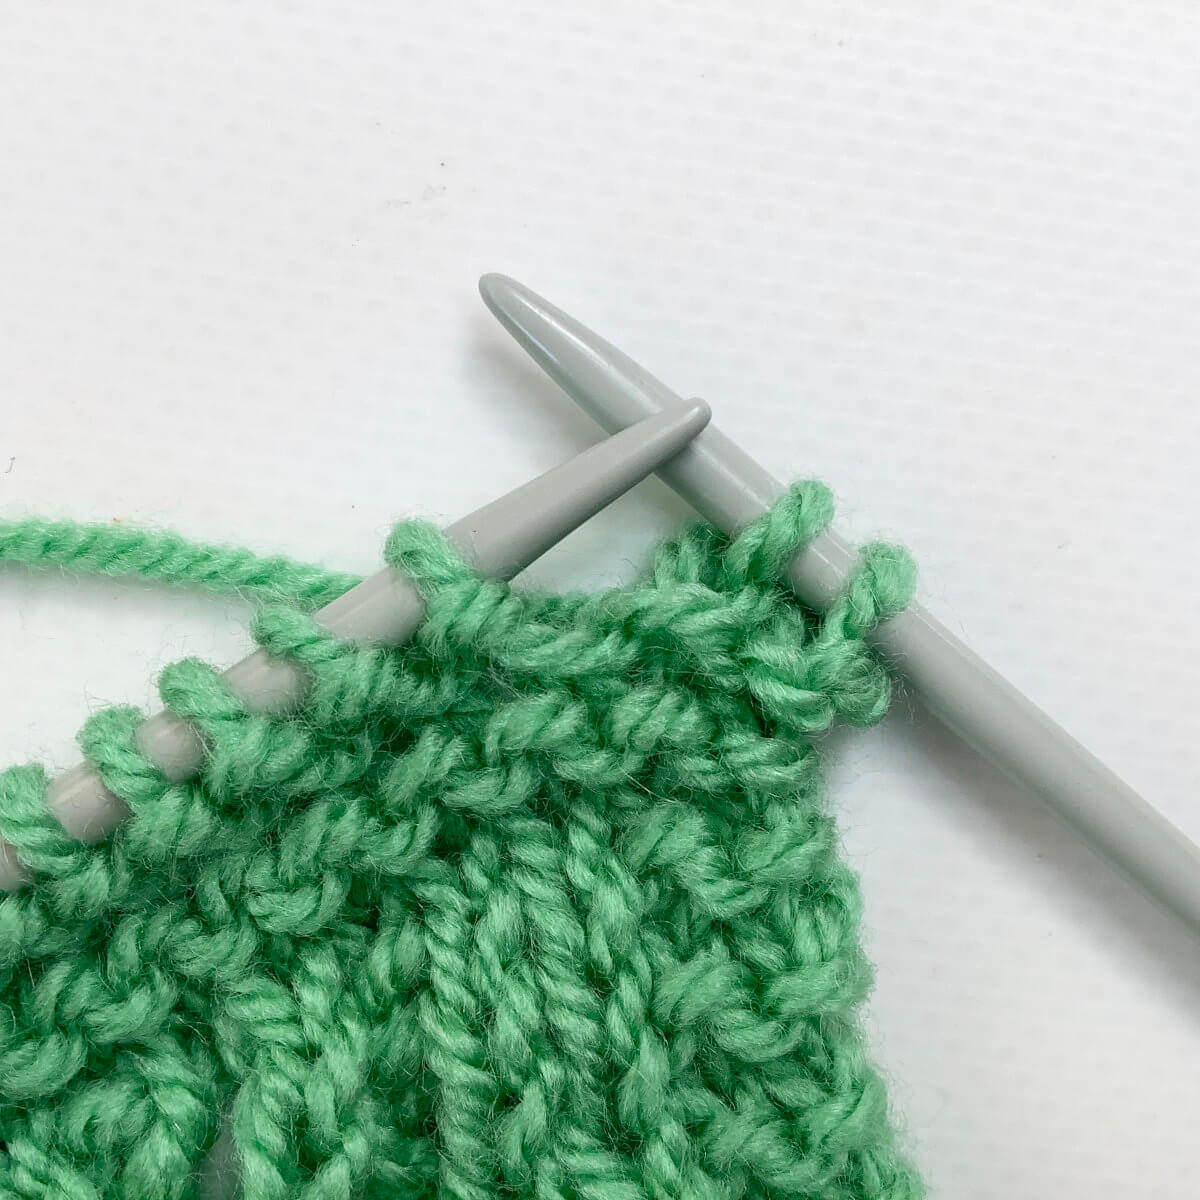
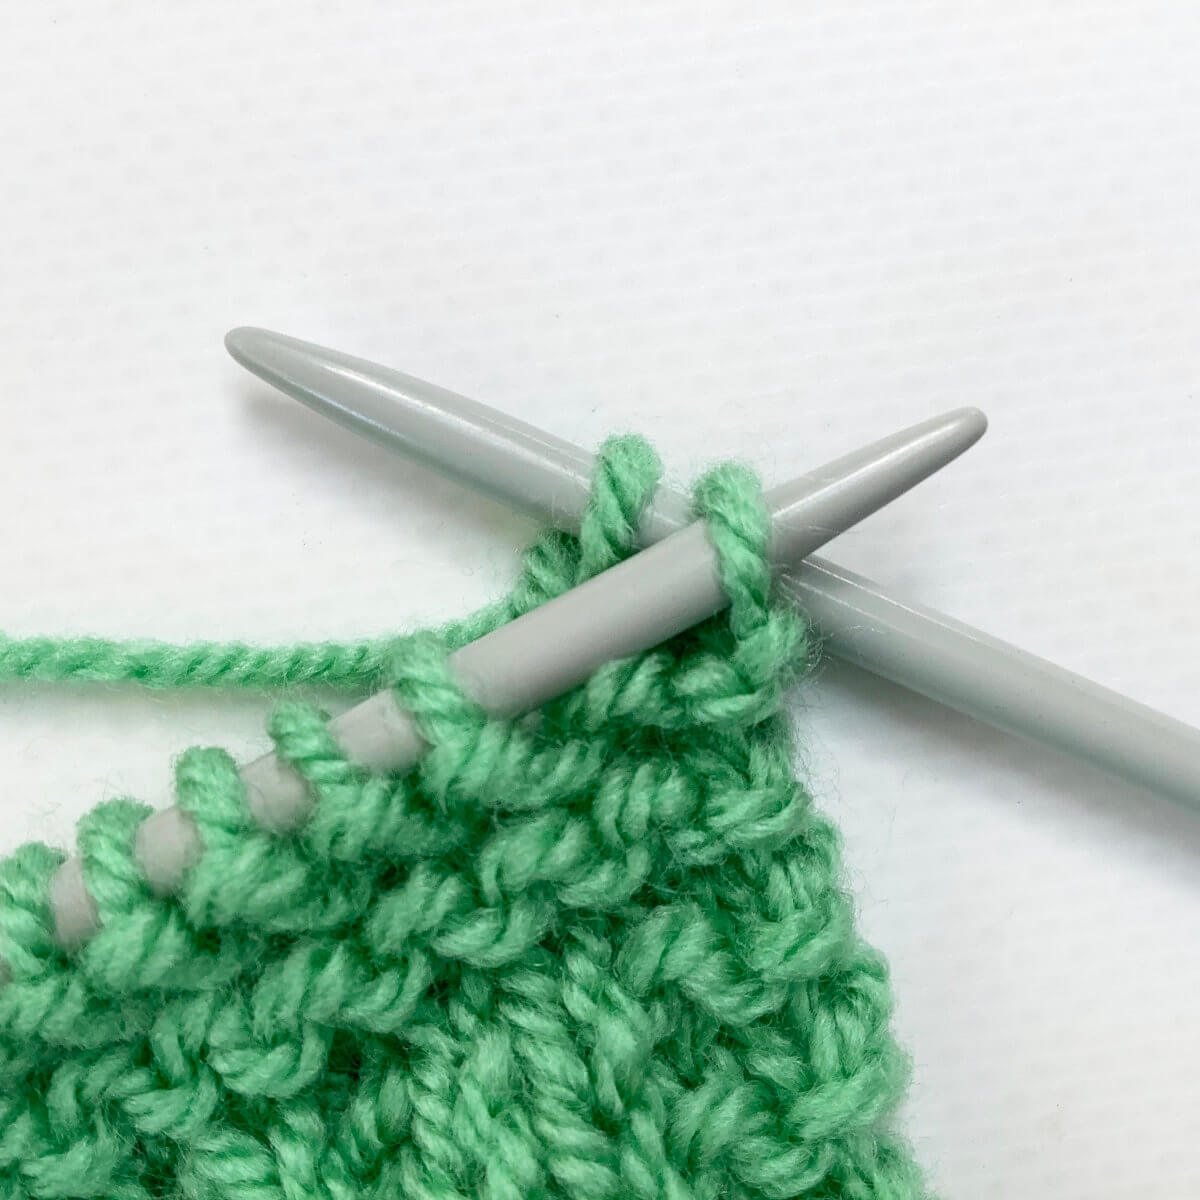
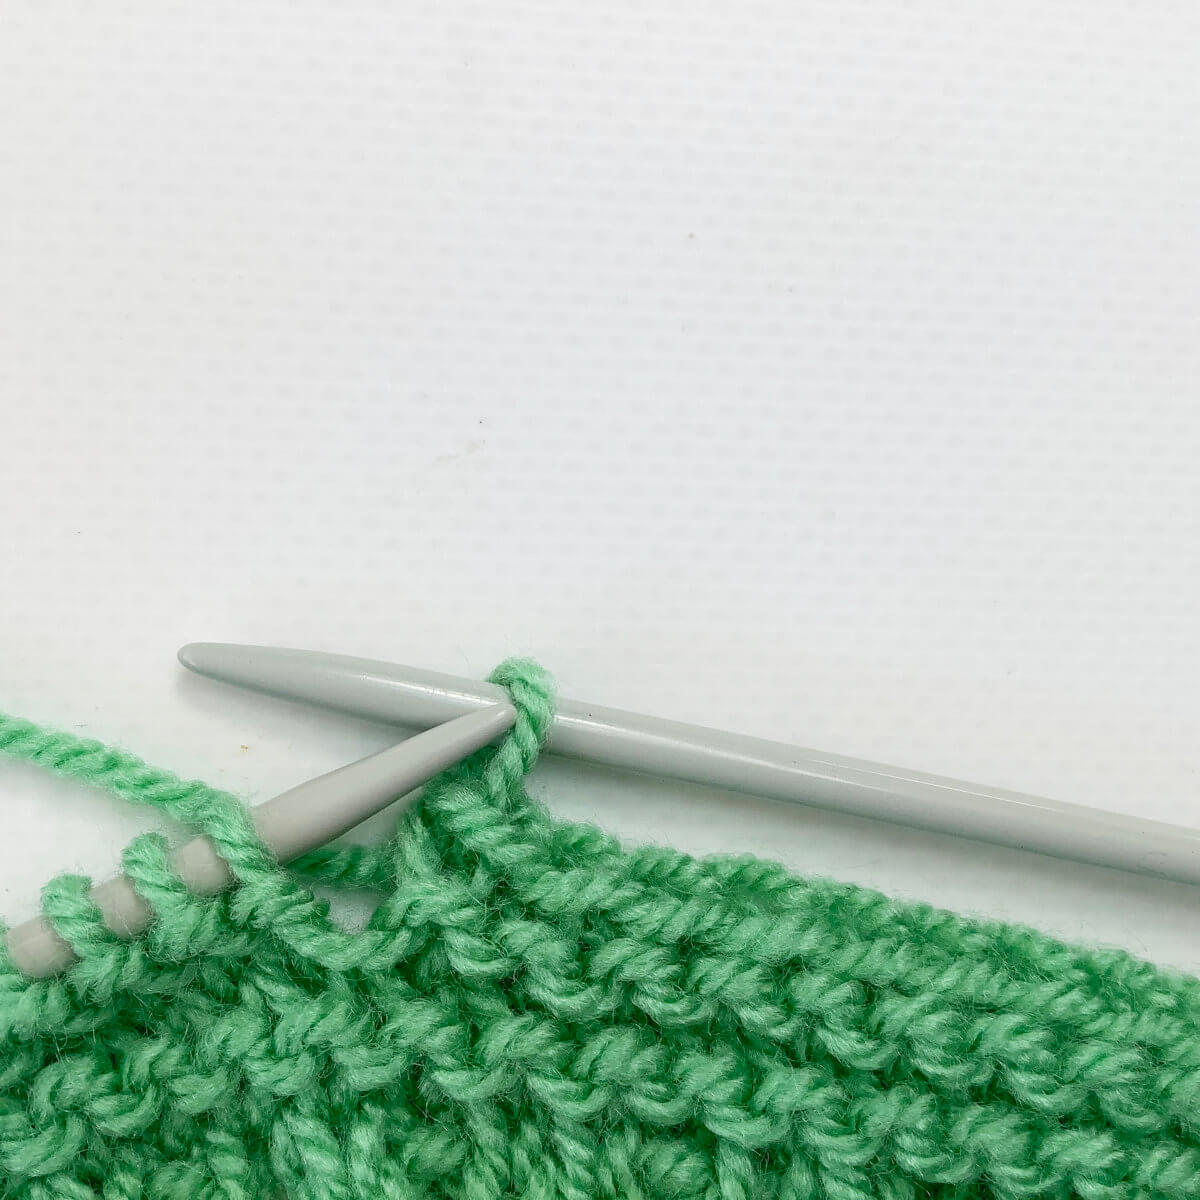
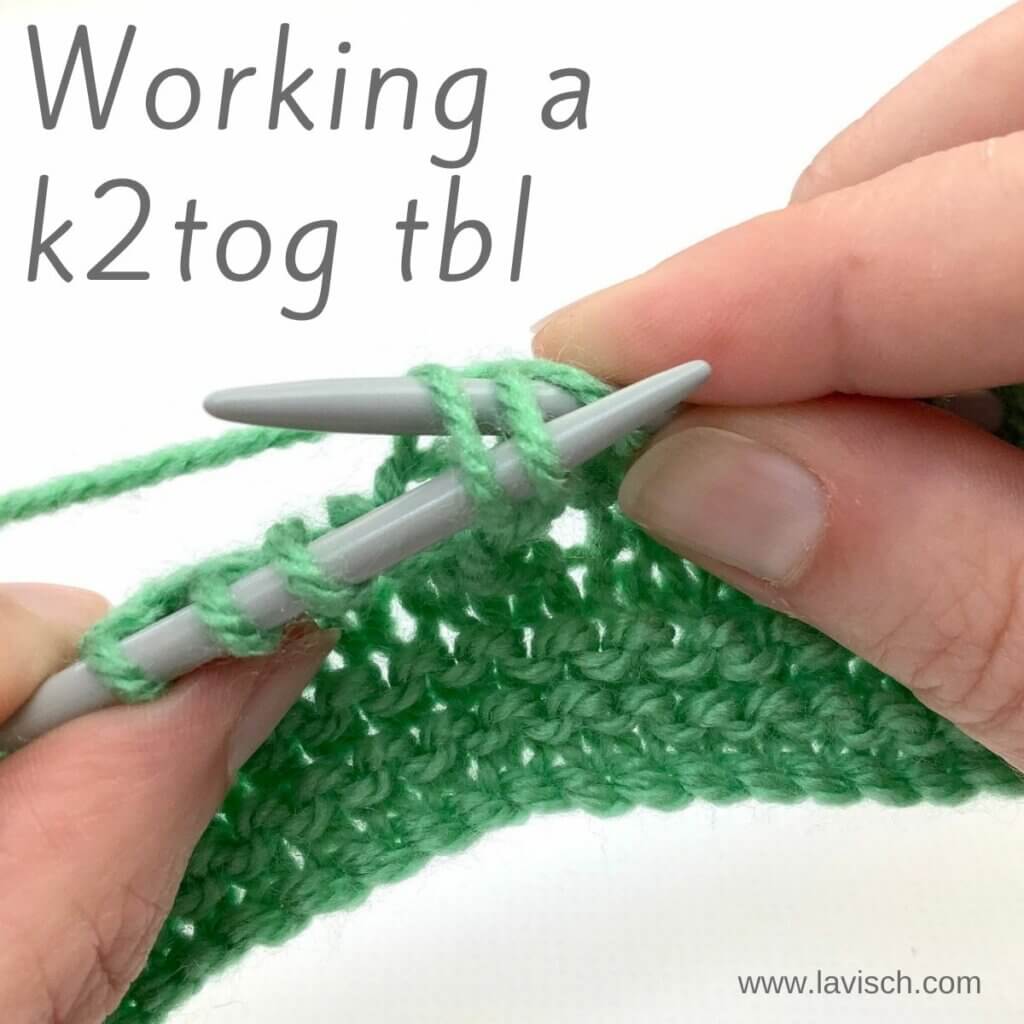
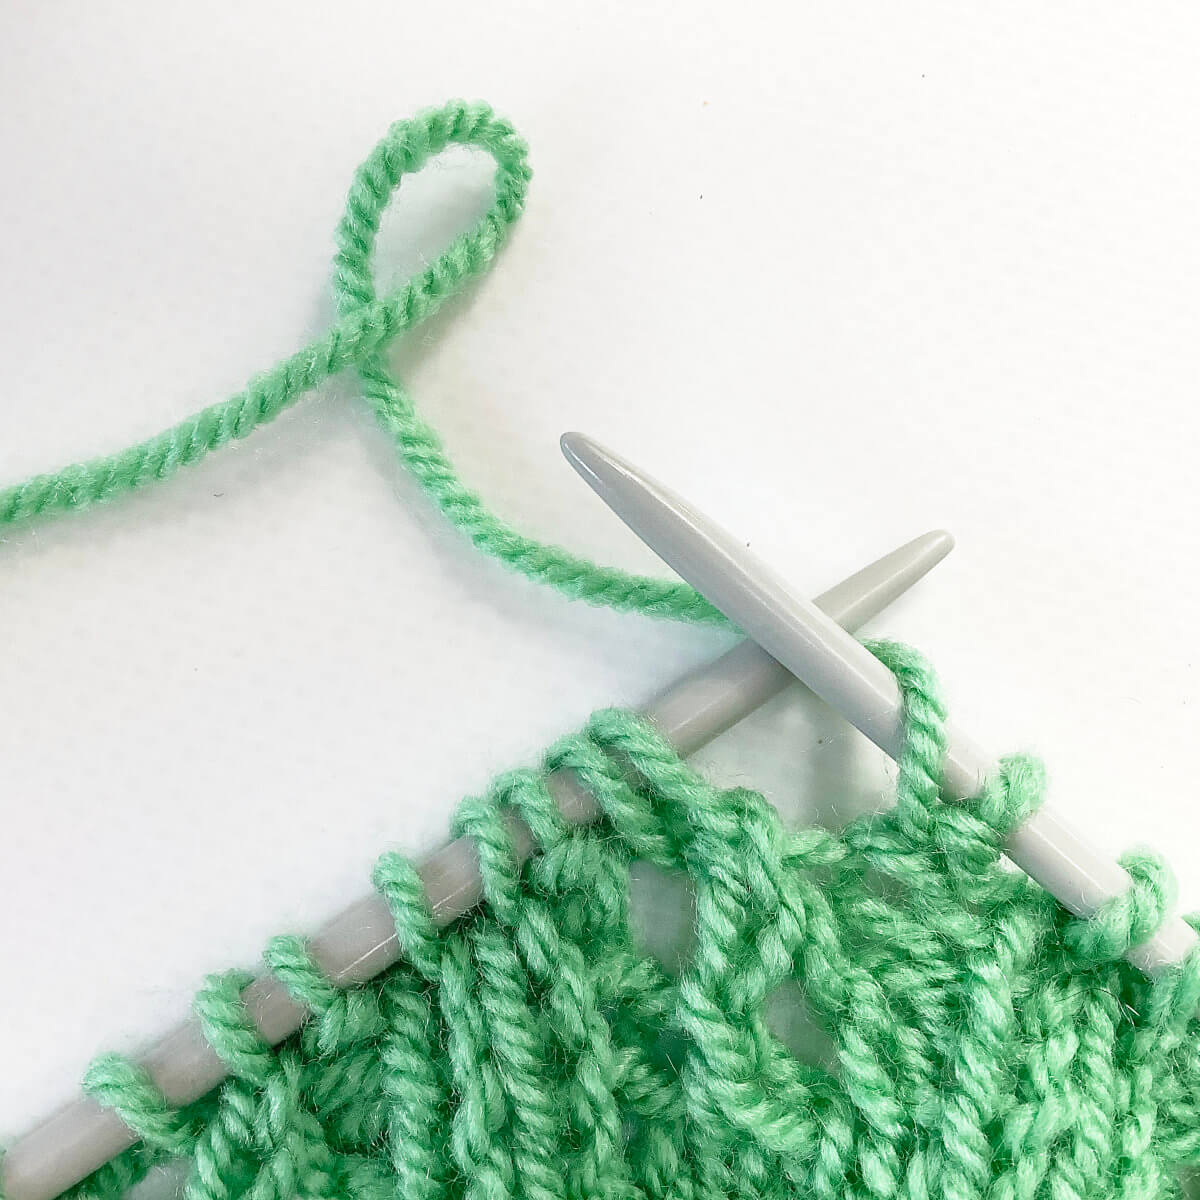
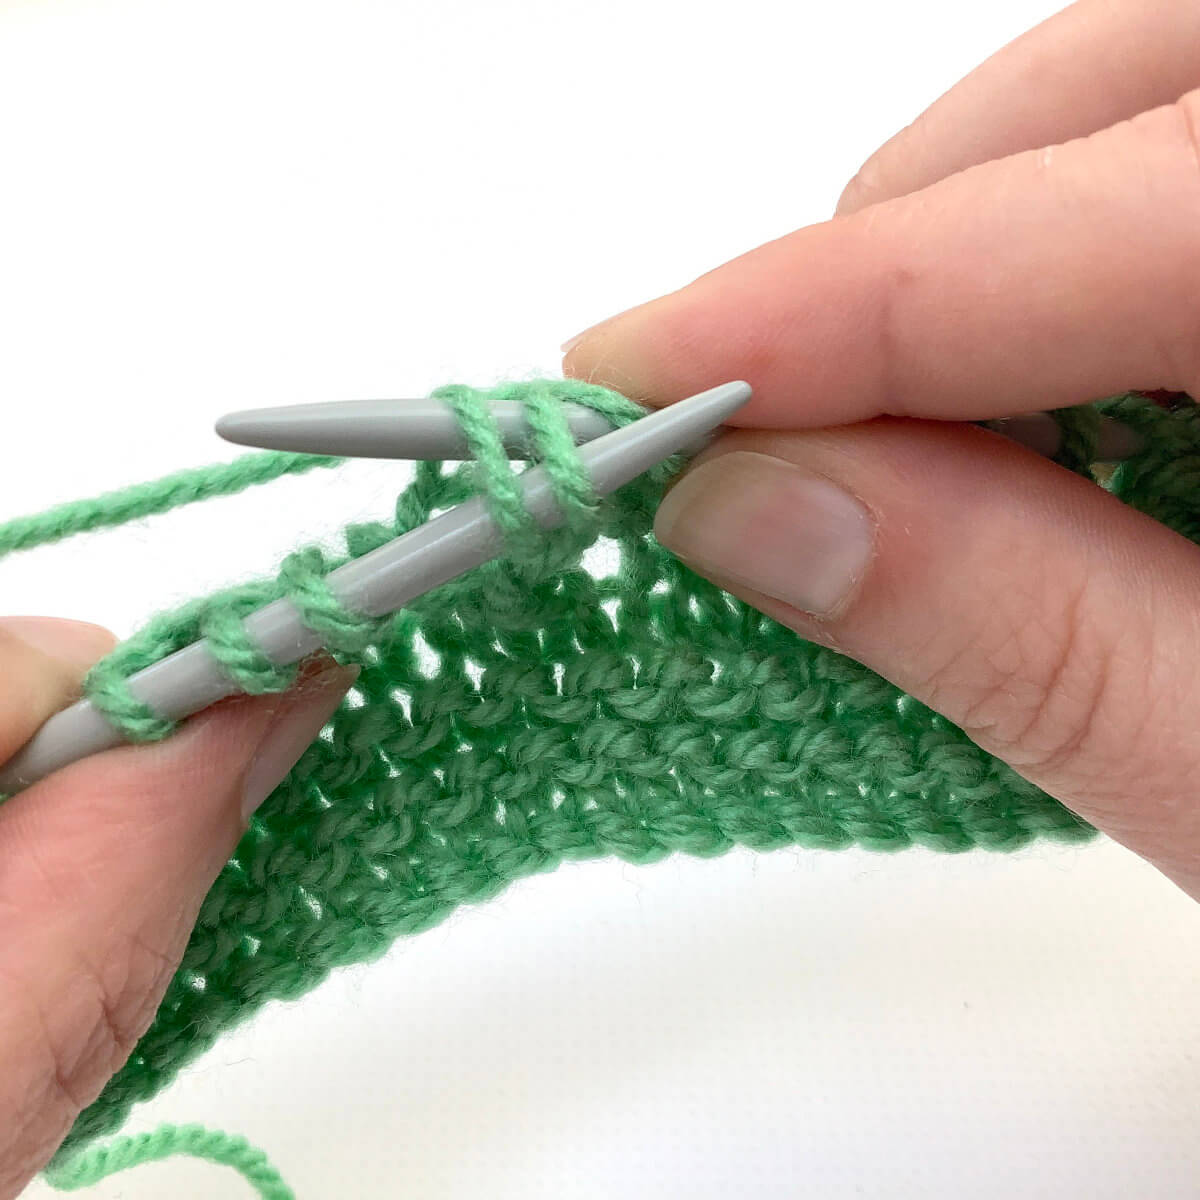
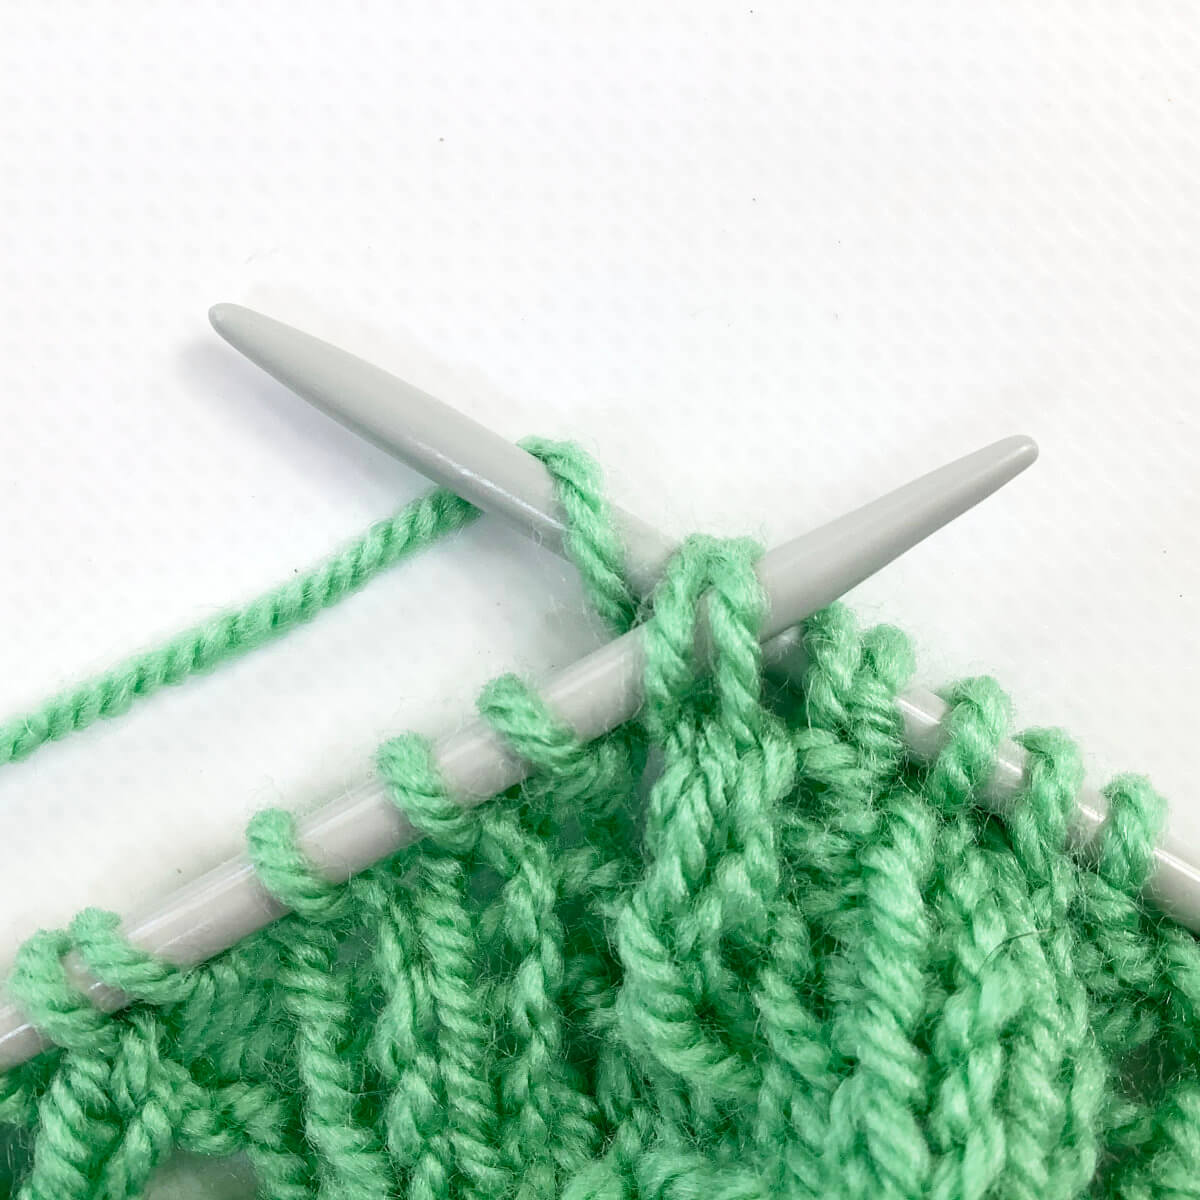
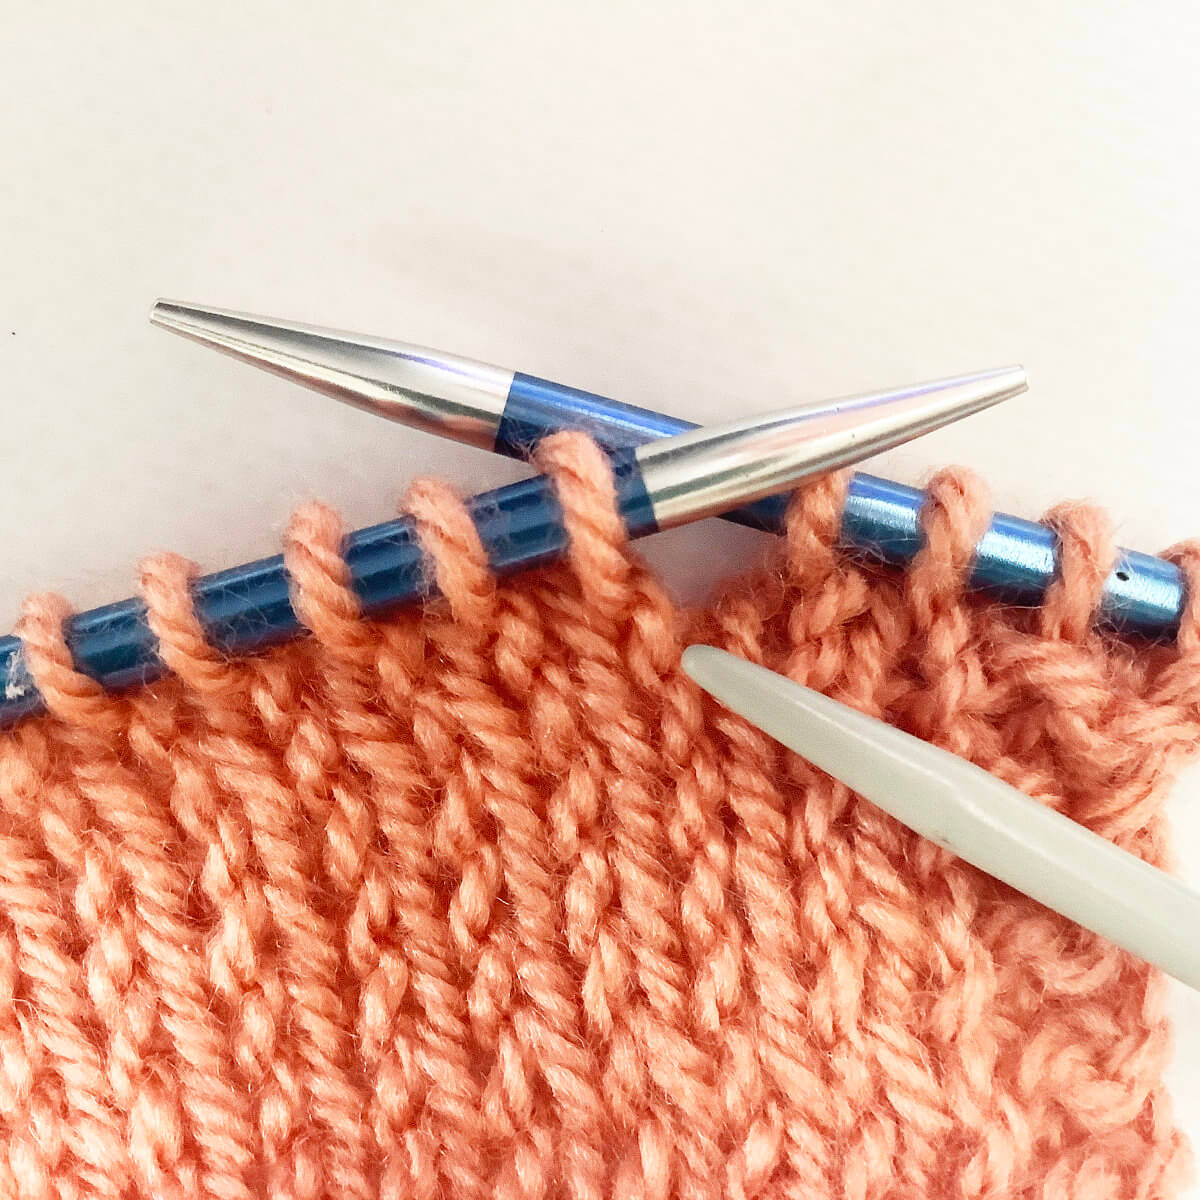
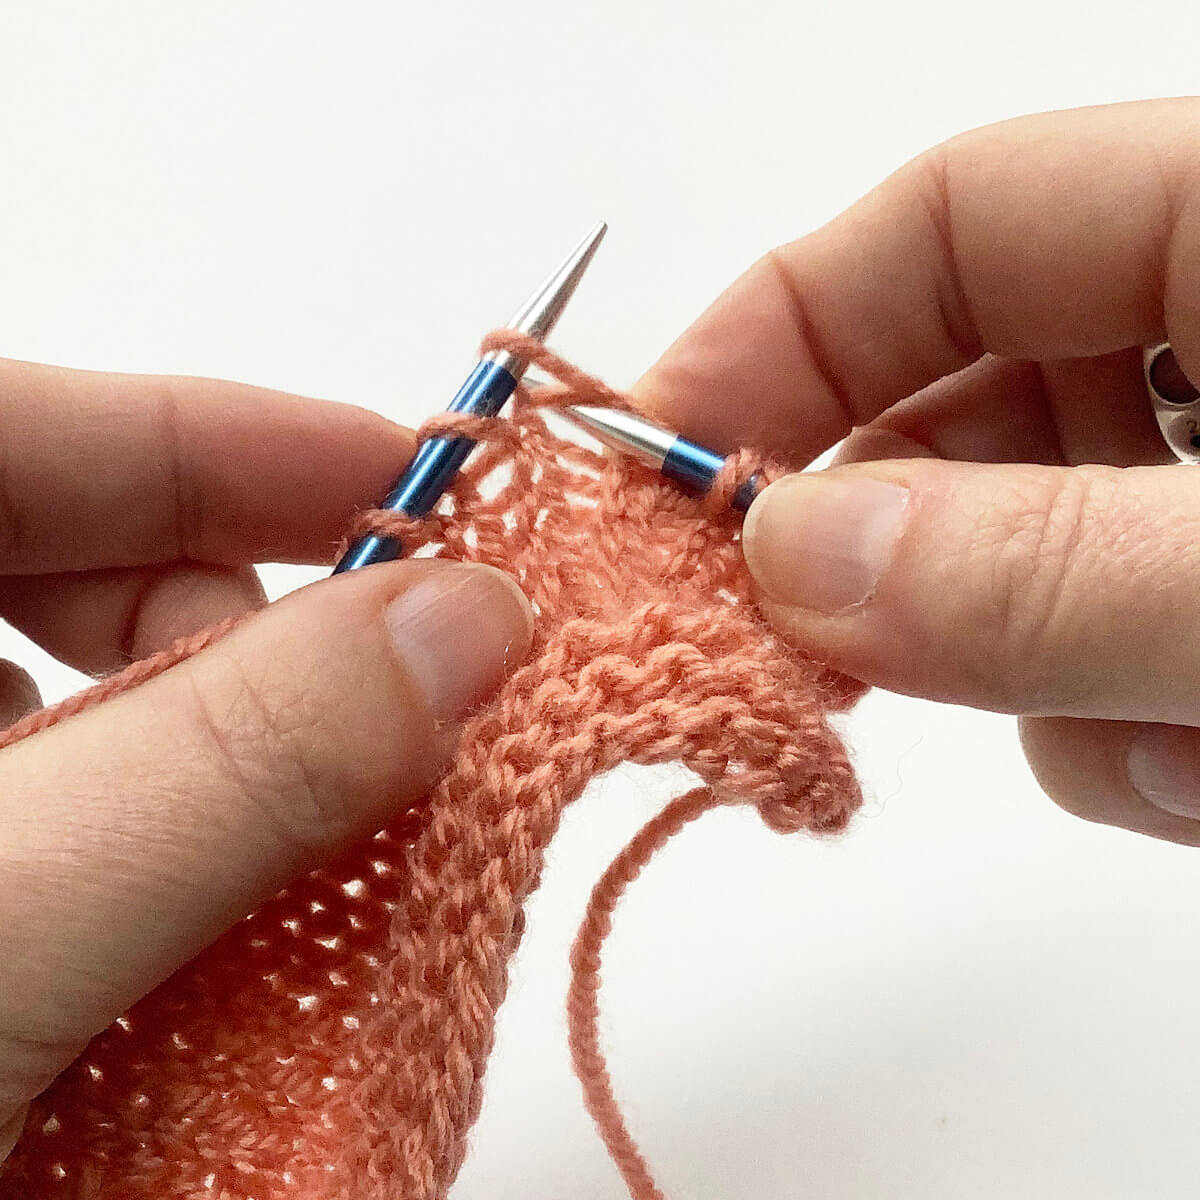
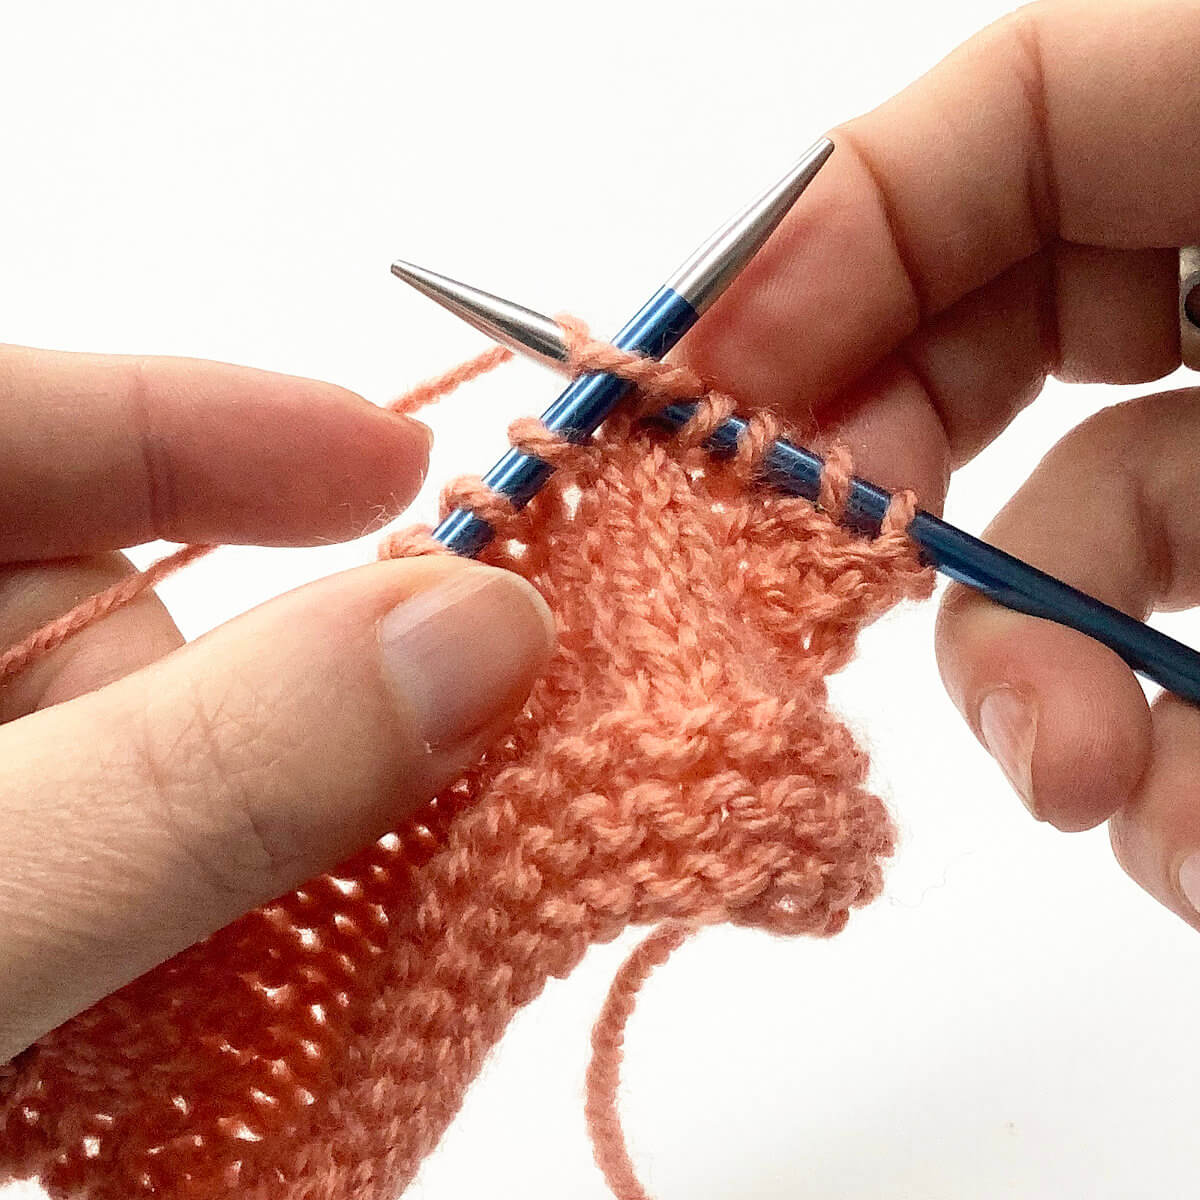
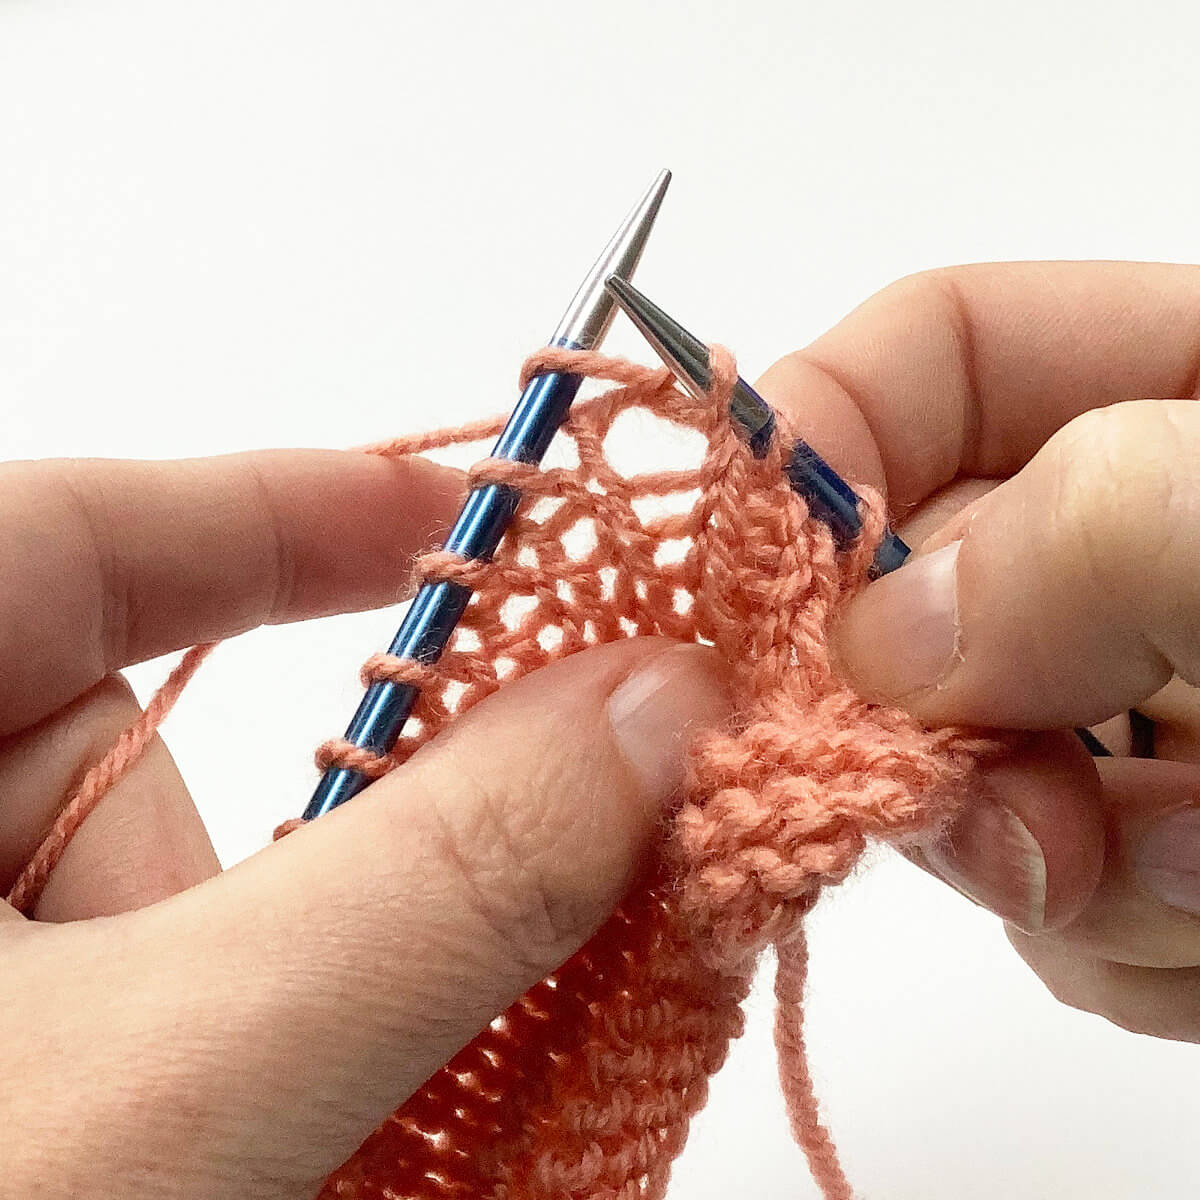
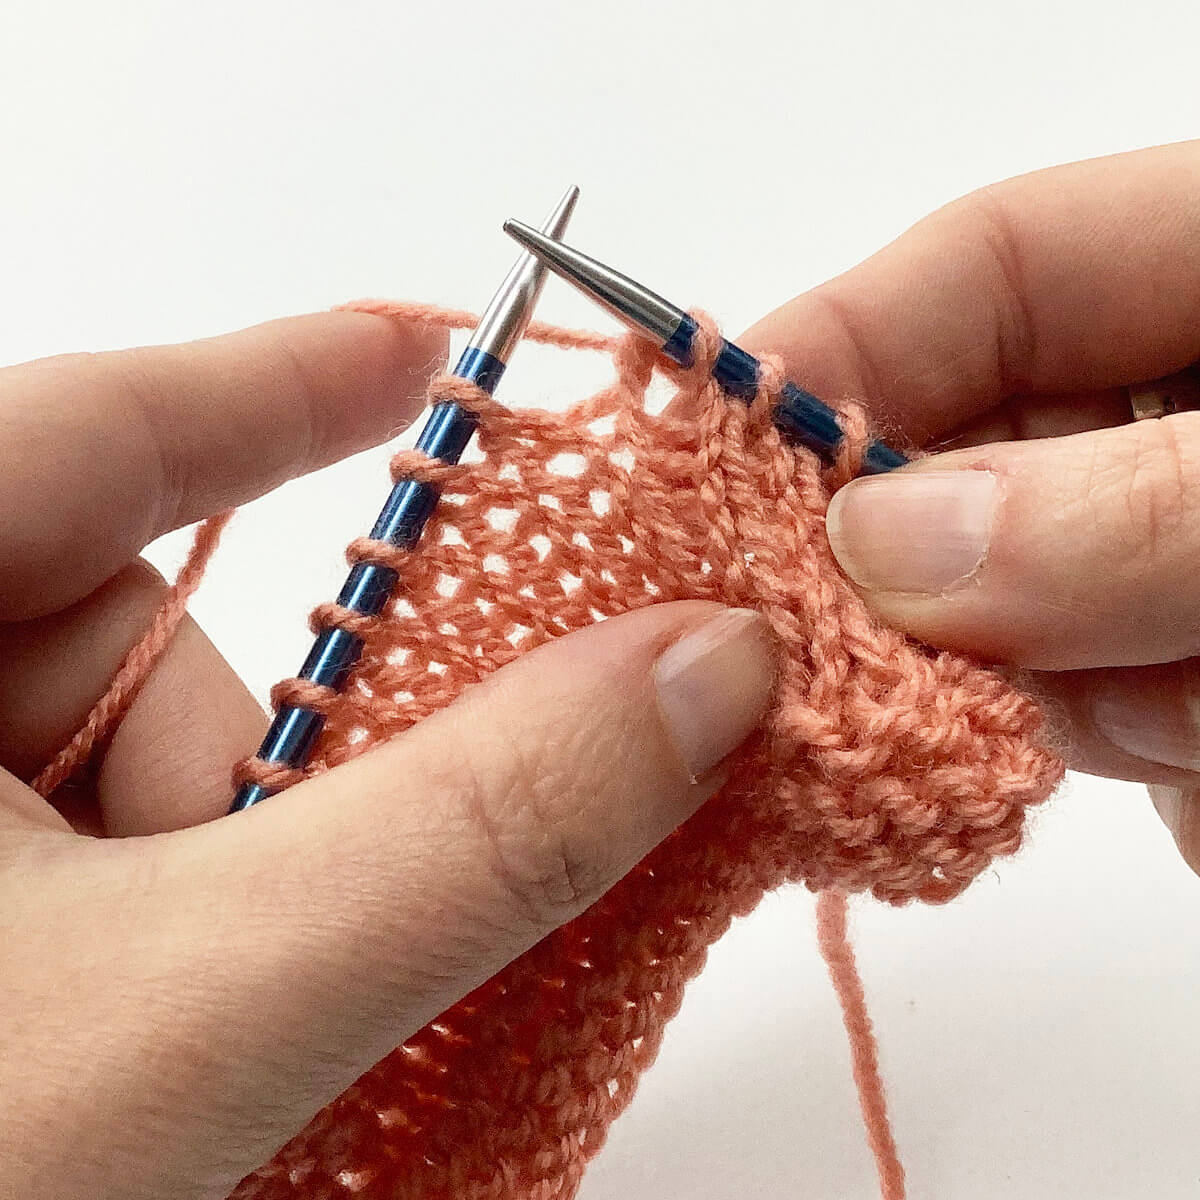
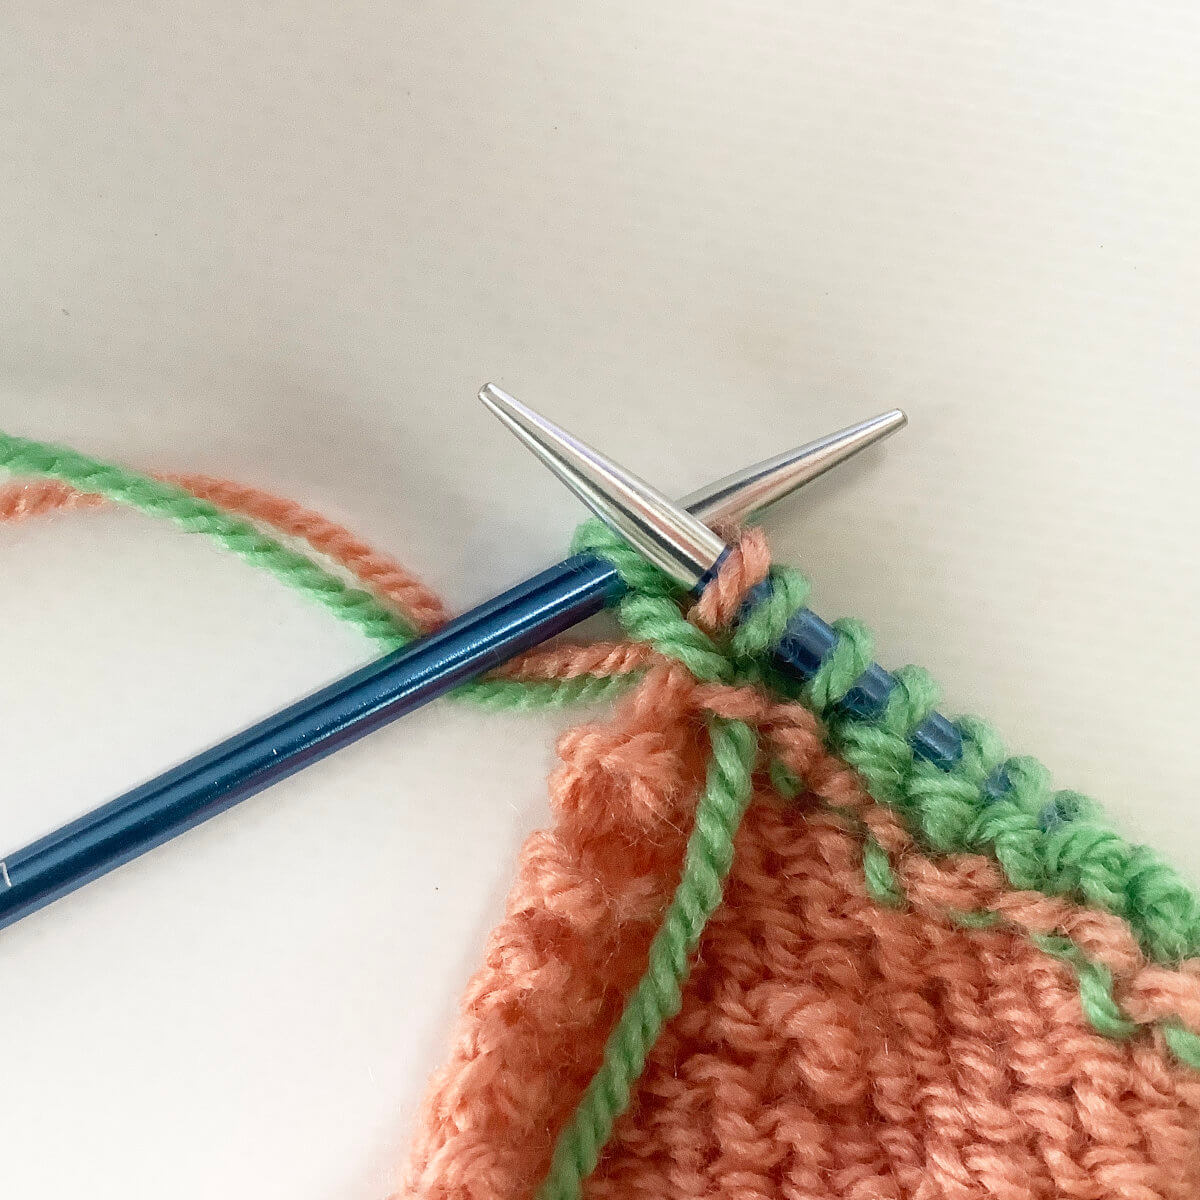
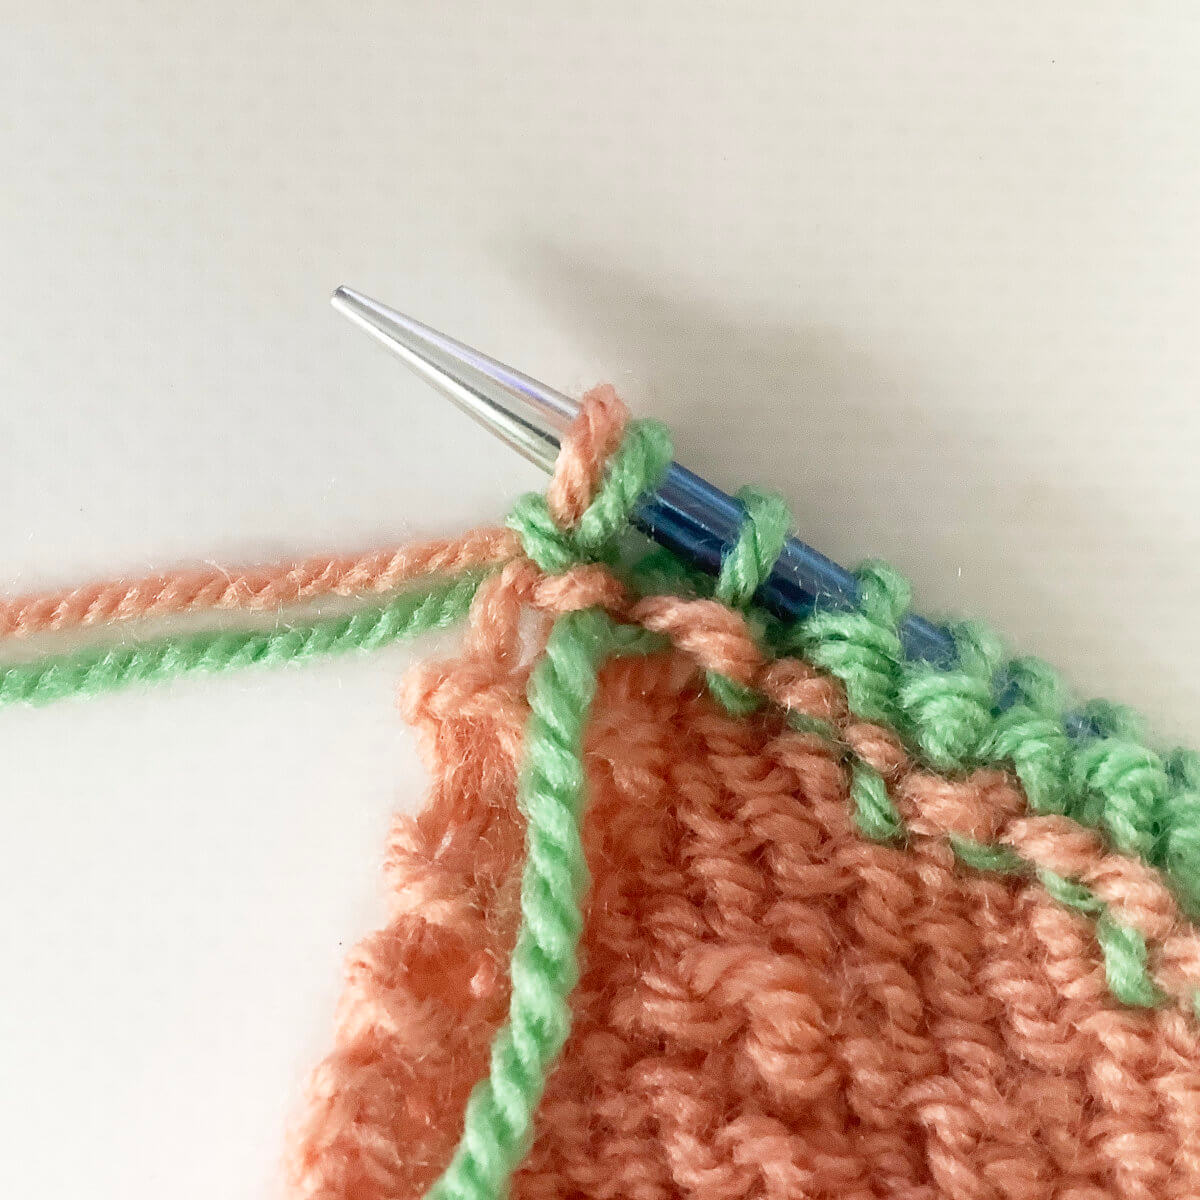
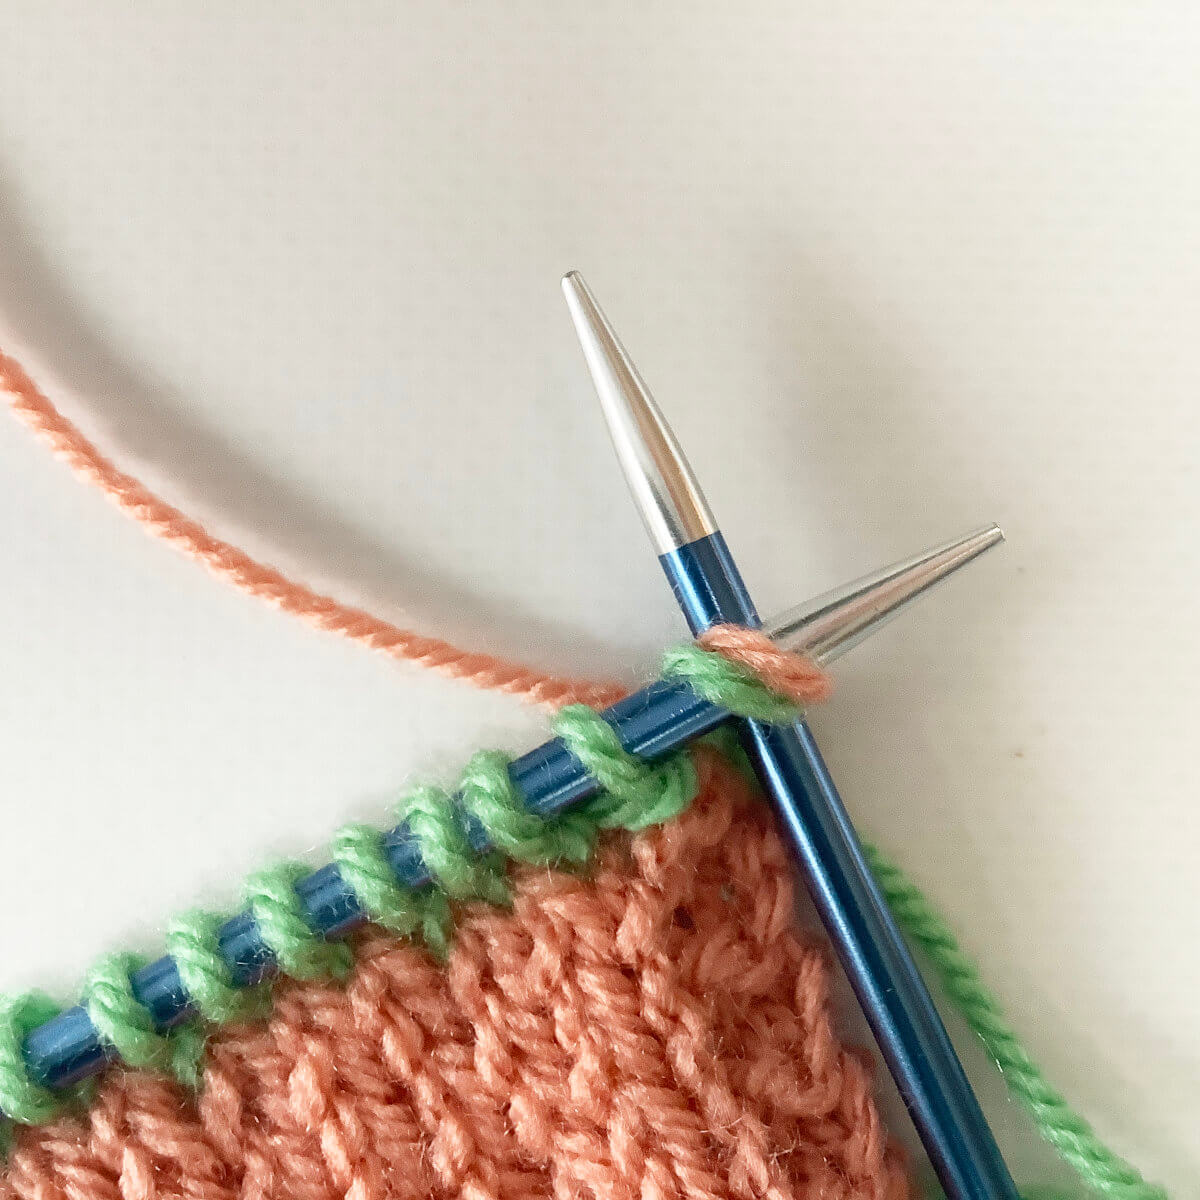
The Tulpa hat is seamless and worked in the round from the bottom up. Stitches used include knit, purl, k2tog, p2tog, skp, twisted stitches, yo, as well as centered, left-leaning, and right-leaning double decreases. This pattern is suitable for the intermediate knitter.
Sizes and finished measurements
Sizes 1 (2, 3, 4) [5, 6, 7]:
- Finished circumference of 42.5 (45.5, 49.5, 52.5) [56.5, 60.5, 63.5] cm or 16.75 (18, 19.5, 20.75) [22.25, 23.75, 25] inches.
- Finished height of 17 (18.5, 19.5, 20.5) [21, 22, 25] cm or 6.75 (7.25, 7.75, 8) [8.25, 8.75, 9.75] inches.
When choosing your hat size, take 2.5-5 cm (1-2 inches) of negative ease into account for a fitted hat. For a more slouchy fit, take 0-5 cm (0-2 inches) of positive ease into account.
Pattern details
- Tulpa the hat is written for a gauge of 23 sts / 39 rounds = 10 cm (4 inches) over reverse stockinette after washing and gentle blocking.
- Pattern language included: English.
- Digital PDF has 4 pages (letter size).
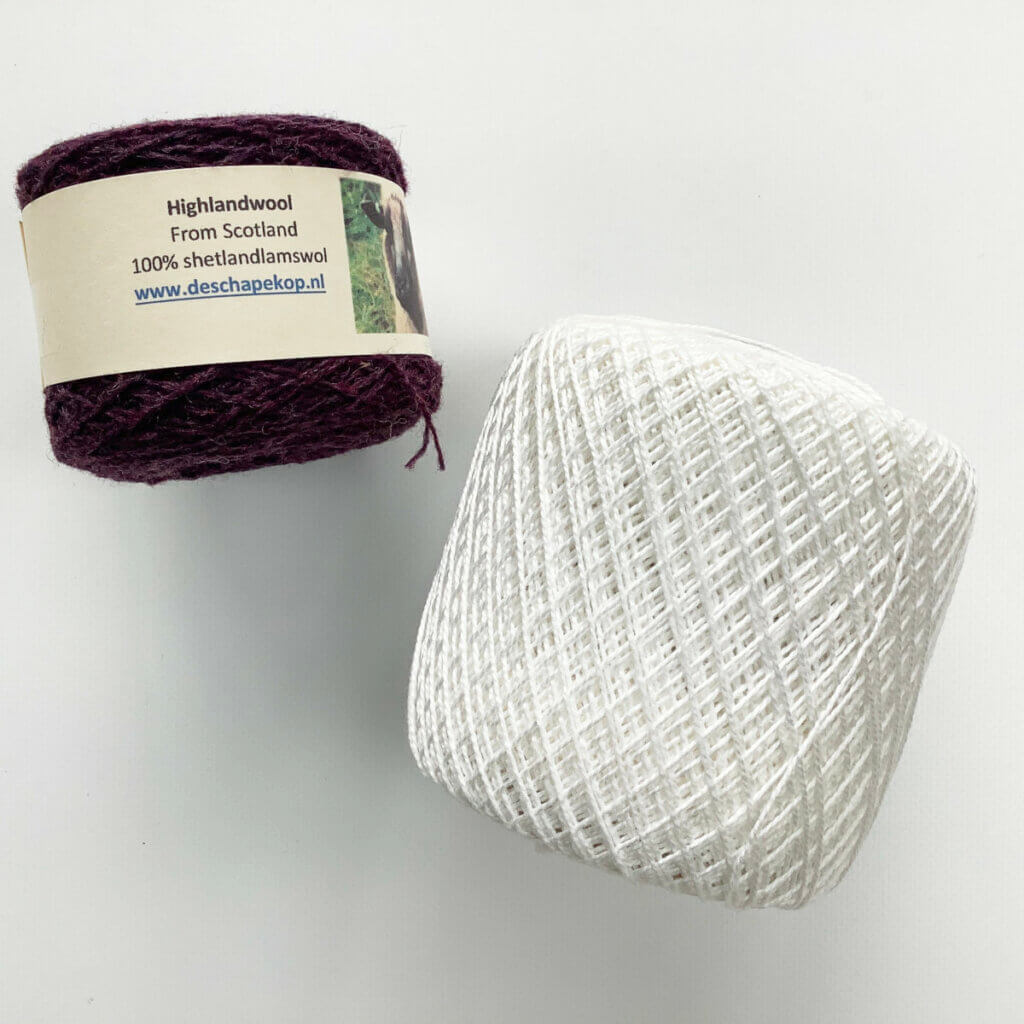
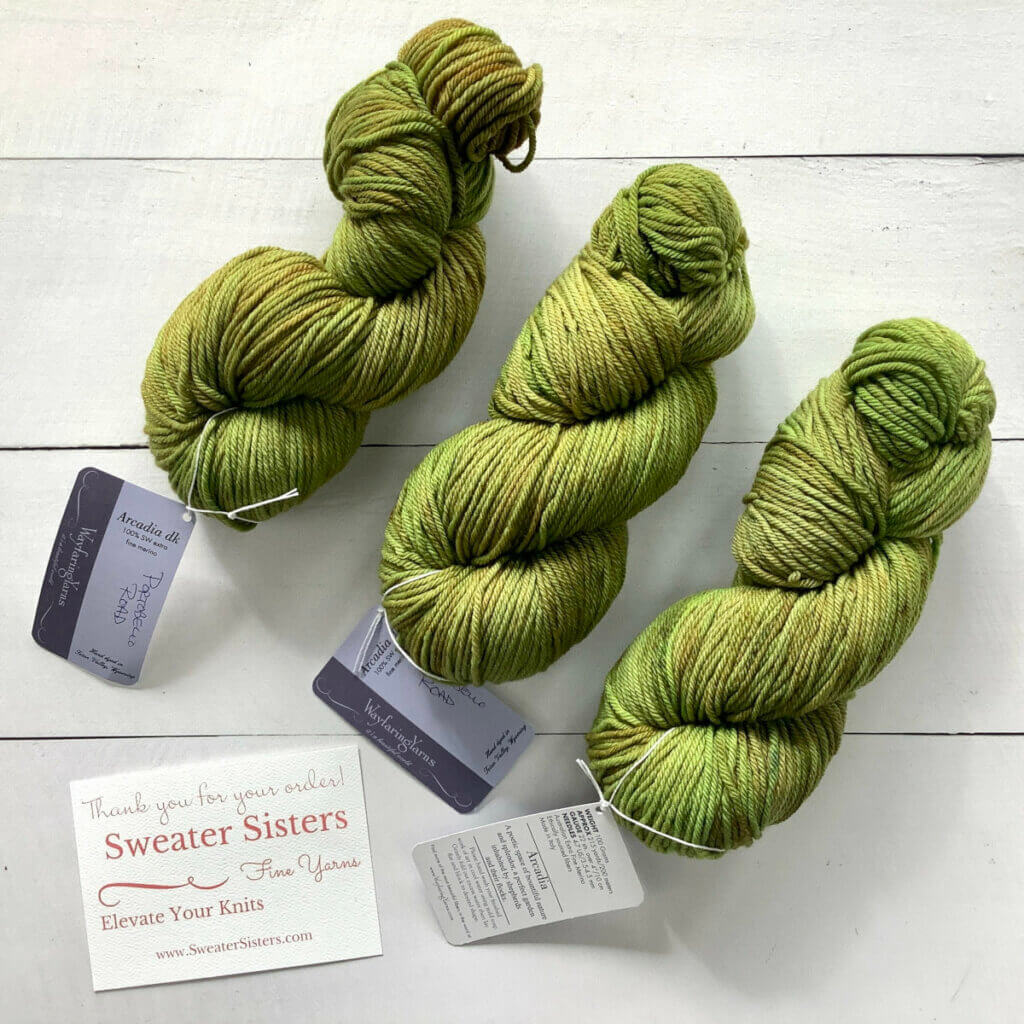
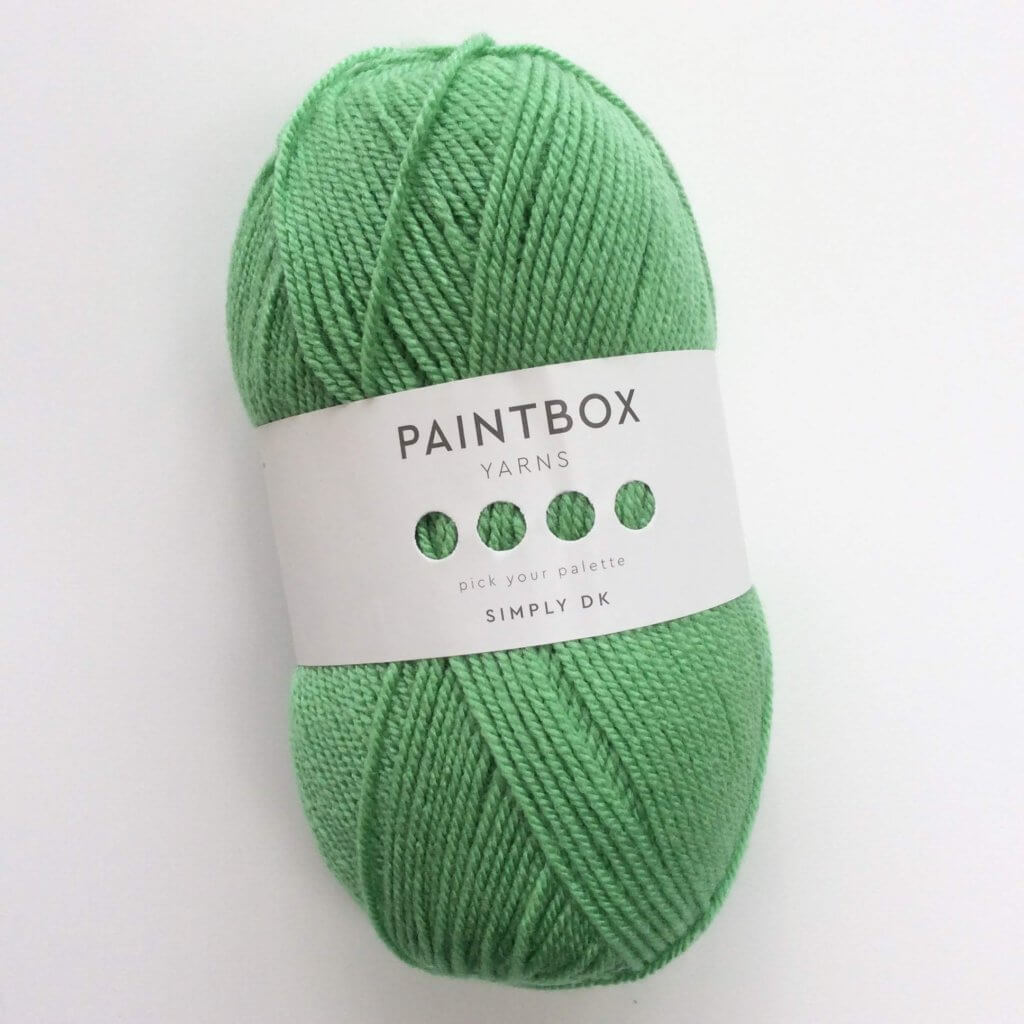
Yarn
86 (102, 118, 129) [139, 156, 182] m (94 (112, 129, 141) [153, 170, 200] yds) / 16 (19, 22, 24) [26, 29, 34] g 2-ply hand spun yarn 50% wool, 50% silk; 531 m (581 yds) / 99 g, with a WPI of 15.
Substitute any fingering or light fingering weight wool/silk blend gradient yarn for a similar result.
Materials
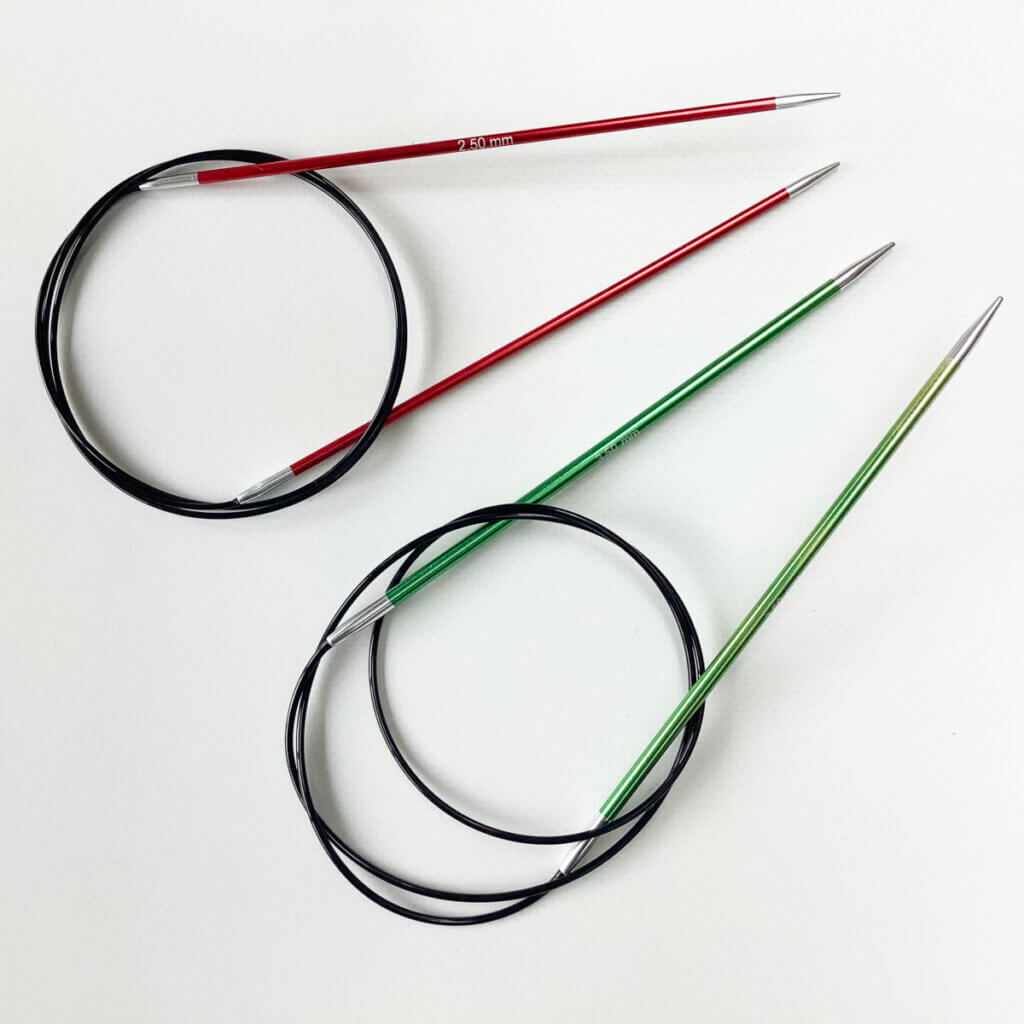
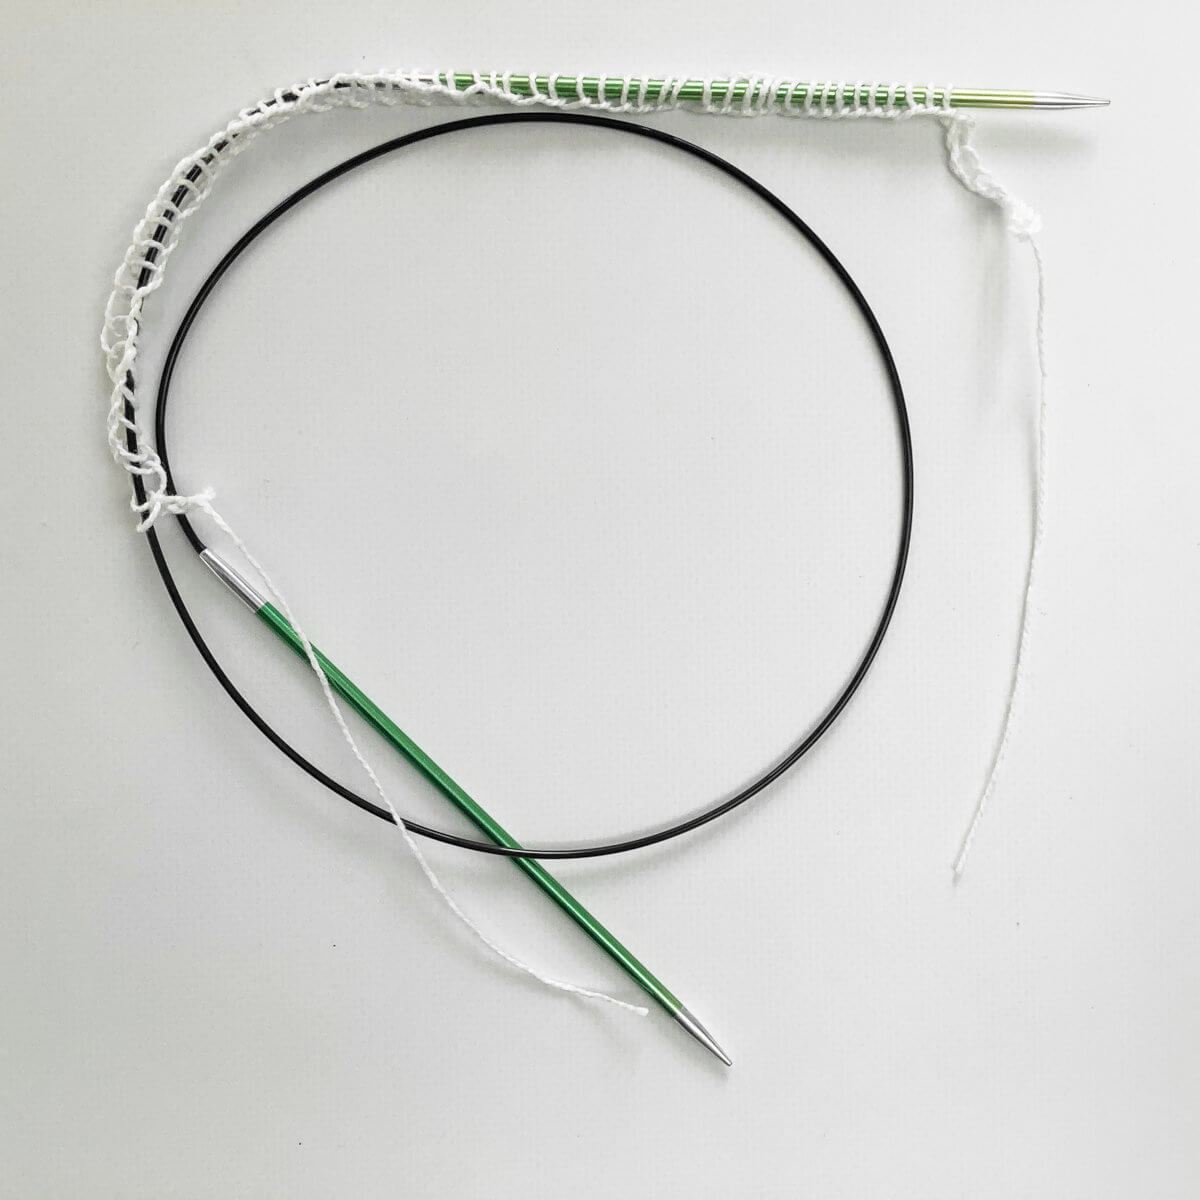
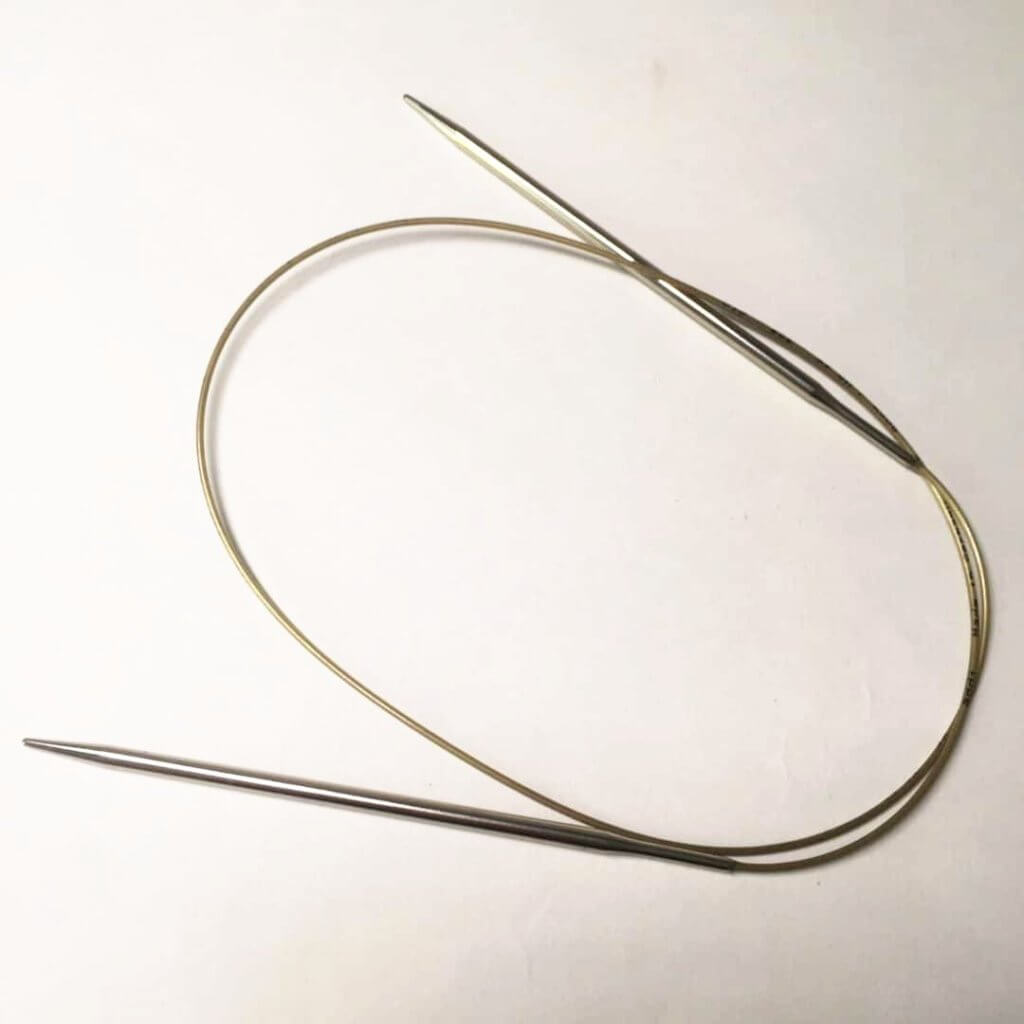
- Needles in your preferred style for small circumference knitting in the round in the following sizes (or to match gauge):
- Size 2.5 mm (US 1 ½) – for ribbed brim
- Size 3 mm (US 2 ½) – for body of the hat
- Yarn needle
- 1 end-of-round stitch marker
- 7 stitch markers