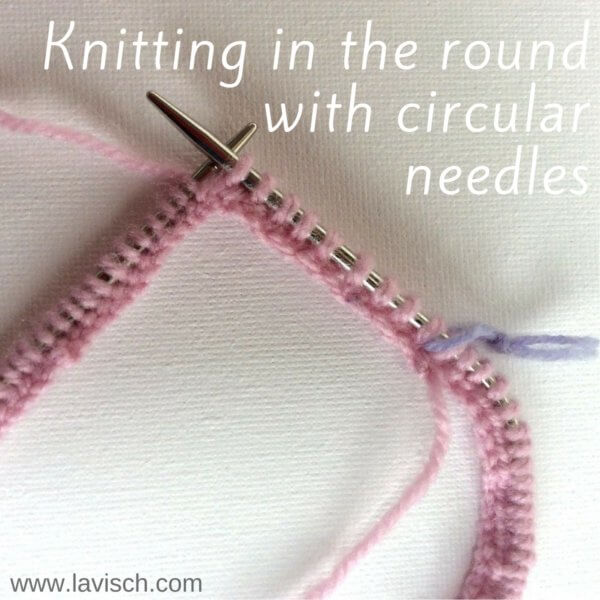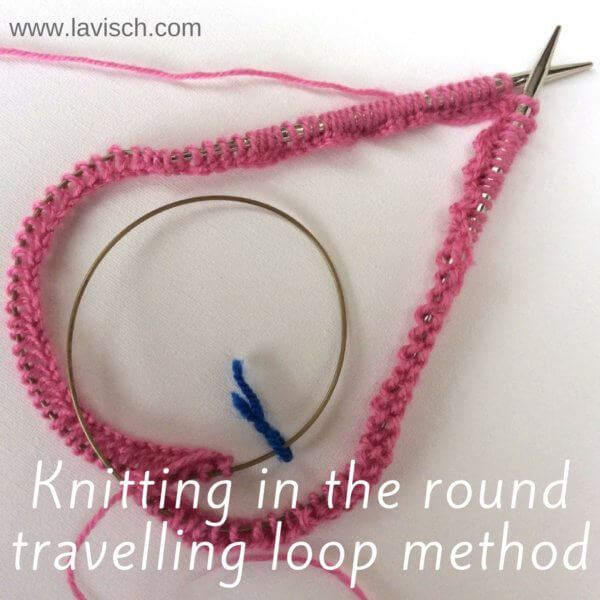
In earlier posts I already told you about choosing circular needles that fit your style. “Regular” knitting in the round has also been discussed in this post. In this post, I want to talk about knitting in the round using the travelling loop method.
Why is this actually called travelling loop?
That is because with this method you use a circular knitting needle with a cable that is way too long for the project. During knitting, the excess length of the cable forming a loop will move along from the right-hand needle all the way around to the left-hand needle. The loop “travels” as it were!
Knitting with the travelling loop method works very well if two prerequisites are met:
Firstly, it is of importance that you use a circular needle with a cable too large for your project. If your project has a circumference of 50 cm / 20 inches, then circs with a length of 80 cm / 32 inches or longer would work fine with this method. For this same project circs with a length of 60 cm / 16 inches would not work, because the excess length of cable is too small to form the loop.
Secondly, make sure that the diameter of your project is not too small! Socks and sleeves will usually be too small to use this method because the length of the needle itself will be a problem. A knitted in the round cowl or (children) sweater will be fine though most of the time.
Knitting travelling loop step by step
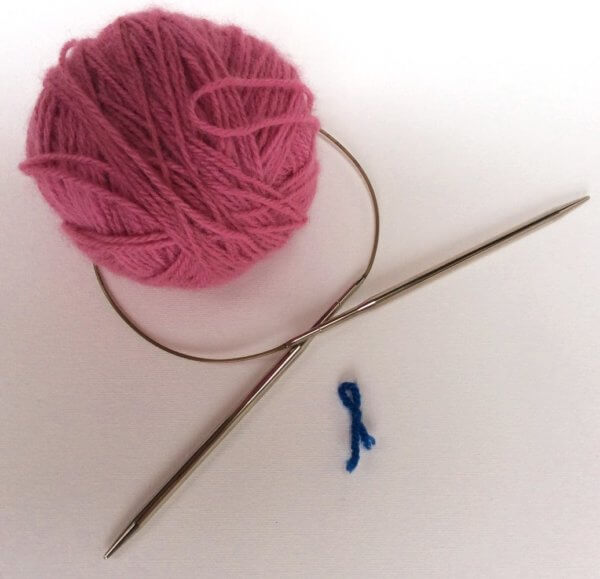
In this example, I’m using 4 mm / 80 cm circular needles as well as a stitch marker to indicate the start and end of rounds.
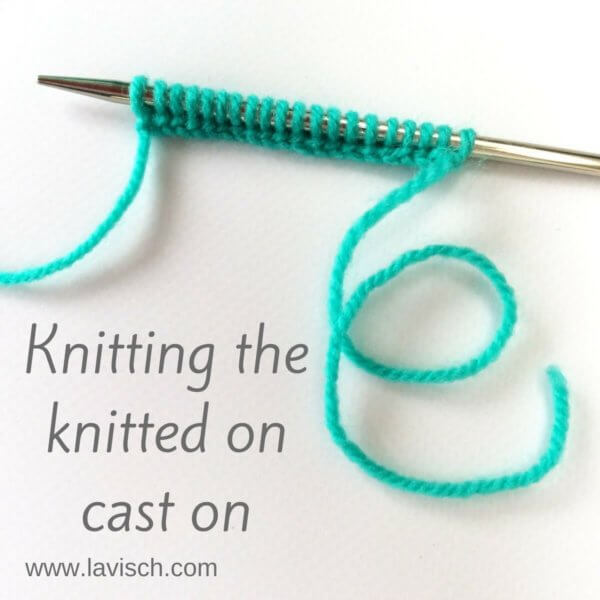
1. Cast on the number of stitches as required for your project. In this example I have cast on stitches by knitting them on, you can, of course, use your preferred method or the one specified in your pattern.
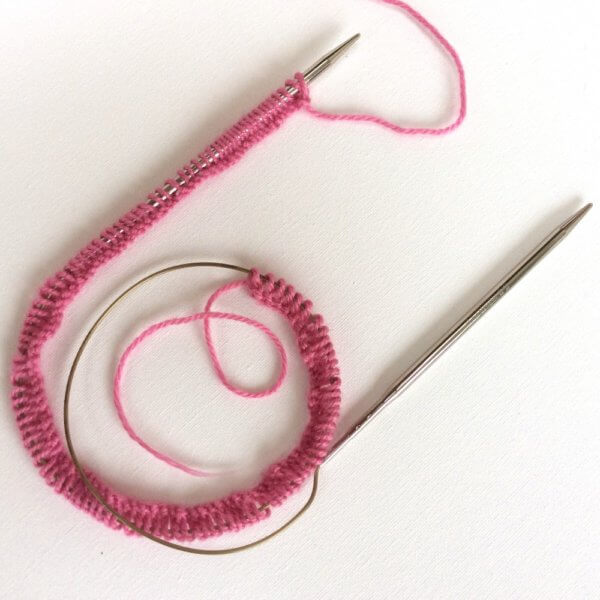
2. Move the cast on stitches over your needle in such a way that the first CO stitch is on your left-hand needle. You can recognize this stitch by the loose tail. Make sure not to twist your work, if that is what is desired for your pattern.
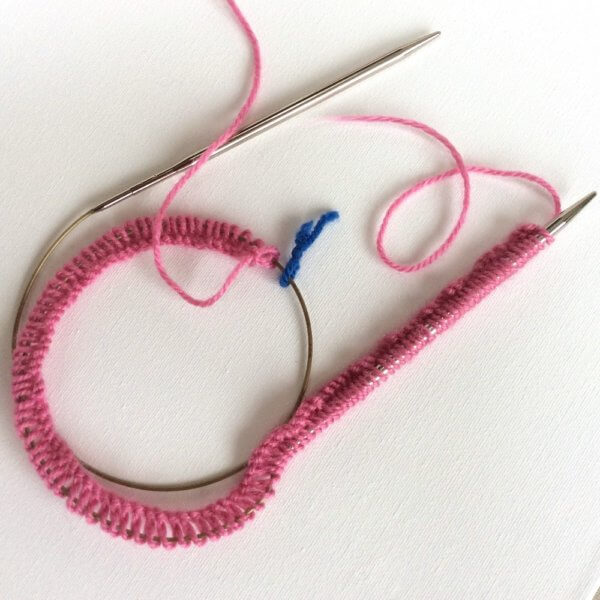
3. When you are about to close the work in the round, this is how everything looks: The needle with the beginning of your CO (with the yarn tail) at the side of the left-hand needle, the thread leading to your ball of wool coming from the last CO stitch at the back. The right-hand needle has a long length of the unused cable. Now it is also time to place your “end of round” stitch marker on the right-hand needle.
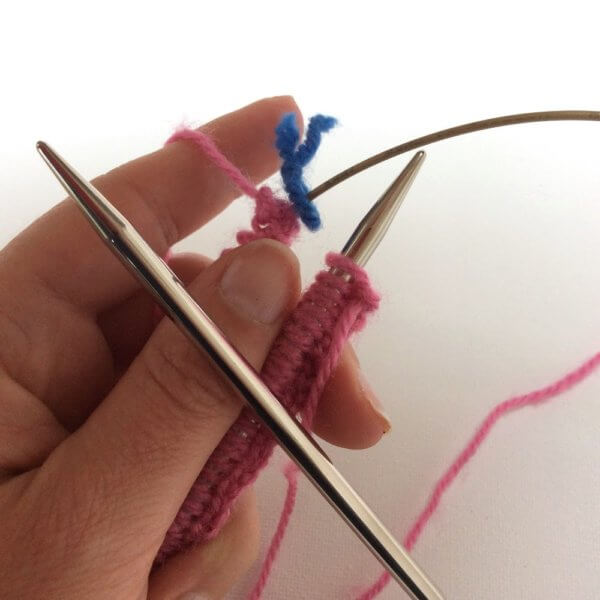
4. Insert your right-hand needle into the first stitch on the left-hand needle and knit it. There will be tension on the yarn that connects the first and last stitch of the CO. Because of this, it can help to hold the cable close to the needle with your hand.
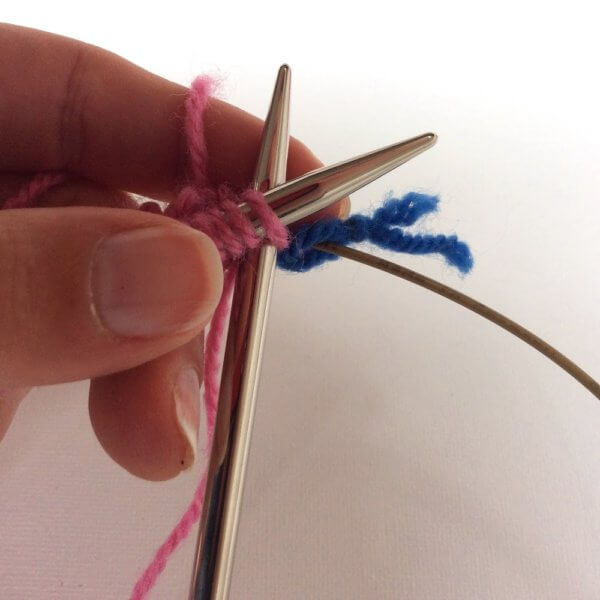
5. Once you have knitted part of the round, you will see the loop of excess cable travelling along.
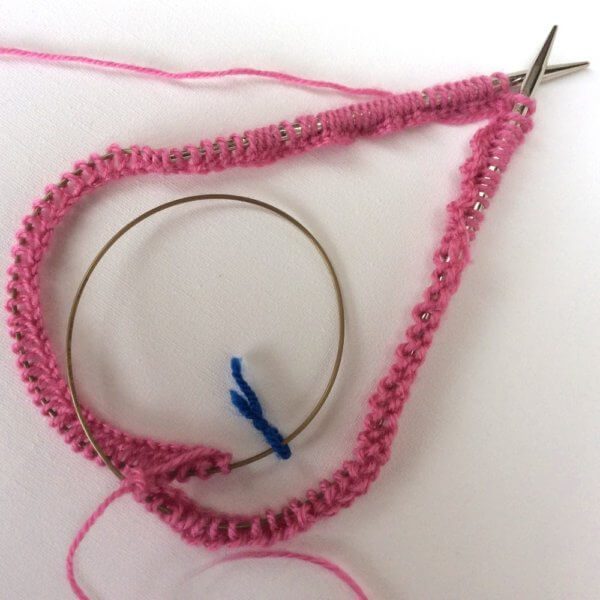
6. At a certain point when knitting with a travelling loop, it will become possible to move all remaining stitches of the round up to the left-hand needle. Do this, to lessen the tension on the yarn that connects the first and last stitch of the CO.

7. At the end of the round, you will have a large piece of unused cable near the left-hand needle. Pull the circular needle through your work in such a way, that all stitches are ready to knit on the left-hand needle. The right-hand needle has the excess cable. Put the stitch marker over to the other needle and knit. You can tighten up the somewhat loose connection between the end and start of each round. To do so, pull the yarn tight with the second stitch of each new round. Don’t worry about the sloppy looking join, this will fix itself.

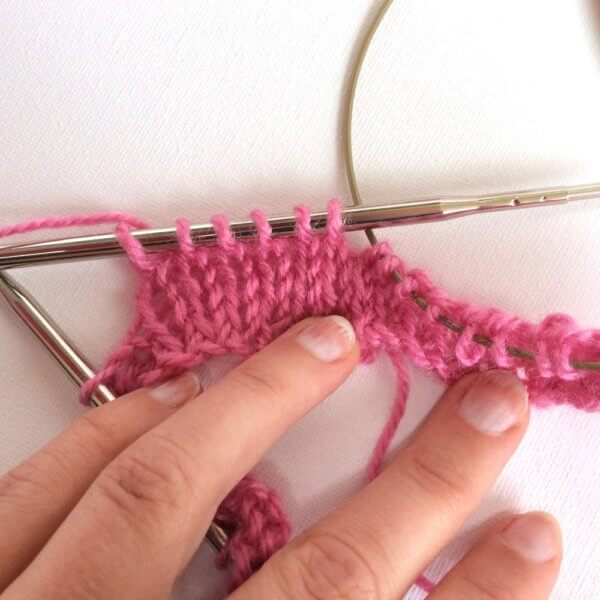
8. With each round making sure to pull the yarn tight with every second stitch of the round only. After knitting several rounds, it will look like this. As you can see everything has redistributed nicely and it does not look sloppy anymore!
Stay tuned for the next blog in the series of knitting in the round using circular needles!

