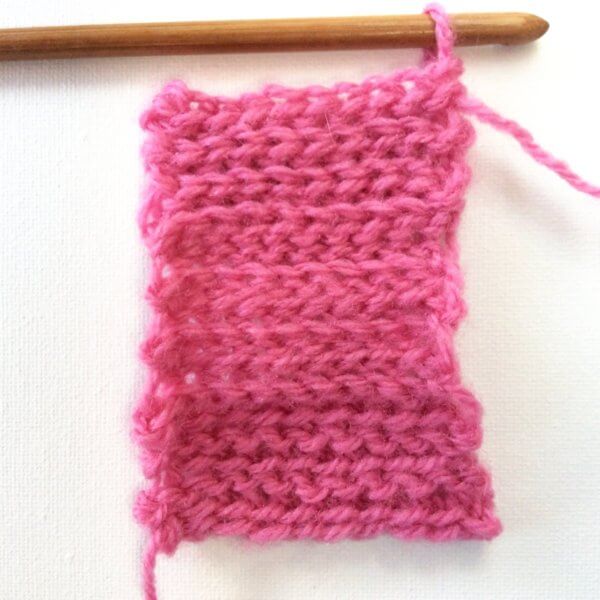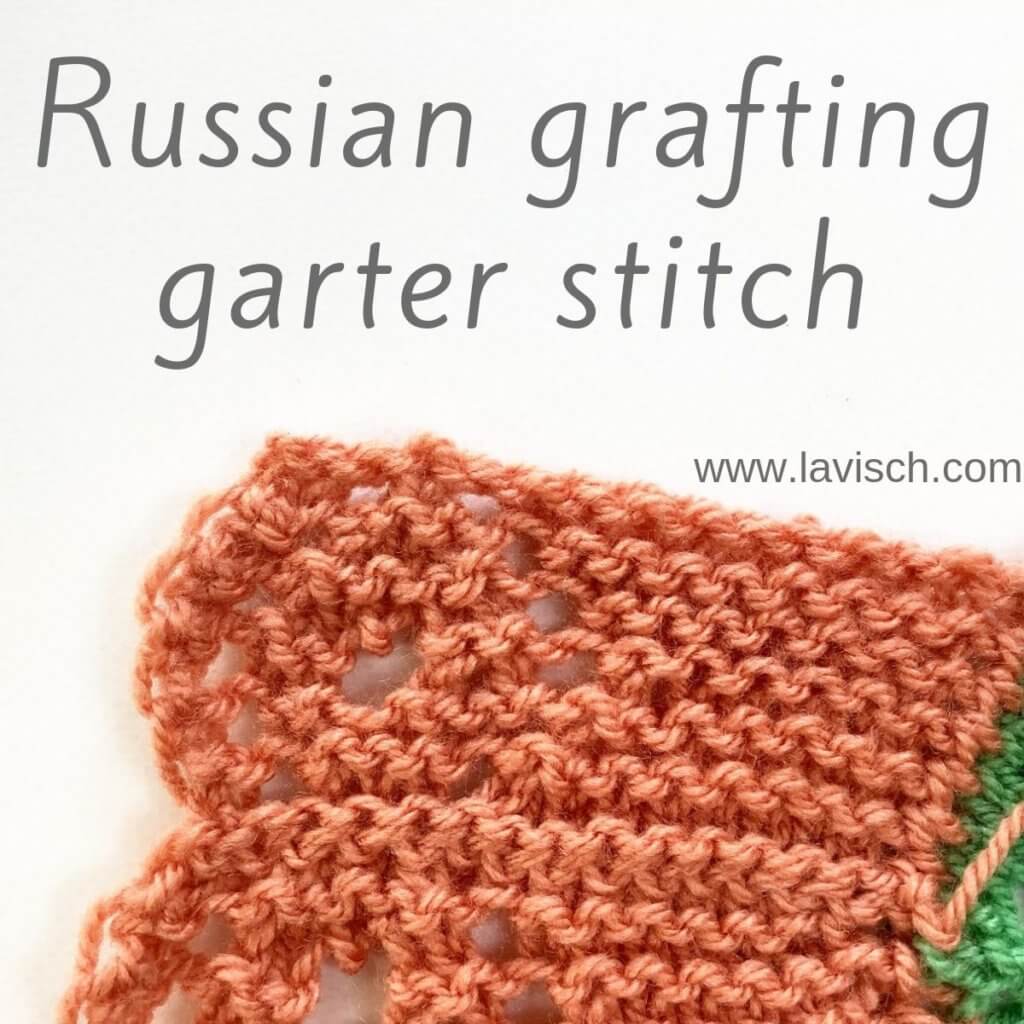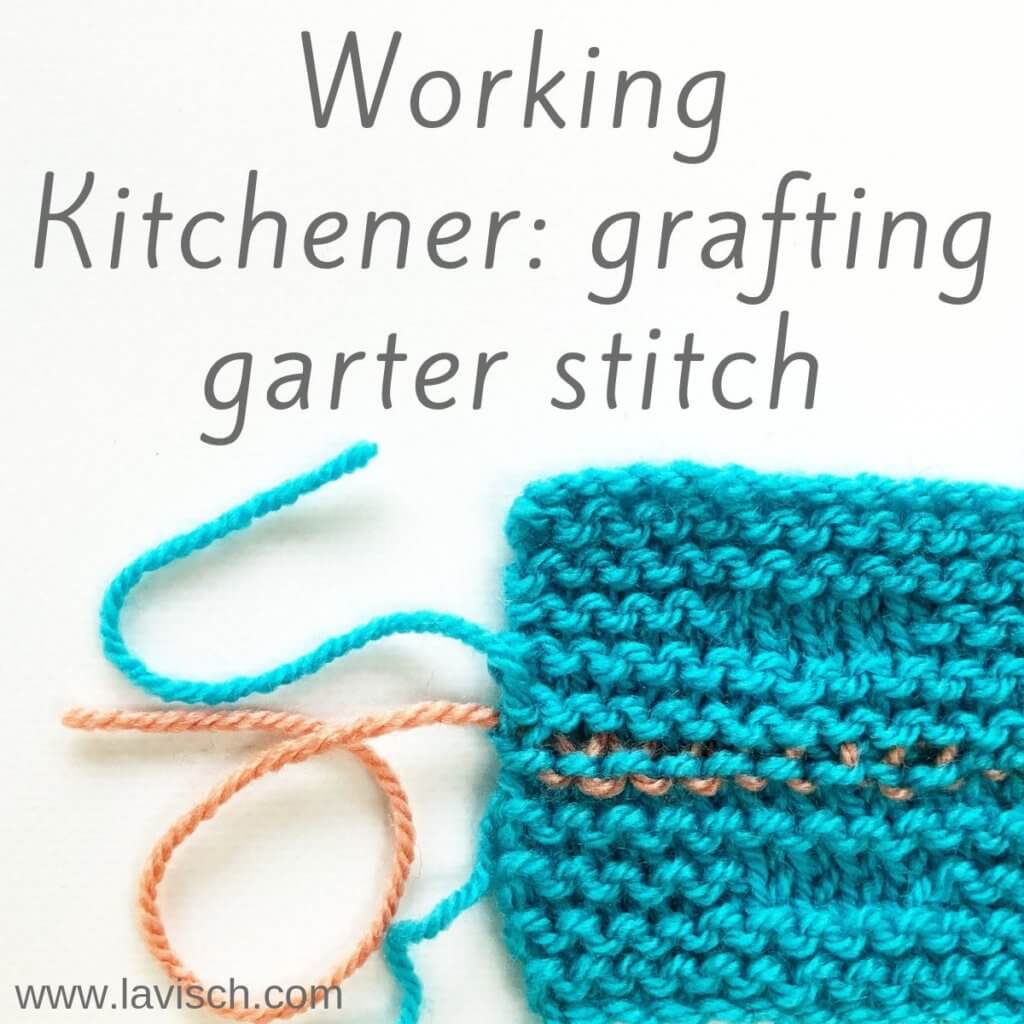
As I already wrote in the stockinette Kitchener tutorial, it seems there are 2 distinct camps: either you love it or you hate it. Kitchener stitch is a method of grafting two sets of live stitches together in an invisible way. It’s often used in a stockinette based fabric to seamlessly close the toes of top-down socks, for example. To do so, the needle is passed through the live stitches of the pieces of knitting to be joined, in a similar manner similar as the direction in which a knitting needle is inserted within a stitch.
And it may surprise you, but working Kitchener stitch is also very well possible in a garter stitch based fabric. The magic trick behind this is that because you’ll be creating an extra row of stitches, one of the garter stitch pieces needs to be one row shorter than the other. In other words: If you have ended one piece with a right side row, you’ll need to end the other piece with a wrong side row!
Materials used
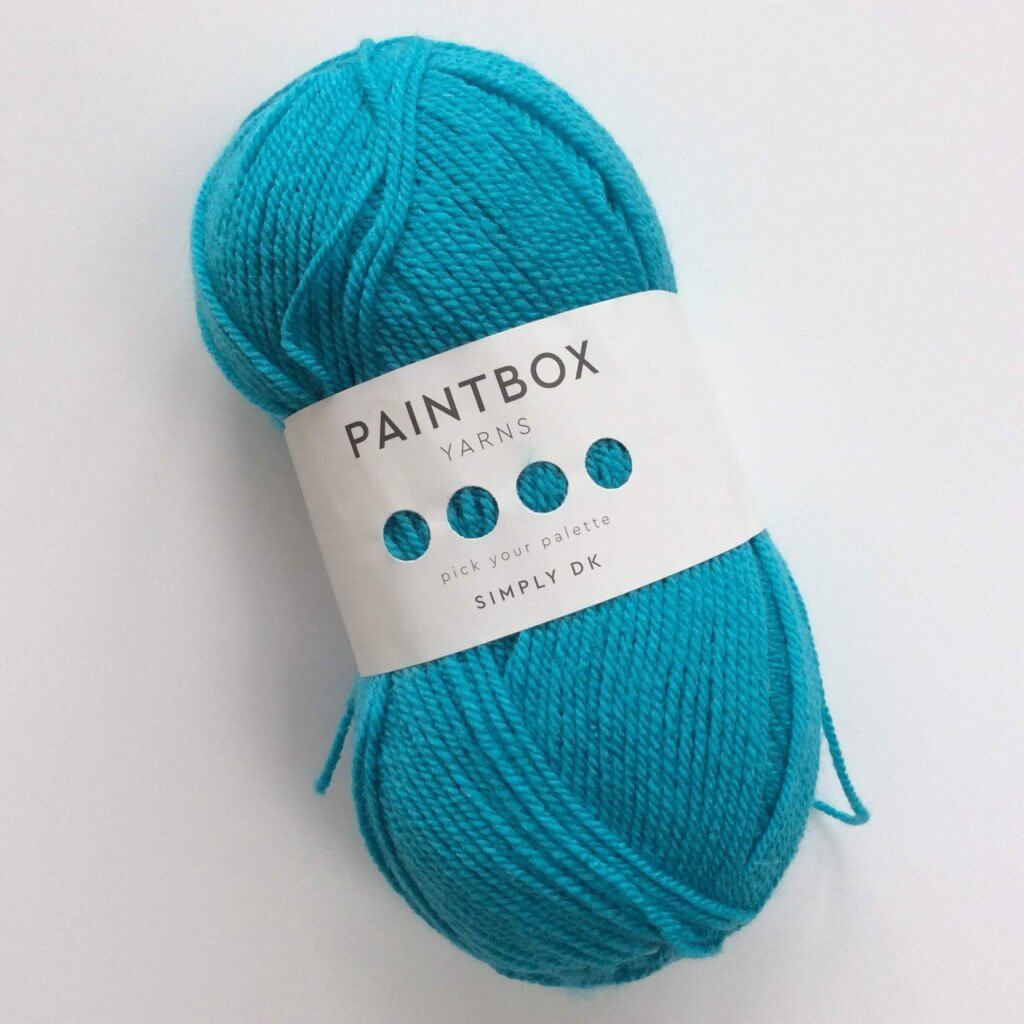
Yarn: * Paintbox Yarns Simply DK, a good value, good quality 100% acrylic yarn, here in the colors 133 Marine Blue for the swatches and 155 Vintage Pink for the Kitchener stitch.
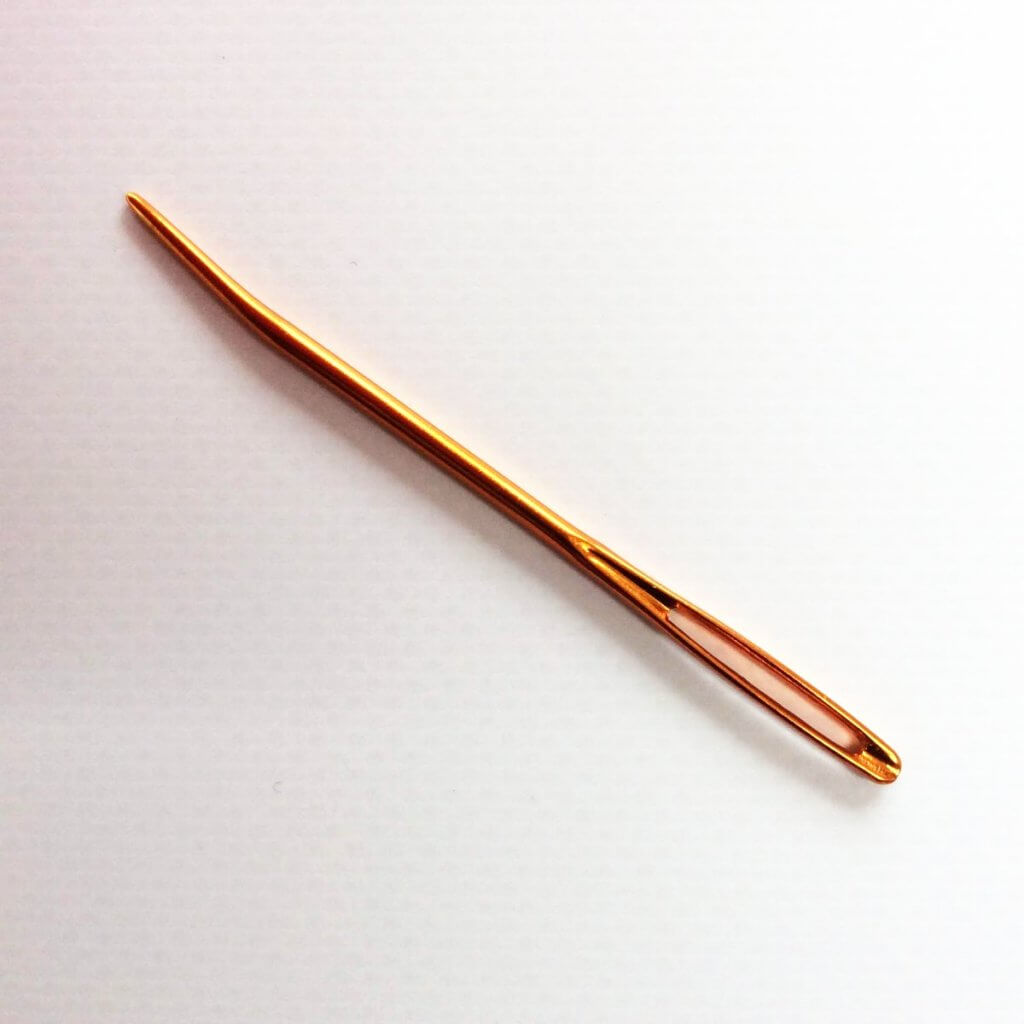
Darning needle: * Hiya Hiya Darn It Yarn Needle, or any other tapestry needle, threaded with yarn.
Working Kitchener to graft garter stitch step by step
Set-up
Before we start, we have to make sure that the two pieces of garter stitch fabric that we will be grafting together, each have the same number of stitches.
We also have to make sure that one of the pieces is ended with a right side row and the other on a wrong side row. But how to recognize which is which? Personally, I usually use the knitted-on CO method. This means that once I’m done with casting on my stitches, there are stitches on my right-hand needle, ready for knitting, with the yarn tail on the left side. So, when facing the right side, the yarn tail will always be on the left bottom corner of the work!
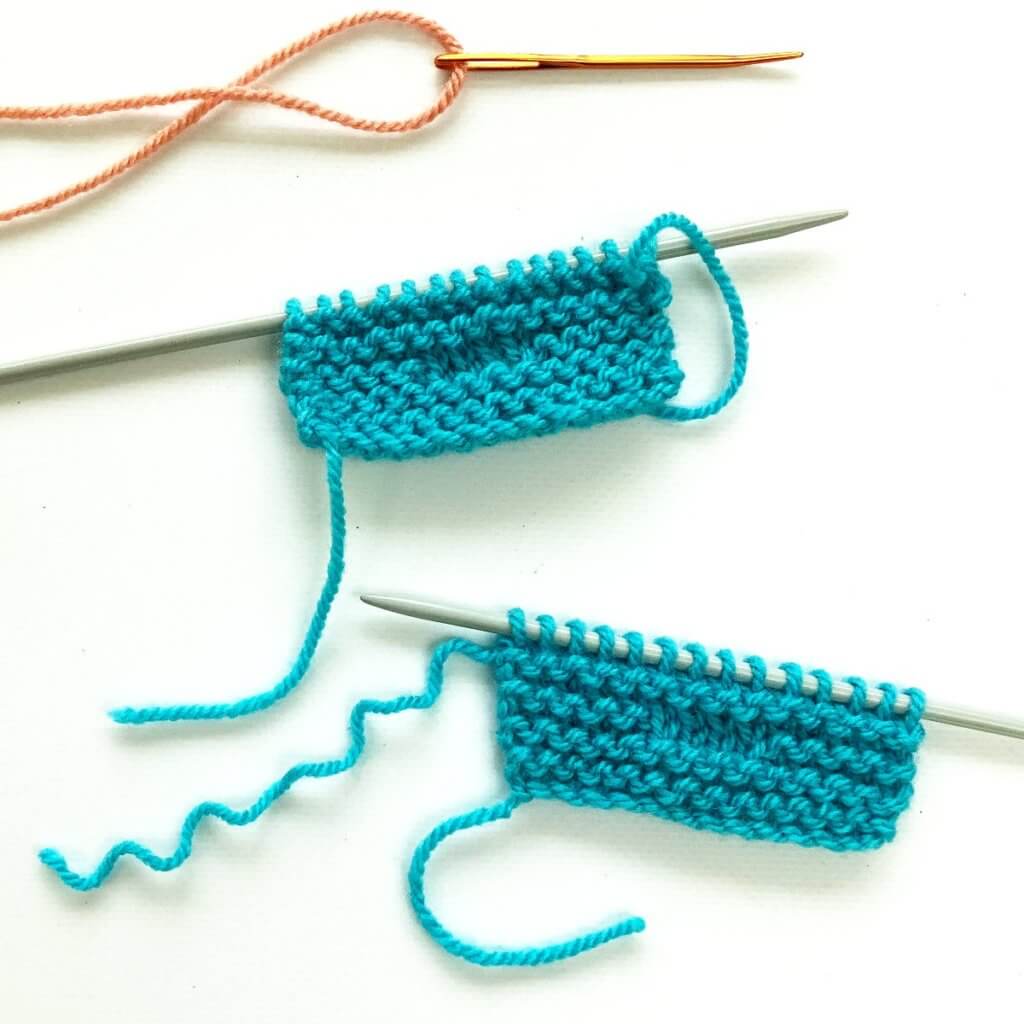
You can, of course, also use a removable stitch marker in each piece to indicate the RS. In these swatches, though, I’ve worked a little bit of stockinette to indicate the right side.
1. To start, we hold the two needles containing the live stitches parallel to each other, with the wrong sides of the fabric facing inside and the right sides facing outside. Hold the shorter piece in the back.
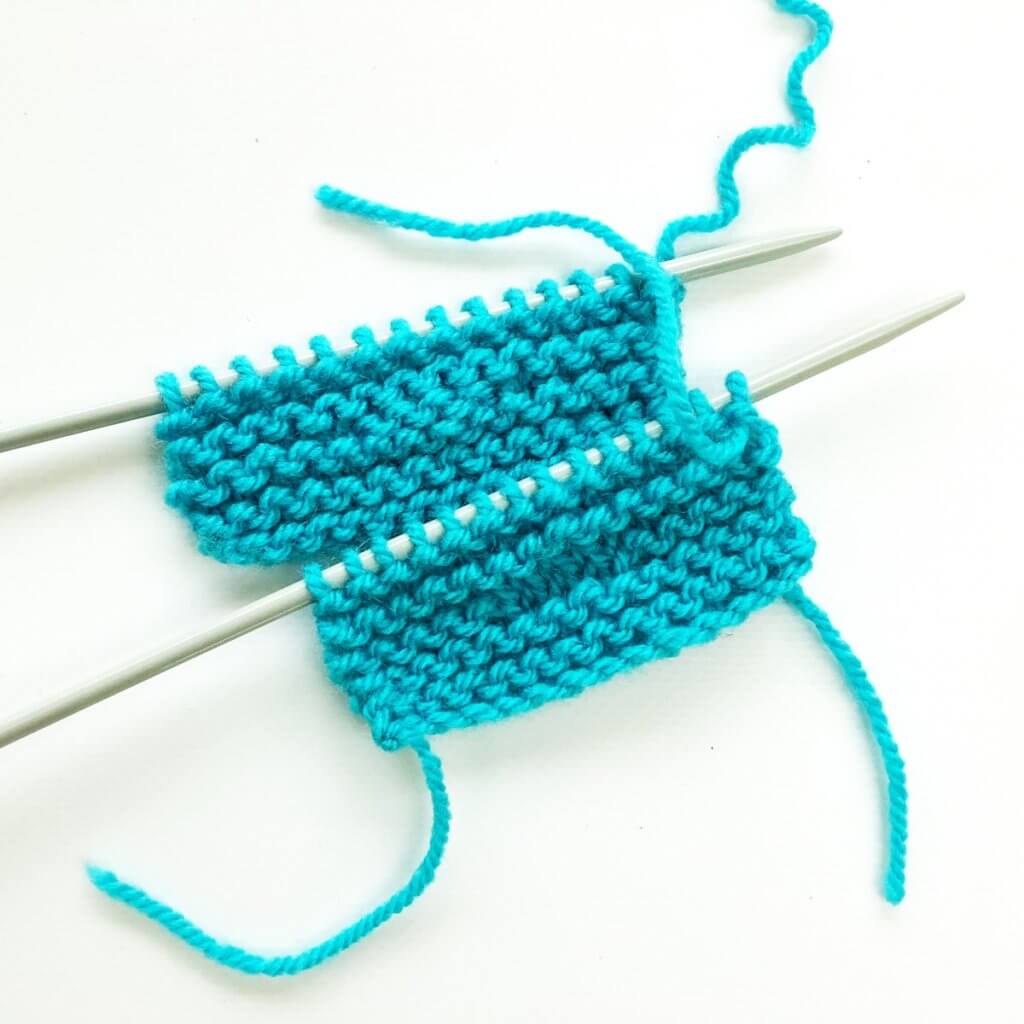
2. Take your darning needle and pass it purlwise through the first stitch on the front needle. Pull the yarn through, while leaving the stitch on the needle.
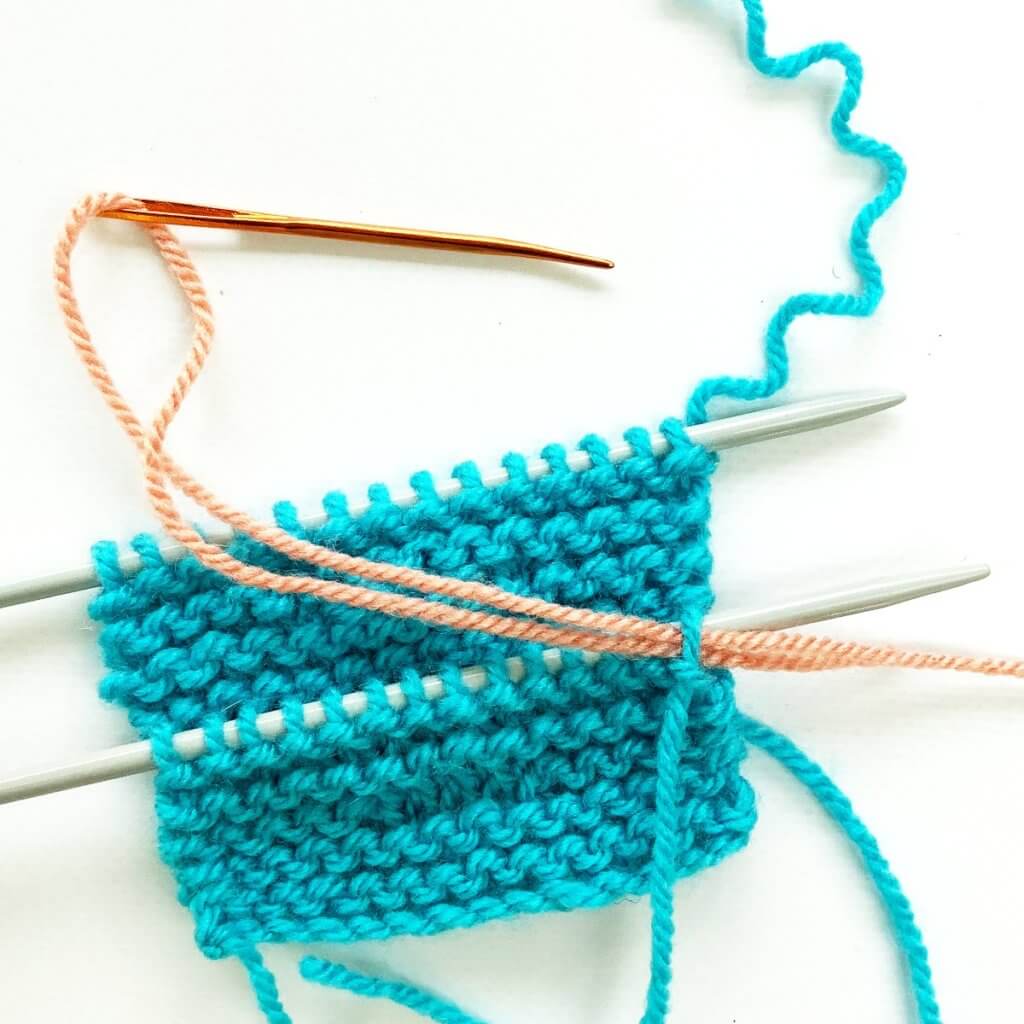
3. Next, thread the darning needle purlwise through the first stitch on the back needle. Again, pull the yarn through, while leaving the stitch on the needle.
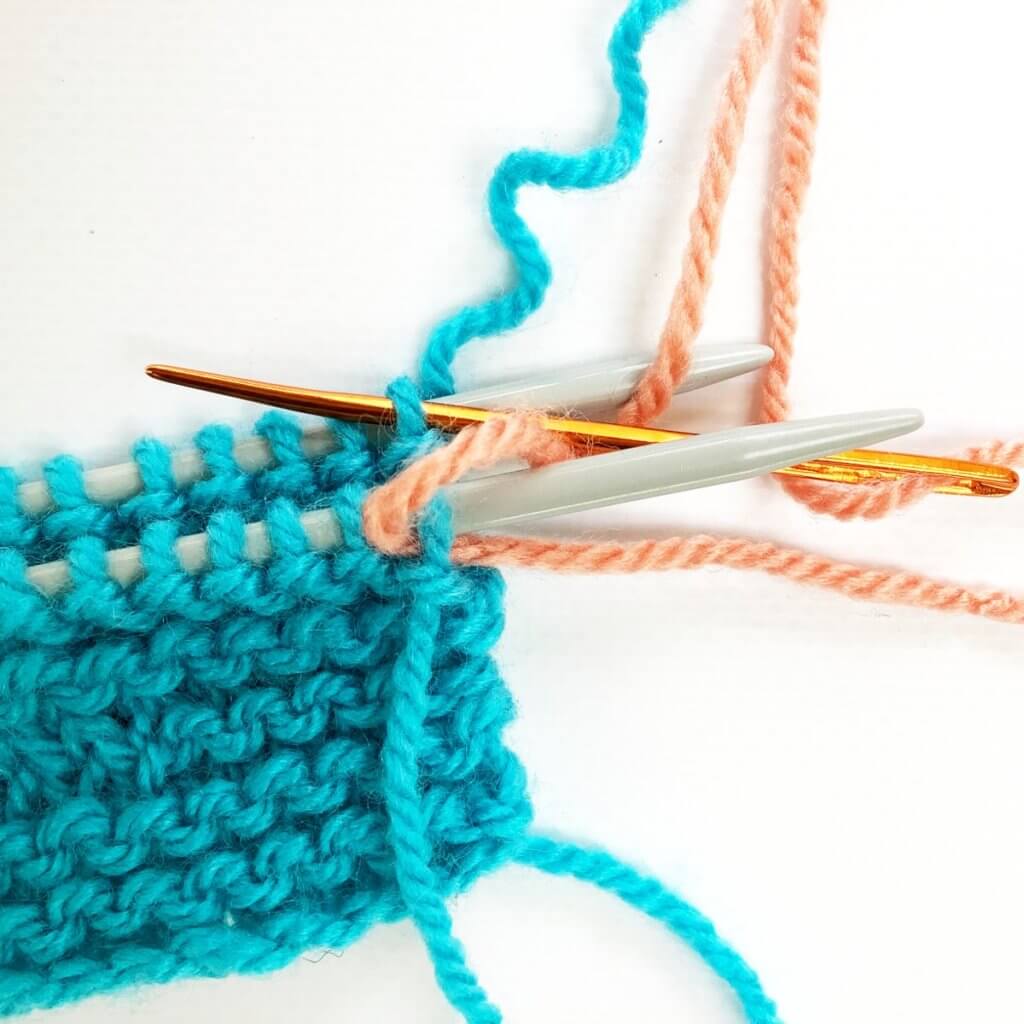
Repeat
1. Front needle: Pass the darning needle knitwise through the first stitch of the front needle. Pull the yarn through and slip the stitch off the needle. The below picture shows how it looks after the stitch has been dropped.
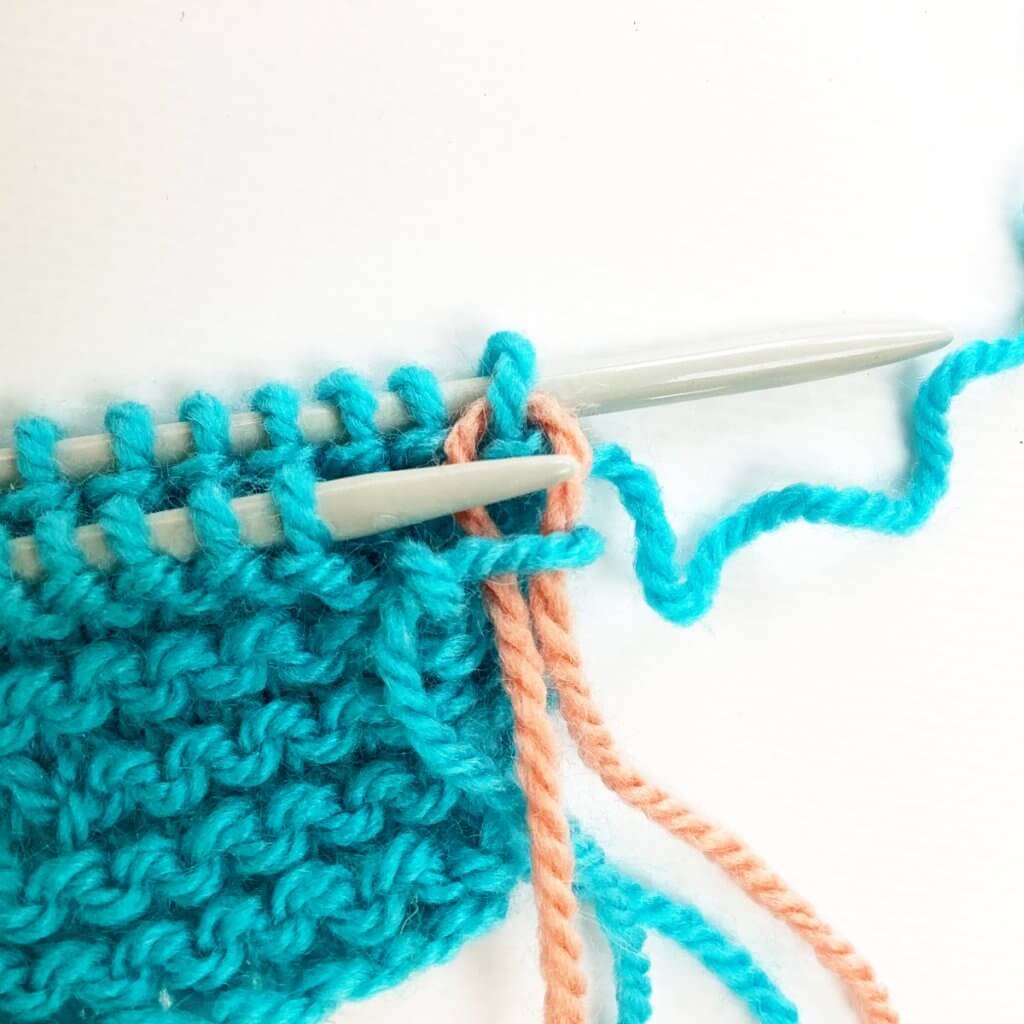
2. Front needle: Next, thread the darning needle purlwise through the second stitch on the front needle. Leave the stitch on the needle and pull the yarn through.
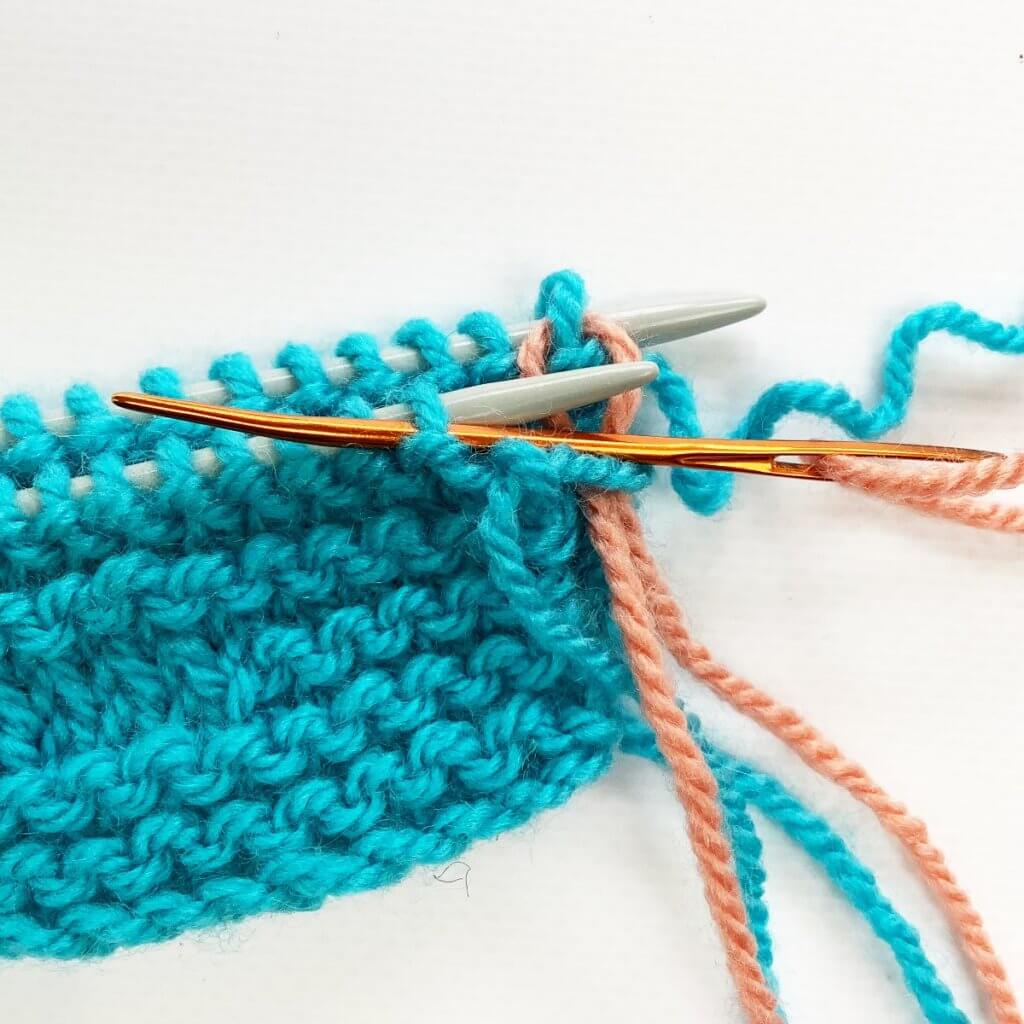
3. Back needle: Pass the darning needle knitwise through the first stitch of the back needle. Pull the yarn through and slip the stitch off the needle. Again, the picture shows how it looks after the stitch has been dropped off.
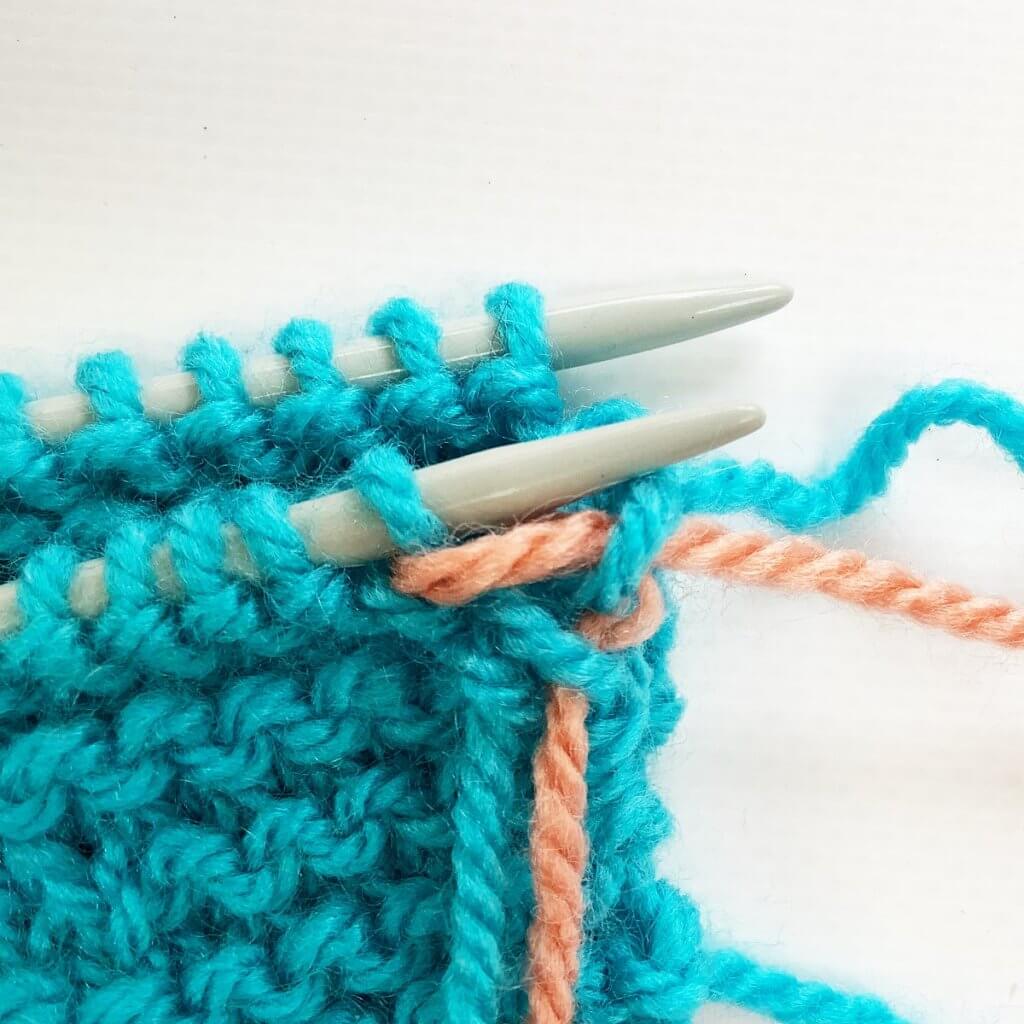
4. Back needle: Next, thread the darning needle purlwise through the second stitch on the back needle. Leave the stitch on the needle and pull the yarn through. Be careful not to pull your yarn too tightly!
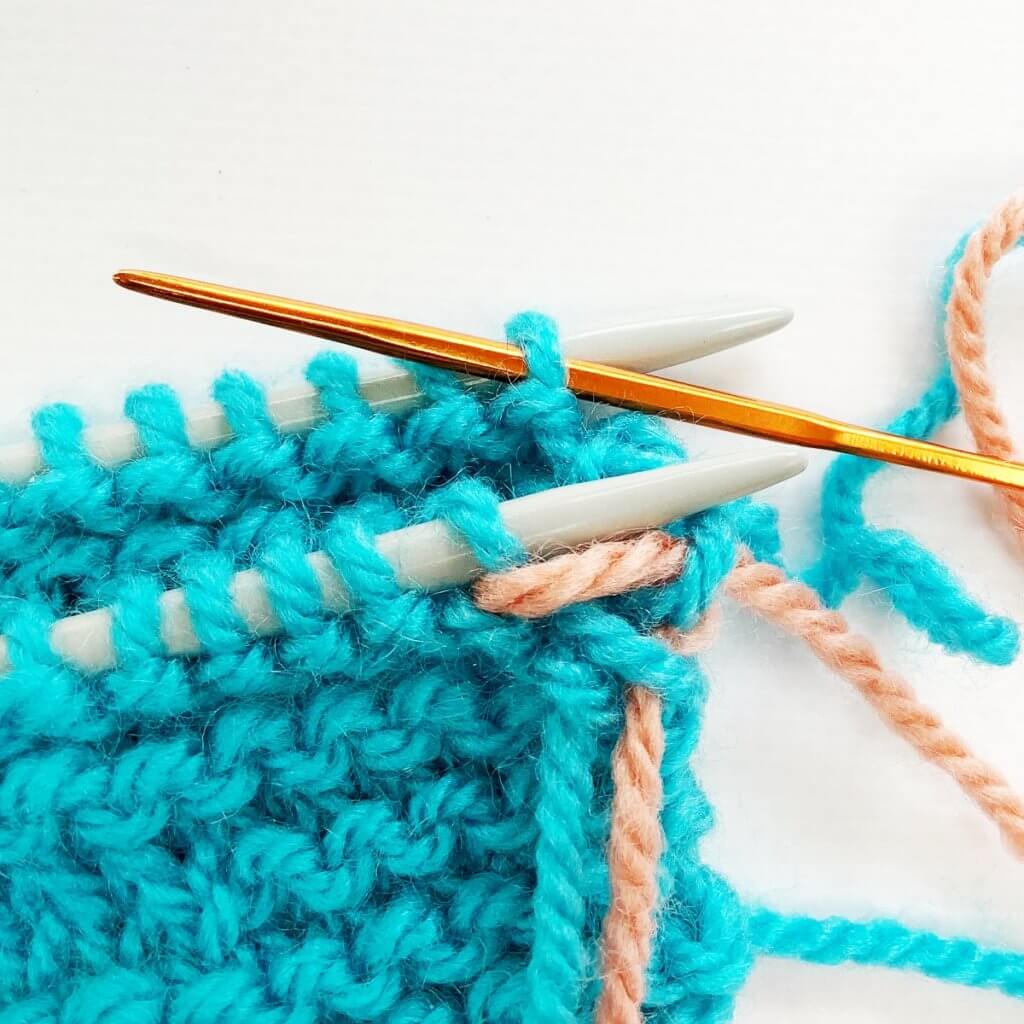
Repeat steps 1 to 4 until only 1 stitch remains on each knitting needle. Take care to gently adjust the tension of the newly made stitches every few stitches to match the fabric of the pieces you’re grafting together.
Finishing Kitchener in garter stitch
1. Now insert the darning needle knitwise into the stitch on the front needle and pull the yarn through, dropping the stitch from the needle.
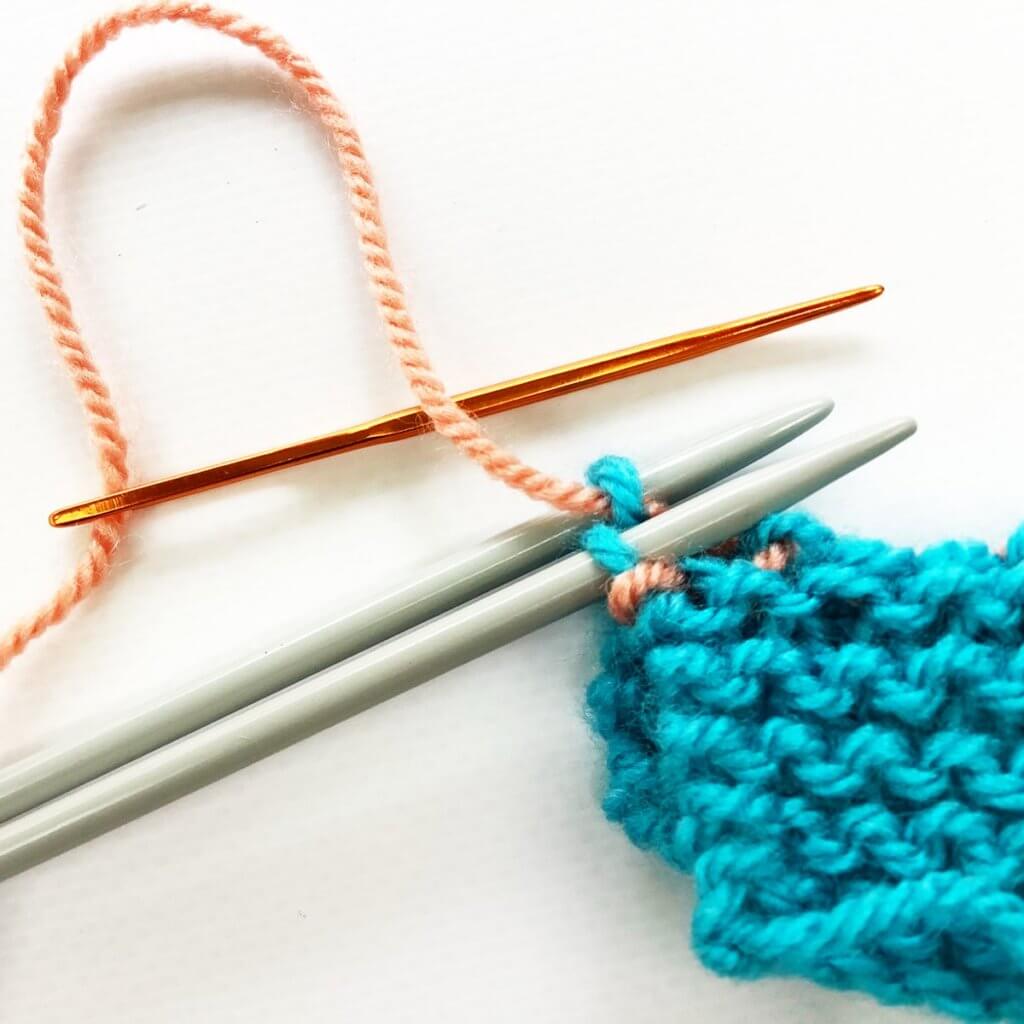
2. To finish, insert the darning needle knitwise into the stitch on the back needle. Pull the yarn through and drop the stitch from the needle.
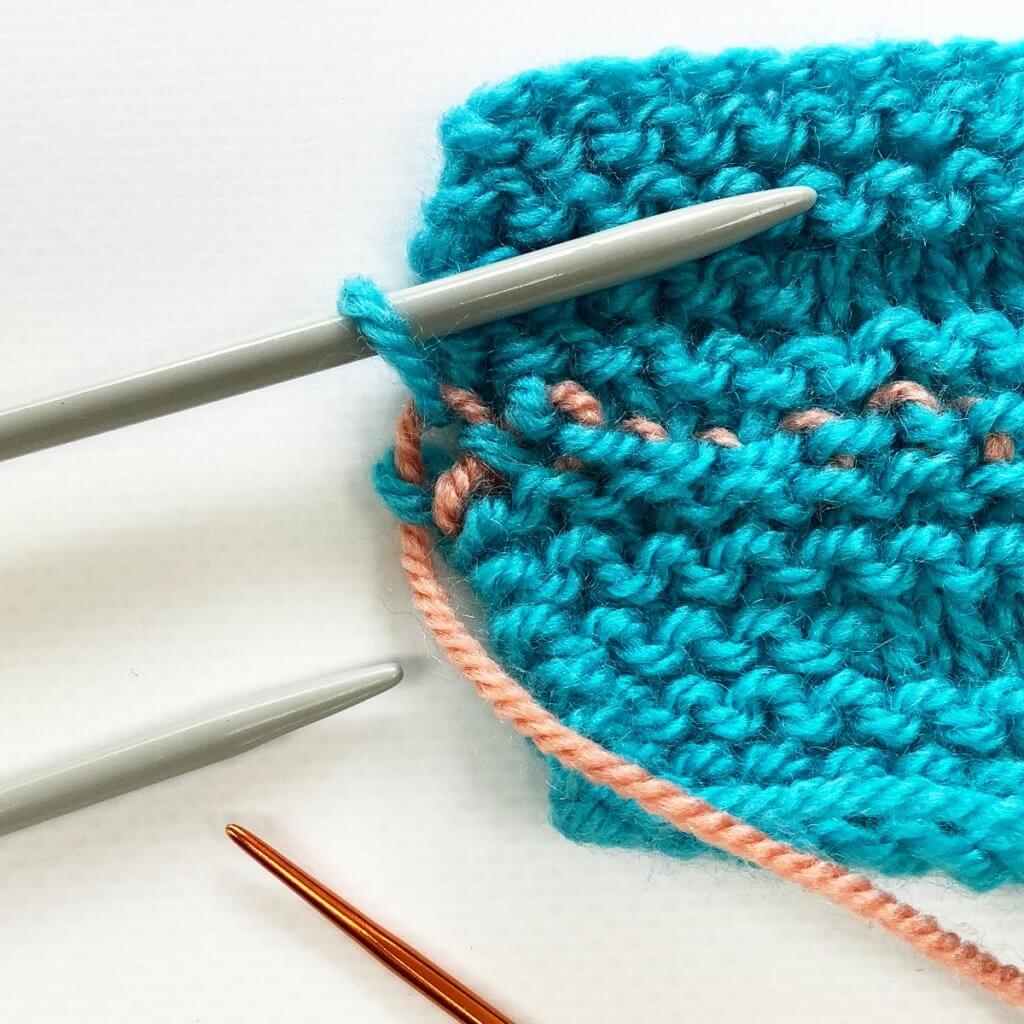
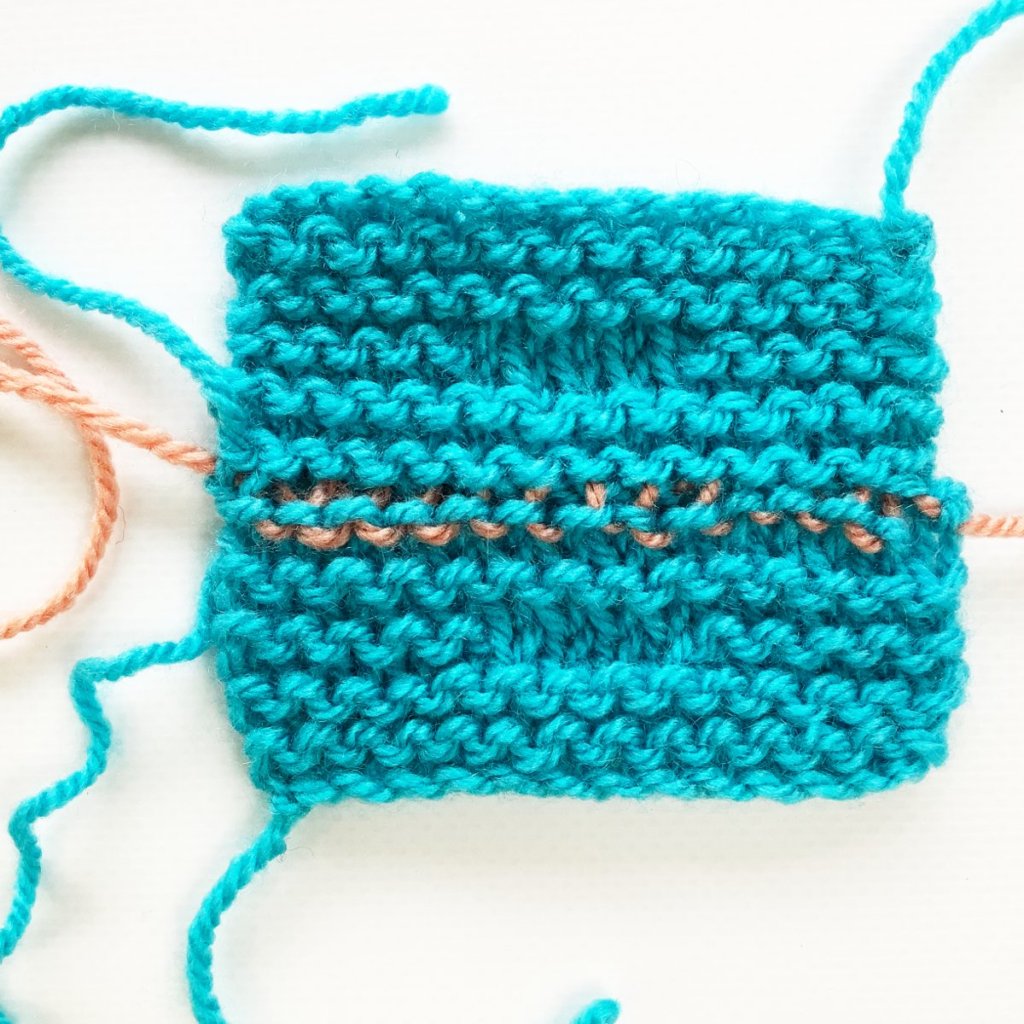
And that’s how you work Kitchener in garter stitch!

Thanks to my Patreon supporters for bringing you this freebie! Creating quality patterns and tutorials is a lot of work and resource-intensive. However, I find it important to give you free content like this tutorial. Thanks to the generous support of my Patreon supporters, I can make it happen. Thank you, patrons! Click here to join, or click here to read more about La Visch Designs on Patreon.

