Recently, in this post, I posted about a stitch pattern using both a 2/2 RC, and a 2/2 LC cable. But I must say, that I find that with knitting cables, my flow is very much interrupted. First by getting the cable needle. Next, by manipulating all three needles I have in my hands at that moment while working the stitches. Followed by laying the cable needle aside again. All of this to repeated multiple times in a row, depending on the patterning, of course. This, I really dislike.
Fortunately, as long as the cable is not too complex and does not involve too many stitches, it’s very well possible to work the cables without using a cable needle. Below you can find how to work this decrease step by step, so get your materials and follow along!
Materials


Yarn: Paintbox Yarns Simply DK, a good value, good quality 100% acrylic yarn, here in the color 155 Vintage pink.
Knitting needles: This is a pair of straights that I picked up at the second-hand store when I started knitting, brand unknown.
Working 4-stitch cables without a cable needle step by step
In this example, I’m working the following cables:
2/2 LC (2/2 left-cross cable): Slip next 2 stitches to cable needle and place at front of work, k2, then k2 from cable needle.
2/2 RC (2/2 right-cross cable): Slip next 2 stitches to cable needle and place at back of work, k2, then k2 from cable needle.
And yes, the instructions say to use a cable needle, because not all folks will want to work them without one.
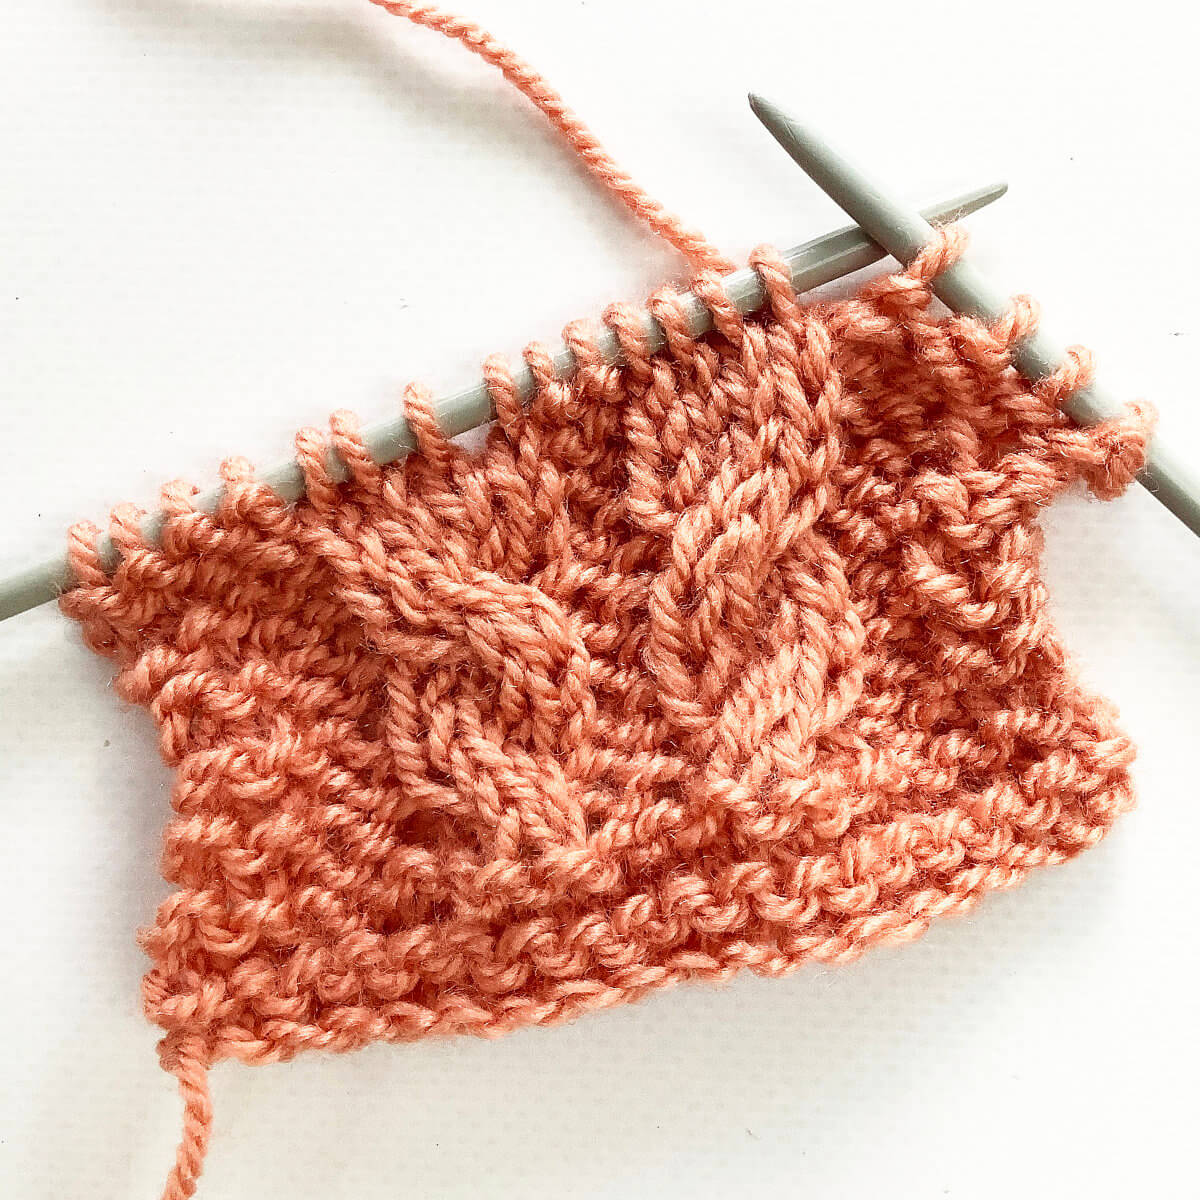
- Work your way across the row until you’ve reached the point where you want to make the cable.
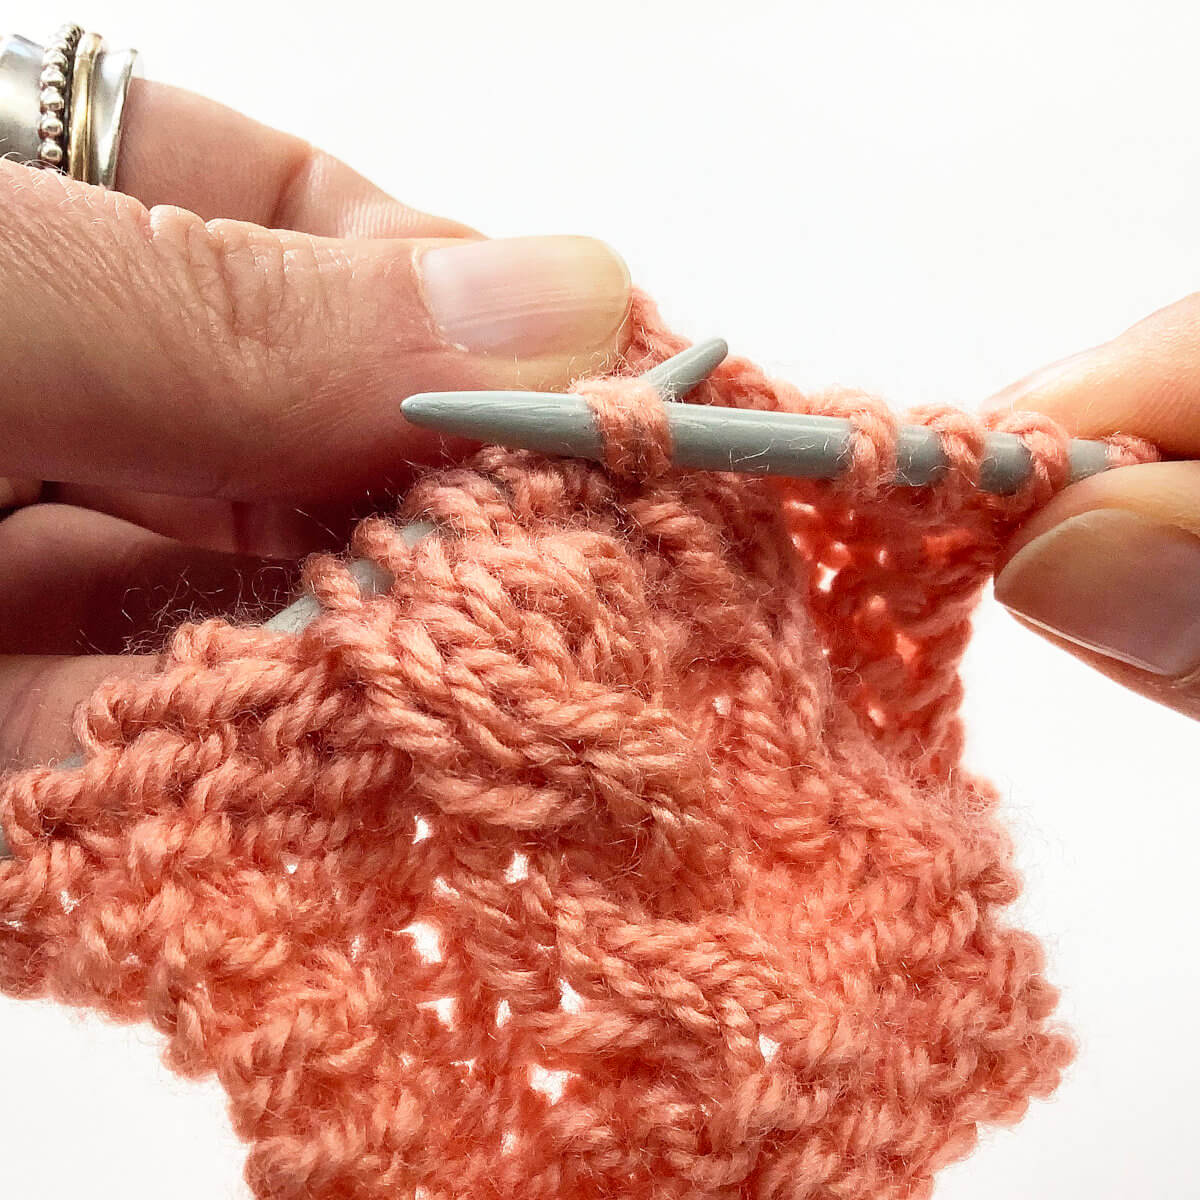
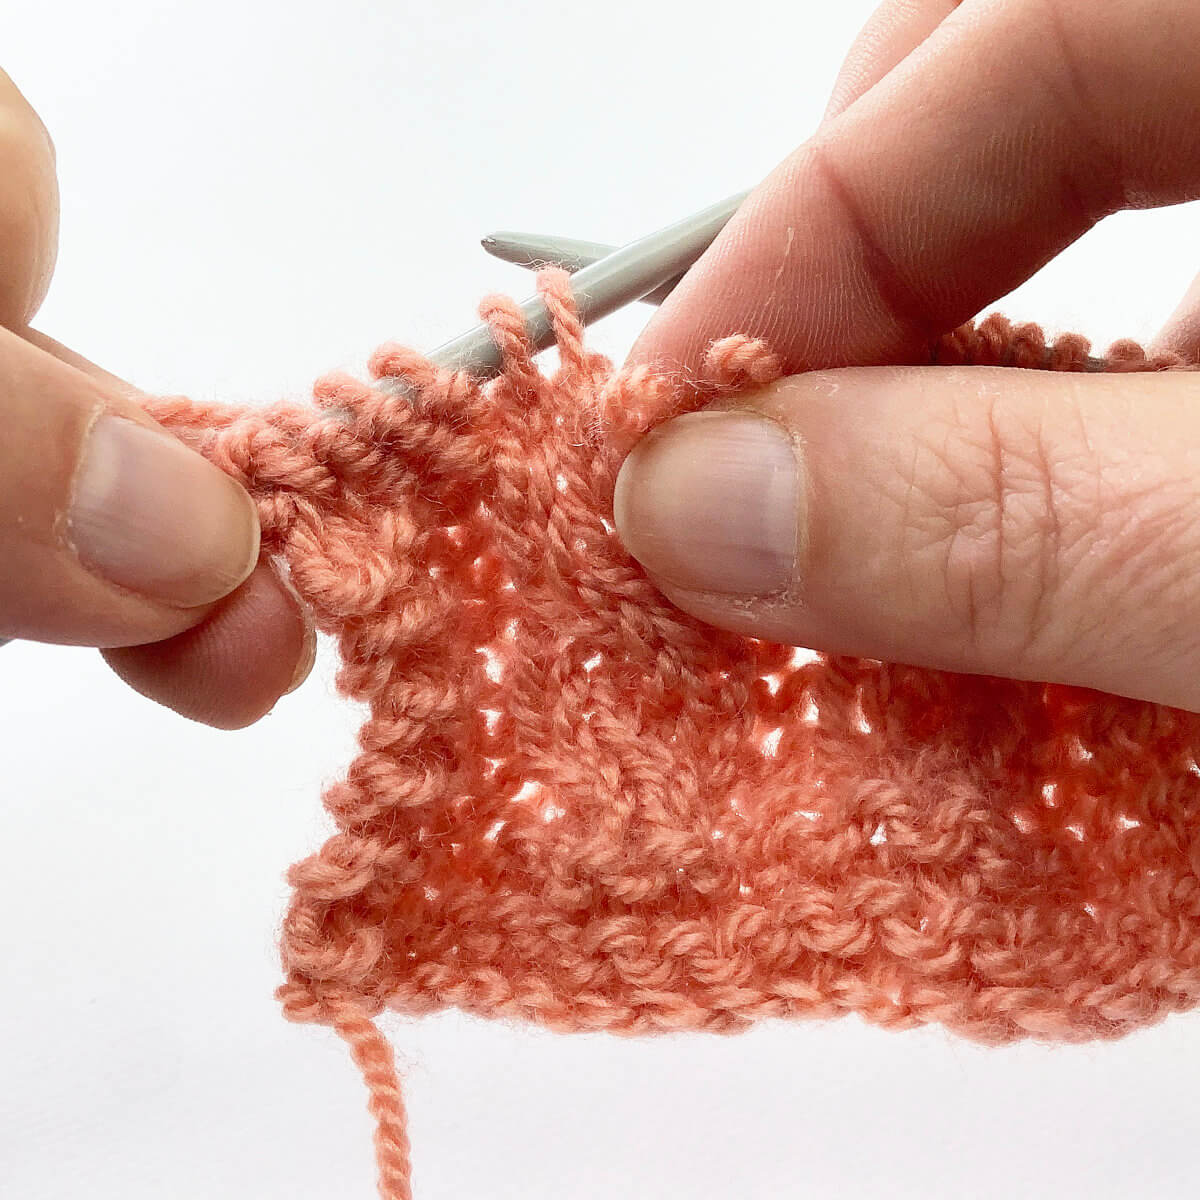
- First up is the 2/2 right-cross cable. With this cable, we want the first 2 stitches to cross in the back and to the left of the next 2 stitches.
To do so, I remove the first 2 stitches from the needle and place them to the back of the work.
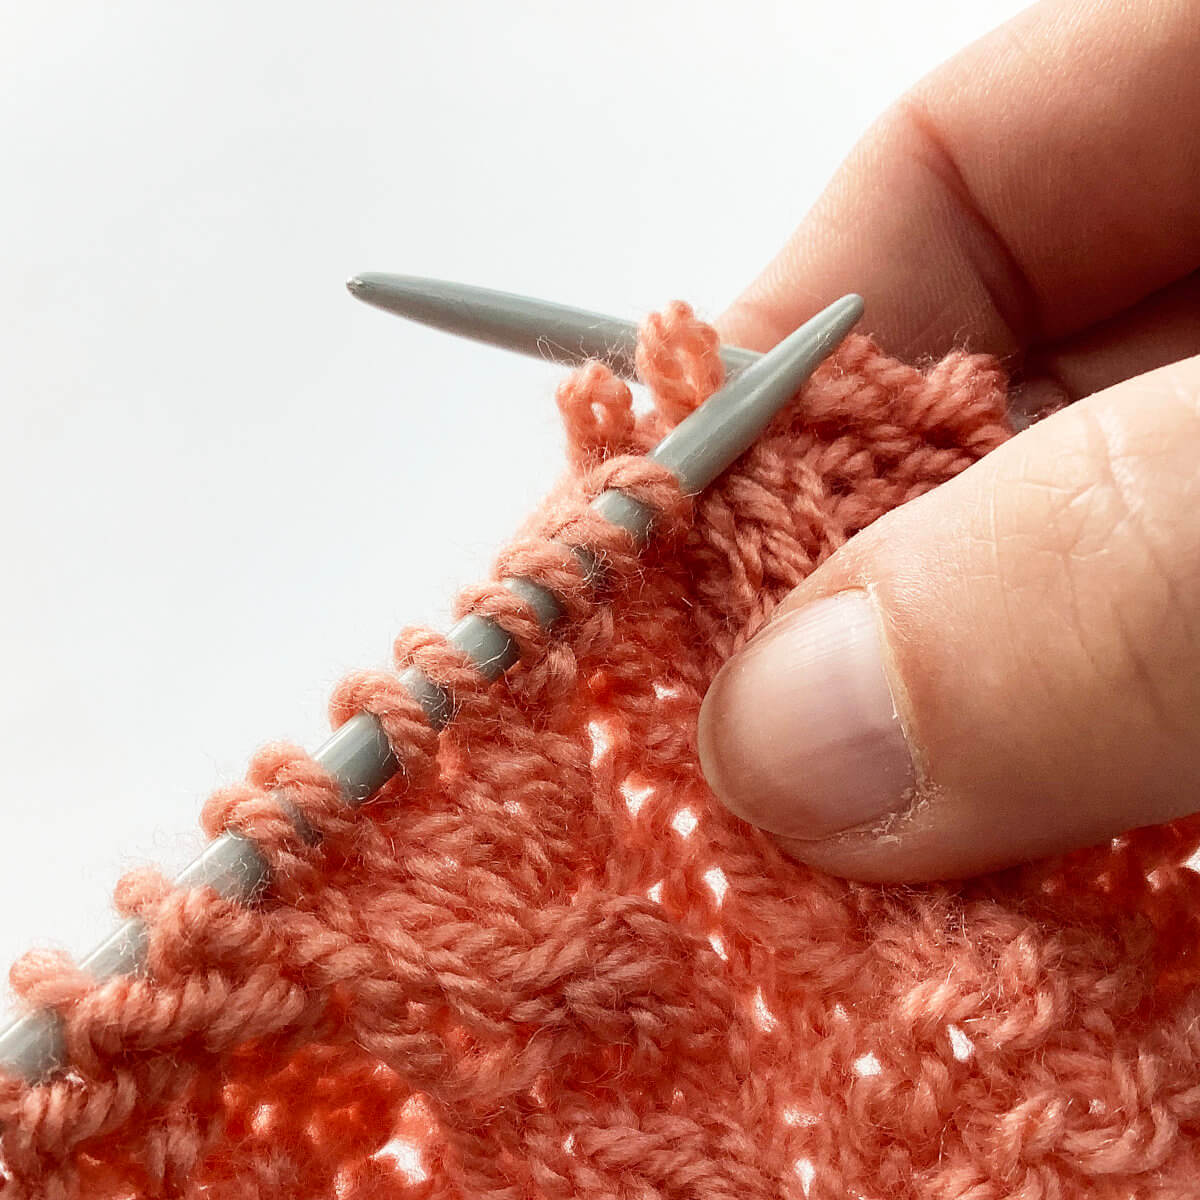
- Grab those stitches to make sure they don’t unravel!
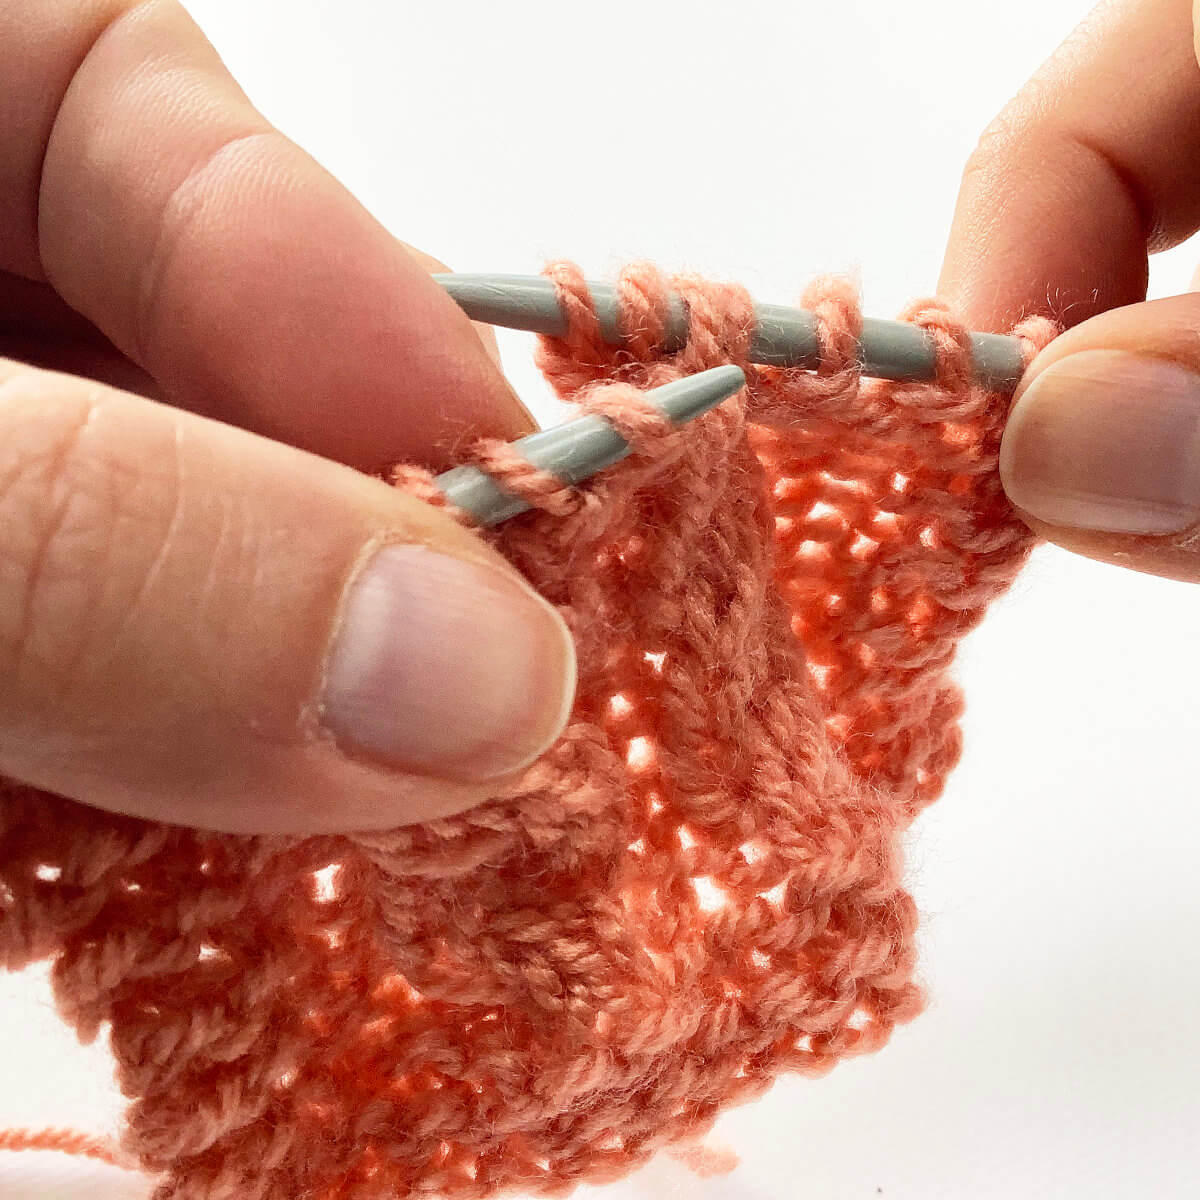
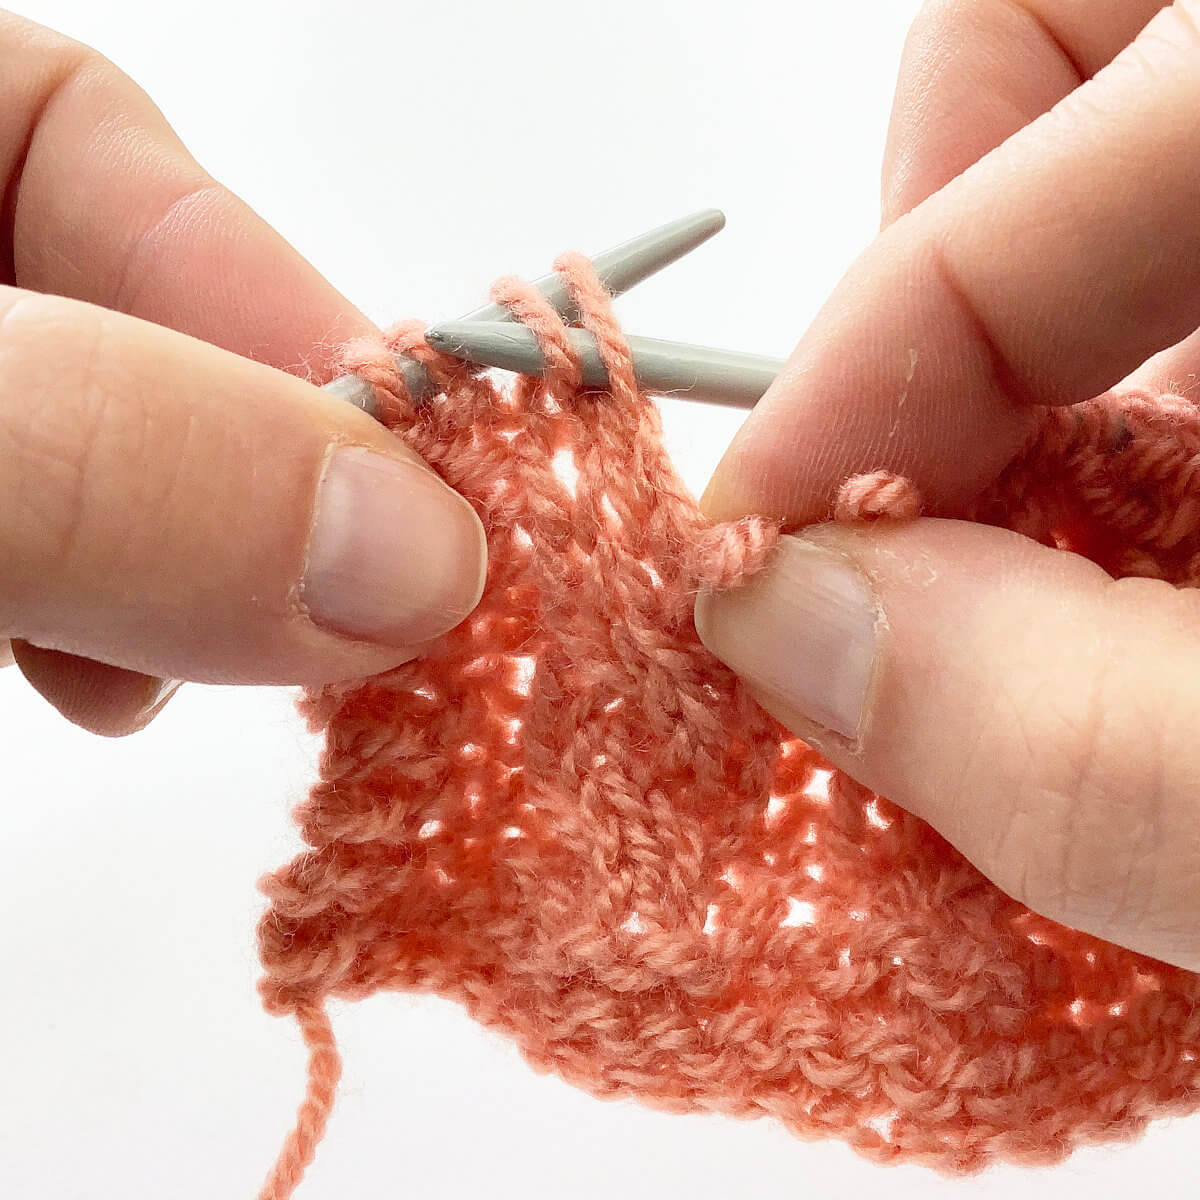
- Now insert the right-hand needle purl-wise into the next 2 stitches and slip them to the right-hand needle…
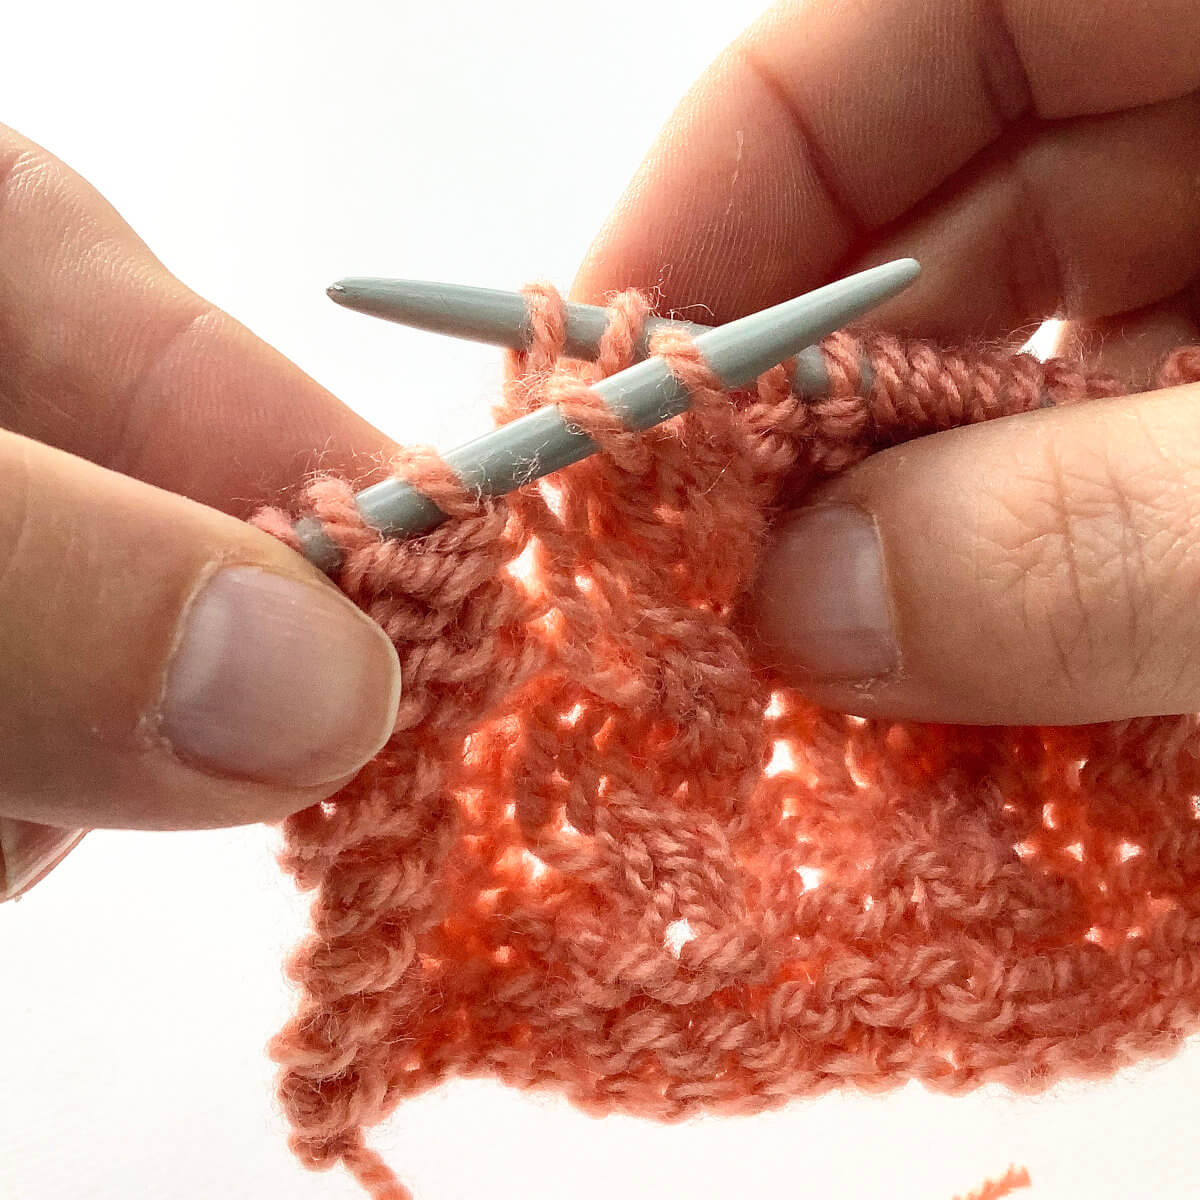
- Next, place the 2 stitches you are still holding on to, also to the right-hand needle.
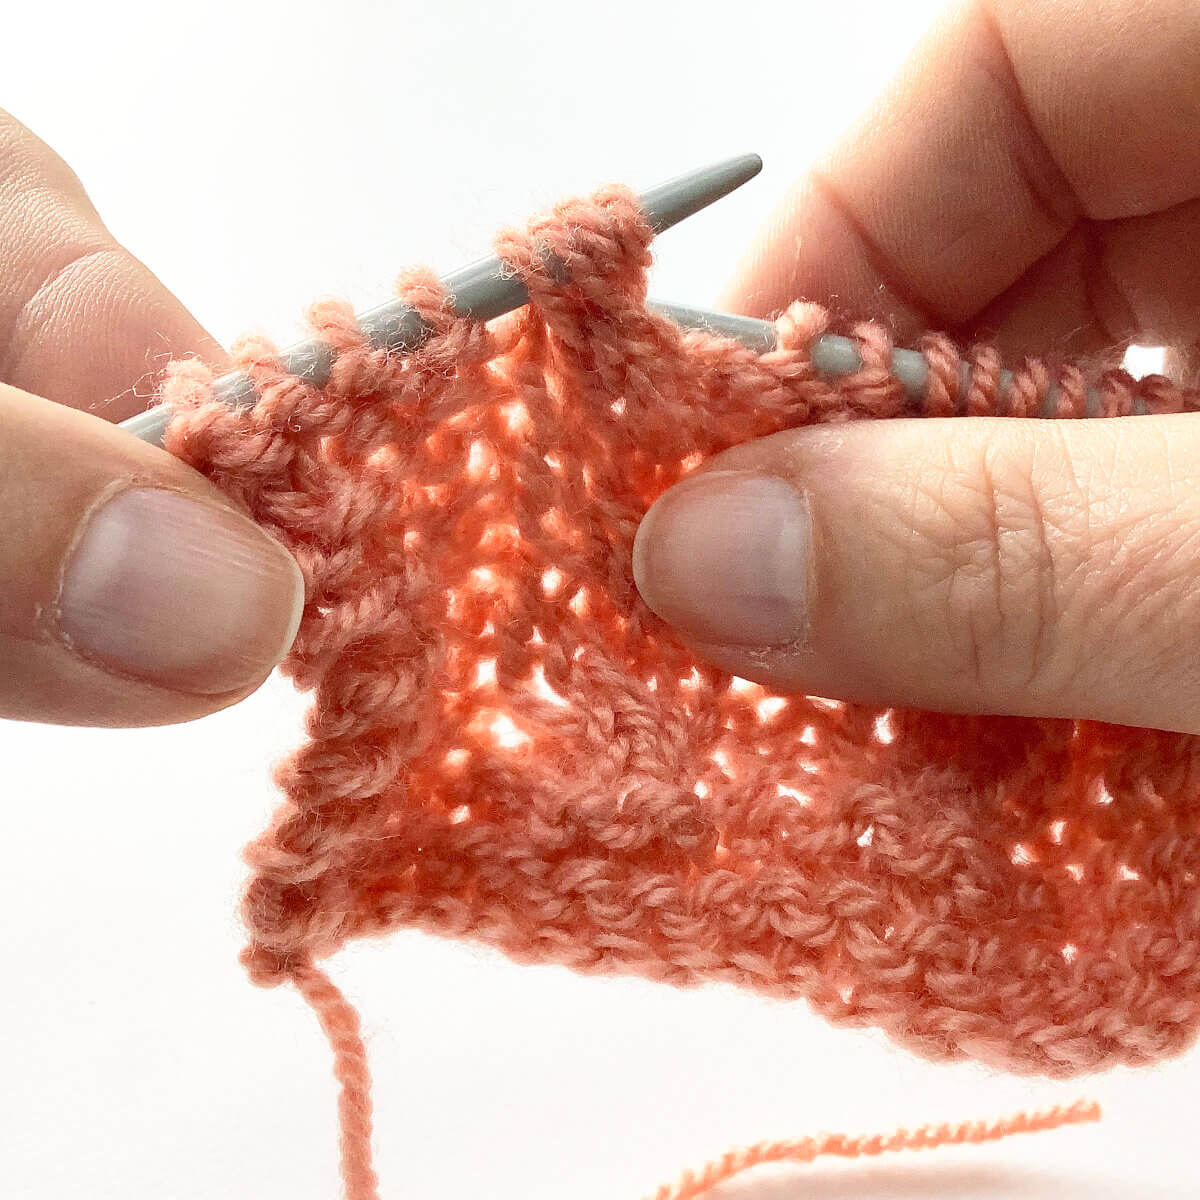
- Now we only have to knit the stitches as they present themselves to finish the cable. To make that possible, slip the 4 stitches back to the left-hand needle…
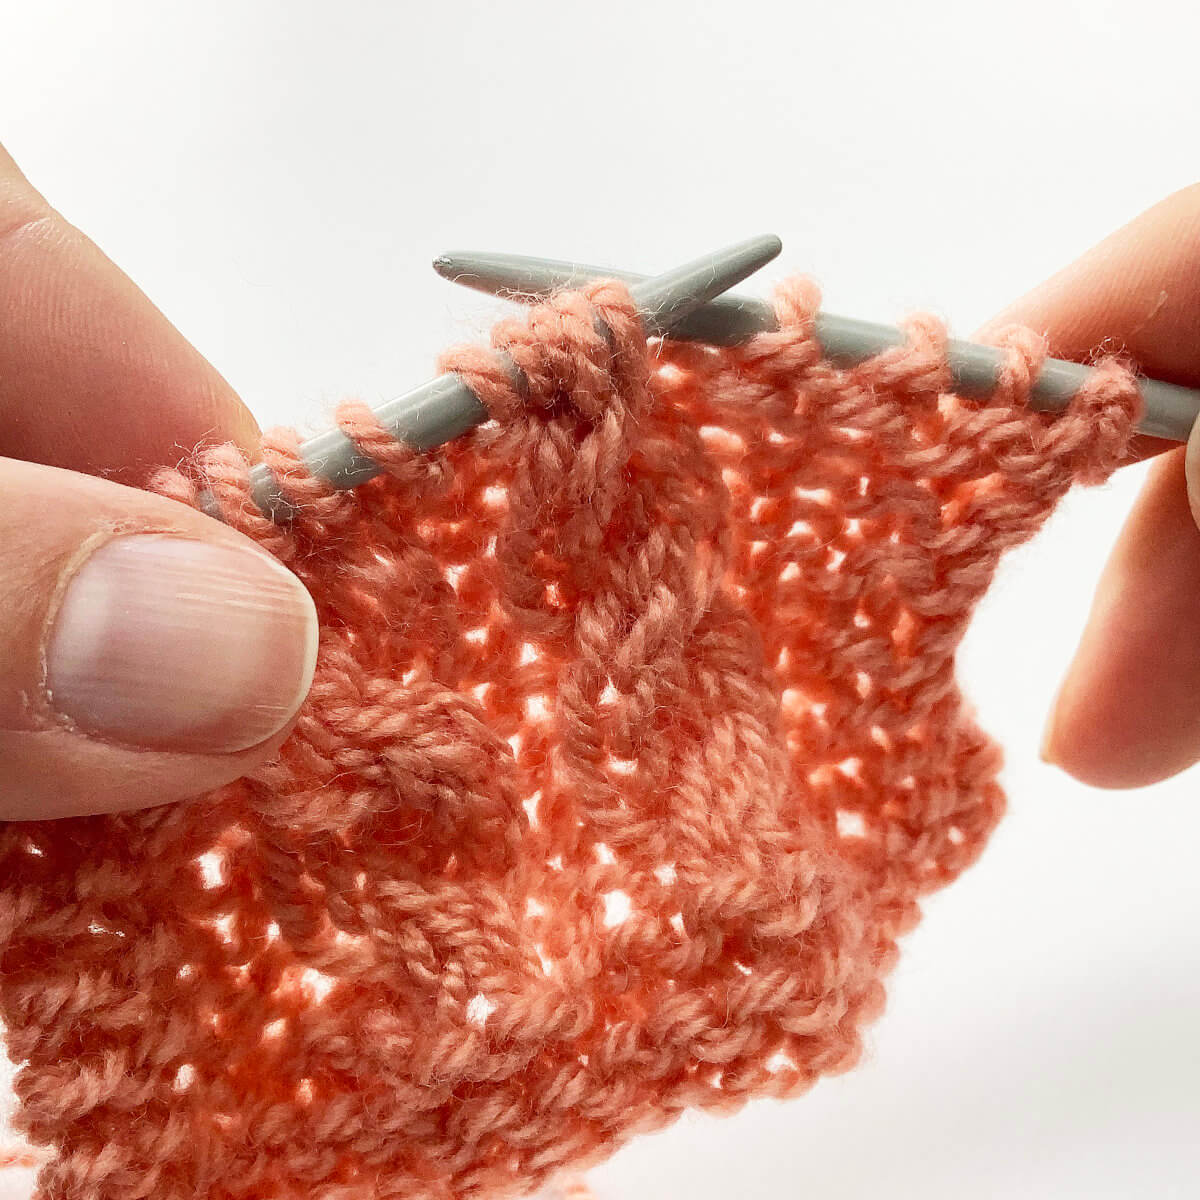
- …. and knit them!
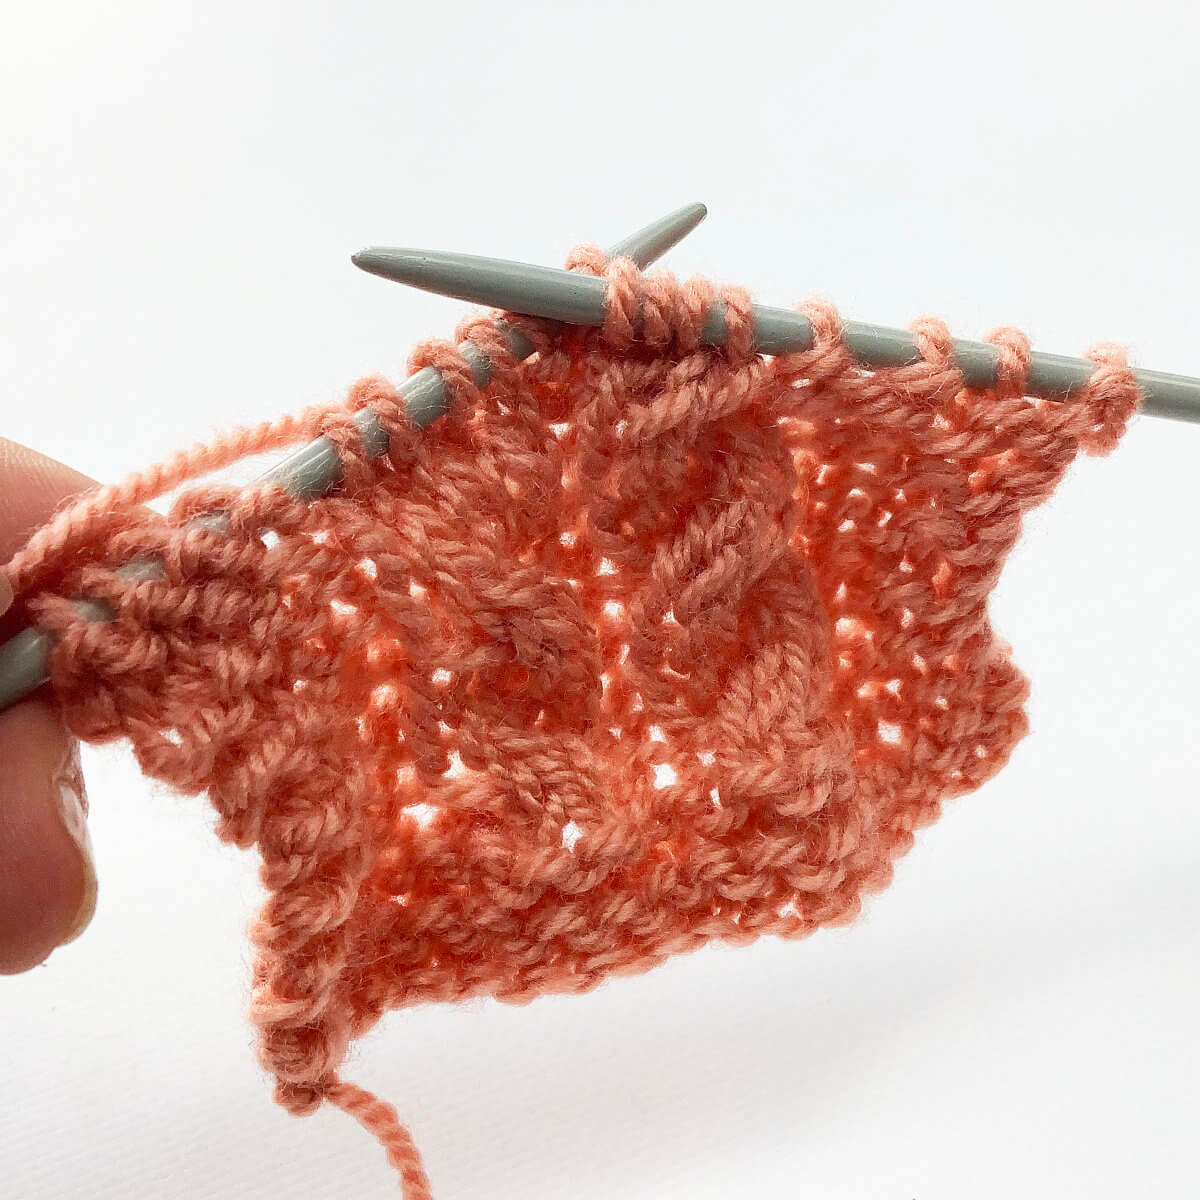
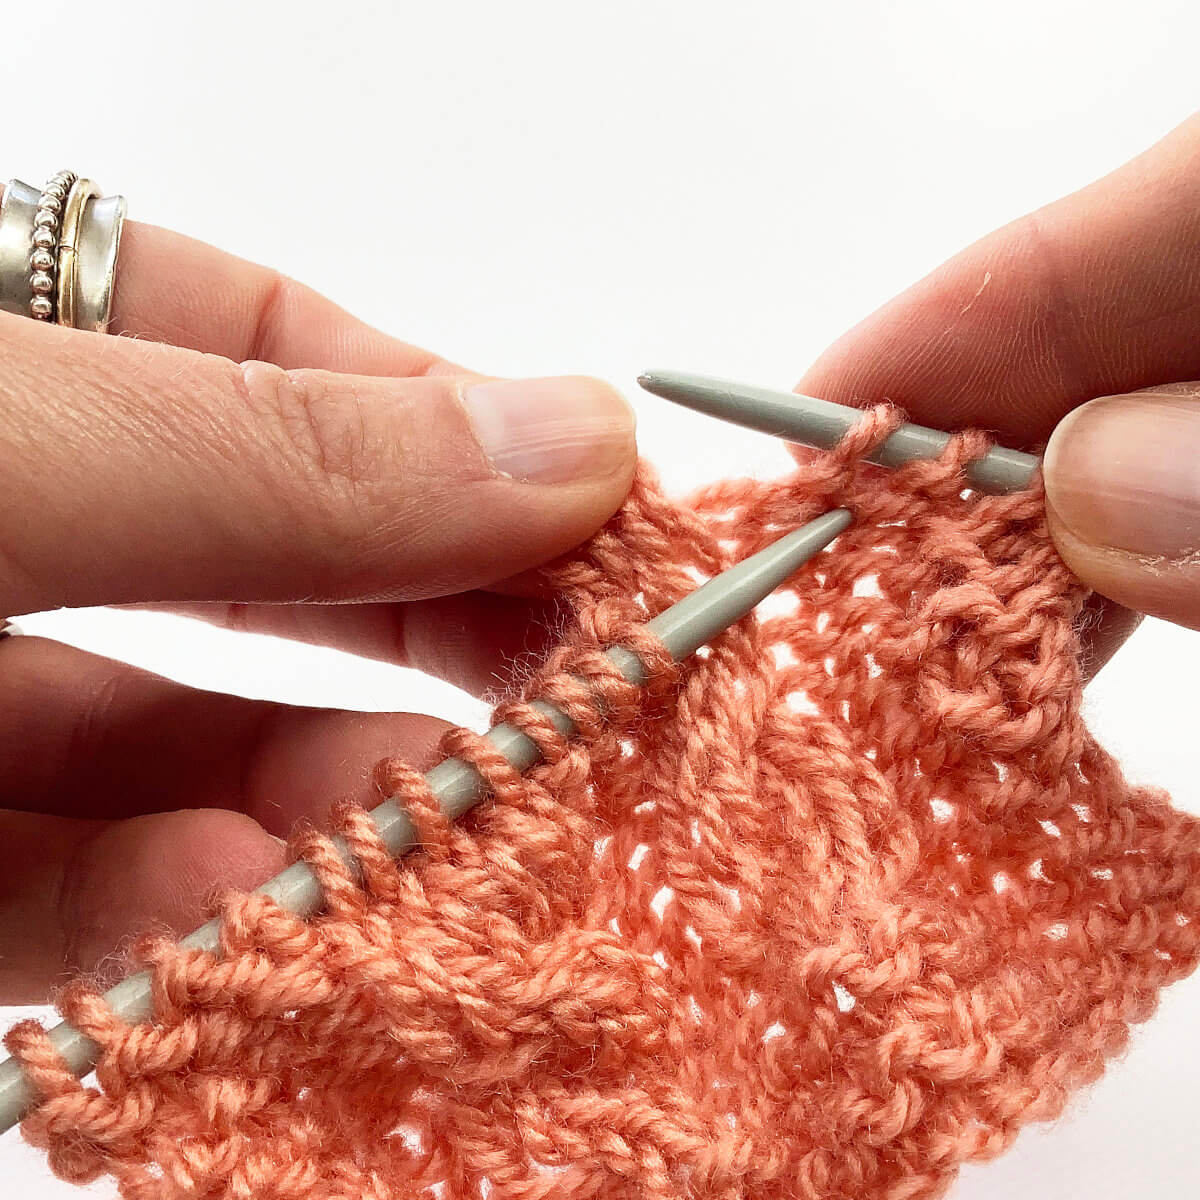
- Onward to the next cable! With the 2/2 left-cross cable, we want the first 2 stitches to cross in the front and to the right of the next 2 stitches.
To do so, I remove the first 2 stitches from the needle and place them to the front of the work. Again, grab those stitches to prevent any unraveling.
- Now insert the right-hand needle purl-wise into the next 2 stitches and slip them to the right-hand needle…
- Next, place the stitches you’re holding onto, to the left-hand needle.
- Now place the 2 stitches from the right-hand needle back to the left-handle, and knit all 4 stitches to complete the cable. And that’s how to go about knitting 4-stitch cables without a cable needle!

Thanks to my Patreon supporters for bringing you this freebie! Creating quality patterns and tutorials is a lot of work and resource-intensive. However, I find it important to give you free content like this tutorial. Thanks to the generous support of my Patreon supporters, I can make it happen. Thank you, patrons! Click here to join, or click here to read more about La Visch Designs on Patreon.


