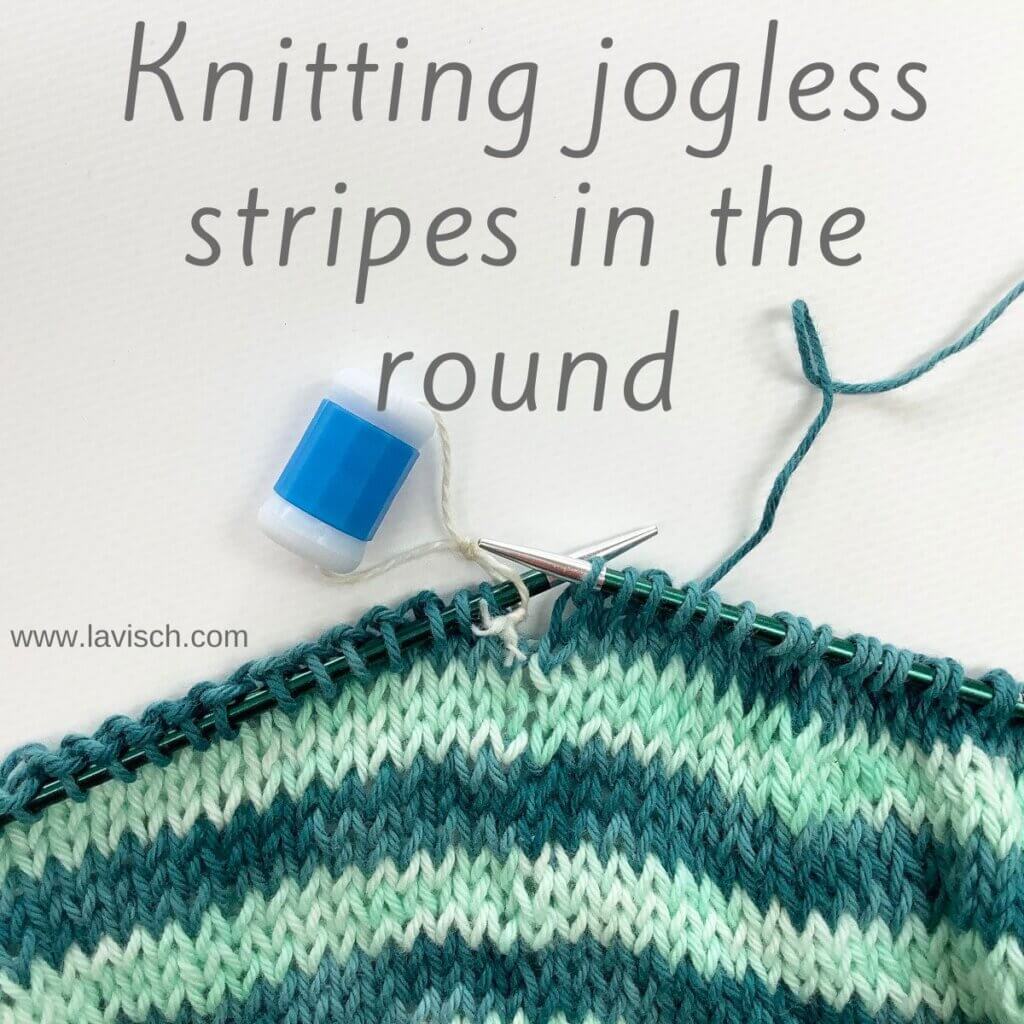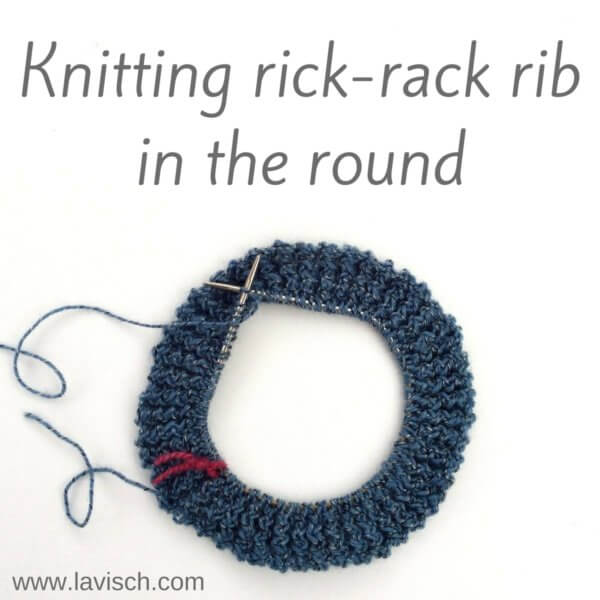
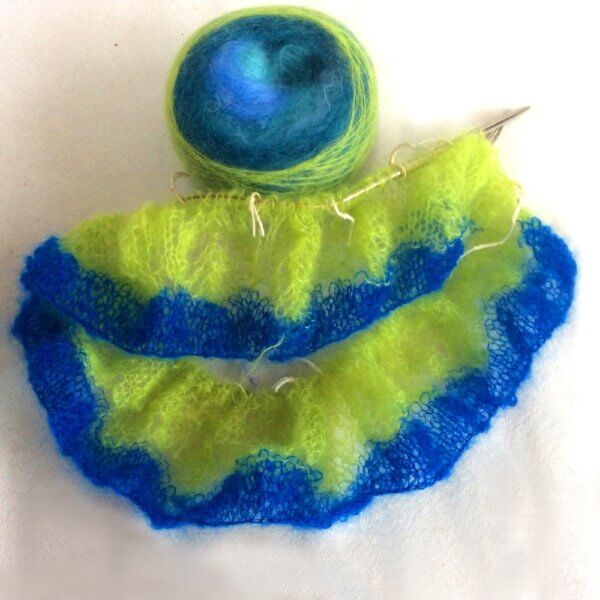
Personally, I find knitting in the round with circular needles to be very relaxing. It goes round and round and round; very zen! This is what also made it so nice to work on my Zeeglas Cowl, pictured below. In this post I will tell and show you how knitting in the round works best, using circular needles (or circs for short).
How does knitting in the round using circs work?
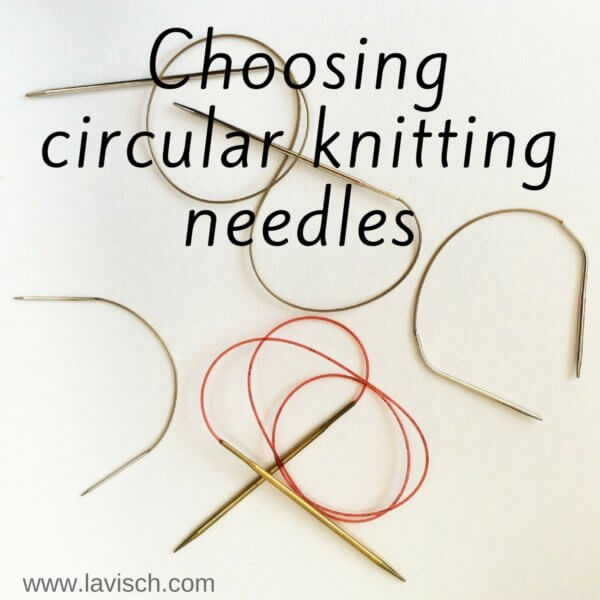
Knitting in the round this way works best when using a needle with a cable length that matches the circumference of your project. It is better to use a needle that is a tad too short, than one too large. Knitting is easy to compress a bit, but stretching it out can get ugly. Also, this makes for a less than optimal knitting experience: it is hard to move along stitches that are stretched tight over your needle and cable.
For a cowl regular circular needles with a cable length of 60 cm (24 inches) is usually fine. For knitting socks this way there are even special tiny circs with extra short needles and a cable of a mere 10 cm (4 inches).
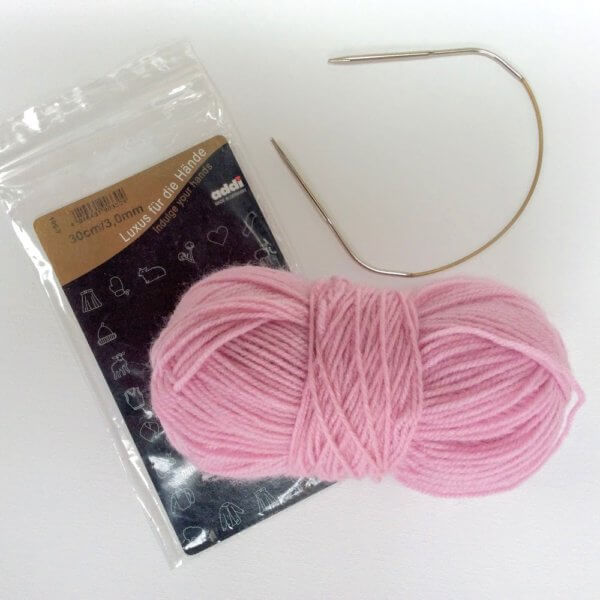
In this example, I will use a size 3 mm (US 2) circular needle with a cable length of 30 cm (12 inches). This specific needle has tips that are a tad shorter than regular circs. This needle by Addi is my favorite to knit baby hats from sock wool.
Knitting in the round with circular needles step by step
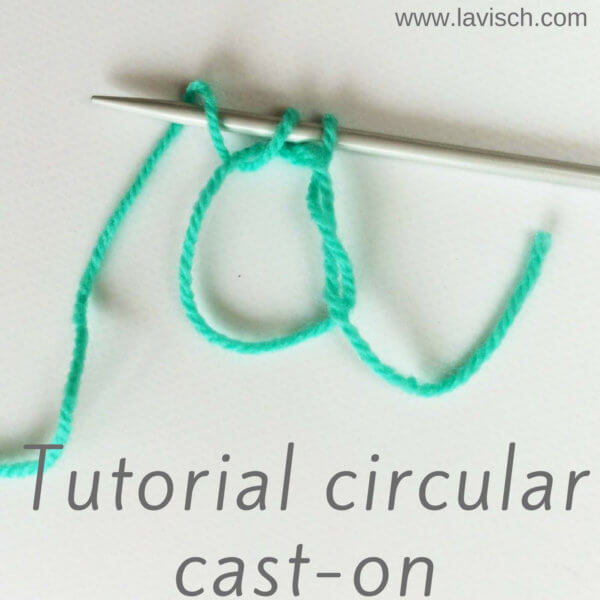
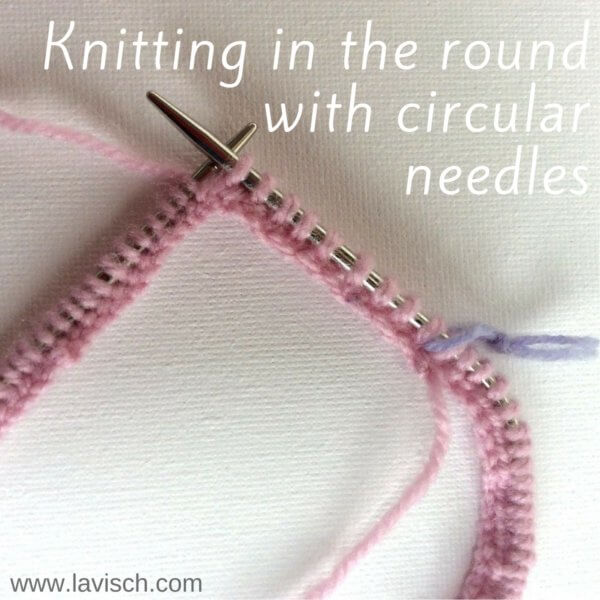
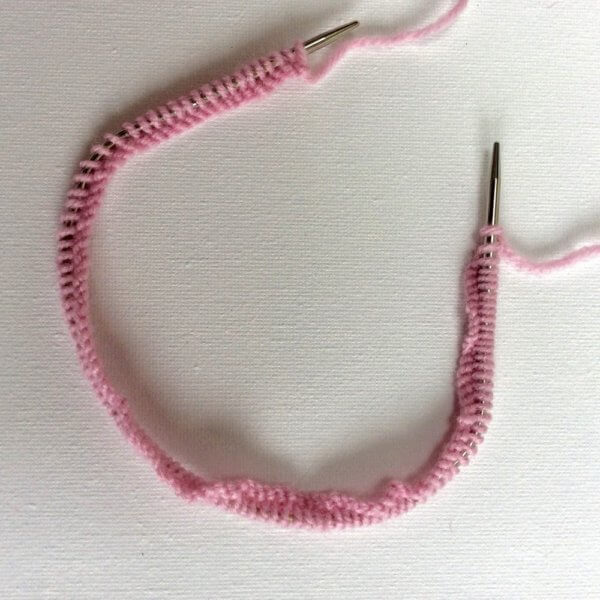
1. Cast on the number of stitches as required for your project plus 1. I will explain this extra stitch later on in this how-to. In this example I have cast on stitches by knitting them on. You can, of course, use your preferred method or the one specified in your pattern. In the picture below the strand of yarn at the bottom of the picture is where the CO was started. The strand at the top is the one that goes to the ball of yarn.
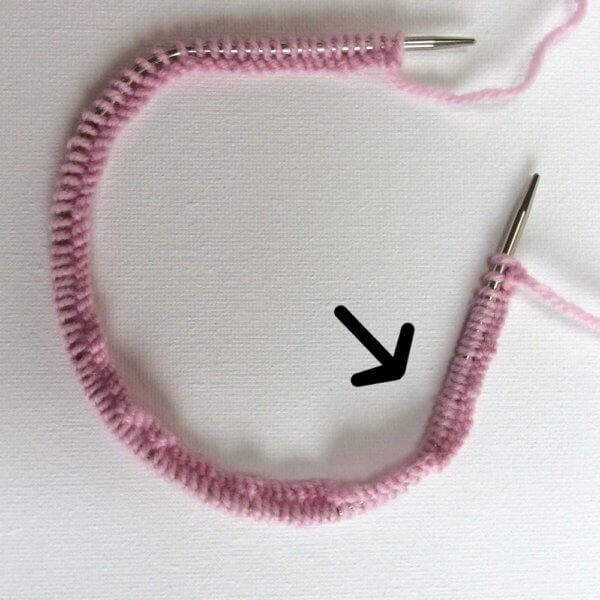
2. In patterns where the work has to be closed in the round, there often is a note to be careful not the twist the work. An exception to this is when you actually want a twist in the work. Take for example as with a Moebius type cowl. In the picture above in the spot indicated with the arrow, you can see there is a twist. I have to untwist it before proceeding!
3. Hold the needles in such a way that the last CO stitch is on your right-hand needle. You can recognize this stitch by the attached ball of yarn.
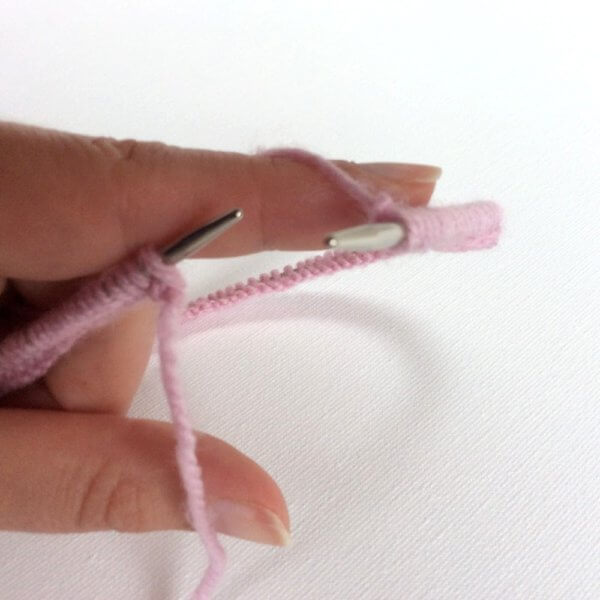
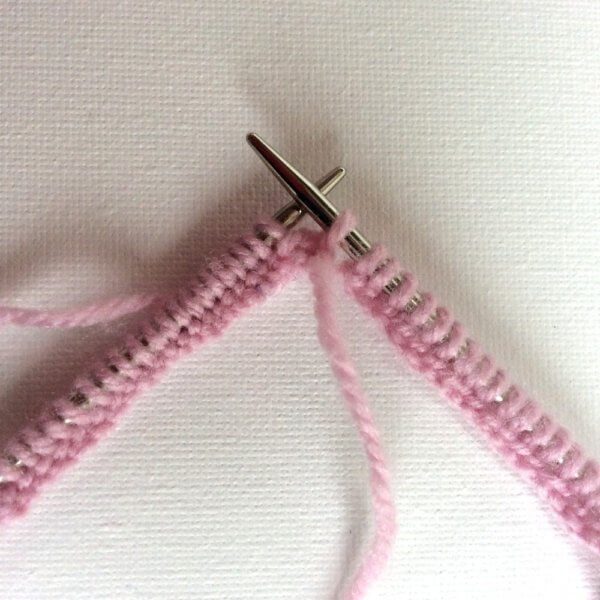
4. Slip this last CO stitch from your right-hand needle to the left-hand needle, then knit the first 2 stitches together. With this, you close the work in the round and at the same time, prevent a “gap” at the join. Also, the extra stitch cast on has been decreased away.
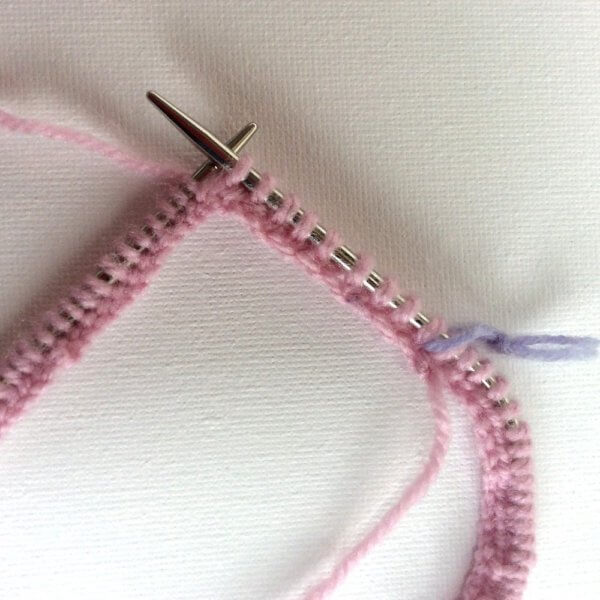
5. Place a stitch marker to indicate the start and end of the round and enjoy the knitting!
In another post on the topic of knitting in the round with circular needles, I also cover traveling loop. Posts on magic loop knitting and “two at a time” (“TAAT” for short) magic loop knitting will be done sometime in the future!

