Yarn tassels are very easy and quick to make, and can be a lovely addition to your knitting project. You may have seen those lovely triangle shawls with a tassel added to each corner of the shawl. With just some yarn and a piece of cardboard, you can make a yarn tassel in only a few minutes! In this tutorial, I made my tassel with a DK weight yarn. You can, of course, also make your tassels with other weights of knitting yarn, but also with crochet thread, or embroidery floss. Do keep in mind that the thinner the yarn you’re using, the more times you would need to wrap the yarn for similar fatness of the resulting tassel.
Ok, let’s get started!
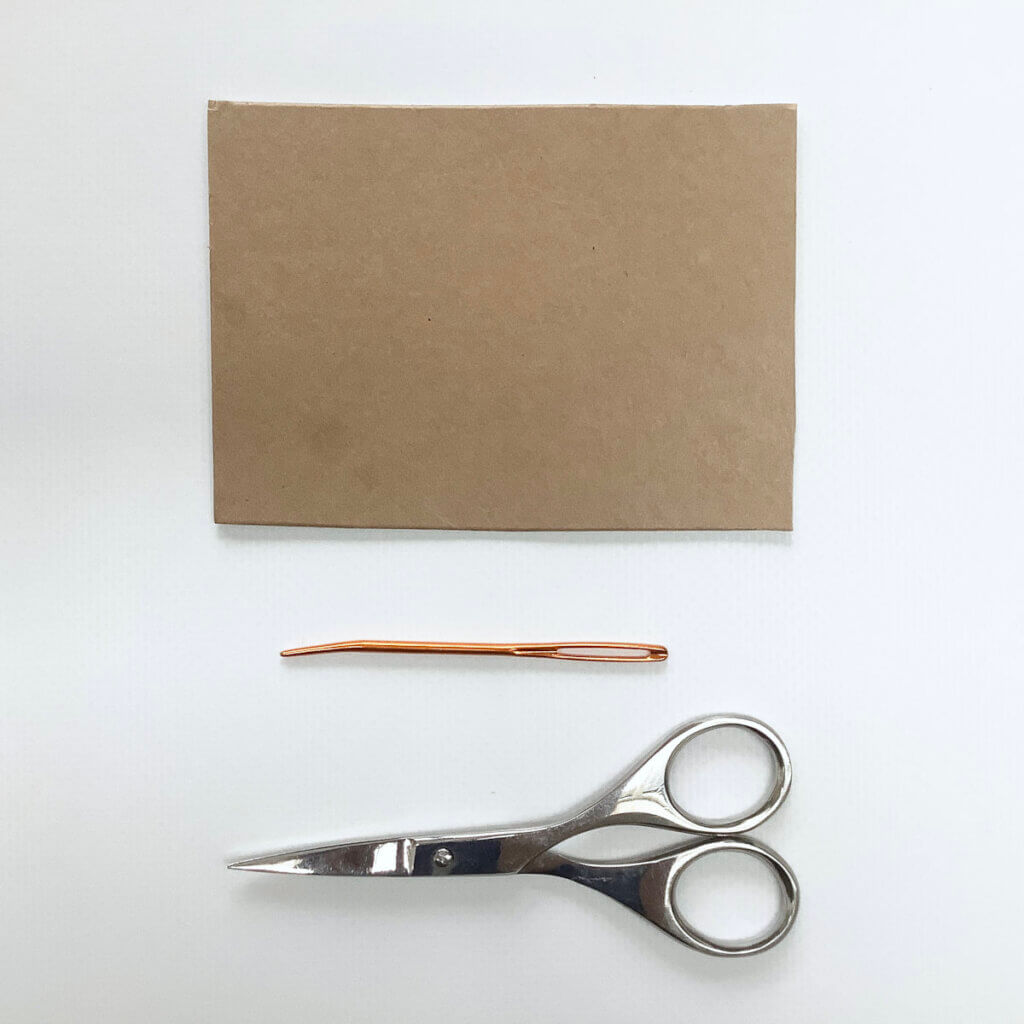
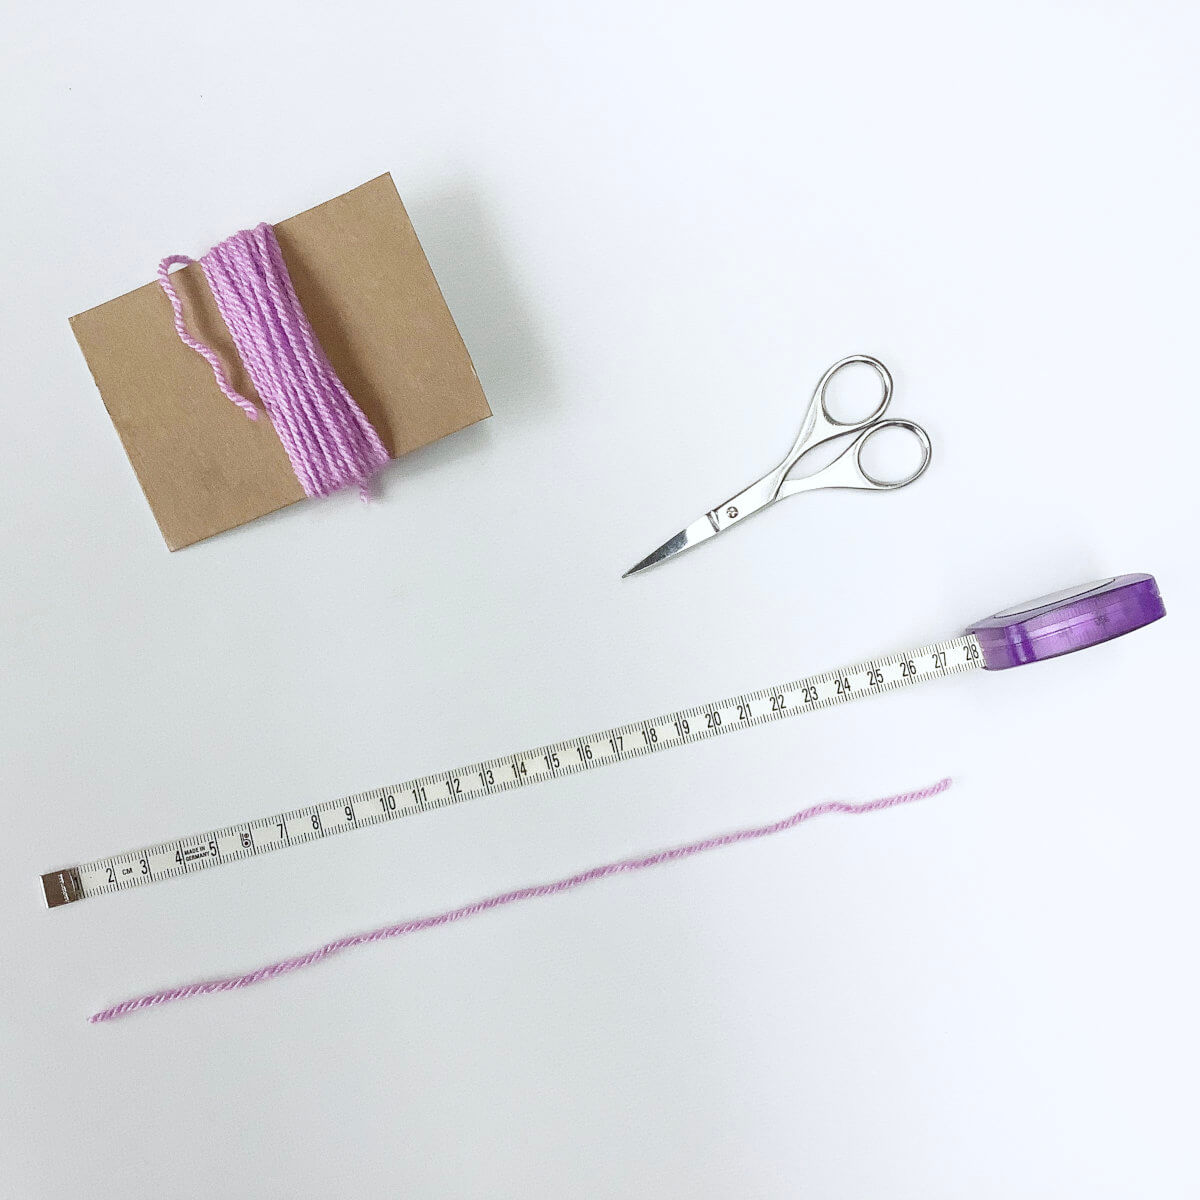
Materials

Yarn: Paintbox Yarns Simply DK, a good value, good quality 100% acrylic yarn, here in the colors 133 Marine Blue, and 142 Tea Rose.
A piece of cardboard. In this tutorial, I used a piece of about 7.5 x 10 cm (3 x 4″). You can adjust the length of your tassel by changing the size of the cardboard template. Cut a piece of cardboard about 2.5 cm (1″) taller than the height that you would like your finished tassel to be.
You will also need sharp scissors, and a darning needle. Pictured is a Hiya Hiya Darn It Yarn Needle.
Making a tassel step by step
- Wind your yarn around the shortest part of the cardboard template.
In this example, I wrapped around 30 times for this tassel. When using thicker yarn, you may need to wind less times, or more when using a thinner yarn.
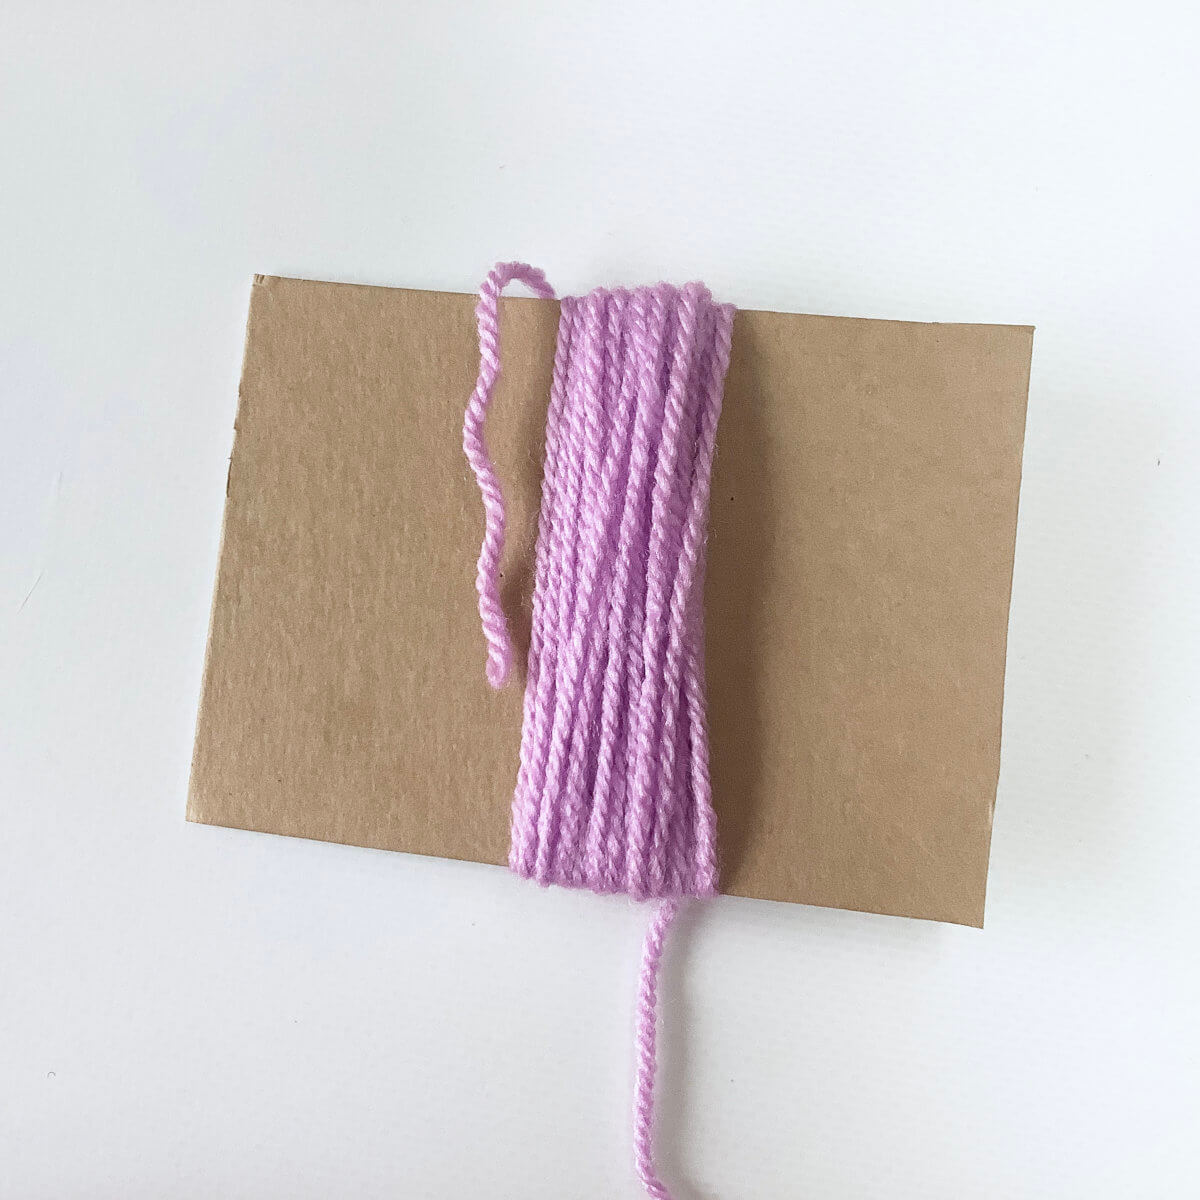
- After the last wrap, cut off the yarn at the bottom of the cardboard.
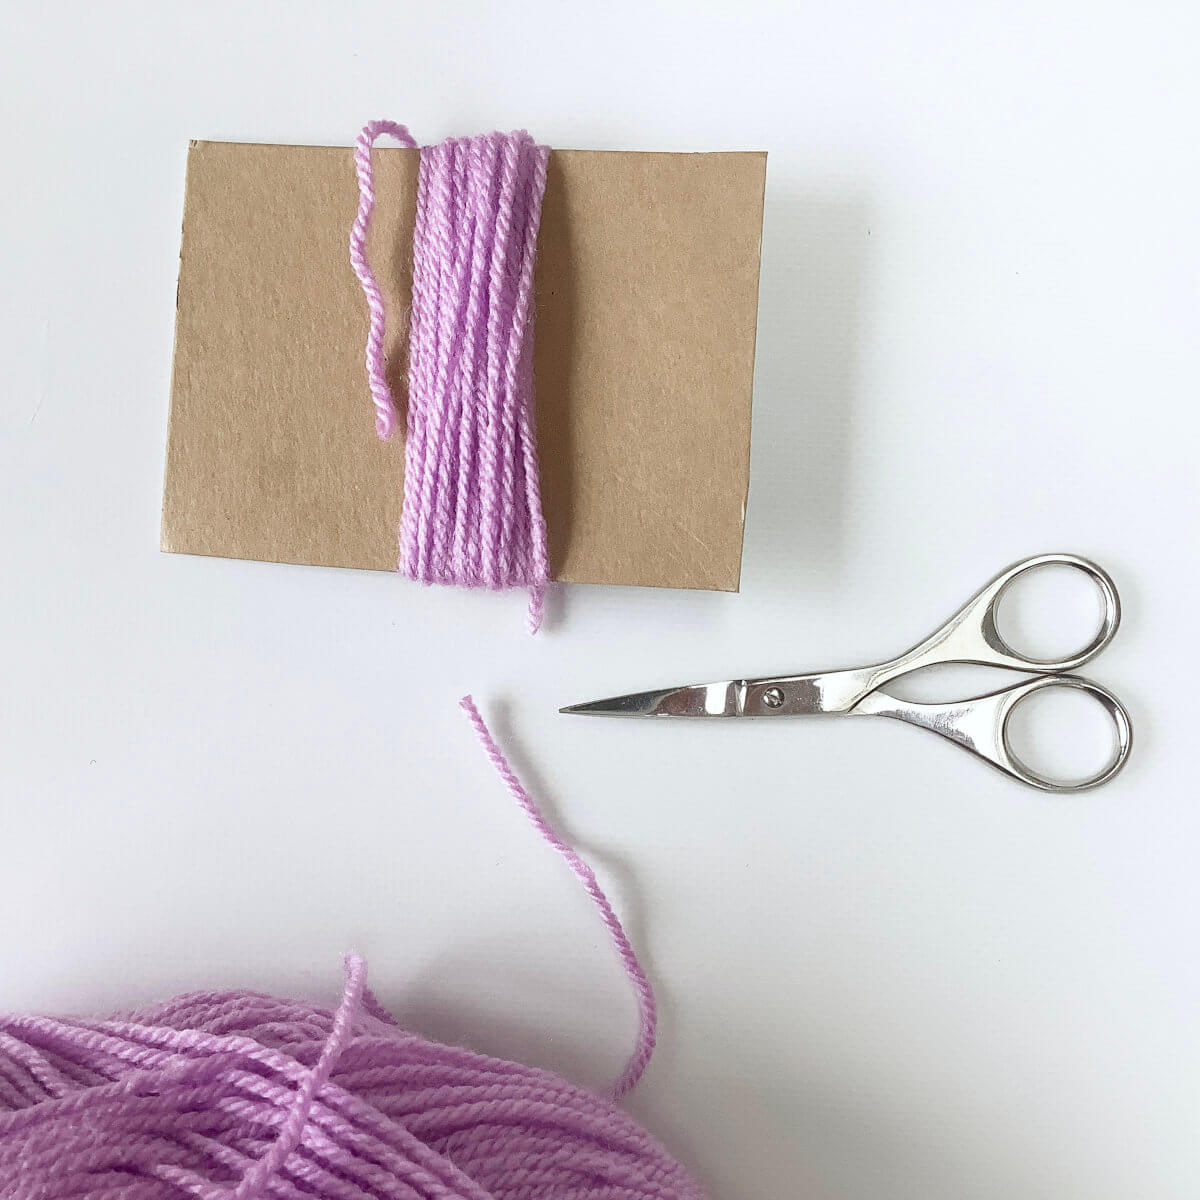
- Measure a separate piece of yarn, of approx. 25 cm (10″).
- Next, thread the piece of yarn through the eye of the darning needle.
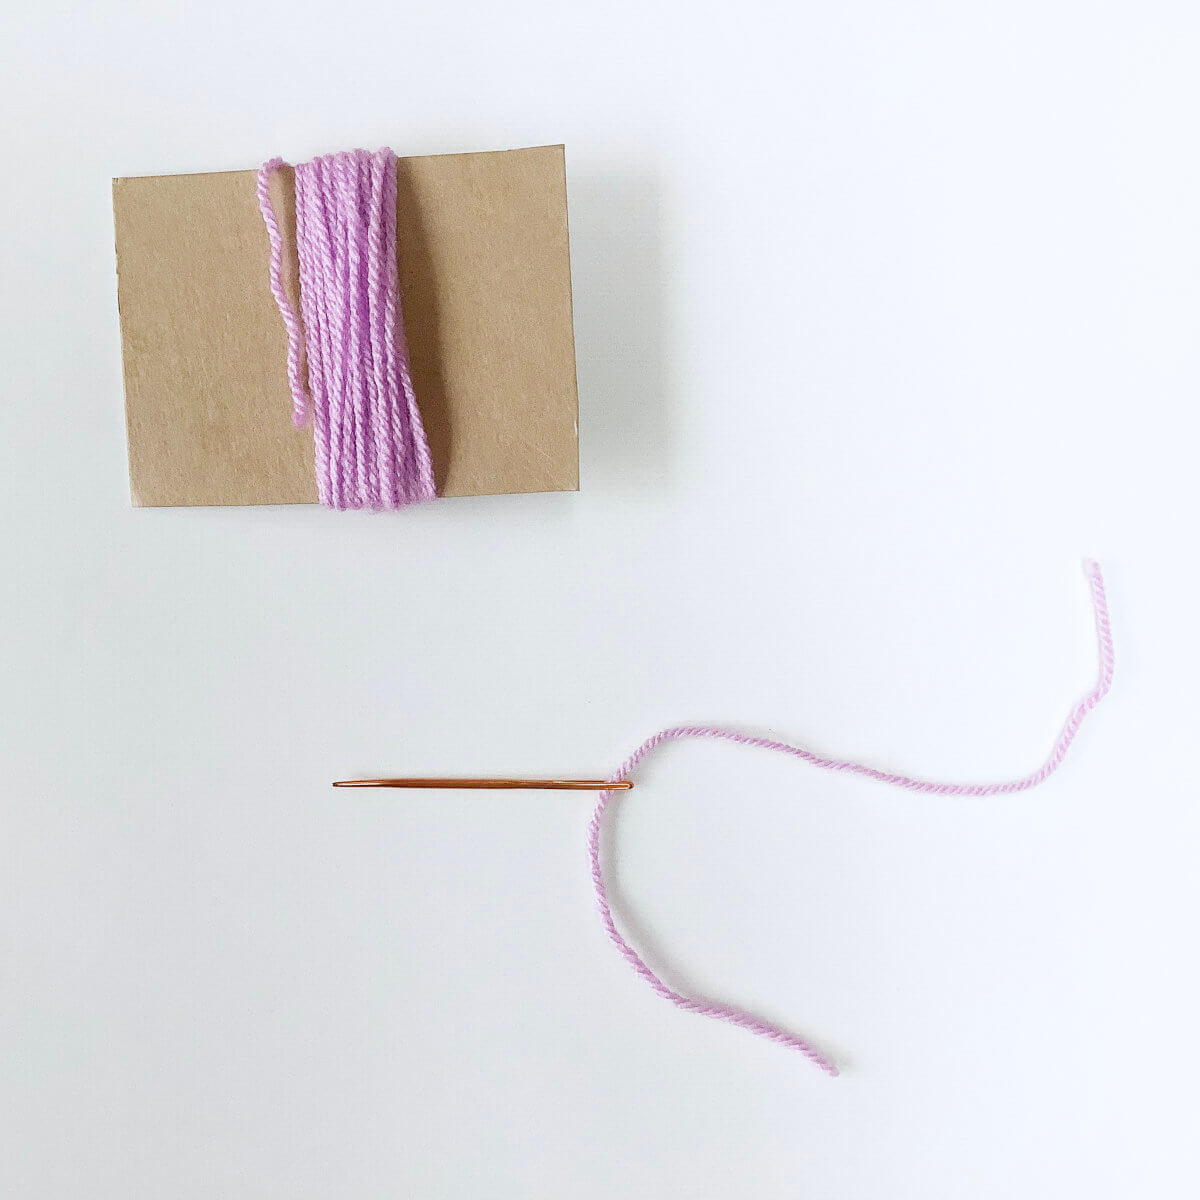
- Insert the needle underneath threads at the top of your piece of cardboard.
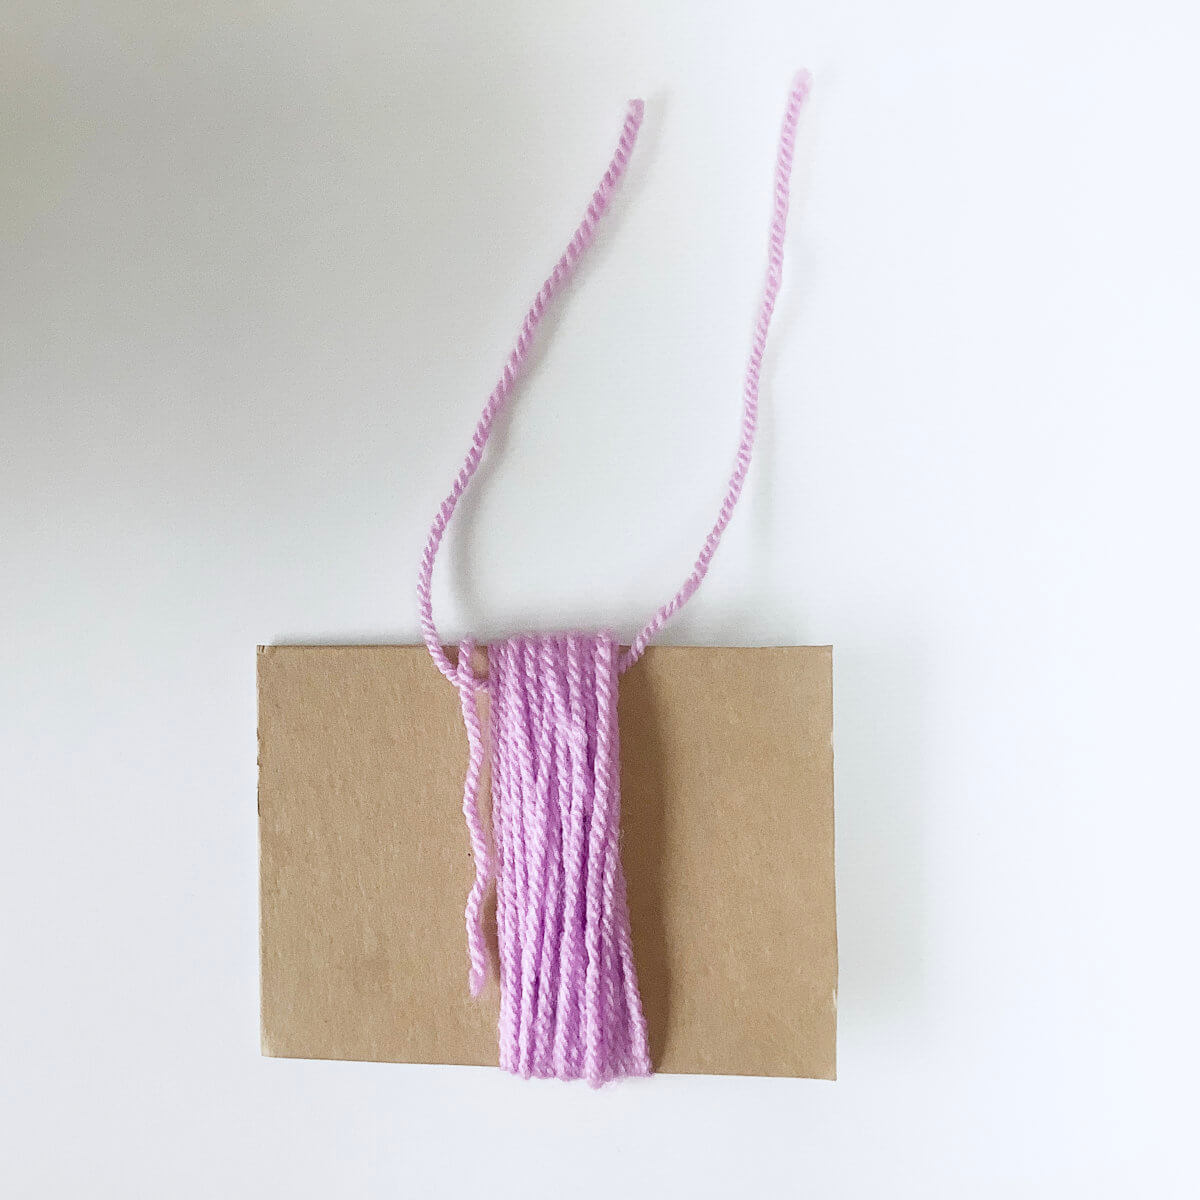
- Make a knot, but do not pull it tight yet.
- Next, use the scissors to carefully cut the loops at the bottom of the cardboard.
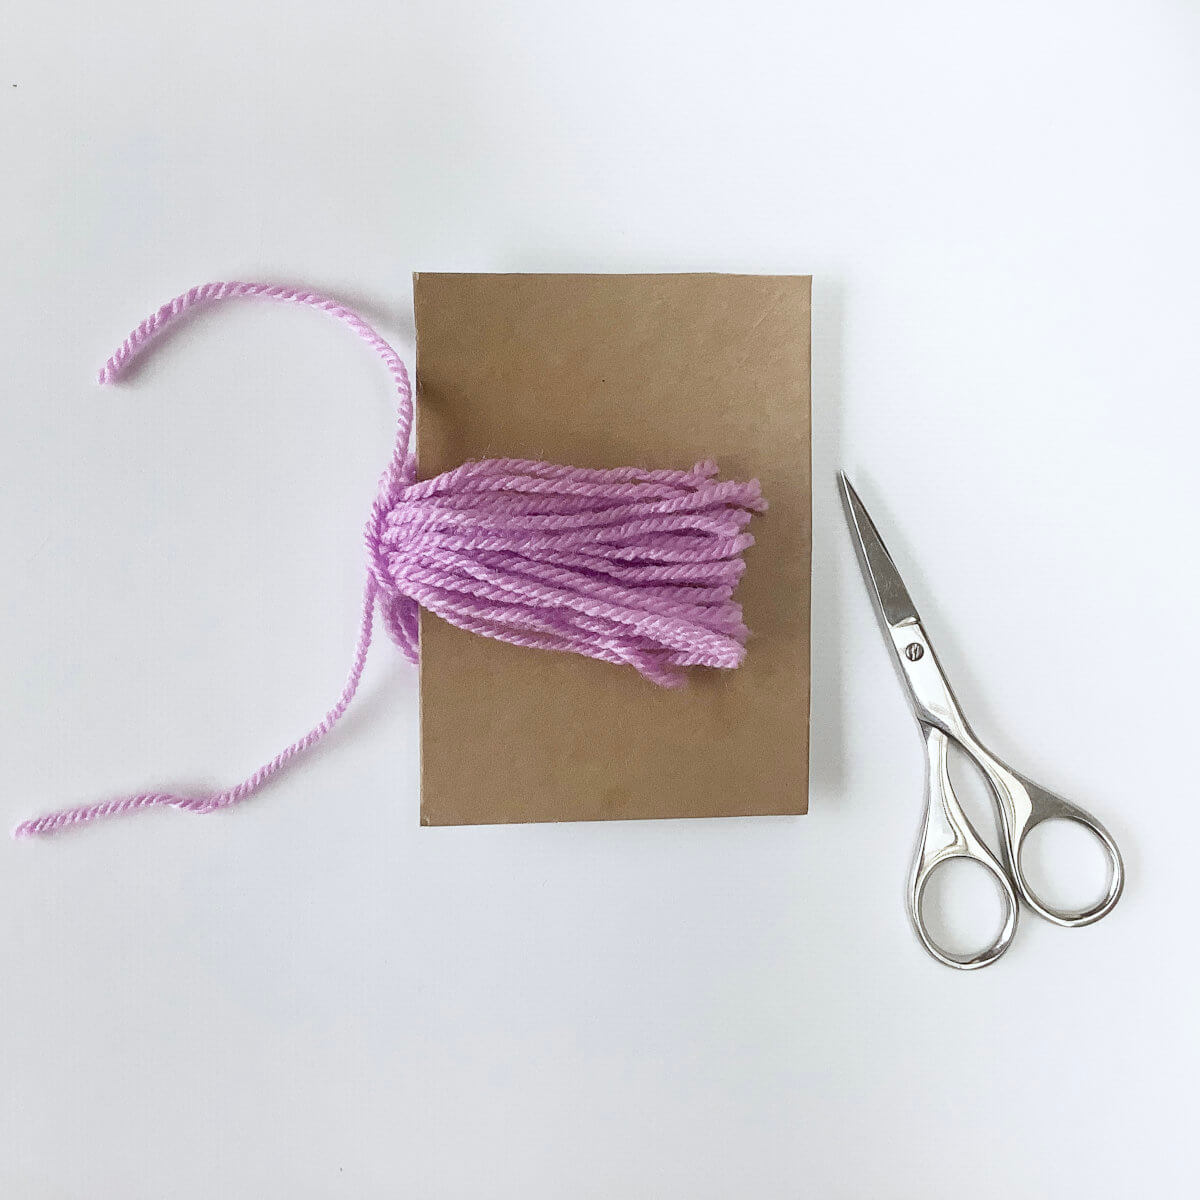
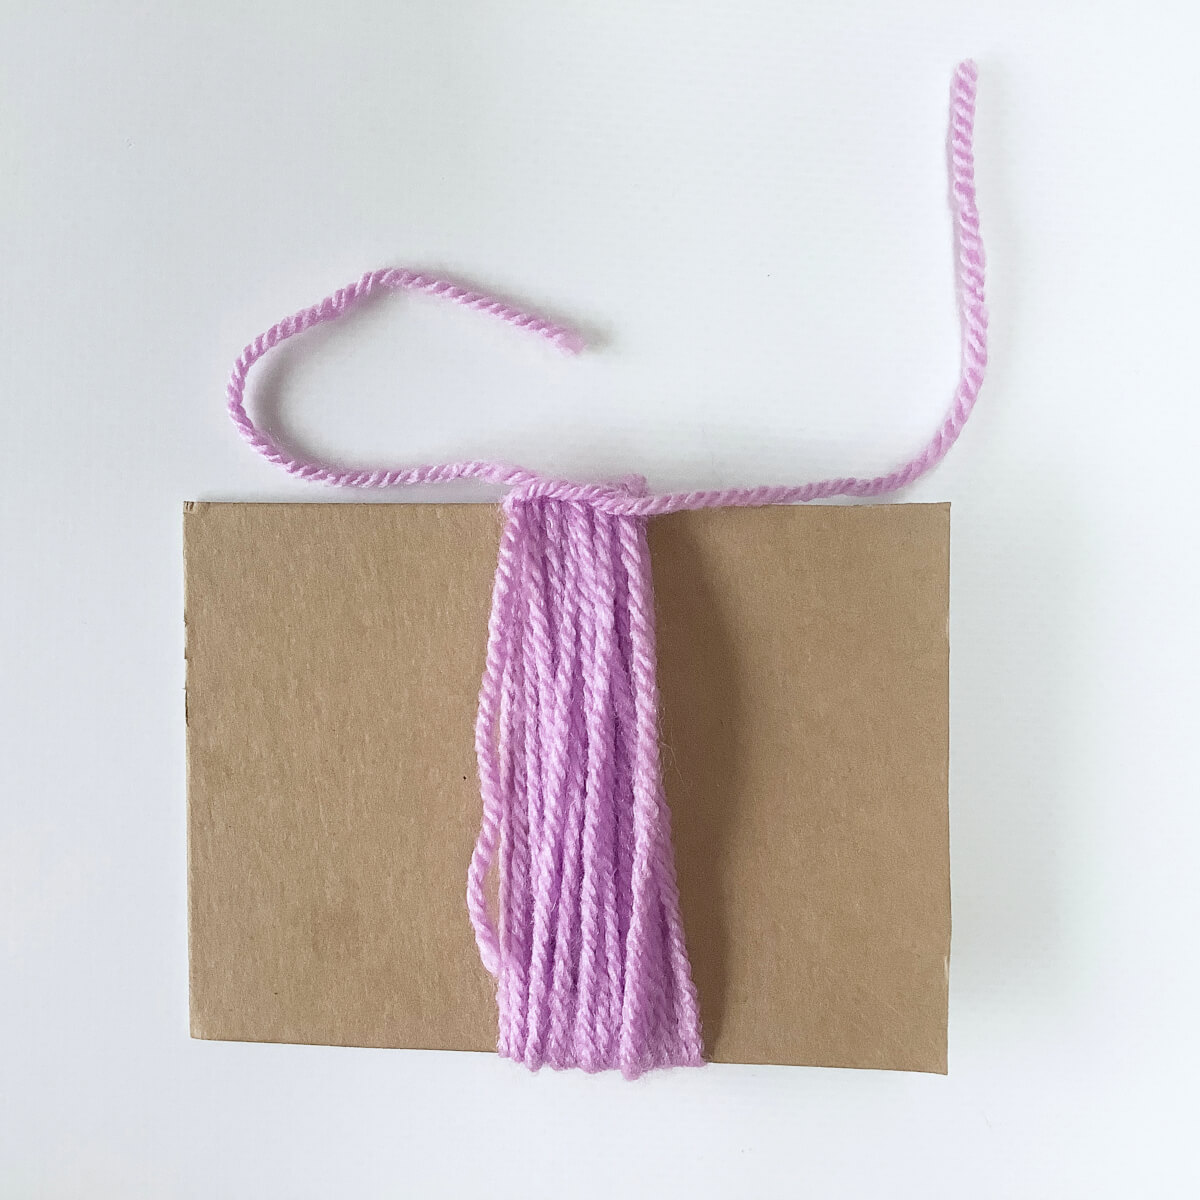
- Now tighten the knot, and make it a double knot. You can now remove the cardboard.
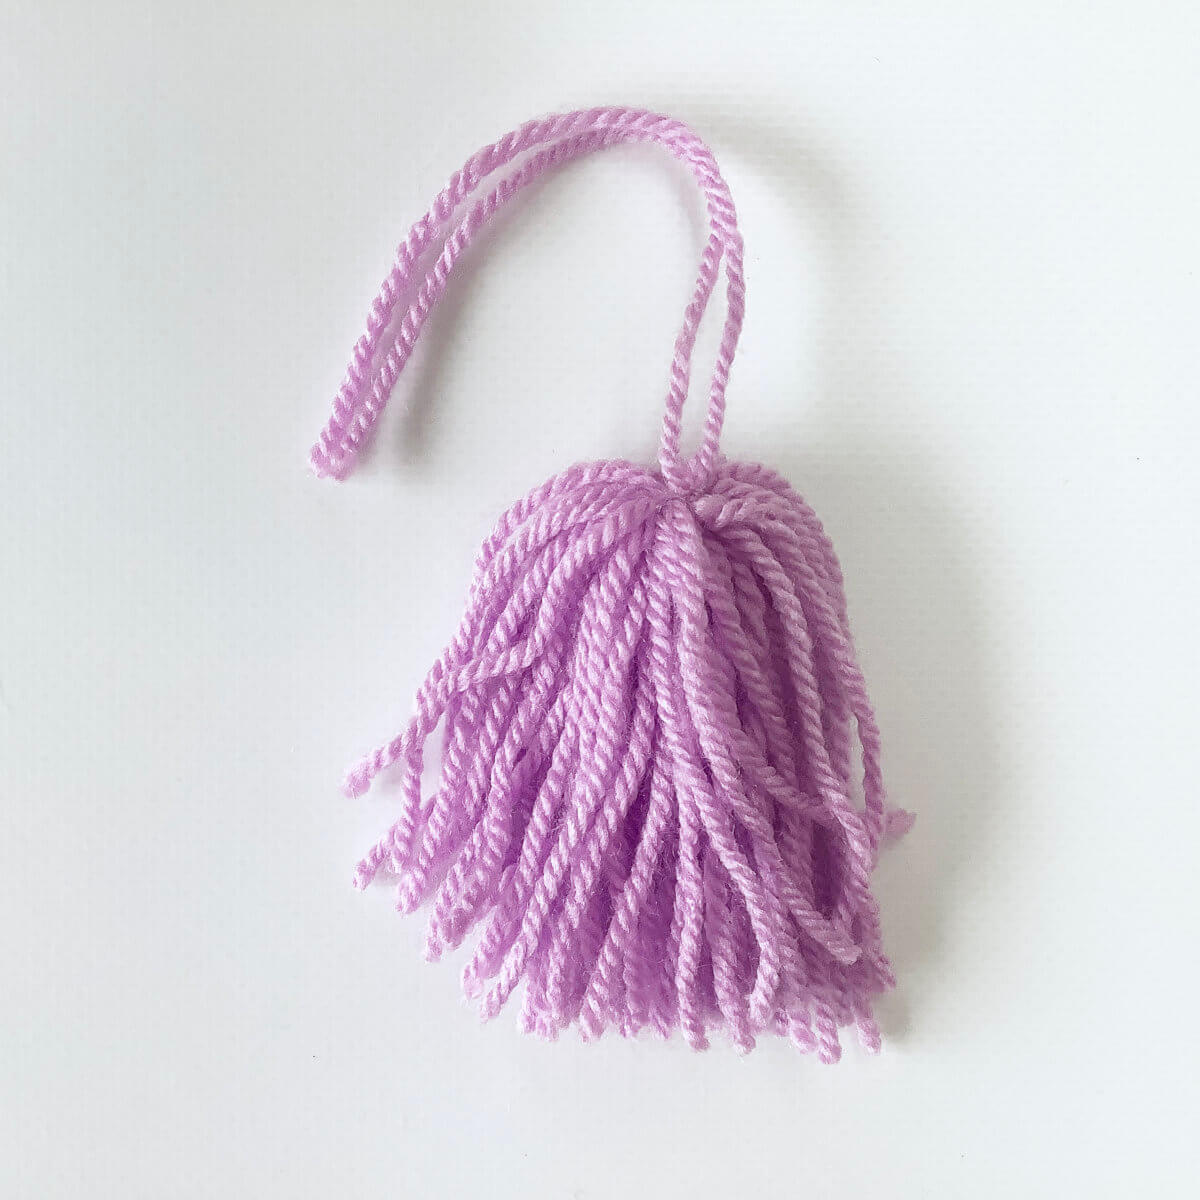
- Next, take another length of yarn (approx. 25 cm / 10″) and wrap it tightly 4 tot 6 times around the tassel. Place it about 1.5 – 2 cm (3/4″) below the top. Make a double knot to make sure it doesn’t come undone.
- Take your darning needle, and use it to pull the ends of the yarn you used to wrap around the tassel, behind the wraps.
This way, they become part of the tassel.

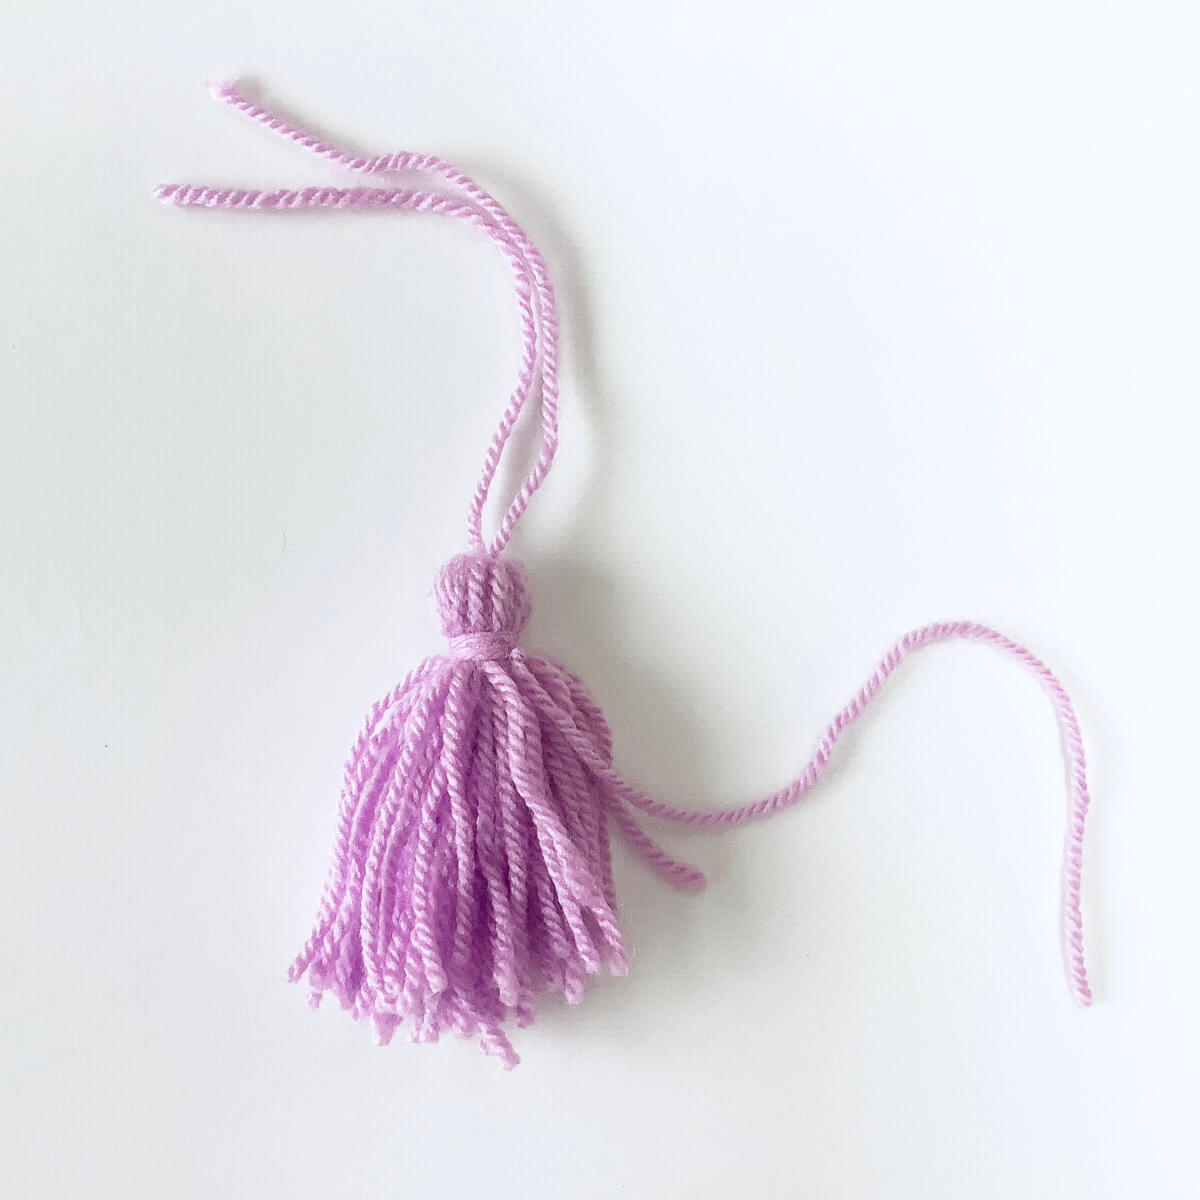
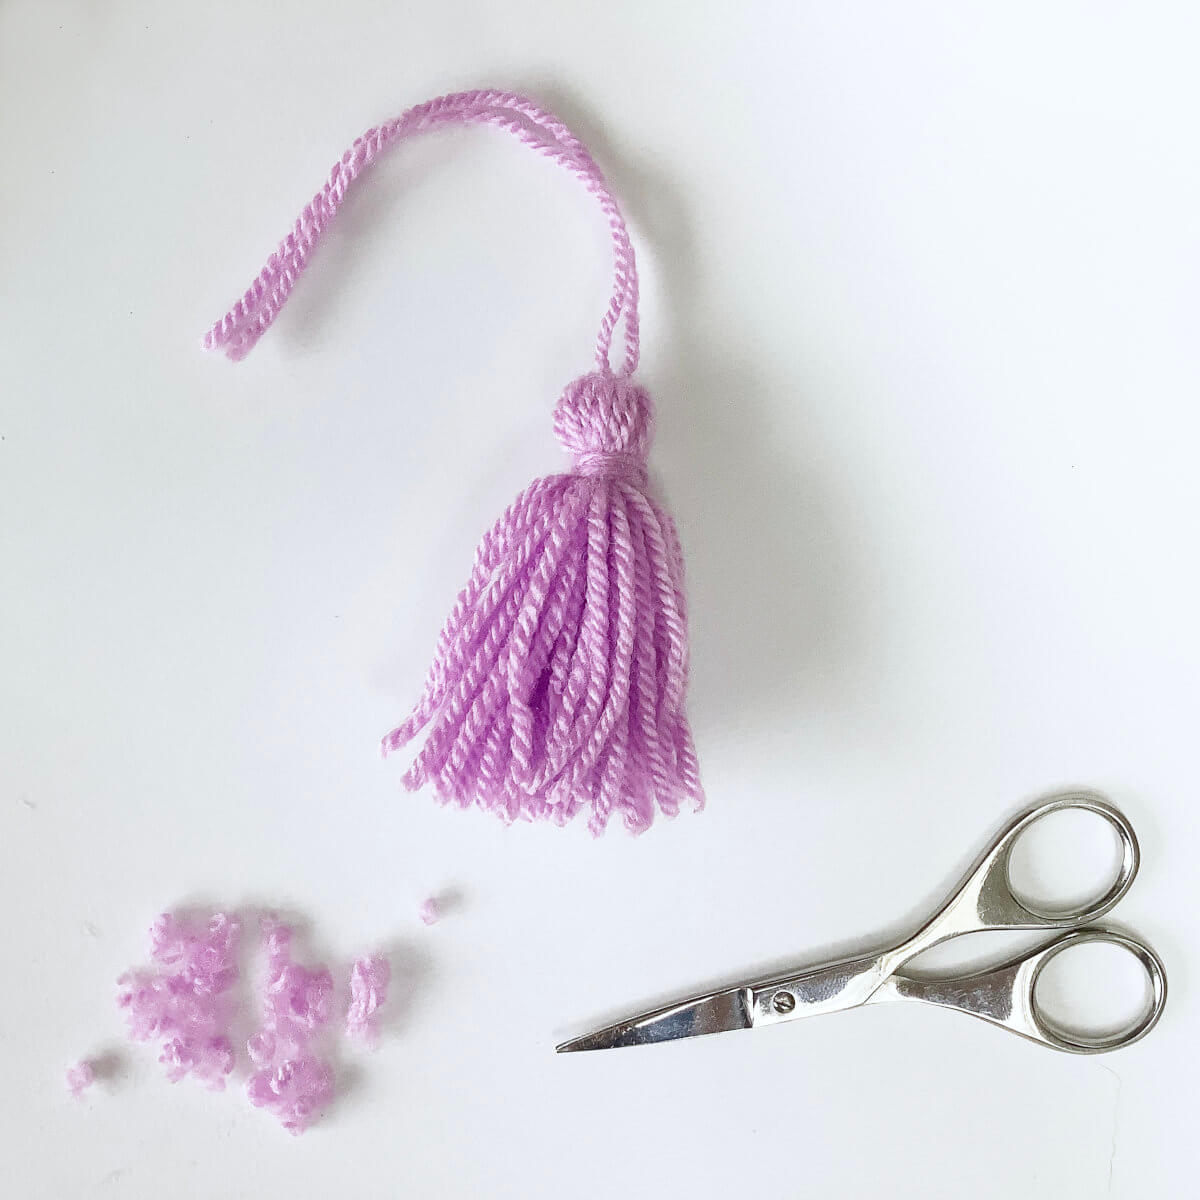
- Now take your scissors again, and trim the ends of the tassel to make it nice and neat.
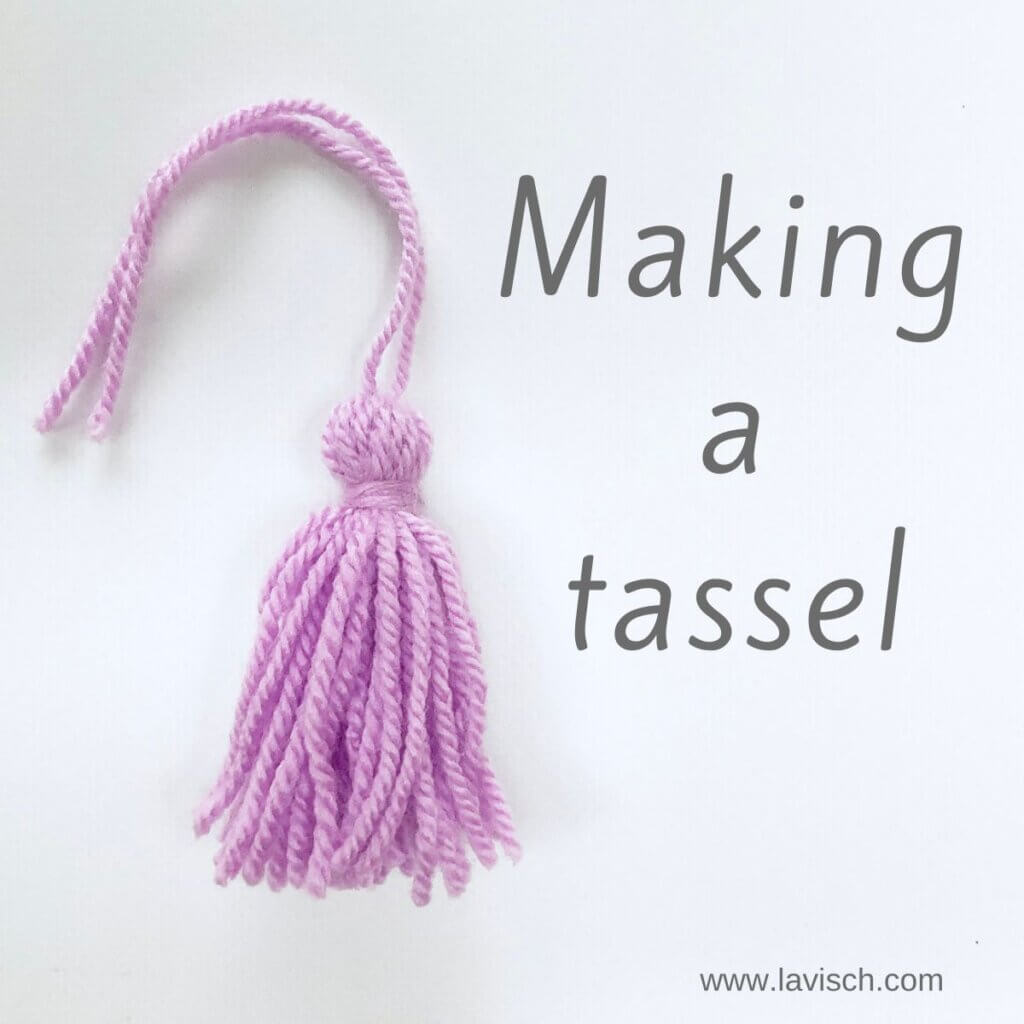
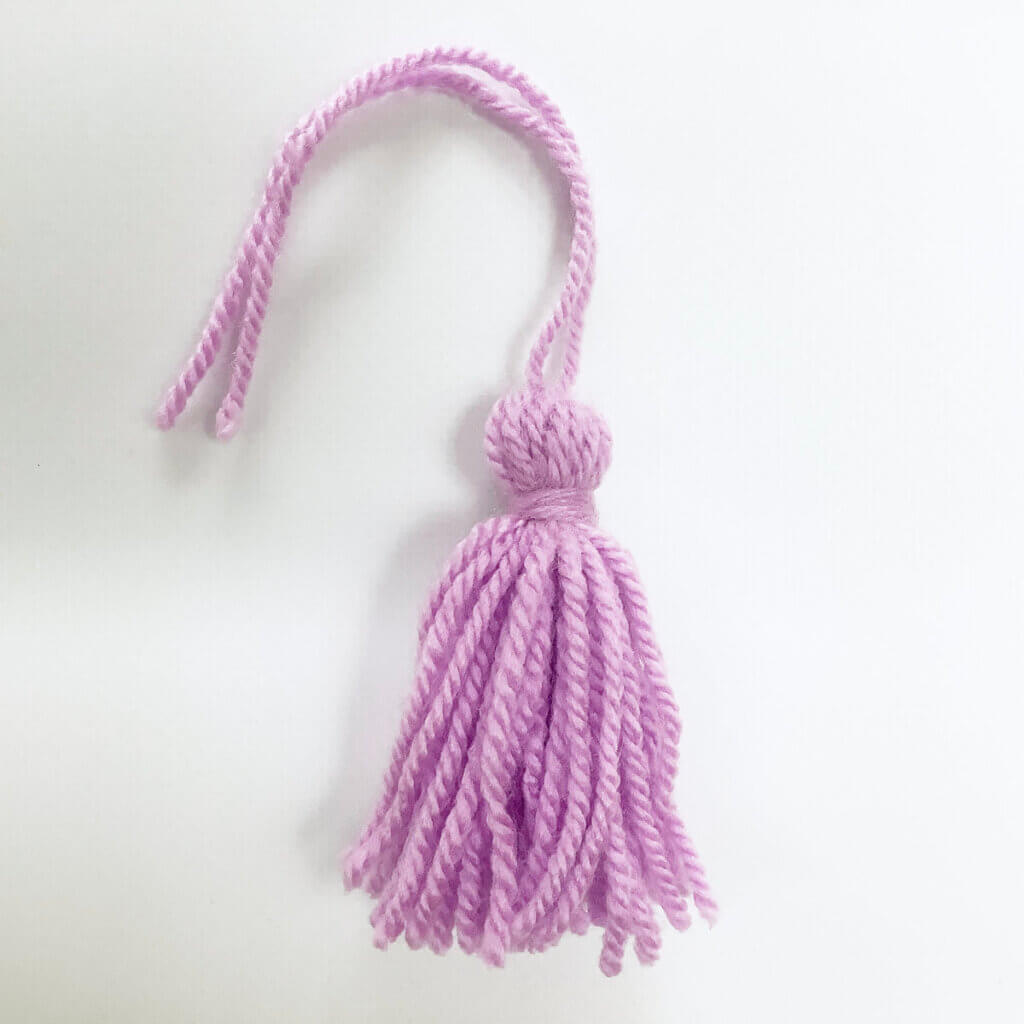
The results
And there you have it: a lovely tassel! It’s complete with a piece of yarn at the top, that you can use to sew it to your project!

Thanks to my Patreon supporters for bringing you this freebie! Creating quality patterns and tutorials is a lot of work and resource-intensive. However, I find it important to give you free content like this tutorial. Thanks to the generous support of my Patreon supporters, I can make it happen. Thank you, patrons! Click here to join, or click here to read more about La Visch Designs on Patreon.


