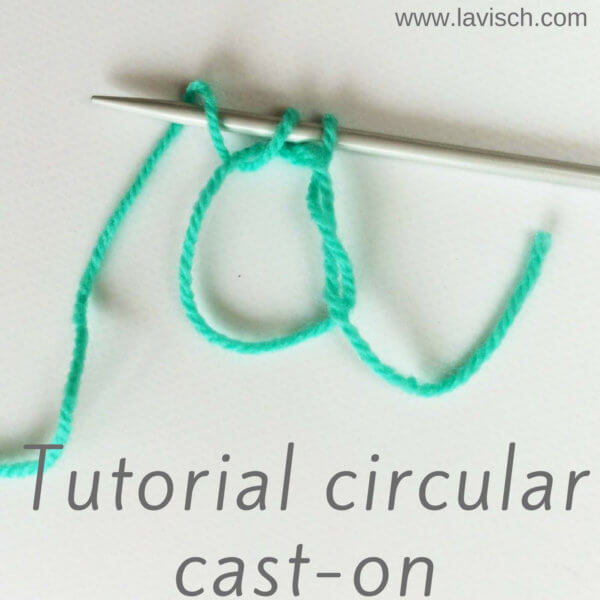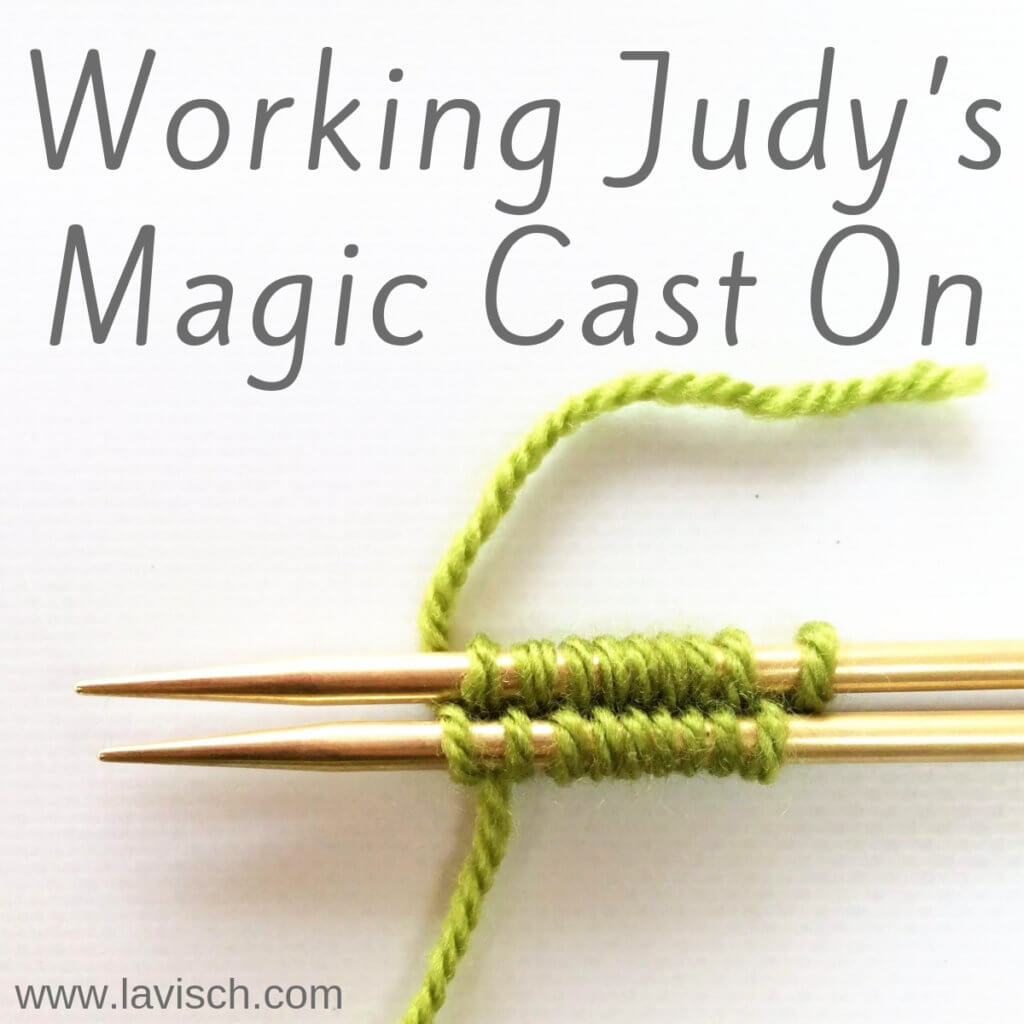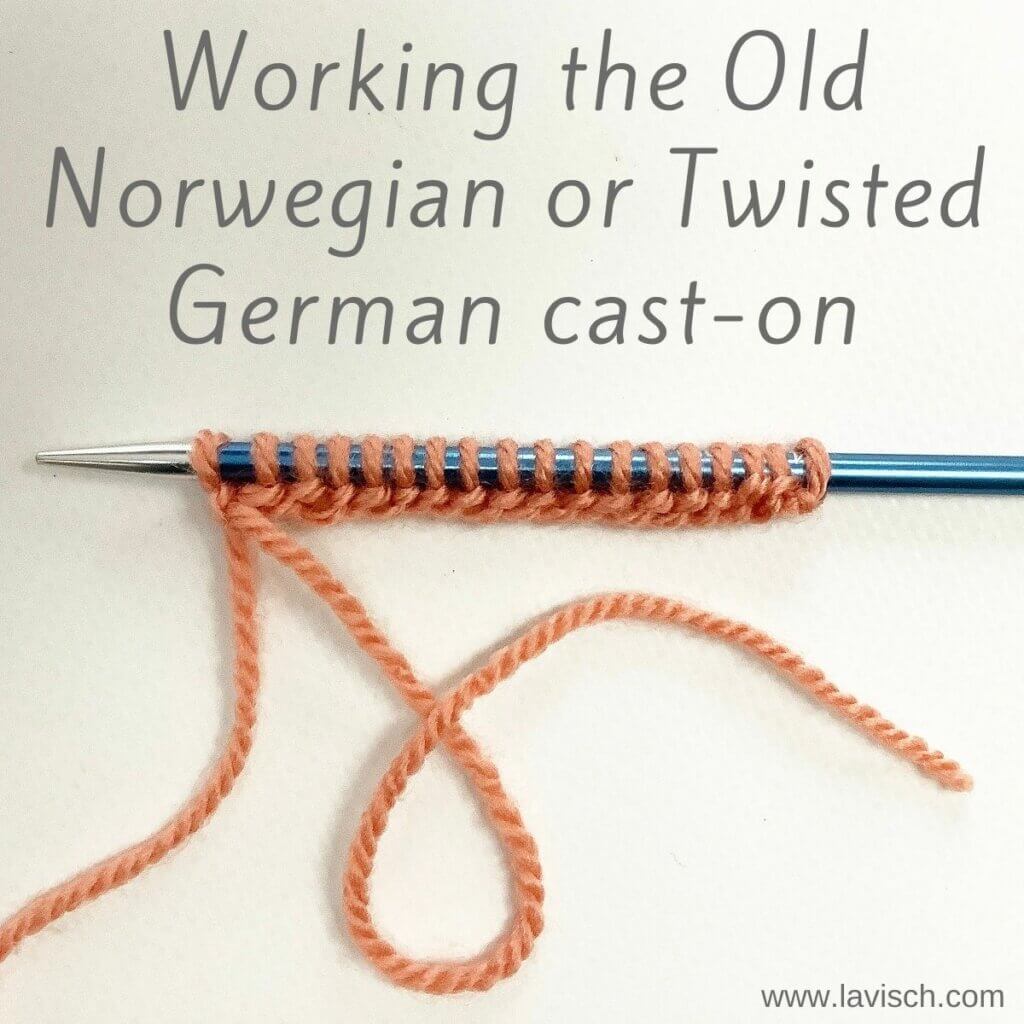
You may have heard of the Old Norwegian or Twisted German cast-on method; it’s a variation of the long tail cast-on that is somewhat stretchier. The extra stretch is because of a few extra steps and an extra twist when making it. This, in turn, makes it much better suited for things like top-down socks, and cuffs of mittens and gloves.
And, like the long tail cast-on, it has the challenge of guesstimating the current length for your yarn tail. If you run out of tail, there are no more stitches that can be cast on. Since this cast-on requires a tad more yarn than the regular long tail cast-on, I would suggest leaving a yarn tail that is 4 to 5 times instead of 3 to 4 times as long as the width you want your work to become.
Let’s go ahead and see how this cast-on is done!
Materials used
Yarn: * Paintbox Yarns Simply DK, a good value, good quality 100% acrylic yarn, here in the color 155 Vintage Pink.
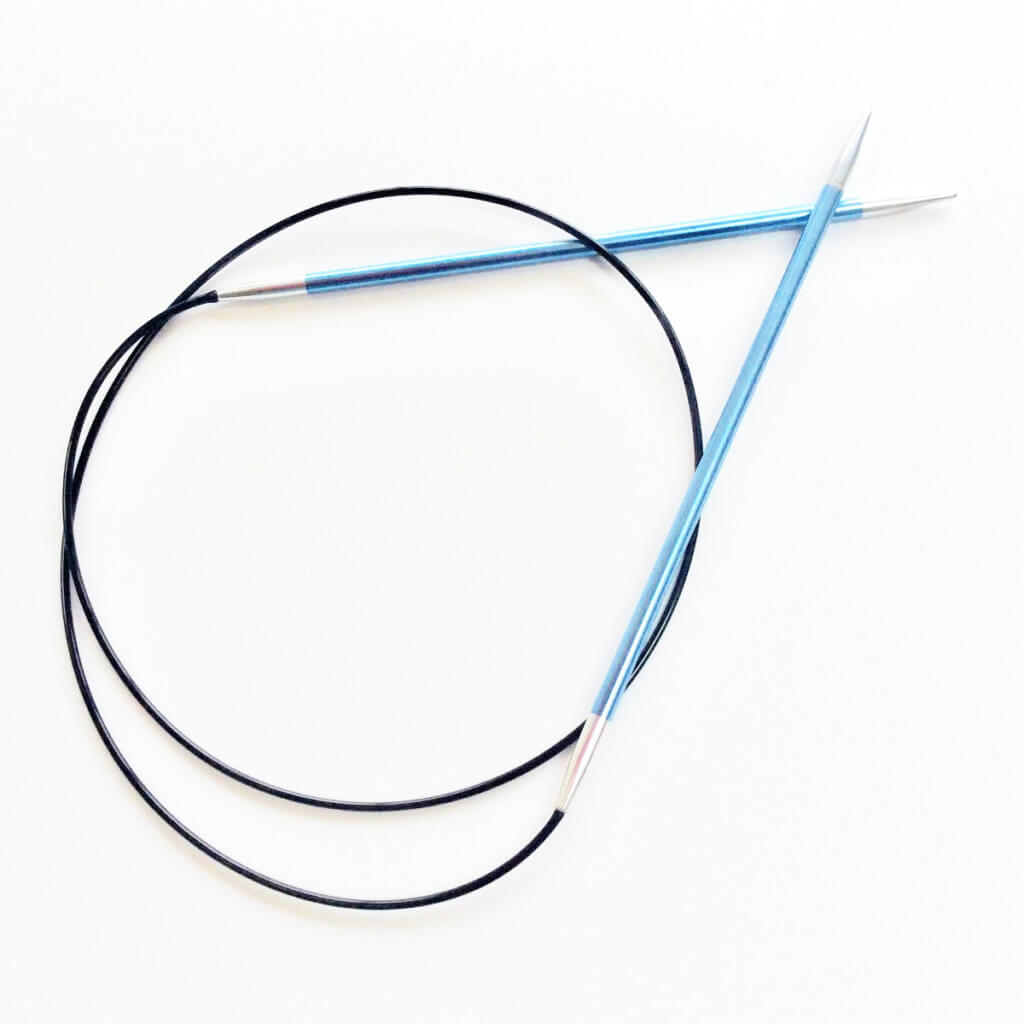
Needles: * KnitPro Zing Fixed Circular Needles. In this tutorial, I used the 4 mm (US 6) size with a cable length of 80 cm (32 inches).
Working the Old Norwegian or Twisted German cast-on step by step
Let’s get started on working this Old Norwegian or Twisted German cast-on!
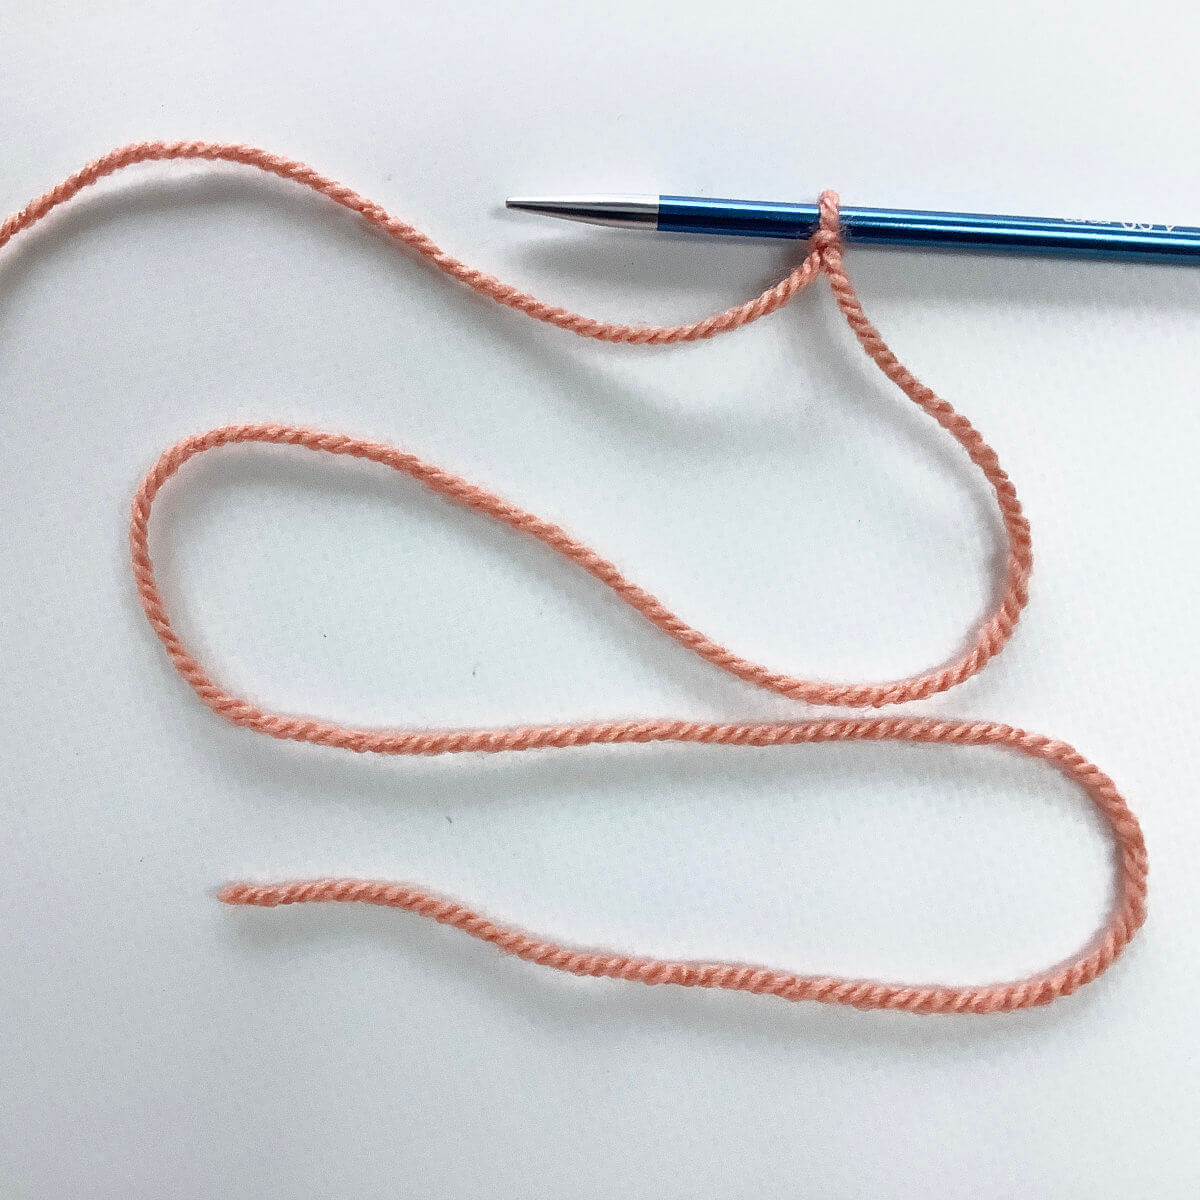
- Start by making a slip knot.
Place the slip knot on the right-hand needle.
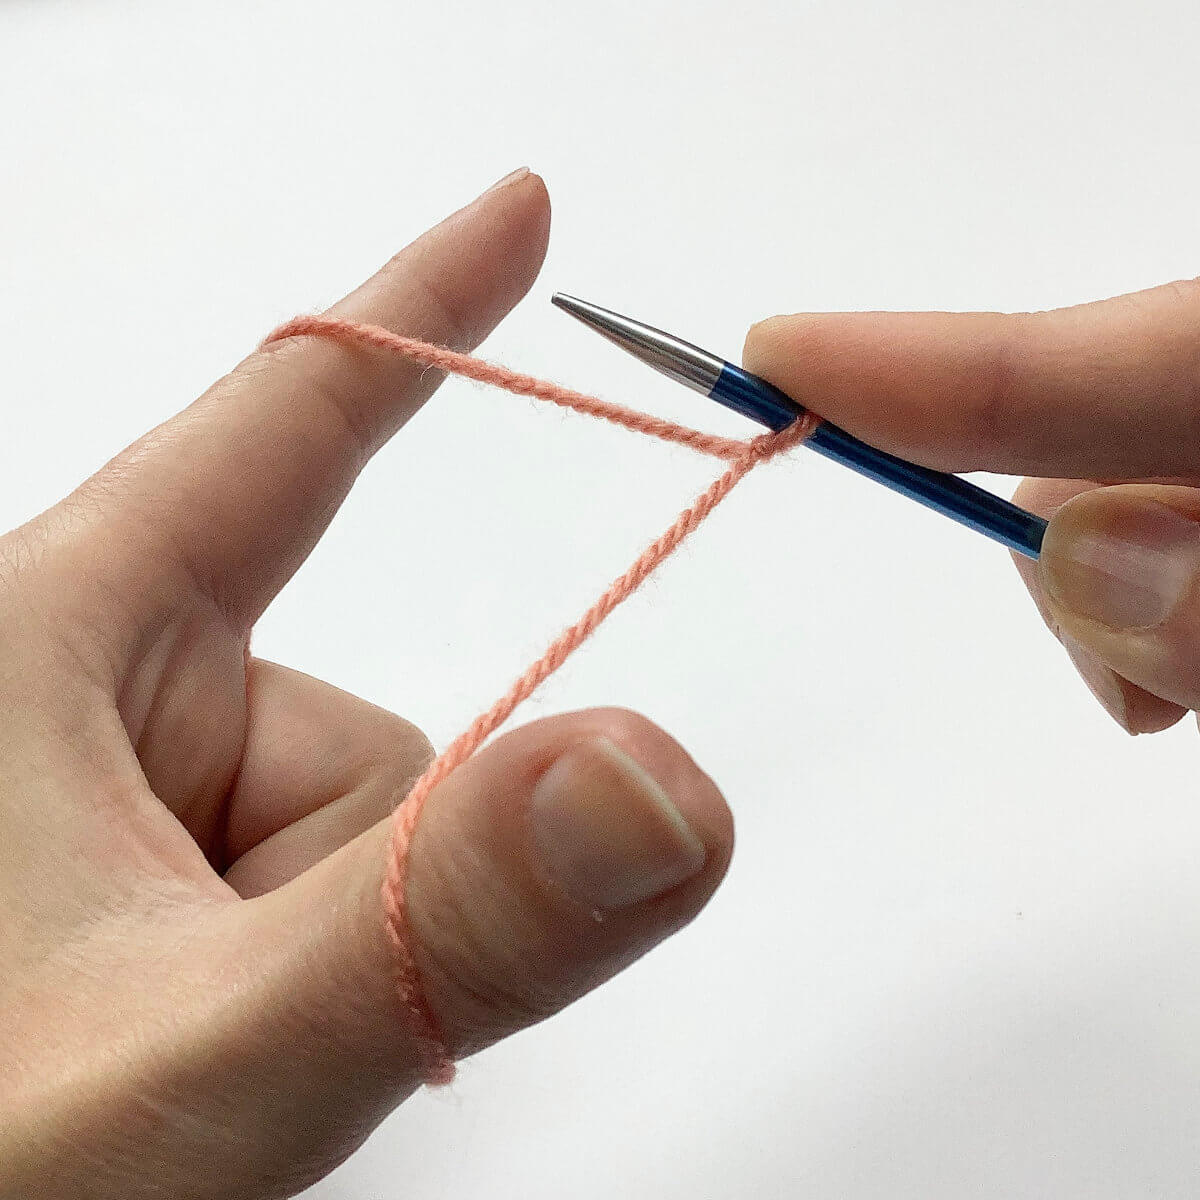
- Next, place your left thumb and index finger between the strands as shown while you hold the ends of both strands of yarn in your left hand with your other fingers.
This is the same as for a regular long tail cast-on.
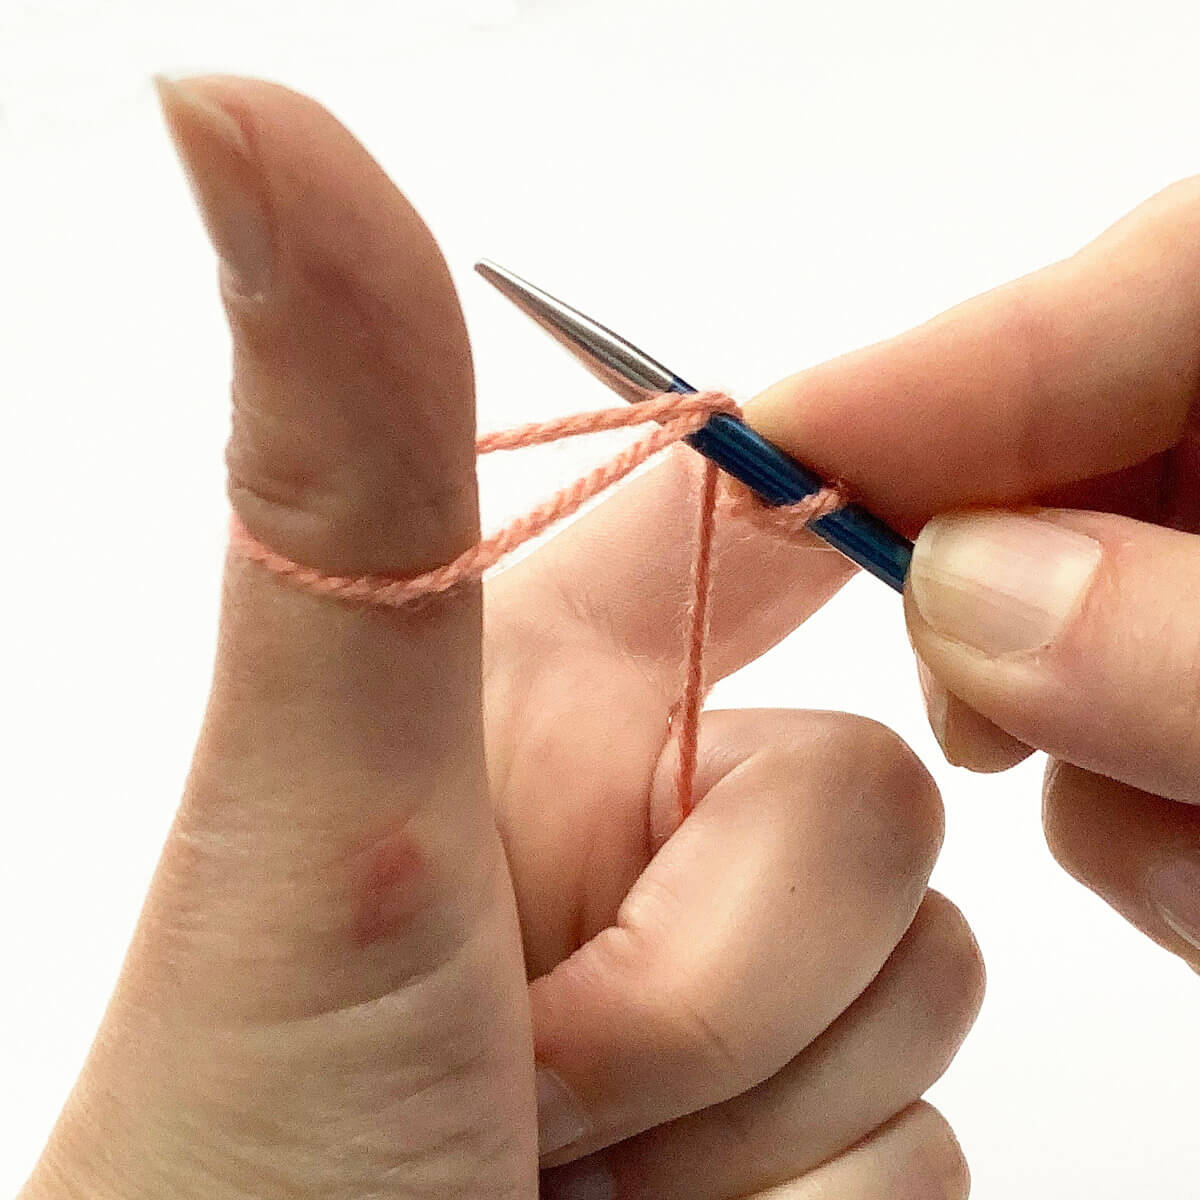
- Now rotate your left-hand upwards, while moving your right hand down, to dip the tip of the needle underneath both strands of yarn you see going around the thumb.
In other words: move the tip of the needle from left to right underneath both strands of yarn.
- Next, move the needle tip over the strand at the right (top) and down into the loop at the thumb.
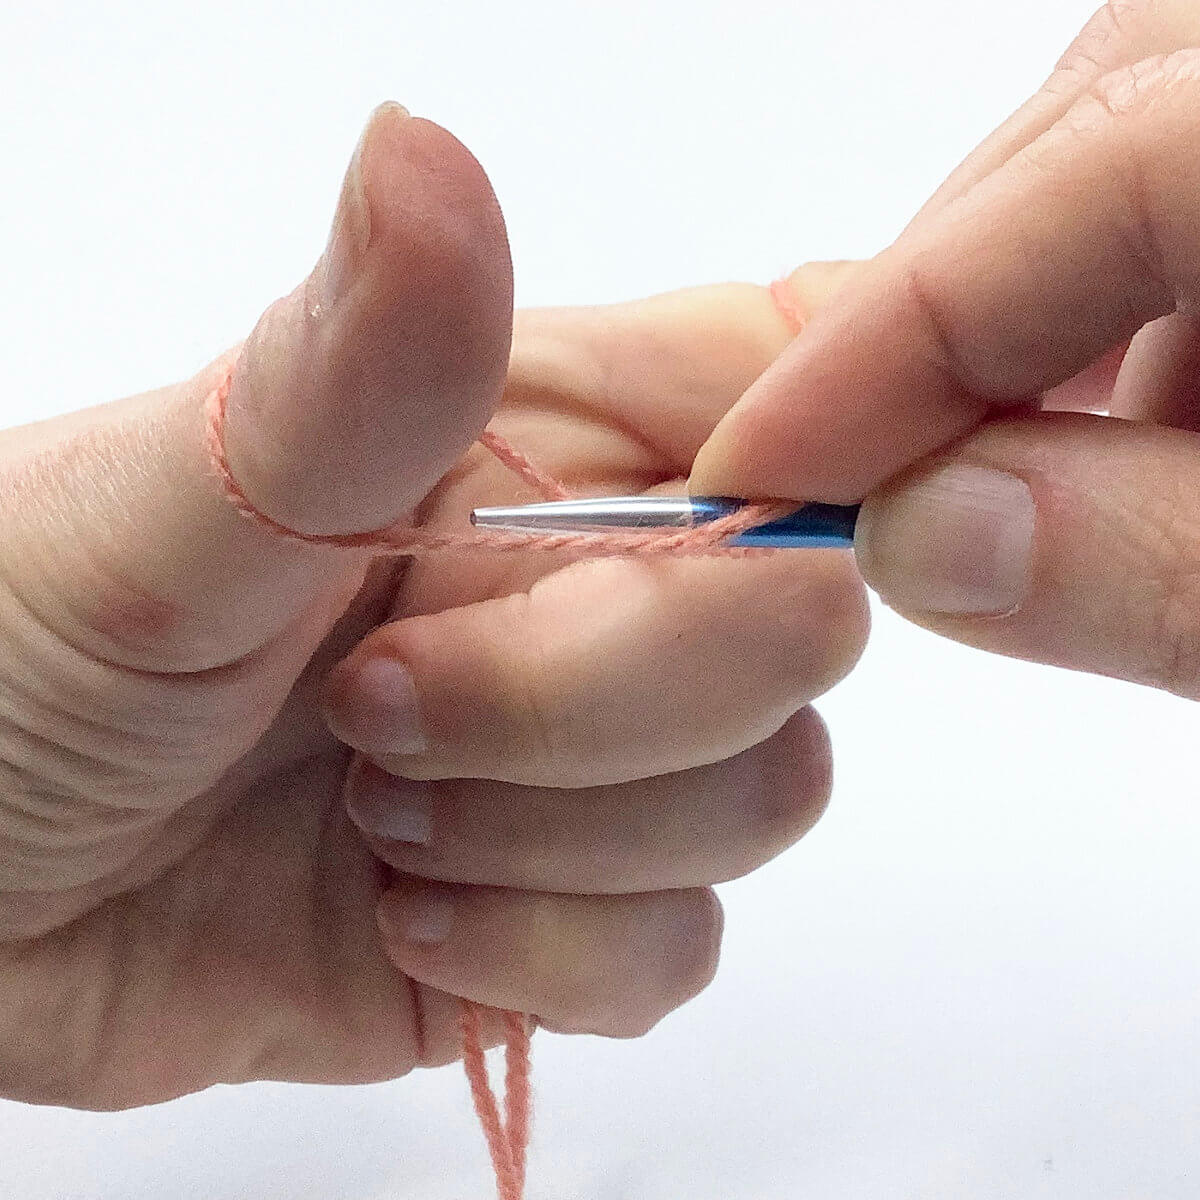
- In this step you see how it looks after I’ve pulled the needle tip down into the loop and rotated my thumb upwards a bit.
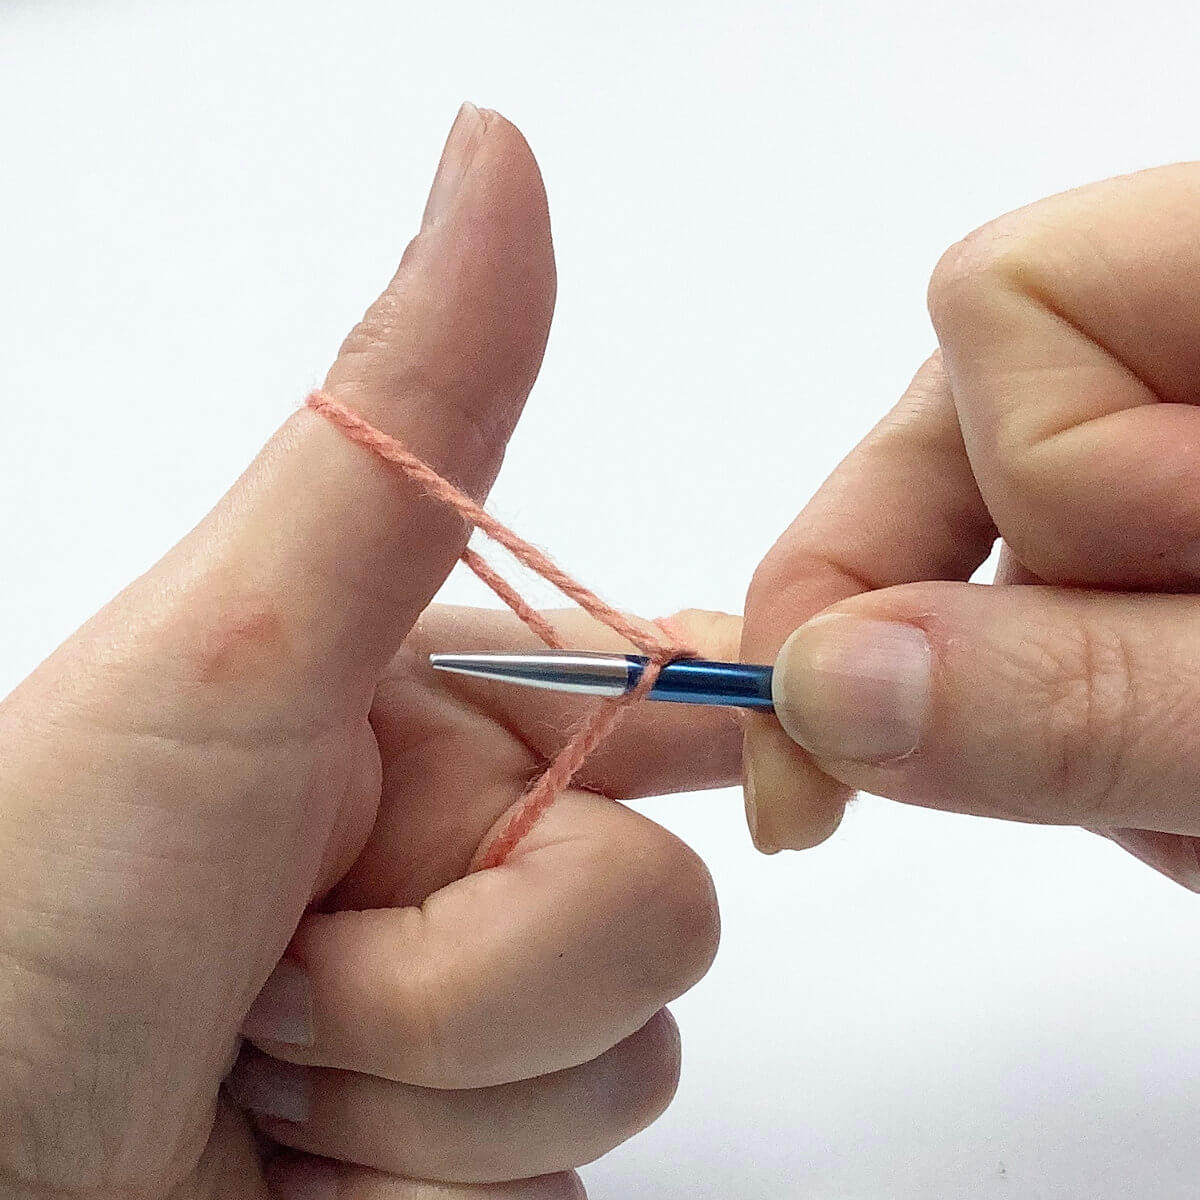
- When moving the needle tip upwards again it looks like this.
See how the yarn around the thumb is now twisted into an “x” shape?
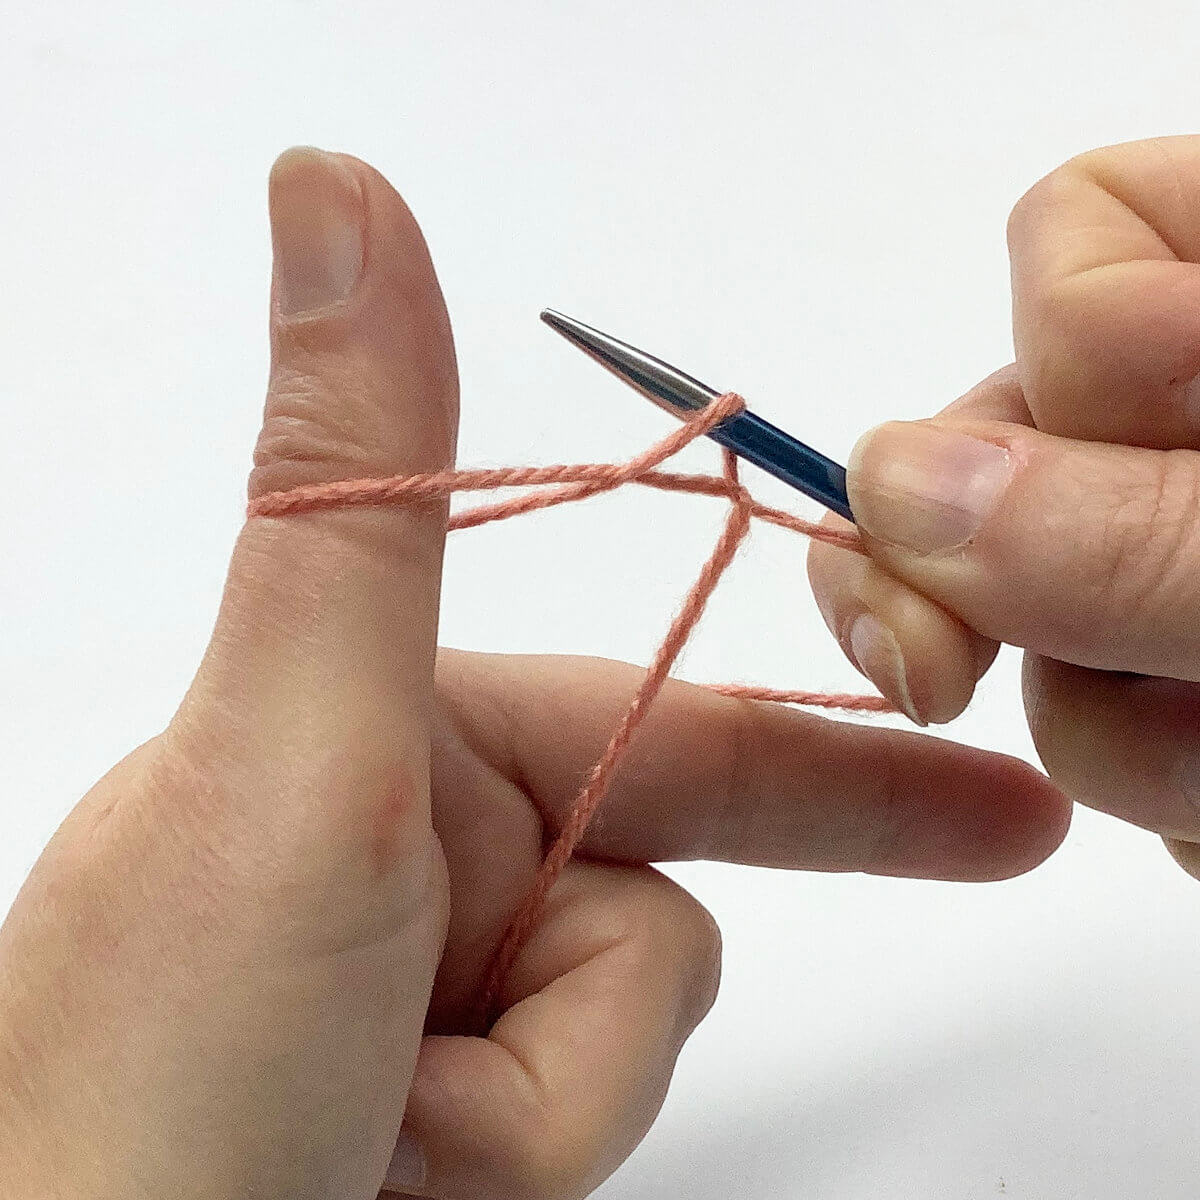
- Next, bring the needle over the top of the strand of yarn going around your index finger, and dip below it from right to left.
Now we’ve caught this strand too, it’s time for the next step.
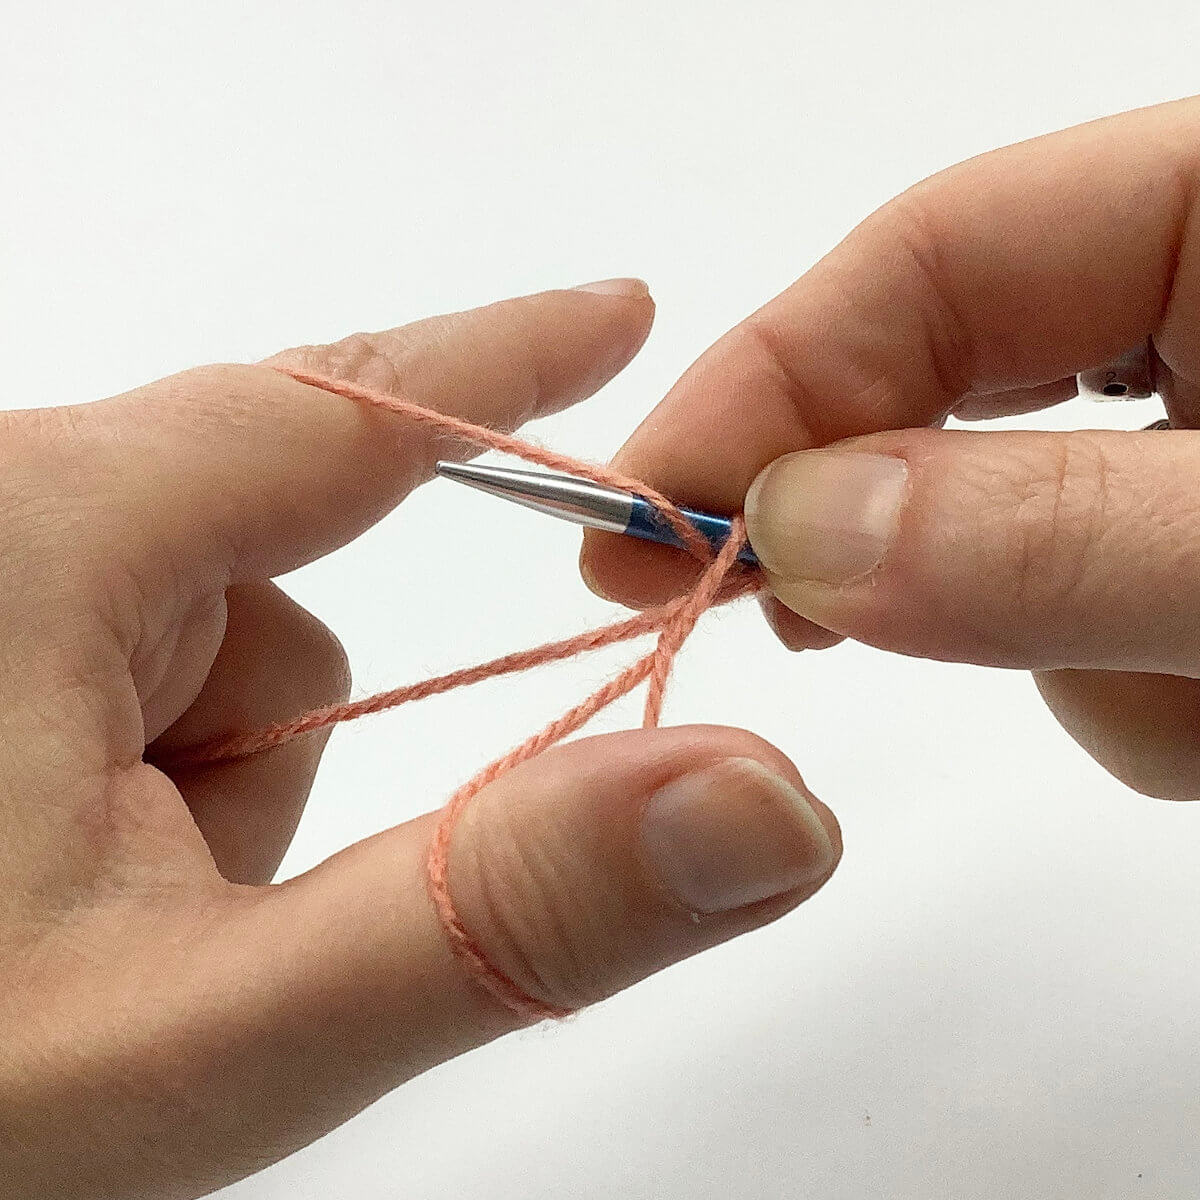
- Now we pull the last caught strand through the “thumb loop”, specifically through the gap of the x closest to your right hand.
Bending your thumb a bit can help to open up the x to more easily see where the needle tip should go.
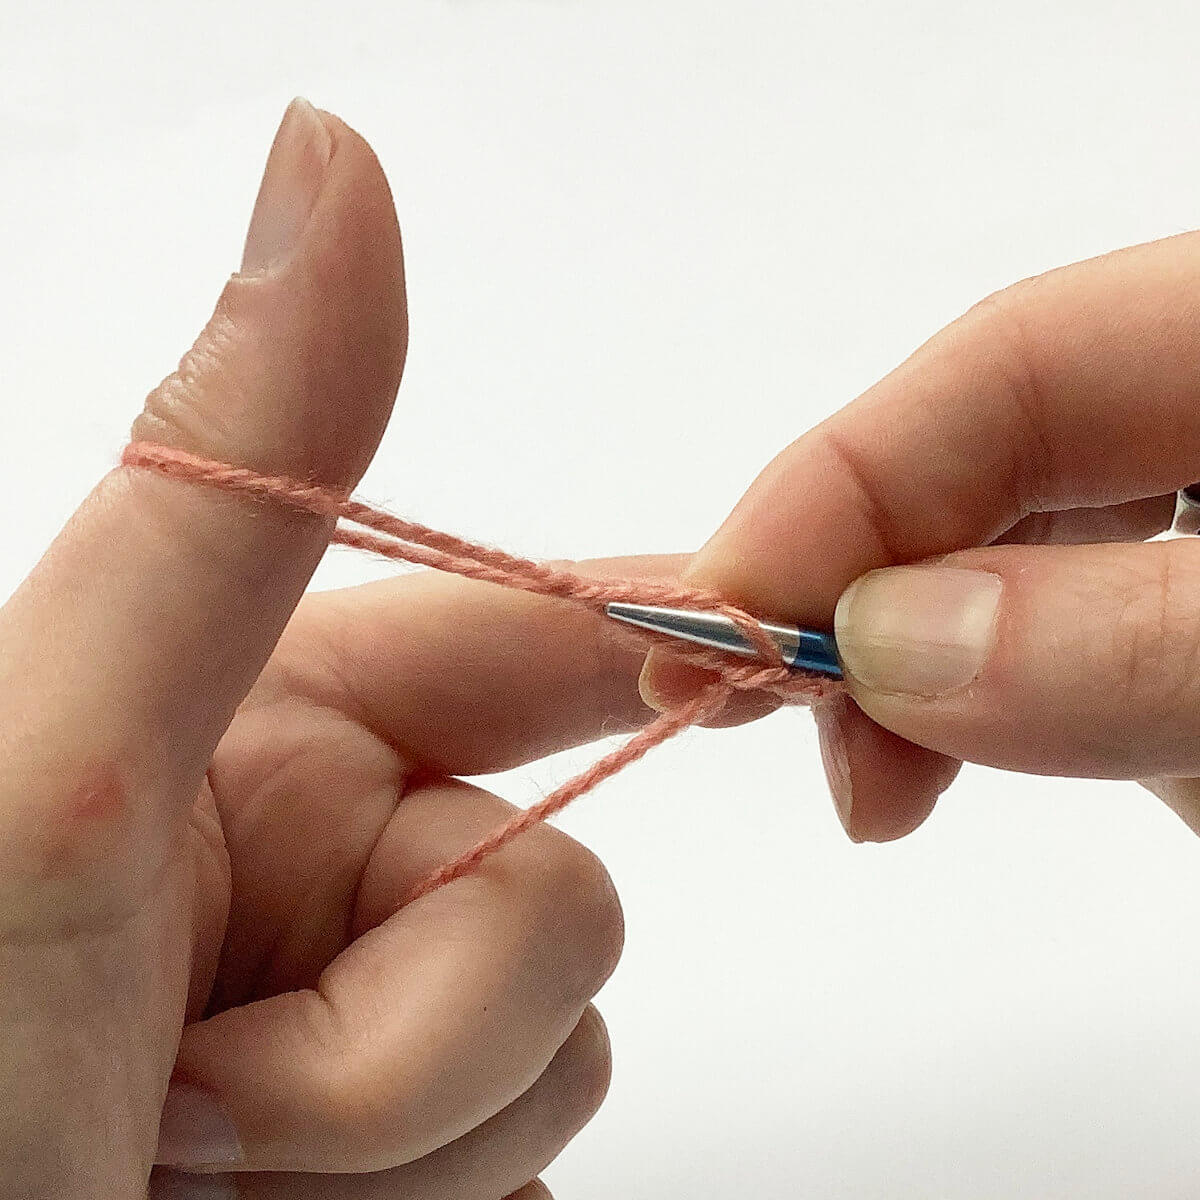
- This is how it looks after the strand has been pulled through.
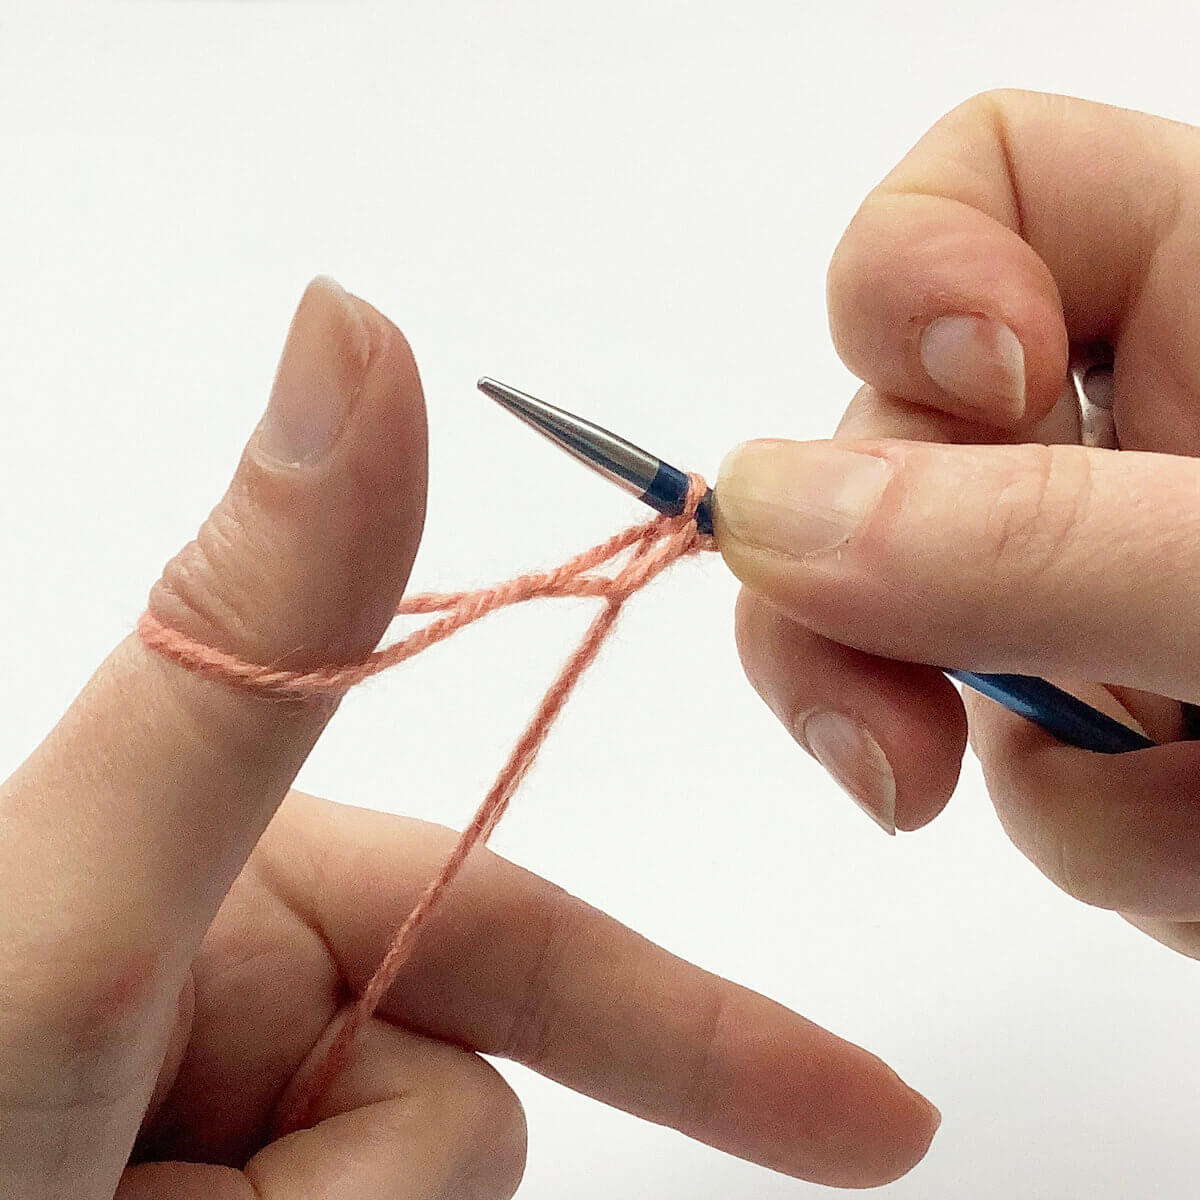
- To finish the new stitch, gently draw out your thumb from the loop …
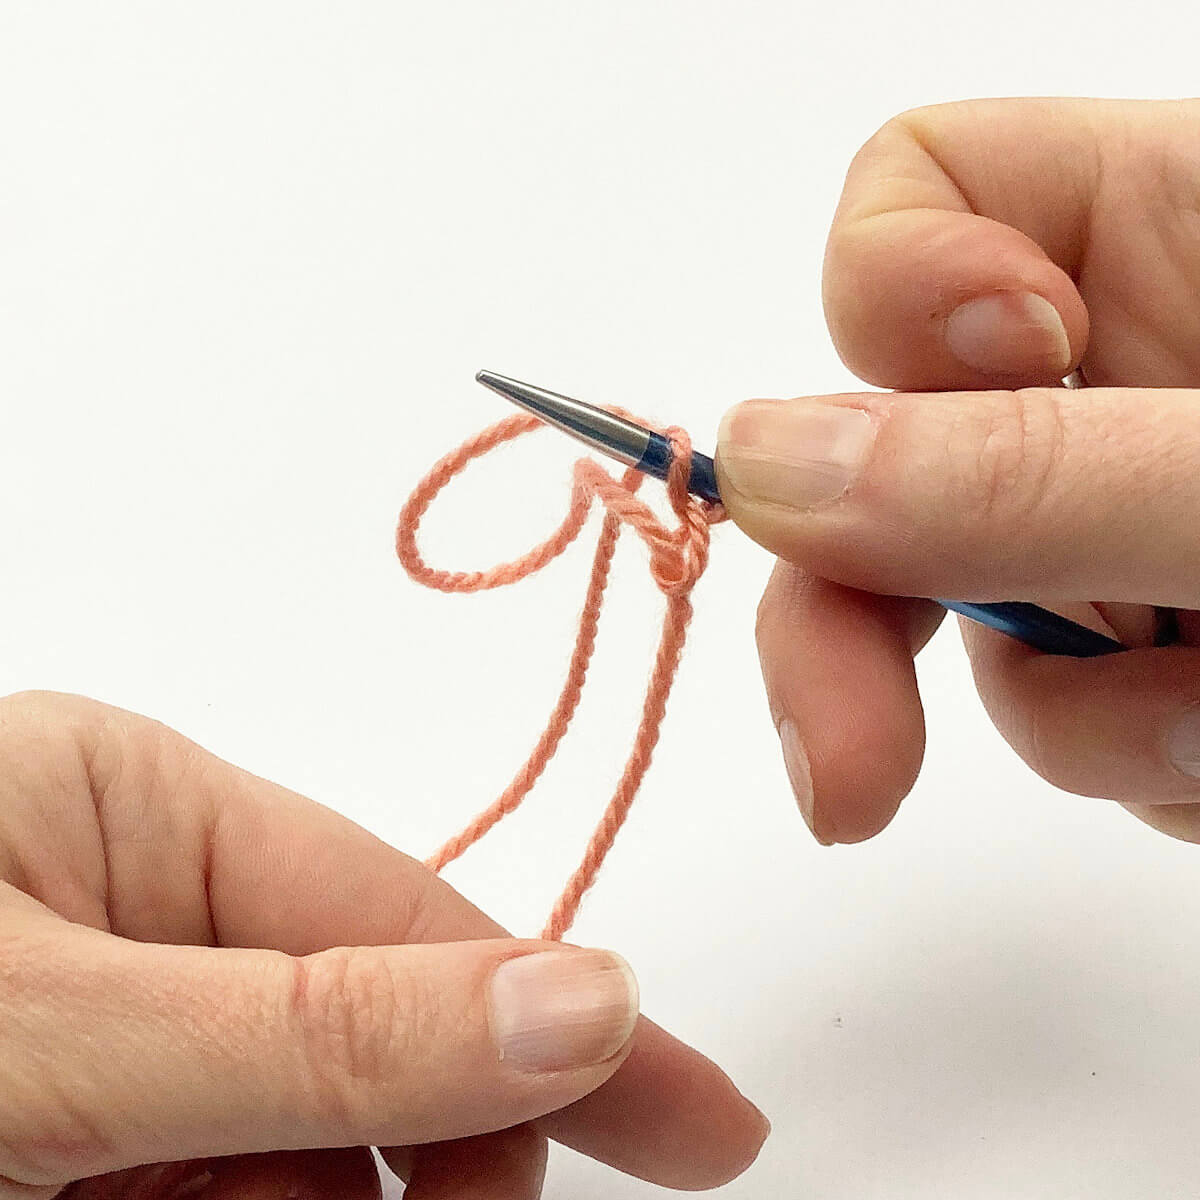
- … and tighten the stitch a bit by pulling on the strands.
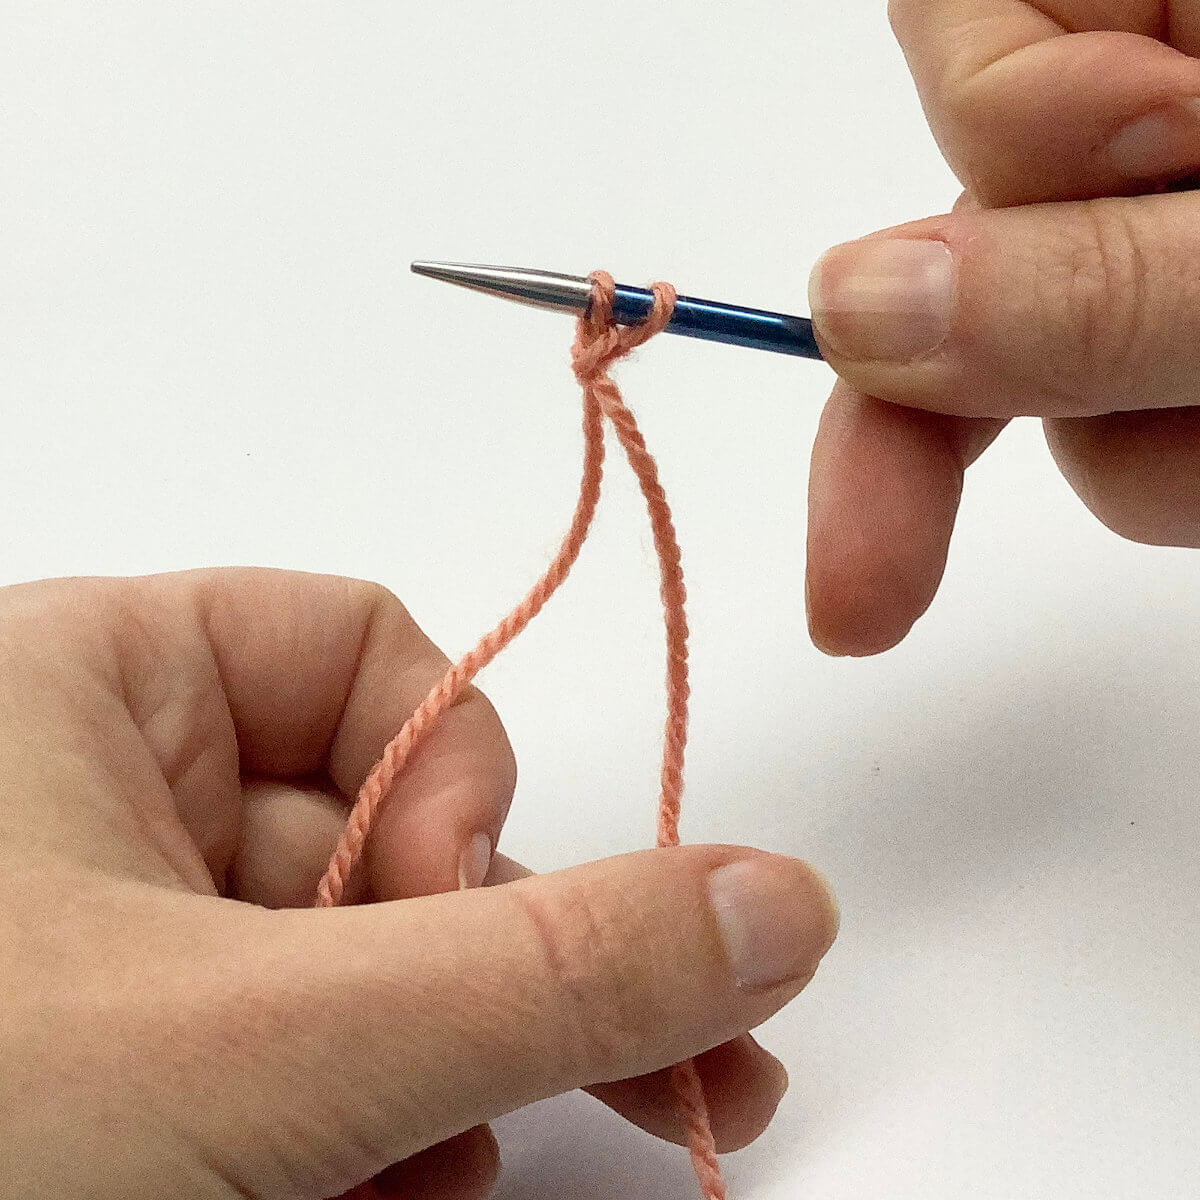
- Repeat steps 2 to 11 as often as needed to arrive at the desired number of stitches.
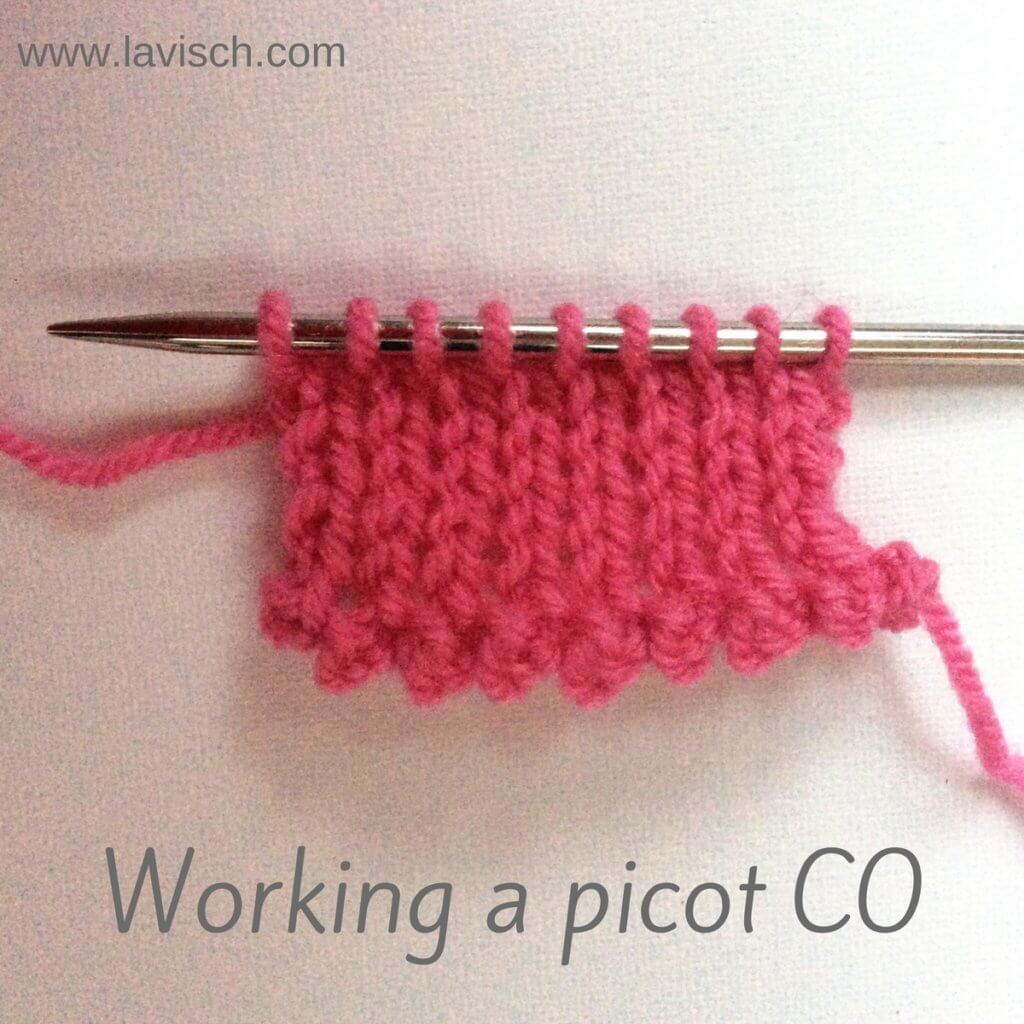
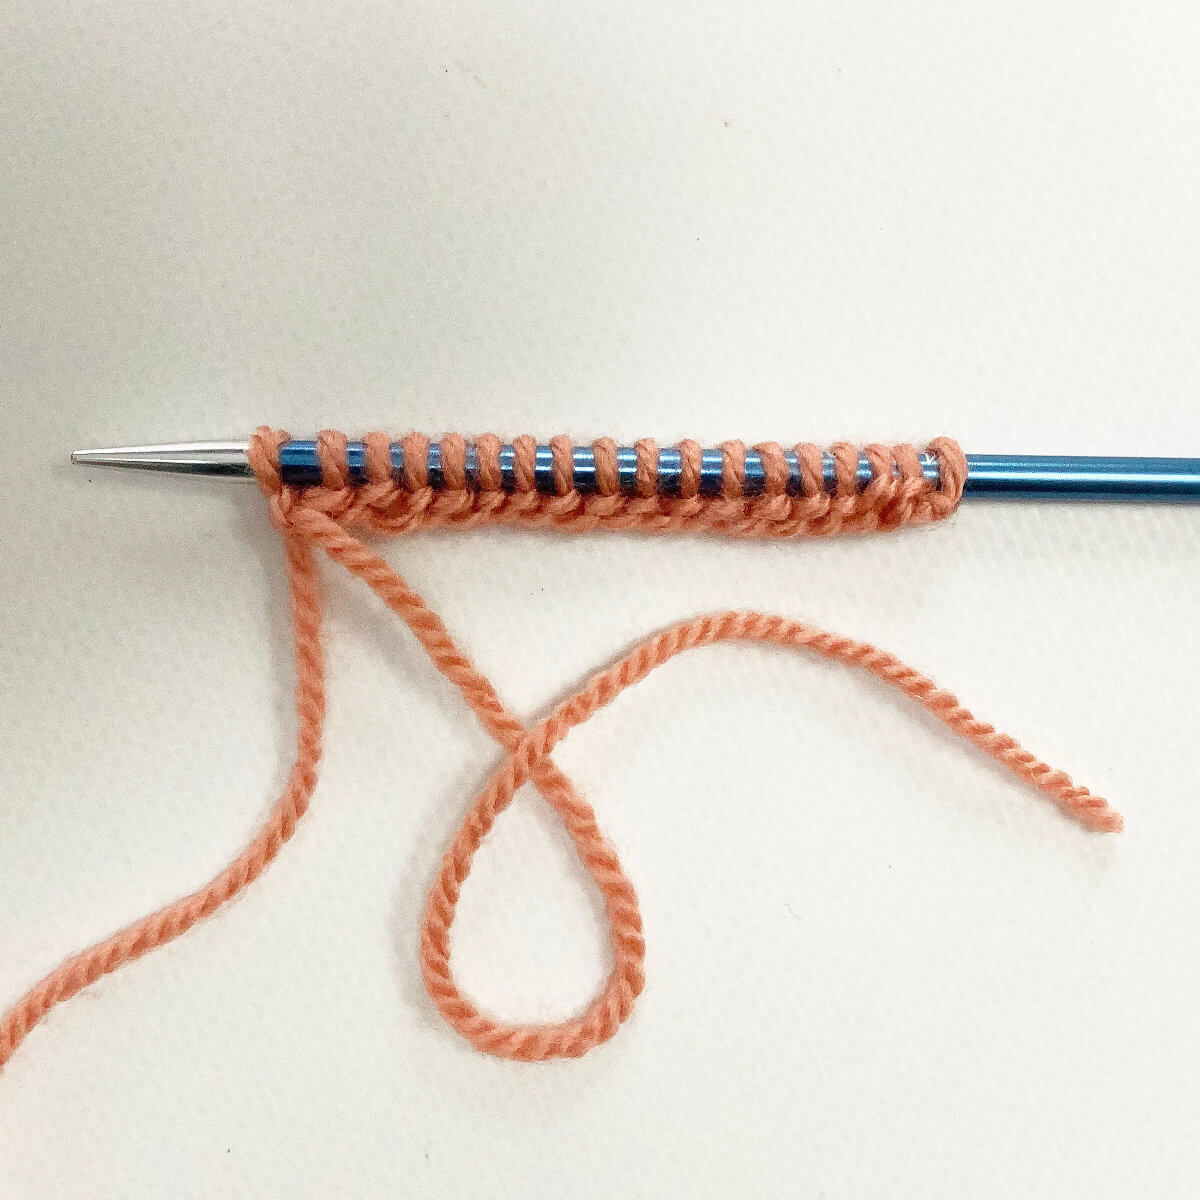
This is my result working the Old Norwegian or Twisted German cast-on:

Thanks to my Patreon supporters for bringing you this freebie! Creating quality patterns and tutorials is a lot of work and resource-intensive. However, I find it important to give you free content like this tutorial. Thanks to the generous support of my Patreon supporters, I can make it happen. Thank you, patrons! Click here to join, or click here to read more about La Visch Designs on Patreon.


