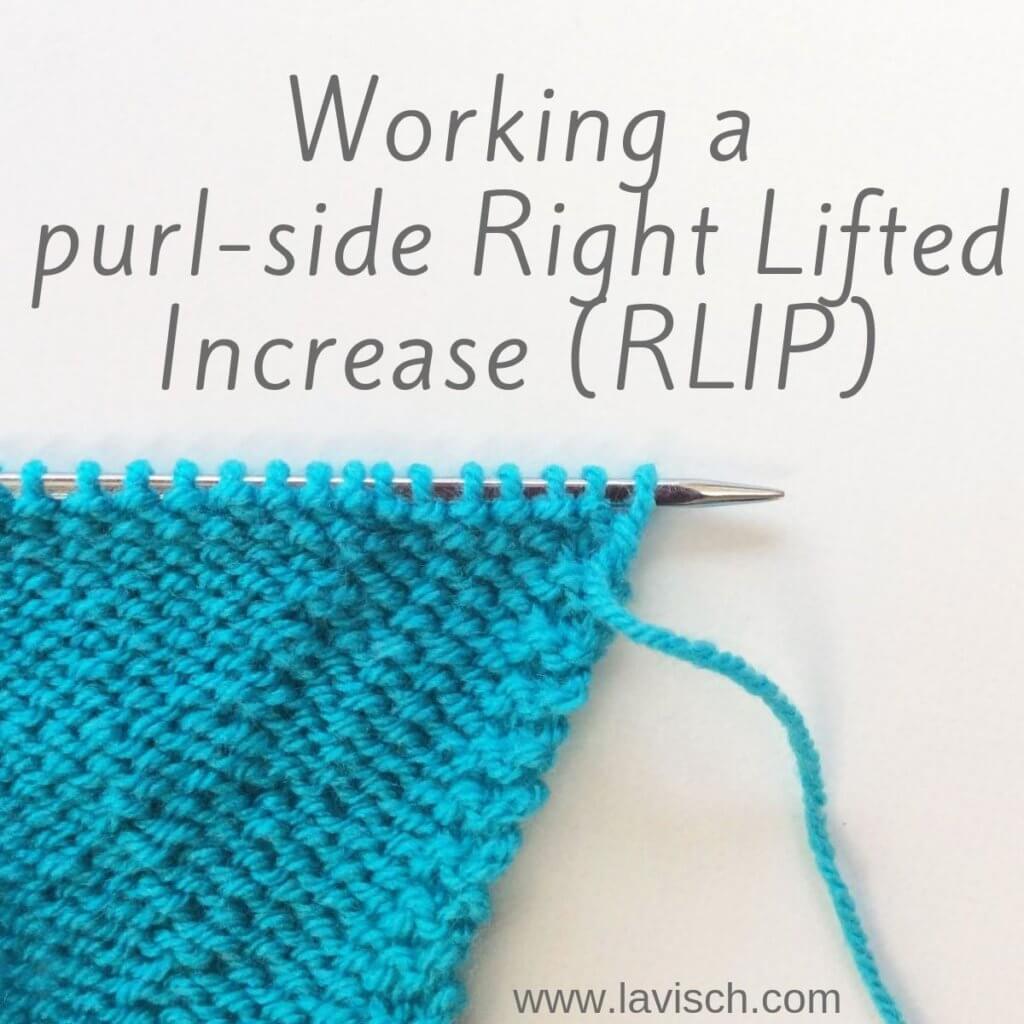
People usually shape knitwear by increasing or decreasing the number of stitches. There are, of course, lots of different versions possible. In this tutorial, I’ll focus on the purl-side right-leaning version of the lifted increase. If you’re looking for the knit-side right-leaning lifted increase, just click here.
What is a lifted increase?
Basically, it’s exactly how it’s called: an increase that you work from a stitch below the one next on the needle. This stitch is lifted to be able to work into it. The purl-side version is called the same as the knit-side version, only with “purl” added after it. Right Lifted Increase (Purl) with the abbreviation RLIP.
Materials used

Yarn: * Paintbox Yarns Simply DK, a good value, good quality 100% acrylic yarn, here in the color Marine Blue.
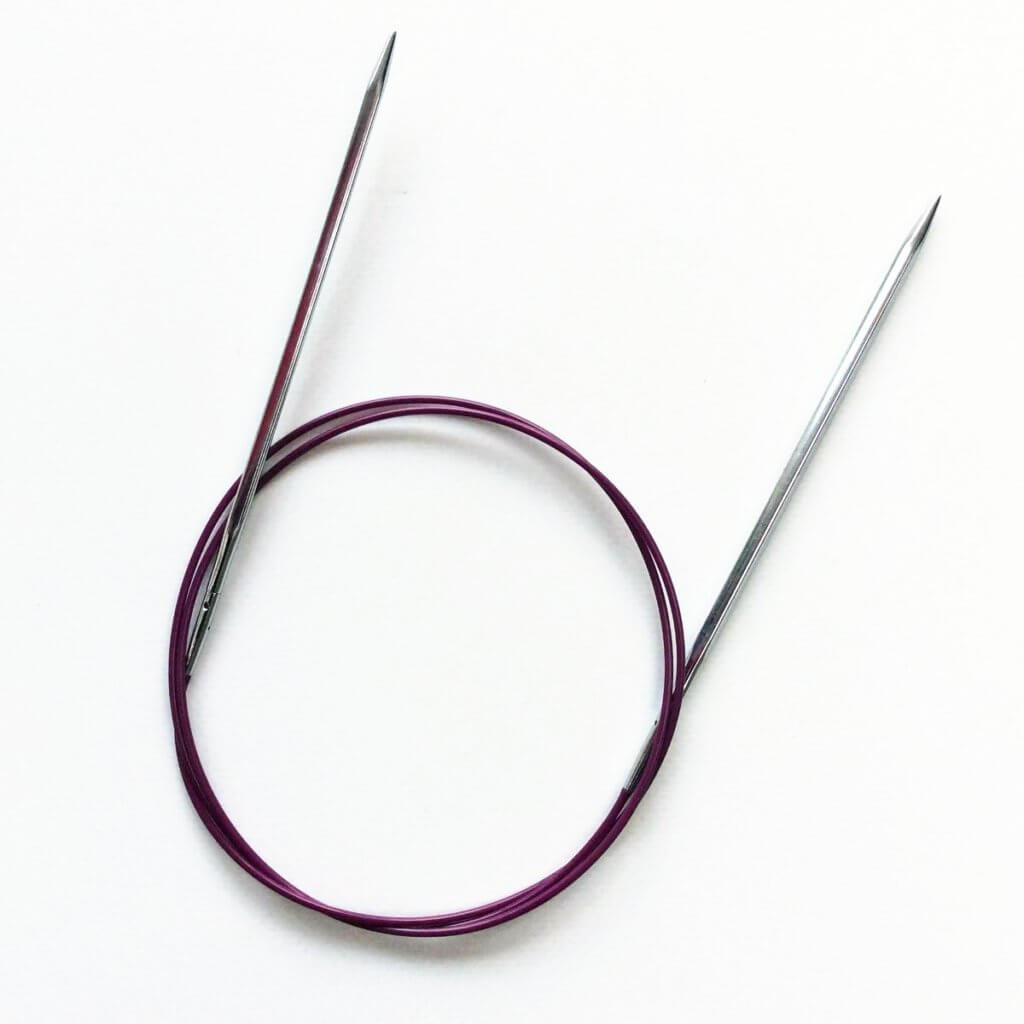
Needles: * KnitPro Nova Cubics Special Interchangeable Needle Tips, pictured here in the 4 mm (US 6) size, combined with a * KnitPro Purple Single Cable with a length of 100 cm (40 inches).
Working a purl-side Right-Leaning Lifted Increase step by step
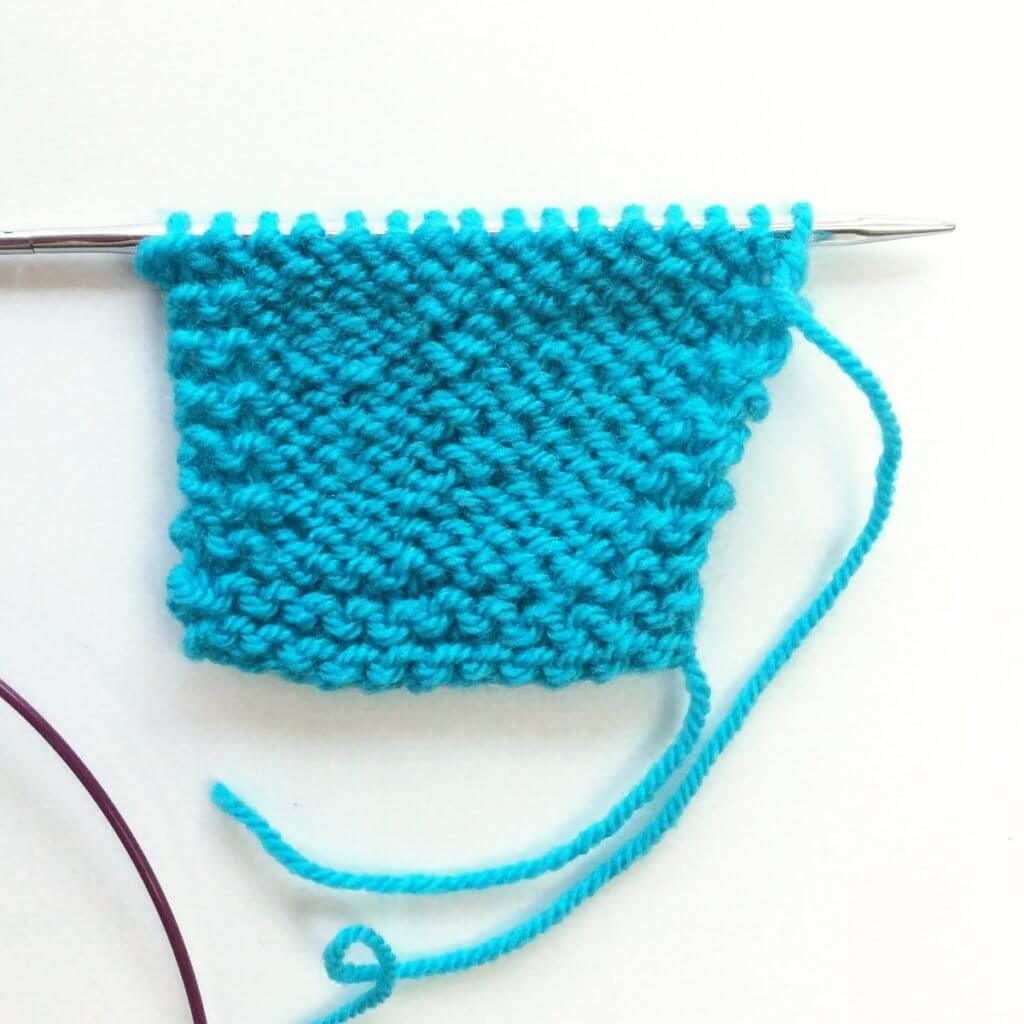
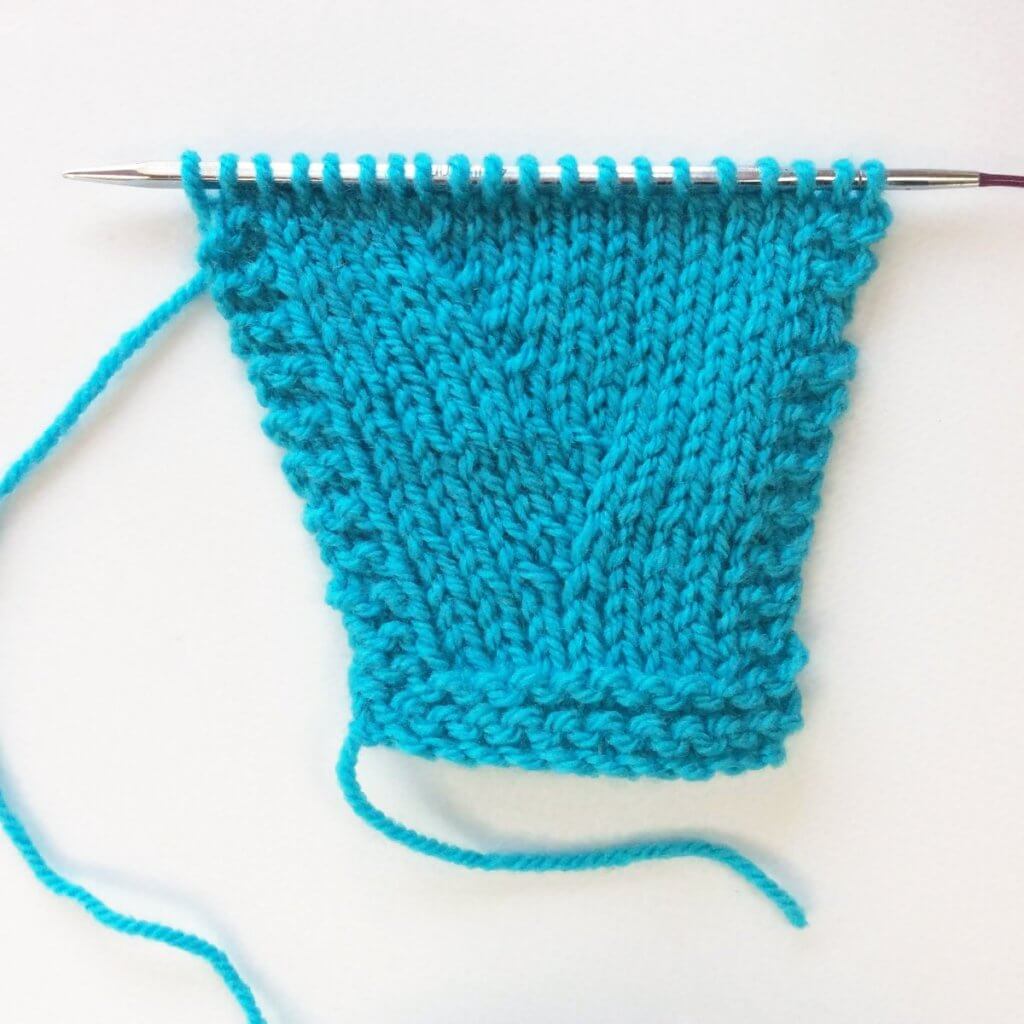
I’ve made a little swatch (continuing the same one from the RLI tutorial!) and will be making the increases 4 sts in from the garter stitch border when viewed from the wrong (purl) side.
1. To start, insert your right-hand needle from bottom to top into the horizontal purl bump directly below the first stitch on the left-hand needle.
2. Next, place the lifted stitch on the left-hand needle, making sure that you place it non-twisted. In other words: the left leg of the stitch is behind the needle and the right leg is in front.
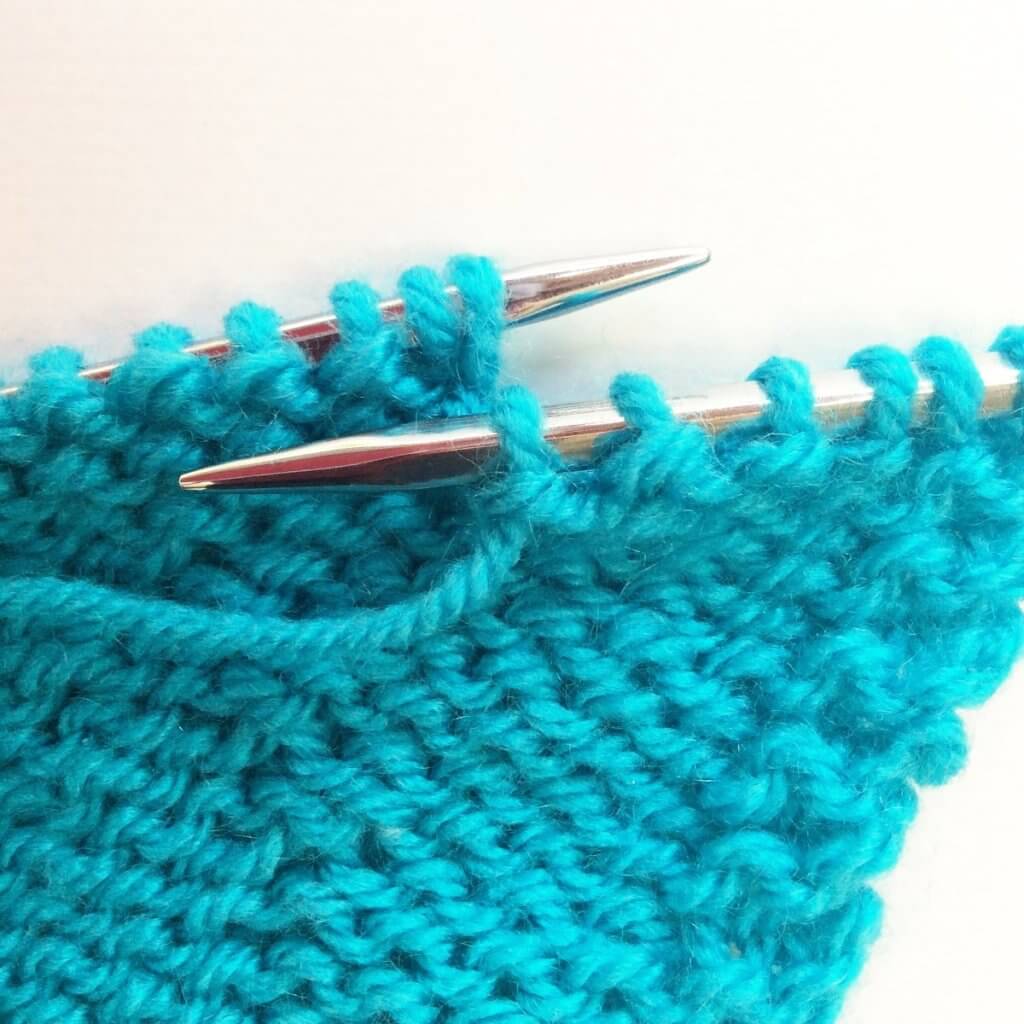
3. Now insert the other needle into the front of the stitch as if to purl….
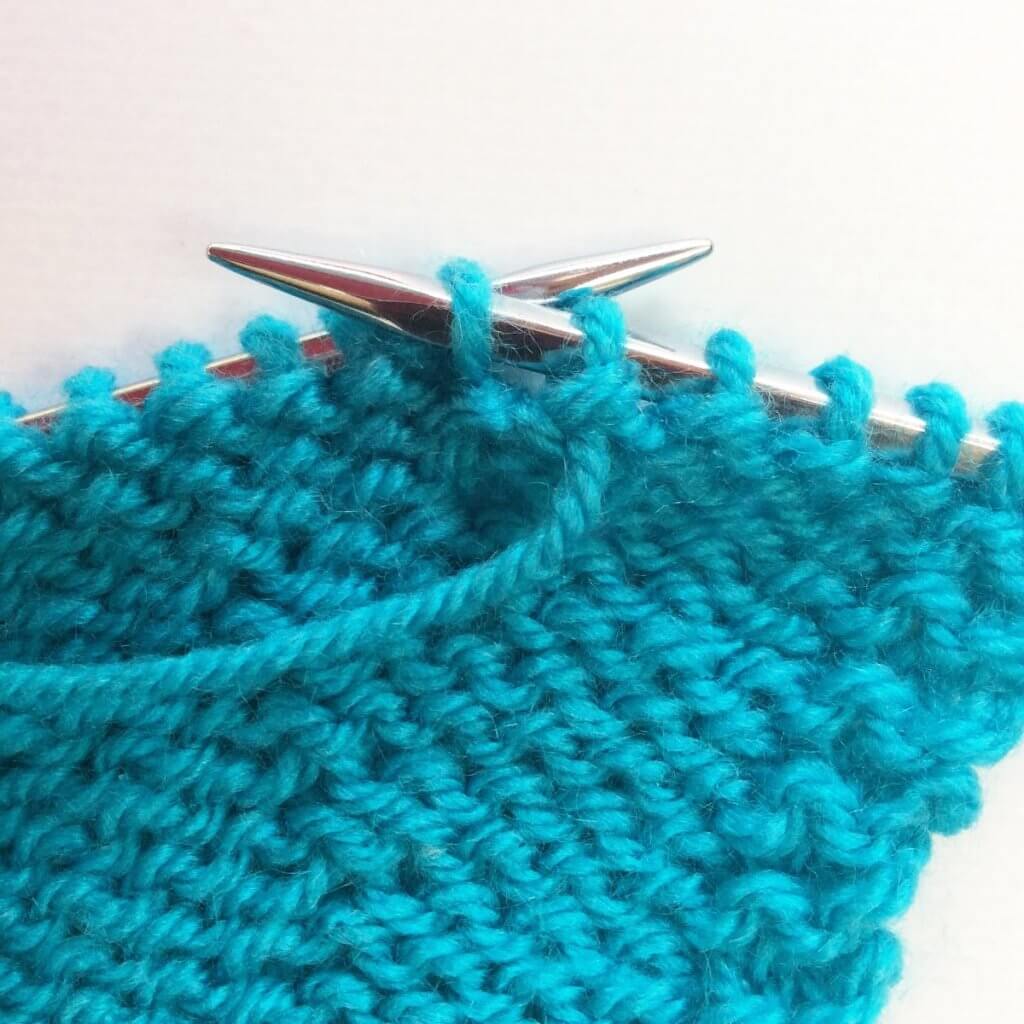
4. … and complete the stitch by wrapping the yarn around the needle, pulling it through and slipping the worked stitch off the needle as usual. You have now increased one stitch.
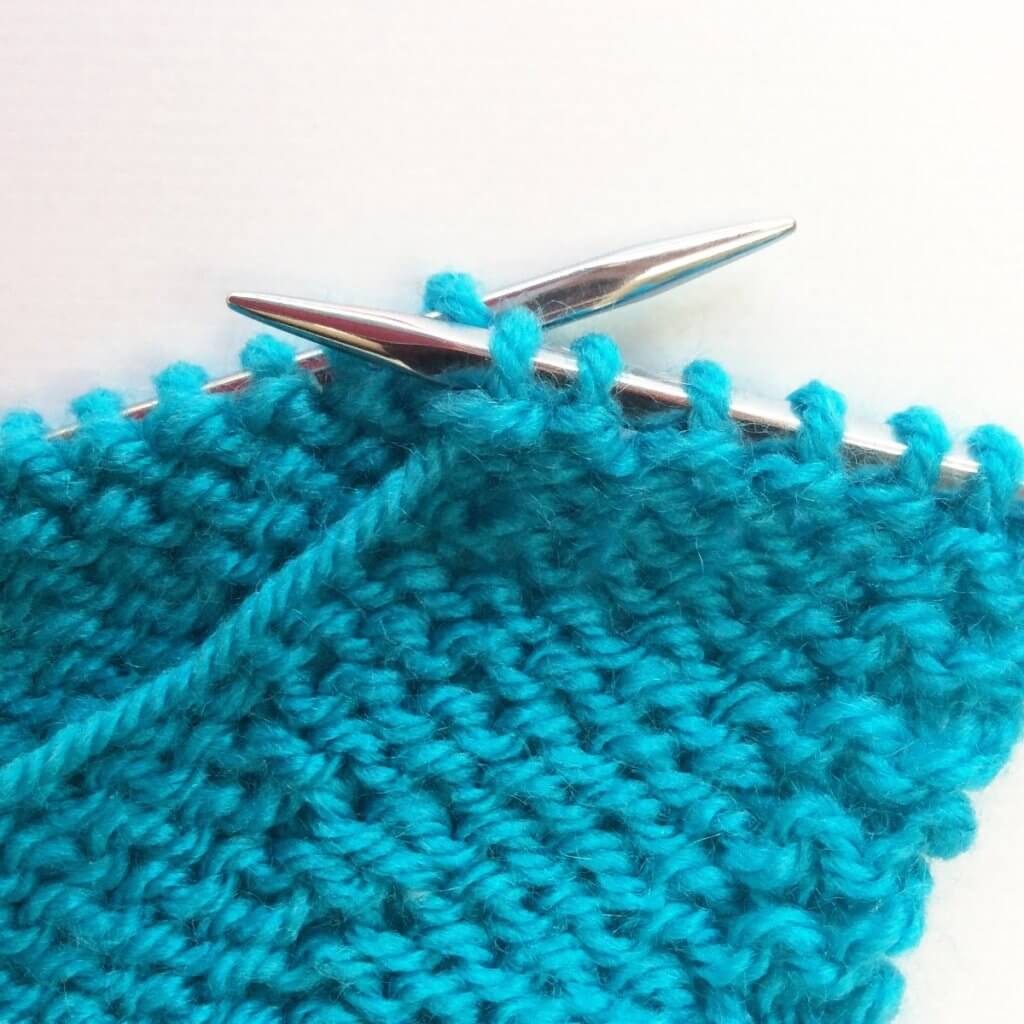
5. I worked a couple of more rows, with increases on the WS (purl-side) rows only and 4 sts in from the garter stitch edge. This is how the piece looks:
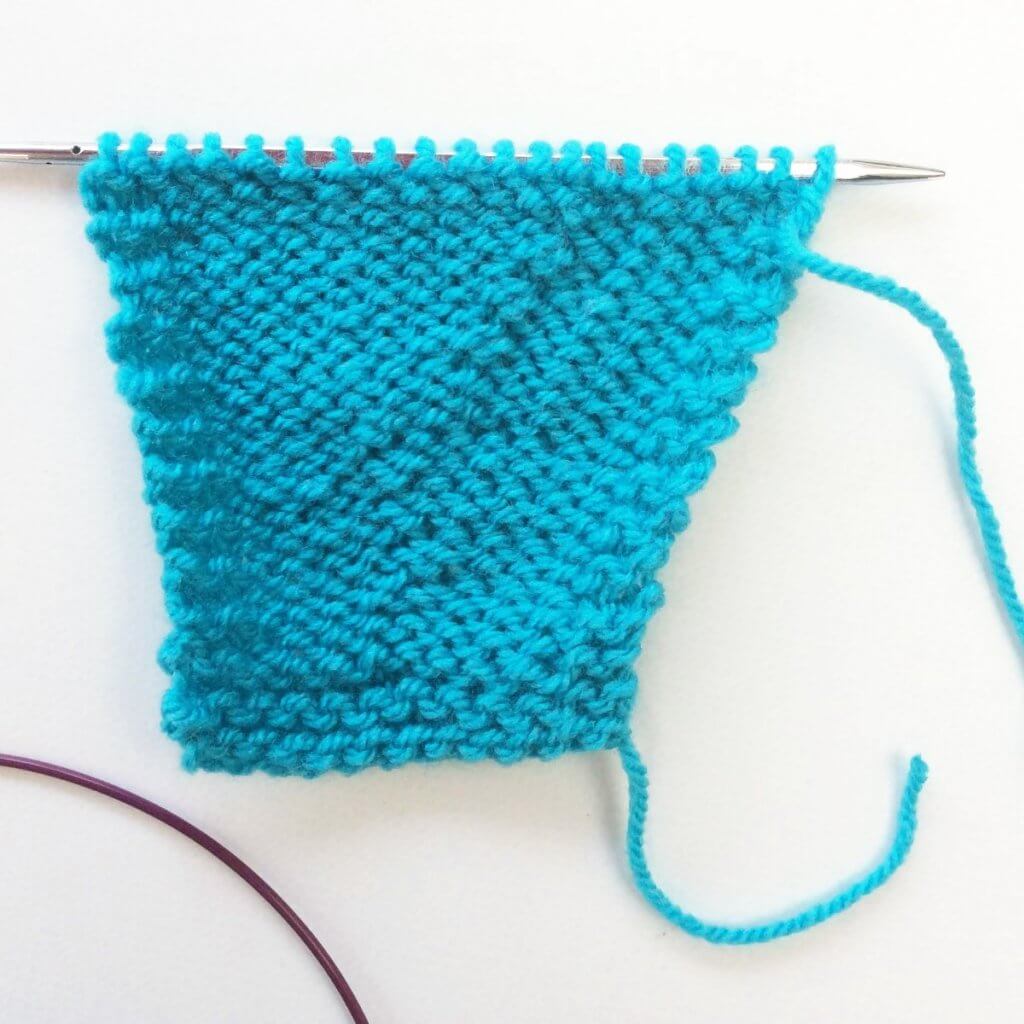
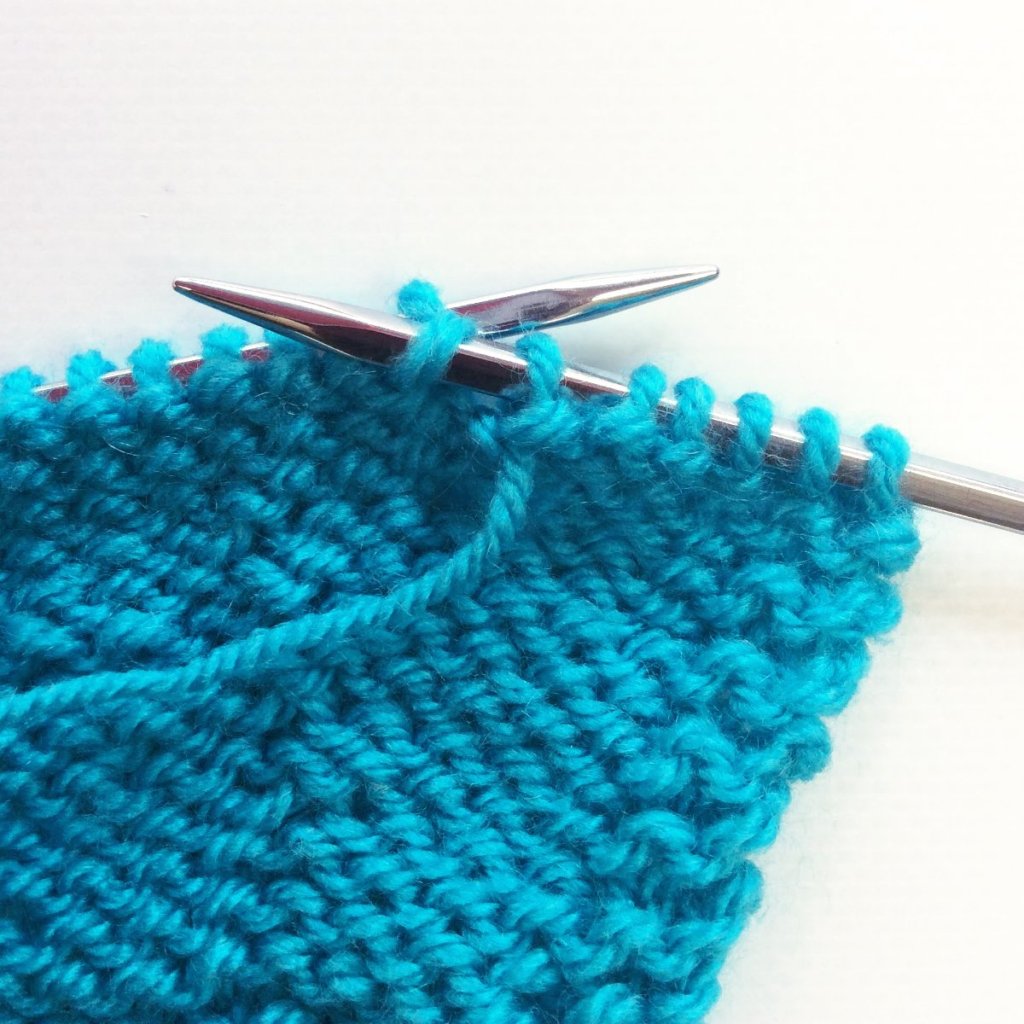
Let’s turn the piece around
When turning the little swatch around to see how the RS of it looks, I found this:
Turns out that a purl-side Right Lifted Increase gives a rather lovely left-leaning result when viewed from the right side of the fabric. I’ve searched the internet to see if I could find any more information about it, but alas. So this is for now, good to know though!

Thanks to my Patreon supporters for bringing you this freebie! Creating quality patterns and tutorials is a lot of work and resource-intensive. However, I find it important to give you free content like this tutorial. Thanks to the generous support of my Patreon supporters, I can make it happen. Thank you, patrons! Click here to join, or click here to read more about La Visch Designs on Patreon.


