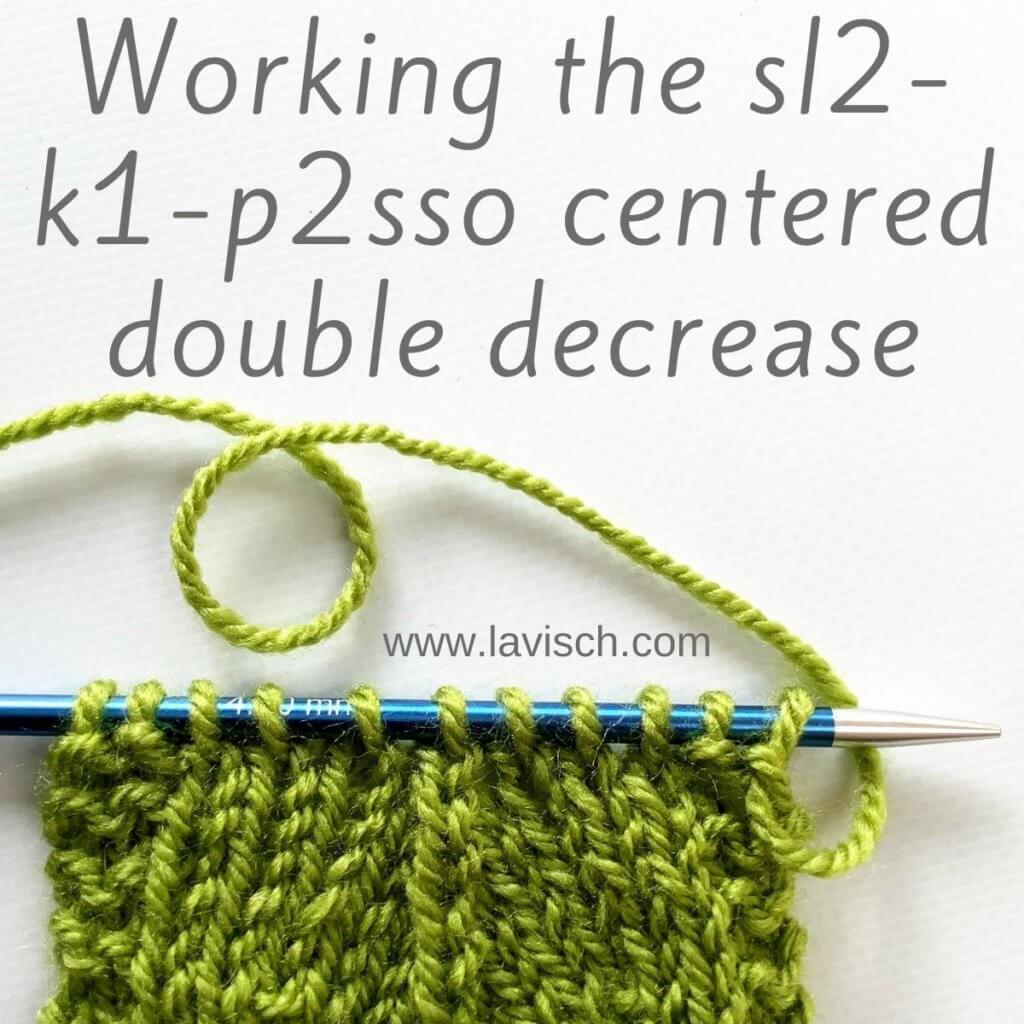
A centered (or central) double decrease as shown in this tutorial, reduces 3 stitches down to 1 stitch in a symmetrical way. The sl2-k1-p2sso abbreviation is short for “slip two sts, k1 st, pass the 2 slipped sts over the knitted st”. You may however also encounter CDD or S2KP as abbreviations for this decrease.
It results in a strong vertical decrease line that doesn’t slant to either the left or the right. It’s a decrease that’s often used in lace patterns, and for example at the base of a v-neck opening in a sweater. A very useful decrease to have in your knitter’s toolkit!
Read on to see how it’s worked.
Materials


Yarn: * Paintbox Yarns Simply DK, a good value, good quality 100% acrylic yarn, here in the color 128 Lime Green.
Needles: * KnitPro Zing Fixed Circular Needles. In this tutorial, I used the 4 mm (US 6) size with a cable length of 80 cm (32 inches).
Working a sl2-k1-p2sso step by step
1. First, work your way across the row until you’ve reached the point where you want to make the decrease. In this case, I want to work the double decrease over the 3 stitches in the middle of the swatch.
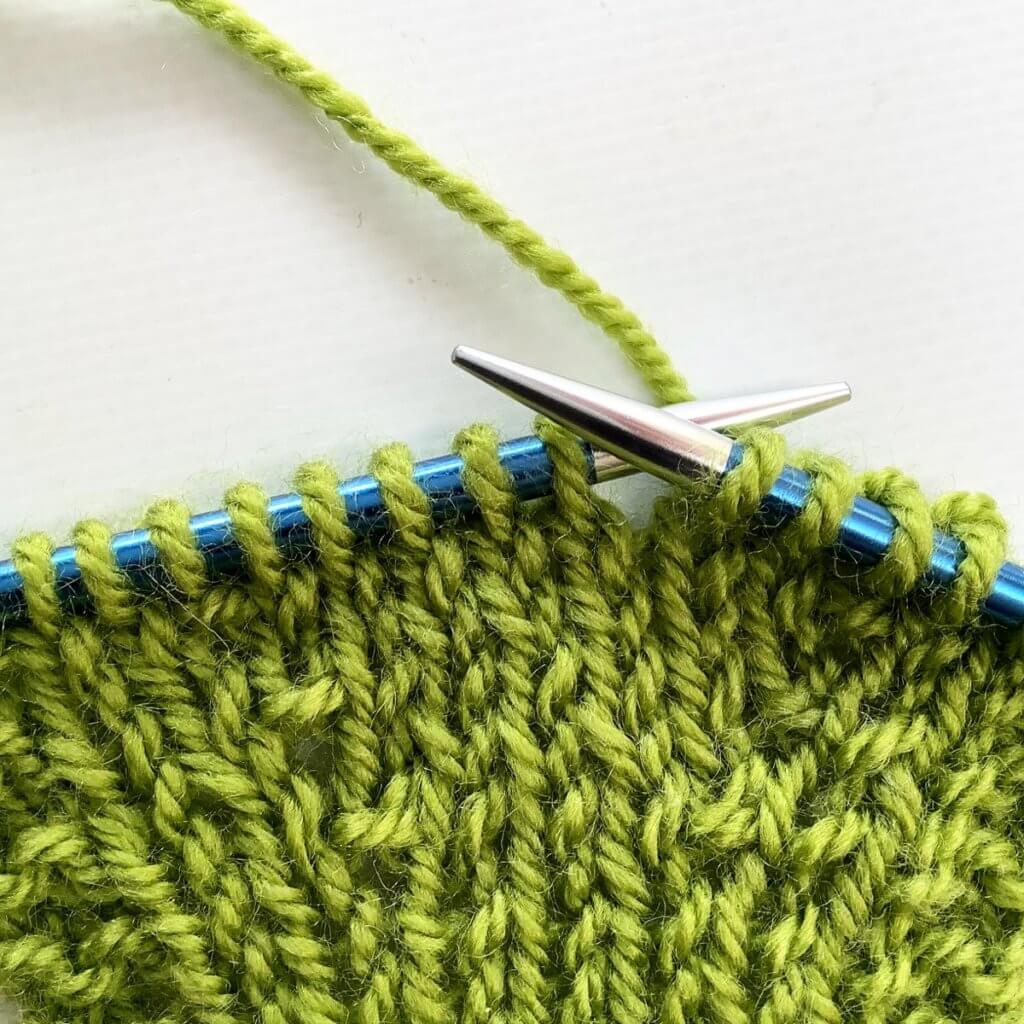
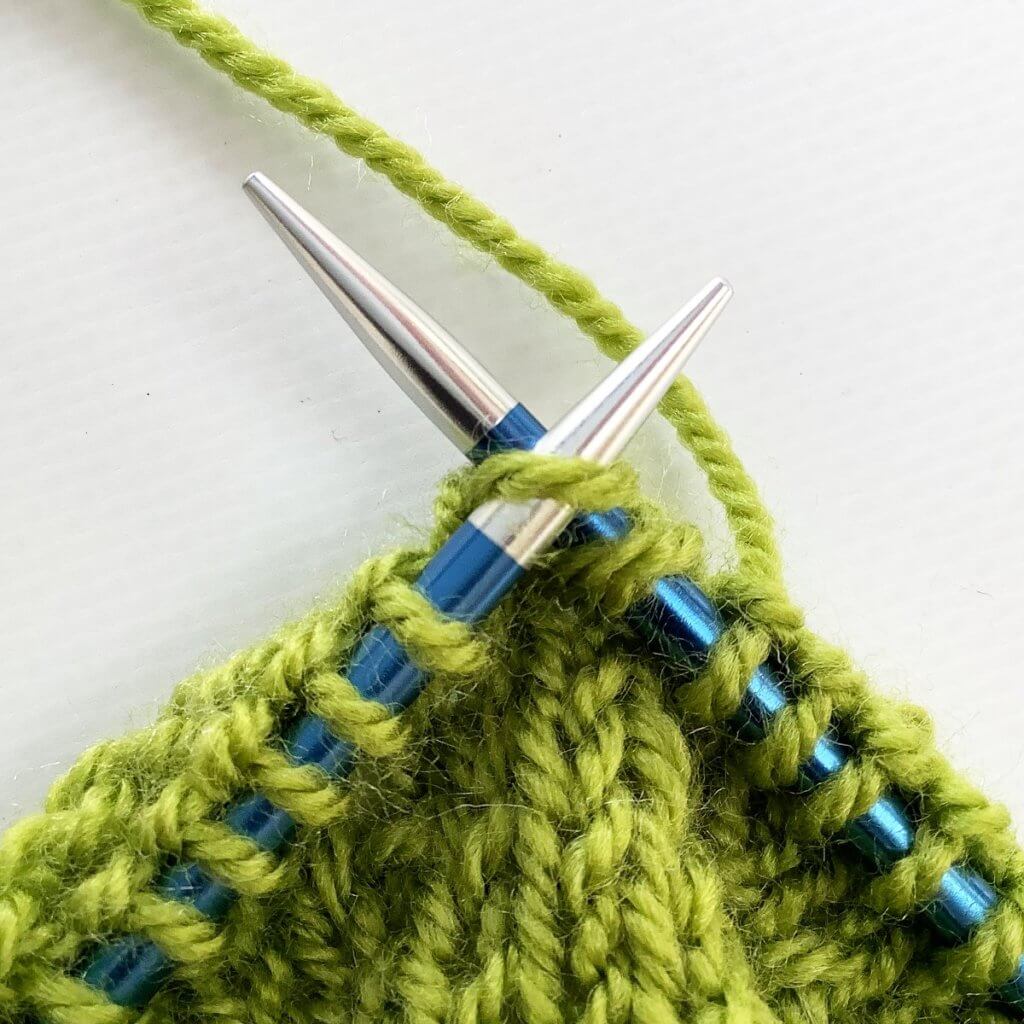
2. To start, slip the next two stitches knitwise and together from the left knitting needle to the right knitting needle. Basically as if to knit those two stitches together.
3. The below picture shows how it looks after slipping these two stitches to the right-hand needle.
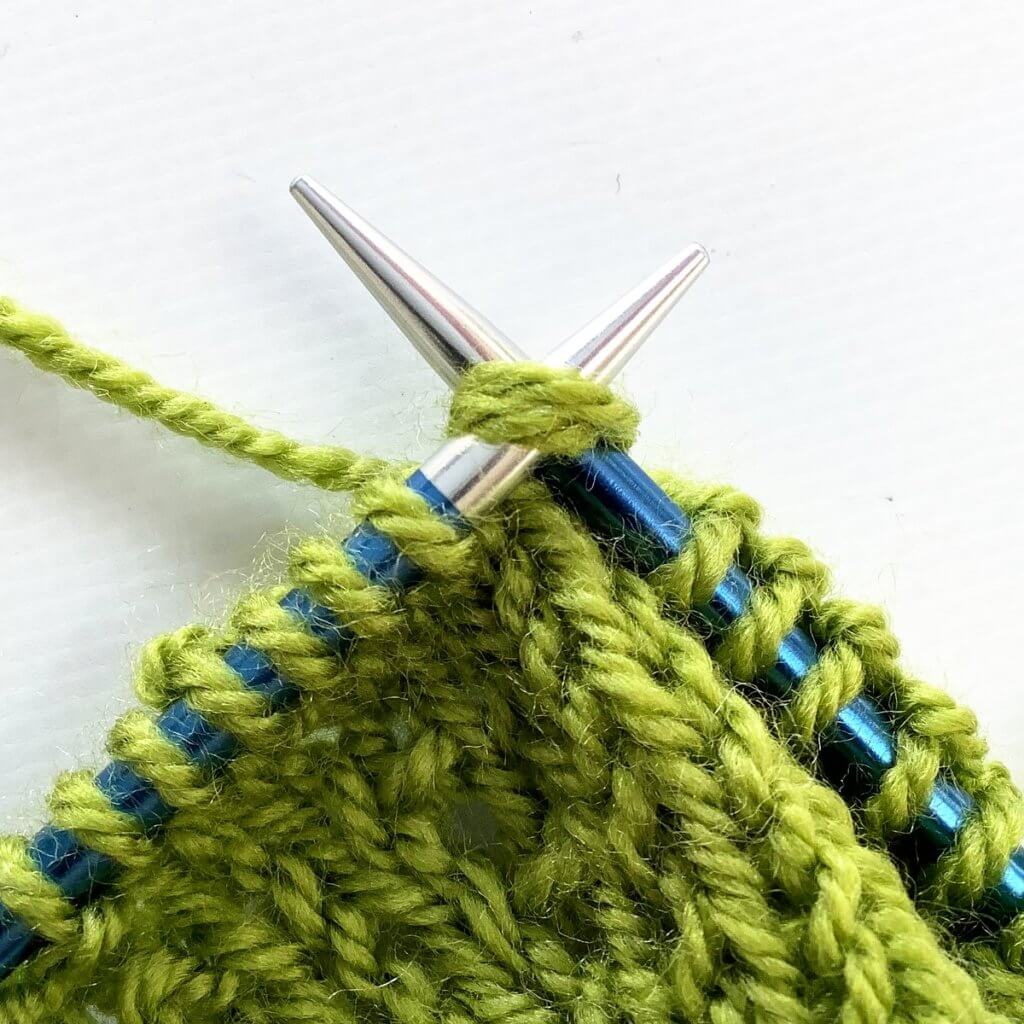
4. To knit the next stitch on the left-hand knitting needle, first, insert the right-hand needle knitwise into the front loop of the stitch.
5. Wrap the yarn around the needle…
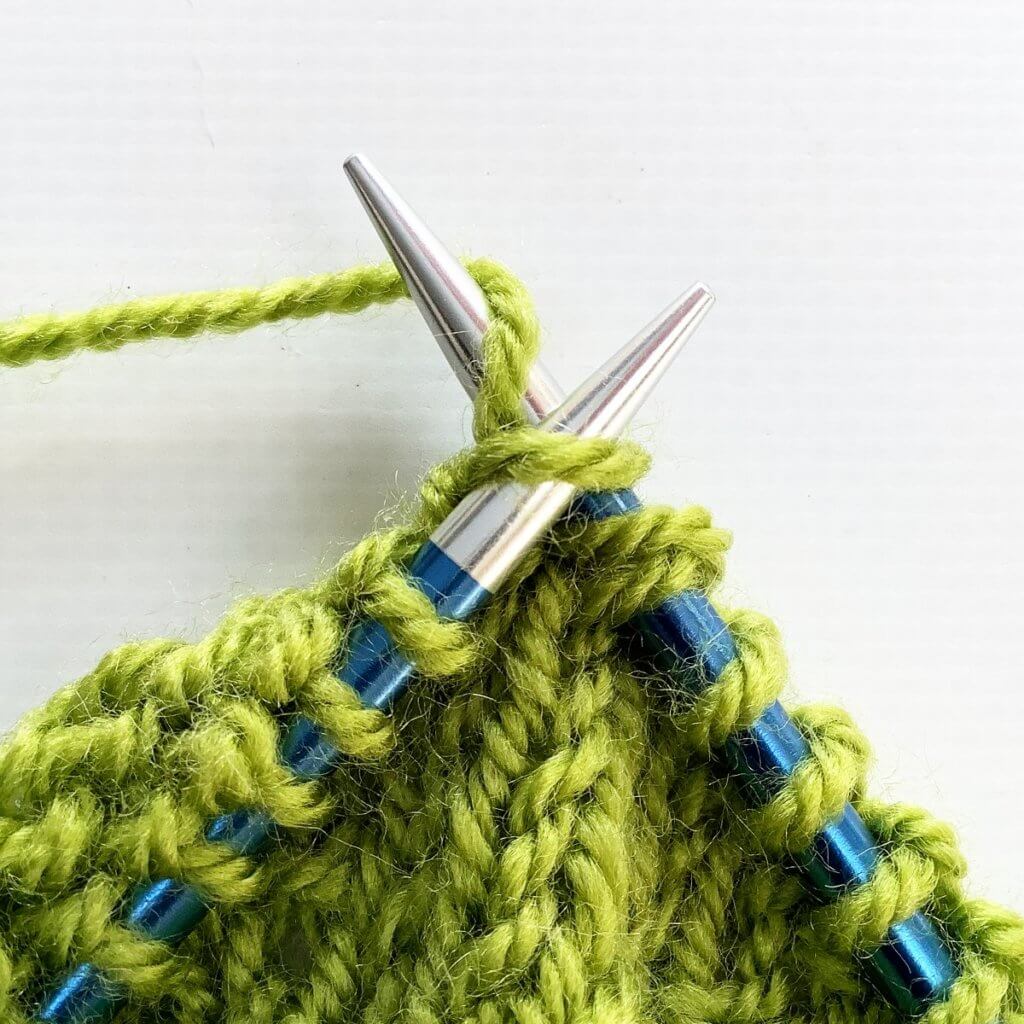
6. … and pull it through the stitch.
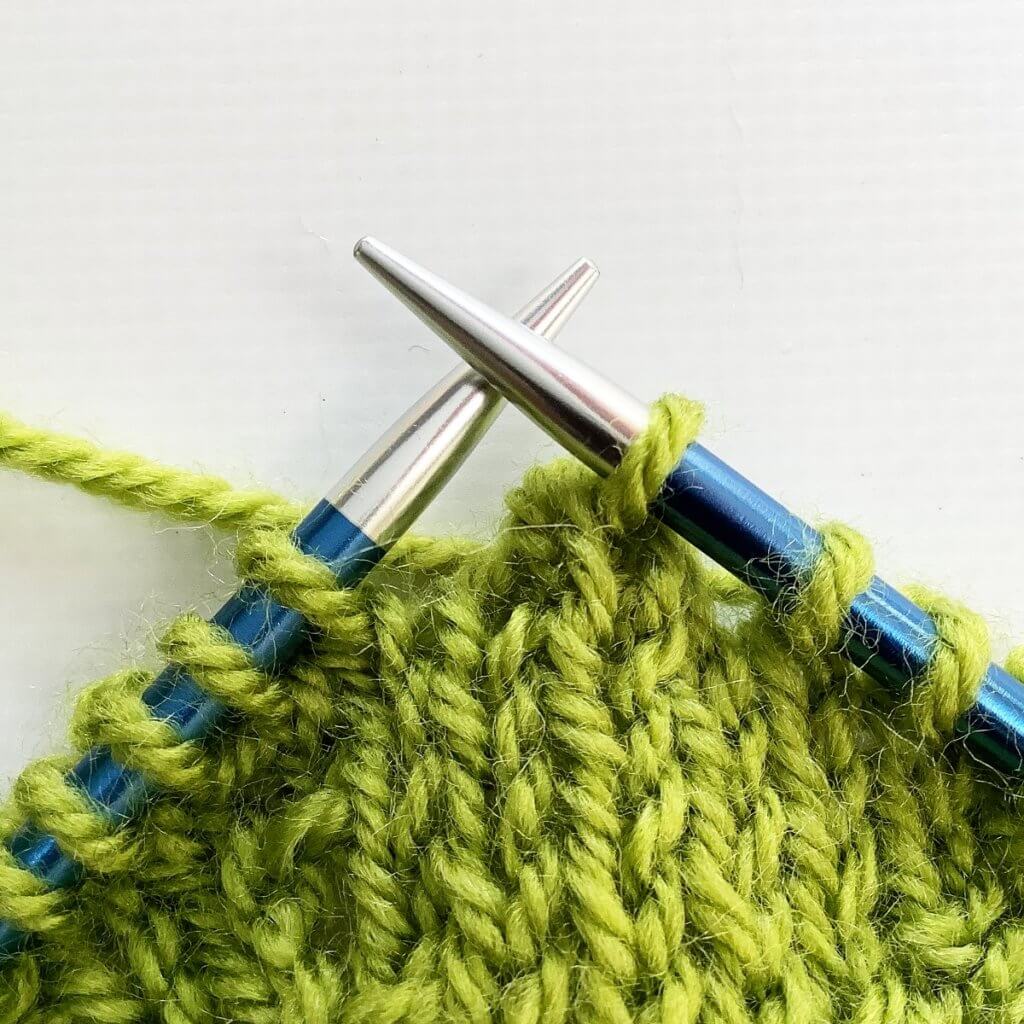
7. To finish the knit stitch, slide the original stitch off the left-hand needle.
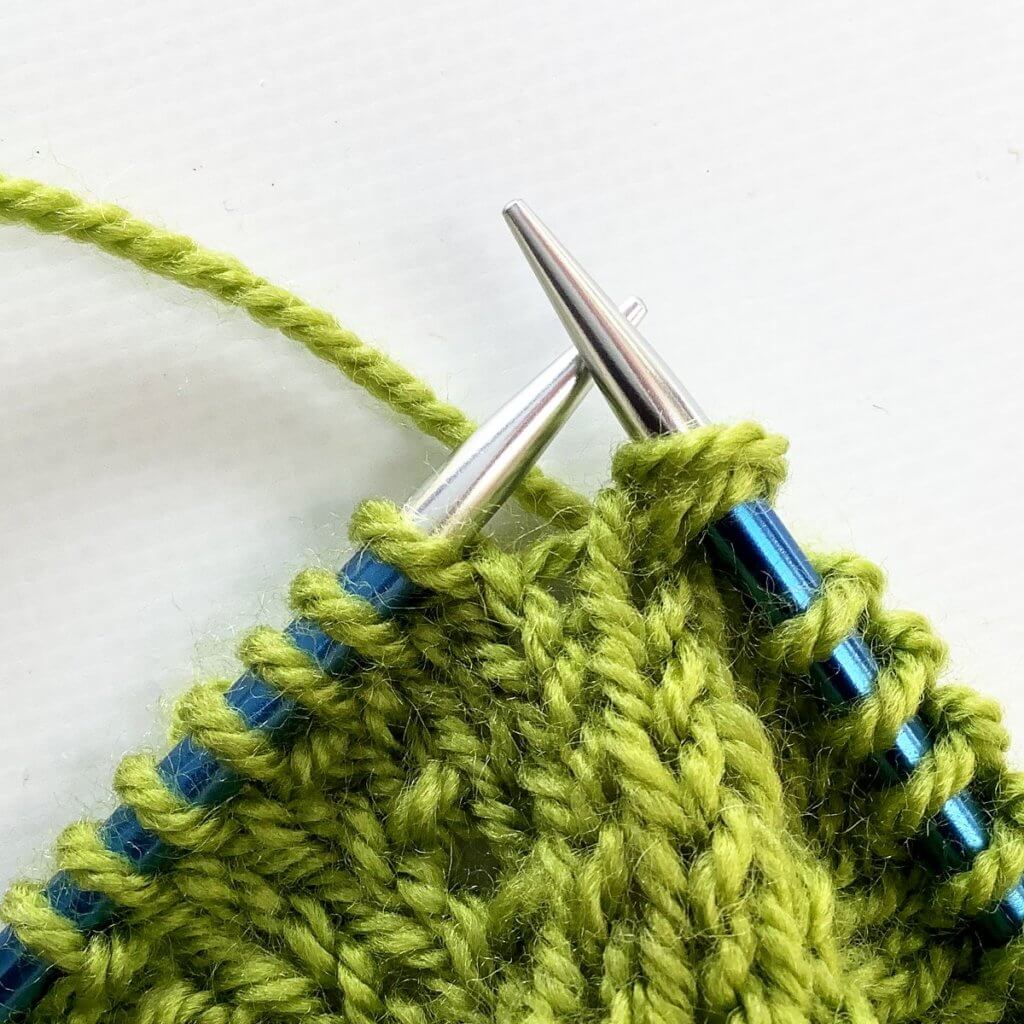
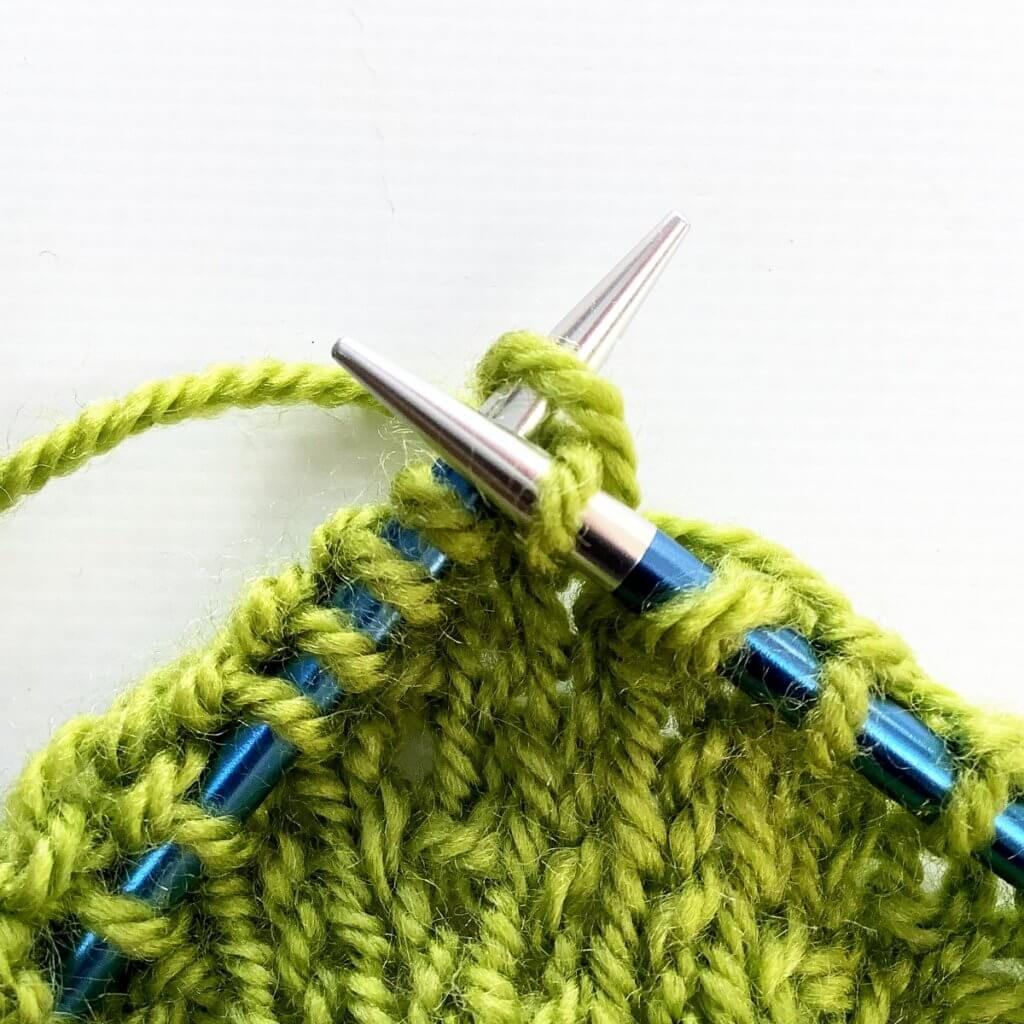
8. Now for the third and last part of this decrease, insert the left-hand needle into the two slipped stitches …
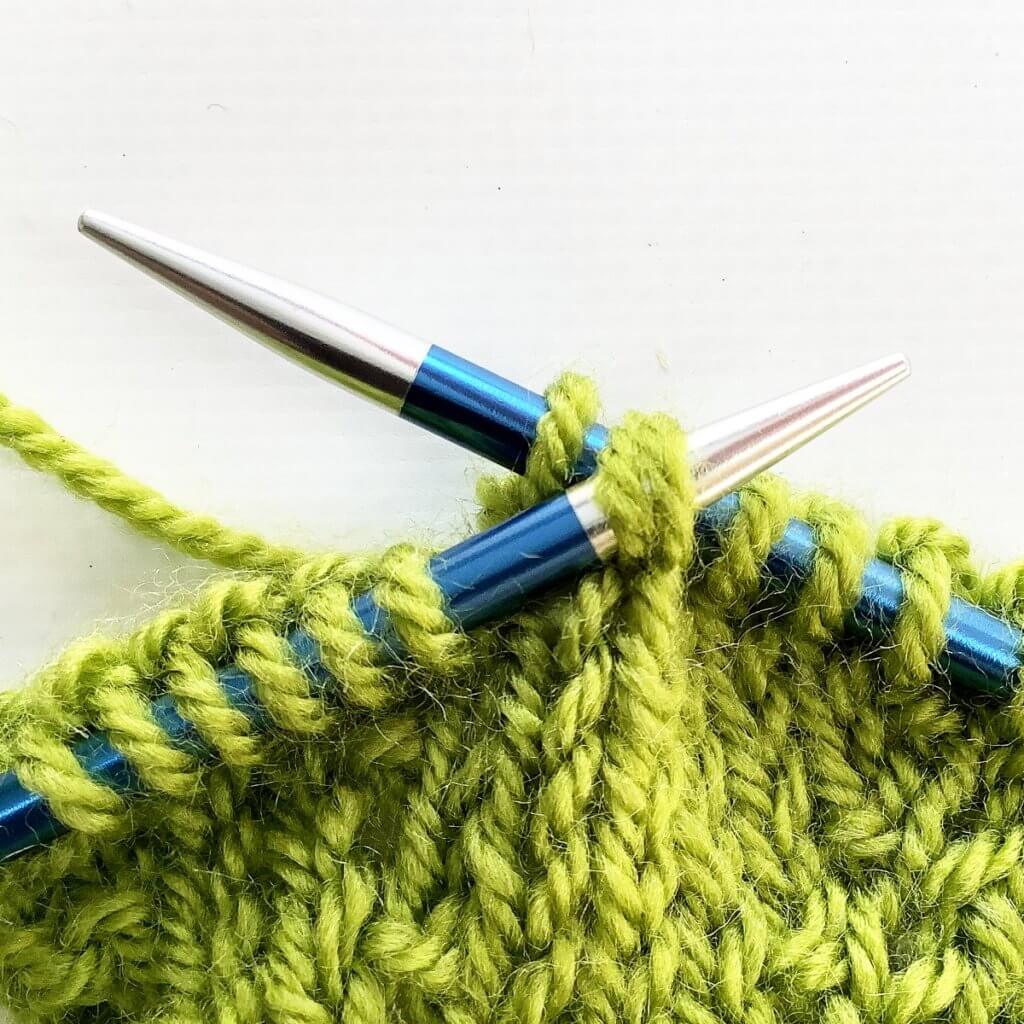
9. … and pull them over the single knitted stitch and off the right-hand needle to complete the decrease.
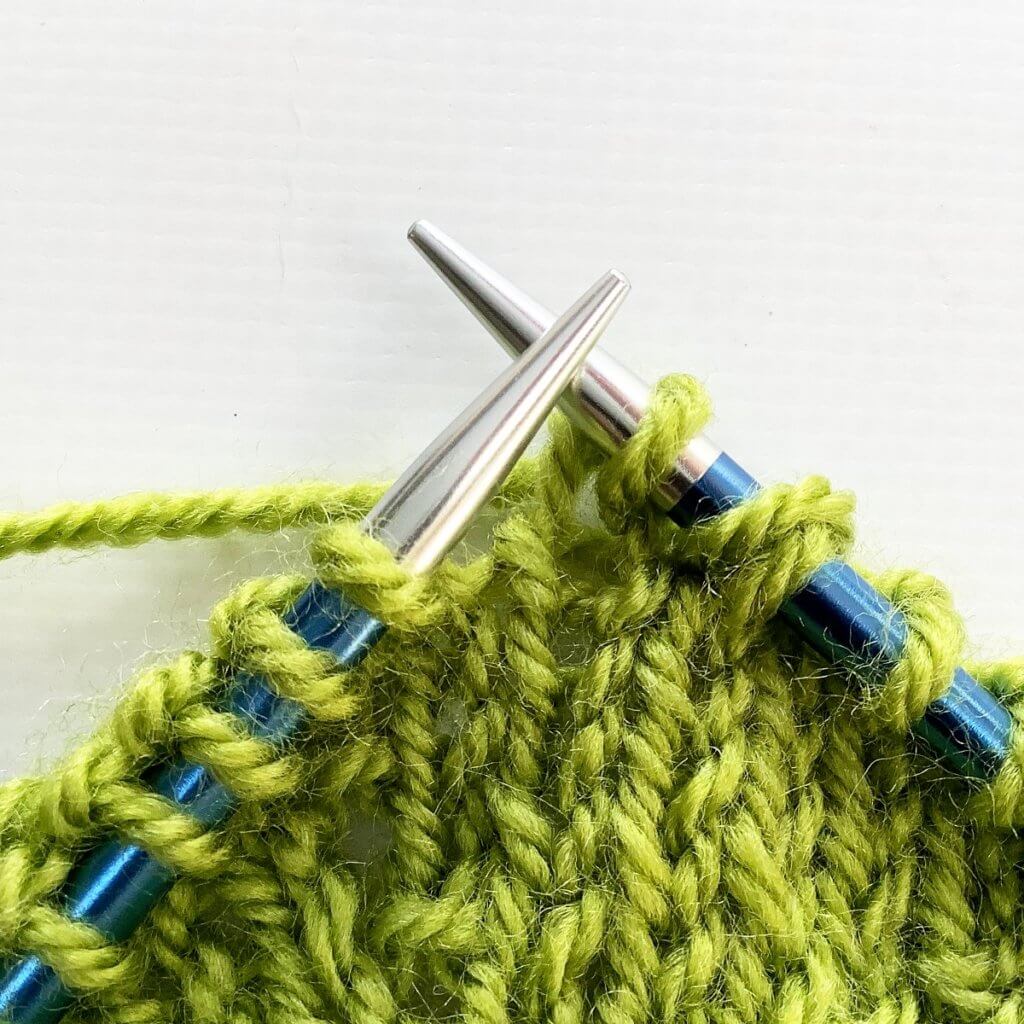
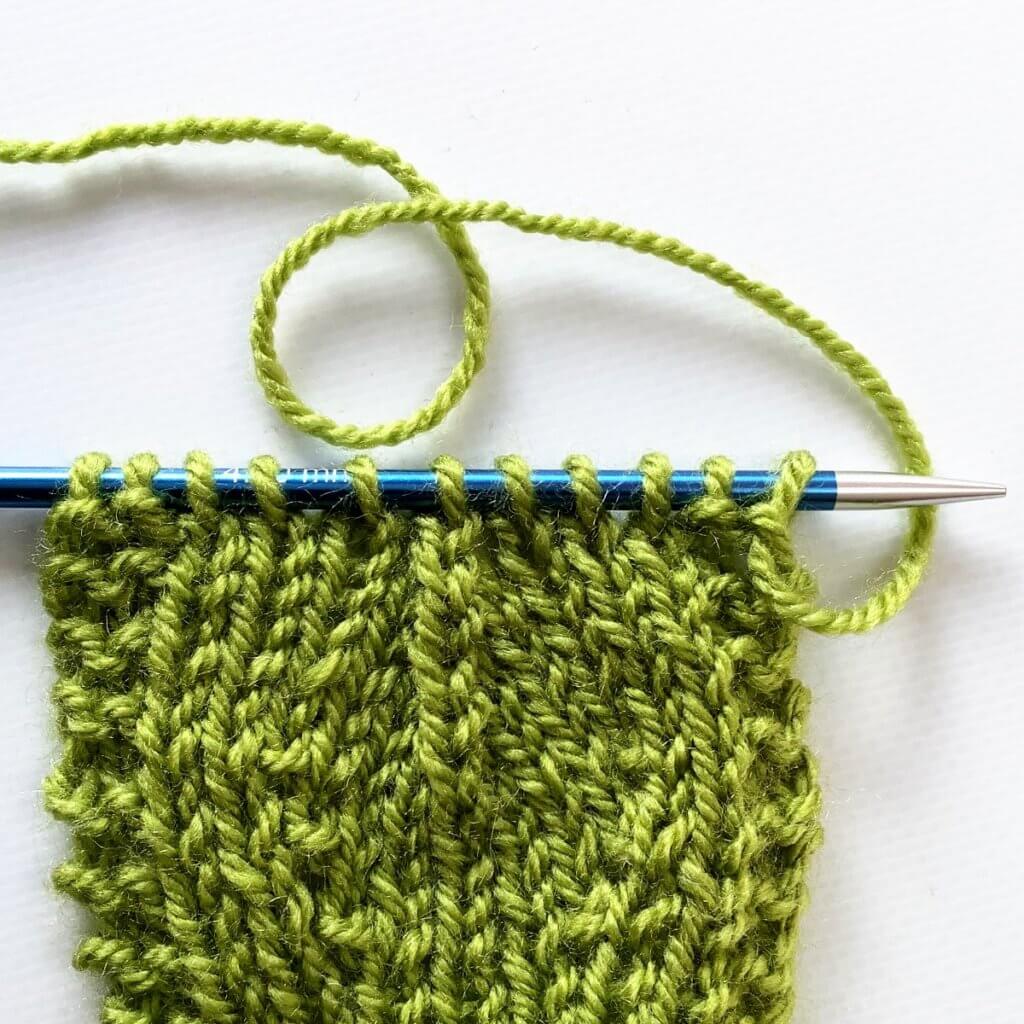
The below picture shows how it looks after 2 more decrease rows have been worked. Please note that the bottom half of the swatch pictured shows the kfb increases I showed you in a previous tutorial.

Thanks to my Patreon supporters for bringing you this freebie! Creating quality patterns and tutorials is a lot of work and resource-intensive. However, I find it important to give you free content like this tutorial. Thanks to the generous support of my Patreon supporters, I can make it happen. Thank you, patrons! Click here to join, or click here to read more about La Visch Designs on Patreon.


