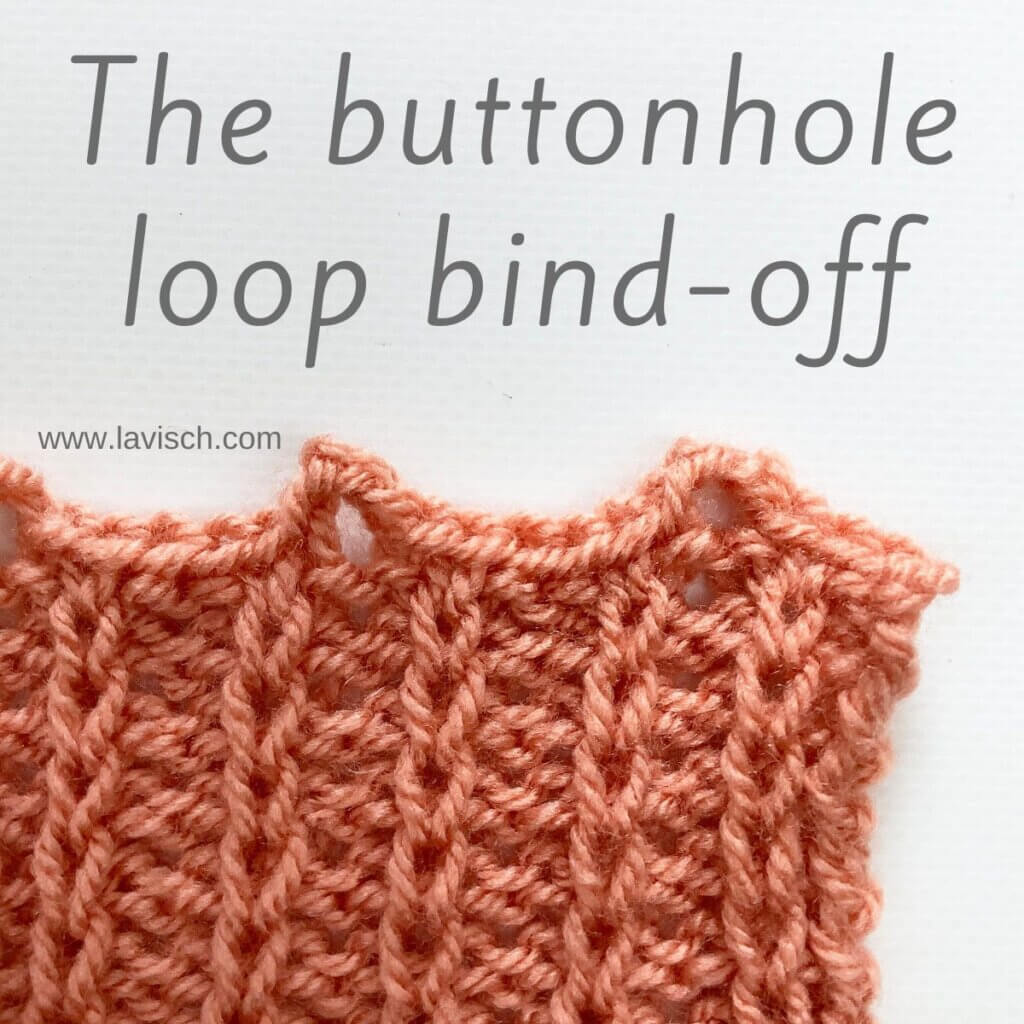
The buttonhole loop bind-off is very similar to the standard knitted bind-off, but with a twist! There are loops of yarn worked right at the edge of the work, which can be utilized as buttonholes. Of course, you can also just use this bind-off because it’s decorative. And yes, in this tutorial I’m using the swatch of the slip stitch rib stitch pattern, I showed you two weeks ago. Let’s get started!
Materials used


Yarn: Paintbox Yarns Simply DK, a good value, good quality 100% acrylic yarn, here in the color Vintage Pink.
Knitting needles: This is a pair of straights that I picked up at the second-hand store when I started knitting, brand unknown.
The buttonhole loop bind-off step by step
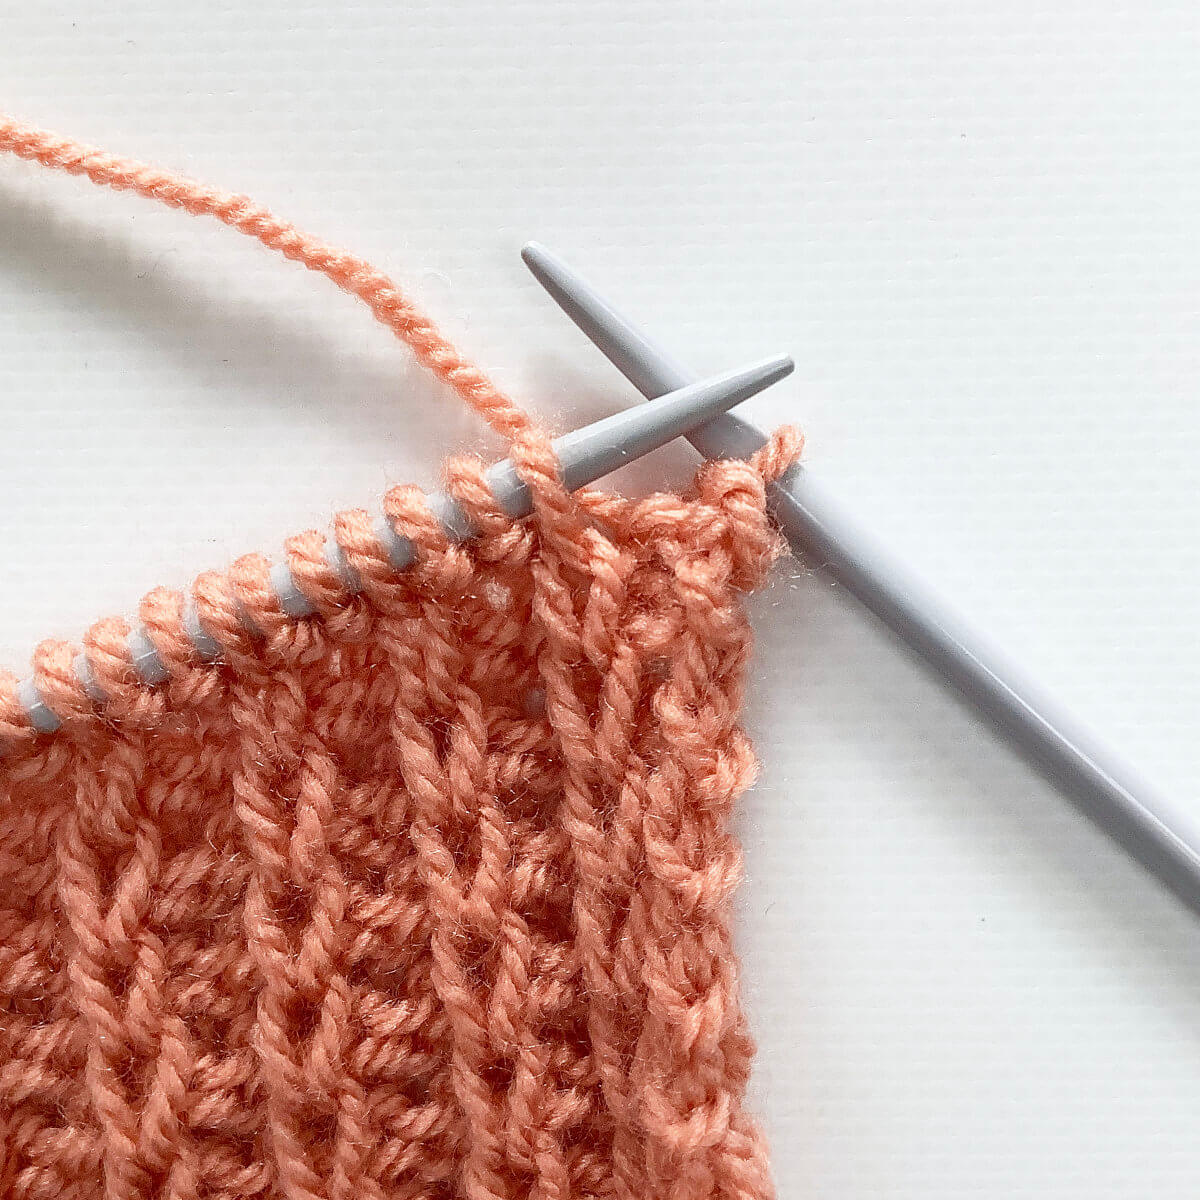
- To start, take the piece of knitting you want to bind-off, and knit the first stitch.
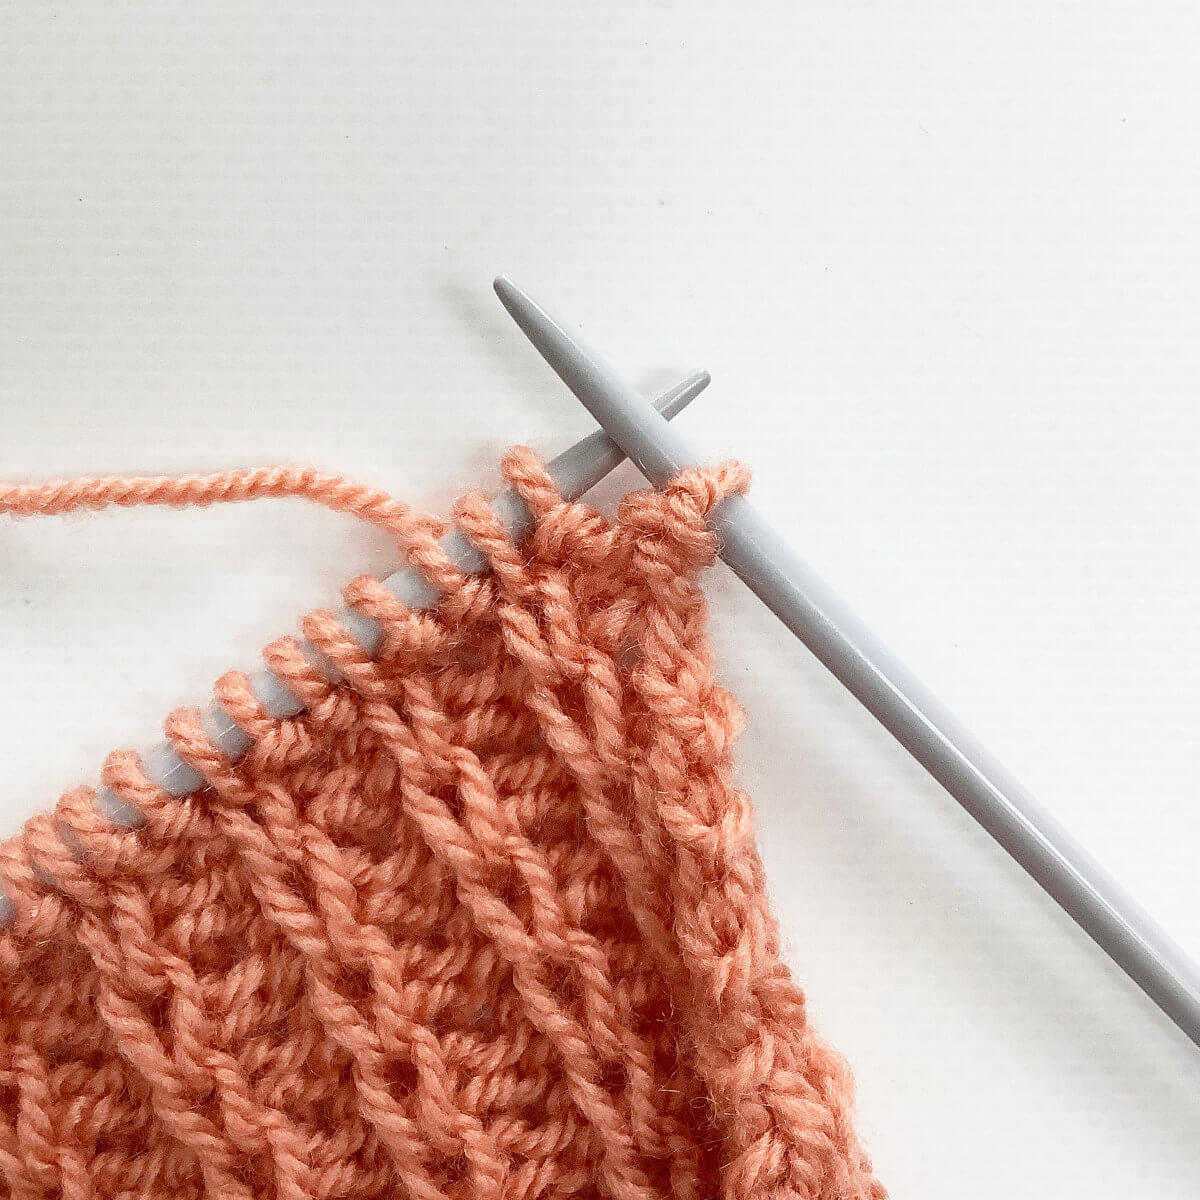
- Next, knit the new stitch nearest to the tip of the left-hand needle.
- Insert the tip of the left-hand needle into the second stitch on the right-hand needle….
- …., and pass this second stitch over the first one.
You have now bound-off a stitch!
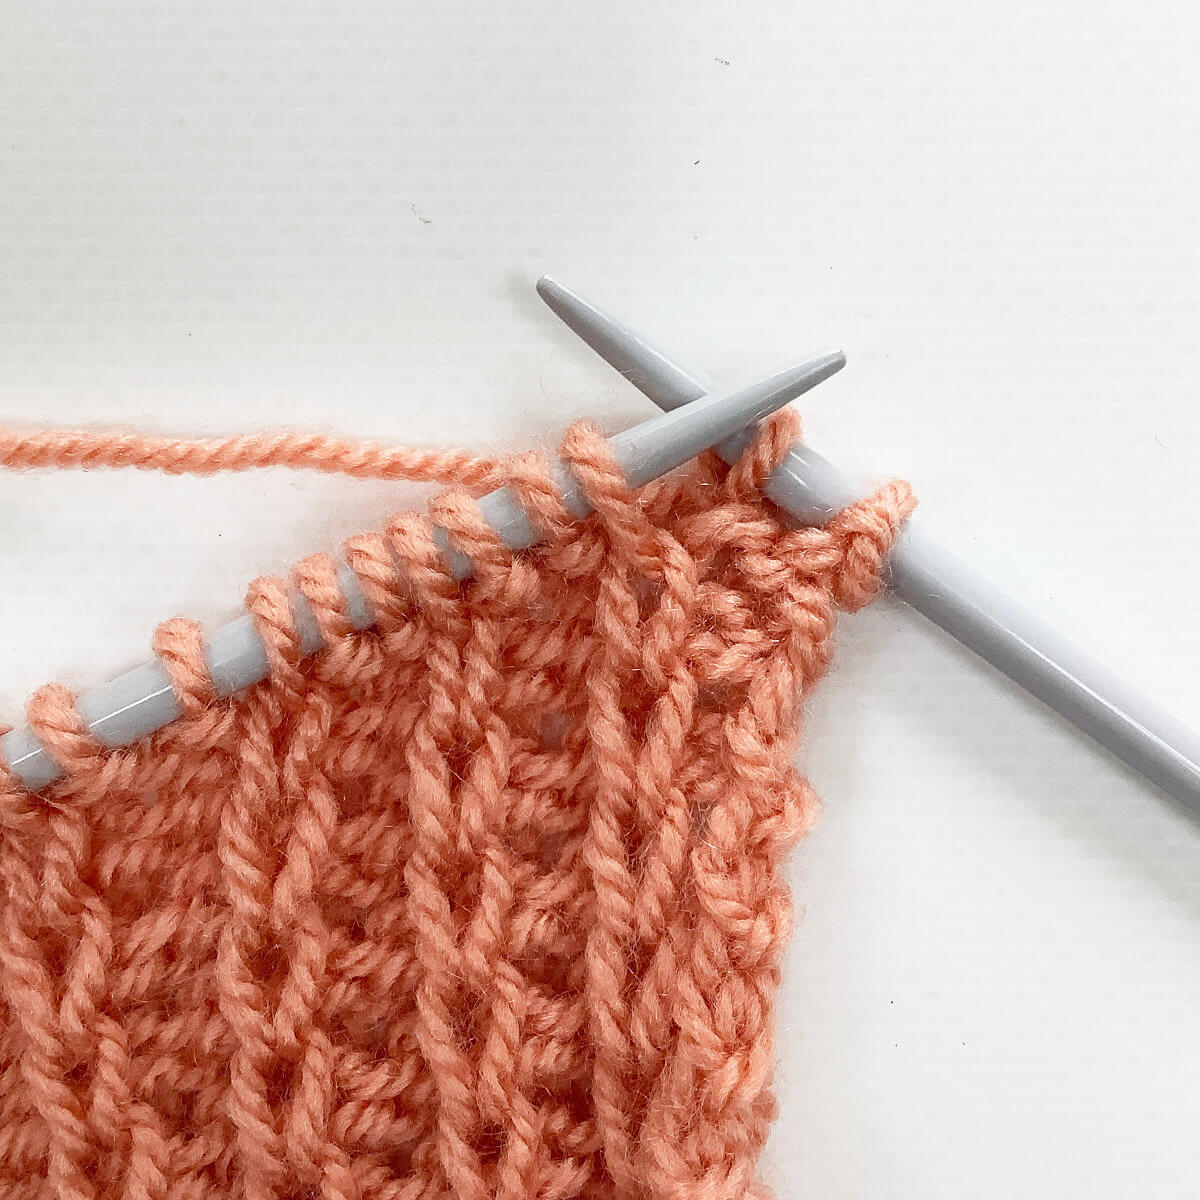
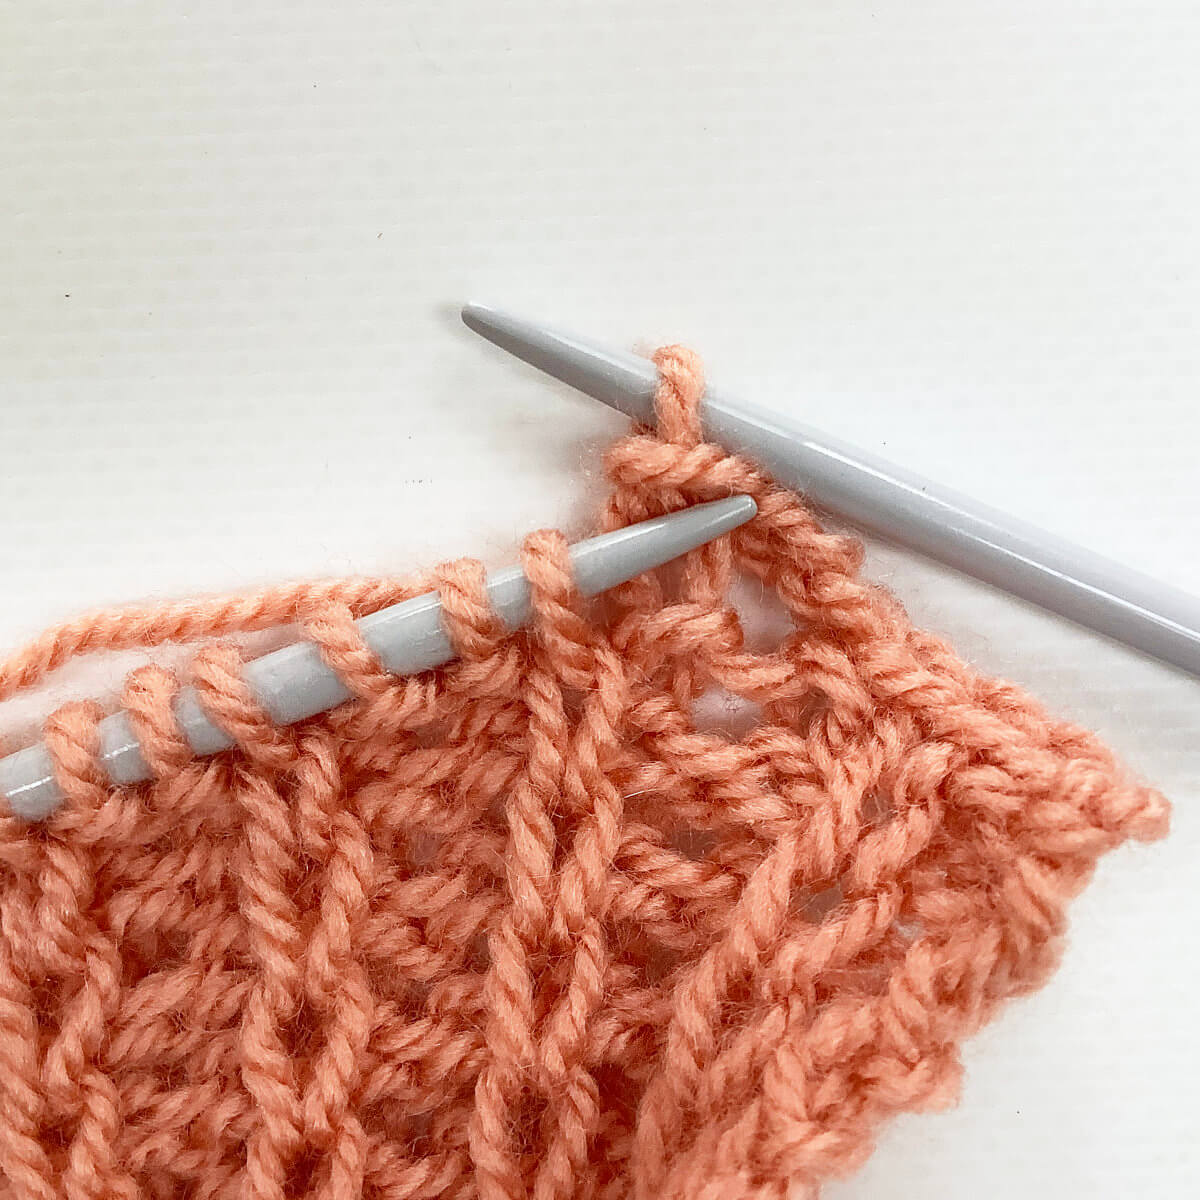
- Repeat steps 2-4 until you have reached the spot where you want to have the buttonhole.
In my case, I want the buttonhole right between the 2 purl stitches in the rib. So I continued binding stitches off, until I had worked the first of the 2 purl stitches.
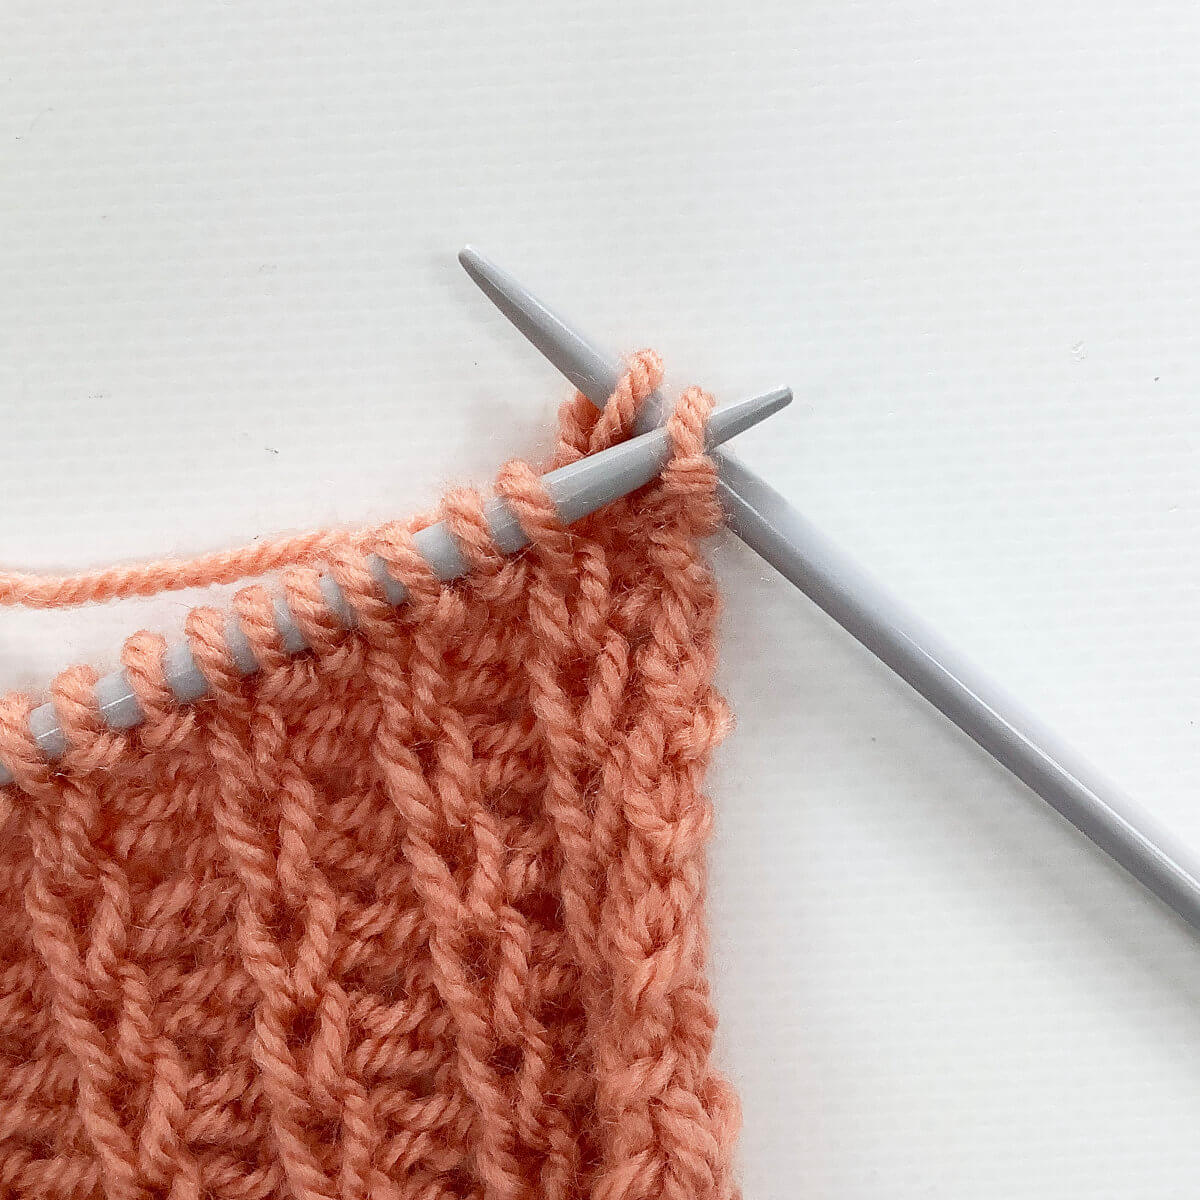
- Next, we want to make a series of loops to accommodate the buttons you’ve chosen. Depending on the size of the buttons, You may want to work longer loops than I’m doing in this example.
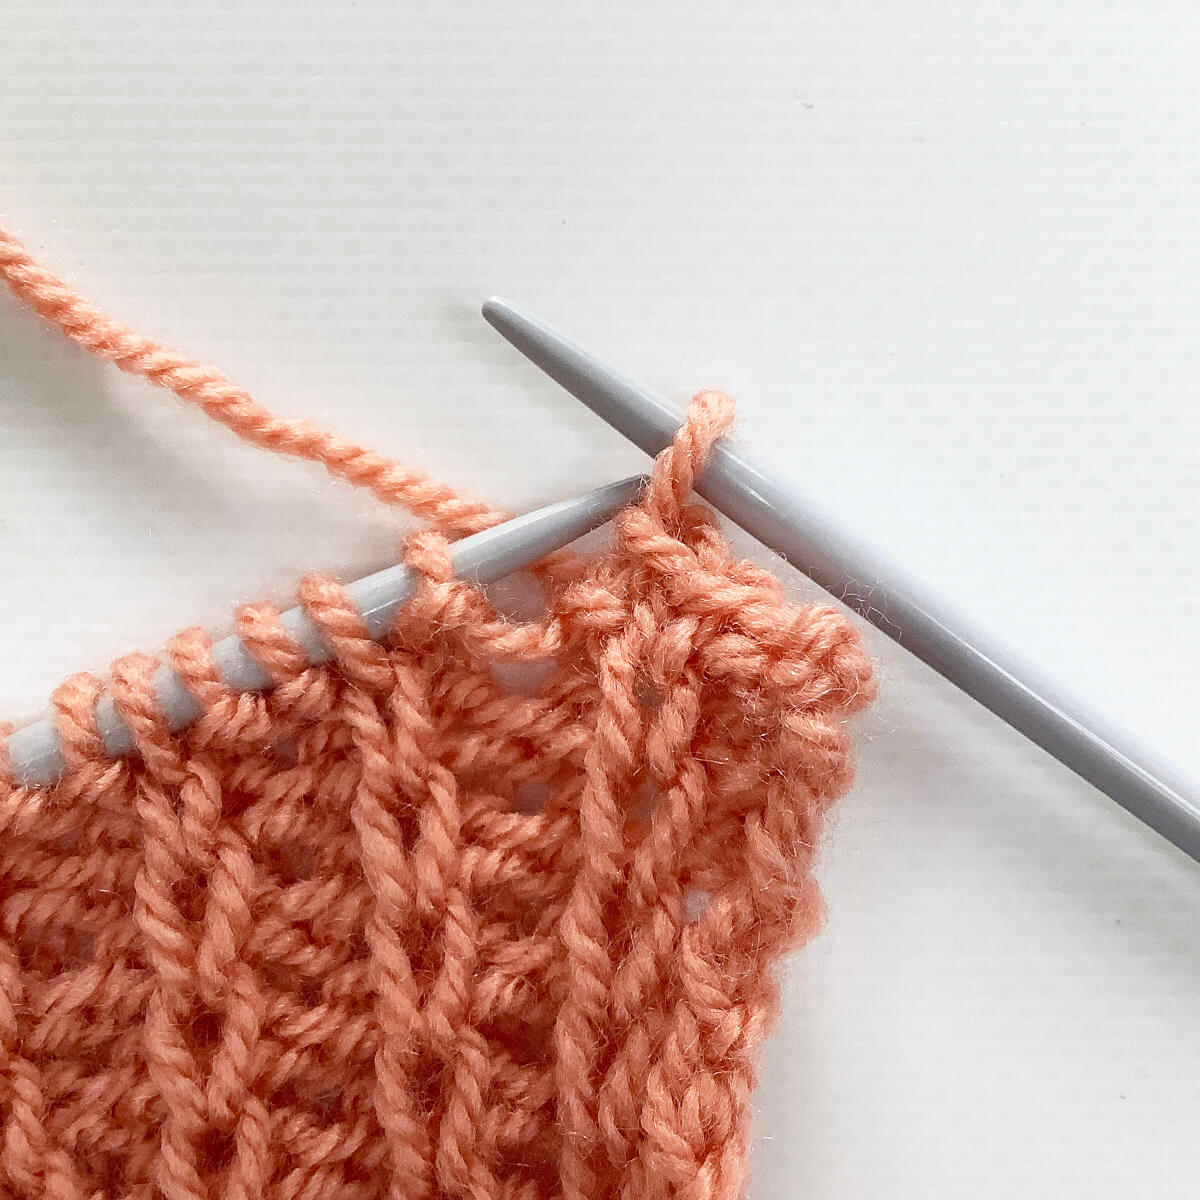
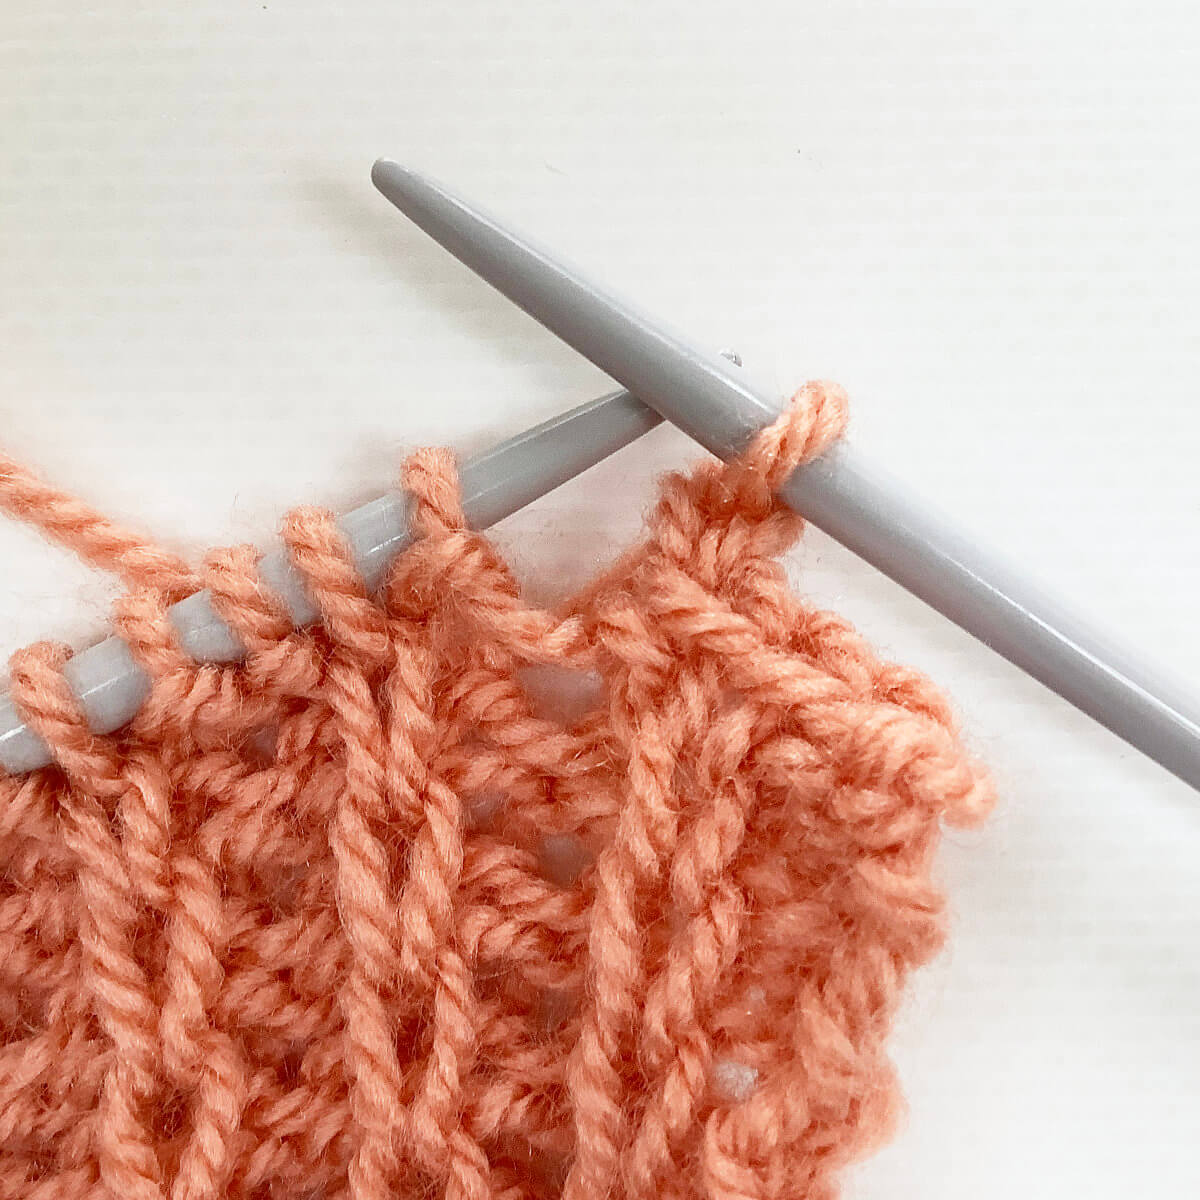
To start the first loop, place the stitch from the right-hand needle back to the left-hand needle.
- Next, insert your right-hand needle into the first stitch on the left-hand needle as if to knit.
- Wrap the yarn around the needle…

- … and pull it through. You have now made 1 “chain”.
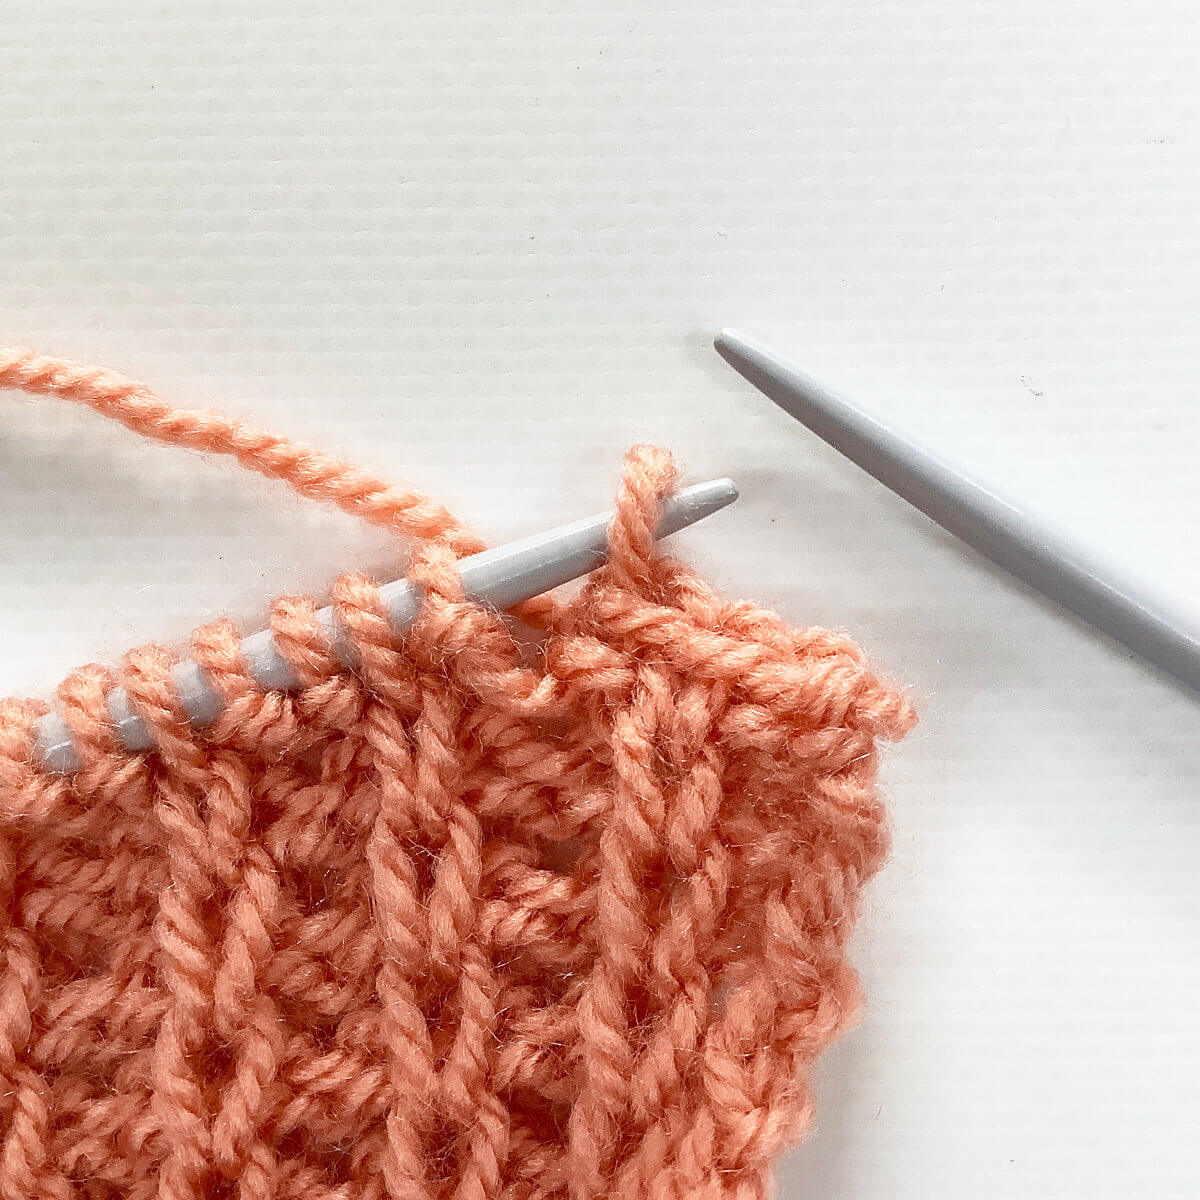
This is very similar to working a chain with a crochet hook, hence the name I’m giving it.
- I want a loop consisting of 3 “chains”, so I have repeated steps 6-9 another two times.
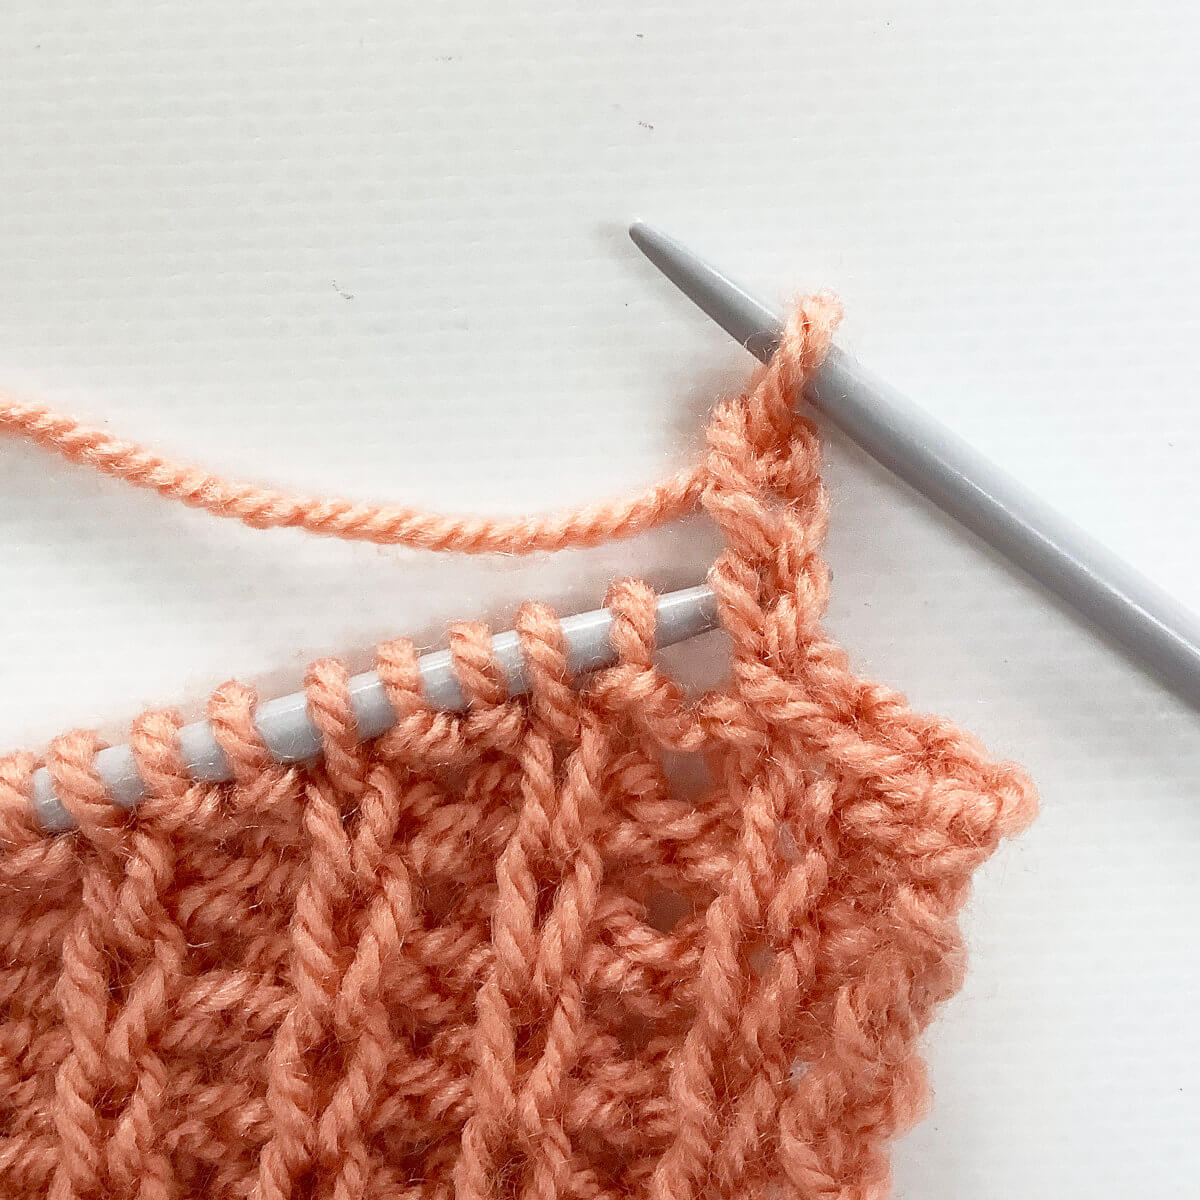
- To close the loop, I then worked steps 2-4 once more.
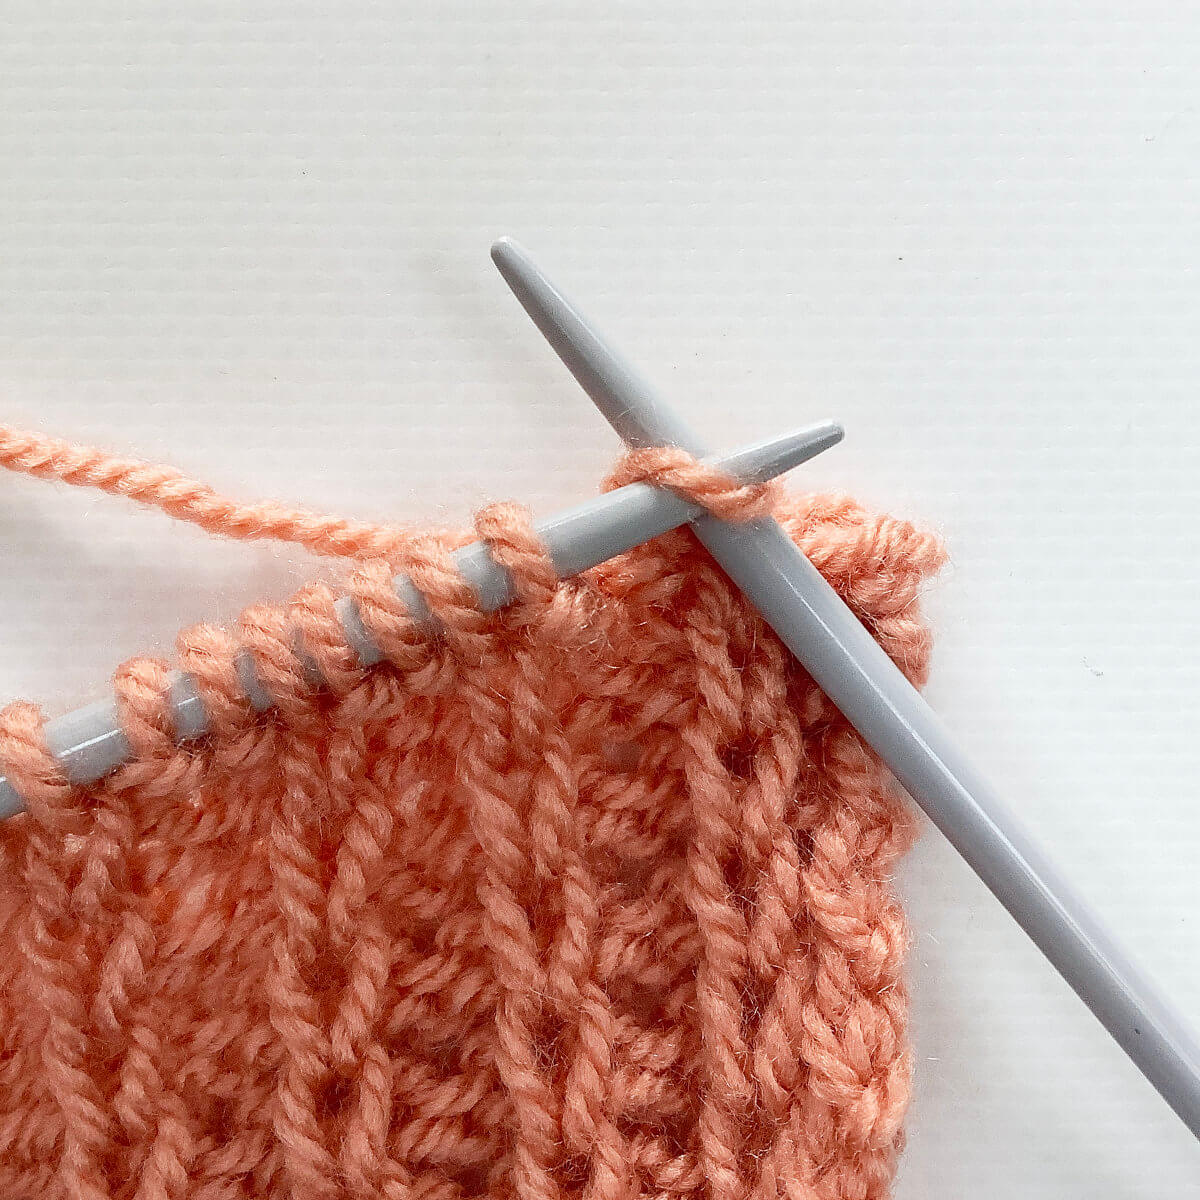
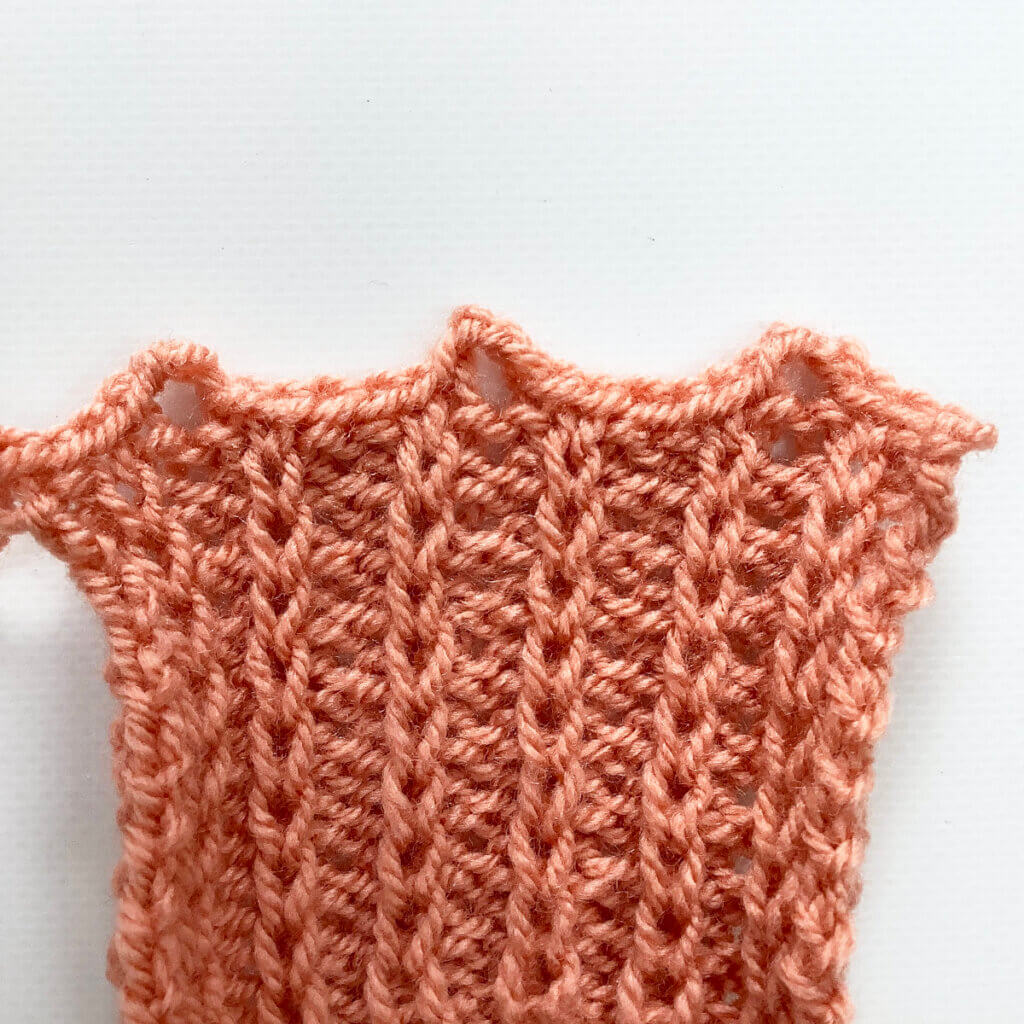
The result
In the below picture, I worked another 2 buttonholes, again centered in the purl part of the rib patterning. I really like this result!

Thanks to my Patreon supporters for bringing you this freebie! Creating quality patterns and tutorials is a lot of work and resource-intensive. However, I find it important to give you free content like this tutorial. Thanks to the generous support of my Patreon supporters, I can make it happen. Thank you, patrons! Click here to join, or click here to read more about La Visch Designs on Patreon.


